Every successful interview starts with knowing what to expect. In this blog, we’ll take you through the top Physical Exam interview questions, breaking them down with expert tips to help you deliver impactful answers. Step into your next interview fully prepared and ready to succeed.
Questions Asked in Physical Exam Interview
Q 1. Describe the proper technique for auscultating heart sounds.
Auscultating heart sounds, or listening to the heart, is a crucial part of a cardiovascular exam. Proper technique ensures accurate assessment of heart sounds and rhythms. It involves the use of a stethoscope, placed strategically on the chest wall to listen for distinct heart sounds.
- Positioning: The patient should be lying supine (on their back) or sitting upright, whichever is more comfortable. Expose the chest appropriately.
- Stethoscope Placement: The diaphragm of the stethoscope (the flat side) is best for high-pitched sounds like S1 and S2 (the normal heart sounds). The bell (the concave side) is used for detecting lower-pitched sounds like murmurs or S3 and S4 (extra heart sounds). Systematic auscultation involves listening at several locations across the precordium (the area over the heart): aortic area (2nd right intercostal space), pulmonic area (2nd left intercostal space), Erb’s point (3rd left intercostal space), tricuspid area (4th left intercostal space), and mitral area (5th left intercostal space, mid-clavicular line).
- Listening Carefully: Listen for the rhythm, intensity, and character of each heart sound. Note any abnormal sounds like murmurs (whooshing sounds) or rubs (scratching sounds). Compare sounds on each side of the chest. Listen during both inspiration and expiration.
- Patient Interaction: Ask the patient to hold their breath to differentiate respiratory-related sounds from cardiac sounds. Instruct them to remain still and quiet for optimal sound quality.
Example: Imagine you hear a loud, high-pitched ‘swish’ following S1. This might indicate an aortic stenosis (narrowing of the aortic valve), requiring further investigation.
Q 2. Explain the steps involved in performing a neurological exam.
A neurological exam systematically assesses the function of the central and peripheral nervous systems. It’s a structured process encompassing several key components:
- Mental Status: This evaluates level of consciousness, orientation (person, place, time), attention span, memory, and cognitive function. Simple questions and tasks assess these areas.
- Cranial Nerves (CN): Each of the 12 cranial nerves is tested individually to assess their function. For instance, CN II (optic nerve) is tested with visual acuity and visual field testing; CN VII (facial nerve) is tested by asking the patient to smile, frown, and raise their eyebrows.
- Motor System: This involves assessing muscle strength, tone, coordination, bulk, and involuntary movements. This can involve asking the patient to perform specific movements against resistance or observing their gait (walking).
- Sensory System: This examines the patient’s ability to feel touch, pain, temperature, vibration, and proprioception (sense of position). Using various tools and techniques, sensory function is tested in different body parts.
- Reflexes: Deep tendon reflexes (DTRs), such as patellar and biceps reflexes, are assessed using a reflex hammer. The response is graded on a scale. Superficial reflexes, such as the plantar reflex, are also tested.
- Cerebellar Function: This assesses coordination and balance, often by testing finger-to-nose coordination, heel-to-shin testing, and observing the patient’s gait and stance.
Example: If a patient exhibits weakness on one side of the body, along with positive Babinski reflex (upward movement of the big toe), it could suggest a lesion in the upper motor neuron pathway, potentially indicating a stroke.
Q 3. How do you assess for respiratory distress?
Assessing for respiratory distress involves observing for several key signs and symptoms that indicate difficulty breathing. It’s crucial to act quickly as respiratory distress can rapidly worsen.
- Increased Respiratory Rate (Tachypnea): A rapid breathing rate is a common sign. Count breaths per minute.
- Use of Accessory Muscles: Observe for the use of muscles in the neck and chest (sternocleidomastoid, intercostal muscles) to aid in breathing. This indicates increased work of breathing.
- Nasal Flaring: Widening of the nostrils during inspiration is a sign of respiratory distress, particularly in children.
- Retractions: Indrawing of the skin between the ribs or above the clavicles during inspiration suggests that the airways are narrowed and the patient is struggling to breathe.
- Grunting: A characteristic sound made during expiration, indicating the patient is trying to keep their airways open.
- Cyanosis: Bluish discoloration of the skin and mucous membranes due to low blood oxygen levels.
- Altered Mental Status: Decreased level of consciousness or confusion may result from hypoxia (low oxygen).
- Wheezing, Stridor, or other abnormal breath sounds: Auscultation of the lungs with a stethoscope can reveal abnormal sounds indicative of airway narrowing or other lung pathologies.
Example: A patient presenting with tachypnea, use of accessory muscles, and retractions is exhibiting significant respiratory distress and requires immediate intervention.
Q 4. What are the key components of a comprehensive abdominal exam?
A comprehensive abdominal exam involves a systematic assessment of the abdomen using inspection, auscultation, percussion, and palpation. The order is crucial to avoid manipulating the abdomen and altering bowel sounds.
- Inspection: Observe the abdomen’s shape, contour, any scars, lesions, or distension. Look for pulsations or visible peristalsis (intestinal movement).
- Auscultation: Before palpation, listen to bowel sounds in all four quadrants. Note the frequency, character, and presence or absence of bowel sounds. Listen for bruits (abnormal whooshing sounds) over the abdominal aorta and renal arteries.
- Percussion: Lightly tap the abdomen in different areas to assess the density of the underlying organs. This helps determine the presence of fluid (ascites), gas, or masses. Percussion can also help estimate liver and spleen size.
- Palpation: Gently feel the abdomen in all four quadrants, assessing for tenderness, masses, organomegaly (enlarged organs), and muscle guarding (rigidity).
Example: A patient presenting with abdominal distension, absent bowel sounds, and tenderness to palpation might suggest an intestinal obstruction requiring immediate attention.
Q 5. Explain the difference between systolic and diastolic blood pressure.
Blood pressure (BP) is measured as two numbers: systolic and diastolic. These represent different phases of the heart’s pumping cycle.
- Systolic Blood Pressure: This is the higher number, representing the pressure in the arteries when the heart contracts (systole) and pumps blood out. Think of it as the ‘peak’ pressure.
- Diastolic Blood Pressure: This is the lower number, representing the pressure in the arteries when the heart relaxes (diastole) between beats. Think of it as the ‘resting’ pressure.
Example: A blood pressure reading of 120/80 mmHg means a systolic pressure of 120 mmHg and a diastolic pressure of 80 mmHg. This is considered within the normal range. Hypertension, or high blood pressure, is generally diagnosed when blood pressure consistently exceeds 140/90 mmHg.
Q 6. How do you assess for peripheral edema?
Peripheral edema is swelling caused by fluid accumulation in the tissues, typically in the lower extremities. Assessment involves visually inspecting and palpating the affected areas.
- Visual Inspection: Examine the legs and ankles for any swelling. Note the extent and distribution of swelling.
- Palpation: Gently press your fingers into the swollen area. If an indentation (pitting) remains after you remove your fingers, it indicates pitting edema. The depth of the indentation is often graded (e.g., 1+ to 4+). Non-pitting edema is less common and doesn’t leave an indentation.
- Unilateral vs. Bilateral: Note whether edema is present in one or both legs. Unilateral edema can be a sign of venous insufficiency in that limb, while bilateral edema might be associated with heart failure or kidney disease.
Example: A patient with bilateral pitting edema in their ankles and legs might be experiencing heart failure or renal failure, necessitating further evaluation.
Q 7. Describe the technique for assessing skin turgor.
Skin turgor refers to the elasticity of the skin, reflecting hydration status. Assessing skin turgor helps evaluate the body’s hydration levels.
- Technique: Gently pinch a fold of skin on the forearm or abdomen. Observe how quickly the skin returns to its normal position after releasing the pinch.
- Interpretation: In well-hydrated individuals, the skin quickly snaps back into place. Poor skin turgor (tenting) where the skin remains tented, or slow to return to its normal position, suggests dehydration.
Important Note: Skin turgor is not a completely reliable indicator of hydration in elderly patients because their skin naturally loses elasticity with age. Other indicators like mucous membrane dryness, urine output and serum electrolyte levels are better hydration markers in this population.
Q 8. What are the signs and symptoms of dehydration?
Dehydration, a state of insufficient body water, manifests through a range of signs and symptoms, varying in severity depending on the degree of fluid loss. Mild dehydration might go unnoticed, while severe dehydration can be life-threatening.
- Thirst: This is often the first and most obvious sign.
- Dry mouth and mucous membranes: Check the inside of the mouth and lips for dryness.
- Decreased urine output: The urine will also be darker in color, concentrated.
- Fatigue and weakness: The body needs water to function efficiently.
- Dizziness or lightheadedness: Reduced blood volume due to dehydration affects blood pressure.
- Headache: Dehydration can trigger headaches.
- Sunken eyes: A visible sign of fluid loss.
- In severe cases: Rapid heart rate (tachycardia), low blood pressure (hypotension), altered mental status (confusion, delirium), and even seizures can occur.
Think of your body like a plant; it needs water to thrive. If you don’t water it properly (drink enough fluids), it wilts. Similarly, dehydration causes your body’s systems to slow down and malfunction.
Q 9. How do you assess for jaundice?
Jaundice, a yellowish discoloration of the skin and sclera (whites of the eyes), indicates a buildup of bilirubin in the blood. Assessing for jaundice requires careful observation in good lighting.
- Inspect the sclera: Look for a yellow tinge in the whites of the eyes. This is often the earliest and most reliable sign of jaundice because the sclera is thinner and bilirubin is more easily visible.
- Inspect the skin: Observe the skin for yellow discoloration, particularly in areas where the skin is thin, such as the palms, soles, and conjunctiva (the membrane lining the inside of the eyelids).
- Assess the mucous membranes: Examine the inside of the mouth and lips for yellow discoloration.
It’s crucial to differentiate between true jaundice and other conditions that might cause similar yellowing. For example, carotenemia (from consuming excessive amounts of carrots) can cause yellowing of the skin but not the sclera.
Q 10. Explain the procedure for performing a musculoskeletal exam of the knee.
A musculoskeletal exam of the knee involves a systematic assessment to detect any abnormalities. It combines inspection, palpation, range of motion testing, and special tests.
- Inspection: Observe the knee for any swelling, deformity, bruising, or scars. Note the alignment of the patella (kneecap).
- Palpation: Gently palpate the knee joint, feeling for warmth, tenderness, crepitus (grating sound), and any fluid accumulation.
- Range of Motion: Assess flexion (bending) and extension (straightening) of the knee. Note any limitations or pain.
- Special Tests: Perform tests like the Lachman test (anterior cruciate ligament – ACL), McMurray test (meniscus), and valgus/varus stress tests (medial/lateral collateral ligaments – MCL/LCL) to assess ligamentous stability.
For example, a positive Lachman test suggests an ACL tear. Each step builds on the previous one to provide a comprehensive picture of the knee’s health.
Q 11. How do you assess for lymph node enlargement?
Lymph node enlargement (lymphadenopathy) can indicate infection, inflammation, or malignancy. Assessment involves careful palpation of different lymph node groups.
- Palpate systematically: Examine the cervical (neck), axillary (armpit), inguinal (groin), and supraclavicular (above the collarbone) lymph node regions.
- Note size, consistency, tenderness, and mobility: Enlarged nodes may feel firm, rubbery, or hard. Tenderness often suggests infection, while hard, fixed nodes raise concerns about malignancy.
- Compare both sides: Asymmetry is a key finding. One side being larger than the other may indicate a problem.
For instance, finding enlarged, tender, and mobile lymph nodes in the cervical chain could indicate a throat infection. On the other hand, large, hard, fixed nodes in the supraclavicular region are a serious concern and warrant further investigation.
Q 12. Describe the technique for assessing pupillary response to light.
Assessing pupillary response to light involves testing the constriction of the pupils in response to light stimulation. This assesses cranial nerve II (optic) and III (oculomotor) function.
- Dim the room lighting: This enhances the visibility of the pupillary response.
- Shine a light into one eye: Observe the direct response (constriction of the illuminated pupil) and the consensual response (constriction of the opposite pupil).
- Repeat on the other eye: Ensure that the response is symmetrical and normal.
An abnormal response, such as a sluggish or absent pupillary reaction, may suggest neurological damage. A brisk and equal response is normal.
Q 13. What are the common causes of abnormal breath sounds?
Abnormal breath sounds can indicate various pulmonary pathologies. These sounds are heard using a stethoscope.
- Crackles (rales): These are discontinuous, popping sounds heard during inspiration, often associated with fluid in the alveoli (tiny air sacs in the lungs), as in pneumonia or pulmonary edema.
- Wheezes: These are continuous, whistling or musical sounds, typically heard during expiration, and often indicate airway narrowing, such as in asthma or bronchitis.
- Rhonchi: These are continuous, low-pitched, snoring sounds heard during inspiration or expiration, usually caused by mucus or secretions in the larger airways.
- Stridor: A high-pitched, harsh sound heard during inspiration, indicating upper airway obstruction.
- Absent breath sounds: The absence of breath sounds over a lung area suggests air is not entering that region, potentially due to pneumothorax (collapsed lung), pleural effusion (fluid accumulation around the lung), or atelectasis (lung collapse).
Imagine the lungs as a network of pipes. Abnormal sounds reflect blockages, fluid, or other disturbances within these pipes.
Q 14. How do you differentiate between different types of murmurs?
Heart murmurs are abnormal heart sounds caused by turbulent blood flow. Differentiating between murmurs requires considering several characteristics.
- Timing: Systolic murmurs occur during ventricular contraction, while diastolic murmurs occur during ventricular relaxation.
- Location: Where is the murmur best heard on the chest wall?
- Radiation: Does the murmur spread to other areas?
- Intensity: Graded on a scale of I to VI, with VI being the loudest.
- Pitch: High-pitched, medium-pitched, or low-pitched?
- Quality: Blowing, rumbling, harsh, musical?
For example, a harsh, systolic murmur heard at the left sternal border might suggest aortic stenosis, while a rumbling diastolic murmur heard at the apex could indicate mitral stenosis. A complete cardiac exam, including other assessments, is crucial for accurate diagnosis.
Q 15. Explain the significance of different heart rhythms.
Different heart rhythms, or arrhythmias, reflect the electrical signals controlling the heart’s contractions. A normal rhythm is a steady, regular beat. Abnormal rhythms can range from slightly irregular to life-threatening. Their significance lies in their potential impact on cardiac output (the amount of blood pumped by the heart) and overall circulatory function.
Normal Sinus Rhythm (NSR): This is the ideal rhythm, characterized by a regular rate (60-100 beats per minute) originating from the sinoatrial (SA) node, the heart’s natural pacemaker.
Bradycardia: A slow heart rate (below 60 bpm). This can be caused by various factors, including medication side effects, electrolyte imbalances (like low potassium), or underlying heart conditions. Severe bradycardia can lead to inadequate blood flow to the brain and other organs.
Tachycardia: A fast heart rate (above 100 bpm). This can be triggered by stress, fever, dehydration, or heart conditions. Sustained tachycardia can strain the heart and lead to complications.
Atrial Fibrillation (AFib): A chaotic and irregular rhythm originating in the atria (upper chambers of the heart). AFib increases the risk of stroke, heart failure, and other cardiovascular events.
Ventricular Tachycardia (V-tach): A rapid heart rhythm originating in the ventricles (lower chambers). This is a life-threatening condition that can quickly lead to cardiac arrest if not treated promptly.
Assessing heart rhythms involves listening to the heart with a stethoscope (auscultation) and, often, using an electrocardiogram (ECG) to obtain a detailed graphic representation of the heart’s electrical activity. The interpretation of the rhythm guides treatment decisions, which can range from lifestyle modifications to medication or even implantable devices like pacemakers or defibrillators.
Career Expert Tips:
- Ace those interviews! Prepare effectively by reviewing the Top 50 Most Common Interview Questions on ResumeGemini.
- Navigate your job search with confidence! Explore a wide range of Career Tips on ResumeGemini. Learn about common challenges and recommendations to overcome them.
- Craft the perfect resume! Master the Art of Resume Writing with ResumeGemini’s guide. Showcase your unique qualifications and achievements effectively.
- Don’t miss out on holiday savings! Build your dream resume with ResumeGemini’s ATS optimized templates.
Q 16. How do you assess for cognitive impairment?
Assessing cognitive impairment involves a multi-faceted approach, utilizing both subjective and objective measures. It’s crucial to consider the patient’s history, including past medical conditions, medications, and any reported cognitive changes. The examination should then focus on different cognitive domains.
Orientation: Assessing awareness of person, place, time, and situation (e.g., “What is your name? Where are you?”).
Memory: Evaluating short-term memory (immediate recall of a few words or objects) and long-term memory (recalling past events).
Attention and Concentration: Testing the ability to focus and sustain attention (e.g., serial 7s subtraction or spelling “WORLD” backwards).
Language: Assessing fluency, comprehension, repetition, and naming abilities.
Executive Function: Evaluating higher-order cognitive abilities like planning, problem-solving, and judgment (e.g., asking the patient to interpret a proverb or follow a series of commands).
Visuospatial Skills: Assessing the ability to perceive and manipulate visual information (e.g., copying a simple geometric design).
Formal cognitive testing, such as the Mini-Mental State Examination (MMSE) or Montreal Cognitive Assessment (MoCA), provides a more standardized and quantitative assessment. However, the clinical interview and observation remain vital components. Remember that cognitive decline can result from various causes, including dementia, delirium, depression, and medication side effects. A comprehensive assessment is necessary to determine the underlying cause and guide appropriate management.
Q 17. Describe the grading scale for muscle strength.
Muscle strength is graded on a 0-5 scale, reflecting the ability of the muscle to contract against resistance. This scale is widely used by healthcare professionals to document findings and track progress.
0: No muscle contraction.
1: Trace contraction – a flicker or twitch of the muscle is visible or palpable, but no movement is produced.
2: Poor – Movement is possible only if gravity is eliminated (passive range of motion).
3: Fair – Movement is possible against gravity, but not against any additional resistance.
4: Good – Movement is possible against gravity and some resistance.
5: Normal – Movement is possible against full resistance.
For example, if a patient can lift their arm against gravity but not against any added resistance, their muscle strength would be graded as 3/5. This grading system allows for objective comparison over time and between different muscle groups.
Q 18. What are the common causes of abnormal reflexes?
Abnormal reflexes can stem from issues within the central nervous system (brain and spinal cord) or peripheral nervous system (nerves extending from the spinal cord to the rest of the body). Several common causes include:
Upper Motor Neuron Lesions: Damage to the brain or spinal cord can lead to hyperreflexia (exaggerated reflexes), clonus (rhythmic involuntary muscle contractions), and the presence of pathological reflexes (e.g., Babinski sign).
Lower Motor Neuron Lesions: Damage to the nerves outside the spinal cord results in hyporeflexia (diminished or absent reflexes) and muscle atrophy.
Metabolic Disorders: Conditions like hypocalcemia (low calcium levels) or hypothyroidism (underactive thyroid) can affect neuromuscular excitability, leading to abnormal reflexes.
Electrolyte Imbalances: Changes in levels of electrolytes such as potassium and magnesium can significantly alter neuromuscular function.
Neurological Diseases: Conditions like multiple sclerosis, stroke, and Guillain-Barré syndrome can produce diverse reflex abnormalities depending on the specific area of the nervous system involved.
Medication Side Effects: Some medications can affect neuromuscular transmission, leading to changes in reflexes.
Careful assessment of reflexes, including deep tendon reflexes and superficial reflexes, is a cornerstone of neurological examination. The pattern and distribution of reflex abnormalities provide crucial information for localizing the underlying neurological lesion and guiding further investigations.
Q 19. How do you assess for sensory deficits?
Assessing for sensory deficits involves systematically testing different sensory modalities: touch, pain, temperature, vibration, and proprioception (position sense). The examination should be performed bilaterally, comparing one side of the body to the other.
Light Touch: Using a cotton wisp to assess light touch sensation.
Pain: Using a sharp object (e.g., a pin) to assess the perception of pain.
Temperature: Using test tubes filled with hot and cold water to assess temperature sensation.
Vibration: Using a tuning fork placed on bony prominences to assess vibration sense.
Proprioception: Moving a patient’s finger or toe and asking them to identify its position.
The patient is asked to indicate whether they feel the stimulus and, if possible, to compare the intensity or location of the sensation on each side. A dermatome map is helpful for identifying the distribution of sensory loss, which can help pinpoint the location of a potential nerve lesion. Sensory deficits can arise from various causes, including peripheral neuropathy, spinal cord lesions, and stroke. The specific pattern of sensory loss is crucial in diagnosis.
Q 20. Explain the procedure for performing a breast exam.
A breast exam involves visual inspection and palpation to detect any abnormalities. It’s crucial to perform the exam in a private, comfortable setting, ensuring the patient feels safe and respected. The procedure can be performed by a healthcare professional or the patient herself (breast self-exam).
Visual Inspection: Observe the breasts for size, symmetry, skin changes (e.g., dimpling, redness, swelling), nipple discharge, or any unusual masses.
Palpation: Palpate each breast systematically using a circular, vertical, or wedge pattern, feeling for lumps, nodules, or areas of thickening. Pay particular attention to the tail of Spence (the upper outer quadrant of the breast, where many cancers develop).
Axillary Examination: Examine the lymph nodes in the armpit (axilla) for enlargement or tenderness.
It’s important to explain the procedure to the patient, ensuring their understanding and comfort. Any detected abnormalities should be further evaluated, potentially involving mammography, ultrasound, or biopsy. Regular breast self-exams and mammograms (for women over 40 or as advised by their doctor) are vital for early detection of breast cancer.
Q 21. What are the signs and symptoms of a stroke?
Stroke, a sudden interruption of blood flow to the brain, presents with a wide range of signs and symptoms, depending on the location and extent of the blockage or bleed. Recognizing these signs is crucial for timely intervention, as early treatment can significantly improve outcomes.
Facial Drooping: Asymmetry of the face; one side of the mouth may droop.
Arm Weakness: Weakness or numbness in one arm.
Speech Difficulty: Slurred speech or difficulty speaking (aphasia).
Sudden Severe Headache: An unusually severe headache with no known cause.
Sudden Confusion: Difficulty understanding or responding to questions.
Vision Changes: Sudden loss of vision in one or both eyes.
Loss of Balance or Coordination: Sudden dizziness, loss of coordination, or trouble walking.
The acronym FAST (Facial drooping, Arm weakness, Speech difficulty, Time to call 911) is commonly used to remember the key warning signs. If any of these signs are present, it’s crucial to seek immediate medical attention. Time is of the essence in stroke treatment, as the quicker intervention is provided, the better the chances of minimizing long-term disability.
Q 22. How do you assess for appendicitis?
Assessing for appendicitis involves a thorough history and physical examination focusing on the right lower quadrant (RLQ) of the abdomen. The classic presentation includes pain starting periumblically (around the belly button) that migrates to the RLQ, often accompanied by nausea, vomiting, and low-grade fever. However, presentations can vary significantly, especially in children and the elderly.
History: Detailed questioning about the onset, location, character, radiation, and timing of pain is crucial. Ask about associated symptoms like anorexia, nausea, vomiting, diarrhea, or constipation. Inquire about bowel movements and menstrual cycle (for females).
Physical Exam: A gentle palpation of the abdomen is essential, starting away from the RLQ and moving closer. Look for guarding (muscle rigidity), rebound tenderness (pain upon releasing palpation), and point tenderness at McBurney’s point (located midway between the umbilicus and the anterior superior iliac spine). Check for Rovsing’s sign (RLQ pain elicited by palpating the LLQ), psoas sign (pain with hip extension), and obturator sign (pain with internal rotation of the flexed hip). Assess vital signs for fever, tachycardia (rapid heart rate), and tachypnea (rapid breathing).
Important Note: While these findings are suggestive, they are not definitive. Laboratory tests (complete blood count with differential, inflammatory markers) and imaging studies (ultrasound, CT scan) are often necessary to confirm the diagnosis. Appendicitis is a surgical emergency requiring prompt intervention.
Q 23. What are the key findings in a patient with pneumonia?
Pneumonia, an infection of the lungs, presents with a range of symptoms and physical exam findings, varying depending on the severity and location of the infection. It’s important to remember that not all patients will exhibit every sign.
History: Patients often report a cough (productive or non-productive), shortness of breath (dyspnea), chest pain, fever, chills, and fatigue. Ask about risk factors like smoking, recent respiratory infections, or underlying lung conditions.
Physical Exam: The key findings often include:
Increased respiratory rate (tachypnea): The body attempts to compensate for decreased oxygen levels.
Fever: Indicative of infection.
Crackles or rales: Auscultated (heard with a stethoscope) in the affected lung fields, reflecting fluid in the alveoli (tiny air sacs in the lungs).
Wheezes: Suggest airway narrowing, possibly from bronchospasm.
Diminished breath sounds: Can indicate consolidation (solidification of lung tissue) or pleural effusion (fluid accumulation around the lungs).
Increased tactile fremitus: A palpable vibration felt over the chest wall, increased in consolidation.
Egophony or Whispered pectoriloquy: Abnormal voice sounds indicating consolidation.
Important Note: Chest X-ray is crucial for confirming the diagnosis and determining the extent of the pneumonia.
Q 24. How do you assess for a hernia?
Assessing for a hernia involves inspecting and palpating the suspected area for a bulge or protrusion. Hernias occur when an organ or tissue protrudes through a weakened area in the surrounding muscle or fascia (connective tissue). The most common locations are inguinal (groin), femoral (upper thigh), umbilical (belly button), and incisional (at a surgical scar).
Inspection: Observe the patient standing and coughing. A bulge may appear during coughing or straining, indicating a hernia.
Palpation: Gently palpate the area, noting any soft, reducible (able to be pushed back in place) masses. Try to gently push the bulge back into the abdomen. If it’s reducible, that’s a key finding suggesting a hernia. A non-reducible mass may indicate a strangulated hernia (compromised blood supply) which is a surgical emergency.
Inguinal Hernia specifically: During examination, ask the patient to cough. Feel for the impulse of the hernia in the inguinal canal. Differentiate between direct and indirect inguinal hernias (based on the location of the bulge within the inguinal canal).
Important Note: The physical exam isn’t always conclusive. Imaging studies (ultrasound) can help visualize the hernia and differentiate it from other conditions.
Q 25. Describe the technique for performing a rectal exam.
A rectal exam is a crucial part of the physical examination, particularly in assessing for colorectal conditions, prostate health (in men), and certain neurological conditions. Proper technique ensures patient comfort and accurate assessment.
Preparation: Ensure adequate lighting and privacy. Explain the procedure to the patient, obtain consent, and position them appropriately (left lateral decubitus position, or standing with feet slightly apart and bending forward for support).
Gloves and Lubricant: Don clean gloves and lubricate your index finger generously with water-soluble lubricant.
Inspection: Before inserting your finger, visually inspect the perianal area for lesions, hemorrhoids, fissures, or other abnormalities.
Palpation: Slowly and gently insert your lubricated index finger into the rectum. Palpate the rectal walls for masses, tenderness, irregularities, and stool consistency. Assess the tone of the anal sphincter. In males, palpate the prostate gland (size, consistency, tenderness).
Withdrawal: Gently withdraw your finger, observing for any blood or fecal material.
Post-Procedure: Properly dispose of gloves and wash your hands thoroughly. Document your findings in detail.
Important Note: Always be mindful of the patient’s comfort and any discomfort they are experiencing. Proceed slowly and gently.
Q 26. Explain the importance of proper hand hygiene in preventing the spread of infection.
Proper hand hygiene is paramount in preventing the spread of infection. Healthcare professionals are at high risk of transmitting pathogens between patients if hand hygiene isn’t meticulously followed. It’s the single most effective method to prevent healthcare-associated infections (HAIs).
Mechanism: Handwashing removes transient microorganisms (those temporarily residing on the skin) and reduces the number of resident microorganisms (those permanently inhabiting the skin). Alcohol-based hand rubs (ABHRs) are effective against many microorganisms, acting by denaturing their proteins and disrupting their cell membranes.
Technique: The World Health Organization (WHO) recommends a five-moment approach to hand hygiene: before touching a patient; before a clean/aseptic procedure; after a body fluid exposure risk; after touching a patient; and after touching patient surroundings.
Types of Hand Hygiene: Handwashing with soap and water is essential when hands are visibly soiled. ABHRs are preferred when hands are not visibly soiled. Both methods should be performed correctly, ensuring thorough coverage of all surfaces of hands and fingers.
Real-world Application: Consider a scenario where a doctor sees multiple patients. Failing to wash hands between each patient can easily lead to the spread of infections such as MRSA, Clostridium difficile, and influenza.
Q 27. How do you document your findings from a physical exam?
Accurate and detailed documentation of physical exam findings is crucial for effective communication among healthcare providers, tracking patient progress, and ensuring continuity of care. Documentation should be clear, concise, and objective.
Systematic Approach: Follow a consistent format, documenting findings in a logical sequence (e.g., general appearance, vital signs, head-to-toe assessment). Use standardized terminology.
Specific Details: Avoid vague descriptions. Use precise terms to describe findings, such as “regular rate and rhythm” for heart sounds instead of “normal heart.” Document the location, size, and character of any abnormalities.
Objective vs. Subjective: Clearly differentiate between objective findings (those directly observed or measured) and subjective findings (those reported by the patient). For example, “patient reports chest pain” is subjective, while “tachycardia noted on examination” is objective.
Example:
“General appearance: Well-nourished, alert, and oriented. Vital signs: BP 120/80, HR 72, RR 16, Temp 98.6 F. HEENT: PERRL, no scleral icterus. Lungs: Clear to auscultation bilaterally. Heart: Regular rate and rhythm, no murmurs, rubs, or gallops. Abdomen: Soft, non-tender, non-distended. Neurological: Normal cranial nerves II-XII. Extremities: No edema or cyanosis.”
Q 28. Describe a situation where you had to adapt your physical examination technique due to patient limitations.
I once had to adapt my physical examination technique for an elderly patient with severe osteoarthritis. She had significant limitations in range of motion and experienced considerable pain with movement. Attempting a standard musculoskeletal exam would have been both painful and unproductive.
Adaptation: Instead of performing passive range of motion tests, I focused on observing her spontaneous movements and assessing for any evidence of deformity or asymmetry. I carefully palpated the joints for tenderness, avoiding forceful maneuvers. I also relied heavily on her self-report of pain and functional limitations to gain a comprehensive understanding of her musculoskeletal condition.
Communication: Open communication was key. I explained each step clearly, ensuring she understood the process and was comfortable. We took frequent breaks to minimize her discomfort and avoid further exacerbating her condition.
Outcome: By adjusting my approach, I was able to successfully assess her musculoskeletal system while prioritizing her comfort and well-being. I documented the limitations imposed by her osteoarthritis and focused on functional assessments.
Key Topics to Learn for Physical Exam Interview
- General Approach to the Physical Exam: Understanding the systematic approach to a comprehensive physical exam, including the importance of patient history and communication.
- Vital Signs Interpretation: Mastering the interpretation of blood pressure, heart rate, respiratory rate, temperature, and oxygen saturation, and recognizing deviations from normal ranges and their clinical significance.
- Cardiovascular Examination: Proficiency in performing and interpreting auscultation of heart sounds (murmurs, gallops), palpation of pulses, and assessment of jugular venous pressure.
- Respiratory Examination: Competence in assessing respiratory effort, auscultating lung sounds (wheezes, crackles, rhonchi), and identifying signs of respiratory distress.
- Abdominal Examination: Understanding techniques for inspecting, auscultating, percussing, and palpating the abdomen; identifying common abdominal findings and their potential causes.
- Neurological Examination: Familiarity with assessing mental status, cranial nerves, motor strength, reflexes, and coordination; recognizing signs of neurological dysfunction.
- Skin Examination: Ability to identify and describe various skin lesions, rashes, and changes in skin texture or color.
- Musculoskeletal Examination: Assessing range of motion, muscle strength, and identifying signs of joint inflammation or injury.
- Problem-Solving & Differential Diagnosis: Practicing the integration of findings from different examination components to develop a differential diagnosis and formulate a plan for further investigation.
- Documentation & Communication: Effective and concise documentation of physical examination findings, and clear communication of those findings to healthcare professionals and patients.
Next Steps
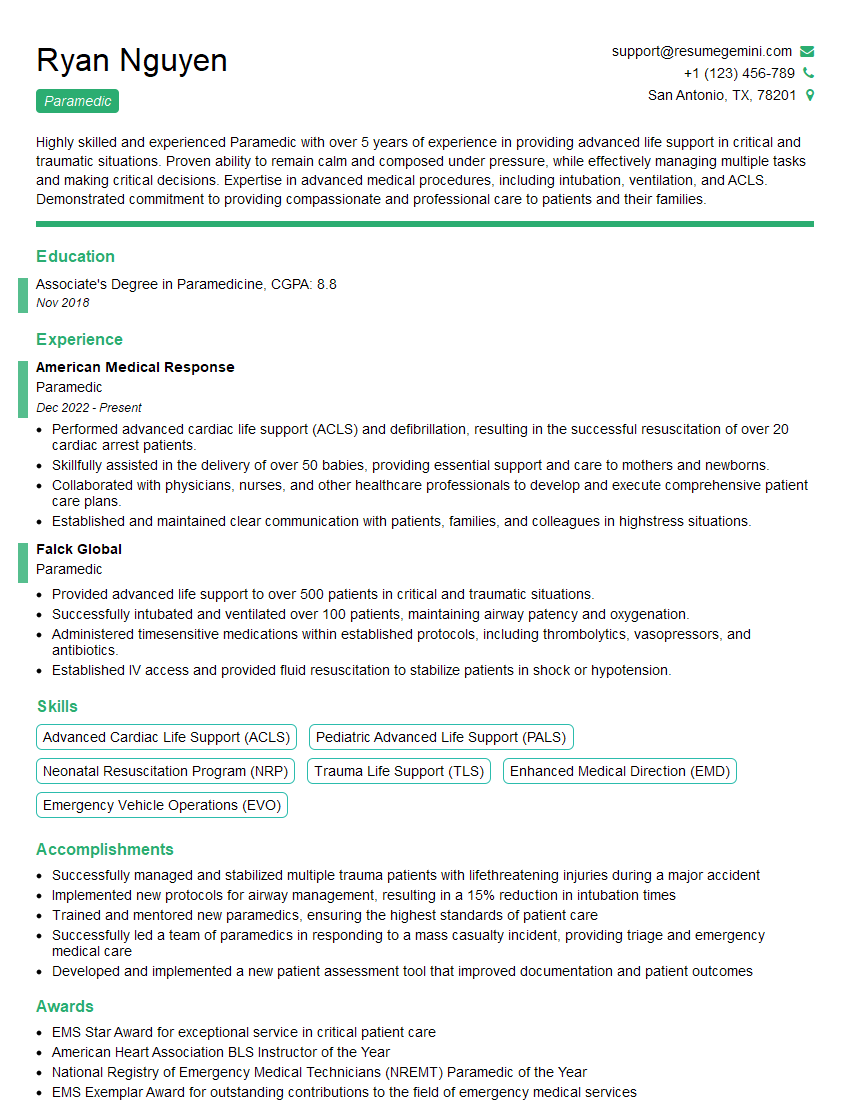
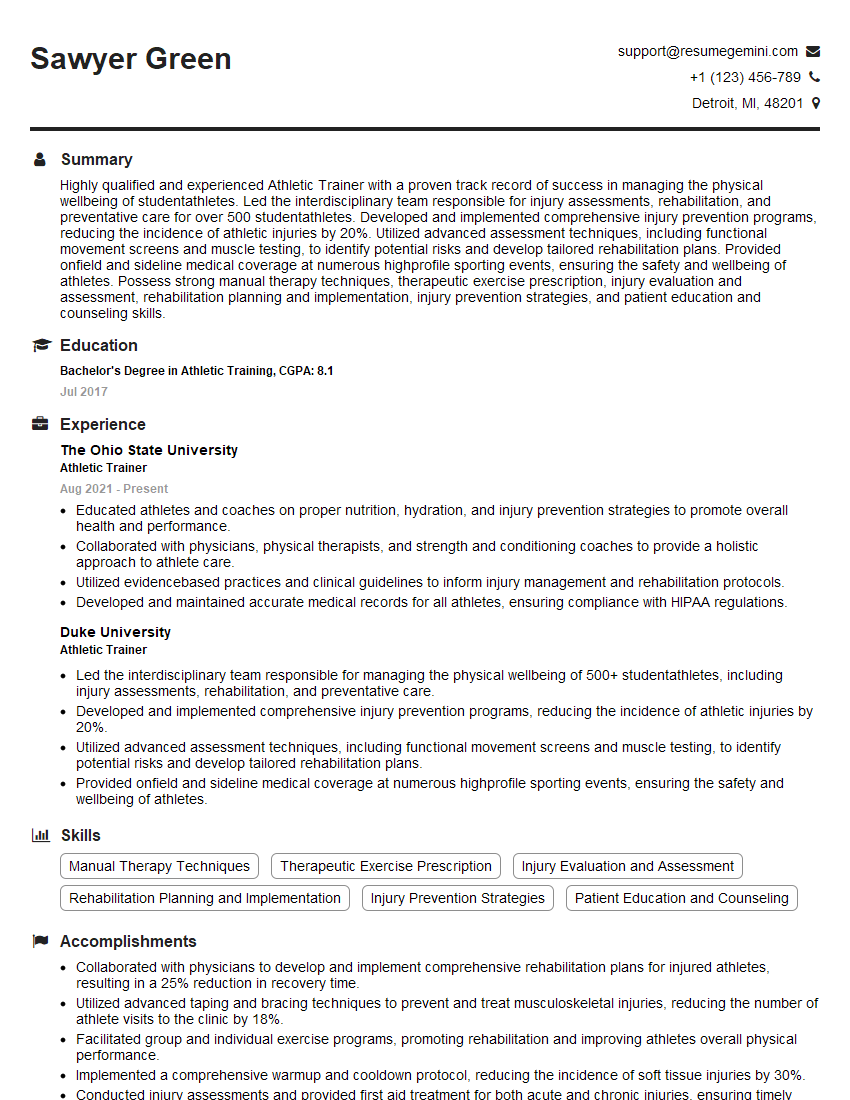
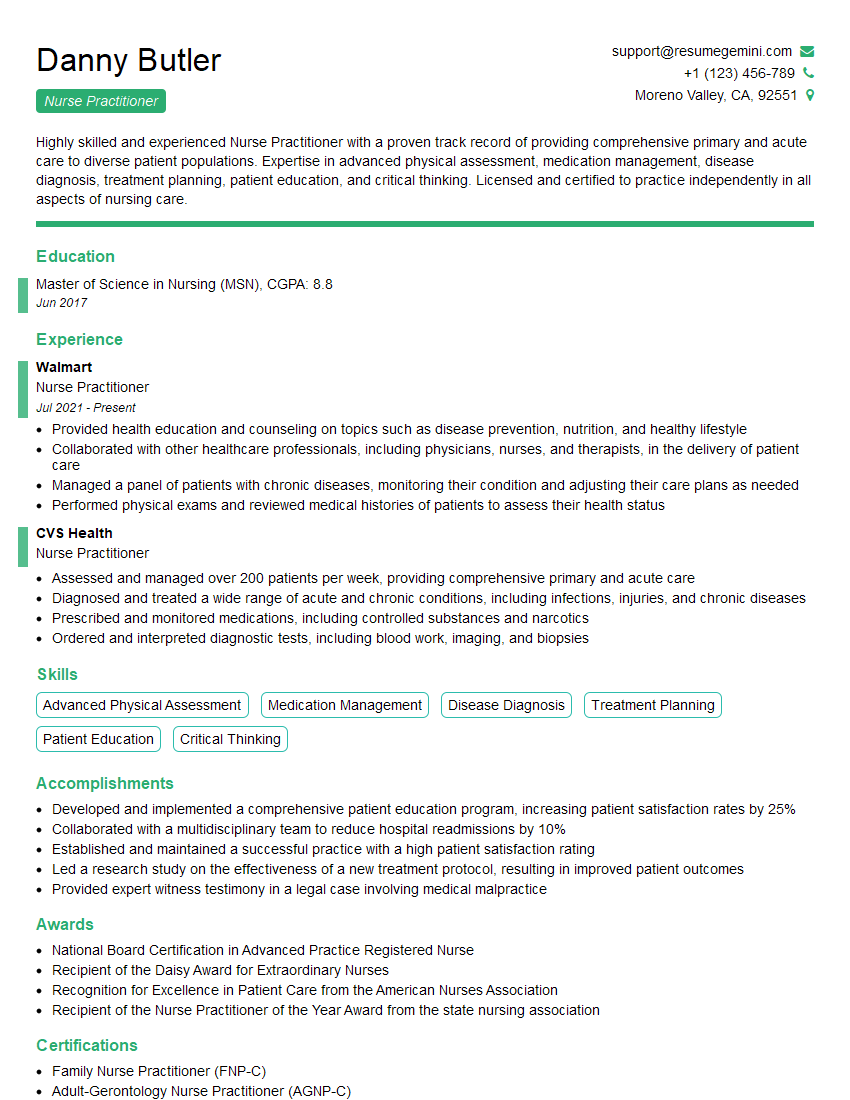
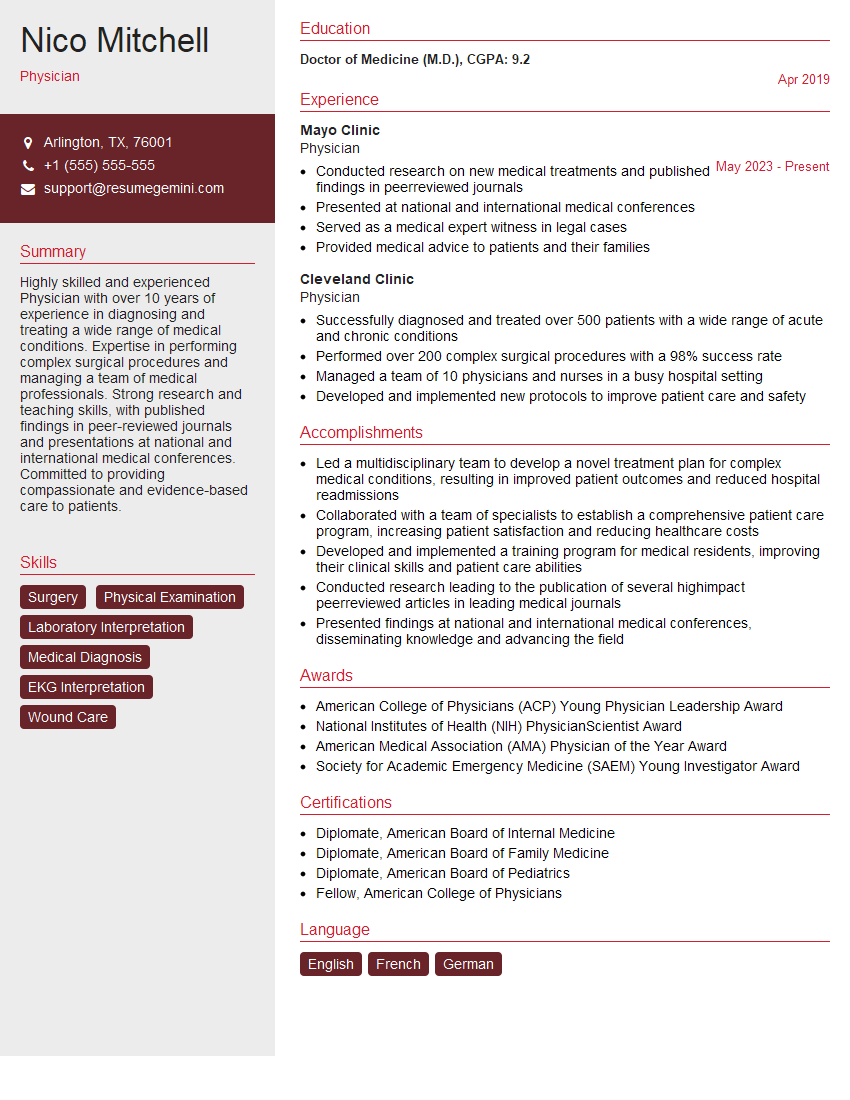
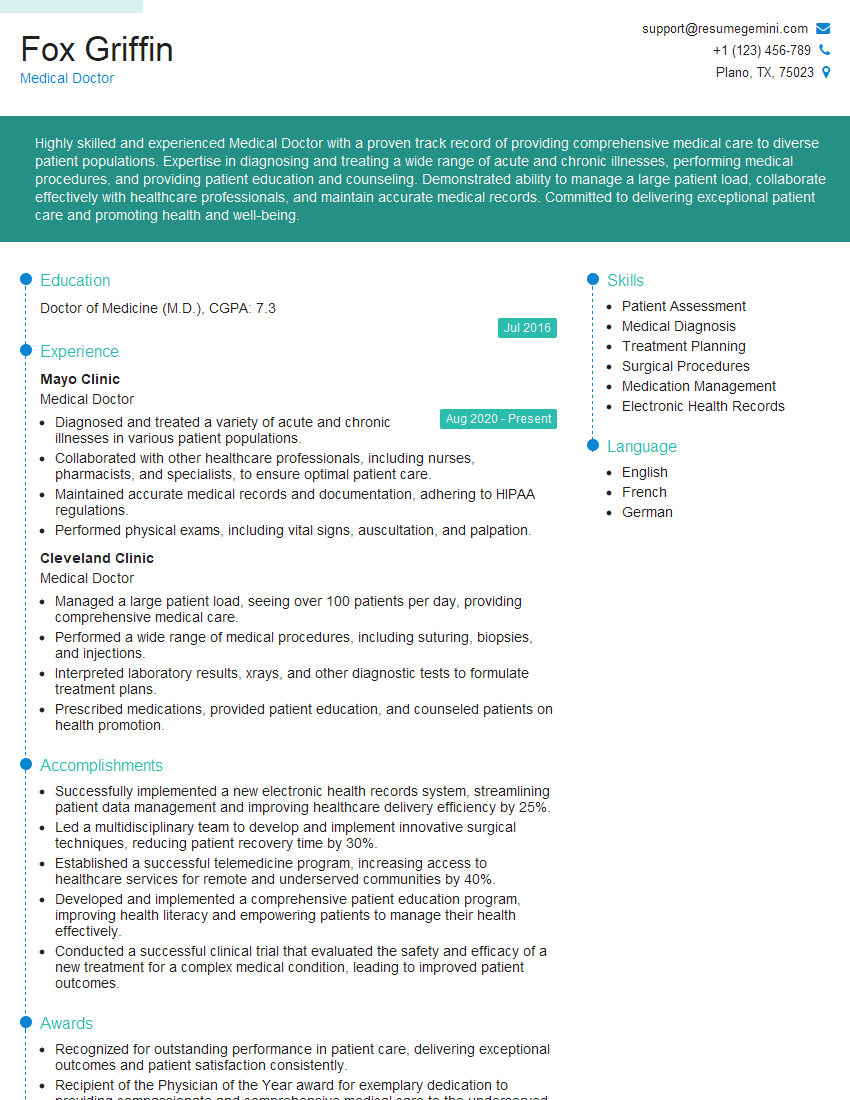
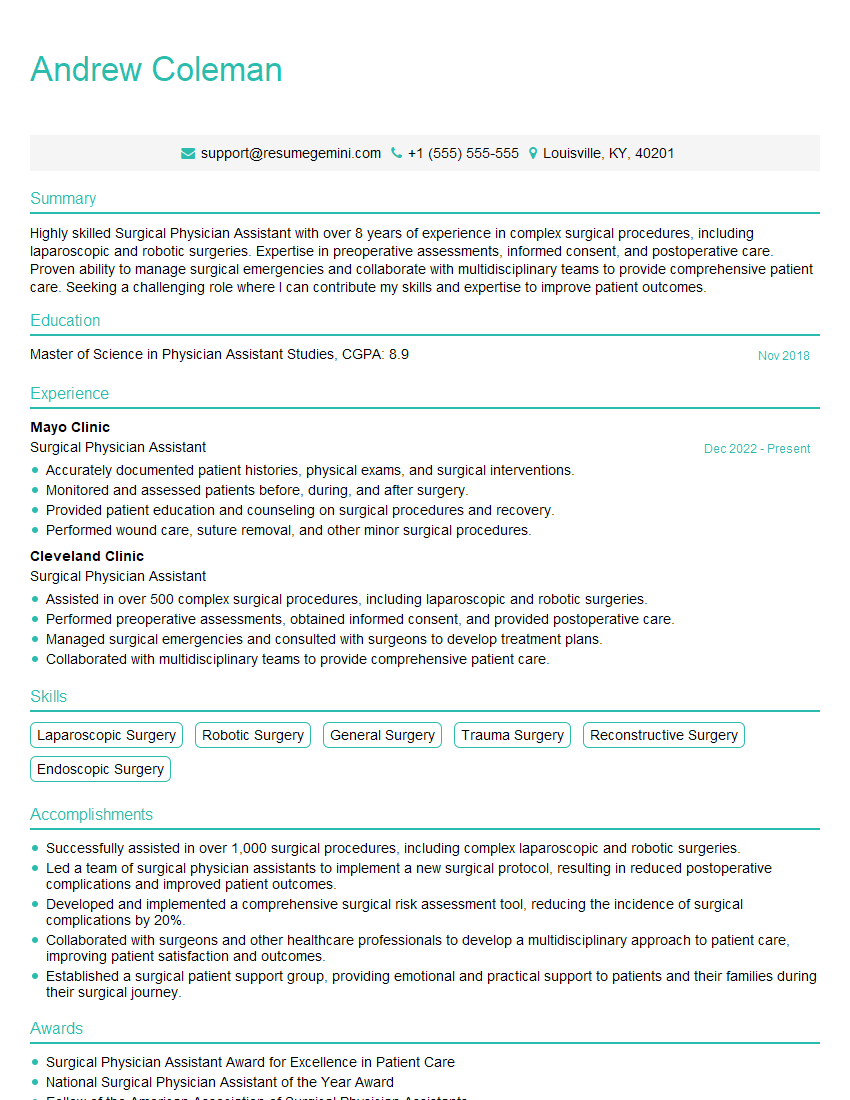
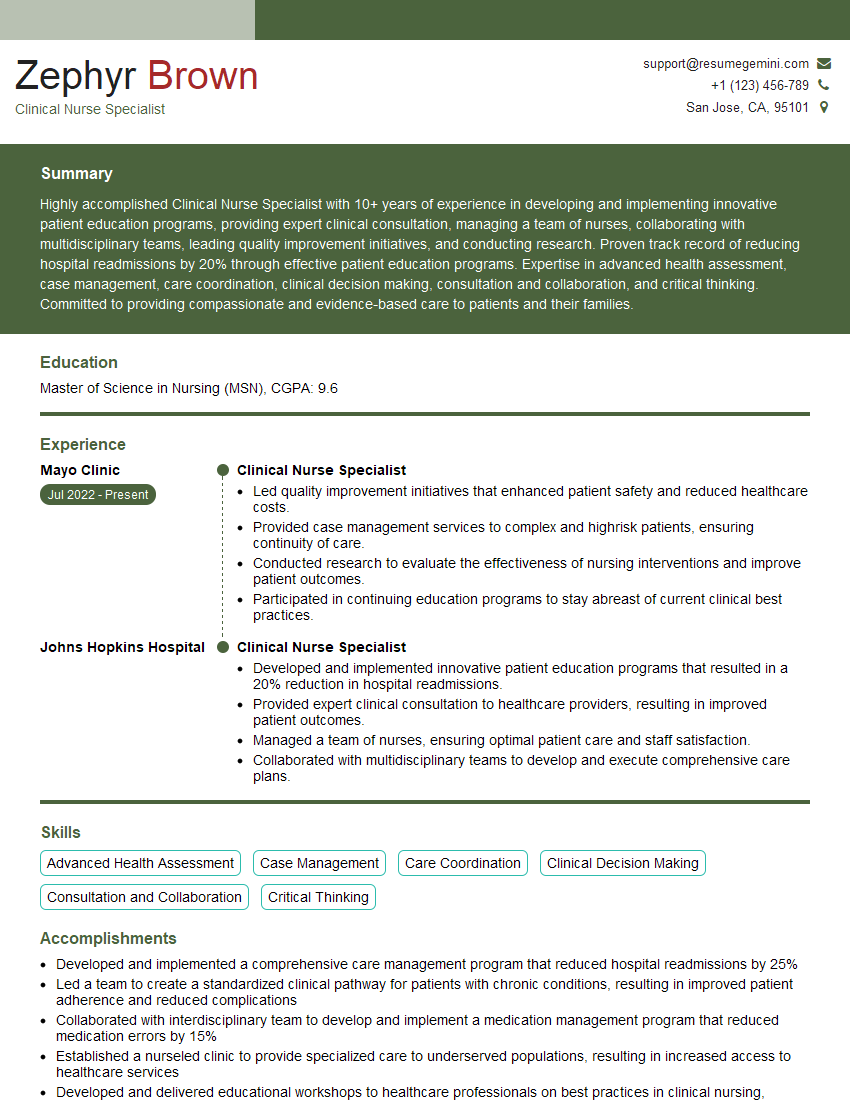
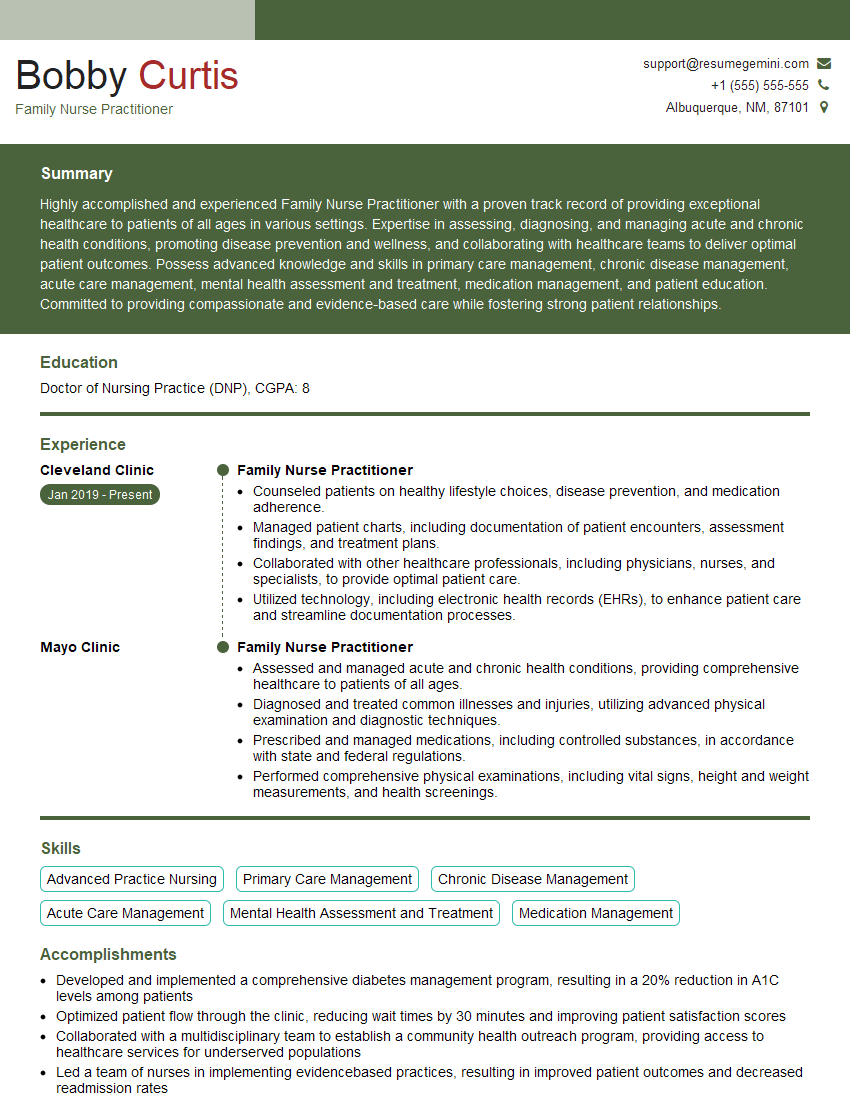
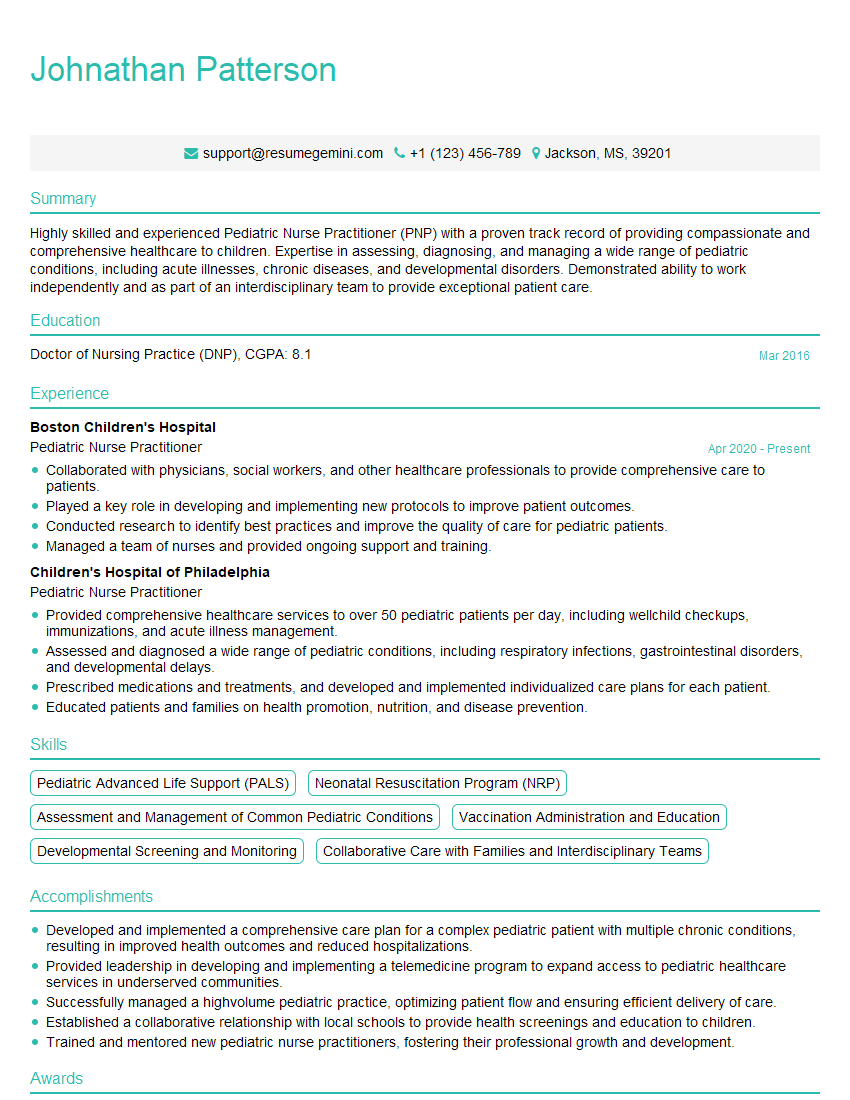
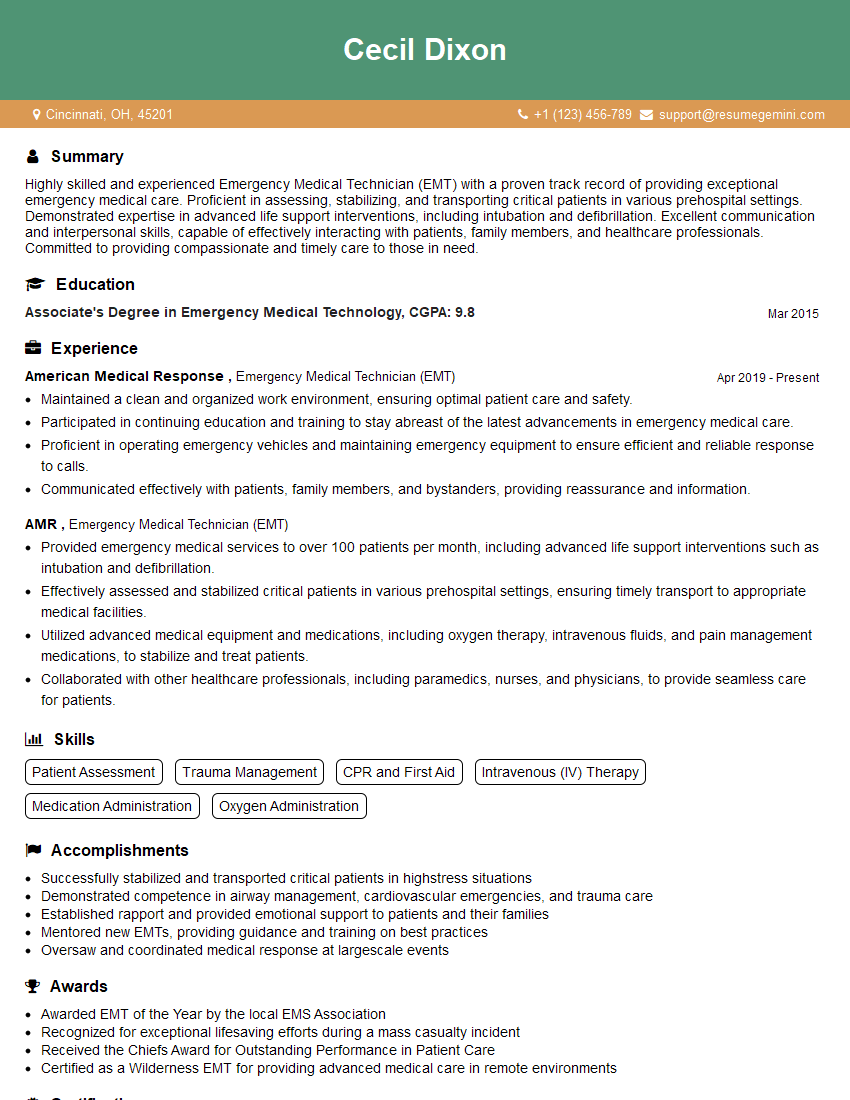
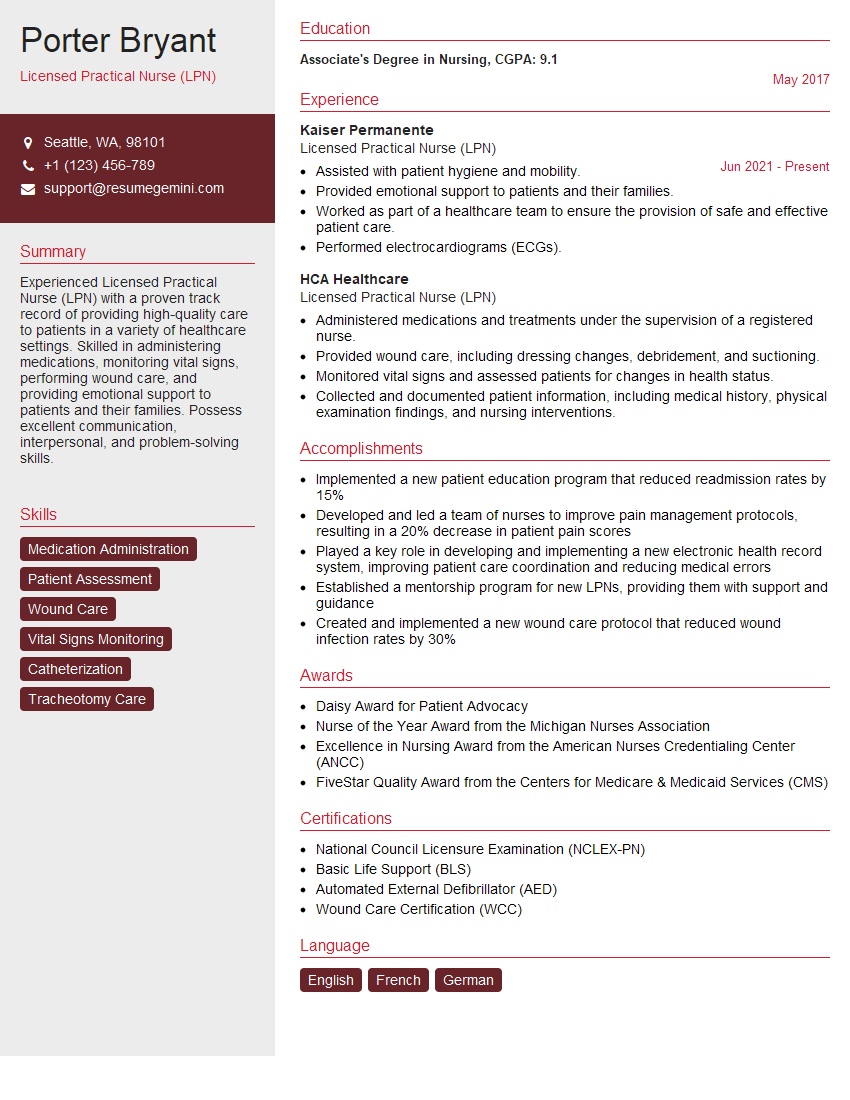
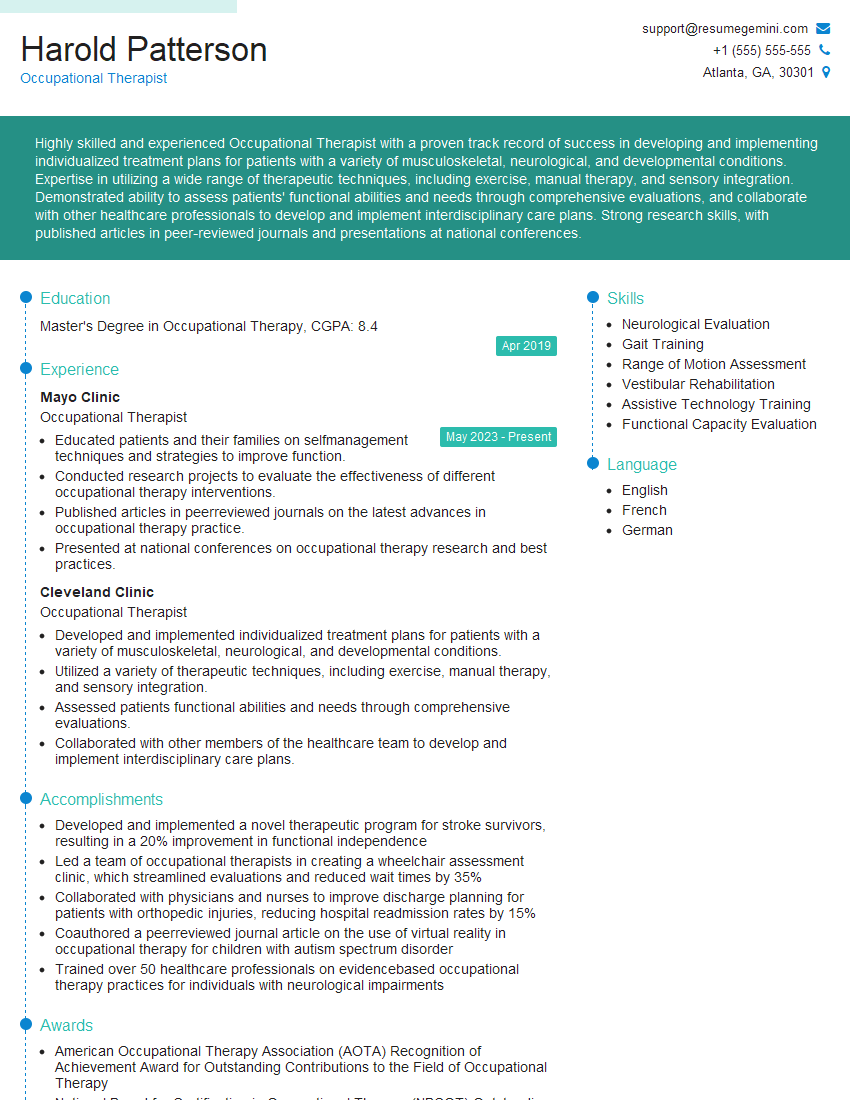
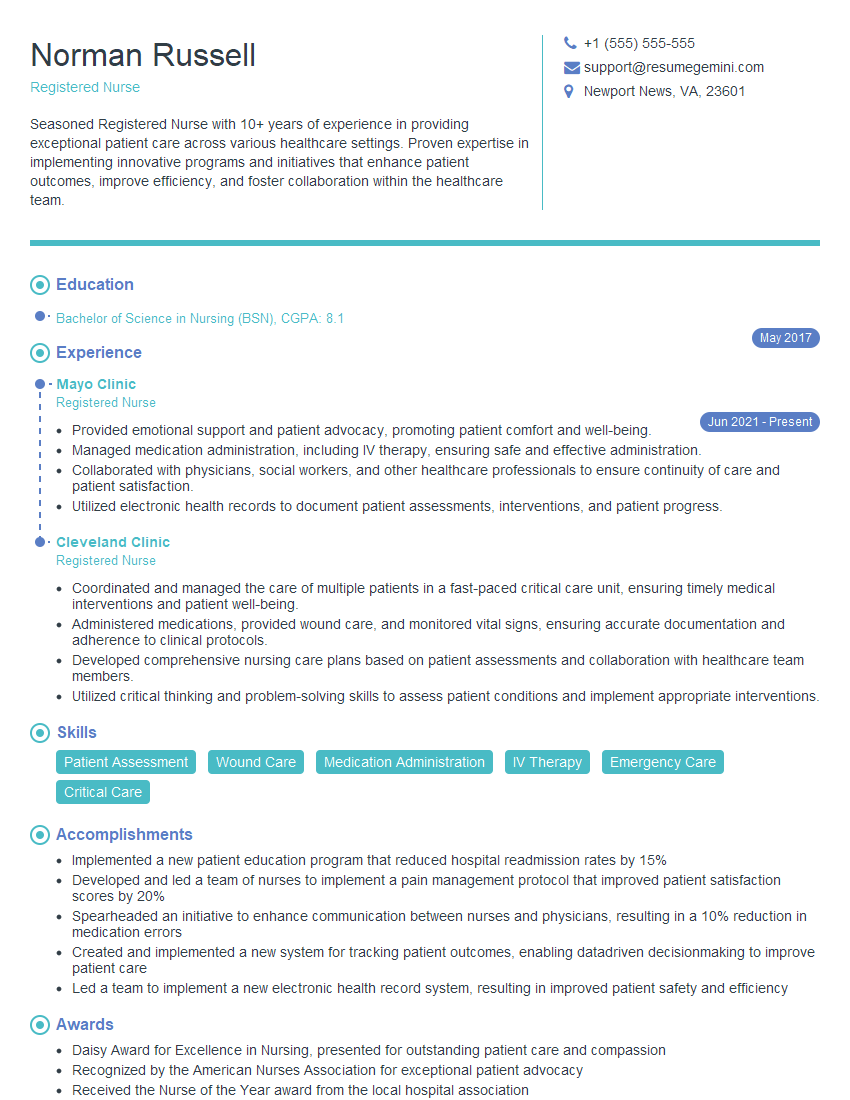
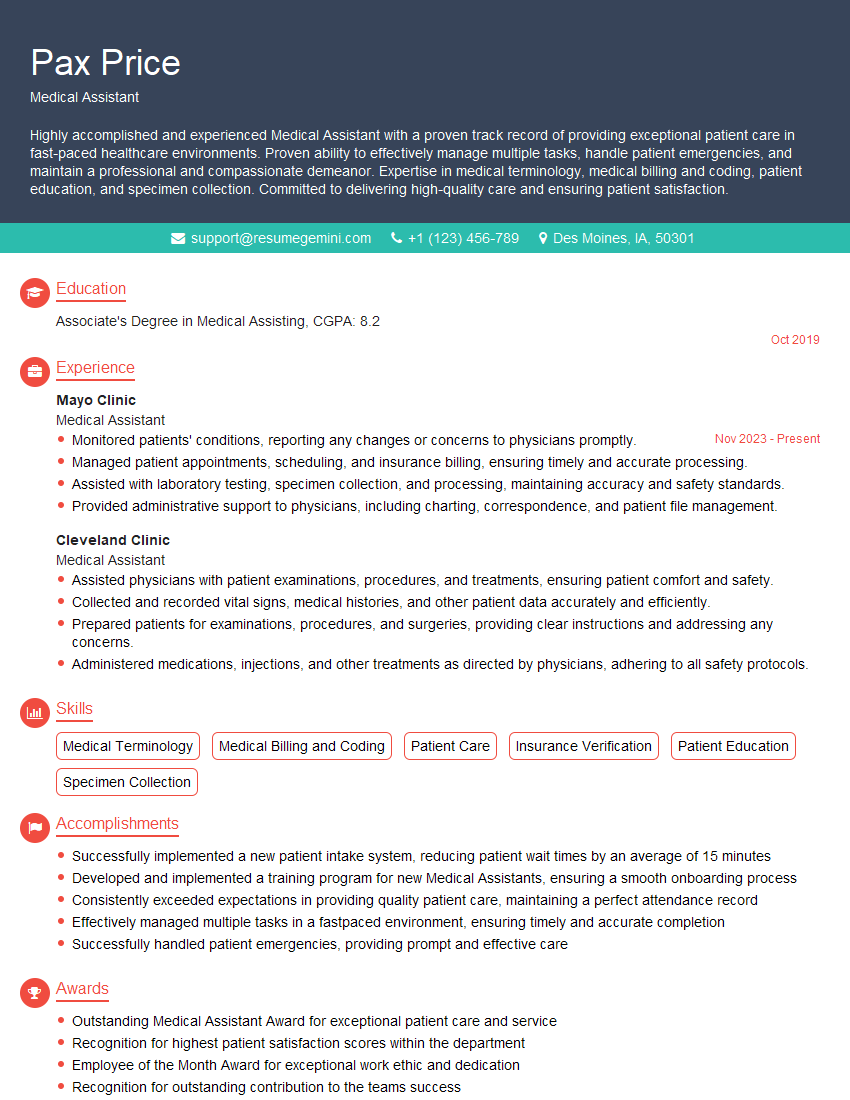
Mastering the physical exam is crucial for a successful career in healthcare. A strong understanding of these techniques demonstrates clinical competency and significantly improves patient care. To enhance your job prospects, focus on creating an ATS-friendly resume that effectively highlights your skills and experience. ResumeGemini is a trusted resource that can help you build a professional and impactful resume. Examples of resumes tailored specifically to Physical Exam expertise are provided to guide you. Invest time in crafting a compelling resume – it’s your first impression on potential employers.
Explore more articles
Users Rating of Our Blogs
Share Your Experience
We value your feedback! Please rate our content and share your thoughts (optional).
What Readers Say About Our Blog
Hi, I have something for you and recorded a quick Loom video to show the kind of value I can bring to you.
Even if we don’t work together, I’m confident you’ll take away something valuable and learn a few new ideas.
Here’s the link: https://bit.ly/loom-video-daniel
Would love your thoughts after watching!
– Daniel
This was kind of a unique content I found around the specialized skills. Very helpful questions and good detailed answers.
Very Helpful blog, thank you Interviewgemini team.
