Interviews are more than just a Q&A session—they’re a chance to prove your worth. This blog dives into essential Materials Testing and Quality Control interview questions and expert tips to help you align your answers with what hiring managers are looking for. Start preparing to shine!
Questions Asked in Materials Testing and Quality Control Interview
Q 1. Explain the difference between destructive and non-destructive testing.
The core difference between destructive and non-destructive testing (NDT) lies in whether the testing process damages the material being examined. Destructive testing involves techniques that damage or destroy the sample to determine its properties, while non-destructive testing methods assess material properties without causing damage.
Think of it like this: Destructive testing is like breaking open a toy to see how it works internally; you learn a lot, but the toy is ruined. Non-destructive testing is like using an X-ray machine on a toy – you can see internal components without harming the toy itself.
- Destructive Testing: Examples include tensile testing (measuring material strength by pulling it until it breaks), impact testing (measuring material toughness by hitting it with a pendulum), and compression testing (measuring material strength under compressive forces). These tests provide precise data but require a sample sacrifice.
- Non-Destructive Testing: Examples include ultrasonic testing (using sound waves to detect internal flaws), radiographic testing (using X-rays or gamma rays to create images of internal structures), and visual inspection (assessing surface defects visually). These tests preserve the sample, allowing for further use or analysis.
The choice between destructive and non-destructive testing depends on factors such as the value of the tested item, the availability of samples, and the level of detail required. For critical components, NDT is preferred to avoid compromising the integrity of the part.
Q 2. Describe your experience with tensile testing.
Tensile testing is a cornerstone of my experience in materials testing. I’ve extensively used universal testing machines to characterize the mechanical properties of a wide range of materials, from metals and polymers to composites and ceramics. The process involves applying a controlled tensile load to a specimen until failure, while simultaneously measuring the resulting elongation.
In my previous role, I was responsible for developing and validating tensile test methods for a new type of high-strength steel used in aerospace applications. This involved selecting appropriate test specimens, adhering to standardized test procedures (like ASTM E8), ensuring proper calibration of the testing equipment, analyzing the resulting stress-strain curves, and generating comprehensive reports that provided critical data on yield strength, tensile strength, elongation, and modulus of elasticity. I’ve also utilized digital image correlation (DIC) techniques to provide strain information throughout the sample during the testing phase, giving me a more comprehensive understanding of the deformation processes occurring within the material.
Data interpretation plays a crucial role. I’m adept at identifying anomalies in the stress-strain curves, such as necking or premature failure, which could indicate processing flaws or material defects. This understanding enables me to make informed judgments about the material’s suitability for its intended application.
Q 3. What are the common types of non-destructive testing methods and their applications?
Non-destructive testing (NDT) encompasses a variety of techniques, each tailored to specific applications. Here are some of the most common methods:
- Visual Inspection: The simplest method, involving visual examination for surface defects. Applications range from checking for cracks in welds to assessing the condition of a bridge.
- Liquid Penetrant Testing (LPT): A dye is applied to the surface to reveal surface-breaking cracks. Used widely in aerospace and automotive industries for detecting cracks in castings and welds.
- Magnetic Particle Testing (MT): Uses magnetic fields to detect surface and near-surface flaws in ferromagnetic materials. Frequently used in pipeline inspections and aircraft maintenance.
- Ultrasonic Testing (UT): Employs high-frequency sound waves to detect internal flaws. Crucial in assessing the integrity of pressure vessels, welds, and components in various industries.
- Radiographic Testing (RT): Utilizes X-rays or gamma rays to create images of internal structures, revealing internal defects like voids or inclusions. Common in the aerospace and nuclear industries.
- Eddy Current Testing (ECT): Uses electromagnetic induction to detect surface and subsurface flaws in conductive materials. Widely applied in the aerospace, automotive, and manufacturing industries for detecting corrosion and cracks in metal components.
The selection of an appropriate NDT method depends on factors such as the type of material, the type of defect being sought, the access to the component, and the required sensitivity and resolution.
Q 4. How do you interpret a stress-strain curve?
A stress-strain curve is a graphical representation of a material’s response to an applied tensile load. It plots stress (force per unit area) on the y-axis against strain (deformation per unit length) on the x-axis. Understanding this curve is crucial for determining a material’s mechanical properties.
Key features of the curve include:
- Elastic Region: The initial linear portion of the curve. The material deforms elastically (returns to its original shape when the load is removed), and Hooke’s Law applies (stress is proportional to strain).
- Yield Point: The point at which the material begins to deform plastically (permanent deformation occurs even after the load is removed). Yield strength is a critical parameter indicating the material’s resistance to permanent deformation.
- Ultimate Tensile Strength (UTS): The maximum stress the material can withstand before failure. It represents the material’s ultimate strength.
- Fracture Point: The point at which the material fails, typically characterized by a sudden drop in stress.
- Modulus of Elasticity (Young’s Modulus): The slope of the elastic region, indicating the material’s stiffness or resistance to elastic deformation.
By analyzing these features, engineers can determine a material’s suitability for a particular application. For instance, a high yield strength is crucial for structural components, while a high elongation is important for materials requiring ductility.
Q 5. Explain the concept of fatigue testing and its importance.
Fatigue testing examines a material’s resistance to failure under cyclic loading. It’s critically important because many engineering components experience repeated loading and unloading during their service life, which can lead to fatigue failure, even at stress levels below the material’s yield strength. This failure can be catastrophic, particularly in high-stress environments.
In a typical fatigue test, a specimen is subjected to a cyclic stress (or strain) until failure. The number of cycles to failure is recorded, and the process is repeated for various stress amplitudes. This results in an S-N curve (stress amplitude versus number of cycles to failure), which helps determine the material’s fatigue life and fatigue strength.
The importance of fatigue testing lies in its ability to predict the lifespan of components under real-world loading conditions. For example, fatigue testing is crucial for designing aircraft wings, bridges, and other structures subjected to repeated loading. By understanding a material’s fatigue properties, engineers can design components with sufficient fatigue life to ensure safety and prevent premature failures.
Q 6. What are the key aspects of a quality management system (e.g., ISO 9001)?
A Quality Management System (QMS), such as one compliant with ISO 9001, is a framework that guides an organization in providing products and services that meet customer and regulatory requirements. Key aspects include:
- Customer Focus: Understanding and meeting customer needs and expectations is paramount. This includes gathering feedback and actively seeking ways to improve customer satisfaction.
- Leadership: Leadership commitment and responsibility are vital for the success of the QMS. Leaders must establish the QMS, provide resources, and promote a culture of quality throughout the organization.
- Engagement of People: Empowering employees to contribute to quality is key. Training and clear communication are essential to ensure everyone understands their role in the QMS.
- Process Approach: Implementing a process-oriented approach helps to identify, manage, and improve processes throughout the organization. This improves efficiency and minimizes errors.
- Improvement: Continual improvement is central to the QMS. Regular monitoring and evaluation of processes allow for the identification of areas for improvement.
- Evidence-Based Decision Making: Data-driven decision-making is essential for effective QMS management. Collecting and analyzing data allows for objective evaluation and appropriate actions.
- Relationship Management: Building and maintaining strong relationships with suppliers and other stakeholders enhances the effectiveness of the QMS.
In essence, a robust QMS ensures consistent product quality, enhances customer satisfaction, and helps mitigate risks. Adherence to standards like ISO 9001 provides a framework and external validation of the organization’s commitment to quality.
Q 7. Describe your experience with statistical process control (SPC).
Statistical Process Control (SPC) is a powerful tool I utilize to monitor and control manufacturing processes, ensuring consistent product quality. It involves using statistical methods to analyze process data, identify trends, and detect variations that indicate potential problems. My experience with SPC spans various applications, from monitoring the tensile strength of manufactured parts to controlling the thickness of coatings.
I’ve used control charts extensively, such as X-bar and R charts, to track key process parameters over time. These charts visually display the process data and establish control limits, allowing us to quickly identify points that fall outside of acceptable ranges. For instance, if the tensile strength of a manufactured part consistently falls below the lower control limit, it signals a potential problem in the manufacturing process that needs immediate attention.
Beyond control charts, I’m also experienced in using capability analysis to determine the process’s ability to meet customer specifications. This helps identify potential areas for improvement and ensures that the process is capable of producing consistent, high-quality products. I’ve often used this to justify process improvements in production and reduce costly scrap.
My work with SPC isn’t just about detecting problems; it’s also about proactively preventing them. By understanding the sources of variation in a process, we can implement measures to reduce variability and improve overall process stability. This involves a combination of statistical analysis and practical process adjustments.
Q 8. How do you handle discrepancies found during a quality inspection?
Discovering discrepancies during quality inspection is a critical part of the process. My approach is systematic and focuses on both immediate corrective action and long-term preventative measures. First, I meticulously document the discrepancy, including the location, type, severity, and any relevant observations. This detailed record is crucial for traceability and root cause analysis. Then, I immediately isolate the affected materials to prevent further processing or use. Depending on the severity, this might involve quarantining the batch or even halting the production line. Next, I initiate a thorough investigation to understand the cause. This often involves reviewing production records, testing procedures, and equipment logs. Finally, I implement corrective actions, ranging from simple adjustments to the process to more substantial changes in the manufacturing methodology. I always document the corrective actions taken and their effectiveness to prevent future occurrences. For example, if a batch of steel showed inconsistencies in tensile strength, I would investigate the heat treatment process, raw material quality, and the calibration of the testing machine to pinpoint the root cause. A comprehensive report is generated summarizing the discrepancies, corrective actions and preventative measures.
Q 9. Explain the concept of root cause analysis in relation to quality control.
Root cause analysis (RCA) is a systematic approach to identifying the underlying cause of a problem, not just its symptoms. In quality control, this means digging deeper than simply fixing a defect; we want to understand *why* the defect occurred in the first place. This prevents similar issues from recurring. I typically employ techniques like the ‘5 Whys’ (repeatedly asking ‘why’ to delve deeper into the cause), fishbone diagrams (to visually map out potential contributing factors), and Pareto charts (to identify the most significant contributing factors). For example, if a series of castings showed cracks, simply repairing the cracks isn’t sufficient. Using RCA, I might discover the root cause is due to improper mold temperature, leading to insufficient cooling and stress concentration. Addressing the mold temperature issue prevents future cracking problems. This proactive approach is far more effective than simply reacting to problems as they appear.
Q 10. What are the common causes of material failure?
Material failure is a complex issue with many contributing factors. Common causes include:
- Manufacturing defects: Inclusions, voids, or cracks introduced during the manufacturing process can weaken materials and lead to premature failure.
- Design flaws: Inadequate design considerations, such as insufficient stress analysis or improper material selection, can result in failure under expected load conditions.
- Environmental factors: Corrosion, erosion, and fatigue from cyclic loading are common environmental factors contributing to material failure.
- Improper material selection: Choosing a material unsuitable for the specific application or environmental conditions.
- Overloading: Exceeding the material’s yield strength or ultimate tensile strength.
- Creep: Gradual deformation of a material under constant stress at elevated temperatures.
- Brittle fracture: Sudden failure without significant plastic deformation, often triggered by stress concentrations or low temperatures.
Identifying the specific cause requires careful analysis of the failed component, material properties, and operating conditions. For instance, a fractured connecting rod in an engine might be caused by fatigue from repeated stress cycles, a design flaw leading to high stress concentration, or even improper heat treatment during manufacturing. A systematic investigation is crucial to pinpoint the responsible factor(s).
Q 11. How do you ensure the accuracy and reliability of testing equipment?
Ensuring the accuracy and reliability of testing equipment is paramount. We achieve this through a multi-faceted approach encompassing regular calibration, preventative maintenance, and proper handling. Calibration involves comparing the equipment’s readings against traceable standards, usually using certified reference materials. The frequency of calibration is dependent on the equipment’s criticality and manufacturer’s recommendations. Preventive maintenance includes regular cleaning, lubrication, and inspection to identify and address potential problems before they impact accuracy. Proper handling involves following manufacturer guidelines for operation, storage, and environmental conditions to prevent damage or drift. We maintain meticulous records of all calibration and maintenance activities, creating a comprehensive history of equipment performance. For example, our tensile testing machine undergoes calibration annually by a certified laboratory using traceable weights and extensometers. Any discrepancies are recorded and corrective actions taken, ensuring the equipment consistently provides reliable results.
Q 12. Describe your experience with calibration procedures.
My experience with calibration procedures is extensive. I’ve been involved in the calibration of a wide range of testing equipment, including tensile testers, hardness testers, impact testers, and dimensional measuring instruments. The process always begins with selecting the appropriate calibration standards that are traceable to national or international standards. The equipment is then tested against these standards following documented procedures, and any deviations are recorded. A calibration certificate is generated documenting the results and the equipment’s accuracy within specified tolerances. If the equipment is outside of tolerance, adjustments or repairs are made, and the calibration process is repeated. I’ve managed the calibration schedules for our entire testing lab, ensuring all equipment is regularly calibrated and compliant with relevant standards. This rigorous process is crucial for maintaining the integrity and reliability of our testing data.
Q 13. How do you develop and implement quality control plans?
Developing and implementing quality control plans is an iterative process. It begins with a thorough understanding of the product or process, identifying potential failure points and critical quality characteristics. This involves analyzing customer requirements, production specifications, and potential risks. Next, we define acceptance criteria and inspection methods, choosing the appropriate testing techniques and sampling plans. The plan also outlines the frequency of inspections, who is responsible, and the corrective actions to be taken in case of non-conformance. For instance, in manufacturing a component, we might include inspections at various stages: raw material inspection, in-process inspection during manufacturing, and final product inspection. The plan also specifies the documentation required throughout the process, ensuring traceability and accountability. Finally, we continuously monitor the effectiveness of the plan through data analysis and regular reviews, making adjustments as needed to enhance its efficiency and efficacy. We also use statistical process control (SPC) charts to monitor process capability and identify potential deviations early on. The plan is a living document that adapts to changing needs and process improvements.
Q 14. What is your experience with different types of material testing standards (e.g., ASTM, ISO)?
I have extensive experience working with various material testing standards, most notably ASTM and ISO standards. I understand the significance of following these standardized methods to ensure test results are comparable and reliable across different laboratories and locations. For instance, I’ve used ASTM E8 for tensile testing, ASTM E18 for hardness testing, and ISO 14688 for impact testing. My experience includes applying these standards to a wide range of materials, including metals, polymers, and composites. I’m familiar with the nuances of each standard, including the specific test procedures, equipment requirements, and data analysis techniques. This ensures our testing data is consistent, reliable, and meets industry best practices. Furthermore, I am adept at navigating different versions and amendments of these standards, recognizing any relevant changes in methodology or requirements.
Q 15. How do you manage and interpret large datasets from material testing?
Managing and interpreting large datasets from material testing involves a multi-step process combining data cleaning, statistical analysis, and visualization. Think of it like assembling a giant jigsaw puzzle – each piece of data is crucial to the final picture (material properties).
First, I ensure data cleaning. This involves identifying and handling missing values, outliers, and inconsistencies. For example, if a tensile strength value is significantly higher than others for the same material, I’d investigate possible errors in the testing procedure or data entry.
Next, I utilize statistical analysis techniques. This could range from simple descriptive statistics (mean, median, standard deviation) to more advanced methods like ANOVA (Analysis of Variance) to compare different material batches or regression analysis to model material behavior under varying conditions. For instance, I might use regression to predict the tensile strength of a material based on its composition.
Finally, data visualization is key. Graphs and charts (histograms, scatter plots, box plots) help reveal patterns and trends in the data that might be missed in raw numbers. Visualizing the data allows me to quickly spot outliers and identify potential quality issues. Software like Minitab, JMP, or even Python with libraries like Matplotlib and Seaborn are invaluable for these tasks.
Career Expert Tips:
- Ace those interviews! Prepare effectively by reviewing the Top 50 Most Common Interview Questions on ResumeGemini.
- Navigate your job search with confidence! Explore a wide range of Career Tips on ResumeGemini. Learn about common challenges and recommendations to overcome them.
- Craft the perfect resume! Master the Art of Resume Writing with ResumeGemini’s guide. Showcase your unique qualifications and achievements effectively.
- Don’t miss out on holiday savings! Build your dream resume with ResumeGemini’s ATS optimized templates.
Q 16. Describe your experience with data analysis techniques in quality control.
My experience with data analysis in quality control centers on using statistical process control (SPC) charts and other quality control tools. Think of SPC charts as the ‘vital signs’ of a manufacturing process, constantly monitoring for abnormalities.
I’ve extensively used control charts (X-bar and R charts, p-charts, c-charts) to monitor process parameters like dimensions, weights, or defect rates. These charts allow me to quickly identify when a process is going ‘out of control,’ indicating a potential quality problem. For instance, if a control chart for the diameter of a component shows points consistently outside the control limits, it suggests a problem with the machining process that needs investigation.
Beyond control charts, I’ve employed techniques like process capability analysis (Cpk, Ppk) to assess whether a process is capable of meeting specified tolerances. This involves analyzing the variation in the process relative to the customer’s requirements. A low Cpk value signals the need for process improvements to reduce variation and ensure consistent quality. I’ve also used DOE (Design of Experiments) techniques to optimize processes and reduce variability by systematically changing process parameters and analyzing the results.
Q 17. How do you ensure compliance with relevant safety regulations in the laboratory?
Ensuring compliance with safety regulations in the laboratory is paramount. It’s not just about following rules; it’s about creating a culture of safety.
We start with comprehensive safety training for all personnel, covering topics such as handling hazardous materials (acids, solvents), using equipment safely (universal testing machines, ovens), and emergency procedures. We maintain up-to-date Safety Data Sheets (SDS) for all chemicals used and ensure proper storage and disposal protocols are followed.
Our lab follows stringent personal protective equipment (PPE) guidelines, mandating the use of safety glasses, gloves, lab coats, and other appropriate gear based on the specific test being performed. We also conduct regular safety inspections to identify and rectify any potential hazards. Regular calibration and maintenance of equipment are essential to avoid accidents. Any incident, no matter how minor, is thoroughly investigated to identify root causes and implement preventive measures. Finally, we maintain detailed records of all safety training, inspections, and incidents, ensuring complete traceability and transparency.
Q 18. How do you communicate technical information to non-technical audiences?
Communicating technical information to non-technical audiences requires clear, concise language and a focus on the ‘big picture.’ It’s about translating ‘engineer-speak’ into everyday language.
I avoid using technical jargon or acronyms without explanation. Instead, I use analogies and metaphors to illustrate complex concepts. For example, explaining material fatigue using the analogy of repeatedly bending a paperclip until it breaks. I also rely heavily on visual aids such as graphs, charts, and diagrams to make data more accessible.
Tailoring the message to the audience is crucial. A presentation to senior management will focus on high-level impacts on cost and efficiency, while a presentation to shop-floor workers might focus on practical implications for their daily tasks. I always ensure that my communication is clear, accurate, and leaves the audience with a solid understanding of the key findings and recommendations.
Q 19. Describe a situation where you identified a quality issue and solved it.
During a project involving the production of high-strength steel components, we observed an unacceptable increase in the rejection rate due to failures in tensile strength testing. The initial reaction was to blame the raw material.
My investigation involved carefully analyzing the data, including re-examining the testing procedures and equipment calibration. What we found was not a material issue but a subtle misalignment in the jaws of our universal testing machine. This misalignment was introducing unintended stress concentrations during the test, leading to artificially low tensile strength readings and ultimately, increased rejections.
The solution was straightforward: recalibration and realignment of the testing machine. After this correction, the rejection rate returned to normal levels. This incident reinforced the importance of thoroughly investigating all potential sources of error before making assumptions, highlighting the value of meticulous data analysis and equipment maintenance in quality control.
Q 20. How do you use problem-solving techniques to address quality control issues?
My approach to problem-solving in quality control relies on a structured methodology, often employing the DMAIC (Define, Measure, Analyze, Improve, Control) framework commonly used in Six Sigma.
Define the problem clearly and specify the goals. For example, “Reduce the defect rate for component X by 50% within three months.” Measure the current state of the process, collecting data to quantify the problem. Analyze the collected data using statistical tools to identify the root causes of the defects. Improve the process by implementing corrective actions based on the root cause analysis. This might involve adjusting machine settings, improving training, or changing materials. Finally, Control the improvements by implementing monitoring systems to prevent future issues and ensure the gains are sustained.
I also utilize fishbone diagrams (Ishikawa diagrams) to brainstorm potential causes of problems and Pareto charts to focus on the most significant factors contributing to defects. These tools, coupled with a data-driven approach, ensure a systematic and effective resolution of quality control issues.
Q 21. Explain your understanding of Six Sigma methodology.
Six Sigma is a data-driven methodology aimed at improving process quality by reducing variation and defects. It’s not just about quality; it’s about process optimization. Think of it as a structured approach to continuous improvement.
The core of Six Sigma is the concept of reducing variation. Variation leads to defects, and defects lead to costs. By reducing variation, we can improve product quality, increase customer satisfaction, and ultimately, improve the bottom line.
The methodology involves several key elements: DMAIC (Define, Measure, Analyze, Improve, Control), as mentioned before, is a widely used framework. Statistical tools like control charts, process capability analysis, and hypothesis testing are integral parts of Six Sigma. The goal is to achieve a process defect rate of 3.4 defects per million opportunities (DPMO), representing a very high level of process capability. Green Belts and Black Belts are trained professionals who lead and execute Six Sigma projects within organizations.
Q 22. What is your experience with using different types of microscopes for material analysis?
My experience with microscopy spans several techniques crucial for materials analysis. I’m proficient in using optical microscopes for initial visual inspection, identifying surface features, and assessing grain size. Optical microscopy provides a relatively simple and rapid way to get an overview of the material’s microstructure. For example, I’ve used optical microscopy to identify cracks in a failed component and assess the uniformity of a coating.
Beyond optical microscopy, I have extensive experience with scanning electron microscopy (SEM). SEM offers significantly higher magnification and resolution, allowing detailed analysis of surface morphology, fracture surfaces, and compositional variations. I’ve used SEM coupled with energy-dispersive X-ray spectroscopy (EDS) to identify inclusions and determine the elemental composition of different phases in alloys. For instance, in one project, SEM-EDS helped pinpoint the source of corrosion in a stainless steel component, revealing the presence of sulfur-rich precipitates.
Finally, I’m familiar with transmission electron microscopy (TEM), which provides the highest resolution, allowing for the observation of crystallographic structures at the atomic level. TEM is particularly useful for characterizing dislocations, precipitates, and grain boundaries. For instance, I utilized TEM to examine the effect of heat treatment on the microstructure and the dislocation density of a high-strength steel.
Q 23. What are your strengths and weaknesses in the field of materials testing and quality control?
My greatest strength lies in my systematic and meticulous approach to problem-solving in materials testing and quality control. I am adept at designing and executing test plans, carefully analyzing data, and drawing accurate conclusions. I also excel at troubleshooting equipment and procedures, ensuring the reliability and validity of test results. For example, during a project involving tensile testing, I noticed inconsistencies in the data. By systematically investigating the source of the error, I identified a calibration issue with the load cell and resolved the problem.
One area I’m continually developing is my expertise in advanced statistical analysis methods. While I’m proficient in basic statistical tools, I’m actively expanding my knowledge of advanced techniques like Design of Experiments (DOE) and multivariate analysis to enhance my ability to interpret complex datasets and draw more robust conclusions.
Q 24. What is your experience with different types of hardness testing?
My experience encompasses various hardness testing methods, each suited for different materials and applications. I’m skilled in using Rockwell hardness testing, a widely used method that employs an indenter to measure the depth of penetration. I’ve used it extensively to evaluate the hardness of metals and alloys, providing valuable insights into their strength and wear resistance. For instance, I used Rockwell hardness testing to verify the heat treatment process for a batch of steel components.
I also have experience with Brinell hardness testing, which utilizes a larger indenter and is particularly useful for testing softer materials and larger components. Brinell is less sensitive to surface finish irregularities compared to Rockwell. Finally, I’m familiar with Vickers hardness testing, employing a diamond pyramid indenter and providing high accuracy and resolution, making it suitable for testing very hard materials and thin coatings.
Q 25. Describe your experience with failure analysis techniques.
Failure analysis is a critical aspect of my work. My approach involves a systematic investigation of failed components to determine the root cause of failure. This process usually starts with a visual inspection to identify any obvious defects or damage, followed by more detailed analyses. I’m skilled in using various techniques, including microscopy (as discussed previously), dimensional measurements, chemical analysis, and mechanical testing to gather data. For example, I investigated the failure of a pressure vessel, utilizing fracture mechanics principles and metallographic analysis to determine that fatigue cracking, initiated at a weld defect, was the cause of the failure.
In another case, I analysed a series of component failures that initially appeared unrelated. By carefully examining the failure modes and considering the operational conditions, I identified a common thread – excessive vibration – and recommended design modifications to mitigate the problem. My experience also extends to using specialized software for finite element analysis (FEA) to simulate loading conditions and predict failure modes.
Q 26. What software are you familiar with for data acquisition and analysis in materials testing?
I’m proficient in several software packages used for data acquisition and analysis in materials testing. My expertise includes using dedicated software from major materials testing equipment manufacturers to control testing machines, acquire data, and generate reports. I’m also skilled in using data analysis software like MATLAB and Python (with libraries like NumPy, SciPy, and Pandas) for statistical analysis, data visualization, and curve fitting. These tools allow me to process large datasets, perform complex calculations, and create customized reports.
For example, I’ve used MATLAB to analyze tensile test data, determining yield strength, ultimate tensile strength, and elongation. I’ve also utilized Python to develop custom scripts for automating data processing tasks and creating detailed visualizations.
Q 27. How do you stay updated with the latest advancements and standards in materials testing and quality control?
Staying current with advancements in materials testing and quality control is crucial. I actively participate in professional organizations like ASM International (ASM) and ASTM International, attending conferences and workshops to learn about the latest techniques and standards. I regularly review relevant journals like ‘Materials Characterization’ and ‘Journal of Materials Science’ and subscribe to industry newsletters. I also leverage online resources and webinars offered by equipment manufacturers and industry experts.
Furthermore, I actively participate in training courses and workshops to stay updated on new software and testing methods. This continuous learning ensures that my skills and knowledge remain relevant and enhance my ability to deliver high-quality work.
Key Topics to Learn for Materials Testing and Quality Control Interview
- Mechanical Testing: Understanding tensile, compressive, shear, fatigue, and impact testing methods; interpreting stress-strain curves and failure modes; applying knowledge to material selection and design.
- Non-Destructive Testing (NDT): Familiarity with techniques like ultrasonic testing (UT), radiographic testing (RT), magnetic particle inspection (MPI), and liquid penetrant inspection (LPT); understanding their applications and limitations in various industries.
- Material Characterization: Knowledge of techniques for determining material properties like hardness, density, microstructure analysis (e.g., microscopy), and chemical composition (e.g., spectroscopy); linking these properties to material performance.
- Quality Control Systems: Understanding ISO 9001, statistical process control (SPC), and other quality management systems; applying these principles to monitor and improve manufacturing processes.
- Data Analysis and Interpretation: Proficiency in analyzing test data, identifying trends, drawing conclusions, and presenting findings clearly and concisely; using statistical software for data analysis.
- Failure Analysis: Investigating material failures, determining root causes, and recommending corrective actions; applying problem-solving skills to real-world scenarios.
- Specific Material Knowledge: Depending on the job, in-depth knowledge of specific materials (e.g., metals, polymers, composites) and their properties is crucial. Tailor your preparation to the job description.
- Laboratory Safety and Procedures: Demonstrate awareness of safe laboratory practices and adherence to relevant regulations.
Next Steps
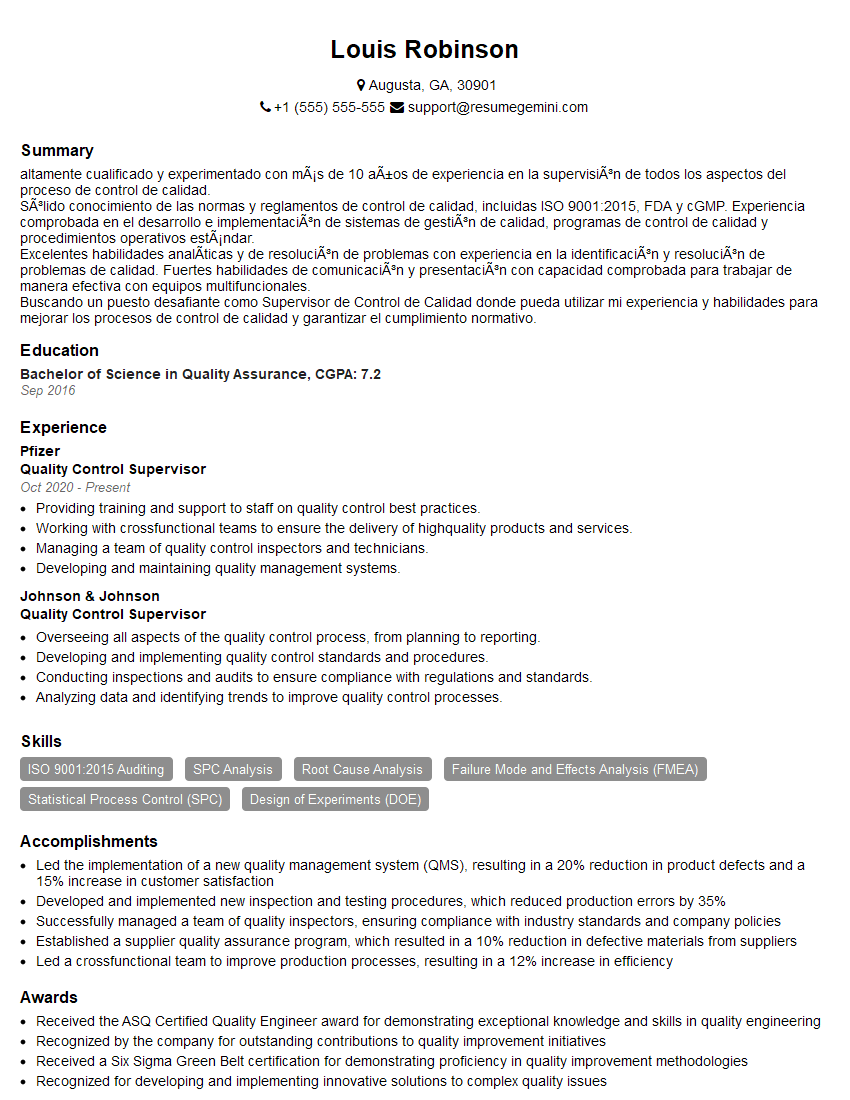
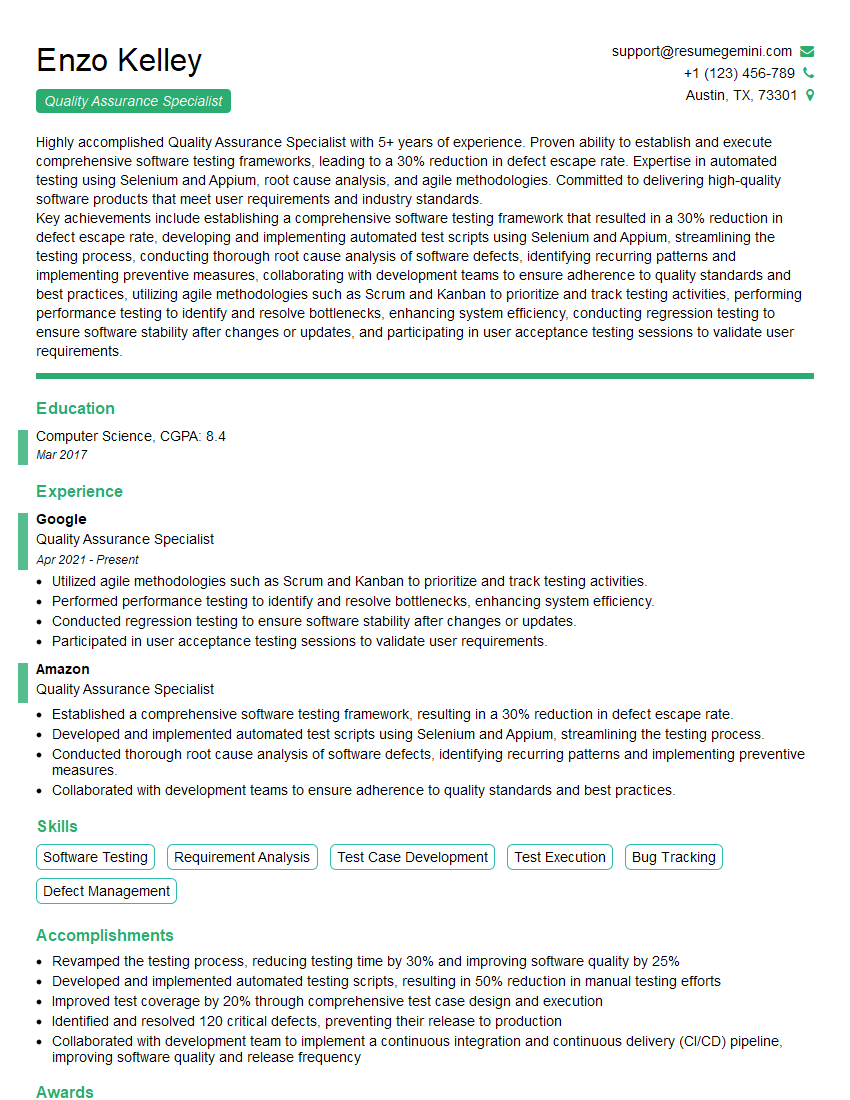
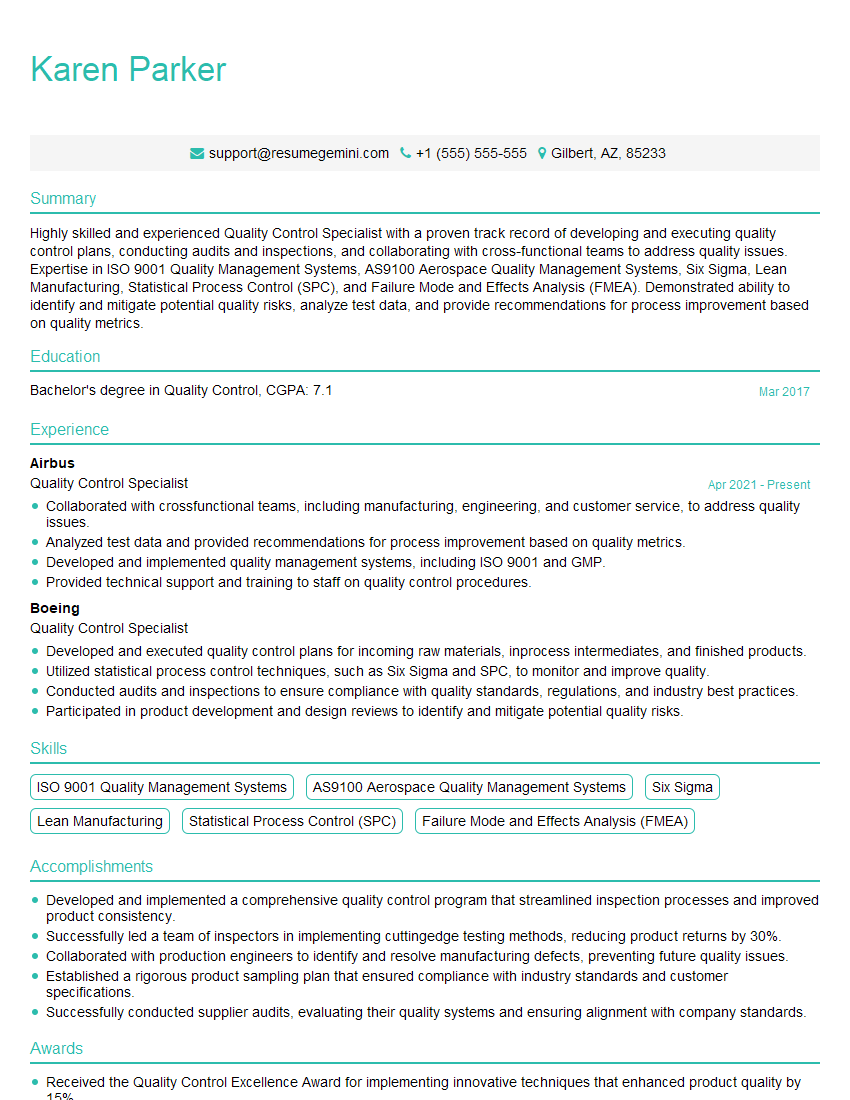
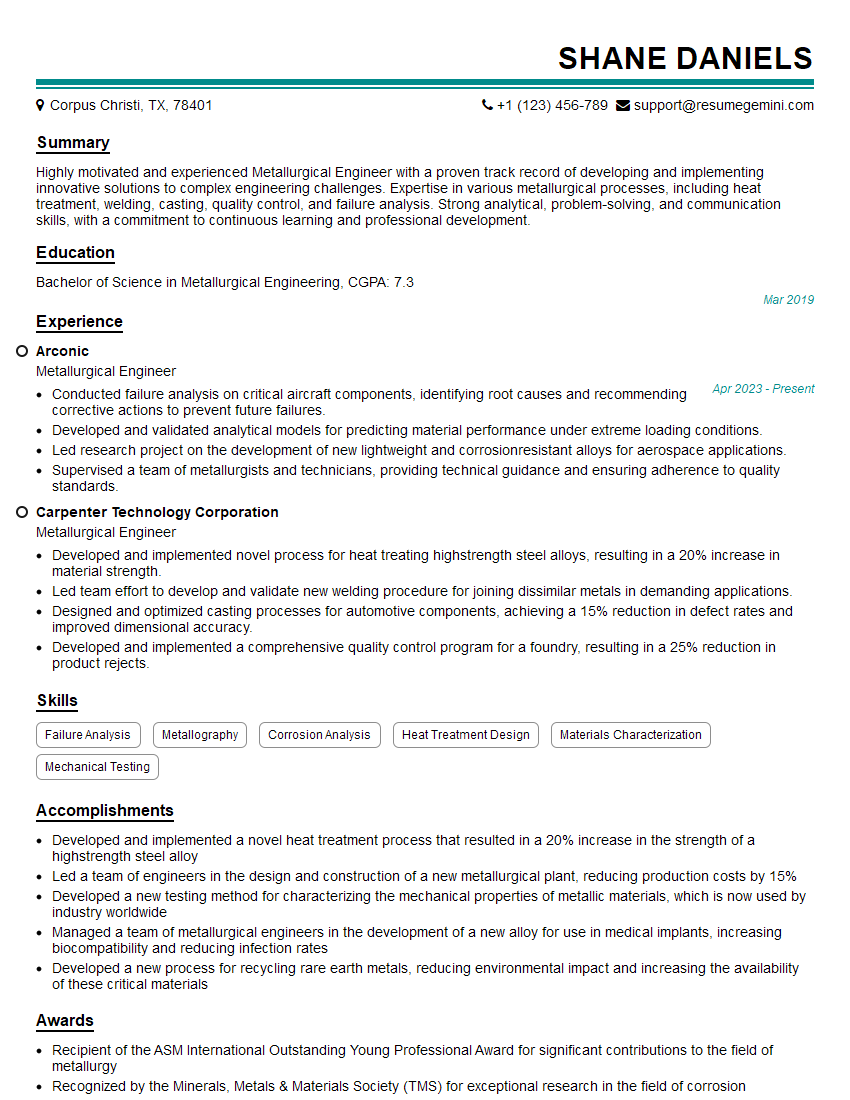
Mastering Materials Testing and Quality Control opens doors to exciting career opportunities in diverse industries, offering strong growth potential and rewarding challenges. A well-crafted resume is your key to unlocking these opportunities. To ensure your application stands out, create an ATS-friendly resume that highlights your skills and experience effectively. ResumeGemini is a trusted resource to help you build a professional and impactful resume that showcases your qualifications. We provide examples of resumes tailored to Materials Testing and Quality Control to help guide you in creating your own compelling application.
Explore more articles
Users Rating of Our Blogs
Share Your Experience
We value your feedback! Please rate our content and share your thoughts (optional).
What Readers Say About Our Blog
To the interviewgemini.com Webmaster.
Very helpful and content specific questions to help prepare me for my interview!
Thank you
To the interviewgemini.com Webmaster.
This was kind of a unique content I found around the specialized skills. Very helpful questions and good detailed answers.
Very Helpful blog, thank you Interviewgemini team.

