Every successful interview starts with knowing what to expect. In this blog, we’ll take you through the top Working with mortar interview questions, breaking them down with expert tips to help you deliver impactful answers. Step into your next interview fully prepared and ready to succeed.
Questions Asked in Working with mortar Interview
Q 1. What are the different types of mortar mixes and their applications?
Mortar mixes are categorized primarily by their strength and intended application. The key ingredient determining these characteristics is the type and proportion of cement used.
- Type N Mortar: This is a general-purpose mortar, suitable for most masonry applications, offering a good balance of strength and workability. Think of it as the ‘all-rounder’ for everyday bricklaying.
- Type S Mortar: Stronger than Type N, Type S mortar is ideal for applications requiring higher compressive strength, like load-bearing walls or structures exposed to harsh weather conditions. It’s the ‘heavy-duty’ option.
- Type M Mortar: The strongest type, Type M mortar is specified for high-strength applications and is often used in areas requiring exceptional durability and resistance to stresses. It’s the ‘super-strength’ champion.
- Type O Mortar: This is a lower-strength mortar typically used for interior non-load-bearing applications where high strength isn’t critical. It’s the ‘gentle’ option, perfect for interior work.
- Specialty Mortars: Beyond these standard types, there are specialty mortars designed for specific purposes, such as those with added waterproofing agents for exterior applications or those with increased flexibility for use with specific materials.
Choosing the right mortar type is crucial. Using Type N where Type M is required could lead to structural failure, whereas using Type M where Type N would suffice is simply wasteful.
Q 2. Explain the process of mixing mortar, including ratios and consistency.
Mixing mortar is a precise process. The key is to achieve a uniform, workable consistency without overmixing, which can weaken the mortar. Typically, a mechanical mixer is preferred for larger projects, ensuring a consistent mix. For smaller jobs, a wheelbarrow and shovel can suffice.
Standard Ratio (for Type N): A common ratio is 1 part Portland cement, 1 part hydrated lime, and 6 parts sand. These proportions might adjust slightly based on the specific mortar type and manufacturer’s recommendations. Always follow the manufacturer’s instructions printed on the cement bag.
Mixing Process:
- Add clean water to the mixing container. The exact amount will depend on the sand’s moisture content – drier sand needs more water.
- Gradually add the cement and lime, while simultaneously mixing thoroughly.
- Add the sand slowly, continuously mixing to prevent clumping.
- Continue mixing until a uniform, smooth, and workable consistency is achieved. The mortar should be plastic enough to be easily troweled but firm enough to hold its shape.
- Check the consistency: a good test is to make a small mound of mortar; if it retains its shape and doesn’t slump, the consistency is likely correct.
Overmixing can lead to air pockets and reduced strength. It’s better to have to mix a smaller batch several times than to risk ruining a large batch through overmixing.
Q 3. Describe the proper techniques for applying mortar to bricks or blocks.
Applying mortar effectively involves several key steps:
- Prepare the Substrate: Ensure the bricks or blocks are clean, damp, and free of any debris. A damp surface aids adhesion.
- Laying a Bed of Mortar: For the first course, place a bed of mortar (about 3/8 to 1/2 inch thick) using your trowel. Spread the mortar evenly using a back-and-forth motion, creating a flat surface.
- Placing the Units: Carefully place the brick or block onto the mortar bed, ensuring full contact and firm seating. Avoid excessive pressure that might squeeze out too much mortar.
- Mortar Joints: Use a jointing tool to shape and smooth the mortar joints between units. Consistent jointing is crucial for aesthetics and structural integrity.
- Toothing: On the end of each course, leave some mortar projecting (‘toothing’) to bond the next course.
- Cleaning: Clean up excess mortar immediately before it hardens.
Practice and experience are key to mastering these techniques. The ideal outcome is a neat, consistent bond with no voids or gaps in the mortar joints.
Q 4. How do you ensure proper adhesion of mortar to the substrate?
Proper adhesion hinges on several factors: a clean substrate, the correct mortar mix, and proper application techniques. Think of it like gluing two pieces of wood – you need a clean, dry surface, the right adhesive, and even pressure for a strong bond.
- Clean Substrate: Dust, dirt, oil, or loose material will prevent proper adhesion. Always ensure the surface is thoroughly cleaned before applying the mortar.
- Damp Surface: A slightly damp surface helps the mortar bond effectively. Avoid overly wet surfaces which can dilute the mortar.
- Proper Mortar Mix: The correct mix ratio ensures the right consistency and strength for strong bonding.
- Full Contact: Ensure the units are fully seated in the mortar bed and that the mortar fills the gaps between units.
- Consistent Application: Avoid uneven or inconsistent mortar application, which can lead to weak points.
If adhesion is compromised, the structure becomes vulnerable to failure. This is why preparing the substrate meticulously is essential.
Q 5. What are the signs of improperly mixed or applied mortar?
Signs of improperly mixed or applied mortar include:
- Cracking: Cracks in the mortar joints can indicate shrinkage due to over-drying, improper mixing (too much water), or poor adhesion.
- Voids and Gaps: Hollow spots and gaps in the mortar indicate insufficient mortar or improper placement of units.
- Uneven Joints: Inconsistent joint thickness or shape shows a lack of skill and care in application.
- Crumbly Mortar: Brittle or crumbly mortar points to a poor mix ratio or incorrect curing process.
- Color Variations: Uneven color indicates inconsistent mixing or the use of different batches of mortar.
- Efflorescence: White powdery deposits on the surface of the mortar indicate the presence of salts, suggesting poor quality materials or excessive water during mixing.
These imperfections not only affect the aesthetics of the finished product but also compromise its structural integrity, potentially leading to instability or failure.
Q 6. How do you address issues such as voids or inconsistencies in mortar application?
Addressing issues like voids or inconsistencies requires different approaches depending on the severity:
Small Voids: For small voids, you may be able to carefully fill them with additional mortar using a small trowel or pointing tool. This requires precision to avoid further imperfections.
Large Voids or Significant Inconsistency: Larger voids or widespread inconsistencies usually necessitate more extensive repairs. This might involve removing the affected sections and re-laying the mortar and units according to proper techniques. In extreme cases, professional intervention may be required.
Prevention is key: The best way to avoid these problems is meticulous work during the initial application. Ensuring a proper mortar mix, and practicing consistent application techniques will significantly reduce the likelihood of having to perform corrections.
Q 7. What safety precautions do you take when working with mortar?
Safety is paramount when working with mortar. Here are some key precautions:
- Eye Protection: Always wear safety glasses to prevent mortar dust or splashes from injuring your eyes.
- Respiratory Protection: Mortar dust can irritate the lungs. Use a dust mask, especially in poorly ventilated areas.
- Skin Protection: Mortar is alkaline and can irritate or burn skin. Wear gloves and cover exposed skin. Wash thoroughly after handling mortar.
- Proper Lifting Techniques: Avoid back injuries by using proper lifting techniques when handling bags of cement and sand.
- Fall Protection: When working at heights, use appropriate fall protection equipment.
- First Aid: Be aware of the potential hazards and have a first-aid kit readily available.
- Clean-up: Clean up spills promptly to prevent slips and falls. Properly dispose of excess mortar according to local regulations.
Ignoring safety precautions can lead to serious injuries. Prioritize safety at every stage of the process to ensure a safe and productive working environment.
Q 8. What tools and equipment are commonly used in mortar application?
Mortar application requires a variety of tools, each designed for a specific task. Think of it like a baker needing different tools for measuring, mixing, and shaping – we need the right tools to achieve a professional finish. Common tools include:
- Mortar board: A flat, usually metal or plastic surface for mixing mortar.
- Mortar hoe or shovel: Used for mixing and handling the mortar on the board.
- Brick trowel: Essential for spreading and shaping the mortar between masonry units. Different sizes exist depending on the project.
- Pointing trowel: A smaller trowel used for finer work like tuckpointing or creating neat joints.
- Jointing tool: Creates consistent and aesthetically pleasing mortar joints. Many types exist to create various joint profiles.
- Level: Used to ensure courses of masonry units are perfectly horizontal.
- Plumb bob: Ensures vertical alignment of walls.
- Bucket: For carrying water and mortar.
- Measuring tools: For precise measurement of water and dry ingredients.
- Safety equipment: Gloves, safety glasses, and potentially a dust mask are crucial for protecting yourself.
The specific tools used will depend on the project’s scale and complexity, but these are the fundamental tools in most applications.
Q 9. How do you clean excess mortar and maintain a clean work area?
Maintaining a clean work area is crucial for efficiency and achieving a high-quality finish. Excess mortar needs to be removed promptly before it hardens, which is key to avoid both aesthetic issues and structural problems. Here’s how I approach it:
- Immediate cleaning: I regularly remove excess mortar from tools and masonry units using a damp sponge or brush while the mortar is still workable. This prevents build-up and makes the cleaning process significantly easier.
- Hardened mortar removal: For hardened mortar, I use a wire brush or a specialized cleaning tool. Chisels may be necessary for stubborn spots, but care must be taken not to damage the masonry.
- Water management: I minimize water spillage and keep the workspace tidy to prevent mud and unnecessary cleanup.
- Disposal: Excess mortar and waste materials are disposed of responsibly, following local regulations.
- Protective coverings: I use drop cloths or other coverings to protect surfaces that are not being mortared, this simplifies the post-work cleaning significantly.
Think of it as a surgeon meticulously cleaning their instruments – cleanliness is key to a professional outcome.
Q 10. Explain the importance of proper curing time for mortar.
Proper curing is paramount to the strength and longevity of the mortar. It allows the hydration process to complete fully, leading to a robust bond. Think of it like baking a cake – insufficient baking time results in a crumbly cake, while appropriate baking achieves the desired texture and strength. The curing time depends on several factors, such as the type of mortar, temperature, and humidity. Typically, it involves keeping the mortar consistently moist (but not soaking wet) for several days, sometimes up to a week, to allow the cement to fully hydrate.
Insufficient curing leads to weakened joints, reduced durability, and increased susceptibility to cracking and damage. This can have severe consequences, particularly in load-bearing structures. On larger projects, we might use curing compounds or misting to maintain moisture levels, especially in hot or windy conditions.
Q 11. How do you determine the correct mortar type for a specific project?
Choosing the right mortar is crucial for project success, as different mortars have different properties and are suited to specific applications. I consider several factors:
- Type of masonry unit: Brick, block, or stone each require different mortar strengths and properties.
- Structural requirements: Load-bearing walls necessitate stronger mortar than non-load-bearing applications.
- Exposure conditions: Outdoor projects exposed to harsh weather may need weather-resistant mortar.
- Aesthetic requirements: Color and joint profile are often specified for aesthetic reasons.
- Project specifications: The project blueprints and specifications will dictate the appropriate mortar type to use.
For example, I would use a high-strength, Type M mortar for a load-bearing brick wall in a harsh climate but could opt for a Type N mortar for a less demanding application. Incorrect selection can lead to failures down the line, so understanding each type’s characteristics is crucial.
Q 12. What are the effects of weather conditions on mortar application?
Weather significantly impacts mortar application and curing. Extreme temperatures and high winds can negatively affect the hydration process, leading to weakened joints and potential failures.
- Hot weather: Accelerated drying can cause cracking and reduced strength. We often need to take measures to keep the mortar moist for longer.
- Cold weather: Freezing temperatures can disrupt the hydration process and even cause damage to the already-set mortar. Application might need to be postponed or require the use of frost-resistant admixtures.
- Rain: Rain can wash away unbound mortar and hinder the setting process. Appropriate protection, like tarps, may be necessary.
- Wind: High winds can accelerate drying and make it difficult to work with the mortar consistently.
Careful planning and appropriate adjustments based on the prevailing weather conditions are essential for ensuring the project’s success. In extreme conditions, work may need to be suspended.
Q 13. Describe your experience with different types of masonry units (brick, block, stone).
My experience encompasses a wide range of masonry units – brick, concrete block, and various types of stone. Each presents its own challenges and requires a nuanced approach.
- Brick: Brickwork demands precision in mortar application to achieve both structural integrity and aesthetic appeal. The type of brick (e.g., clay brick, facing brick) influences the mortar selection. I have experience with various bonding patterns and the intricacies of laying bricks to ensure a strong and visually pleasing result.
- Concrete Block: Concrete block work often involves larger units and requires attention to filling the voids completely to ensure a solid bond. I’m experienced in working with different block sizes and the specific needs for larger-scale construction projects.
- Stone: Working with stone demands greater attention to detail and often involves irregular shapes and sizes. This necessitates precise mortar application to fill gaps and ensure a secure bond. I’ve worked with various types of stone, each requiring different techniques and considerations.
Each material type requires a deep understanding of its properties and optimal mortar application techniques for a successful and durable outcome. I’ve honed my skills by working on a diverse range of projects involving each of these materials.
Q 14. How do you account for expansion and contraction in your mortar work?
Expansion and contraction, caused by temperature fluctuations, are significant factors to consider in mortar work. Ignoring this can lead to cracking and structural damage over time. The approach involves incorporating control joints and selecting appropriate materials.
- Control Joints: These are planned breaks in the masonry that allow for movement without causing stress on the mortar. Their spacing and design depend on the material, exposure, and scale of the project. I carefully plan their location and execution.
- Mortar Selection: Selecting a mortar with flexibility and low shrinkage is crucial. Certain types of mortars are designed to accommodate expansion and contraction better than others. This is factored into the material selection process.
- Proper Curing: As mentioned previously, proper curing helps mitigate cracking due to shrinkage. A well-cured mortar is more resilient to the stresses caused by expansion and contraction.
- Material Compatibility: Careful consideration of material compatibility between the masonry units and the mortar is paramount to reduce the risk of cracking. Any potential issues are reviewed beforehand.
Failing to account for expansion and contraction can result in significant issues, therefore, implementing these measures is essential for long-term structural integrity.
Q 15. How do you prepare surfaces before applying mortar?
Proper surface preparation is paramount for successful mortar application. Think of it like preparing a canvas before painting – a smooth, clean surface ensures the mortar adheres properly and creates a strong, lasting bond. This involves several key steps:
Cleaning: Thoroughly remove all loose debris, dust, dirt, oil, and any existing loose mortar. A wire brush, scraper, or pressure washer (used cautiously to avoid damage) can be employed depending on the surface. For really stubborn stains, specific cleaning agents may be necessary.
Moisture Content: The surface must be adequately damp but not saturated. A surface that’s too dry will suck the moisture from the mortar too quickly, hindering proper curing and leading to cracking. Conversely, a soaking wet surface prevents proper adhesion. The ideal condition is often described as “damp to the touch”.
Priming (if necessary): In some cases, especially with absorbent materials like porous bricks, a bonding agent or primer might be needed to improve adhesion and prevent the substrate from drawing moisture too quickly from the mortar.
Repairing: Any damaged sections, such as cracks or holes, must be repaired before applying new mortar. This ensures a consistent and strong base.
For example, before repointing a brick wall, I’d thoroughly clean each brick using a wire brush, ensuring all loose mortar is removed from the joints. I would then lightly dampen the surface to ensure optimal adhesion before applying the new mortar.
Career Expert Tips:
- Ace those interviews! Prepare effectively by reviewing the Top 50 Most Common Interview Questions on ResumeGemini.
- Navigate your job search with confidence! Explore a wide range of Career Tips on ResumeGemini. Learn about common challenges and recommendations to overcome them.
- Craft the perfect resume! Master the Art of Resume Writing with ResumeGemini’s guide. Showcase your unique qualifications and achievements effectively.
- Don’t miss out on holiday savings! Build your dream resume with ResumeGemini’s ATS optimized templates.
Q 16. Describe your experience with repointing existing masonry structures.
Repointing is a delicate process requiring meticulous attention to detail. It involves removing deteriorated mortar from existing joints and replacing it with fresh mortar, matching the original as closely as possible. My experience encompasses various masonry structures, from historic buildings to modern facades. I approach each project by first assessing the extent of the damage and the type of mortar originally used. This involves careful examination to determine the best approach, considering factors like the age and condition of the structure and the environmental conditions.
A crucial aspect is selecting the correct mortar mix to match the existing one in terms of color, strength, and workability. After carefully removing the old mortar (using tools like chisels and pointing trowels), I prepare the joints by cleaning them thoroughly. I then apply the new mortar, ensuring a tight, even joint, and taking care not to damage the surrounding bricks. Finally, tooling techniques are employed to achieve a neat and aesthetically pleasing finish, replicating the original style as much as possible. In one project, restoring a Victorian-era building, I meticulously matched the color and texture of the original lime mortar to preserve the historical integrity of the structure.
Q 17. How do you handle different types of mortar problems, such as efflorescence or cracking?
Mortar problems can arise due to various factors including poor workmanship, unsuitable materials, or environmental conditions. Efflorescence, a whitish powdery deposit on the surface, is often caused by water-soluble salts migrating to the surface. This is addressed by allowing the structure to dry naturally and, in severe cases, using a specialized cleaning solution to remove the salts. It’s crucial to identify and address the source of the moisture problem to prevent recurrence.
Cracking, on the other hand, can result from various factors including shrinkage (due to rapid drying), inadequate curing, or movement within the structure. The solution depends on the cause. Minor cracks can be repaired using appropriate patching mortars, while major cracks may necessitate more extensive repairs that could involve structural reinforcement. Understanding the root cause is crucial – a crack caused by foundation settlement requires a different solution than one caused by improper curing.
Q 18. Explain your understanding of different bonding patterns in brickwork.
Brick bonding patterns describe how bricks are arranged in a wall to provide structural stability and aesthetic appeal. Common patterns include:
Running Bond: The simplest pattern, where bricks are laid in horizontal courses with their ends overlapping.
Common Bond: A variation of running bond with occasional headers (bricks laid with their ends visible) for added strength.
English Bond: Alternating courses of headers and stretchers (bricks laid with their longest side visible) for a visually appealing and structurally sound wall.
Flemish Bond: Alternating headers and stretchers in each course, creating a more intricate and decorative pattern.
Understanding these patterns is essential for ensuring structural integrity and a visually appealing finish. The choice of bonding pattern often depends on the desired aesthetic and the structural requirements of the building.
Q 19. What are the characteristics of high-quality mortar?
High-quality mortar exhibits several key characteristics:
Strength and Durability: It possesses sufficient compressive strength to withstand loads and resist weathering. This is dependent on the type of cement and aggregates used.
Workability: It’s easy to mix, apply, and shape, allowing for efficient placement and a smooth finish. The consistency should be appropriate for the application technique.
Water Retention: It retains sufficient moisture during curing to allow for proper hydration of the cement, crucial for achieving design strength.
Freeze-Thaw Resistance: For exterior applications, it must resist damage from repeated freezing and thawing cycles.
Color Consistency: Maintaining a uniform color throughout the project is key for aesthetic appeal.
The choice of mortar type (e.g., Type N, Type S, Type M) depends on the application and the required compressive strength. A poorly mixed or aged mortar will lack the necessary properties, leading to structural weaknesses and premature deterioration.
Q 20. How do you ensure the strength and durability of your mortar work?
Ensuring the strength and durability of mortar work involves meticulous attention to detail at every stage:
Proper Material Selection: Choosing the right type of mortar for the intended application, considering factors such as compressive strength requirements, exposure conditions, and aesthetic considerations.
Accurate Mixing: Following the manufacturer’s instructions precisely for water-cement ratio to ensure proper hydration and workability. Over-mixing or under-mixing can both negatively affect the quality of the mortar.
Careful Application: Applying the mortar with the correct technique, ensuring complete filling of joints and good adhesion to the substrate. Overfilling can lead to problems, while incomplete filling will compromise structural integrity.
Proper Curing: Allowing sufficient time for the mortar to cure properly, protecting it from rapid drying, freezing, and other environmental factors that could impair its strength.
Joint Design: Appropriate joint design and tooling to ensure water runoff and minimize the chances of water penetration into the masonry.
Ignoring any of these aspects will drastically impact the longevity and strength of the mortar work. For instance, improper curing can lead to significant shrinkage and cracking, weakening the structure.
Q 21. Describe your experience with different tooling techniques for mortar finishing.
Tooling techniques are crucial for achieving a professional and durable mortar finish. Different tools create varied joint profiles, each with its own advantages. My experience spans the use of several tools including:
Pointing Trowels: Used for precise application and shaping of mortar joints, particularly in repointing work.
Jointing Tools: Specialized tools with various profiles (concave, convex, weathered, etc.) to create specific joint shapes and textures.
Bricklaying Trowels: Used for applying and spreading the mortar.
Rubber Float: Used for smoothing and compacting the mortar surface, providing a uniform and even finish.
The choice of tooling depends on the desired aesthetic and the type of masonry. For example, a weathered joint profile might be preferred for a rustic look, whereas a concave joint might be selected for its water-shedding properties. The skill lies in using the tools effectively to create a consistent and pleasing finish, ensuring both visual appeal and structural integrity.
Q 22. What are some common causes of mortar failure?
Mortar failure, sadly, is a common problem in construction. It can stem from several sources, broadly categorized as material issues, application errors, or environmental factors.
- Poor Material Quality: Using substandard mortar mixes with incorrect proportions of cement, lime, sand, and water is a major culprit. This can lead to weak bonds, cracking, and reduced durability. Think of baking a cake – if you don’t use the right ingredients in the right amounts, the cake won’t turn out well.
- Improper Mixing: Insufficient mixing leads to uneven consistency, resulting in weak areas within the mortar. Imagine trying to make a smoothie without properly blending all the ingredients – you’ll end up with lumps and uneven texture.
- Incorrect Application: Too much water can weaken the mortar, while too little makes it difficult to work with and leads to poor adhesion. Applying mortar to unclean or damp surfaces also hinders bonding. This is like trying to glue two wet pieces of wood together – they won’t stick.
- Environmental Factors: Extreme temperatures, both hot and cold, during and after application can cause cracking and shrinkage. Freezing temperatures can damage the mortar before it has fully cured. This is similar to how a delicate plant can’t withstand harsh weather conditions.
- Substrate Issues: If the underlying brick or block is damaged or unstable, the mortar won’t perform optimally, no matter how well it’s mixed or applied. It’s like trying to build a house on a weak foundation.
Q 23. How do you maintain consistency in mortar application across a large project?
Maintaining consistent mortar application across a large project requires meticulous planning and execution. It’s all about standardization and control.
- Batching: We use pre-measured, precisely formulated mortar mixes. This ensures each batch has the exact same properties, eliminating variations.
- Mixing Equipment: We employ motorized mixers for large projects, guaranteeing consistent mixing and preventing human error. This helps to achieve a homogeneous mix, free from lumps.
- Regular Quality Control: Throughout the project, we regularly check the mortar’s consistency, using tools like a slump test to assess its workability and ensure it’s within the required specifications.
- Trained Personnel: All masons involved undergo training on proper mixing and application techniques. We use standardized procedures and checklists to guide them.
- On-site Supervision: Experienced supervisors constantly monitor the process, providing immediate feedback and addressing any inconsistencies that arise. They serve as a point of contact for any questions or concerns.
Q 24. How do you manage your time effectively to meet project deadlines?
Effective time management on large projects involves careful planning and prioritization. It’s not just about working hard, but working smart.
- Detailed Scheduling: We break down the project into smaller, manageable tasks with realistic deadlines. This allows for better tracking of progress and identification of potential bottlenecks.
- Resource Allocation: We allocate materials and personnel efficiently to optimize workflow. This minimizes idle time and prevents delays caused by material shortages.
- Progress Monitoring: Regular progress meetings with the team and stakeholders are essential. This allows for early detection of any potential issues and timely adjustments to the schedule.
- Contingency Planning: We account for unforeseen delays, like bad weather, by building buffer time into the schedule. This ensures we can stay on track despite unexpected hurdles.
- Communication: Open communication within the team and with clients is vital. This ensures everyone is informed and can contribute to solving problems promptly.
Q 25. Describe your problem-solving skills in relation to mortar application challenges.
Problem-solving is a cornerstone of my work. When faced with a mortar application challenge, I follow a systematic approach.
- Identify the Problem: First, I carefully analyze the issue. Is it a problem with the mortar mix, application, or the substrate? Thorough observation is key.
- Gather Information: I collect data on the specific conditions—temperature, humidity, substrate type. This helps determine the root cause.
- Develop Solutions: Based on the gathered information, I explore potential solutions, consulting relevant resources and experienced colleagues if necessary.
- Implement and Test: I implement the chosen solution in a small, controlled area to test its effectiveness before applying it across a larger section.
- Document and Evaluate: I document the problem, solution, and outcome for future reference and learning. This is crucial for continuous improvement.
For example, if I encounter excessive cracking, I would investigate whether it’s due to rapid drying, inappropriate mixing, or a poor substrate. The solution could involve adjusting the water content in the mix, adding a plasticizer, or addressing substrate issues like cleaning and priming.
Q 26. How do you work effectively as part of a team on a construction site?
Effective teamwork on a construction site is crucial. It’s about collaboration, clear communication, and mutual respect.
- Clear Roles and Responsibilities: Each team member understands their role and responsibilities, promoting efficient workflows and preventing duplication of efforts.
- Open Communication: Regular communication channels, such as daily briefings and open discussions, ensure everyone is on the same page.
- Respect for Expertise: We value each team member’s expertise and encourage open collaboration and knowledge sharing. Learning from each other is a powerful tool.
- Problem-Solving as a Team: We tackle challenges collaboratively, pooling our knowledge and experience to find the best solutions.
- Positive Work Environment: A positive work environment where team members feel valued and respected boosts morale and productivity.
Q 27. Explain your understanding of building codes and regulations related to masonry work.
I have a thorough understanding of building codes and regulations, specifically those related to masonry work. These codes ensure safety and structural integrity. Compliance is non-negotiable.
- Strength Requirements: I’m familiar with the required compressive strength of mortar for different applications, as outlined in codes like the International Building Code (IBC).
- Bonding Requirements: I understand the regulations pertaining to achieving proper bonding between masonry units and mortar, ensuring structural stability.
- Material Specifications: I know the required specifications for the different components of mortar, including cement type, sand gradation, and lime content.
- Inspection Requirements: I’m aware of the requirements for regular inspections and testing of mortar during the construction process to ensure compliance.
- Local Codes: I also stay informed about any specific local codes or regulations that might apply to a given project, as these can vary by location.
Q 28. How do you stay up-to-date with the latest industry standards and best practices in mortar application?
Keeping up with the latest industry standards and best practices is vital for maintaining excellence. It’s an ongoing process.
- Professional Organizations: I actively participate in professional organizations like the Masonry Society, attending conferences and workshops to stay updated on new technologies and techniques.
- Industry Publications: I regularly read trade magazines and journals focusing on masonry construction to remain abreast of the latest research and innovations.
- Continuing Education: I actively seek out and participate in continuing education courses to upgrade my skills and knowledge.
- Manufacturer Information: I stay informed about the latest mortar products and their applications by reviewing manufacturer specifications and attending training sessions.
- Online Resources: I utilize reputable online resources, such as those provided by industry associations, to access updated information and best practices.
Key Topics to Learn for Working with Mortar Interviews
- Mortar Types and Properties: Understanding the different types of mortar (e.g., cement mortar, lime mortar, gypsum mortar), their respective strengths, weaknesses, and appropriate applications.
- Mixing Mortar: Mastering the correct proportions of materials (cement, sand, lime, water) to achieve the desired consistency and workability. Understanding the impact of water-cement ratio.
- Mortar Application Techniques: Familiarize yourself with various application methods for different construction tasks (e.g., bricklaying, blocklaying, plastering). This includes proper tooling and finishing techniques.
- Understanding Bond Strength and Durability: Learn about factors affecting the bond strength of mortar, including the influence of substrate preparation, curing methods, and environmental conditions. Know how to address potential issues leading to reduced durability.
- Troubleshooting Common Problems: Prepare to discuss common issues encountered during mortar application (e.g., cracking, efflorescence, poor adhesion) and effective solutions for each.
- Health and Safety Regulations: Demonstrate awareness of relevant health and safety regulations concerning handling and application of mortar, including personal protective equipment (PPE) requirements and safe working practices.
- Material Selection and Cost Estimation: Understand the factors involved in selecting appropriate mortar for a given project, considering factors such as cost, performance requirements, and sustainability.
Next Steps
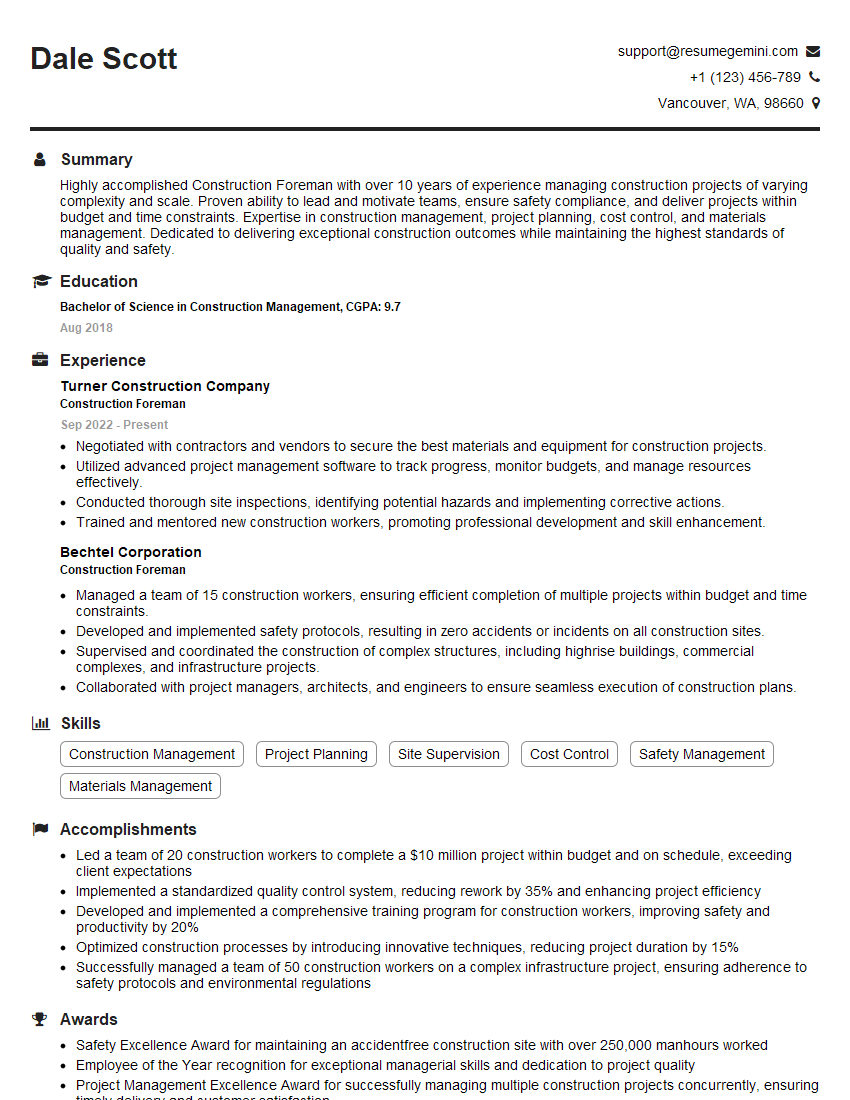
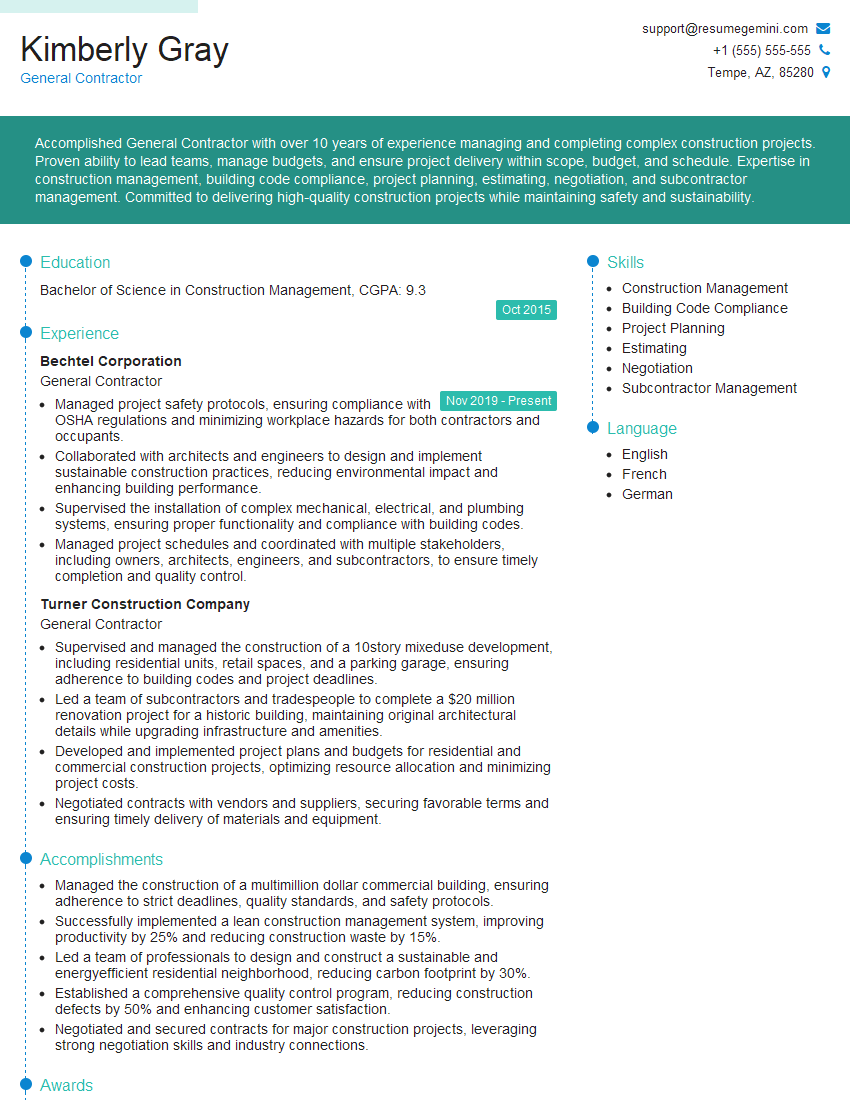
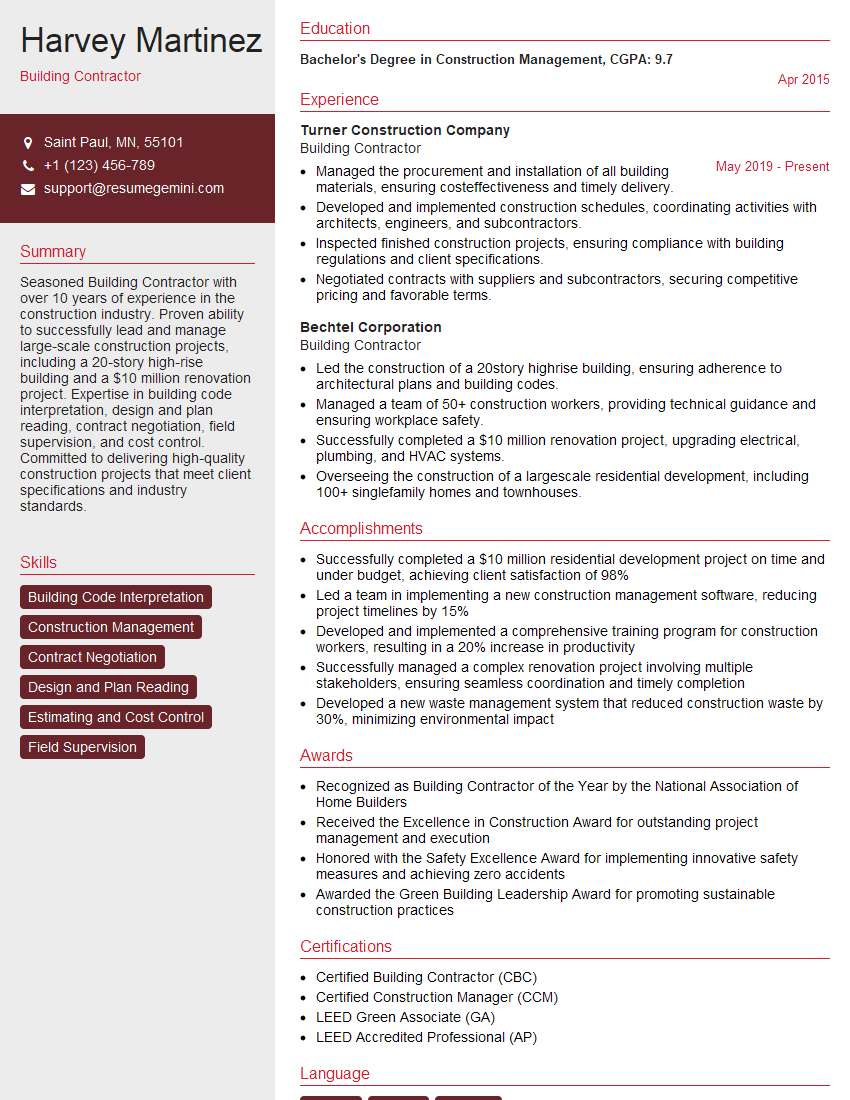
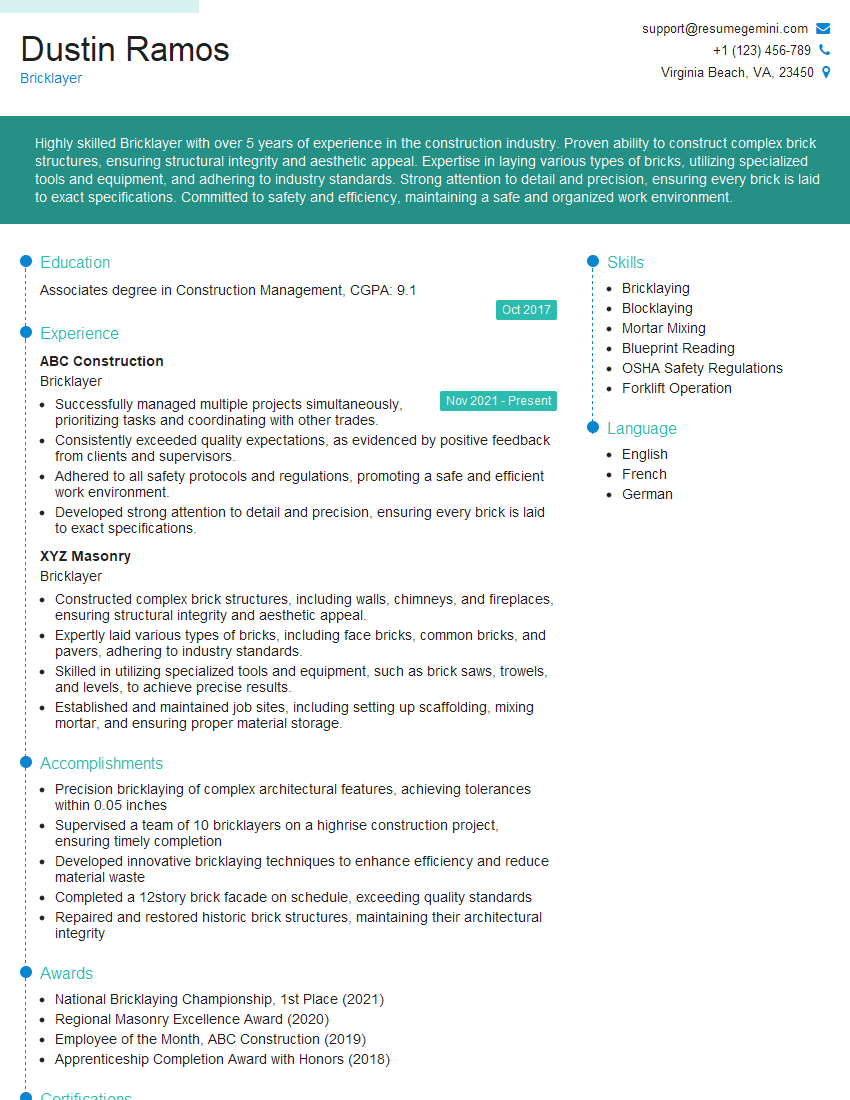
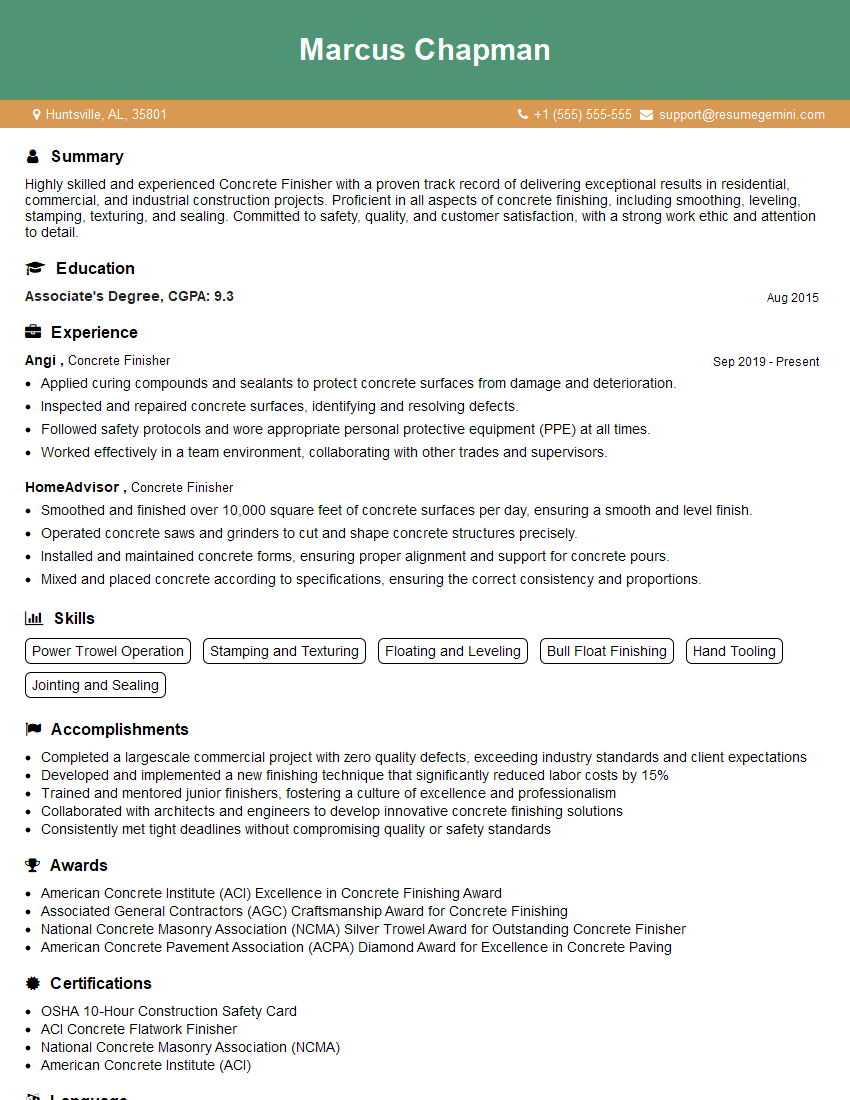
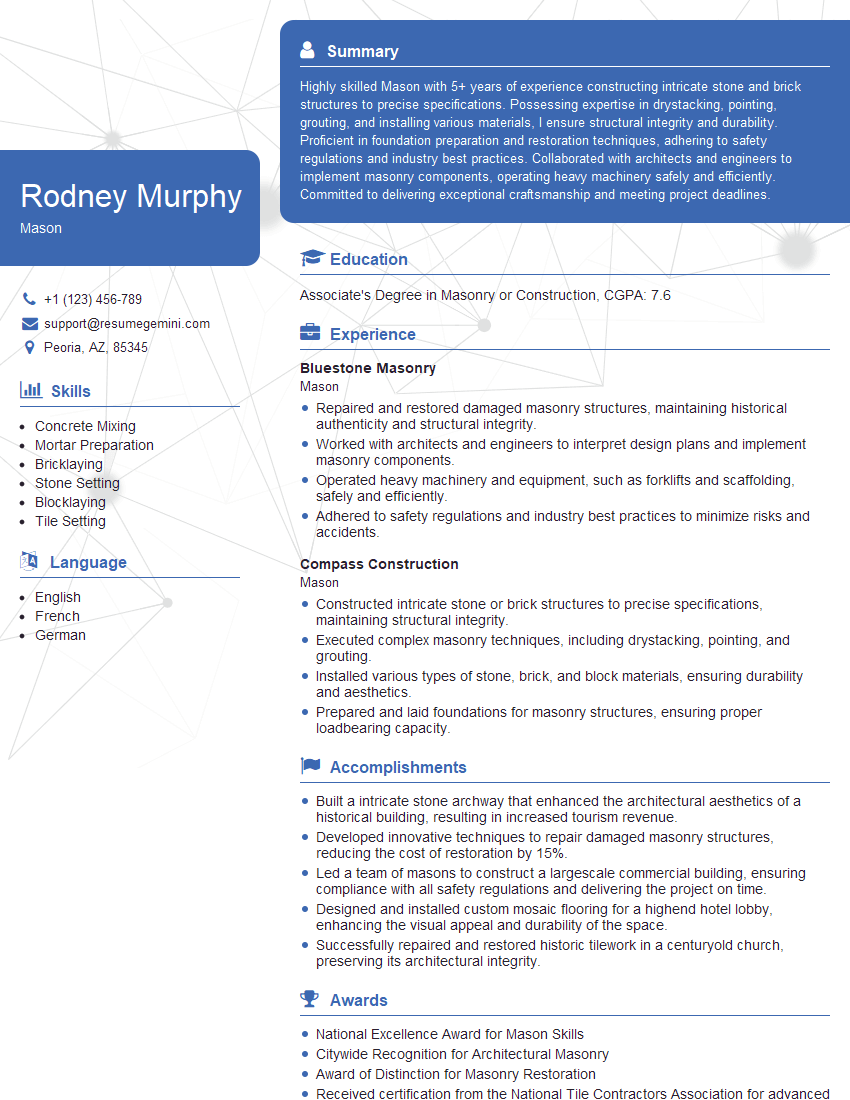
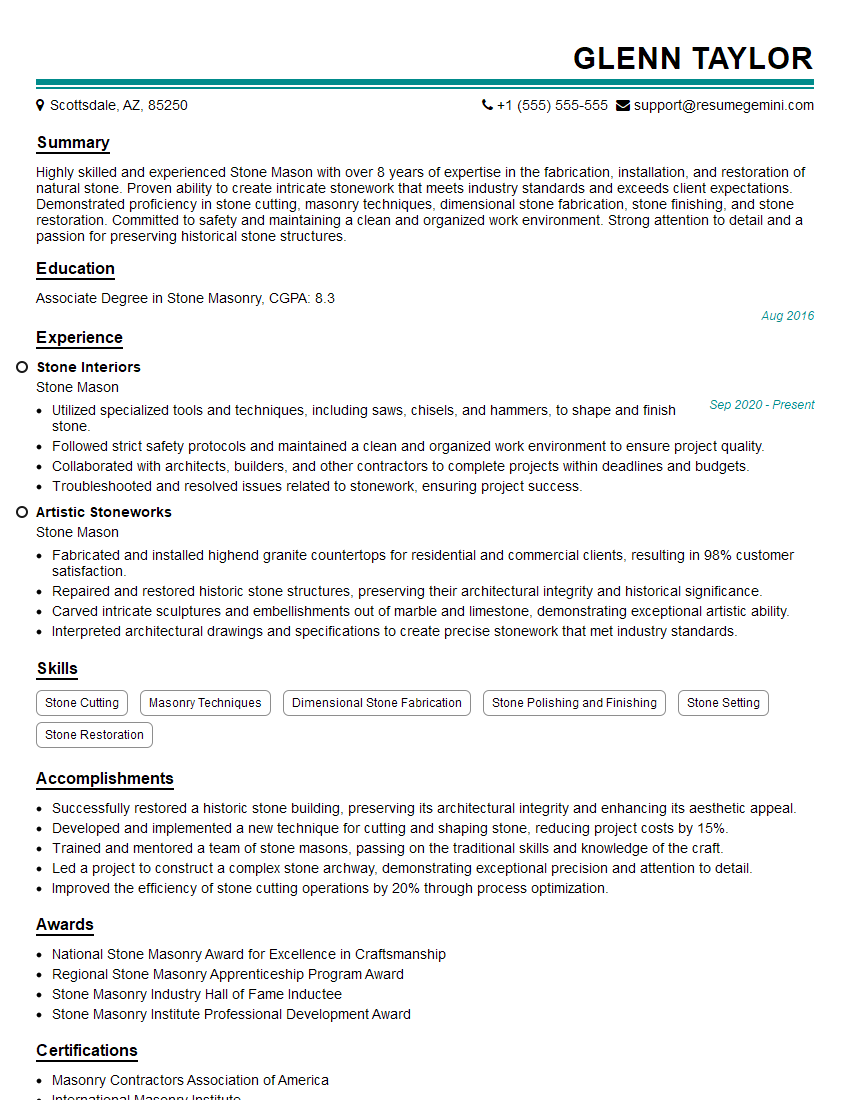
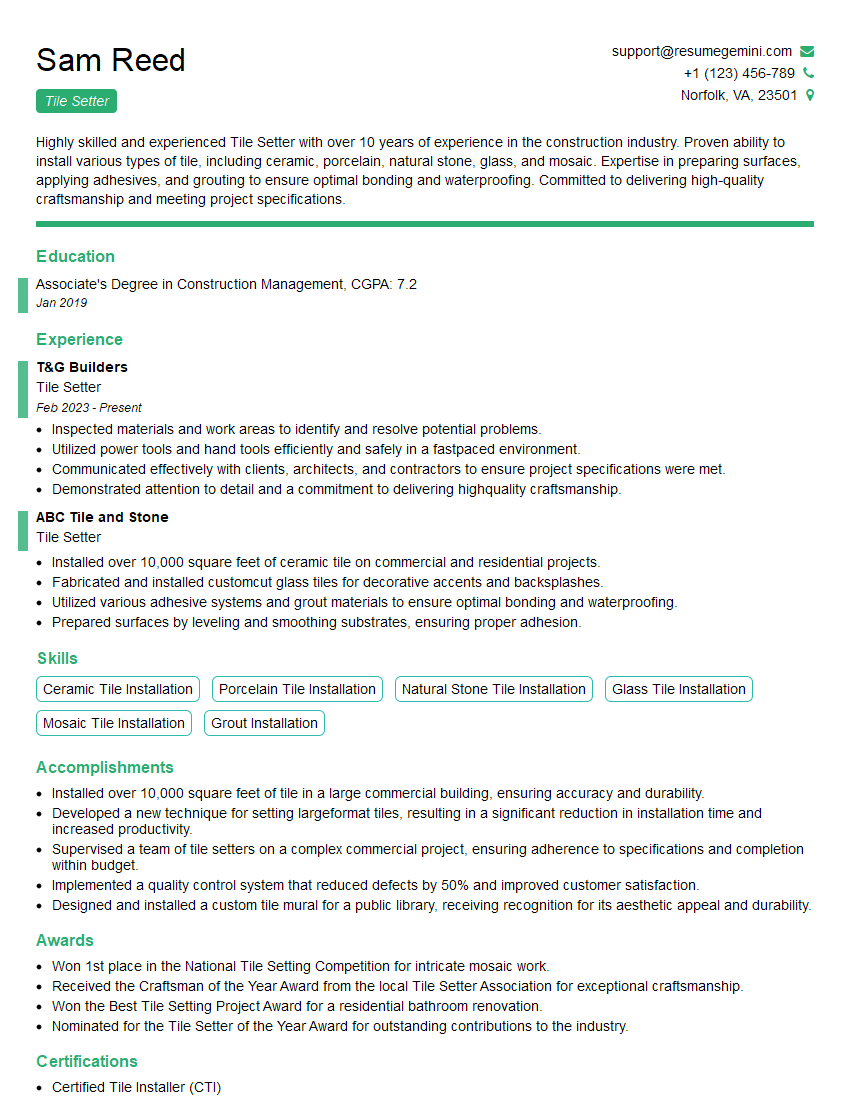
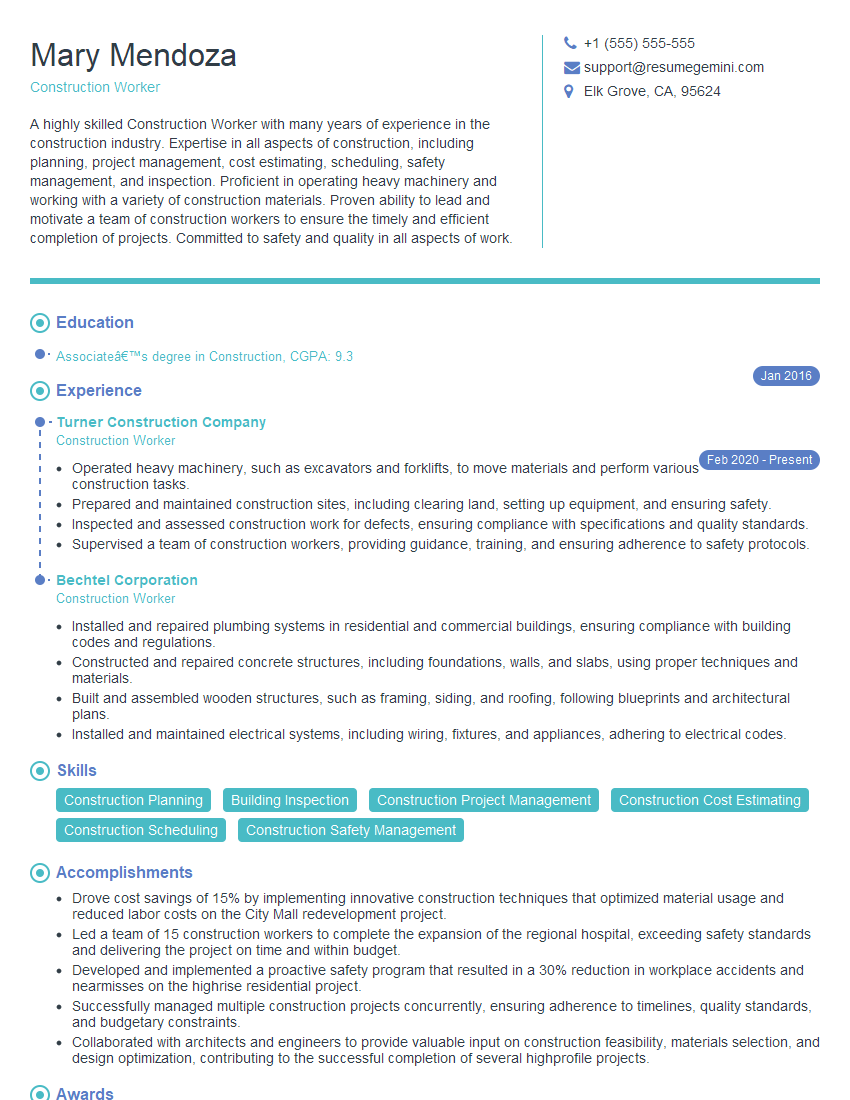
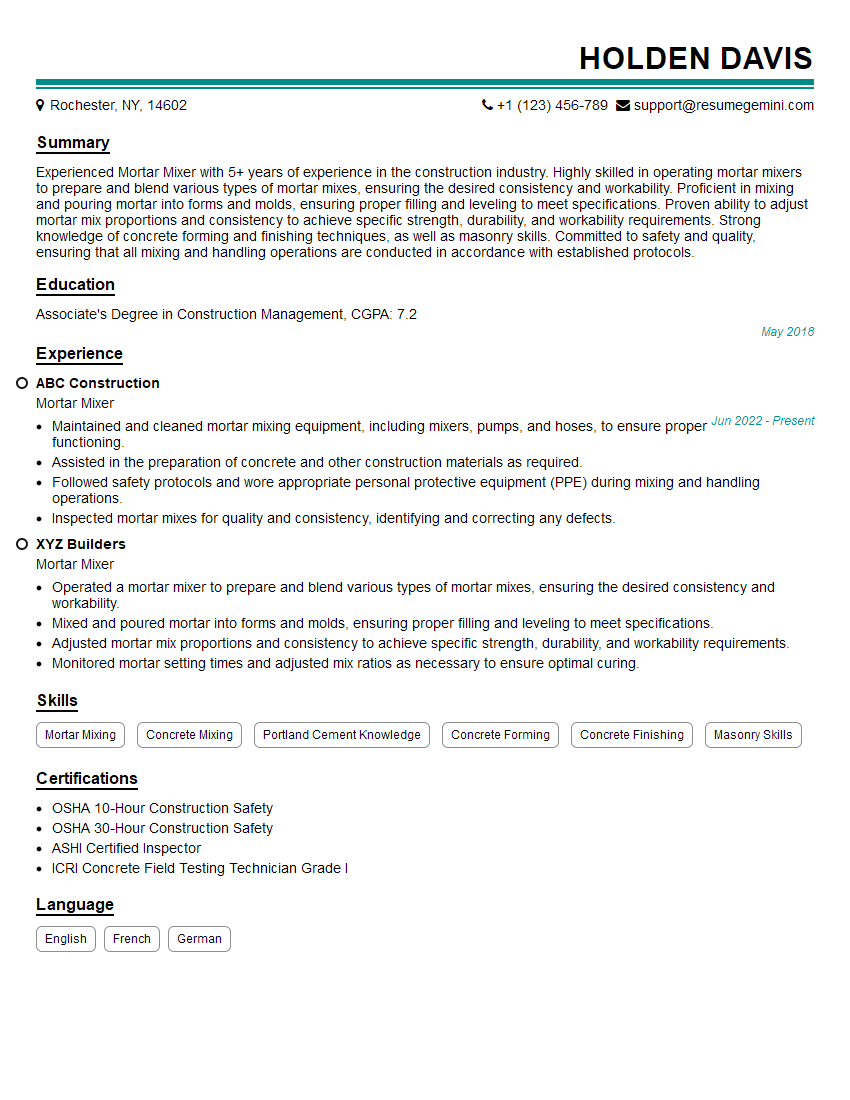
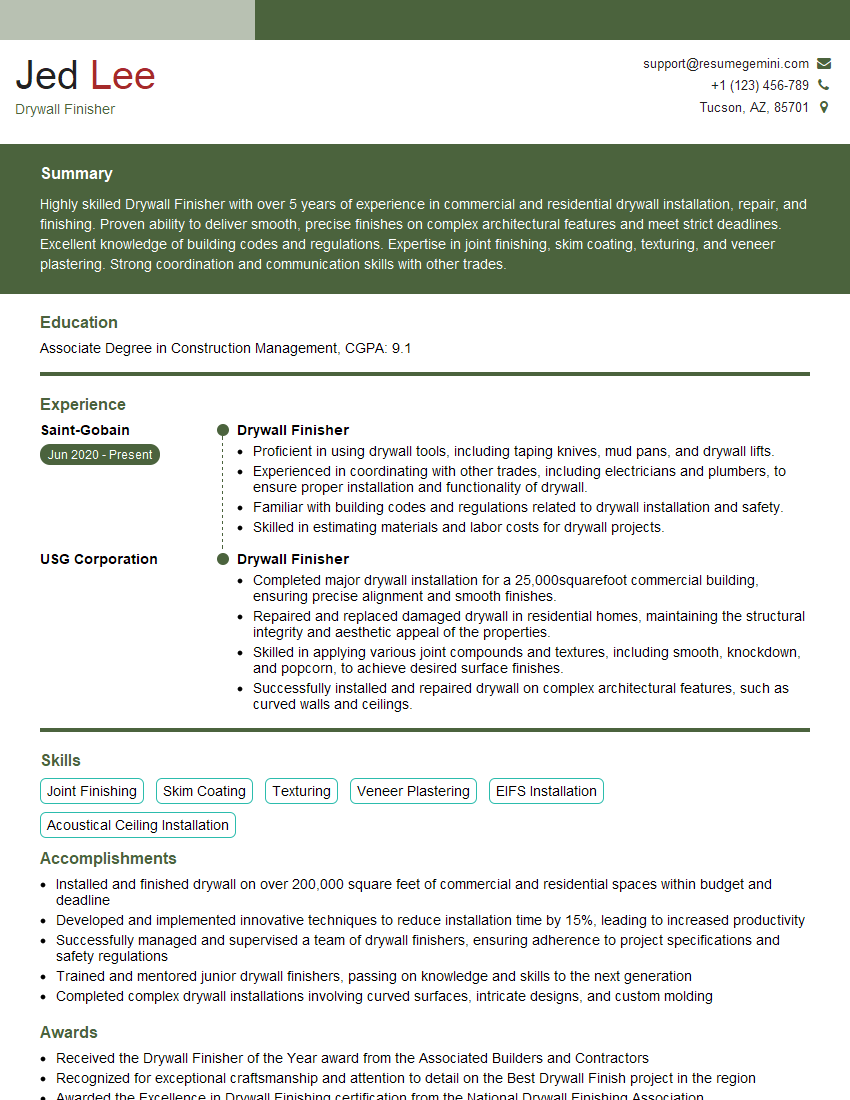
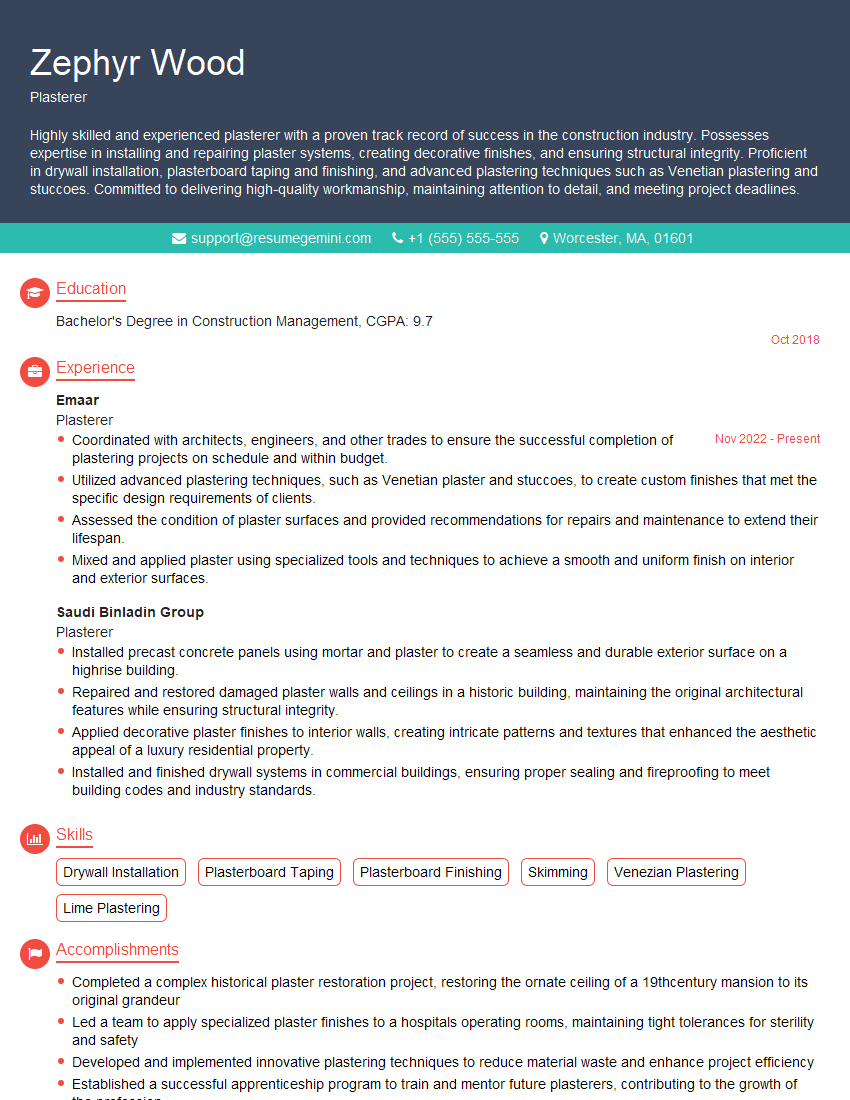
Mastering the art of working with mortar is crucial for career advancement in the construction and related industries. A strong understanding of these techniques showcases your practical skills and problem-solving abilities, making you a highly valuable asset to any team. To further enhance your job prospects, create an ATS-friendly resume that highlights your skills and experience effectively. We highly recommend using ResumeGemini to build a professional and impactful resume. ResumeGemini offers a user-friendly platform and provides examples of resumes tailored to the Working with Mortar field to help you present your qualifications in the best possible light.
Explore more articles
Users Rating of Our Blogs
Share Your Experience
We value your feedback! Please rate our content and share your thoughts (optional).
What Readers Say About Our Blog
Hi, I have something for you and recorded a quick Loom video to show the kind of value I can bring to you.
Even if we don’t work together, I’m confident you’ll take away something valuable and learn a few new ideas.
Here’s the link: https://bit.ly/loom-video-daniel
Would love your thoughts after watching!
– Daniel
This was kind of a unique content I found around the specialized skills. Very helpful questions and good detailed answers.
Very Helpful blog, thank you Interviewgemini team.
