The thought of an interview can be nerve-wracking, but the right preparation can make all the difference. Explore this comprehensive guide to Proficient in Hand and Power Tools interview questions and gain the confidence you need to showcase your abilities and secure the role.
Questions Asked in Proficient in Hand and Power Tools Interview
Q 1. What safety precautions do you take when using power tools?
Safety is paramount when using power tools. My approach is based on a layered safety system, encompassing preparation, operation, and post-use procedures. Before even turning a tool on, I always inspect it for damage, ensuring all guards are in place and functioning correctly. I also check the power cord for any fraying or damage and make sure the work area is well-lit, clean, and free of clutter to prevent tripping hazards. I always wear appropriate personal protective equipment (PPE), including safety glasses, hearing protection (especially with noisy tools like circular saws), and a dust mask when working with materials that generate dust. When operating the tool, I maintain a firm grip, use the tool at its designed speed and for its intended purpose, and never force the tool. I avoid wearing loose clothing or jewelry that could get caught in moving parts. After use, I immediately unplug the tool, allow it to cool down completely, and store it properly to prevent accidental activation or damage.
For example, when using a circular saw, I always use a push stick for making cuts near the end of a workpiece to prevent kickback. With a router, I always use a router table with a fence to ensure consistent depth and straight cuts. This multi-layered approach significantly reduces the risk of accidents and injuries.
Q 2. Describe your experience with various hand saws (e.g., coping saw, hacksaw, hand saw).
I have extensive experience with various hand saws. The choice of saw depends heavily on the material and the type of cut required. A hand saw is versatile for general-purpose cutting of wood, offering a good combination of control and speed for straight cuts. The hacksaw, with its fine teeth, is designed for cutting metal, requiring a more controlled, back-and-forth motion. The coping saw, with its narrow blade, allows for intricate cuts in wood, particularly curves and shapes. Its thin blade is excellent for detailed work like creating decorative elements or cutting tight curves in moldings.
I remember once having to cut a complex curve in a piece of hardwood for a custom cabinet door. A hand saw wouldn’t have provided the precision needed; a coping saw was the perfect tool for the job, allowing me to execute the curve smoothly and accurately. Choosing the right saw for the task significantly impacts both the quality of the cut and the efficiency of the process.
Q 3. Explain the differences between different types of drills and their applications.
Drills come in various types, each suited to specific tasks. Corded drills offer consistent power but require a power source. They are ideal for heavy-duty applications where continuous power is needed. Cordless drills provide portability and convenience but have limitations on run time and power depending on the battery. They are perfect for most common tasks where mobility is important. Hammer drills add a percussive action to the rotary motion, ideal for drilling into masonry or concrete. Impact drivers deliver high torque in short bursts, excellent for driving long screws into tough materials without stripping the heads.
For example, a corded drill is best for large-scale projects such as boring holes for plumbing pipes, whereas a cordless drill is more suited to assembling furniture. Using the correct drill ensures efficiency and avoids damaging the material or the tool itself. An impact driver would be far better for driving large screws into hardwood than a standard drill.
Q 4. How do you select the appropriate drill bit for a specific material?
Selecting the right drill bit is crucial for a clean, accurate hole. The material being drilled dictates the bit type and size. For wood, I generally use twist bits; for metal, high-speed steel (HSS) bits; for masonry, masonry bits with carbide tips. The bit diameter should be slightly smaller than the intended screw or fastener size for a secure fit. For example, when drilling pilot holes before screwing into hardwood, I would use a slightly smaller bit than the screw diameter to prevent wood splitting. Similarly, when drilling into tile, I use a diamond-tipped bit to avoid chipping.
The correct bit material is equally important. Using a standard twist bit on metal, for instance, will result in a dull bit and a ragged hole. Proper bit selection is essential for achieving professional-quality results and prolonging the life of the bit and drill.
Q 5. What are the common causes of power tool malfunctions and how do you troubleshoot them?
Power tool malfunctions can stem from various issues. A common problem is a lack of power, which could be due to a blown fuse, a faulty cord, or a dead battery. Sometimes, the tool might simply be overloaded, trying to cut or drill through material beyond its capacity. Overheating can also cause malfunctions; always allow tools to cool down periodically. Other issues include worn or damaged parts like brushes in corded drills or gear damage.
Troubleshooting involves systematically checking each potential cause. For example, if a drill won’t start, I first check the power source, then the cord and plug, and finally inspect the brushes or other internal components. Overheating is easily solved by allowing the tool to rest and cool. Addressing these problems proactively avoids more extensive damage and ensures the longevity of the tools.
Q 6. How do you maintain and care for your hand and power tools?
Maintaining hand and power tools is crucial for their longevity and safe operation. After each use, I clean the tools thoroughly, removing any debris or sawdust. For power tools, this also includes checking the air vents for clogs. Regularly lubricating moving parts, like hinges on hand saws or chucks on drills, is essential. For power tools, I also check for any signs of wear or damage and replace worn parts as needed. Sharp blades are important for safety and efficiency. I regularly sharpen hand saw blades and replace worn drill bits. Tools should be stored in a dry, clean place to prevent rust and damage. A well-maintained tool is both safer and more effective.
I remember once neglecting to clean the dust out of my router. This caused overheating and eventually led to a more serious malfunction that required professional repair. Since then, regular cleaning has been a non-negotiable part of my tool maintenance routine.
Q 7. Describe your experience with different types of measuring tools (e.g., tape measure, level, square).
Accurate measurements are fundamental to any construction or woodworking project. I frequently use a tape measure for linear measurements, always ensuring I’m reading the measurements correctly and accounting for any potential errors. A level is indispensable for ensuring surfaces are perfectly horizontal or vertical. I use it to check the alignment of walls, shelves, and other structural elements, ensuring a professional finish. The square is invaluable for creating accurate right angles, crucial for framing, joinery, and other tasks demanding precision. I utilize a combination square for both layout and measuring angles accurately.
For example, when building a frame, I use the square to check the corners for perfect 90-degree angles and the level to ensure the frame is perfectly plumb and level. Mastering the use of these tools is paramount to ensuring structural integrity and the overall aesthetic appeal of any project.
Q 8. How do you ensure accurate measurements when working on a project?
Accurate measurements are the cornerstone of any successful project. In my experience, it’s not just about having the right tools, but a systematic approach. I always start by carefully reviewing the plans, understanding the tolerances allowed, and then selecting the appropriate measuring tools. For small, intricate work, I’ll use a combination of a high-quality steel rule and calipers for precise dimensions. For larger projects, a measuring tape is essential, always double-checking measurements. I also use marking tools like pencils or marking gauges to transfer measurements accurately onto the workpiece. Finally, I consistently double-check every measurement before making any cuts or joining pieces. Think of it like building a house – a slight error in the foundation will lead to larger problems later on.
For instance, when building a custom cabinet, I wouldn’t just rely on a single measurement; I’d measure multiple times in different ways to ensure consistency. I might measure the width of the shelf three times, using different methods each time, then average those readings before proceeding.
Q 9. Explain your experience with different types of fasteners (e.g., screws, nails, bolts).
My experience with fasteners is extensive, covering a wide range of applications. I’m proficient with various types of screws, from wood screws (like flathead, countersunk, and roundhead) to machine screws (with different thread pitches and head styles). I’m familiar with the nuances of different nail types, including common nails, finishing nails, brad nails, and specialty nails like roofing nails. I also have extensive experience working with bolts, ranging from standard hex bolts and carriage bolts to specialized fasteners like eye bolts and lag bolts. Understanding the strengths, weaknesses, and appropriate applications of each is crucial. For example, I know that wood screws are ideal for joining wood pieces, while machine screws are better suited for joining metal parts. Using the wrong type of screw can compromise the strength and durability of the project.
I also consider the material being fastened when choosing fasteners. For example, I would use stainless steel screws for outdoor projects to prevent rust, or use specialized drywall screws for hanging heavy items on drywall.
Q 10. How do you choose the appropriate fastener for a specific application?
Selecting the right fastener depends on several factors. The type of material being joined is paramount: wood, metal, plastic, or composite materials all require different fasteners. The strength required is another key consideration. Will the joint need to withstand significant stress or just light pressure? The aesthetic requirements are also important; for example, you may want to use countersunk screws for a clean, flush finish. The environment is important too; you’ll use corrosion-resistant fasteners for outdoor applications. Finally, the accessibility of the joint affects fastener selection. Sometimes a screw is easier to install than a bolt.
For example, when building a deck, I’d use exterior-grade screws designed to withstand the elements. For assembling a delicate piece of furniture, I might use smaller, less intrusive brads or fine wood screws.
Q 11. Describe your experience using various types of woodworking hand tools (e.g., chisels, planes, mallets).
I’ve worked extensively with a variety of woodworking hand tools, and each has its specific purpose. Chisels are essential for precise shaping, from removing material to creating joints. I regularly use various types, including mortise chisels, firmer chisels, and paring chisels. Planes, like block planes and smoothing planes, are crucial for creating smooth, even surfaces. I use them to level boards and refine the shape of wood. Mallets, both wooden and rubber, are used to drive chisels and other tools without damaging the workpiece. I have experience with different types of mallets, such as wooden mallets for delicate work and harder mallets for more forceful blows.
Once, I had to repair an antique table leg where a piece of wood was broken off. Using a combination of chisels and a mallet, I carefully removed the damaged area, then created a new piece of wood to fit the space perfectly. Finally, I used wood glue and clamps to secure the new piece in place and then used planes to smooth everything out.
Q 12. What are the different types of wood and their properties?
Wood varies greatly in its properties, impacting its suitability for different projects. Hardwoods, such as oak, maple, and cherry, are strong, durable, and relatively dense, making them ideal for furniture and flooring. Softwoods, such as pine and fir, are lighter, less dense, and easier to work with, suitable for framing and less demanding applications. Each type also has unique grain patterns and colors, affecting its aesthetic appeal. Understanding the properties of different woods is critical for choosing the right one for a project. For example, I wouldn’t use a softwood like pine for a high-stress application like a table leg, as it’s prone to wear and tear under significant pressure.
- Hardwoods: Oak (strength, durability), Maple (hardness, smooth finish), Cherry (beauty, rich color)
- Softwoods: Pine (easy to work with, affordable), Fir (structural strength), Cedar (resistance to rot)
Q 13. Explain your experience with different types of metalworking hand tools (e.g., files, hammers, punches).
Metalworking hand tools are another area of expertise. Files, in various shapes and cuts, are essential for shaping and smoothing metal. I use them for deburring, sharpening, and creating precise contours. Hammers, from ball-peen hammers to soft-faced hammers, are necessary for striking punches and shaping metal. Punches, including center punches, drift punches, and pin punches, are vital for marking metal, driving pins, and removing rivets. I also work with other tools like hacksaws and screwdrivers adapted for metal work.
I recall a project where I had to repair a broken cast-iron bracket. Using a hacksaw, I carefully cut away the broken portion. Then, I used a file to smooth the edges, making it ready for welding. The project required precision and a good understanding of different metalworking tools. Without the right tools, the repair would have been impossible.
Q 14. What are the different types of metal and their properties?
Just as with wood, different metals have vastly different properties. Steel, a common choice, offers high strength and durability but can rust. Aluminum is lightweight and corrosion-resistant, ideal for applications where weight is a concern. Brass is aesthetically pleasing and readily machinable, frequently used in decorative applications. Stainless steel combines strength, durability, and corrosion resistance, excellent for outdoor applications. Understanding these properties helps in selecting the right metal for a particular project. For instance, I would choose stainless steel for outdoor railings, as it’s resistant to rust. For a lightweight piece of equipment, I might choose aluminum. Knowing the differences between metals allows me to make informed decisions that ensure both functionality and longevity.
- Steel: High strength, durability (prone to rust)
- Aluminum: Lightweight, corrosion-resistant
- Brass: Machinable, aesthetically pleasing
- Stainless Steel: High strength, corrosion-resistant
Q 15. How do you use a level to ensure surfaces are plumb and level?
Ensuring surfaces are plumb (vertical) and level (horizontal) is fundamental in construction and woodworking. A level uses gravity to indicate whether a surface is perfectly aligned. There are different types of levels, including torpedo levels, box levels, and even laser levels. The most common are spirit levels, which use a vial of liquid with a bubble inside.
To use a level, place it on the surface you want to check. If the bubble is centered within the markings on the vial, the surface is level in that direction. For plumb, hold the level vertically against the surface. Again, a centered bubble indicates it’s plumb.
Example: When installing kitchen cabinets, I use a level to ensure the base units are perfectly level and the wall units are plumb. Even a slight misalignment will affect the overall look and functionality. I always double-check with the level in multiple directions – horizontally and vertically – before securing anything.
Career Expert Tips:
- Ace those interviews! Prepare effectively by reviewing the Top 50 Most Common Interview Questions on ResumeGemini.
- Navigate your job search with confidence! Explore a wide range of Career Tips on ResumeGemini. Learn about common challenges and recommendations to overcome them.
- Craft the perfect resume! Master the Art of Resume Writing with ResumeGemini’s guide. Showcase your unique qualifications and achievements effectively.
- Don’t miss out on holiday savings! Build your dream resume with ResumeGemini’s ATS optimized templates.
Q 16. Explain your experience with using various types of clamps.
My experience with clamps spans a wide range of types, each suited for different applications. I’m proficient with:
- Bar clamps: Excellent for holding large workpieces together, particularly when gluing up wide panels. I’ve used these extensively in building furniture and larger projects, where the clamping pressure is distributed evenly across the length of the workpiece.
- C-clamps: Versatile for a variety of tasks, including clamping smaller components and holding jigs in place. Their compact design makes them ideal for confined spaces.
- Quick-release clamps: These offer speed and efficiency, perfect for tasks where many clamps are needed. I particularly appreciate them when working with repetitive assembly processes, saving considerable time compared to traditional clamps.
- Edge clamps: Specifically designed for edge joining, these ensure accurate alignment and provide strong clamping pressure for creating robust joints.
- Spring clamps: Useful for smaller applications and quick temporary clamping of various parts, often used when assembling intricate details.
Choosing the right clamp depends on the project’s scale, material, and desired clamping pressure. I always consider the material’s strength to prevent marring or damage from excessive force.
Q 17. Describe your experience with different types of joinery techniques.
My experience with joinery techniques is extensive, covering both traditional and modern methods. I’m comfortable with:
- Mortise and tenon: A strong, time-tested joint excellent for furniture making. I’ve used it in building chairs, tables, and cabinets where strength and durability are crucial. The precision required is quite rewarding when executed properly.
- Dovetail joints: A visually appealing and incredibly strong joint, perfect for drawers and high-end furniture. I’ve used both through dovetails and half-blind dovetails depending on the application and aesthetic requirements.
- Dado joints: Excellent for shelving and other applications requiring strong horizontal support. I’ve employed these in building bookcases and kitchen units where even weight distribution is essential.
- Butt joints: Simple but often reinforced with glue, dowels, or biscuits for added strength. These are useful for faster construction and often used in less visible areas.
- Miter joints: Used for joining angled pieces, such as picture frames. Precision is vital here to ensure a seamless fit and often requires extra reinforcement.
The choice of joinery technique always depends on the project’s design, required strength, and aesthetic considerations. A well-executed joint is often the difference between a professional and amateur piece.
Q 18. How do you read and interpret blueprints or schematics?
Reading and interpreting blueprints or schematics involves understanding various symbols, dimensions, and notations. My approach involves a systematic breakdown:
- Understanding the scale: Identify the scale used in the drawing to accurately determine the real-world dimensions.
- Identifying views: Examine different views (plan, elevation, section) to gain a complete understanding of the project’s design.
- Interpreting symbols: Familiarize myself with standard symbols for materials, dimensions, and specifications.
- Analyzing details: Carefully examine detail drawings to clarify specific features or joinery details.
- Checking dimensions and tolerances: Verify dimensions, tolerances, and specifications to ensure accuracy and feasibility.
Example: In a recent project involving a custom-built bookcase, the blueprint detailed multiple views, specifying materials, dimensions, and the joinery techniques to be used. I meticulously reviewed these aspects, confirming material choices and ensuring the joinery would provide sufficient support for the shelves.
Q 19. How do you safely operate a circular saw?
Safe operation of a circular saw prioritizes the following:
- Proper blade selection: Use the correct blade for the material being cut. Different materials require different tooth configurations.
- Secure workpiece: Always clamp or secure the workpiece to prevent movement during cutting.
- Appropriate safety gear: Wear safety glasses, hearing protection, and a dust mask, especially when cutting hardwoods.
- Firm grip: Maintain a firm, balanced grip on the saw, and ensure your body is positioned correctly, away from the blade path.
- Smooth and controlled cuts: Avoid forcing the saw; let the weight of the machine do the work. Maintain a consistent feed rate throughout the cut.
- Blade depth adjustment: Adjust the blade depth to only cut through the necessary thickness, minimizing the risk of kickback.
- Regular maintenance: Keep the blade sharp and clean, and ensure the saw is properly maintained according to the manufacturer’s instructions.
Never attempt to force a cut or use a dull blade, as this drastically increases the risk of accidents. Always turn off the saw and ensure the blade comes to a complete stop before making any adjustments or moving the workpiece.
Q 20. How do you safely operate a reciprocating saw?
Safe operation of a reciprocating saw, also known as a Sawzall, is critical. Here’s my approach:
- Correct blade selection: Choose the appropriate blade for the material being cut – wood, metal, or other materials require different blade types.
- Secure workpiece: Clamp or secure the workpiece firmly to prevent movement during cutting.
- Safety gear: Always wear safety glasses, hearing protection, and a dust mask.
- Controlled cuts: Make slow, controlled cuts, avoiding any sudden movements or forces.
- Proper grip: Maintain a firm, balanced grip on the saw and keep your body away from the blade’s cutting path.
- Avoid binding: Avoid letting the blade bind in the material; this could lead to kickback or damage to the saw.
- Regular maintenance: Keep the saw clean and lubricated according to the manufacturer’s instructions. Replace worn blades promptly.
A common mistake is pushing too hard on the saw. The saw’s reciprocating action should do the work. Pushing excessively risks kickback and increases the likelihood of injury.
Q 21. How do you safely operate a jigsaw?
Safe operation of a jigsaw demands precision and awareness:
- Correct blade selection: Choose the right blade based on the material and cut type – wood, metal, or plastic each needs a specific blade design.
- Secure workpiece: Always clamp the workpiece firmly to the work surface.
- Safety gear: Wear safety glasses and a dust mask.
- Slow and steady cuts: Avoid rushing the cuts. Slow, controlled movements provide better accuracy and prevent blade breakage.
- Proper grip and posture: Maintain a comfortable and controlled grip on the saw, ensuring good balance and posture to avoid fatigue.
- Blade depth adjustment: Adjust the blade depth to suit the material thickness for optimal cutting performance and safety.
- Bevel adjustment: If making angled cuts, use the bevel adjustment to set the appropriate angle.
- Regular maintenance: Keep the saw clean and lubricated. Replace worn or damaged blades immediately.
A common issue is forcing the cut; let the blade do the work. Over-force can result in broken blades, uneven cuts and risk of injury.
Q 22. How do you safely operate a router?
Router safety hinges on understanding its power and potential for kickback. Before even plugging it in, always ensure the work area is clear of obstructions and well-lit. Secure your workpiece firmly – clamps are your best friend here! Use a push stick for smaller pieces to keep your hands safely away from the cutting path. Never force the router; let the bit do the work. Select the correct bit for the material and always use appropriate safety glasses, a dust mask (router bits generate significant dust), and hearing protection. Think of it like driving a car: you wouldn’t speed without seatbelts; you shouldn’t operate a router recklessly.
For example, when routing a curved edge, use a pattern bit and a jig to ensure consistent and safe cuts. Avoid freehand routing unless you’re incredibly experienced and are working with a very small and manageable piece of wood. Always check the router bit for sharpness and any damage before each use; a dull bit increases the risk of kickback.
Q 23. How do you safely operate a table saw?
Table saw safety is paramount. Never start the saw until the blade is completely stopped. Always use the push stick and featherboard to feed the wood into the blade, keeping your fingers well away from the cutting area. The blade must be properly adjusted to the height appropriate for your material thickness. The rip fence should be perfectly aligned and securely fastened; a misaligned fence leads to inaccurate cuts and increases the risk of kickback. Additionally, never reach over the saw blade. Always wear safety glasses, hearing protection, and a dust mask. Regularly check the blade for sharpness and damage to ensure clean, safe cuts.
Imagine the table saw as a very precise but powerful machine. Treat it with the respect it deserves; remember, carelessness can result in serious injury. I always double-check the alignment of the fence before each cut, no matter how simple it seems. It’s a habit that prevents a lot of mistakes and potential accidents.
Q 24. How do you safely operate an angle grinder?
Angle grinders are extremely powerful tools with the potential for serious injury. Always wear appropriate safety gear – this includes safety glasses with side shields, a face shield (to protect from flying debris), hearing protection, and work gloves. Before turning on the grinder, ensure the work area is clear and the workpiece is securely clamped. Use the correct grinding wheel for the material and ensure it’s properly fitted and secured. Never operate the angle grinder at excessively high speeds, and keep a firm grip to avoid loss of control. Remember, these tools are capable of generating sparks, so ensure there are no flammable materials nearby.
For example, when grinding metal, I always start with a lower speed to get a feel for the tool and then adjust as needed. Always allow the grinder to reach full speed before making contact with the material to avoid binding and kickback. Regular inspections of the grinding wheel are essential to identify any cracks or damage that could lead to failure.
Q 25. How do you identify and address potential hazards when using power tools?
Identifying hazards when using power tools involves a proactive approach. First, assess the workspace for tripping hazards, obstructions, and proper lighting. Check the condition of the tool itself; loose wires, damaged cords, or worn-out components need immediate attention. Ensure appropriate personal protective equipment (PPE) is readily available and worn consistently. The type of PPE will vary based on the tool and the material being worked with.
- Tangible hazards: Loose clothing, long hair, jewelry, and inadequate lighting.
- Tool-specific hazards: Kickback, blade binding, electric shock, dust inhalation.
- Environmental hazards: Slippery surfaces, cluttered workspaces, and proximity to flammable materials.
Addressing these hazards involves eliminating them whenever possible (e.g., clearing the workspace), mitigating them (e.g., using clamps to secure materials), or using control measures (e.g., wearing PPE). Always consult the tool’s manual for specific safety guidelines.
Q 26. What is your experience with using pneumatic tools?
I have extensive experience with pneumatic tools, ranging from nail guns and staple guns to impact wrenches and sanders. I’m proficient in maintaining and troubleshooting these tools, understanding the importance of proper air pressure and lubrication. Pneumatic tools require regular maintenance, including cleaning and lubrication of moving parts to ensure optimal performance and safety. Misuse can lead to malfunctions and potential injury. For example, I routinely check air hoses for leaks and damage, and I always ensure that the air compressor is adequately sized for the tool being used.
I’m familiar with the various types of pneumatic fasteners and their applications, as well as the safety procedures for operating these tools, including the correct techniques for handling nail jams and other issues. The power and speed of these tools demand extra caution.
Q 27. Describe a time you had to troubleshoot a problem with a power tool on a job site.
On a recent job site, we were using a nail gun to install roofing panels. Suddenly, the gun started jamming repeatedly. The initial diagnosis was a simple clog, but after clearing it multiple times, the problem persisted. I systematically checked several aspects:
- Air pressure: The compressor’s output was low, reducing the nail gun’s power.
- Nail type: The nails weren’t the correct type for the roofing material, causing them to bend.
- Gun condition: The gun itself had a small internal blockage requiring disassembly and thorough cleaning.
By addressing each of these possibilities, I was able to pinpoint the cause – a combination of low air pressure and an internal obstruction. Once the compressor was adjusted and the nail gun thoroughly cleaned, it functioned correctly. This experience highlighted the importance of thorough troubleshooting and systematic problem-solving when dealing with power tools on site.
Key Topics to Learn for Proficient in Hand and Power Tools Interview
- Safety Procedures and Regulations: Understanding and adhering to all relevant safety protocols for hand and power tools, including PPE (Personal Protective Equipment) usage and hazard identification.
- Hand Tool Proficiency: Demonstrating expertise in using a variety of hand tools such as hammers, screwdrivers, wrenches, saws, measuring tapes, and levels. This includes understanding their proper application and maintenance.
- Power Tool Operation and Maintenance: Safe and efficient operation of common power tools like drills, saws (circular, reciprocating, miter), sanders, routers, and impact drivers. This also encompasses routine maintenance, troubleshooting minor issues, and understanding their limitations.
- Material Selection and Application: Knowing which tools are appropriate for different materials (wood, metal, plastic, etc.) and understanding the techniques for achieving precise cuts, accurate measurements, and clean finishes.
- Project Planning and Execution: Describing your approach to a project, from initial assessment and planning through execution and completion, including problem-solving during the process.
- Troubleshooting and Repair: Explaining how to identify and resolve common issues encountered while using hand and power tools, emphasizing problem-solving skills and practical experience.
- Tool Care and Storage: Demonstrating knowledge of proper tool cleaning, storage, and maintenance to ensure longevity and safety.
Next Steps
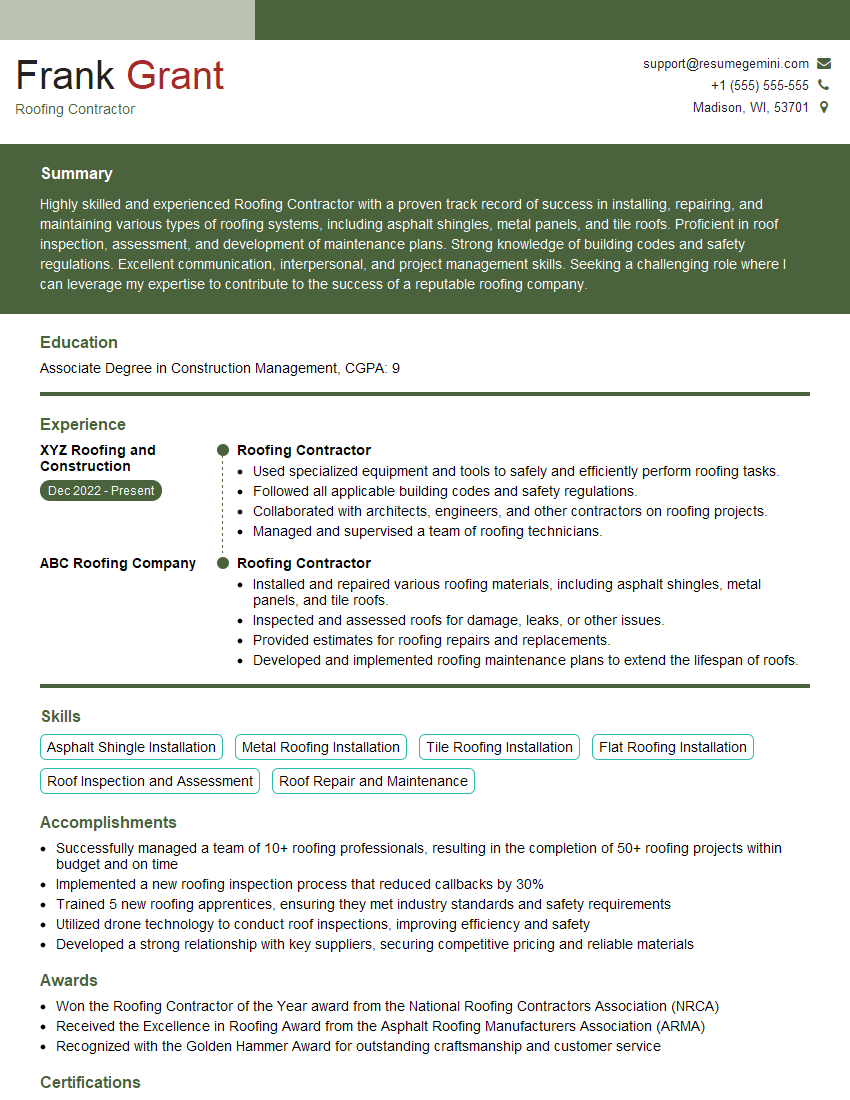
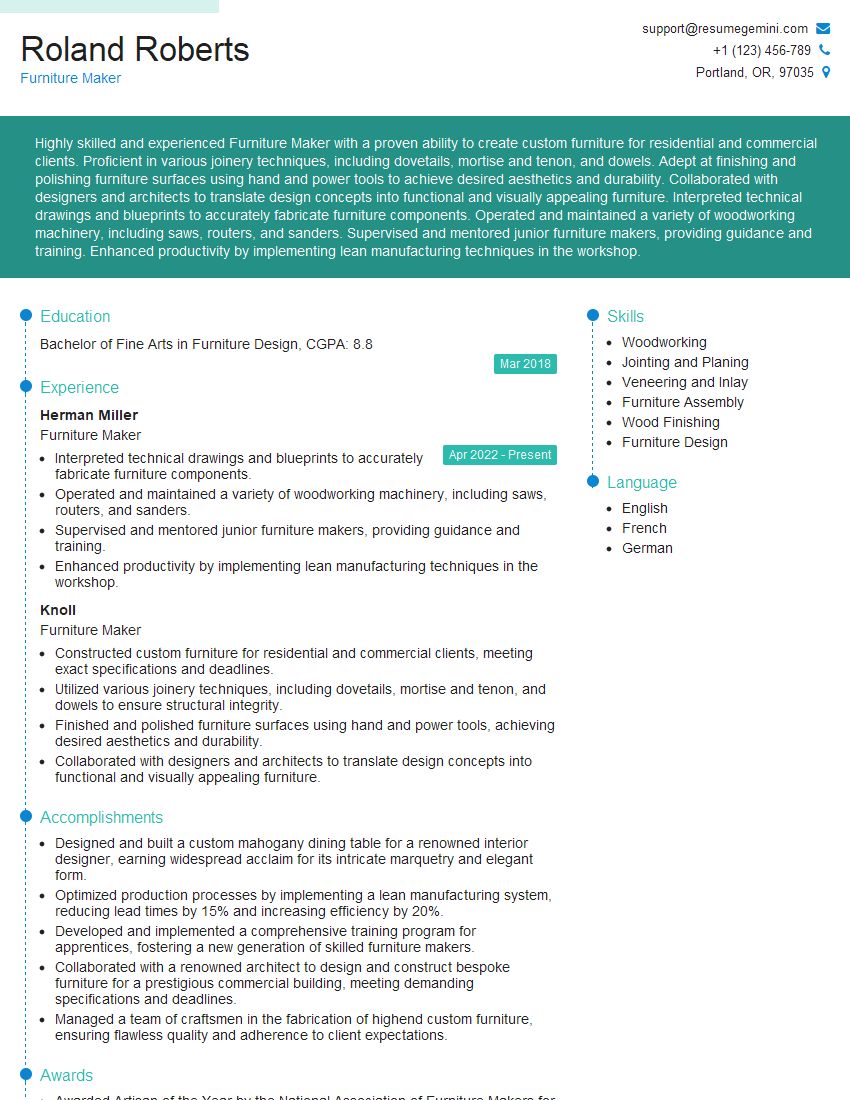
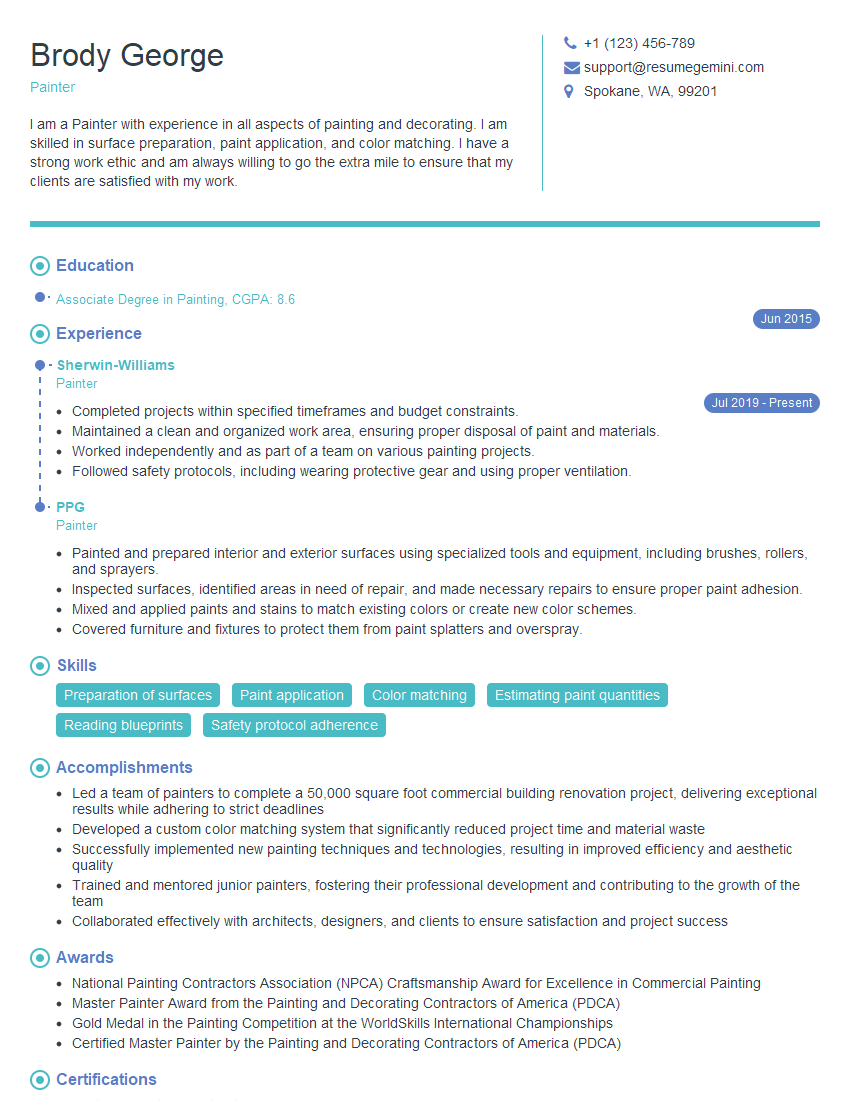
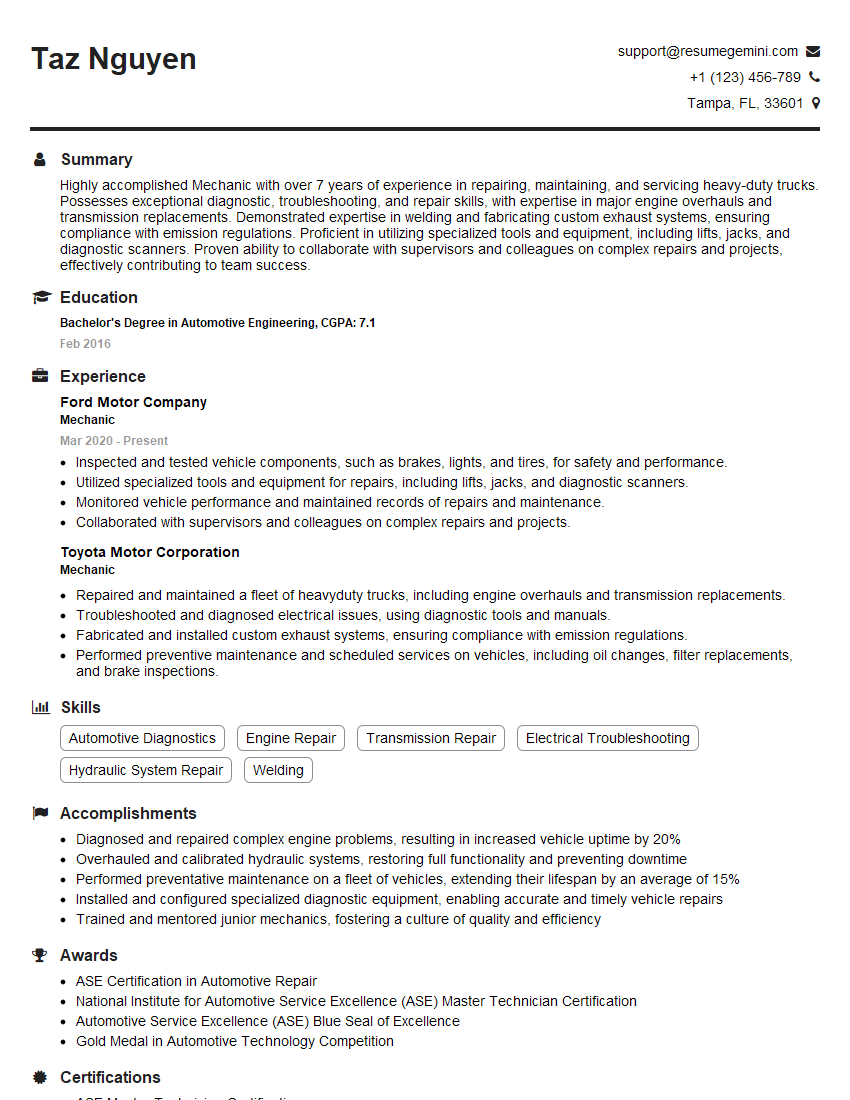
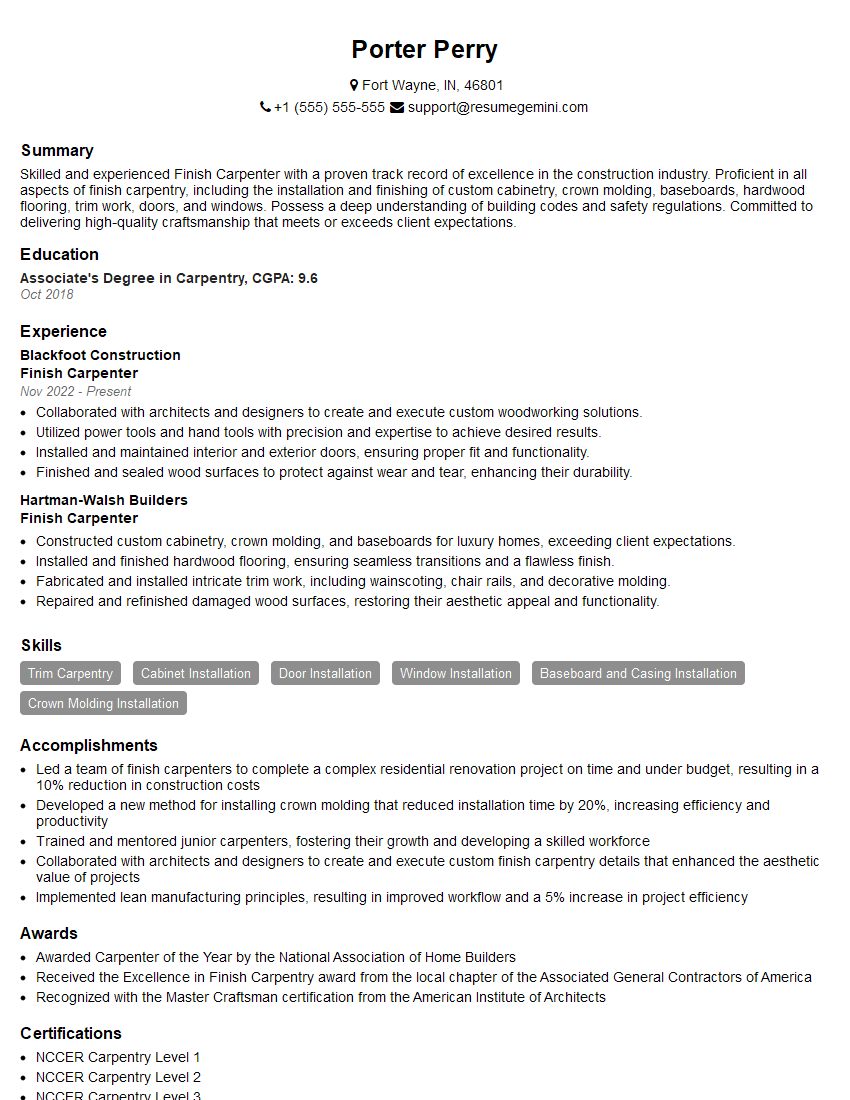
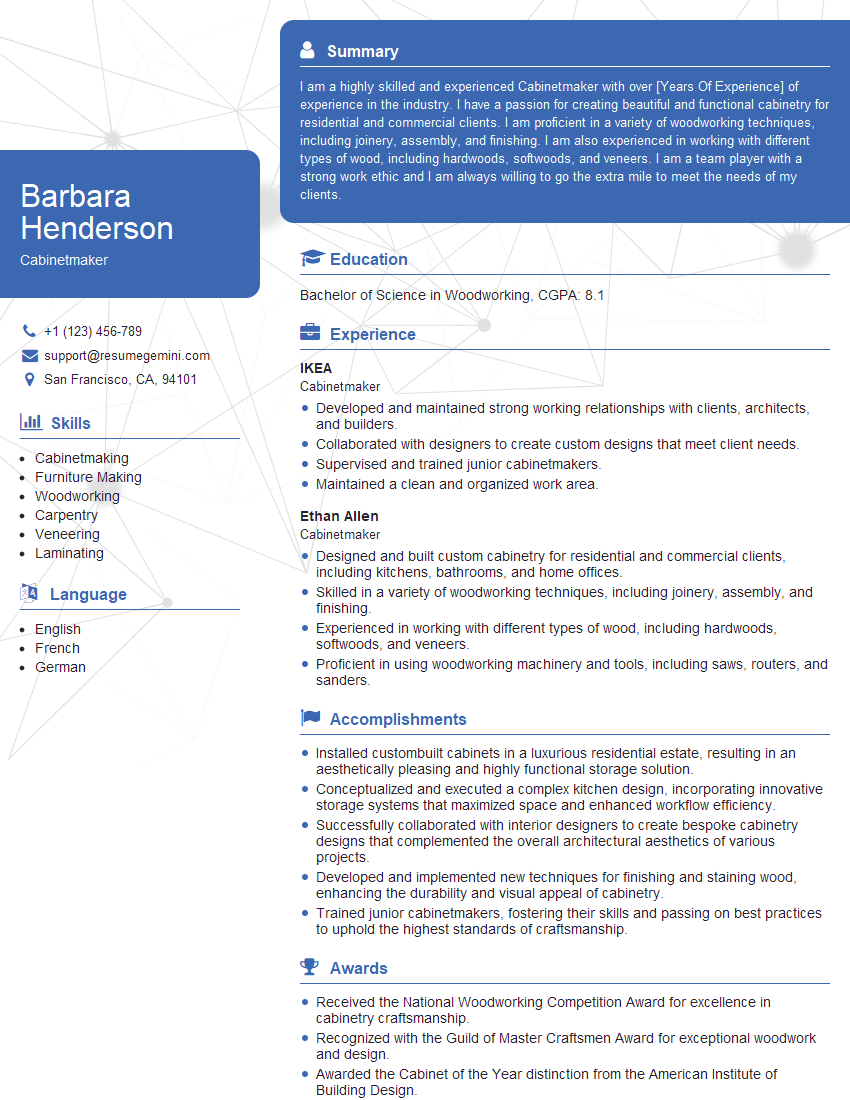
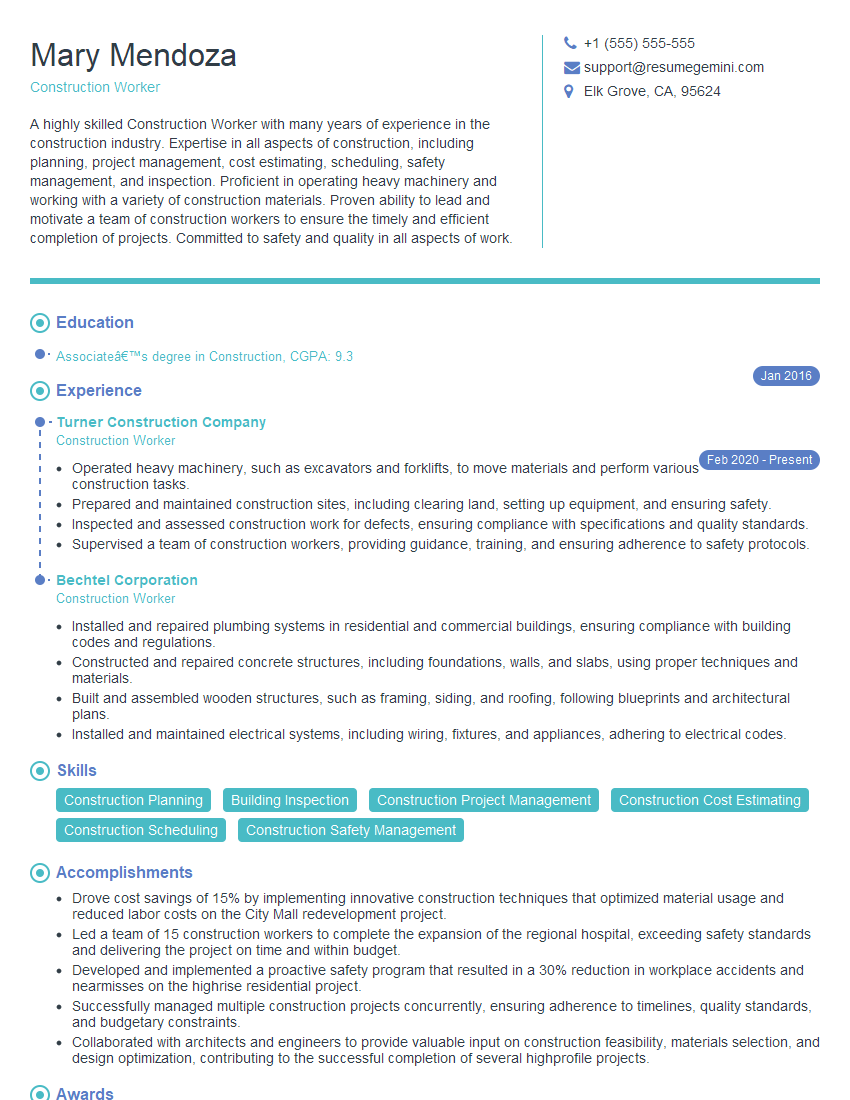
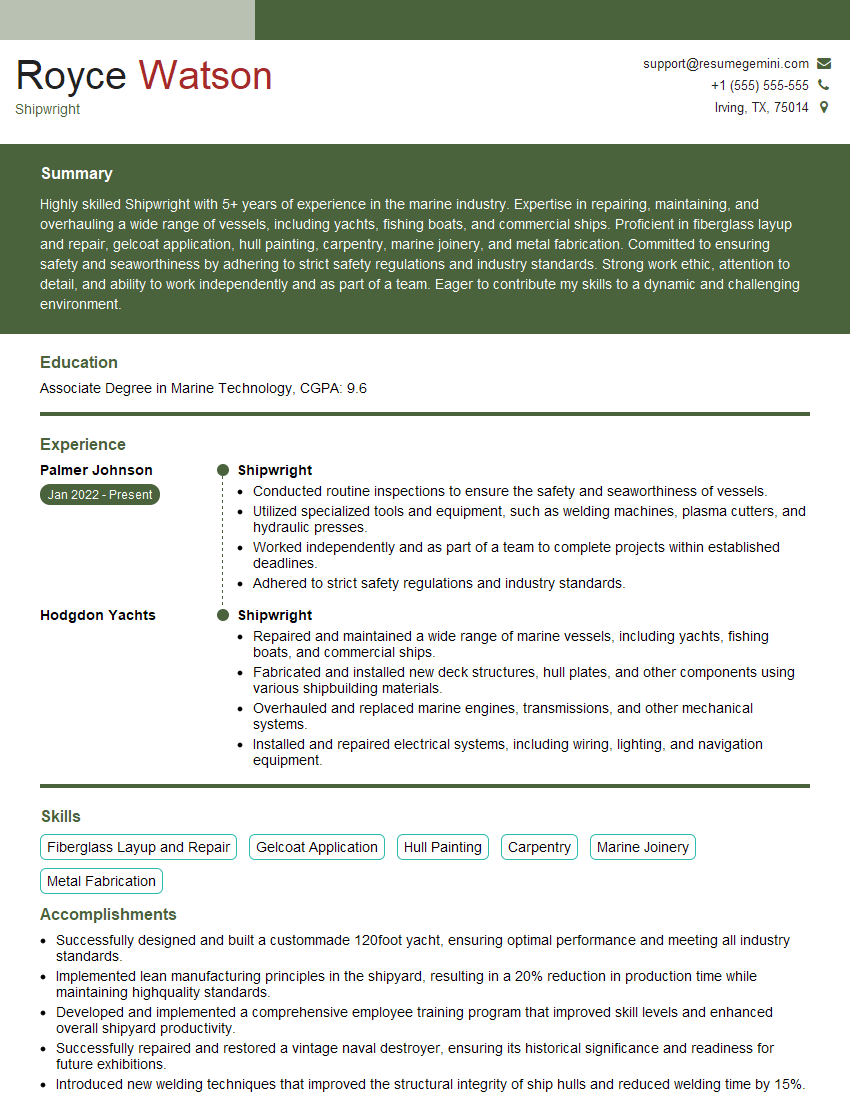
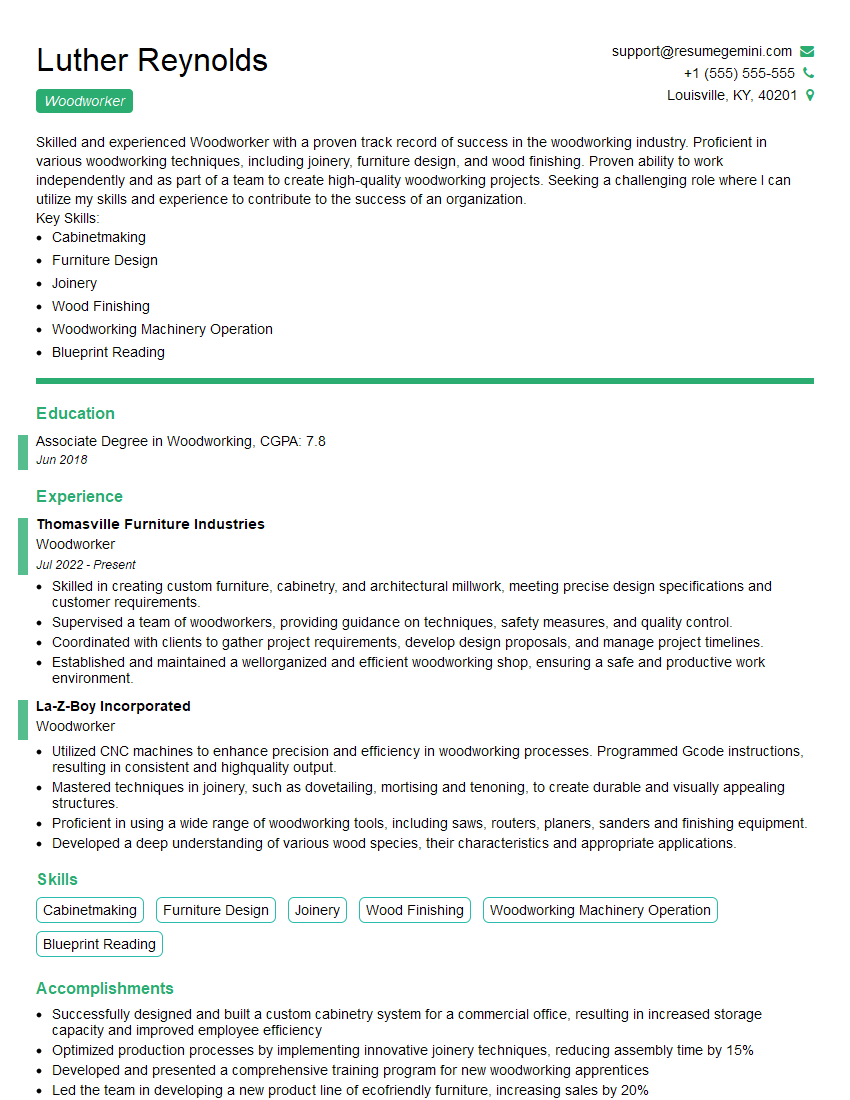
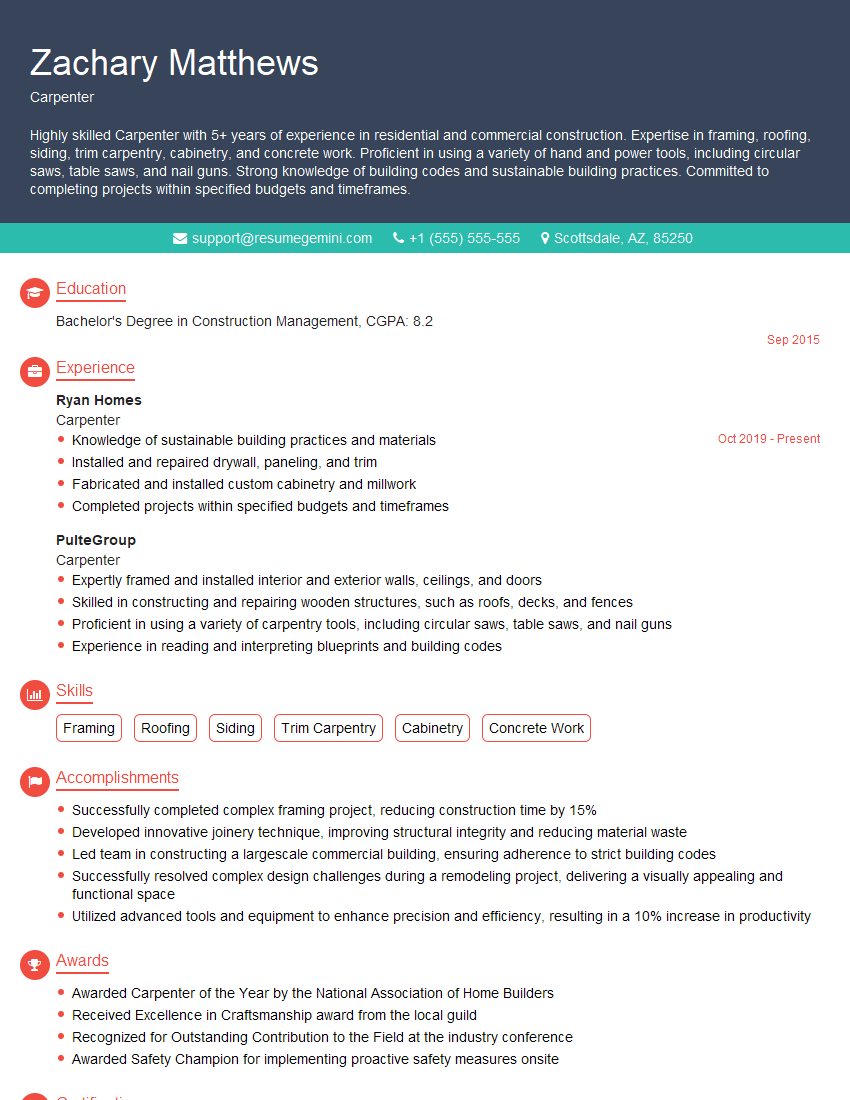
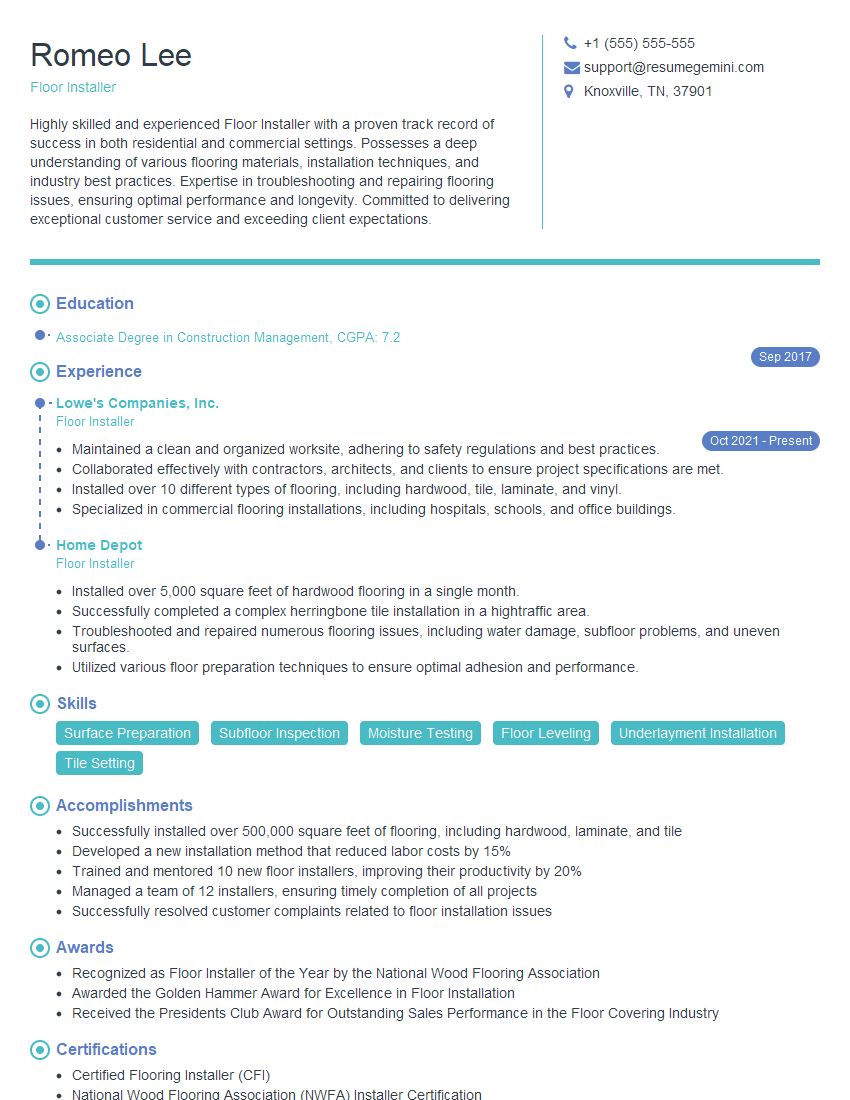
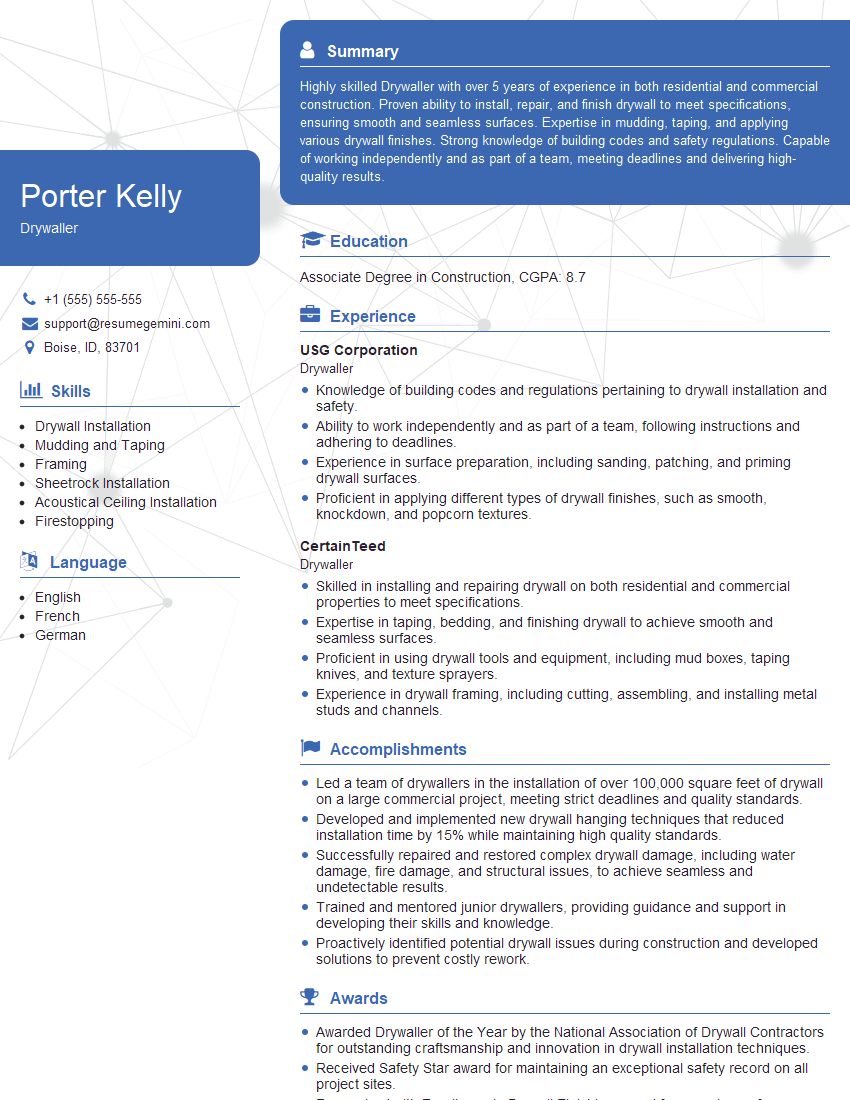
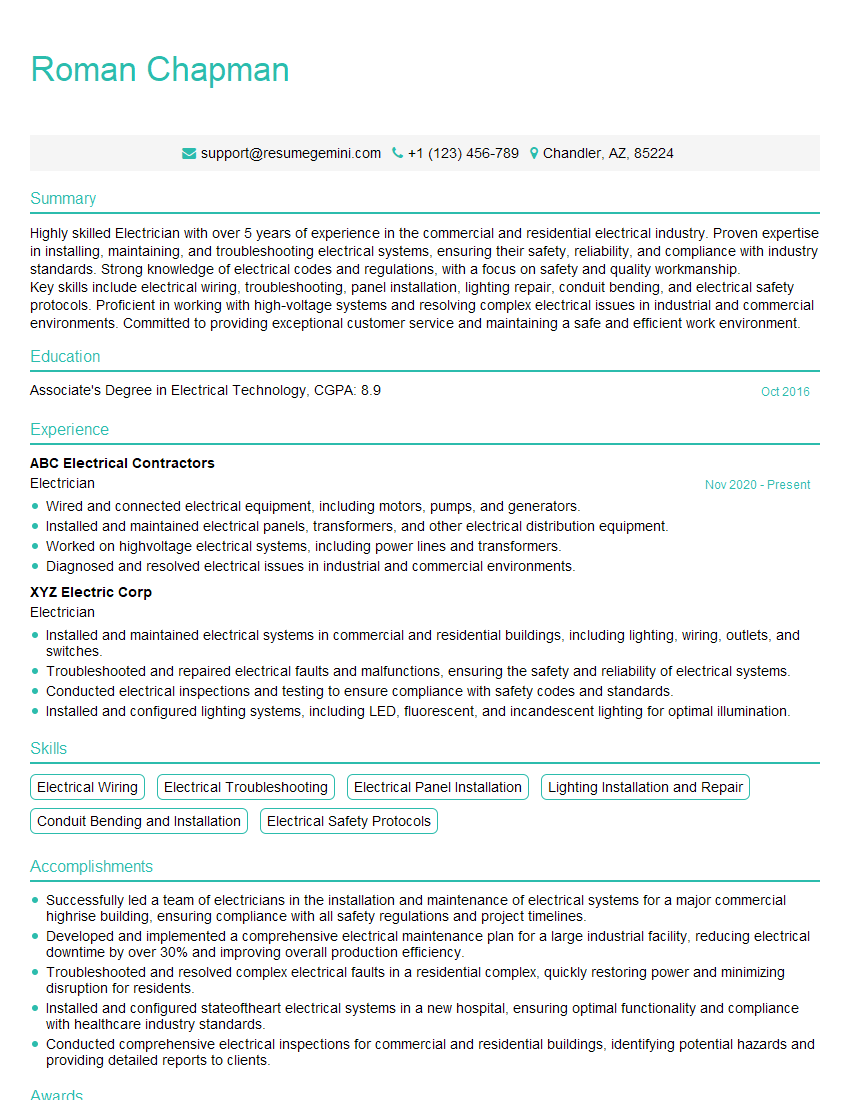
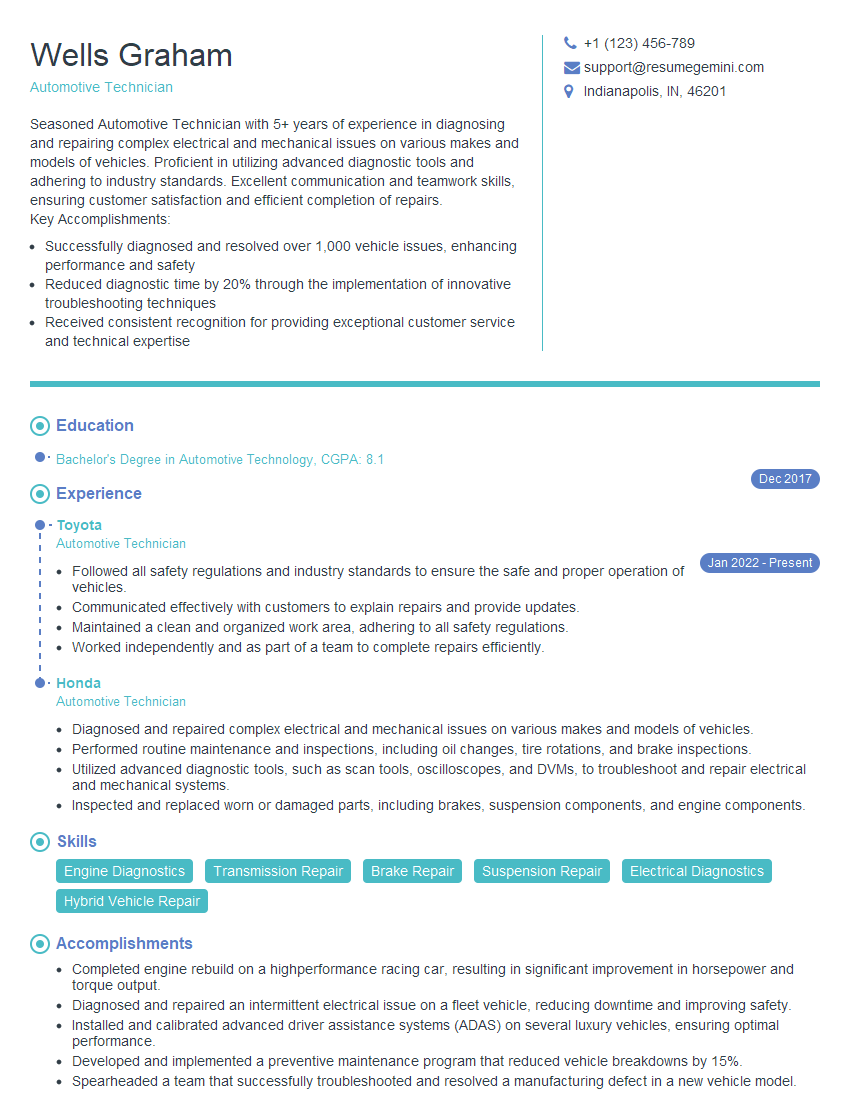
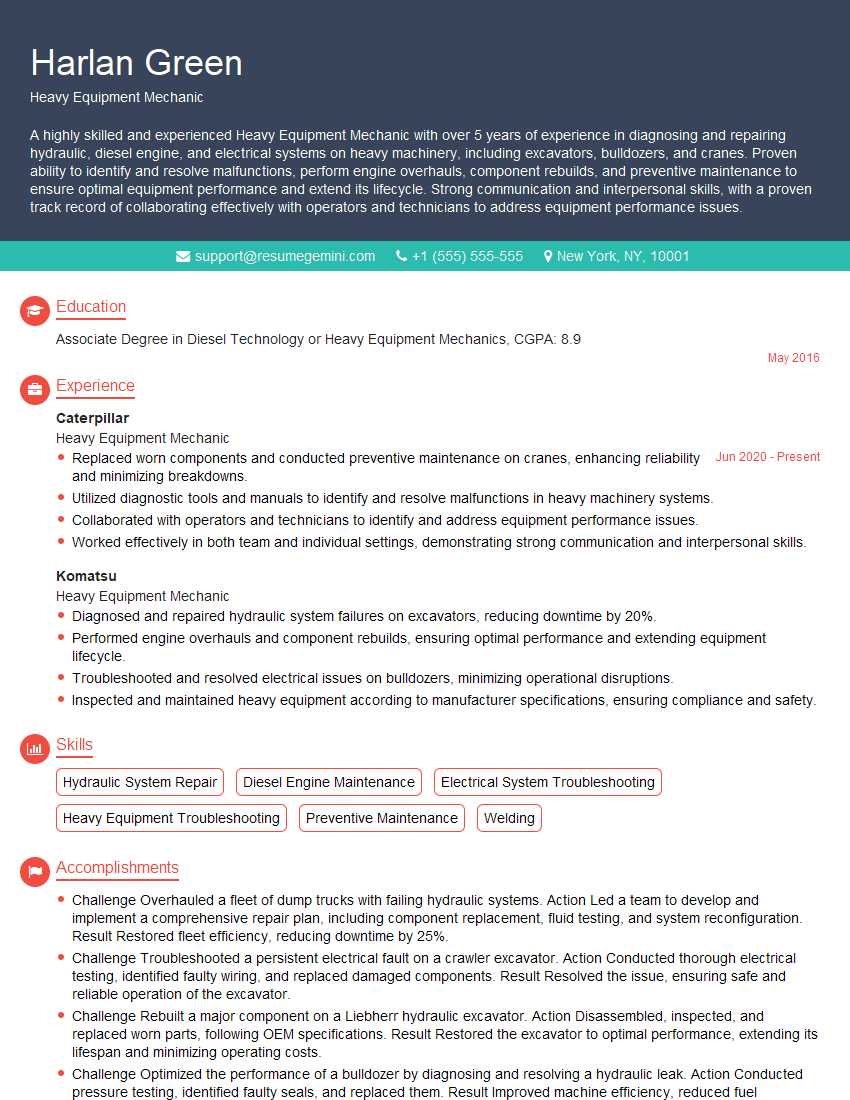
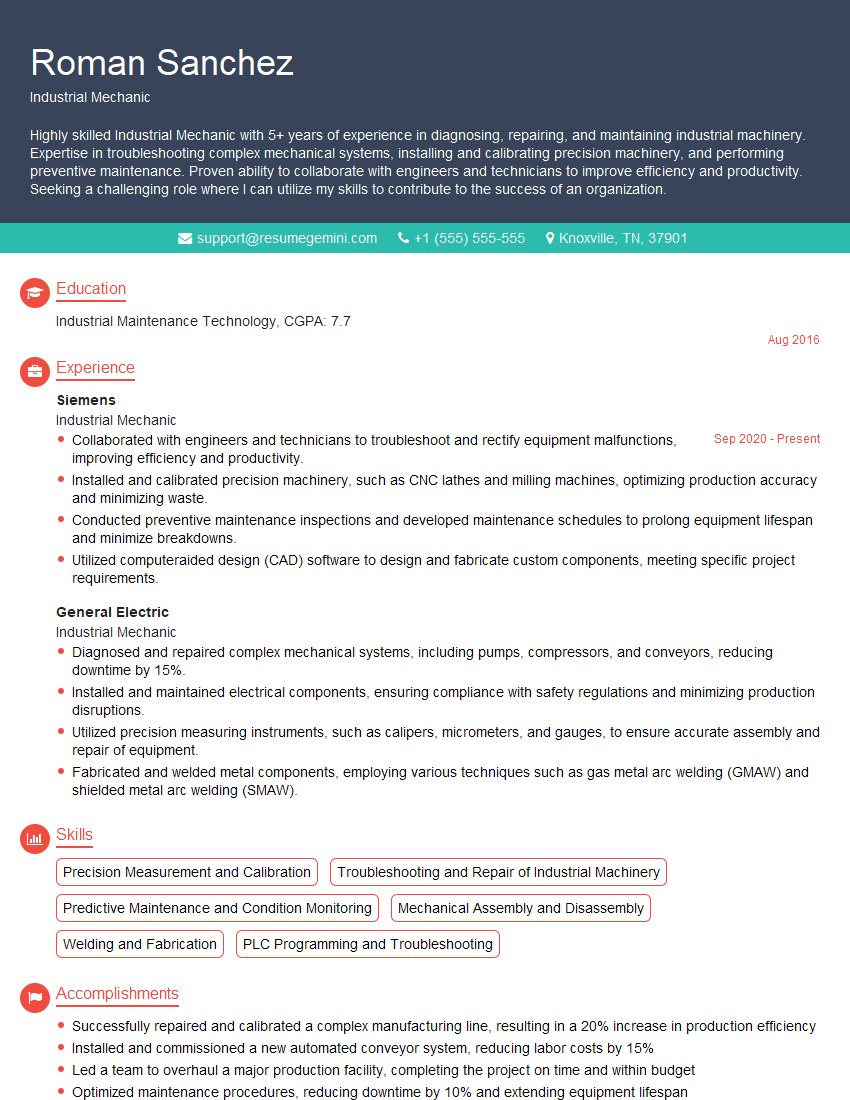
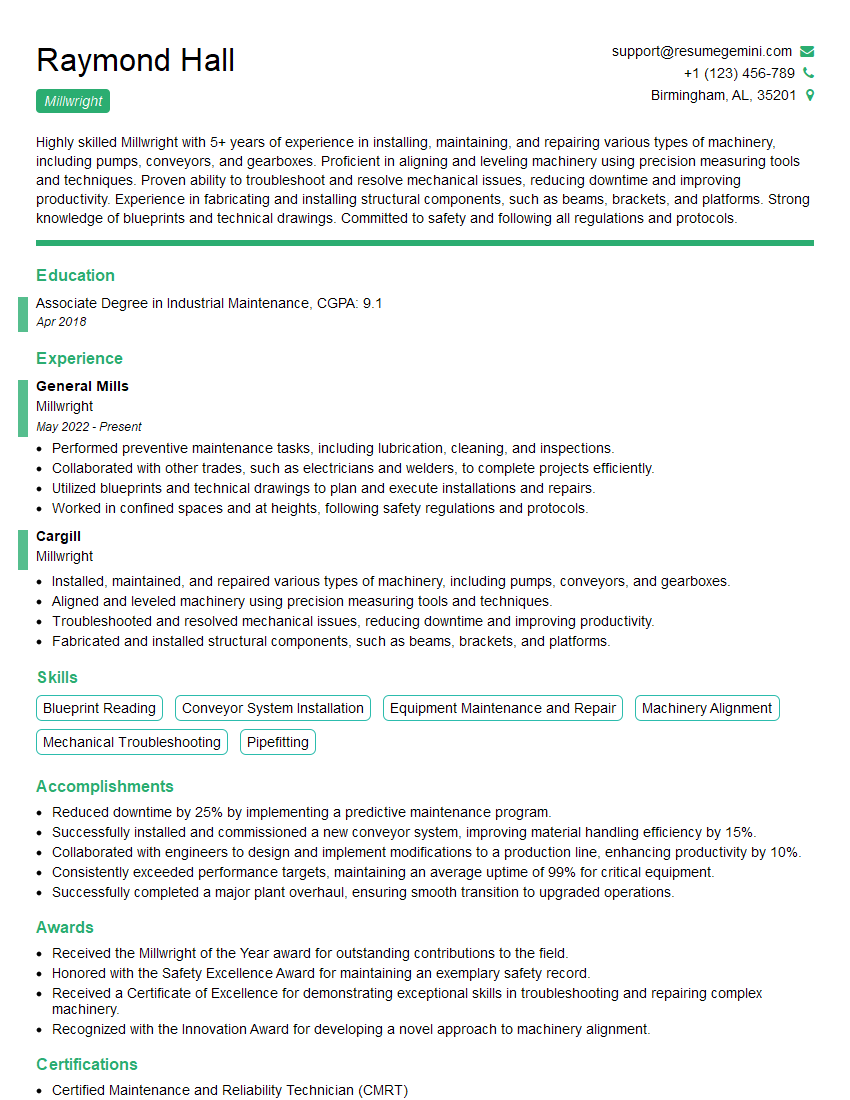
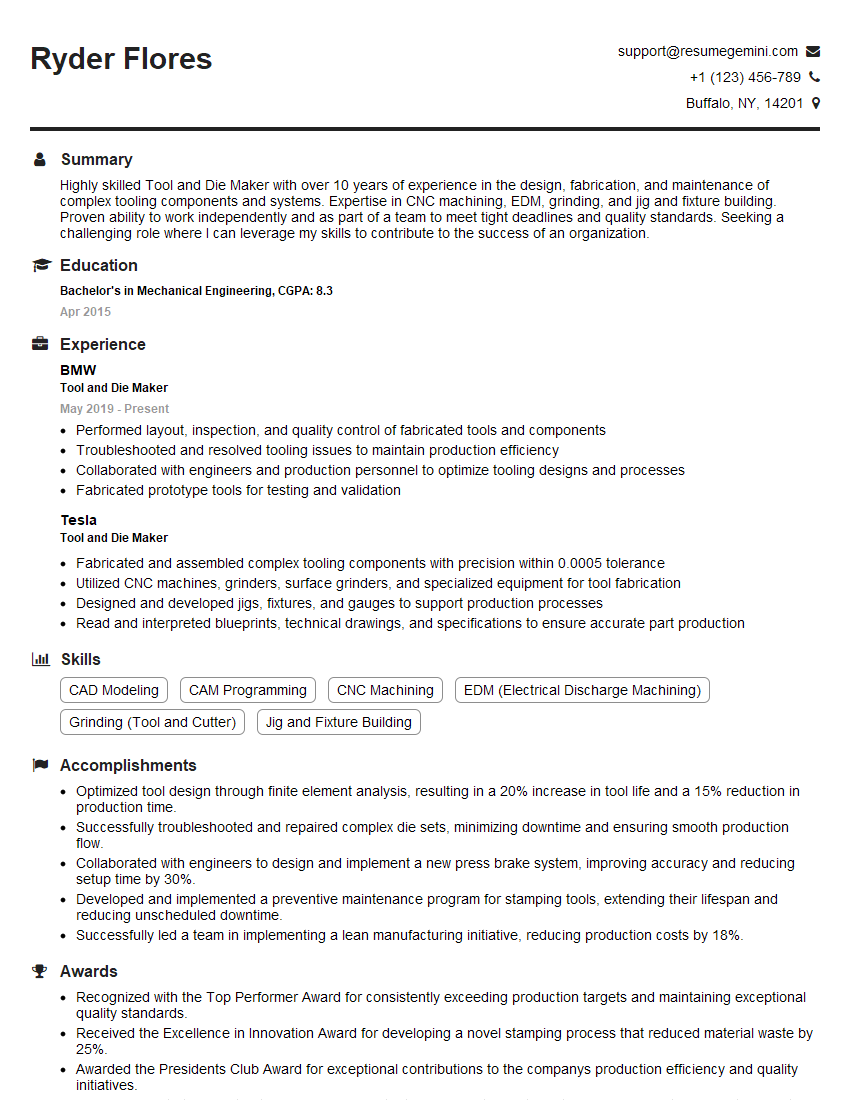
Mastering proficiency in hand and power tools is crucial for career advancement in numerous skilled trades. A strong understanding of these tools directly translates to increased efficiency, higher quality work, and improved safety on the job. To significantly boost your job prospects, focus on creating an ATS-friendly resume that highlights your skills and experience effectively. ResumeGemini is a trusted resource to help you build a professional and impactful resume that catches the eye of potential employers. Examples of resumes tailored to showcasing proficiency in hand and power tools are available to guide you.
Explore more articles
Users Rating of Our Blogs
Share Your Experience
We value your feedback! Please rate our content and share your thoughts (optional).
What Readers Say About Our Blog
This was kind of a unique content I found around the specialized skills. Very helpful questions and good detailed answers.
Very Helpful blog, thank you Interviewgemini team.
