Interviews are more than just a Q&A session—they’re a chance to prove your worth. This blog dives into essential Cutting and shaping glass using a glass cutter interview questions and expert tips to help you align your answers with what hiring managers are looking for. Start preparing to shine!
Questions Asked in Cutting and shaping glass using a glass cutter Interview
Q 1. What types of glass cutters are you familiar with?
Glass cutters come in a variety of types, each with its own strengths and weaknesses. The most common are:
- Wheel Cutters: These are the most widely used, featuring a small, hard wheel that scores the glass. They’re relatively inexpensive and easy to use for straight cuts. The quality of the wheel significantly impacts the cut’s precision.
- Oil-fed Cutters: These cutters have a small reservoir that lubricates the cutting wheel, leading to smoother cuts and longer wheel life. They are particularly useful for thicker glass, minimizing friction and heat buildup.
- Snap Cutters: These are designed for quick, simple cuts on thinner glass. They utilize a carbide tip to create a clean break. They’re less precise than wheel cutters but great for quick jobs.
- Rotary Cutters: These electric tools are used for more complex cuts or when high-volume production is necessary. They offer much greater speed and efficiency, but come with a larger price tag and a steeper learning curve.
Choosing the right cutter depends largely on the type of glass, the complexity of the cut, and the frequency of use.
Q 2. Describe the process of scoring glass accurately.
Scoring glass accurately is crucial for a clean break. It requires a steady hand and consistent pressure. Here’s the process:
- Plan your cut: Measure and mark the glass precisely using a straightedge and a glass marker.
- Position the cutter: Place the cutter wheel firmly against the glass, at the marked line.
- Apply even pressure: Push the cutter along the line with firm, consistent pressure. Don’t press too hard; a light, even score is more effective than a deep gouge.
- One smooth stroke: Make one clean, continuous stroke from one end of the line to the other. Avoid lifting the cutter or making multiple passes.
- Inspect the score: Ensure the score line is visible and clean. A poorly scored line will likely lead to a jagged break.
Practice is key to mastering accurate scoring. Start with smaller pieces of scrap glass to get a feel for the pressure and technique required.
Q 3. How do you handle different types of glass (e.g., tempered, laminated)?
Different types of glass require different cutting techniques and often necessitate specialized tools.
- Annealed Glass: This is the most common type and relatively easy to cut using standard techniques.
- Tempered Glass: Tempered glass is significantly stronger and cannot be cut with a standard glass cutter. Attempting to do so can cause it to shatter unpredictably and dangerously. Specialized equipment is needed for cutting tempered glass.
- Laminated Glass: Laminated glass consists of two or more layers of glass bonded together with a plastic interlayer. While it can be scored with a glass cutter, it’s significantly more challenging due to the layers. Careful scoring and snapping are necessary to avoid shattering.
Knowing the type of glass is paramount for safety and a successful cut. Always double-check before beginning any work.
Q 4. Explain the importance of safety precautions when using a glass cutter.
Safety is paramount when working with glass. Negligence can lead to serious injuries.
- Eye Protection: Always wear safety glasses to protect your eyes from flying glass fragments.
- Gloves: Wear gloves to protect your hands from cuts.
- Proper Tool Usage: Use the appropriate glass cutter for the task and maintain it in good condition.
- Work Area: Work on a clean, well-lit surface with enough space to maneuver safely.
- Disposal of broken glass: Carefully dispose of broken glass fragments using a heavy-duty container to prevent injuries.
- Sharp edges: Always handle glass with care as even small pieces can cause cuts.
A moment of carelessness can result in severe injury; treat every project with utmost respect and caution.
Q 5. What are the common causes of glass breakage during cutting?
Several factors can lead to glass breakage during cutting:
- Insufficient Scoring: A light or incomplete score line will result in an uneven break.
- Uneven Pressure: Applying inconsistent pressure during scoring weakens the glass and causes uneven breaks.
- Improper Snapping Technique: Using too much or too little force when snapping can cause the glass to break unevenly or shatter.
- Defects in the Glass: Internal stresses or imperfections within the glass itself can cause it to break unexpectedly.
- Using a dull cutter: A dull cutter will create a rough score, leading to uneven breaks and potentially shattering.
Regular maintenance of your tools and consistent technique can significantly reduce the likelihood of breakage.
Q 6. How do you measure and mark glass for accurate cutting?
Accurate measurement and marking are critical for precise cuts. Here’s a detailed process:
- Gather your tools: Steel ruler or measuring tape, glass marker, and a straightedge.
- Measure and mark: Carefully measure the desired dimensions and mark the glass using a straightedge as a guide to ensure a straight line.
- Use a sharpie or glass marker: Use a marker that is specifically designed for glass. Ensure the markings are clear and visible.
- Double-check your measurements: Before cutting, carefully check your measurements again to avoid costly mistakes.
Accurate markings form the foundation of a successful cut. Take your time and pay close attention to detail.
Q 7. Describe your experience with various glass cutting tools and equipment.
My experience encompasses a wide range of glass cutting tools and equipment. I’ve worked extensively with hand-held wheel cutters, oil-fed cutters, and snap cutters for various projects, from small-scale craft work to larger-scale installations. I’m also proficient in using specialized tools like circular saws with diamond blades for more demanding cuts and have experience with automated glass cutting machines for higher-volume projects. Each tool has its strengths and limitations, and I am comfortable selecting and using the most appropriate one for each specific job and material.
This experience has allowed me to develop a strong understanding of the nuances of different glass types and the optimal techniques for achieving clean, precise cuts with minimal waste. I’m always eager to learn and expand my skillset with new tools and techniques.
Q 8. How do you troubleshoot a glass cutter malfunction?
Troubleshooting a malfunctioning glass cutter often involves a systematic approach. First, I check the cutter wheel itself. Is it sharp? A dull wheel is the most common culprit, resulting in poor scoring and uneven breaks. I’ll replace the wheel if it’s worn or chipped. Next, I examine the cutter’s head. Is it properly aligned? Misalignment can lead to inconsistent scores. I’ll adjust the head if needed, ensuring the wheel is perpendicular to the glass surface. Finally, I check the scoring pressure. Applying too little pressure results in a faint score, while too much pressure can crack the glass prematurely. Consistent, moderate pressure is key. If the problem persists after these checks, I might look for issues with the glass itself – perhaps it’s too thick or has internal imperfections.
For example, I once had a cutter that was producing inconsistent scores. After checking, I found the wheel was slightly misaligned. A simple adjustment fixed the problem, highlighting the importance of regular maintenance and careful inspection.
Q 9. What are different types of glass edges and how are they achieved?
There are several types of glass edges, each achieved through different techniques. The most common is the ‘rough’ or ‘broken’ edge, resulting directly from snapping the glass after scoring. Then there’s the ‘ground edge’, created by grinding the broken edge to remove sharp fragments, resulting in a smooth, safer edge. ‘Seamed edges’ are created when two pieces of glass are joined. ‘Beveled edges’ are angled, achieved through grinding or polishing, adding a decorative element. Finally, a ‘polished edge’, created by further refinement of a ground edge, gives a very smooth, almost mirror-like finish.
- Rough Edge: Simple snapping after scoring.
- Ground Edge: Grinding down the rough edge.
- Seamed Edge: Joining two pieces of glass.
- Beveled Edge: Angled edge from grinding and polishing.
- Polished Edge: Highly refined ground edge.
Q 10. Explain the process of beveling or polishing glass edges.
Beveling and polishing glass edges enhance both the aesthetic appeal and safety of the finished product. Beveling involves creating an angled edge, usually using a specialized grinding wheel. This wheel progressively grinds away material at an angle, creating a sloped edge. Polishing follows, further refining the beveled edge to a smooth, often highly reflective finish. This is typically done with progressively finer abrasive compounds and polishing pads. The process requires precision and control to ensure evenness and prevent chipping or cracking. High-quality beveling and polishing machines are often employed for professional results, but hand techniques are also possible, although more time-consuming.
For instance, when creating a custom mirror with beveled edges, the precision of the beveling and polishing process greatly enhances the final product’s luxury and value. The smooth, reflective beveled edge not only looks great but also makes the mirror safer to handle.
Q 11. How do you ensure consistent quality in your glass cutting work?
Consistent quality in glass cutting relies on several factors. First, using a sharp, high-quality glass cutter is crucial. Regularly inspecting and replacing the cutter wheel ensures clean, consistent scores. Second, maintaining consistent scoring pressure is vital. Too little pressure leads to incomplete scores, while too much can crack the glass. Practice helps develop a feel for the correct pressure. Third, using a stable work surface prevents accidental movement during scoring and snapping. Fourth, proper snapping techniques are essential to achieve clean breaks. Finally, regularly cleaning the glass surface to remove dust and debris minimizes scoring errors.
I always start a project by practicing the cut on a scrap piece of glass to ensure the cutter is performing correctly and to refine my technique before working with the actual piece. This helps maintain consistent quality and reduces waste.
Q 12. What are the different methods for snapping glass after scoring?
There are several methods for snapping glass after scoring. The most common is using a snapping tool, sometimes called a glass breaker. This tool allows for controlled pressure application to break the glass along the score line. For thinner glass, applying even pressure to both sides of the score line and gently bending the glass can also achieve a clean break. For larger, thicker pieces, a combination of bending and tapping the underside near the score line can be used. Choosing the correct method depends on the glass thickness and desired precision.
For example, when working with delicate stained glass, I’d use a gentle bending technique to avoid causing further cracking. Conversely, for thicker window glass, a snapping tool is both more efficient and safer.
Q 13. Describe your experience working with templates or patterns.
Experience with templates and patterns is essential for precise glass cutting. I’ve worked extensively with both paper and plastic templates, transferring the pattern onto the glass using various methods such as marking pens or tape. Accuracy is critical here, as any errors in the pattern transfer will result in an inaccurate cut. I always double-check my template placement before scoring, ensuring it’s correctly aligned. Complex patterns often require multiple cuts and careful planning to prevent accidental damage to the glass during the cutting process. For intricate designs, I may use a combination of templates, scoring techniques and possibly other tools like a jig saw (with a diamond blade).
Recently, I worked on a project that involved creating a custom stained-glass window based on a client’s intricate design. Using a detailed paper template, careful scoring, and controlled snapping, I successfully cut and assembled the various glass pieces, resulting in a beautiful and accurate finished product.
Q 14. How do you handle curved or irregular glass cuts?
Cutting curved or irregular glass requires specialized techniques. One approach involves using a scoring tool with a flexible head, enabling it to follow curves smoothly. Another is using a series of short, closely spaced cuts that approximate the desired curve. The glass is then carefully snapped along the series of cuts. This method is more time-consuming and requires a steady hand. For very complex curves, template-guided cutting using a wet saw with a diamond blade provides superior accuracy and control. Precision and patience are key when working with non-linear shapes to avoid shattering or cracking the glass.
For example, creating a curved glass shelf involves careful planning and the use of either a flexible scoring tool or numerous short, precise cuts, depending on the radius and the glass thickness. The finished piece requires a smooth curve without chipping or jagged edges.
Q 15. What safety measures do you use to protect yourself and others?
Safety is paramount in glass cutting. My safety protocols begin with proper personal protective equipment (PPE). This includes safety glasses with side shields to protect against flying glass shards, cut-resistant gloves to prevent lacerations, and a dust mask to avoid inhaling fine glass particles. I also ensure the work area is well-lit and free from clutter to prevent tripping hazards. Furthermore, I always use a stable, secure work surface to prevent accidental drops of glass. For larger projects, I might use a glass clamp or other specialized support systems to safely manage the glass throughout the cutting process. Finally, I emphasize awareness – both for my own safety and that of anyone nearby. Before making any cuts, I’ll clear the area and inform anyone in the vicinity of the potential hazards.
- Example: When cutting large sheets of tempered glass, I would always use a clamp to hold the glass securely in place, minimizing the risk of it slipping and causing injury.
Career Expert Tips:
- Ace those interviews! Prepare effectively by reviewing the Top 50 Most Common Interview Questions on ResumeGemini.
- Navigate your job search with confidence! Explore a wide range of Career Tips on ResumeGemini. Learn about common challenges and recommendations to overcome them.
- Craft the perfect resume! Master the Art of Resume Writing with ResumeGemini’s guide. Showcase your unique qualifications and achievements effectively.
- Don’t miss out on holiday savings! Build your dream resume with ResumeGemini’s ATS optimized templates.
Q 16. How do you inspect finished glass for defects?
Inspecting finished glass for defects requires a meticulous approach, utilizing various techniques depending on the glass type and application. I visually inspect the entire surface for scratches, chips, cracks, or inconsistencies in thickness. I often use a bright light, both direct and raking, to highlight any imperfections. For precision work, a magnifier can be invaluable. Beyond visual inspection, I might use specialized tools depending on the project – a straight edge to check for warping, and sometimes, even a calibrated gauge to verify thickness consistency across the piece. I also carefully check the edges for smoothness and the absence of sharp, jagged points which may require further edge finishing.
- Example: When crafting a high-end glass tabletop, I would meticulously check for even the slightest surface imperfection under bright lighting, using a magnifier to identify and address even microscopic flaws before final polishing.
Q 17. What is your experience with different types of glass adhesives?
My experience encompasses a wide range of glass adhesives, each with its own strengths and limitations. I’m proficient with silicones, epoxies, and UV-curable adhesives. Silicones are versatile and easy to work with, excellent for general bonding, but their structural strength is limited. Epoxies, particularly those designed for glass, offer superior strength and durability, suitable for applications needing high load bearing capabilities. UV-curable adhesives provide rapid curing time and are perfect for delicate or intricate work where precise placement is crucial. The choice of adhesive depends heavily on the type of glass, the intended application, and the required level of structural integrity. I consider factors such as the transparency needed, the cure time, and the environmental conditions before making a selection.
- Example: For bonding a decorative glass mosaic, I’d use a clear silicone adhesive. For strengthening a cracked glass frame, I would utilize a high-strength epoxy specifically formulated for glass.
Q 18. Describe your experience with automated glass cutting machines.
I have extensive experience operating automated glass cutting machines, including CNC (Computer Numerical Control) systems. These machines offer superior precision and efficiency compared to manual cutting, particularly for high-volume production or intricate designs. My expertise includes programming the CNC machines, ensuring proper material handling, and monitoring the cutting process to maintain quality and consistency. I understand the importance of machine calibration, tool maintenance, and safety protocols specific to automated systems, including emergency shut-off procedures. Working with automated systems requires a solid understanding of CAD (Computer-Aided Design) software, allowing for the seamless transfer of designs from the digital realm to the physical creation.
- Example: I once used a CNC machine to cut hundreds of identical pieces of glass for a large-scale architectural project, achieving perfect consistency and significantly reducing production time.
Q 19. Explain the proper disposal of glass waste.
Proper disposal of glass waste is crucial for both environmental protection and worker safety. Broken glass must be handled with care to avoid cuts. I always use a dustpan and brush to collect fragments, ensuring no shards are left behind. The collected glass is then placed into heavy-duty containers specifically designed for glass waste – cardboard boxes are often suitable, but stronger options might be necessary for larger or sharper pieces. These containers are clearly labeled to prevent accidental injury. Disposal methods vary by location, but generally involve taking the container to a designated recycling center that accepts glass or, in some areas, to a municipal waste disposal facility with appropriate glass handling procedures. Never mix glass with other types of waste, as this can damage recycling equipment and create safety issues.
Q 20. How do you maintain and clean glass cutting tools?
Maintaining and cleaning glass cutting tools is vital for ensuring accurate cuts and prolonging their lifespan. After each use, I carefully wipe the glass cutter wheel with a clean cloth, removing any glass dust or debris. For oiling the wheel, I use a specialized oil specifically designed for glass cutters, applying a small amount to keep it lubricated and prevent wear. The cutting head should be regularly inspected for any damage or signs of wear. If the wheel becomes damaged, it needs to be replaced immediately. I store the tools in a protective case or holder, away from dust and moisture, to prevent corrosion and damage. Regularly cleaning and maintaining tools ensures precise cuts, extends their usability, and improves overall work efficiency.
Q 21. Describe a time you had to troubleshoot a challenging glass cut.
I once encountered a challenging cut on a particularly thick, tempered glass sheet. The required curve was extremely tight, and the standard glass cutter repeatedly chipped the glass, rendering the piece unusable. My initial approach, using steady pressure and a slow, deliberate cut, proved unsuccessful. After analyzing the problem, I realized the issue was with the combination of the glass’s thickness and the tightness of the curve. I then switched to a different technique: using a series of progressively smaller, overlapping cuts to create a series of controlled micro-fractures along the desired curve line. This minimized stress on the glass during the breaking process, successfully producing the required curve without chipping or cracking. This experience taught me the importance of adapting techniques based on material properties and the complexity of the design.
Q 22. What is your understanding of different glass thicknesses and their applications?
Understanding glass thicknesses is crucial for successful cutting and shaping. Different thicknesses dictate the type of cutter, scoring pressure, and breaking techniques required. Thinner glass, like 1/8” (3mm), is easier to cut and score, often used in hobby projects and smaller decorative pieces. Thicker glass, such as 1/4” (6mm) and above, demands more force and precision during cutting and may require specialized tools like oil-fed cutters for cleaner breaks. Applications vary widely; 1/8” glass might be used for picture frames, while thicker glass is favored for tabletops, shower enclosures, or even automotive windshields due to its increased strength and durability. Choosing the right thickness is essential for both aesthetics and structural integrity.
- 1/8” (3mm): Picture frames, small decorative items, shelving
- 1/4” (6mm): Tabletops, shelves, small windows
- 3/8” (10mm): Shower doors, larger windows, countertops
- 1/2” (12mm) and thicker: Heavy-duty applications like architectural features and storefront windows
Q 23. How do you handle different glass surface finishes?
Glass surface finishes significantly impact the cutting process. Smooth, polished surfaces provide a consistent scoring surface, resulting in cleaner breaks. However, textured or patterned glass demands more careful scoring and potentially a different cutting technique to avoid chipping or uneven breaks. For instance, a heavily textured glass might require multiple passes with the cutter, whereas smooth glass would only need a single, well-executed score. I always adapt my technique to the specific finish; a light touch and steady hand are key regardless of the finish, but adjusting the pressure and multiple scoring passes might be necessary for textured glass.
- Polished: Easiest to cut, clean breaks
- Textured: Requires multiple passes, potential for chipping
- Frosted: Requires careful scoring to avoid uneven breaks
Q 24. What are the limitations of glass cutting?
Glass cutting, while seemingly simple, has limitations. The most significant is the inability to cut extremely complex curves or very sharp angles precisely without specialized equipment. Small chips or cracks can occur, especially with thicker or less-uniform glass. The scoring process itself leaves a small groove which, if not handled carefully, might weaken the glass leading to imperfections during the breaking phase. The size and type of glass cutter also directly limits the thickness of the glass that can be cleanly and effectively cut. Finally, the material itself dictates limitations; some types of glass are simply more brittle and prone to unexpected breakage during the process.
Q 25. What are some common mistakes to avoid in glass cutting?
Several common mistakes plague novice glass cutters. Applying too much pressure during scoring is a major one – it can lead to a deep, uneven score that makes a clean break impossible. Conversely, insufficient pressure results in an incomplete score, again leading to a messy break. Another common error is using a dull or damaged cutter, which results in inconsistent scores and increased chances of chipping. Failing to support the glass adequately during the snapping process can lead to unexpected breaks and potentially injury. Finally, not using safety glasses is a serious oversight that could cause eye injuries from flying glass fragments. I always emphasize to trainees the importance of slow, steady movements and the proper use of safety gear.
Q 26. How do you determine the appropriate type of glass cutter for a specific job?
The type of glass cutter depends largely on the thickness and type of glass being worked with. For thinner glass (up to 1/4”), a simple hand-held wheel cutter is generally sufficient. For thicker glass or for increased precision, an oil-fed cutter is preferred; the oil lubricates the cutting wheel reducing friction and producing cleaner scores, especially on thicker pieces. For specialized shapes or curves, you might need a specialized glass cutter with replaceable heads or even a specialized tool altogether. Always consider the characteristics of the glass – its thickness, composition and surface finish – when selecting the appropriate cutter. Knowing the job requirements is paramount. For example, intricate designs would call for a more precise, specialized tool.
Q 27. Explain the importance of using the correct scoring pressure.
Correct scoring pressure is paramount. Too much pressure creates a deep groove that weakens the glass excessively and increases the chance of chipping. Too little pressure leads to an incomplete score, resulting in an uneven or incomplete break. The ideal pressure is just enough to create a clean, consistent score that fully penetrates the glass surface without shattering it. Imagine scoring the glass like you’re signing your name; a smooth, steady hand with consistent pressure ensures a clean, consistent score which facilitates a clean and precise break. This is developed through experience and practice.
Q 28. What is your experience with measuring and cutting glass to precise dimensions?
I have extensive experience measuring and cutting glass to precise dimensions. I use a variety of measuring tools, including rulers, squares, and measuring tapes, depending on the job’s complexity. For intricate cuts, I utilize templates or digital cutting patterns. Accuracy is critical; I always double-check measurements to minimize waste and ensure a perfect fit. My experience includes working with a diverse range of glass types and thicknesses, and I consistently achieve high levels of accuracy in my cuts. I’ve handled projects ranging from simple rectangular cuts for shelving to complex, curved shapes for artistic installations, all while maintaining precision. A keen eye for detail and understanding of material properties are key to ensuring accuracy.
Key Topics to Learn for Cutting and Shaping Glass using a Glass Cutter Interview
- Understanding Glass Properties: Learn about different types of glass (e.g., annealed, tempered, laminated), their strengths, weaknesses, and how these properties affect cutting techniques.
- Glass Cutting Techniques: Master the proper use of a glass cutter, including scoring techniques, applying consistent pressure, and understanding the importance of a clean score line.
- Snapping and Breaking Techniques: Learn various methods for safely and accurately snapping glass along the score line, including using pliers, scoring wheels, and specialized tools. Understand how to avoid chipping or shattering.
- Safety Procedures and Precautions: Familiarize yourself with crucial safety measures, including proper use of personal protective equipment (PPE), handling sharp edges, and disposing of glass waste safely.
- Measuring and Marking Techniques: Develop proficiency in accurately measuring and marking glass pieces for precise cuts, considering tolerances and potential errors.
- Troubleshooting Common Issues: Understand how to identify and resolve common problems encountered during cutting, such as uneven scores, chipping, or cracking. This includes knowing when to adjust techniques or tools.
- Specialized Cutting Techniques (if applicable): Research advanced techniques like curved cuts, beveling, or intricate shaping if relevant to the job description.
- Tool Maintenance and Care: Learn about the proper maintenance and care of glass cutters and other related tools to ensure accuracy and longevity.
- Understanding different types of Glass Cutters: Familiarize yourself with different types of glass cutters (oil fed, etc.) and their optimal applications.
Next Steps
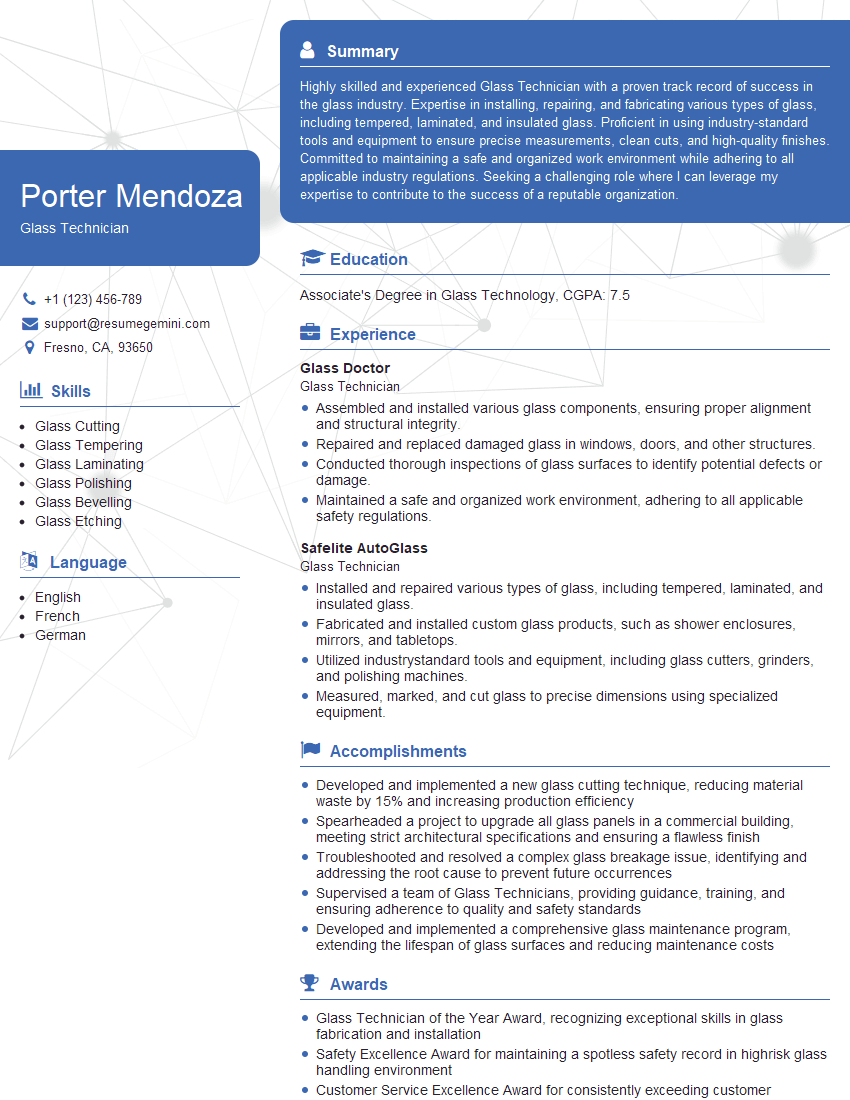
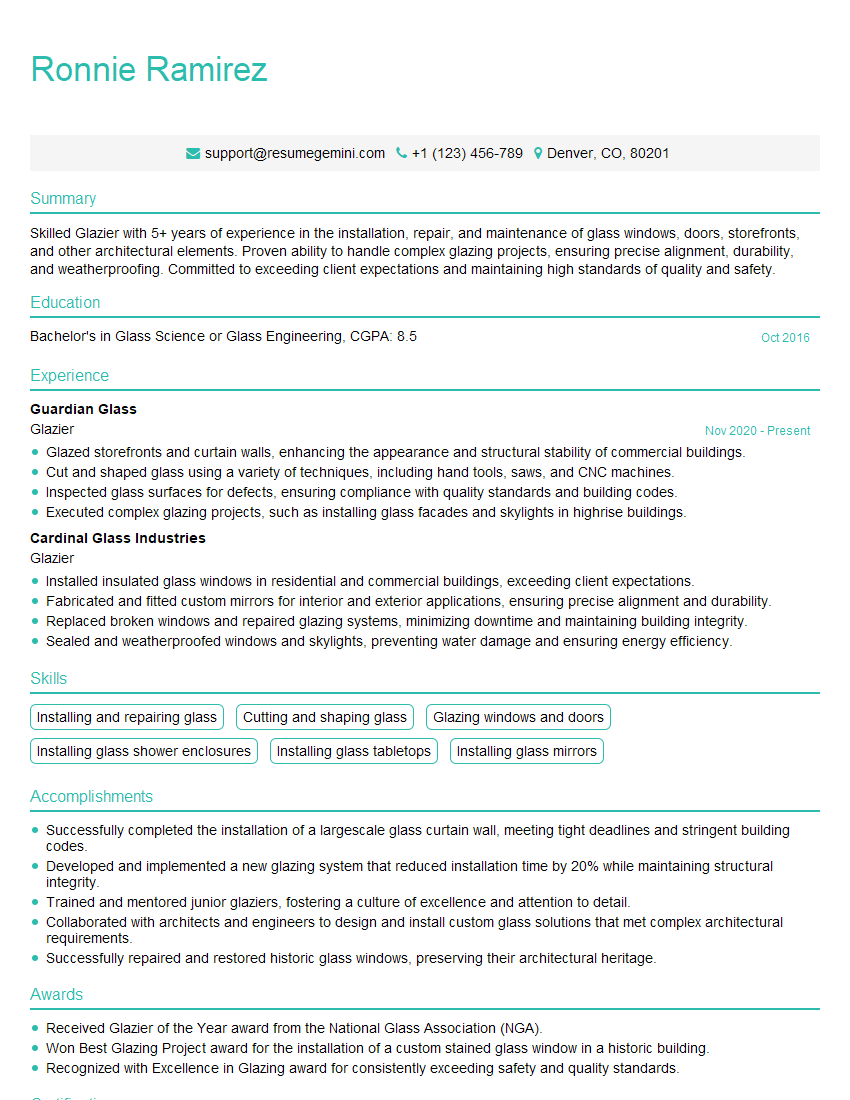
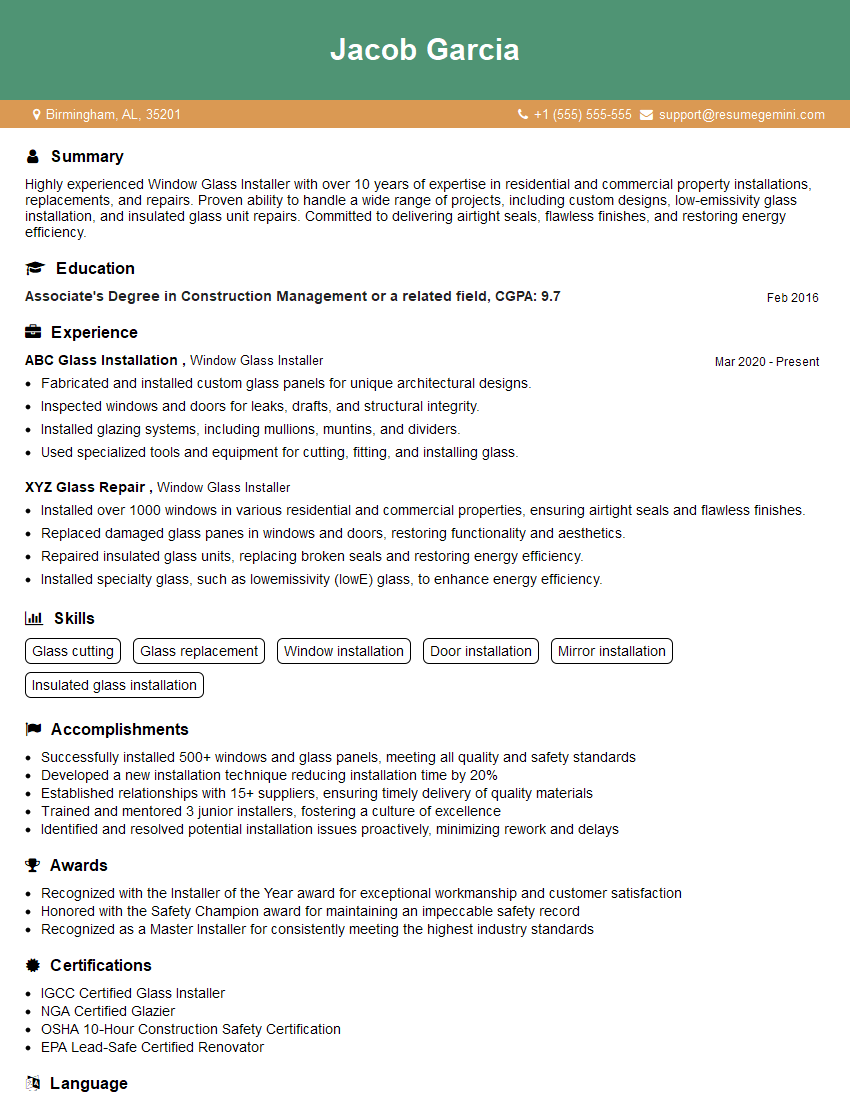
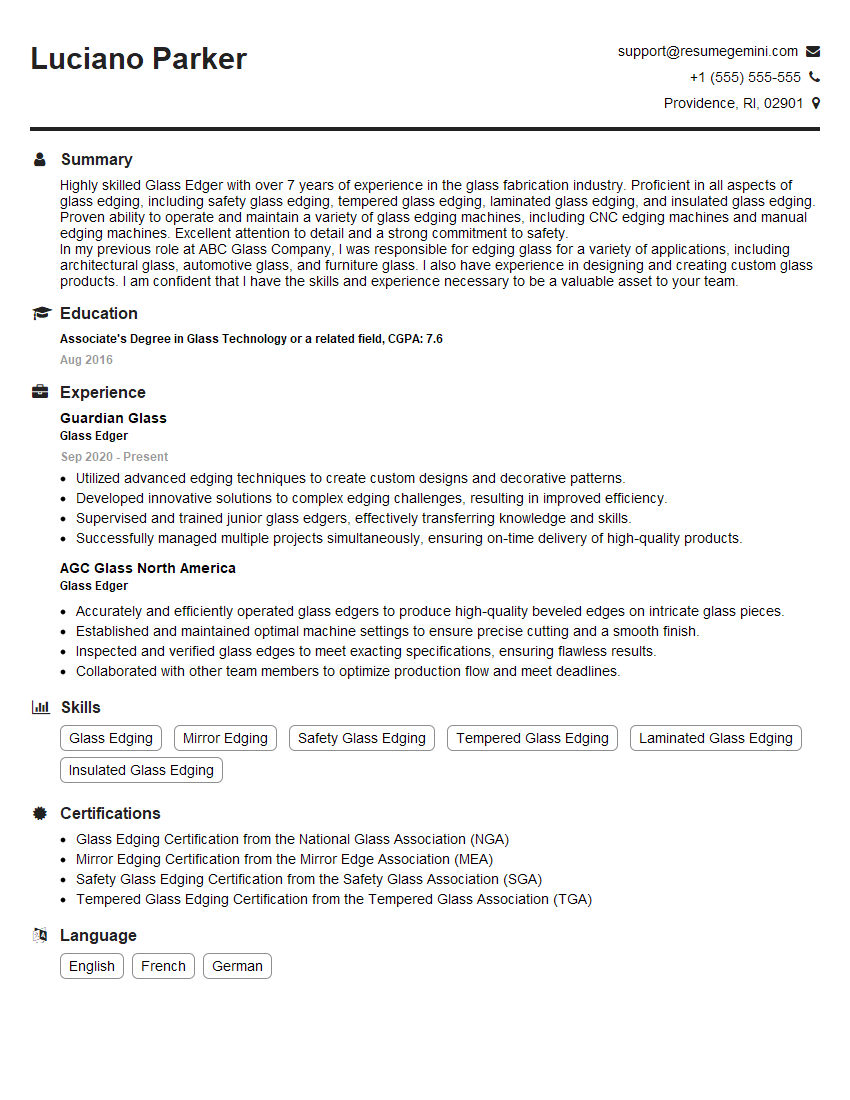
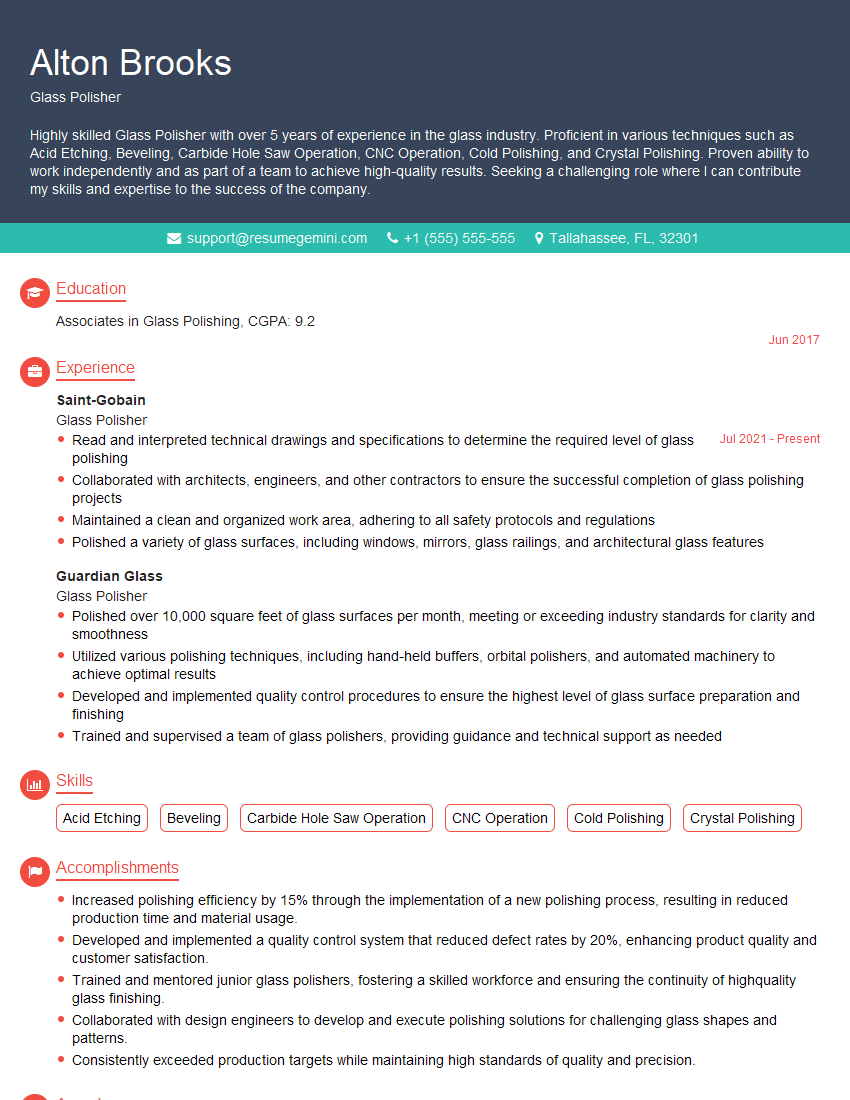
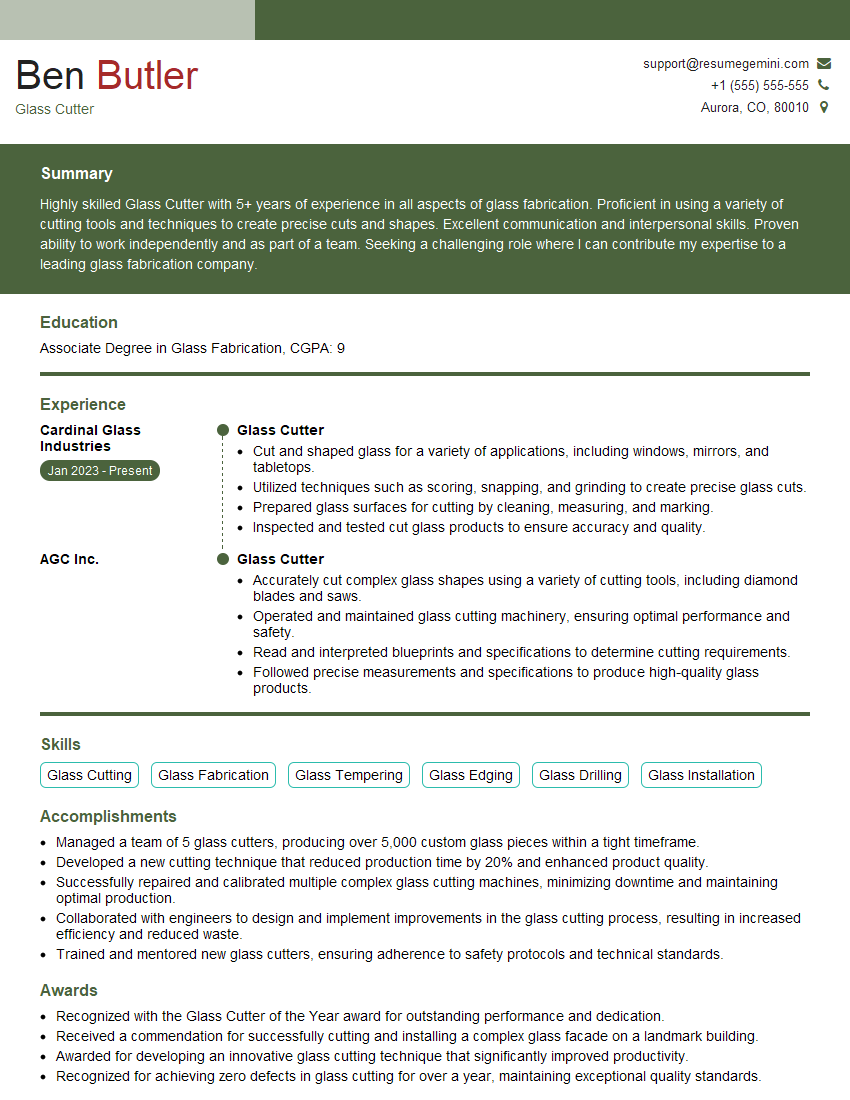
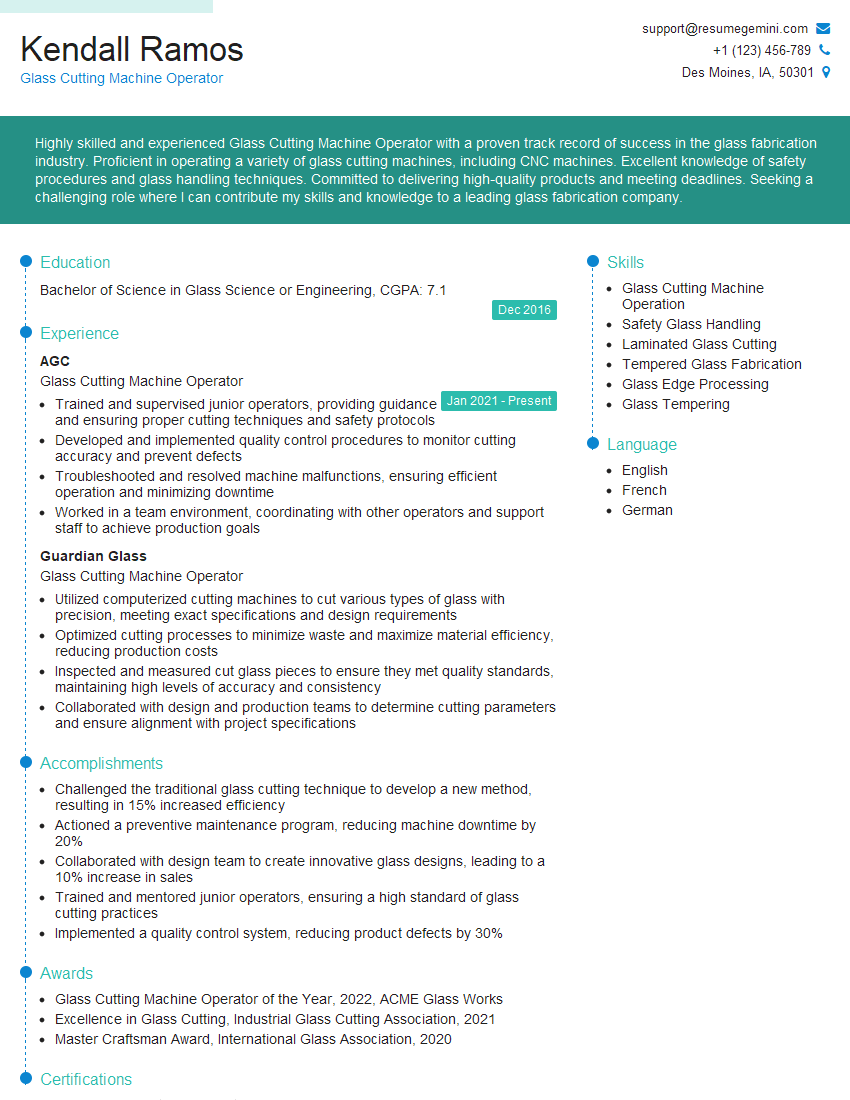
Mastering the art of cutting and shaping glass using a glass cutter is a valuable skill that opens doors to numerous opportunities in various industries. Proficiency in this area demonstrates precision, attention to detail, and a commitment to safety – all highly sought-after qualities by employers. To significantly boost your job prospects, focus on building a strong, ATS-friendly resume that highlights your skills and experience effectively. ResumeGemini is a trusted resource that can help you create a professional and impactful resume. We offer examples of resumes tailored specifically to showcase expertise in cutting and shaping glass using a glass cutter to help you get started.
Explore more articles
Users Rating of Our Blogs
Share Your Experience
We value your feedback! Please rate our content and share your thoughts (optional).
What Readers Say About Our Blog
To the interviewgemini.com Webmaster.
Very helpful and content specific questions to help prepare me for my interview!
Thank you
To the interviewgemini.com Webmaster.
This was kind of a unique content I found around the specialized skills. Very helpful questions and good detailed answers.
Very Helpful blog, thank you Interviewgemini team.


