Feeling uncertain about what to expect in your upcoming interview? We’ve got you covered! This blog highlights the most important Proficient in Using Hand Tools and Measuring Equipment interview questions and provides actionable advice to help you stand out as the ideal candidate. Let’s pave the way for your success.
Questions Asked in Proficient in Using Hand Tools and Measuring Equipment Interview
Q 1. What safety precautions do you take when using hand tools?
Safety is paramount when using hand tools. My approach is threefold: Preparation, Execution, and Post-Task Check.
- Preparation: This involves inspecting the tools for damage before each use – checking for cracks, loose handles, or worn blades. I ensure I have the correct Personal Protective Equipment (PPE), including safety glasses, gloves (appropriate for the material being handled), and potentially hearing protection for noisy tools. I also clear the work area of obstructions to prevent trips and falls.
- Execution: While using the tools, I maintain a firm grip, using the correct technique for each tool to prevent slippage or injury. I never force a tool – if it’s binding, I stop and reassess the situation. I am mindful of my body mechanics to prevent strain. For example, when sawing, I maintain proper posture to avoid back problems.
- Post-Task Check: After completing the task, I clean and properly store all tools to prevent damage and maintain their longevity. I also assess the work area to ensure there are no hazards left behind. This includes putting away sharp objects securely.
For example, before using a chisel, I always inspect the handle for cracks and ensure the blade is sharp and securely fastened. A dull chisel requires more force, increasing the risk of the tool slipping and causing injury.
Q 2. Describe your experience with different types of measuring tapes.
My experience encompasses various measuring tapes, each suited for different applications. I’ve used standard retractable steel tapes for general construction measurements, appreciating their durability and length. These are excellent for measuring long distances, however, they can be less precise for finer work. For more precise measurements, I prefer fiberglass tapes, known for their flexibility and resistance to stretching, particularly beneficial when measuring around curves. For delicate interior work, I often opt for fabric tapes, which are softer and less likely to scratch surfaces. Finally, I’m experienced with electronic measuring tapes that provide digital readouts – these are incredibly helpful for efficiency and reducing potential human error in recording measurements. Each type presents a trade-off between accuracy, durability, and ease of use, and I choose based on the task’s specific requirements.
Q 3. How do you ensure accuracy when using a caliper?
Accuracy with a caliper hinges on proper technique and calibration. First, I ensure the caliper is clean and free from debris that could interfere with accurate measurements. I then carefully zero the caliper using the adjustment knob before each measurement. When taking a measurement, I apply a consistent and gentle pressure to avoid damaging the workpiece or skewing the reading. I double-check the reading, paying attention to the vernier scale to ensure precision. For extremely precise measurements, I might repeat the measurement several times and average the results to minimize any potential minor errors. Regular calibration against a known standard is crucial to maintain accuracy over time. It’s like tuning a guitar – regular checks ensure it stays in tune and produces accurate results.
Q 4. Explain the proper use of a level.
Using a level correctly involves placing it firmly and securely on the surface to be checked. The bubble within the vial must be centered between the markings to indicate a perfectly level surface. The level should be long enough to span the area being checked to detect any significant slopes or unevenness. If the bubble isn’t centered, adjustments need to be made to the surface until the bubble is perfectly aligned. Different types of levels exist, such as torpedos, box levels and line levels, each serving a unique purpose. I select the appropriate level depending on the size and shape of the area I’m working with. For instance, I might use a torpedo level for checking the plumb of a wall stud, while a larger box level would be more suitable for leveling a countertop.
Q 5. What are the different types of wrenches and their applications?
There’s a wide variety of wrenches, each designed for specific applications. Open-end wrenches offer access from both sides of a fastener, while box-end wrenches fully enclose the nut or bolt, providing better grip and leverage. Combination wrenches combine both open and box ends on opposite ends of the handle. Adjustable wrenches, like crescent wrenches, offer versatility but are less precise than fixed-size wrenches. Socket wrenches provide a secure grip on the fastener and are particularly effective for tight spaces or repetitive fastening. Torque wrenches are essential when precise tightening is crucial, preventing over-tightening, which can damage fasteners. The choice of wrench depends on the size and type of fastener, accessibility, and the required precision of the fastening process. For example, I’d use a socket wrench with a ratchet mechanism for repetitive tasks like assembling furniture, ensuring efficiency and reducing fatigue.
Q 6. How do you select the appropriate hand tool for a specific task?
Selecting the right hand tool is critical for safety and efficiency. My process involves considering three key aspects: the material being worked on, the task itself, and the desired outcome. For example, if I’m working with softwood, I might use a hand saw; however, for hardwoods, I’d likely prefer a sharper, more robust saw to avoid bending or breaking the blade. When drilling a hole, I’d choose a drill bit of the appropriate size and material (high-speed steel for metal, for instance). The desired outcome dictates precision as well. If precision is key, I’d use tools like calipers and micrometers; otherwise, a ruler or tape measure may suffice. Careful consideration of these factors prevents damage to materials, tools, or oneself, ultimately leading to a safer and more efficient workflow.
Q 7. Describe your experience with using a micrometer.
I have extensive experience using micrometers, both inside and outside types. These precision instruments measure incredibly small distances with high accuracy. Before each measurement, I ensure the micrometer is clean and properly calibrated. I use the thimble and barrel to carefully and gently close the jaws on the workpiece. I then carefully read the measurement from both the barrel and the thimble, being mindful of the smallest divisions. Repeating the measurement multiple times and averaging helps to improve accuracy and account for any minor variations. Similar to calipers, regular calibration and careful handling are crucial for maintaining accuracy and preserving the life of the instrument. For example, when working with small machined parts where tolerances are tight, a micrometer is invaluable for ensuring accurate dimensions. It’s the difference between a perfectly fitting component and one that’s unusable.
Q 8. How do you troubleshoot a malfunctioning hand tool?
Troubleshooting a malfunctioning hand tool begins with a systematic approach. First, safety is paramount – always disconnect the tool from any power source if applicable and ensure the area is clear. Then, I visually inspect the tool for obvious problems like loose parts, damage to the handle or head, or bent components. I check for any obstructions, like jammed material.
Next, I consider the tool’s mechanism. For example, if it’s a screwdriver with a slipping head, I might check for wear and tear on the bit or damage to the gripping mechanism. If it’s a hammer with a loose head, I’d check the wedge or fastener securing it.
Sometimes, the issue isn’t with the tool itself, but rather user error. For example, using the wrong tool for the job, applying excessive force, or incorrect technique. I’d rule these out before assuming a defect. If the problem persists after careful inspection and testing, lubrication might be necessary, or a component may need replacement. In cases of more complex issues, consultation with a tool expert or manufacturer might be required.
Example: My chisel was no longer cutting smoothly. Initial inspection revealed no obvious damage. However, I noticed the blade was dull. Sharpening it resolved the problem. This highlights the importance of routine maintenance.
Q 9. What are the common causes of measurement errors?
Measurement errors are common and stem from various sources. Human error accounts for a significant portion, including parallax error (reading a measurement at an angle), misreading the scale, or inaccurate estimation of fractional measurements. Tool-related errors are also prevalent: a worn-out measuring tape, a damaged caliper, or an improperly calibrated instrument will all yield inaccurate readings.
Environmental factors can influence accuracy too. Temperature fluctuations can affect the length of measuring tapes, and uneven surfaces can hinder accurate measurements. Finally, the method of measurement plays a vital role. Improper technique, such as applying excessive pressure or not using the correct measuring instrument, can lead to significant errors.
Example: Using a flexible tape measure on an uneven surface can lead to inaccurate measurements. A worn-out vernier caliper can produce inaccurate readings due to damaged jaws.
Q 10. How do you maintain and store hand tools properly?
Proper maintenance and storage of hand tools are essential for extending their lifespan and ensuring safety. After each use, I clean the tools thoroughly, removing any dirt, debris, or residual materials. I inspect for damage or wear and address any issues promptly. Lubrication is key for many tools, especially those with moving parts. I use appropriate lubricants, such as oil or grease, to reduce friction and prevent corrosion.
Storage is just as important. Tools should be stored in a dry, well-ventilated area away from moisture and extreme temperatures. They should be organized to prevent damage and ensure easy accessibility. I prefer using toolboxes or cabinets with individual compartments for different tools, to avoid accidental damage.
Example: I always store my chisels in a dedicated roll, with their blades protected by covers, to prevent chipping or dulling.
Q 11. Explain the difference between imperial and metric measurements.
Imperial and metric systems are two different systems of measurement. The imperial system, predominantly used in the United States, is based on inches, feet, yards, and miles. The metric system, used worldwide, is based on meters, centimeters, millimeters, and kilometers. The metric system is based on powers of 10, making conversions simpler.
Key differences include the base units: the inch in imperial and the meter in metric. Conversions between units in the imperial system are often less straightforward than those in the metric system. For example, converting inches to feet involves dividing by 12 (12 inches per foot), while converting centimeters to meters involves dividing by 100 (100 centimeters per meter).
Q 12. How do you interpret technical drawings and specifications?
Interpreting technical drawings and specifications requires attention to detail and a thorough understanding of engineering notation. I start by carefully examining the title block, which provides information such as the drawing number, revision date, and scale. Next, I review the various views, paying close attention to dimensions, tolerances, and materials specified. I understand the importance of different line types (solid, dashed, dotted) and their significance in representing different features.
Symbol recognition is key; I am familiar with symbols for various fasteners, welds, and other components. I also understand and apply the principles of orthographic projection, which allows me to visualize the three-dimensional object from two-dimensional drawings. Any unclear aspects are clarified with relevant stakeholders or reference documents.
Example: A technical drawing might specify a bolt with a specific diameter and thread pitch, requiring me to select the appropriate bolt for the assembly.
Q 13. Describe your experience with using power tools safely.
My experience with power tools emphasizes safety as the top priority. I always wear appropriate personal protective equipment (PPE), including safety glasses, hearing protection, and work gloves. I inspect power tools before each use, checking for damage to cords, switches, and other components. I ensure the tools are properly grounded or double-insulated.
I understand and adhere to the manufacturer’s instructions for each tool and use the correct technique and speed. I never force a tool and I avoid using it in ways it wasn’t designed for. I maintain a clear work area, free of obstructions and distractions. When working with others, I maintain safe distances and ensure they are also using safety precautions.
Example: Before using a circular saw, I always check the blade for sharpness and ensure the guard is securely in place.
Q 14. What are the limitations of different measuring instruments?
Every measuring instrument has limitations. A measuring tape, for instance, is susceptible to stretching and wear, leading to inaccurate readings over time. Its accuracy is also limited by the graduations on the tape itself. Calipers, while more precise, have limitations based on the resolution of their scales and the ability to accurately measure complex shapes.
Digital instruments, such as electronic calipers or laser measuring devices, offer higher precision but can be affected by battery life, calibration errors, and environmental factors such as temperature and humidity. Each instrument has a specified accuracy rating that should always be considered when interpreting measurements. Understanding these limitations ensures I choose the correct tool for the task and interpret the measurements appropriately.
Example: A standard ruler might only be accurate to within a millimeter, whereas a micrometer can measure to much finer precision.
Q 15. How do you ensure precision when working with tight tolerances?
Ensuring precision with tight tolerances requires a multifaceted approach combining meticulous technique, appropriate tools, and a thorough understanding of the task. It’s like building a finely tuned watch – every component must be perfectly placed.
- Proper Tool Selection: Using tools designed for the job is crucial. Micrometers, calipers, and dial indicators offer the precision needed for extremely fine tolerances, unlike a simple ruler. For instance, when machining a part to a tolerance of ±0.005 inches, a micrometer is essential for accurate measurement and adjustment.
- Multiple Measurements: Never rely on a single measurement. Take multiple readings from different points on the workpiece and average them to minimize errors. This helps to identify any inconsistencies or potential mistakes early on.
- Controlled Environment: Temperature and humidity variations can affect measurements. Maintaining a stable working environment is vital for maintaining accuracy, especially when working with materials sensitive to these changes.
- Careful Technique: Using consistent and gentle pressure when making measurements and cuts minimizes human error. This also includes maintaining a clean and organized workspace so you don’t accidentally damage your workpiece or tools.
- Verification: Always double-check your measurements and work against a known reference point where possible. This verification step is crucial for ensuring that the final product meets the specified tolerances.
Career Expert Tips:
- Ace those interviews! Prepare effectively by reviewing the Top 50 Most Common Interview Questions on ResumeGemini.
- Navigate your job search with confidence! Explore a wide range of Career Tips on ResumeGemini. Learn about common challenges and recommendations to overcome them.
- Craft the perfect resume! Master the Art of Resume Writing with ResumeGemini’s guide. Showcase your unique qualifications and achievements effectively.
- Don’t miss out on holiday savings! Build your dream resume with ResumeGemini’s ATS optimized templates.
Q 16. What is your experience with different types of saws?
My experience with saws encompasses a wide range, from basic hand saws to power saws. Each type serves a specific purpose and requires a different technique for optimal results.
- Hand Saws: I’m proficient with coping saws (for intricate cuts), backsaws (for accurate cuts in wood), and tenon saws (for precise cuts in joinery). The key with hand saws is controlling the blade angle and maintaining a smooth, consistent sawing motion to avoid splintering.
- Circular Saws: I’m experienced with various types of circular saws, including worm-drive saws (for powerful cuts) and smaller, more maneuverable circular saws (for intricate work). Safety is paramount here, requiring proper blade selection and the use of appropriate safety equipment like ear protection and eye protection.
- Jigsaw Saws: These are ideal for curved cuts and intricate shapes. Blade selection is crucial to achieve the desired finish. Controlling the speed and blade angle are essential for achieving clean, accurate cuts.
- Reciprocating Saws: These are excellent for demolition or rough cutting. Their power makes them efficient but necessitates a careful approach to prevent damage to surrounding materials.
I understand the importance of choosing the right saw for the specific material and application to achieve the best results and maintain safety.
Q 17. Describe your experience with using a drill press.
I have extensive experience operating a drill press, focusing on both accuracy and safety. It’s a powerful tool that demands respect.
- Setup and Alignment: Proper setup is crucial for precise drilling. Ensuring the workpiece is securely clamped and correctly aligned with the drill bit is paramount to prevent errors and accidents.
- Speed Selection: Choosing the correct speed for the drill bit and material being drilled is important to prevent the bit from breaking or overheating. Harder materials generally require slower speeds.
- Depth Control: Using a depth stop is critical for drilling consistent depth holes. Without it, inconsistent hole depth can lead to issues during assembly or function.
- Bit Selection: Selecting the appropriate drill bit for the material and hole size is essential for clean, accurate holes and efficient drilling.
- Safety Precautions: Always wear safety glasses and potentially hearing protection. Securely clamping the workpiece prevents it from moving during drilling, preventing injury and ensuring accurate hole placement.
I have experience using a drill press for various tasks, from creating pilot holes for screws to drilling precise holes for intricate joinery.
Q 18. How do you handle damaged or worn-out hand tools?
Damaged or worn-out hand tools are a safety hazard and can lead to inaccurate work. I follow a strict procedure for handling them.
- Inspection: Regularly inspect tools for damage such as cracks, chips, or excessive wear. A damaged tool is immediately taken out of service.
- Repair: If possible, I attempt to repair minor damage. For example, sharpening a dull chisel or tightening loose handles. This extends the life of the tool and minimizes waste.
- Replacement: Beyond simple repairs, damaged or excessively worn-out tools are replaced to maintain safety and accuracy. A worn-out measuring tool can lead to costly mistakes.
- Proper Storage: Tools are cleaned and stored appropriately to prevent further damage or loss. This includes utilizing tool organizers, keeping the tools clean and dry, and using protective coatings where applicable.
Maintaining tools in good working order is not just about efficiency but also about preventing accidents and ensuring the quality of my work.
Q 19. What is your experience with using specialized measuring equipment (e.g., laser level)?
I have extensive experience with specialized measuring equipment, including laser levels, digital calipers, and micrometers. These tools significantly enhance accuracy and efficiency.
- Laser Levels: I can proficiently use laser levels to establish accurate horizontal and vertical reference lines for various tasks such as setting up framing, installing cabinetry, or creating perfectly level surfaces. This ensures consistency and precision that would be impossible with traditional methods.
- Digital Calipers: These are indispensable for precise measurements of lengths, depths, and diameters. The digital readout eliminates the need for interpretation, minimizing human error. I use them for everything from verifying component dimensions to confirming tolerances.
- Micrometers: Micrometers offer incredibly precise measurements, essential for working with very tight tolerances. They allow for precise adjustments and confirmation of the smallest dimensions.
My ability to proficiently use these tools enables me to undertake more complex tasks and deliver high-quality results.
Q 20. Explain the concept of tolerances in manufacturing.
Tolerances in manufacturing define the acceptable range of variation from a specified dimension or value. Think of it as a margin of error. It’s like baking a cake – your recipe calls for 2 cups of flour, but a tolerance of ±0.25 cups allows for minor variations without significantly impacting the outcome.
Tolerances are expressed using various methods, such as plus/minus values (e.g., 10 ± 0.1 mm), percentage variations, or limits (e.g., 10 to 10.2 mm). These tolerances are critical because they ensure that parts fit together correctly and function as intended, even with slight variations in manufacturing. A part that is outside the tolerance could cause an entire assembly to fail.
The required tolerance depends on the application. A car engine requires much tighter tolerances than, say, a wooden birdhouse. Choosing the right tolerance is a balancing act; overly tight tolerances increase costs and complexity, while overly loose tolerances can compromise functionality and performance.
Q 21. How do you convert between different units of measurement?
Converting between units of measurement is a fundamental skill in my profession. I can accurately and efficiently convert between metric and imperial units, using both mental calculations and conversion tools.
For example, converting inches to millimeters requires multiplying the inch value by 25.4 (since 1 inch equals 25.4 millimeters):
5 inches * 25.4 mm/inch = 127 mmConversely, converting millimeters to inches involves dividing the millimeter value by 25.4:
150 mm / 25.4 mm/inch ≈ 5.9 inchesI also frequently utilize online conversion tools or calculators for more complex conversions or when dealing with multiple units, such as cubic feet to cubic meters. Accuracy in these conversions is crucial to avoid errors in design and manufacturing.
Q 22. Describe your experience with using a multimeter.
Multimeters are essential tools for electrical troubleshooting and measurement. My experience spans over [Number] years, encompassing various types, from basic analog models to advanced digital multimeters with data logging capabilities. I’m proficient in using multimeters to measure voltage (AC and DC), current (AC and DC), resistance, capacitance, and diode testing. For instance, I recently used a Fluke 117 multimeter to diagnose a faulty circuit in a robotic arm, successfully identifying a short circuit in the motor wiring by meticulously checking the continuity and voltage across each component.
Beyond basic measurements, I understand the importance of selecting the appropriate range and function to avoid damaging the meter or the circuit being tested. I’m also familiar with various multimeter probes and their application, including current clamps for non-invasive current measurements. My understanding extends to interpreting the readings and correlating them to identify electrical problems. For example, a low resistance reading often indicates a short circuit, while a high resistance reading might signify an open circuit or a faulty component.
Q 23. How do you troubleshoot a problem related to incorrect measurements?
Troubleshooting incorrect measurements begins with a systematic approach. First, I verify the meter’s calibration and battery level. A simple way to check calibration is to measure a known resistor or voltage source. If the reading is significantly off, recalibration or replacement might be necessary. Second, I examine the test leads for damage or loose connections, which are common causes of inaccurate readings. I then carefully check the meter’s settings, ensuring the correct function (volts, ohms, amps) and range are selected for the measurement.
If the problem persists, I investigate the test setup. This includes confirming proper connections to the circuit and avoiding any stray electrical interference. I might use different probes or even a second multimeter for comparison. For example, if measuring voltage across a component yields erratic readings, I might suspect noise in the circuit and try shielding the probes or repositioning them. Ultimately, meticulously documenting each step helps isolate the root cause of the discrepancy, enabling accurate diagnosis and repair.
Q 24. What are the safety regulations related to the use of hand tools and measuring equipment?
Safety is paramount when working with hand tools and measuring equipment. Fundamental regulations include always wearing appropriate personal protective equipment (PPE), such as safety glasses, gloves, and steel-toe boots, depending on the task. Before using any tool, I inspect it for damage; damaged tools should never be used. Proper tool storage is crucial to prevent accidents and maintain tool longevity.
Specific safety procedures depend on the equipment. When using power tools, I ensure the power source is disconnected or locked out before maintenance or repair. For electrical measurements, I always work with de-energized circuits whenever possible, employing appropriate lockout/tagout procedures. I am well-versed in the dangers of arc flash and electric shock and adhere strictly to safety protocols to mitigate risks. Moreover, I regularly receive safety training updates, always keeping my skills and knowledge current.
Q 25. What is your experience with using pneumatic tools?
My experience with pneumatic tools includes using various types, such as impact wrenches, drills, and rivet guns. I understand the principles of pneumatic operation, including air pressure regulation and the importance of maintaining proper air supply. I am adept at connecting and disconnecting air hoses and ensuring the tools are lubricated and properly maintained to prevent damage and ensure efficient operation. In a recent project involving the assembly of a large-scale structure, I used a pneumatic impact wrench to efficiently tighten numerous bolts, significantly reducing assembly time compared to manual methods.
Safety is particularly crucial with pneumatic tools due to their power. I always ensure the tool is securely held, and I understand the potential hazards of high-pressure air and moving parts. I regularly inspect the tools for leaks and wear and tear and am familiar with the procedures for safely disconnecting and storing them after use.
Q 26. Describe your experience with using hydraulic tools.
My experience with hydraulic tools is more limited than with pneumatic tools, but I am familiar with their operation and safety precautions. I have used hydraulic jacks, presses, and cutters in various situations, including lifting heavy objects and performing precise bending or cutting operations. I understand the importance of proper hydraulic fluid levels and pressure regulation. I am familiar with the potential dangers of high-pressure hydraulic fluid leaks and always wear appropriate protective gear when operating these tools.
For example, I once used a hydraulic press to carefully install bearings into a precision assembly. The controlled pressure provided by the hydraulic system was essential to avoid damaging the delicate parts. Safe operation of hydraulic tools requires a thorough understanding of their mechanisms, potential hazards, and maintenance procedures.
Q 27. How do you ensure the accuracy of your measurements when working in challenging environments?
Ensuring accurate measurements in challenging environments requires careful planning and execution. Factors such as temperature extremes, vibration, and limited access can affect measurement accuracy. To mitigate these challenges, I use appropriate techniques and tools. For instance, when measuring dimensions in a high-vibration environment, I might use a digital caliper with a data hold function to capture a stable reading. In extreme temperatures, I would consider using temperature-compensated measuring devices or take readings in a controlled environment.
For measurements in confined spaces or awkward positions, I select specialized tools with flexible or extended probes. I always double-check my measurements and, if possible, take multiple readings to reduce the impact of environmental factors. Proper documentation of the measurement conditions and any potential sources of error is essential to ensure the reliability of my results. Accurate record-keeping is vital, especially in situations where measurements are critical to safety or regulatory compliance.
Key Topics to Learn for Proficient in Using Hand Tools and Measuring Equipment Interview
- Safety Procedures: Understanding and applying safe practices for handling various hand tools and equipment, including personal protective equipment (PPE) requirements.
- Hand Tool Proficiency: Demonstrating competency in using common hand tools such as hammers, screwdrivers, wrenches, pliers, saws, and levels. This includes understanding the purpose of each tool and its proper usage.
- Measuring Equipment Mastery: Expertise in using various measuring instruments like rulers, tape measures, calipers, micrometers, and levels. This includes understanding precision, accuracy, and different units of measurement (metric and imperial).
- Material Knowledge: Familiarity with different materials (wood, metal, plastic) and their properties, influencing tool selection and application.
- Practical Applications: Being able to explain how you’ve applied your skills in past projects, highlighting problem-solving and precision in tasks requiring hand tools and measurement.
- Troubleshooting & Maintenance: Identifying potential issues with tools and equipment, performing basic maintenance, and troubleshooting common problems.
- Blueprint Reading (if applicable): Interpreting technical drawings and specifications to accurately measure and cut materials.
Next Steps
Mastering the proficient use of hand tools and measuring equipment is crucial for career advancement in many skilled trades and technical fields. It showcases your precision, attention to detail, and problem-solving abilities – qualities highly valued by employers. To significantly increase your chances of landing your dream job, crafting an ATS-friendly resume is essential. ResumeGemini is a trusted resource that can help you build a professional and effective resume tailored to highlight your skills. We provide examples of resumes specifically designed for candidates proficient in using hand tools and measuring equipment to help guide you. Take the next step towards your career success – start building your resume today!

Maintenance Supervisor Resume Sample

Construction Foreman Resume Sample

Maintenance Technician Resume Sample

Field Technician Resume Sample

Manufacturing Technician Resume Sample

Machinist Resume Sample

Production Technician Resume Sample

Equipment Operator Resume Sample

Facilities Maintenance Manager Resume Sample
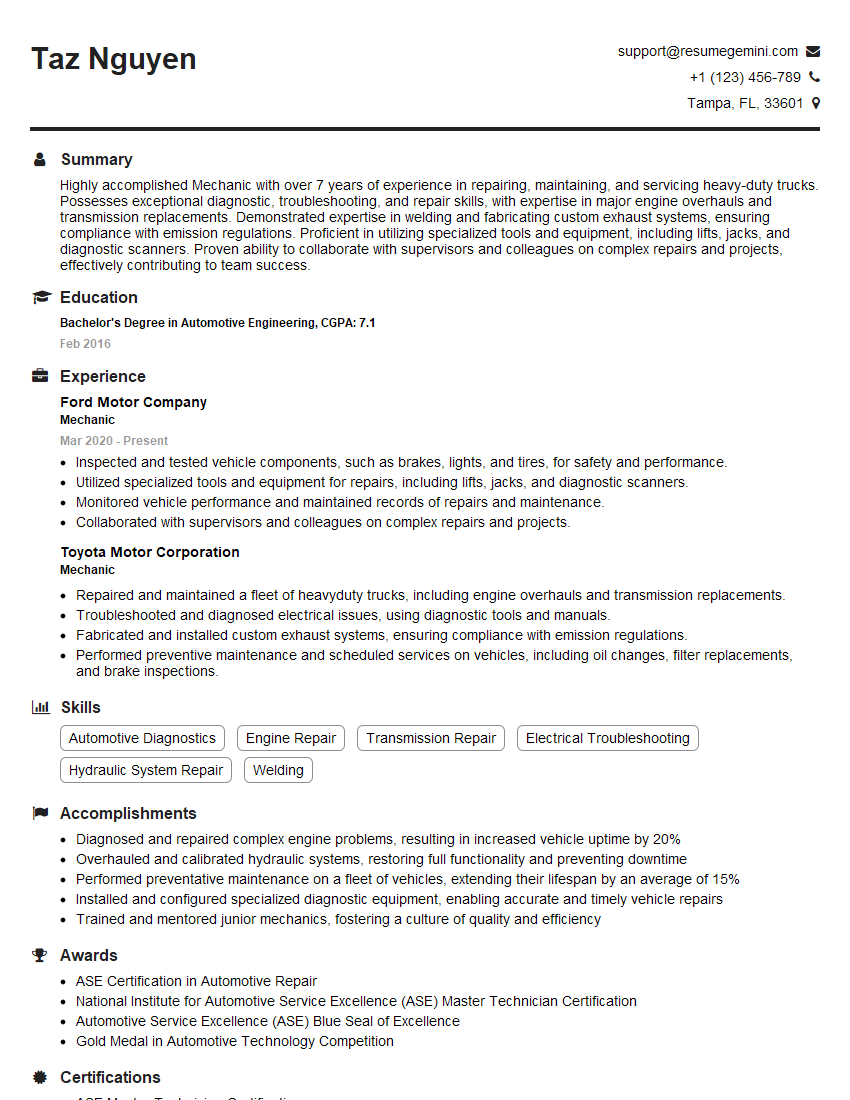
Mechanic Resume Sample

Construction Worker Resume Sample

Carpenter Resume Sample

Installer Resume Sample

Electrician Resume Sample

Plumber Resume Sample

Shop Foreman Resume Sample
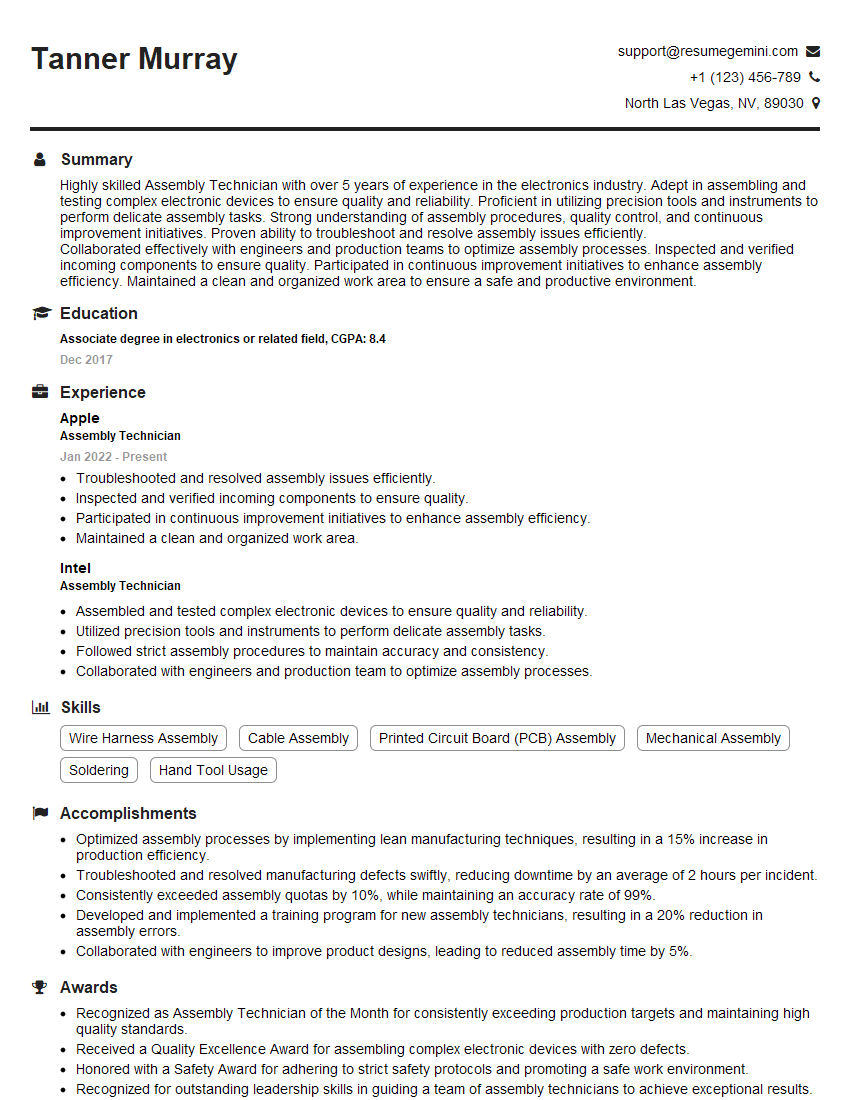
Assembly Technician Resume Sample

Repair Technician Resume Sample

Welder Resume Sample

Millwright Resume Sample

Fabricator Resume Sample

Tool and Die Maker Resume Sample

Quality Control Inspector Resume Sample
- Maintenance Supervisor
- Construction Foreman
- Maintenance Technician
- Field Technician
- Manufacturing Technician
- Machinist
- Production Technician
- Equipment Operator
- Facilities Maintenance Manager
- Mechanic
- Construction Worker
- Carpenter
- Installer
- Electrician
- Plumber
- Shop Foreman
- Assembly Technician
- Repair Technician
- Welder
- Millwright
- Fabricator
- Tool and Die Maker
- Quality Control Inspector
Explore more articles
Users Rating of Our Blogs
Share Your Experience
We value your feedback! Please rate our content and share your thoughts (optional).
What Readers Say About Our Blog
To the interviewgemini.com Webmaster.
Very helpful and content specific questions to help prepare me for my interview!
Thank you
To the interviewgemini.com Webmaster.
This was kind of a unique content I found around the specialized skills. Very helpful questions and good detailed answers.
Very Helpful blog, thank you Interviewgemini team.