Are you ready to stand out in your next interview? Understanding and preparing for Mechanical Plumber interview questions is a game-changer. In this blog, we’ve compiled key questions and expert advice to help you showcase your skills with confidence and precision. Let’s get started on your journey to acing the interview.
Questions Asked in Mechanical Plumber Interview
Q 1. Explain the different types of pipe materials and their applications.
Choosing the right pipe material is crucial for a plumbing system’s longevity and efficiency. Different materials offer varying strengths and weaknesses regarding durability, corrosion resistance, and cost.
- Copper: Known for its durability, resistance to corrosion, and ability to withstand high water pressure. It’s commonly used for hot and cold water supply lines in residential and commercial buildings. However, it’s relatively expensive.
- CPVC (Chlorinated Polyvinyl Chloride): A strong, lightweight, and corrosion-resistant plastic pipe ideal for hot and cold water distribution. It’s easier to install than copper and more cost-effective, but its temperature limitations mean it’s unsuitable for high-temperature applications.
- PEX (Cross-linked Polyethylene): A flexible plastic pipe gaining popularity due to its ease of installation, resistance to freezing, and affordability. Its flexibility allows for fewer fittings, reducing potential leak points. However, it can be susceptible to damage from UV light and certain chemicals.
- PVC (Polyvinyl Chloride): A rigid plastic pipe typically used for drainage and sewer lines. It’s inexpensive and resists corrosion, but it’s not suitable for hot water applications or high-pressure situations.
- Cast Iron: A very durable and heavy material, traditionally used for drainage and sewer lines, particularly in older buildings. It’s highly resistant to corrosion but is expensive and difficult to work with.
For example, in a new residential construction, I might choose PEX for its flexibility and cost-effectiveness for interior water supply lines, while using PVC for the drainage system. In a commercial setting with high-pressure requirements, copper might be the preferable choice for main supply lines.
Q 2. Describe your experience with various plumbing fixtures and their installation.
My experience encompasses a wide range of plumbing fixtures, from simple faucets to complex shower systems and water closets. I’m proficient in the installation and repair of various types, including:
- Faucets: I’ve worked with compression, cartridge, and ball-type faucets, understanding the nuances of their internal mechanisms and repair techniques. A recent project involved replacing a leaky compression faucet, requiring careful disassembly, part replacement, and meticulous reassembly to ensure a proper seal.
- Toilets: I’m experienced in installing and servicing different toilet types, from low-flow models to dual-flush systems. This includes understanding the intricacies of toilet flapper mechanisms, fill valves, and tank-to-bowl seals.
- Showers and Tubs: I’ve installed and repaired a variety of shower systems, including pressure-balancing valves, thermostatic mixing valves, and shower heads. I’m adept at troubleshooting issues like low water pressure or inconsistent water temperature.
- Sinks and Drains: I have extensive experience installing and repairing various sink types, from kitchen sinks to bathroom vanities. This involves understanding proper drain connections, P-traps, and garbage disposals.
I always prioritize the proper installation methods to ensure the fixture’s longevity and prevent future problems. For instance, ensuring proper sealing with plumbing tape and appropriate caulking is paramount to prevent leaks and maintain water integrity.
Q 3. How do you troubleshoot a low water pressure issue?
Low water pressure can stem from several sources. My troubleshooting approach is systematic, eliminating possibilities one by one.
- Check the main water shutoff valve: Ensure it’s fully open.
- Inspect faucets and showerheads: Look for mineral buildup or debris restricting water flow. Cleaning or replacing these can often solve the problem.
- Examine pressure regulators: If your home has a pressure regulator, it might be malfunctioning or set too low. Adjustment or replacement might be necessary.
- Check for leaks: A significant leak anywhere in the system can reduce overall pressure. Look for visible leaks or signs of water damage.
- Investigate water meter: Verify that the meter is spinning correctly, indicating sufficient water flow from the main supply.
- Consider the age and condition of pipes: Old or corroded pipes can restrict water flow. A camera inspection might be needed to assess the internal condition of the pipes.
- Assess water pressure throughout the house: If the low pressure is isolated to a single fixture, the problem lies within that fixture’s plumbing. If it’s widespread, the issue is likely further upstream.
For example, I recently resolved a low-pressure issue in a home by identifying a partially closed valve on the main water line. In another instance, it was due to significant mineral buildup within a showerhead.
Q 4. What are the common causes of a clogged drain and how do you resolve them?
Clogged drains are a common plumbing problem. Identifying the cause is key to effective resolution.
- Hair and soap buildup: This is particularly common in shower drains and bathroom sinks. A drain snake or chemical drain cleaner can often resolve this.
- Grease and food waste: Grease buildup in kitchen sinks is a frequent culprit. Regularly flushing the drain with hot water and using a garbage disposal carefully can help prevent this.
- Foreign objects: Toys, jewelry, or other items can lodge themselves in drains, causing blockages. A drain snake or sometimes even pliers may be required to remove them.
- Tree roots: In older homes or those with nearby trees, tree roots can infiltrate sewer lines, causing significant blockages. This often necessitates professional excavation and repair.
- Mineral deposits: Over time, mineral deposits can build up inside pipes, reducing their diameter and leading to slow drainage. Chemical drain cleaners can sometimes help, but severe cases might require professional cleaning.
My approach involves first attempting a simple solution like plunging or using a drain snake. If that’s unsuccessful, I’ll investigate further to identify the exact cause of the clog before recommending more involved solutions such as hydro-jetting or pipe replacement.
Q 5. Describe your experience with different types of pumps and their applications.
My experience includes various pump types, each with specific applications:
- Submersible pumps: These are installed directly in a water source (like a well or sump pit) and are ideal for moving large volumes of water. I’ve used them frequently in basement sump pump installations, ensuring proper drainage to prevent water damage.
- Centrifugal pumps: These use centrifugal force to move liquids and are common in water supply systems for homes and businesses. I’ve worked with these in booster pump applications to increase water pressure in areas with low water pressure.
- Diaphragm pumps: These pumps use a diaphragm to create suction and pressure, making them suitable for handling thicker or more viscous liquids. I’ve used these in applications involving transferring chemicals or other non-water based fluids, always following safety protocols.
- Jet pumps: These pumps use a jet of water to create suction, making them efficient for pumping water from wells. I’ve worked with well pumps extensively, ensuring proper well water is delivered to homes.
Choosing the correct pump depends on the specific application, considering factors like flow rate, pressure requirements, liquid viscosity, and power availability. Proper installation is crucial to avoid damage and ensure efficiency. For example, improper grounding of a submersible pump can be very dangerous.
Q 6. Explain the principles of water hammer and how to prevent it.
Water hammer is the banging or hammering sound heard in pipes when water flow is suddenly stopped. It happens because the momentum of the water creates a shockwave that travels through the pipes.
Causes: The sudden closure of valves (like faucets), appliances (dishwashers, washing machines), or even a sudden change in water flow can trigger water hammer.
Prevention:
- Install water hammer arrestors: These are small devices that absorb the shockwave created by the rapid water flow changes. They’re inexpensive and relatively easy to install.
- Air chambers: These small chambers can also be installed in the piping system to cushion the shock of the water stopping. They provide a cushion of air that absorbs the water pressure surge.
- Slow-closing valves: Consider using slow-closing valves, which gradually reduce the water flow, minimizing the sudden pressure changes.
- Proper pipe support: Ensuring that the pipes are properly supported and not loose or vibrating can minimize the impact of water hammer.
I always recommend installing water hammer arrestors during new plumbing installations or when renovating existing systems to prevent damage and noise. In an older house with existing water hammer, adding arrestors is often a simple and effective solution.
Q 7. How do you ensure proper ventilation in a plumbing system?
Proper ventilation in a plumbing system is essential to prevent sewer gases from entering the home. These gases can be toxic and create unpleasant odors.
Methods:
- Vent pipes: These pipes run vertically from the drain system to the roof, allowing sewer gases to escape safely to the outside. They’re crucial for proper drainage and prevent vacuum buildup in the drain lines.
- Air admittance valves (AAVs): These are one-way valves that allow air to enter the drain system when needed, but prevent sewer gases from entering the home. They are often used as an alternative to running a traditional vent pipe.
- Proper sizing: Vent pipes need to be properly sized to accommodate the drain system’s flow rate. Inadequate sizing can lead to blockages and backflow.
- Regular maintenance: Keeping vent pipes clear of debris and obstructions is crucial for ensuring effective ventilation.
I always design and install plumbing systems with adequate venting. Improper ventilation can lead to serious health hazards and smelly drains; it’s a critical aspect that should never be overlooked.
Q 8. What are the safety regulations you adhere to when working with plumbing systems?
Safety is paramount in plumbing. My work always begins with a thorough risk assessment. This includes identifying potential hazards like exposed wiring, asbestos, or confined spaces. I strictly adhere to OSHA regulations and always utilize appropriate Personal Protective Equipment (PPE), including safety glasses, gloves, steel-toed boots, and hearing protection, depending on the task. When working with potentially hazardous materials like lead pipes or chemicals, I follow specific handling procedures and ensure proper disposal. For example, if dealing with lead, I’ll use specialized tools and follow strict decontamination protocols. Furthermore, I always ensure proper ventilation in confined spaces to avoid inhaling dangerous fumes. I’m also certified in confined space entry and lockout/tagout procedures, vital for safe operation of equipment and preventing accidental starts.
- Lockout/Tagout Procedures: Before working on any plumbing system, especially those involving water heaters or pumps, I always lock out and tag out the power supply to prevent unexpected activation.
- Confined Space Entry: If working in a confined space like a crawl space or manhole, I follow the appropriate protocols, including using air monitoring equipment and having a designated standby person.
Q 9. Describe your experience with blueprint reading and interpreting plumbing schematics.
Blueprint reading is fundamental to my work. I’m proficient in interpreting plumbing schematics, isometric drawings, and elevation plans. I can identify various plumbing fixtures, pipe sizes, materials, and their locations within a building. For instance, I can easily determine the routing of drain lines, water supply lines, and vent stacks from a set of blueprints. I understand the symbols used to represent different valves, fittings, and appliances. My experience involves working with both hand-drawn and CAD-generated blueprints, and I’m comfortable using software to interpret and manipulate these documents. I once had to troubleshoot a complex drainage issue in a historical building; the only documentation was a set of very old blueprints. Through careful interpretation and on-site investigation, I successfully identified and resolved the problem, preventing a costly and disruptive repair.
Q 10. How do you perform a pressure test on a plumbing system?
A pressure test ensures the plumbing system’s integrity. It involves pressurizing the system with air or water and checking for leaks. The process begins with isolating the section of the plumbing to be tested. Then, using a pressure gauge and a pump (either air or water depending on the system and regulations), I pressurize the system to the specified pressure, usually around 50 PSI for water. The system is then observed for a set period (typically 30 minutes to an hour) to detect any pressure drop indicating a leak. I carefully check all joints, fittings, and connections for leaks. If a leak is found, its location is marked and repaired before retesting. I use leak detection tools like electronic leak detectors to help pinpoint the leak precisely, especially for difficult-to-locate leaks. For example, I recently pressure-tested a new section of piping in a commercial building. The test identified a minor leak at a valve connection, which was swiftly repaired, preventing potential future problems.
Q 11. Explain your experience with soldering and brazing techniques.
I have extensive experience in both soldering and brazing copper pipes. Soldering is suitable for smaller diameter pipes using a lower temperature solder. Brazing utilizes higher temperatures and is preferred for larger pipes and applications requiring greater strength. I’m adept at preparing the pipe ends for proper joining and understand the importance of using the correct flux to clean the surfaces and prevent oxidation. I’m familiar with various types of solder and brazing alloys and select them based on the specific application and material compatibility. Safety is a priority; I always ensure proper ventilation and wear appropriate PPE while working with high temperatures. For example, I recently brazed a complex network of copper pipes for a heating system, requiring precise control of temperature and flawless connections to ensure system efficiency and prevent leaks.
Q 12. Describe your experience with various pipefitting tools and equipment.
My tool kit is comprehensive and includes various pipefitting tools, including pipe wrenches (chain, adjustable, and basin wrenches), pipe cutters, reamers, threaders, hacksaws, and various types of pliers. I’m proficient in using power tools such as pipe threading machines and reciprocating saws where appropriate and safe to do so. I also have experience with specialized tools such as drain snakes, pressure testers, and leak detectors. Selecting the right tool for each job is critical, and experience helps me choose the most efficient and safest method. For example, using the right size pipe wrench prevents damage to the pipe and ensures a secure connection.
Q 13. How do you size pipes for different applications?
Pipe sizing depends on the application, flow rate, and pressure. I use established formulas and charts to determine the appropriate pipe diameter. For example, water supply lines require larger diameters than drain lines due to the higher flow rates and pressures. Factors like friction loss also influence pipe sizing. I frequently consult industry standards and codes, such as those published by IAPMO, to ensure proper sizing. I use software to model flow and pressure to assist in the sizing of complex systems.
Q 14. Explain your understanding of plumbing codes and regulations.
Understanding plumbing codes and regulations is essential for safe and compliant installations. I’m familiar with local, state, and national plumbing codes (like the International Plumbing Code), which outline requirements for material selection, pipe sizing, fixture installation, drainage systems, and water conservation. These codes are crucial to ensure public health and safety by preventing contamination and ensuring that systems function correctly. Keeping updated on code changes is vital, and I actively participate in continuing education to maintain my knowledge. Failure to adhere to these codes can result in significant consequences, including fines and system failures, so it’s something I take very seriously.
Q 15. How do you calculate water flow rates and pressures?
Calculating water flow rates and pressures involves understanding the fundamental principles of fluid mechanics. We primarily use two key formulas: the Hazen-Williams equation and the Darcy-Weisbach equation. The Hazen-Williams equation is simpler and often used for water flow in pipes, while the Darcy-Weisbach equation is more complex and accounts for factors like pipe roughness and fluid viscosity, making it more accurate for a wider range of scenarios.
Hazen-Williams Equation: This equation estimates the flow rate (Q) based on pipe diameter (D), pipe length (L), Hazen-Williams roughness coefficient (C), and head loss (HL). The equation is:
Q = 0.2785 * C * D2.63 * (HL/L)0.54where Q is in gallons per minute (GPM), D is in inches, HL and L are in feet, and C is a dimensionless coefficient reflecting pipe material and condition (higher C means smoother pipe).
Darcy-Weisbach Equation: This equation is more comprehensive. It uses the friction factor (f), which accounts for pipe roughness, Reynolds number (Re), and pipe diameter to calculate head loss.
HL = f * (L/D) * (V2 / 2g)where HL is the head loss (feet), f is the Darcy friction factor (dimensionless), L is the pipe length (feet), D is the pipe diameter (feet), V is the flow velocity (feet per second), and g is the acceleration due to gravity (32.2 ft/s2).
In practice, I’d use specialized plumbing software or online calculators to simplify these calculations, inputting pipe specifications, desired flow rate, and pressure to determine the necessary pipe sizing and pump power. For example, when designing a sprinkler system for a large lawn, I’d use these equations (or software) to ensure adequate water pressure and flow to each sprinkler head.
Career Expert Tips:
- Ace those interviews! Prepare effectively by reviewing the Top 50 Most Common Interview Questions on ResumeGemini.
- Navigate your job search with confidence! Explore a wide range of Career Tips on ResumeGemini. Learn about common challenges and recommendations to overcome them.
- Craft the perfect resume! Master the Art of Resume Writing with ResumeGemini’s guide. Showcase your unique qualifications and achievements effectively.
- Don’t miss out on holiday savings! Build your dream resume with ResumeGemini’s ATS optimized templates.
Q 16. Describe your experience working with different types of valves and fittings.
My experience encompasses a broad range of valves and fittings, including gate valves, globe valves, ball valves, check valves, and various types of couplings and unions. Gate valves are ideal for on/off applications due to their simple design and ease of full flow when open. Globe valves offer precise flow control, but they cause more pressure drop than gate valves. Ball valves are quick-acting and provide a tight seal. Check valves prevent backflow, crucial for preventing contamination in water systems.
I’ve worked extensively with different materials: brass, cast iron, PVC, CPVC, and PEX. Each material has its advantages and disadvantages – brass is durable but expensive, PVC is economical and lightweight but susceptible to high temperatures, and PEX offers flexibility and freeze resistance. Material selection depends on the application; for example, I’d use CPVC for hot water lines due to its higher temperature rating compared to PVC.
Furthermore, I’m proficient in installing and maintaining different types of fittings, like elbows, tees, and reducers, ensuring proper alignment and leak-free connections using appropriate sealants and techniques. Understanding the compatibility of materials and the correct installation methods is paramount to prevent future issues and maintain system integrity.
Q 17. How do you troubleshoot and repair a leaking faucet?
Troubleshooting a leaking faucet usually starts with identifying the source of the leak. Many leaks originate from worn-out O-rings, washers, or cartridges within the faucet body. I begin by turning off the water supply to the faucet using the shut-off valves under the sink. Then, I carefully disassemble the faucet, following the manufacturer’s instructions or using online resources specific to the faucet’s model.
Step-by-step process:
- Inspect components: I examine the O-rings, washers, and cartridges for wear and tear. Cracked or damaged parts need replacement.
- Clean thoroughly: I clean all parts with a mild detergent and water to remove mineral deposits or debris.
- Replace worn parts: I install new O-rings, washers, or cartridges, ensuring correct orientation and proper seating.
- Reassemble the faucet: I carefully reassemble the faucet, paying close attention to the order of components and tightening connections according to manufacturer’s specifications.
- Test for leaks: Once reassembled, I turn the water supply back on and test for any leaks. If the leak persists, I systematically re-examine my work, checking for any missed steps or incorrect part installation.
For cartridge faucets, replacement is often the most straightforward solution. For compression faucets, replacing washers is usually sufficient. However, if the problem is stemming from corrosion or significant damage to the faucet body, a complete replacement might be necessary. I always advise clients on the best cost-effective solution while ensuring long-term reliability.
Q 18. How do you handle a burst pipe emergency?
A burst pipe is a serious emergency requiring immediate action. The first priority is to shut off the main water supply to prevent further water damage. This usually involves locating the main shut-off valve, often found near the water meter or inside a utility closet. Once the water is shut off, I assess the extent of the damage.
Emergency Response Steps:
- Locate the Source: Pinpoint the location of the burst pipe to assess the severity of the break.
- Contain the Water: Use towels, buckets, or other available materials to absorb water and redirect its flow away from sensitive areas to prevent further damage.
- Protect Property: If flooding is significant, I might need to use sandbags or other measures to prevent water from entering adjacent rooms.
- Temporary Repair (if possible): For minor breaks, a temporary repair using a clamp or sealant might be possible until a professional repair can be carried out. This buys time to mitigate further damage.
- Call a Professional (or contact insured plumber): In most cases, it’s best to contact a professional plumber or licensed contractor for a safe and permanent repair. This is particularly important for larger breaks involving significant damage.
- Document Damage: Thoroughly document the damage through photos and videos for insurance purposes.
A burst pipe can lead to substantial water damage, so quick action is crucial to minimize the loss. I always emphasize the importance of regular plumbing inspections to prevent such incidents.
Q 19. Describe your experience with backflow prevention devices.
Backflow prevention devices are essential for protecting potable water supplies from contamination. These devices prevent water from flowing backward into the water main, which could introduce harmful substances like chemicals, sewage, or other pollutants. I have extensive experience with various types of backflow preventers, including:
- Double Check Valves: These are the most common type and consist of two independently acting check valves, providing a high level of protection. They are typically used in situations with low to moderate back pressure.
- Reduced Pressure Zone (RPZ) Backflow Preventers: These devices offer a higher level of protection and are required in situations with higher back pressures, such as irrigation systems or fire protection systems. They use a vacuum breaker to prevent backsiphonage and a pressure differential to further protect against backflow.
- Pressure Vacuum Breaker (PVB): These are simpler devices suitable for low-risk applications such as hose bibbs. They are less effective in situations with higher back pressure than the RPZ or double check valves.
My experience includes installing, testing, and maintaining these devices, ensuring they are properly sized and functioning correctly. Annual testing and certification by a qualified professional are crucial for ensuring the safety and reliability of backflow preventers. I am familiar with the relevant codes and regulations, and I always ensure all my installations meet or exceed the required standards.
Q 20. Explain the difference between a PVC and CPVC pipe.
Both PVC (polyvinyl chloride) and CPVC (chlorinated polyvinyl chloride) are common thermoplastic piping materials used in plumbing systems, but they have key differences:
- Temperature Resistance: CPVC has a significantly higher temperature rating than PVC. PVC is generally suitable for cold water lines, while CPVC can safely handle hot water applications.
- Chemical Resistance: Both materials are resistant to many chemicals but CPVC is slightly more resistant to certain corrosive chemicals and solvents.
- Flexibility: PVC is generally stiffer and less flexible than CPVC, making CPVC easier to work with in tight spaces.
- Cost: CPVC is generally more expensive than PVC.
- Installation: Both are relatively easy to install using solvent welding, but CPVC requires a higher-temperature solvent.
For example, I would choose CPVC for hot and cold water lines supplying a dishwasher or a hot water recirculation loop, while I would use PVC for drainage lines or cold water supply lines where higher temperature isn’t a concern. The choice depends on the specific application and the required temperature and pressure ratings.
Q 21. What are the different types of sewer systems and their applications?
Different sewer systems cater to varying needs and geographical constraints. The most common types include:
- Sanitary Sewers: These systems collect wastewater from homes and businesses, transporting it to wastewater treatment plants. They typically consist of a network of pipes and manholes, running underground. The design considers gravity flow to move the wastewater efficiently.
- Storm Sewers: These systems manage rainwater runoff from streets and other surfaces, preventing flooding. They are often separate from sanitary sewers and may discharge directly into rivers or lakes (depending on local regulations and water quality considerations).
- Combined Sewers: In older systems, sanitary and storm sewers may be combined into a single system. This can lead to overflow during heavy rainfall, necessitating upgrades to separate sanitary and storm systems. This is a less desirable approach from an environmental and public health perspective.
- Septic Systems: In areas without access to municipal sewer systems, septic systems are used. These systems use a tank to separate solids from liquids. The liquid effluent is then filtered through a drain field before being released into the ground. They need regular maintenance and pumping.
The choice of sewer system depends on factors like population density, topography, environmental regulations, and the availability of wastewater treatment facilities. For example, a densely populated urban area will require a sophisticated sanitary sewer system connected to a wastewater treatment plant, while a rural area with low population density may rely on individual septic systems. Understanding these factors is crucial for appropriate design and implementation.
Q 22. How do you install a water heater?
Installing a water heater involves several crucial steps, ensuring safety and efficiency. First, you need to shut off the water supply to the existing heater and drain it completely. Then, choose a suitable location, considering proximity to water supply lines, drainage, and electrical or gas connections (depending on the heater type). The unit’s weight and dimensions are also crucial for structural stability.
Next, secure the water heater to the wall using appropriate brackets, ensuring levelness. This is paramount to prevent tilting and subsequent issues. Then comes the plumbing connections: connecting the cold water inlet and the hot water outlet lines. It’s vital to use the correct size and type of fittings and to seal all connections with Teflon tape and pipe dope to avoid leaks. Don’t forget to install a temperature and pressure relief valve (T&P valve) – a critical safety feature that vents excess pressure and temperature.
Finally, connect the electrical or gas supply according to the manufacturer’s instructions. This step requires adherence to strict safety protocols, especially with gas connections. A gas leak detection test is crucial before ignition. After verifying all connections, turn on the water supply, purge any air from the lines, and ignite the heater. It’s essential to check for leaks around all connections before and after heating the water.
For example, I recently installed a tankless water heater in a tight basement. The biggest challenge was maneuvering the unit through a narrow doorway and ensuring correct venting while maintaining code compliance. Careful planning and methodical execution were key to a successful installation.
Q 23. Describe your experience with trenching and pipe laying.
Trenching and pipe laying are fundamental aspects of plumbing. My experience includes excavating trenches of varying depths and widths using both manual and mechanical methods. Understanding soil conditions is critical – rocky soil might necessitate specialized equipment, while soft soil could require shoring to prevent collapse. Accuracy is key; careful measurement and marking of the trench ensure proper pipe alignment and slope for effective drainage.
Pipe laying requires attention to detail. Pipes must be laid with consistent grade, avoiding sharp bends or kinks that can restrict flow. Supporting the pipe with gravel beds or bedding ensures stability and prevents settling. Different pipe materials, such as PVC, copper, and cast iron, demand varied techniques and require appropriate joining methods – solvent welding, soldering, or mechanical couplings. I’m experienced in all of these.
For instance, on a recent large-scale project, we laid over 500 feet of HDPE pipe for a new water main. The ground was exceptionally rocky, requiring the use of a hydraulic excavator and specialized trenching tools. The precision and teamwork involved in ensuring the correct depth, grade, and alignment over such a distance was very satisfying.
Q 24. How do you maintain and repair plumbing systems?
Maintaining and repairing plumbing systems involves a multifaceted approach: preventative maintenance is key. This includes regularly inspecting fixtures and pipes for leaks, corrosion, or blockages. Tightening loose connections and lubricating moving parts can prevent future problems. Regularly flushing water heaters and checking pressure relief valves extends their lifespan.
Repair procedures vary depending on the issue. A leaky faucet might require replacing O-rings or cartridges. Clogged drains may necessitate using drain snakes, augers, or hydro-jetting equipment. More serious issues, such as burst pipes or sewer line problems, often require extensive repairs or replacements. Accurate diagnosis is crucial – understanding the root cause of a problem before undertaking repairs prevents recurring issues.
For example, I once diagnosed a recurring leak under a customer’s kitchen sink. Initially, it seemed like a simple drain leak, but through careful investigation, I found a corroded pipe hidden behind the wall, the source of the problem. The repair involved replacing the corroded section, which prevented a potentially larger, and more costly, problem down the line.
Q 25. Explain your experience with working with different types of drain cleaning equipment.
My experience encompasses a variety of drain cleaning equipment, from basic hand augers to sophisticated hydro-jetting systems. Hand augers are effective for clearing minor clogs in relatively accessible drains. Electric drain snakes are more powerful and can reach deeper into the drain system. They’re essential for tackling tougher clogs caused by hair, grease, or debris.
Hydro-jetting is a more aggressive technique that utilizes high-pressure water jets to scour the interior of pipes. This is ideal for clearing severe blockages or accumulated grease and grime. The choice of equipment depends on the specific problem and the drain’s accessibility. It’s also crucial to understand the limitations of each tool to avoid damaging pipes. For example, using a high-pressure jet on an older or fragile pipe could cause further damage.
I’ve used all of these in various situations. Recently, a customer had a completely blocked sewer line. Hand augers and even electric snakes were ineffective, so hydro-jetting was the only solution. It successfully cleared the blockage, highlighting the importance of using the right tool for the job.
Q 26. Describe your experience with gas line installation and maintenance.
Gas line installation and maintenance require specialized knowledge and strict adherence to safety regulations. Installation involves careful planning and precise execution. Correct sizing of the pipe, appropriate fittings, and leak-proof connections are essential. Before any work begins, a thorough inspection of the existing gas system is critical. After installation is complete, a thorough leak test using specialized equipment, such as a soap solution or electronic leak detector, is necessary to verify the integrity of the new gas lines before turning on the supply.
Regular maintenance includes checking for leaks, corrosion, and damage. Tightening loose connections and replacing damaged or corroded parts are crucial to ensure safety. Knowing how to properly shut off the gas supply in case of an emergency is also a fundamental aspect of gas line maintenance. Improper handling of gas lines can lead to serious consequences, like explosions or gas poisoning. I am certified and insured to perform such work.
In a past project, I had to replace a section of corroded gas line in a residential property. The project demanded meticulous planning and execution, with a careful assessment and isolation of the affected section before the work began. The system was thoroughly tested afterward to ensure safety and compliance.
Q 27. How do you work effectively as part of a team on a plumbing project?
Effective teamwork in plumbing projects is crucial for efficient and safe completion. Clear communication is paramount. This includes daily briefings to coordinate tasks and ensure everyone understands their roles and responsibilities. Open communication ensures that challenges are addressed promptly and effectively.
Respect for each team member’s skills and expertise is also vital. A plumbing project involves various specializations, and acknowledging each person’s contribution fosters a collaborative atmosphere. Working efficiently involves a combination of planning, coordination, and adaptability. We often encounter unexpected issues on site, so the ability to adjust strategies and collaborate to find solutions is key. This can involve adapting to changing site conditions or adjusting schedules to meet deadlines.
For example, on a recent new construction project, the unexpected discovery of underground utilities required a rapid team response to rework our trenching plans and adjust the pipe routing to maintain code compliance without delaying the project schedule. Collaborative problem-solving and clear communication were crucial in this situation.
Q 28. Describe a time you had to solve a challenging plumbing problem.
One of the most challenging plumbing problems I faced involved a low-pressure issue in a large commercial building. The initial investigation revealed low water pressure throughout the entire building, but the source was elusive. Simple fixes like checking for leaks or replacing a faulty pressure regulator proved unsuccessful.
After thorough investigation and using specialized pressure testing equipment, I discovered a significantly restricted section of the main water supply line buried deep beneath the building’s foundation. This wasn’t accessible from above and would have required a tremendous amount of disruptive demolition. Instead, I devised a less invasive strategy using a robotic pipe-lining system. This involved inserting a flexible liner into the existing pipe to effectively restore its diameter and resolve the pressure issue without costly demolition.
This situation required not only technical expertise in plumbing and pressure testing but also creative problem-solving and the ability to adapt the approach to minimize disruption for the client. The success of this project highlighted the importance of thorough investigation and a willingness to explore non-traditional solutions.
Key Topics to Learn for Mechanical Plumber Interview
- Plumbing Codes and Regulations: Understanding local, state, and national plumbing codes is crucial for safe and compliant installations. This includes knowledge of pipe sizing, material selection, and fixture requirements.
- Blueprint Reading and Interpretation: Accurately interpreting blueprints is essential for understanding project scope, material needs, and installation procedures. Practice reading various types of plumbing plans.
- Pipefitting Techniques: Mastering various pipefitting techniques, including cutting, threading, soldering, and brazing, demonstrates practical skills and attention to detail. Be prepared to discuss different pipe materials and their applications.
- Troubleshooting and Repair: Explain your approach to diagnosing and repairing common plumbing issues, highlighting your problem-solving skills and ability to work under pressure. Examples include clogged drains, leaking pipes, and malfunctioning fixtures.
- Water Treatment Systems: Familiarity with water filtration and softening systems showcases a broader understanding of plumbing systems and their impact on water quality.
- Safety Procedures and Regulations: Demonstrate a strong commitment to safety by discussing relevant OSHA regulations and best practices for working with plumbing tools and materials.
- Pressure Testing and System Diagnostics: Explain your experience with pressure testing plumbing systems and identifying potential leaks or vulnerabilities. Discuss the tools and techniques you employ.
- HVAC Integration (if applicable): If your experience includes working with HVAC systems, be prepared to discuss the integration of plumbing and HVAC systems, including water heaters and hydronic systems.
Next Steps
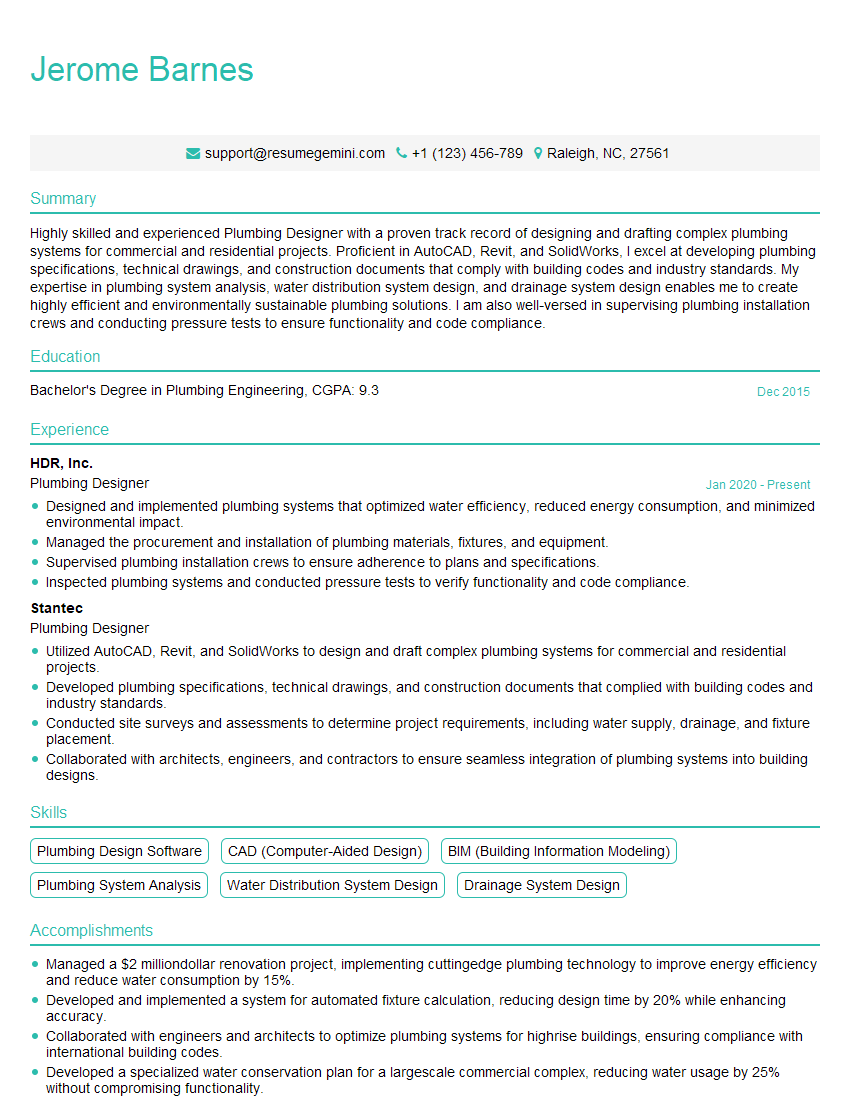
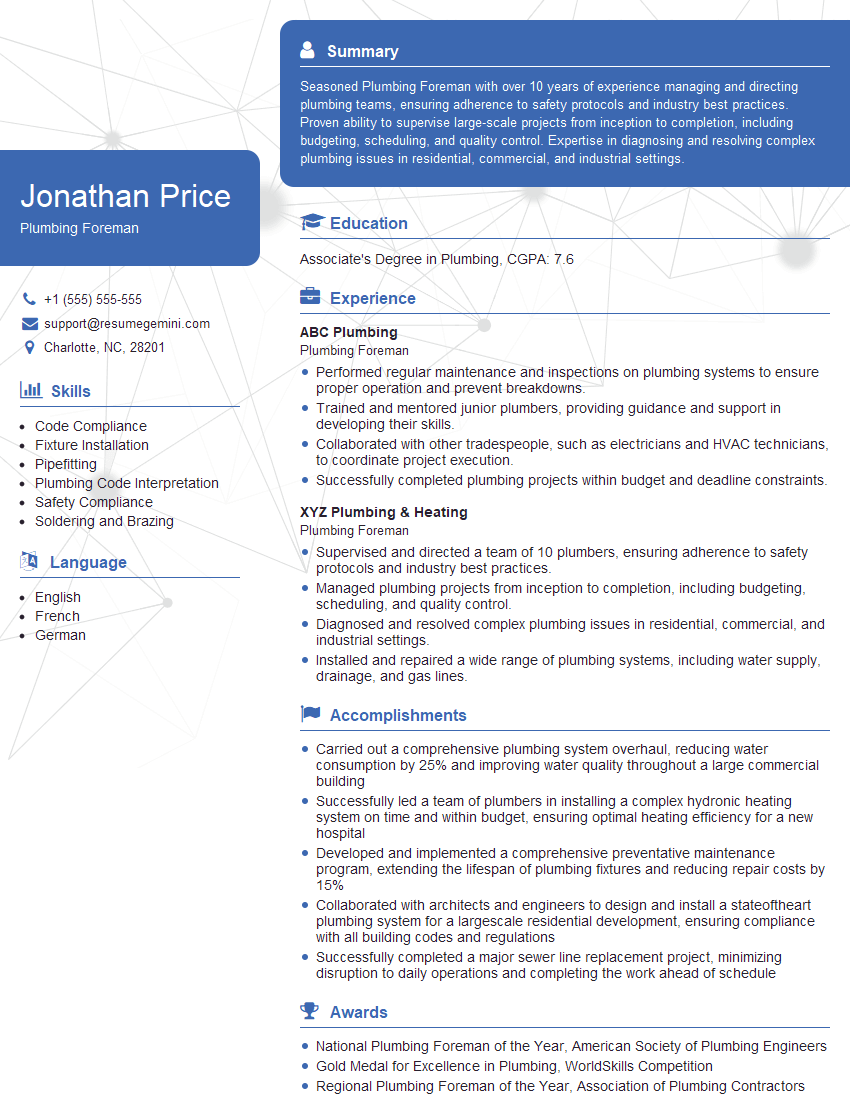
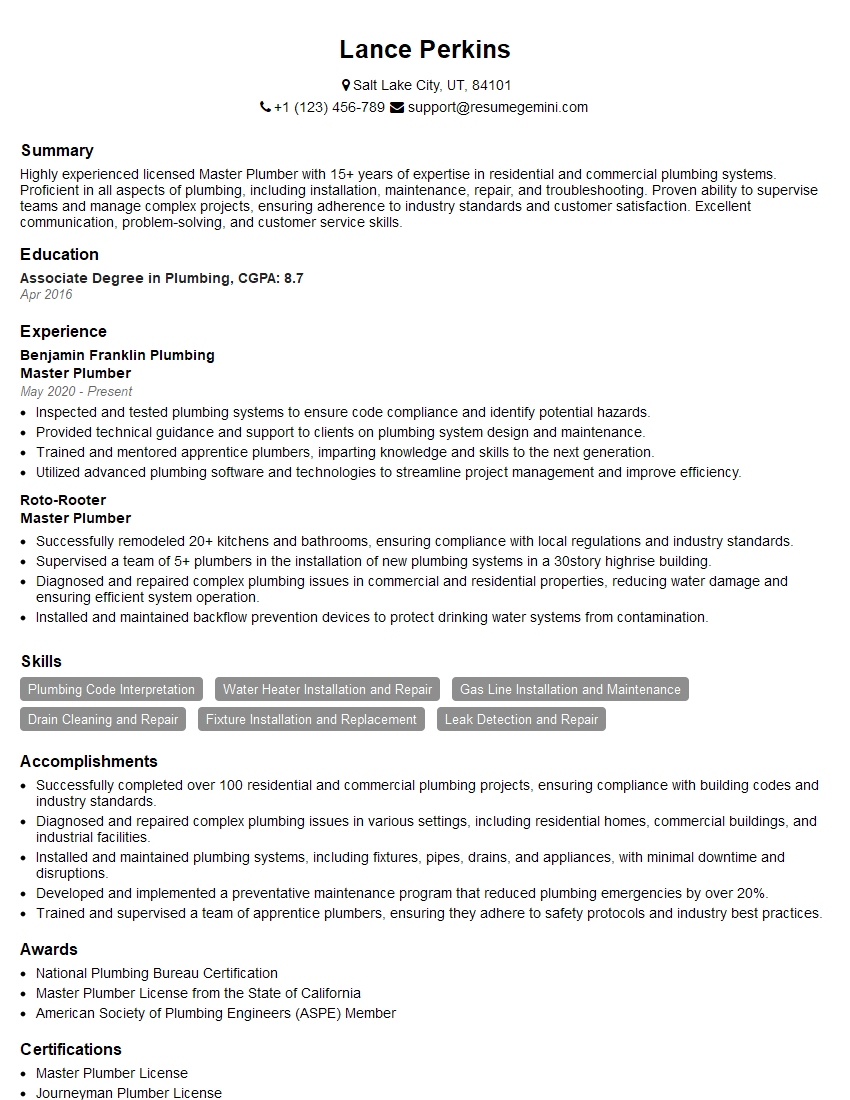
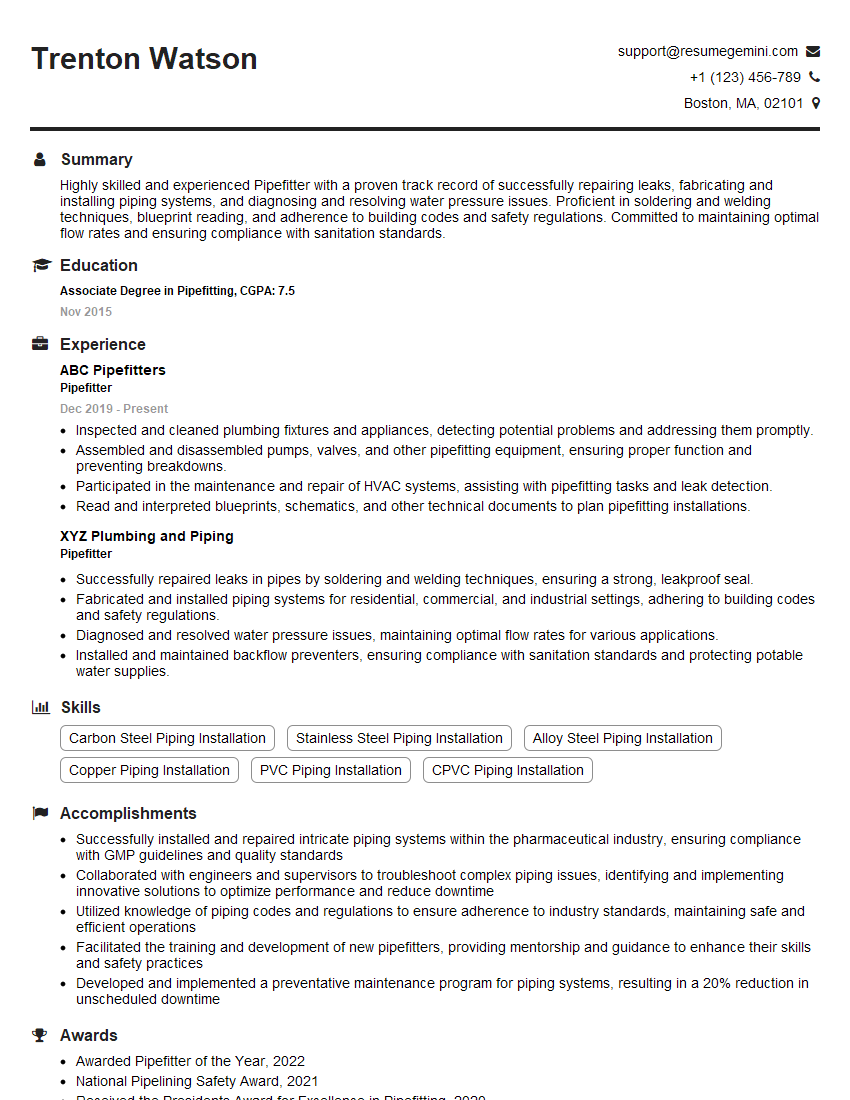
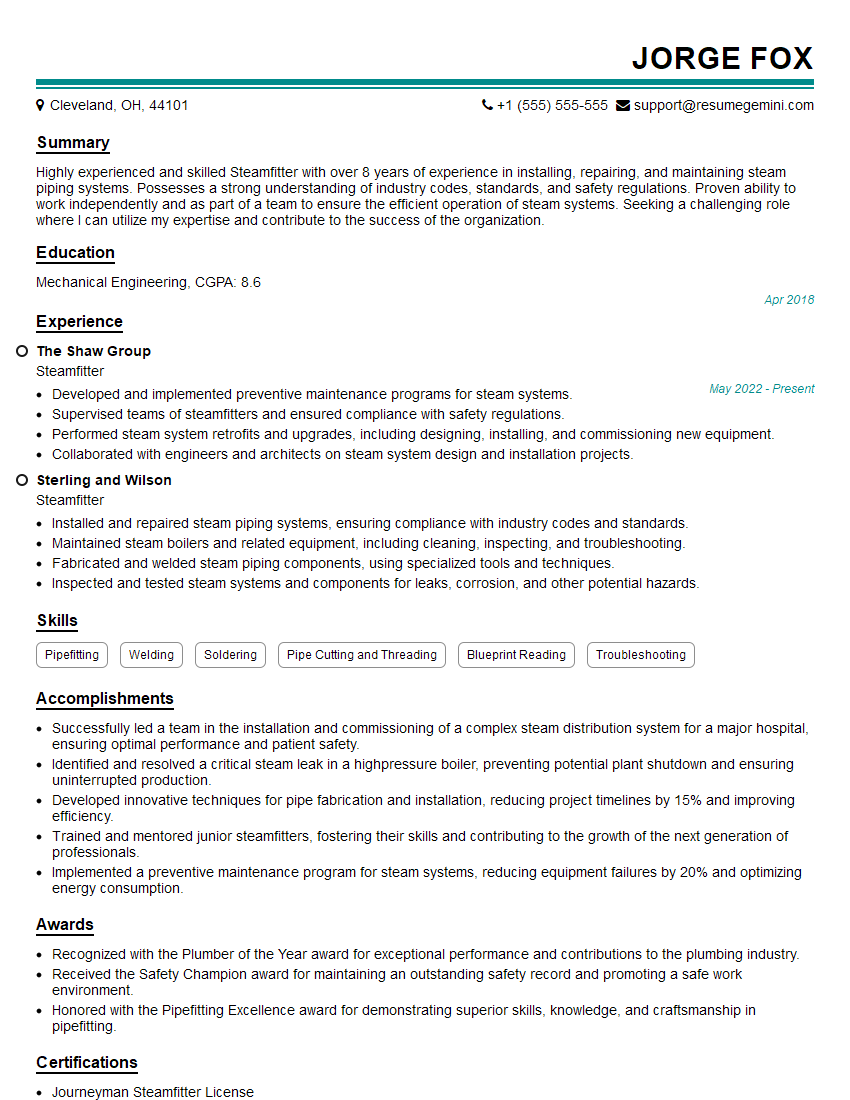
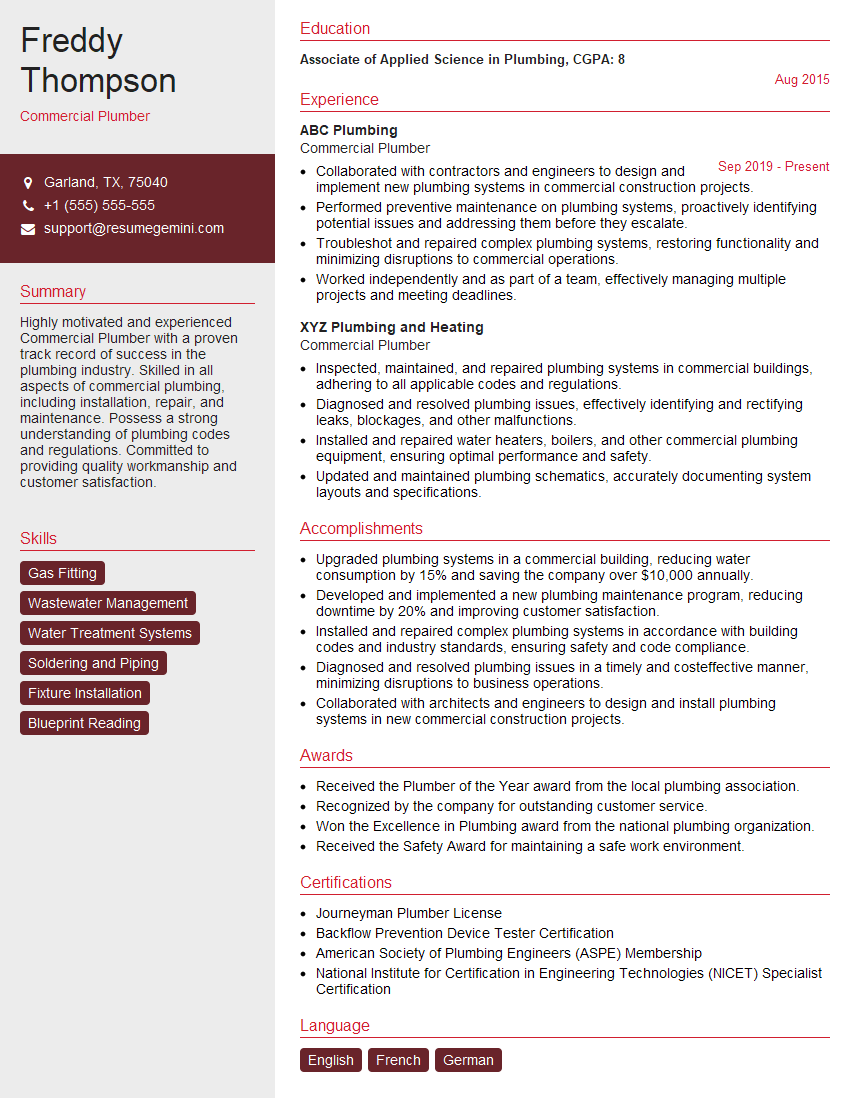
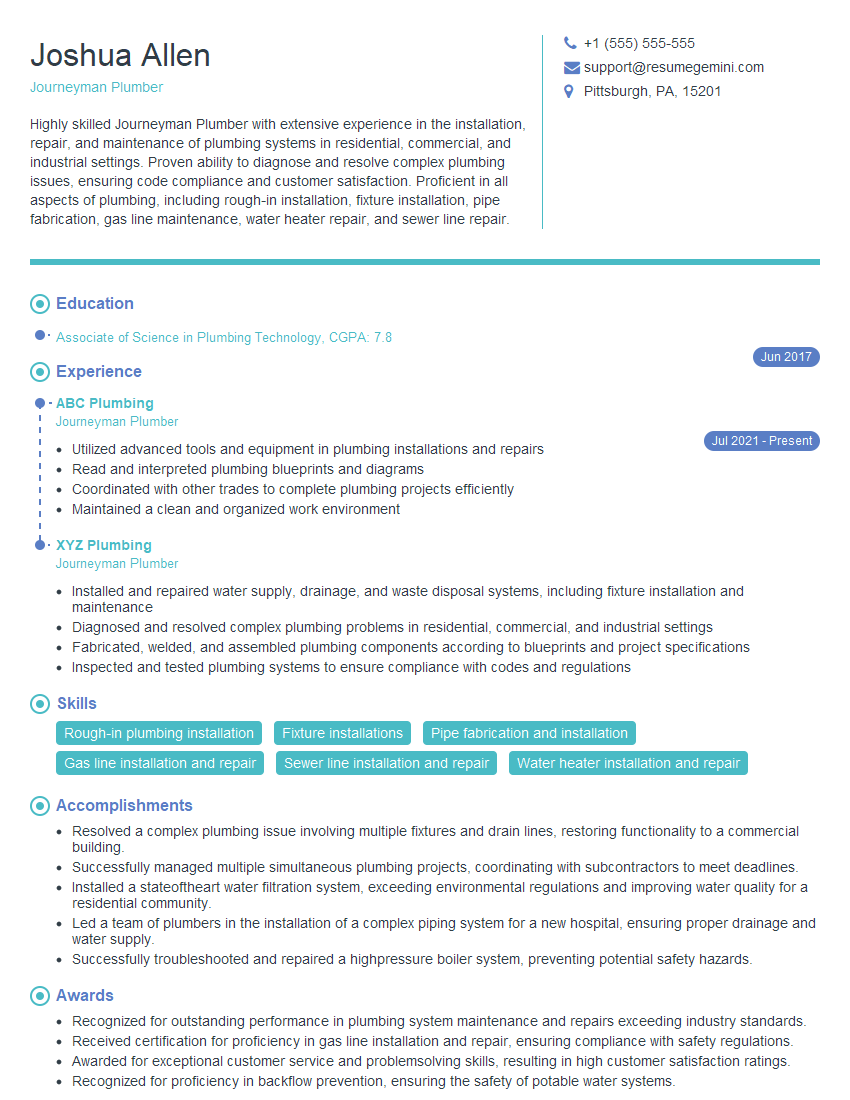
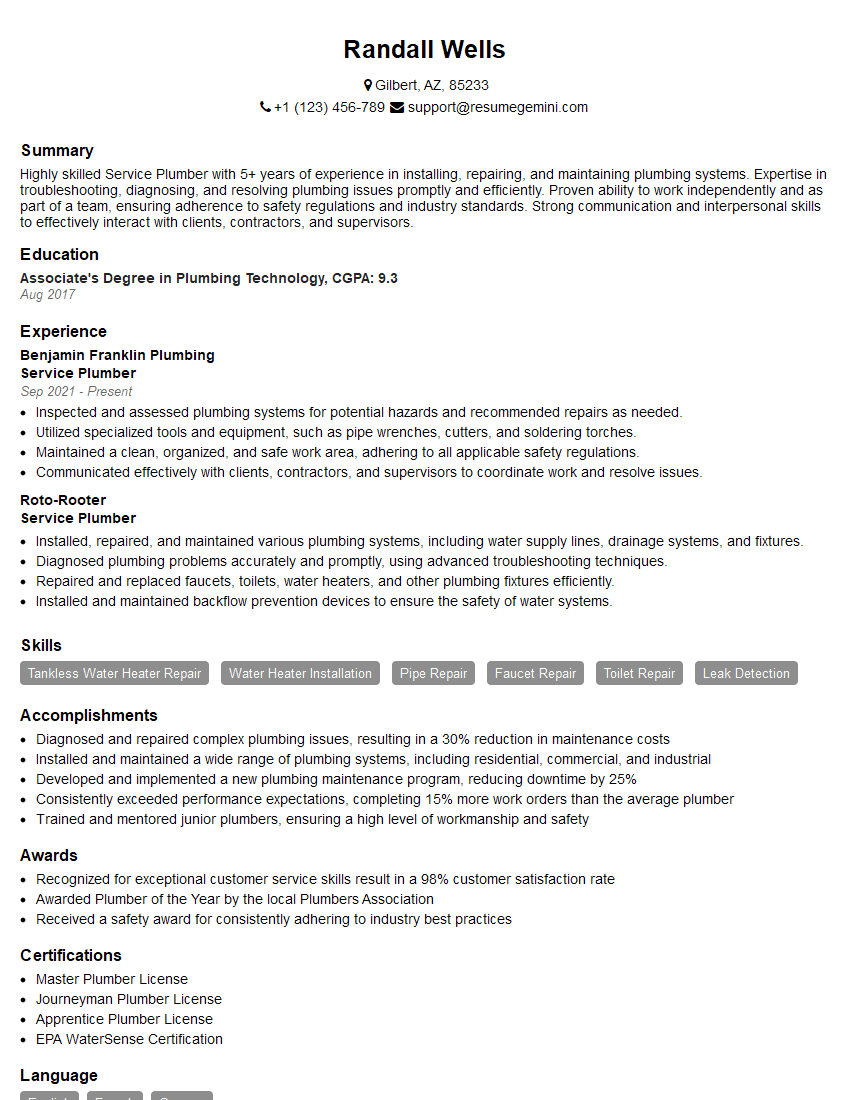
Mastering the skills of a Mechanical Plumber opens doors to a rewarding career with excellent growth potential, offering opportunities for specialization and advancement. A strong resume is your key to unlocking these opportunities. Creating an ATS-friendly resume is crucial for getting your application noticed by potential employers. ResumeGemini is a trusted resource to help you build a professional and impactful resume that highlights your skills and experience effectively. Examples of resumes tailored to Mechanical Plumber positions are available to guide you through the process.
Explore more articles
Users Rating of Our Blogs
Share Your Experience
We value your feedback! Please rate our content and share your thoughts (optional).
What Readers Say About Our Blog
This was kind of a unique content I found around the specialized skills. Very helpful questions and good detailed answers.
Very Helpful blog, thank you Interviewgemini team.
