Interviews are more than just a Q&A session—they’re a chance to prove your worth. This blog dives into essential Construction Plumber interview questions and expert tips to help you align your answers with what hiring managers are looking for. Start preparing to shine!
Questions Asked in Construction Plumber Interview
Q 1. Explain the different types of pipe materials used in construction plumbing.
Selecting the right pipe material is crucial in construction plumbing, as it directly impacts the system’s longevity, durability, and resistance to corrosion. Several materials are commonly used, each with its own set of advantages and disadvantages.
- Copper: Known for its durability, corrosion resistance, and relatively long lifespan. It’s a premium choice but can be more expensive than other options. Often used in residential and commercial settings for hot and cold water distribution.
- CPVC (Chlorinated Polyvinyl Chloride): A plastic pipe known for its affordability and resistance to high temperatures, making it suitable for hot water systems. However, it’s less durable than copper and susceptible to damage from UV exposure.
- PEX (Cross-linked Polyethylene): A flexible plastic pipe that’s becoming increasingly popular. It’s easy to install, resistant to freezing, and relatively inexpensive. Its flexibility makes it ideal for complex layouts and renovations.
- PVC (Polyvinyl Chloride): A rigid plastic pipe commonly used for drainage and sewer lines due to its strength and resistance to chemicals. It’s not suitable for high-temperature applications.
- Galvanized Steel: While once very common, its use is declining due to susceptibility to corrosion over time. It’s still found in older buildings, and some specialized applications.
The choice of pipe material often depends on factors such as budget, project requirements, local codes, and the specific application (e.g., hot water lines, drainage, etc.). For instance, in a high-rise building, copper might be preferred for its durability, while a cost-effective renovation project might utilize PEX for its flexibility and ease of installation.
Q 2. Describe your experience with various plumbing fixtures and their installation.
My experience with plumbing fixtures is extensive, encompassing installation, repair, and maintenance of a wide variety of units. This includes toilets (both standard and low-flow), sinks (lavatory, kitchen, utility), showers (standard and multiple-head systems), bathtubs, and faucets (various styles and functionalities).
I’m proficient in installing fixtures according to manufacturer specifications and local plumbing codes. This involves understanding the water supply and drainage connections, ensuring proper sealing to prevent leaks, and testing the functionality of each fixture after installation. For instance, during a recent bathroom renovation, I installed a pressure-balanced shower valve to ensure consistent water temperature regardless of other water usage in the building. This required careful attention to the valve’s installation and proper pressure testing afterwards to avoid any potential issues.
I also have experience troubleshooting and repairing various fixture issues, from leaky faucets requiring simple cartridge replacements to more complex repairs such as toilet flapper replacements or addressing low water pressure at individual fixtures.
Q 3. How do you troubleshoot a low water pressure issue in a building?
Low water pressure is a common plumbing problem that requires systematic troubleshooting. My approach involves a series of steps to pinpoint the source of the problem:
- Check for Obstructions: Begin by inspecting faucets and showerheads for mineral deposits or debris that could be restricting water flow. A simple cleaning might resolve the issue.
- Examine Water Meter: Check the water meter to see if it’s functioning correctly and the pressure gauge is operating within the normal range. A faulty meter will show lower pressure even if no blockage is present.
- Inspect Pressure Regulator: If the meter shows normal readings, check the pressure regulator. A malfunctioning regulator can restrict water pressure to the building.
- Evaluate Main Water Line: Investigate the main water line for any leaks, cracks, or blockages. This often involves checking the line from the street to the building’s water meter.
- Check for Leaks: A significant leak somewhere in the system will reduce the pressure in other parts of the system. Inspect pipes, fixtures, and connections for signs of leaks.
- Consider Water Usage: If water pressure is low only during peak usage hours, it might indicate insufficient water supply to the building or building section, especially if the building is older or has a smaller supply line.
Once the problem’s source has been identified, the appropriate repair or replacement can be performed. For instance, if a clogged showerhead is the culprit, a simple cleaning might solve the issue. If a leak in the main water line is detected, it requires immediate repair by a qualified plumber.
Q 4. What are the common causes of sewer line blockages and how do you address them?
Sewer line blockages are a significant plumbing problem often caused by a combination of factors:
- Tree Roots: Roots seeking moisture can penetrate sewer pipes, causing significant blockages. This is particularly common with older clay pipes.
- Grease Buildup: Accumulation of grease and fats in pipes causes a sticky buildup that attracts other debris, eventually leading to a blockage.
- Foreign Objects: Improper disposal of items such as sanitary products, wipes, and cooking debris can cause blockages.
- Sediment Buildup: Over time, sediment and mineral deposits can accumulate inside pipes, restricting water flow.
- Pipe Collapse or Damage: Physical damage to the sewer line due to age or external factors can cause blockages.
Addressing sewer line blockages often involves using a combination of methods depending on the nature and location of the clog. These might include:
- Augering: Using a plumbing snake to break up or retrieve the blockage.
- Hydro-jetting: Using high-pressure water jets to flush out debris.
- Chemical Drain Cleaners (Caution): These should only be used as a last resort and according to the manufacturer’s instructions, as misuse can damage pipes.
- Pipe Replacement: In cases of severe damage or frequent blockages, pipe replacement is necessary. This might involve digging up the affected section of the sewer line, which is a more significant undertaking.
Regular preventative maintenance, such as avoiding pouring grease down drains and properly disposing of waste, can greatly reduce the risk of sewer line blockages.
Q 5. Describe your experience with different types of plumbing joints and connections.
Plumbing joints and connections are critical for ensuring a leak-free and durable plumbing system. I have experience with a variety of joint types, including:
- Threaded Joints: These involve screwing pipes together using threaded fittings. They are commonly used with metal pipes and require proper sealing with Teflon tape or pipe dope to prevent leaks.
- Compression Joints: These use compression rings and nuts to secure pipes together. They are easier to install than threaded joints and are commonly used with PEX pipes.
- Solvent Weld Joints: These involve melting the ends of plastic pipes (PVC, CPVC) and joining them together using a solvent cement. This creates a strong, permanent bond.
- Sweat Solder Joints: Used with copper pipes, these joints utilize solder to create a permanent bond between the pipe and fitting. This requires specific skills and knowledge of the process to ensure a proper seal.
- Flanged Joints: These joints involve flanges that are bolted together to create a durable connection. These are frequently used on large-diameter pipes and in situations where accessibility is required.
Choosing the appropriate joint type depends on the pipe material, pressure rating, access limitations, and the project’s specific requirements. For example, solvent welding is ideal for PVC drain lines, while compression fittings are often used for PEX water lines for their speed and ease of installation.
Q 6. How do you ensure compliance with building codes and regulations during plumbing installations?
Compliance with building codes and regulations is paramount in plumbing installations. I ensure compliance through several key methods:
- Thorough Code Review: Before commencing any project, I thoroughly review the relevant local and national building codes and regulations to understand the specific requirements for pipe sizing, material selection, fixture installation, drainage systems, and testing procedures.
- Permitting and Inspections: I obtain the necessary permits from the local authorities and schedule inspections at critical stages of the project to ensure compliance with code requirements.
- Proper Documentation: I maintain detailed records of materials used, installation procedures, test results, and any deviations from the original plans, which assists during inspections and in case of future maintenance needs.
- Material Certification: I always source materials from reputable suppliers who can provide certifications confirming material compliance with relevant standards.
- Proper Testing: After installation, I conduct various pressure tests and leak tests to ensure that the plumbing system functions according to code and is leak-free. These tests are documented and submitted to the inspecting authority.
By following these steps, I ensure that all installations are compliant, safe, and meet the required standards for the protection of the building occupants and the environment. Neglecting these steps can lead to penalties, project delays, and potential safety hazards.
Q 7. Explain your understanding of water hammer and its prevention.
Water hammer is a phenomenon that occurs when water flow in a pipe is suddenly stopped, creating a pressure surge (hammering sound). This can happen when a valve is rapidly closed or a fixture is turned off quickly. The sudden stoppage of water creates a wave of pressure that travels through the pipes, potentially causing damage.
The effects of water hammer can range from annoying banging noises to pipe damage or even fixture failure over time. The intensity of water hammer depends on several factors, including the speed of valve closure and the pipe’s length and material.
Prevention involves installing devices that absorb or dampen these pressure surges. Common methods include:
- Air Chambers: These are short sections of vertical pipe filled with air, which cushions the pressure wave. They are commonly used on individual fixtures.
- Water Hammer Arrestors: These are mechanical devices that use a spring or piston to absorb the shock of the pressure surge. These devices are more effective than air chambers, especially in situations with significant water hammer.
- Slow-closing valves: Installing valves that close slowly can significantly reduce the impact of water hammer.
In my experience, neglecting water hammer prevention can lead to costly repairs down the line, so it’s a critical aspect of any plumbing installation or repair. I always ensure that appropriate measures are taken to mitigate the risk of water hammer, leading to a smoother, quieter, and longer-lasting plumbing system.
Q 8. Describe your experience with backflow prevention devices and their installation.
Backflow prevention devices are crucial for protecting potable water supplies from contamination. They prevent the backward flow of non-potable water (like sewage or chemicals) into the drinking water system. My experience encompasses the installation and maintenance of various types, including Double Check Valve Assemblies (DCVA), Reduced Pressure Zone Backflow Preventers (RPZ), and Pressure Vacuum Breaker Assemblies (PVBA).
Installation involves careful consideration of the specific device requirements and local plumbing codes. For example, an RPZ requires specific spacing and testing ports for proper functionality and compliance. I always ensure proper connection to the water main and the downstream piping, double-checking all fittings for leaks. After installation, a thorough testing procedure is essential to verify the device is operating correctly, this usually involves using a vacuum test gauge and pressure test to verify the functionality of the backflow preventer’s internal components. I’ve worked on installations in various settings, from residential homes to large commercial buildings, adapting my approach to the unique challenges of each project.
One memorable project involved replacing a faulty DCVA in a high-rise apartment building. The existing device was corroded, requiring meticulous removal and proper disposal. The new installation demanded precise alignment and adherence to stringent safety protocols to ensure minimal disruption to water service for the building’s occupants.
Q 9. What is your experience with gas piping and installation?
Gas piping installation is a specialized area requiring a high degree of precision and adherence to strict safety regulations. My experience includes working with various gas piping materials, including black iron, copper, and CPVC, and I am proficient in utilizing different joining methods such as threading, soldering, and using compression fittings. Each material has unique properties, and the choice depends on factors like the system’s pressure, location, and local codes. I’m familiar with all the necessary safety measures, including proper ventilation, leak detection, and the use of appropriate personal protective equipment (PPE).
A key aspect of gas piping is ensuring proper venting. Inadequate venting can lead to dangerous gas buildup, causing explosions or asphyxiation. I always meticulously plan the vent system’s placement and size to ensure optimal performance and safety. I also perform thorough leak detection tests using a calibrated gas leak detector after installation and before the system is turned on. Every installation is carefully documented, including the materials used and the test results, ensuring traceability and accountability.
In a recent project, I installed a new gas line for a commercial kitchen. The precise location of the gas meter and the required pressure dictated specific pipe sizing and material selection. Careful planning was crucial to minimize disruption to the kitchen’s operation during the installation process.
Q 10. How do you handle emergency plumbing repairs?
Emergency plumbing repairs require a quick response and a systematic approach. My priority is always to mitigate the immediate damage and prevent further harm. I begin by assessing the situation and identifying the source of the problem – be it a burst pipe, a clogged drain, or a gas leak. Safety is paramount; I always turn off the relevant utilities (water, gas, or electricity) before commencing any work. I prioritize addressing the most critical issue first, such as stopping a major leak to prevent water damage, before moving on to secondary repairs.
Communication is crucial in emergency situations. I keep the client updated throughout the process, explaining the steps I’m taking and any potential complications. After the immediate issue is resolved, I conduct a thorough inspection to identify any underlying problems that may need addressing to prevent future occurrences. I always strive to provide a temporary fix if necessary, followed by a permanent solution as soon as possible. For example, I may use a temporary clamp to repair a burst pipe before replacing the damaged section entirely later.
I once responded to a call about a burst pipe flooding a basement. I quickly shut off the main water supply and used temporary measures to contain the leak while simultaneously contacting an emergency water extraction service. This approach minimized further damage, allowing us to prevent extensive structural damage and remediation.
Q 11. Describe your experience with different types of drainage systems.
Drainage systems are critical for effective wastewater disposal. I have experience with various types, including gravity drainage, forced drainage (using pumps), and storm drainage systems. Gravity drainage relies on the natural slope of pipes to move wastewater downwards to a sewer line or septic tank. Forced drainage employs pumps to move wastewater uphill or against gravity, commonly used in areas with low ground elevation. Storm drainage systems are separate networks handling rainwater runoff, and their design considers factors like the size of the catchment area and potential flood risks.
Each system requires different design considerations and maintenance practices. Understanding the slope, pipe diameter, and material selection is vital for proper gravity drainage design. Forced drainage systems require careful pump selection and regular maintenance to prevent clogging or failure. Storm drainage systems often incorporate catch basins, grates, and other components to effectively manage large volumes of water. Maintaining these systems is crucial to prevent backups, blockages, and health hazards.
I worked on a project where we needed to install a new forced drainage system for a basement apartment. Due to the low ground elevation, gravity drainage was not an option, so we had to carefully choose a suitable pump and lay the drainage pipes with consideration for slope and proper venting. We made sure to check that the pump was correctly sized based on the building’s predicted water flow.
Q 12. Explain your understanding of plumbing blueprints and schematics.
Plumbing blueprints and schematics are essential for understanding the layout and components of a plumbing system. I’m proficient in reading and interpreting these documents, identifying the locations of fixtures, pipes, valves, and other components. The drawings usually contain details such as pipe sizes, materials, and elevation changes. Symbols and abbreviations are standardized, making it relatively easy to understand the system once familiar with the standards.
Understanding the schematic allows me to plan the installation efficiently, order necessary materials, and anticipate potential challenges. I often use the blueprints in conjunction with the on-site conditions to verify the accuracy of the plans and to make any necessary adjustments. For instance, I might notice discrepancies between the plans and the actual location of existing utility lines, requiring me to modify the installation plan to avoid conflicts.
In a recent commercial project, the blueprints showed a complex network of pipes and valves. Accurate interpretation of the schematics was critical to ensure that the installation was completed correctly and met all regulatory requirements. The details on the plumbing plans were vital in planning the layout and the sequencing of the installation, minimizing delays and material waste.
Q 13. How do you perform a pressure test on a plumbing system?
A pressure test is a critical step in verifying the integrity of a newly installed or repaired plumbing system. It helps detect leaks and ensures that the system can withstand the expected operating pressures. The process typically involves isolating the section of the plumbing system being tested and pressurizing it to a specific pressure above the intended operating pressure using an air compressor or a water pump.
The test pressure and duration are determined by local codes and the type of piping material used. During the test, I carefully monitor the pressure gauge for any drops, indicating a possible leak. The location of leaks can often be identified by listening for hissing sounds or using electronic leak detection equipment. Once any leaks are repaired, the test is repeated until the pressure remains stable.
I recently performed a pressure test on a new residential plumbing system. We used an air compressor to pressurize the system and monitored the pressure for 30 minutes. A small drop was detected, and a leak was found in a newly installed fitting. After tightening the fitting, we repeated the test, and this time the pressure remained stable, confirming the integrity of the system.
Q 14. What safety precautions do you follow when working with plumbing systems?
Safety is my top priority when working with plumbing systems. I always follow a strict set of safety precautions, starting with proper risk assessment before beginning any work. This includes identifying potential hazards, like energized electrical lines or the presence of hazardous materials. I always use appropriate PPE, including safety glasses, gloves, and protective footwear. I understand and adhere to all relevant safety regulations and codes, such as OSHA guidelines.
Working with water requires caution. I take extra care to prevent slips and falls by using appropriate non-slip mats and securing wet areas. When working with gas lines, I use leak detectors to ensure the safety of the environment. I also ensure proper ventilation to prevent the accumulation of harmful gases. I follow strict lockout/tagout procedures when working on systems that could pose electrical hazards, effectively de-energizing equipment before maintenance or repairs.
I always make sure to communicate clearly with colleagues and clients about potential hazards and safety procedures, ensuring everyone on site is aware and working safely. I treat every job as an opportunity to reinforce the importance of safety.
Q 15. Describe your experience with trenchless pipe repair techniques.
Trenchless pipe repair is a revolutionary approach that minimizes disruption by repairing or replacing pipes without extensive excavation. I have extensive experience with several trenchless methods, including:
- Pipe bursting: This involves shattering the old pipe and pulling a new one through its remains. It’s ideal for replacing severely damaged sections and is particularly effective in tight spaces.
- Pipe lining (cured-in-place pipe, or CIPP): A resin-saturated liner is inserted into the existing pipe, inflated, and cured to form a new, structurally sound pipe within the old one. This method is excellent for repairing corrosion, cracks, and joint leaks.
- Lateral lining: Similar to CIPP, but specifically used to repair smaller lateral pipes branching off from the main line. It’s a highly efficient method for addressing leaks and blockages in these often-difficult-to-access areas.
For example, I recently used CIPP to repair a corroded section of a main sewer line beneath a busy city street. The trenchless method saved the client significant time and money, avoiding major road closures and the associated traffic disruption.
Career Expert Tips:
- Ace those interviews! Prepare effectively by reviewing the Top 50 Most Common Interview Questions on ResumeGemini.
- Navigate your job search with confidence! Explore a wide range of Career Tips on ResumeGemini. Learn about common challenges and recommendations to overcome them.
- Craft the perfect resume! Master the Art of Resume Writing with ResumeGemini’s guide. Showcase your unique qualifications and achievements effectively.
- Don’t miss out on holiday savings! Build your dream resume with ResumeGemini’s ATS optimized templates.
Q 16. How do you calculate the correct pipe sizing for a given application?
Pipe sizing is critical to ensure efficient water flow and prevent pressure drops. The calculation depends on several factors, primarily the flow rate (gallons per minute or GPM) and the desired pressure. We use established formulas and charts, often referencing industry standards like the IAPMO (International Association of Plumbing and Mechanical Officials) codes.
One common method involves using the Hazen-Williams equation, which considers pipe diameter, material, flow rate, and pipe length to determine the head loss (pressure drop). Software programs are available to simplify these calculations, factoring in all relevant parameters such as fittings and elevation changes.
For instance, designing a plumbing system for a new multi-story building requires careful pipe sizing to ensure adequate water pressure on the upper floors. Undersizing the pipes would lead to insufficient pressure, while oversizing would be wasteful and costly. Accurate sizing requires a thorough understanding of the building’s water demand and the pressure limitations of the water supply.
Q 17. Explain your understanding of different types of valves and their applications.
Valves are essential for controlling the flow of water in plumbing systems. There are many types, each with specific applications:
- Gate valves: Used for fully opening or closing flow, rarely for throttling, and often found in main lines.
- Globe valves: Used for regulating flow, ideal for throttling and controlling the water pressure but can cause more friction than gate valves.
- Ball valves: Quick-opening and closing, excellent for shut-off applications.
- Check valves: Prevent backflow of water, crucial in pump systems and preventing contamination.
- Pressure reducing valves (PRVs): Maintain a consistent downstream pressure, protecting appliances from high pressure.
In a recent project, we used PRVs to protect sensitive bathroom fixtures from fluctuating water pressure. Without them, the high-pressure surges could have damaged toilets and faucets.
Q 18. What is your experience with water heaters and their maintenance?
My experience with water heaters encompasses installation, maintenance, and repair of various types, including gas, electric, and tankless units. Regular maintenance is key to prolonging their lifespan and efficiency. This includes:
- Annual inspections: Checking for leaks, corrosion, and proper anode rod function (in tank-type heaters).
- Flushing sediment: Removing mineral build-up that reduces efficiency.
- Temperature adjustment: Ensuring the water temperature is set appropriately for safety and efficiency.
- Anode rod replacement: Replacing the sacrificial anode rod to protect the tank from corrosion.
I once diagnosed a problem with a gas water heater that was producing lukewarm water. Through a systematic inspection, I discovered a partially clogged gas valve, requiring cleaning and adjustment to restore its functionality.
Q 19. How do you identify and repair leaks in various plumbing systems?
Identifying and repairing leaks is a fundamental aspect of plumbing. The approach depends on the type and location of the leak:
- Visual inspection: Look for obvious signs of water damage, such as stains, dripping, or pooling water.
- Listening for leaks: Use a stethoscope to pinpoint the source of the leak within walls or floors.
- Pressure testing: This involves pressurizing the system to identify leaks by monitoring pressure drops.
- Dye testing: Adding dye to the water can help visualize leaks in hard-to-detect areas.
- Thermal imaging: Infrared cameras can detect temperature variations caused by leaks.
Repair methods range from simple tightening of fittings to replacing damaged pipes or components. I recently used thermal imaging to locate a leak behind a wall in a commercial kitchen. This non-invasive method allowed us to pinpoint the exact location of the leak, minimizing the damage caused by the repair work.
Q 20. Describe your experience with different types of pumps used in plumbing systems.
Various pumps play crucial roles in plumbing systems, each with its own characteristics and applications:
- Centrifugal pumps: Commonly used for boosting water pressure, moving water through long distances or to higher elevations. They are often used in water supply systems and irrigation.
- Submersible pumps: Ideal for draining water from basements, sump pits, or wells. Their compact design allows them to be placed directly in the water.
- Diaphragm pumps: Used for handling viscous liquids or slurries, often in industrial applications. They can move materials that centrifugal pumps struggle with.
- Booster pumps: Increase water pressure to meet the demands of a system, often used in high-rise buildings or large complexes.
In one instance, we installed a booster pump in a high-rise apartment building to ensure adequate water pressure on the upper floors. This solved issues of low water pressure in showers and faucets on the higher floors.
Q 21. Explain your understanding of the principles of fluid mechanics relevant to plumbing.
Understanding fluid mechanics is essential for successful plumbing design and troubleshooting. Key principles include:
- Pressure: The force exerted per unit area of a fluid, impacting water flow and pressure drops throughout the system.
- Flow rate: The volume of water moving through a pipe per unit of time, determined by pipe diameter, pressure, and friction.
- Head loss: The reduction in pressure due to friction as water flows through pipes and fittings. It’s a critical factor in pipe sizing.
- Bernoulli’s principle: States that an increase in the speed of a fluid occurs simultaneously with a decrease in static pressure or a decrease in the fluid’s potential energy. Understanding this helps to diagnose pressure-related issues.
For example, designing a drainage system requires an understanding of gravity, flow rates, and the avoidance of airlocks to ensure efficient wastewater removal. An improper understanding can lead to slow drainage and potential backups.
Q 22. How do you handle different types of soil conditions during plumbing installations?
Soil conditions significantly impact plumbing installations. Different soil types have varying degrees of compaction, drainage, and potential for shifting. My approach involves a thorough site assessment before any excavation. This includes understanding the soil type – whether it’s clay, sandy loam, rocky, etc. – and its potential for water retention or erosion.
- Clay soils: These are difficult to excavate and can be prone to shifting. We often utilize shoring techniques to prevent collapse during trenching and backfilling. We might also use specialized trench boxes for worker safety.
- Sandy soils: These are easier to work with but can be prone to erosion. We implement measures to prevent soil washout during excavation and use appropriate backfilling methods.
- Rocky soils: Require specialized equipment like rock saws or breakers. This adds time and cost to the project, so careful planning and client communication are crucial.
- High Water Table Areas: We utilize dewatering systems (pumps) to lower the water table during excavation and prevent flooding. Proper drainage solutions are incorporated into the design to handle future water buildup.
Ignoring soil conditions can lead to pipe damage, leaks, and ultimately, project failure. Careful planning and consideration of the soil profile are key to a successful and long-lasting plumbing installation.
Q 23. What is your experience with working at heights and confined spaces?
Safety is paramount, and I have extensive experience working at heights and in confined spaces. For heights, I’m fully trained and certified in fall protection techniques. This includes using harnesses, safety lines, and proper scaffold setup and inspection. We always employ a buddy system for added security.
In confined spaces, I’m familiar with the hazards of oxygen deficiency, gas buildup, and potential for entrapment. Before entering a confined space, we conduct thorough atmospheric testing using gas detection equipment and follow all OSHA regulations. We have the necessary equipment like respirators, ventilation systems, and rescue apparatus readily available.
One instance involved a challenging repair on a rooftop plumbing system. I meticulously planned the work, including securing the access point and setting up a robust safety system. My team and I successfully completed the repairs safely and without incident.
Q 24. Describe your experience with using different plumbing tools and equipment.
My experience encompasses a wide range of plumbing tools and equipment. This includes:
- Pipe Cutting and Threading Tools: From hand-held pipe cutters and threaders to power-driven machines for various pipe materials (PVC, copper, cast iron).
- Welding Equipment: Proficient in using different welding techniques for joining copper and other metal pipes.
- Drain Cleaning Equipment: Experience with snaking, hydro-jetting, and camera inspection to diagnose and clear blockages.
- Excavation Equipment: I’m familiar with operating various excavation machines, including mini-excavators, backhoes, and trenchers.
- Testing Equipment: Proficient in using pressure testing equipment to verify the integrity of plumbing systems.
I also understand the importance of proper tool maintenance and safety procedures. Regular inspection and upkeep ensure efficiency and prevent accidents.
Q 25. How do you manage your time and prioritize tasks during a busy workday?
Time management is critical in construction. I utilize several strategies to stay organized and prioritize tasks. This starts with careful planning and reviewing project blueprints. I break down larger tasks into smaller, manageable steps.
- Daily Planning: Each morning, I create a prioritized to-do list based on project deadlines and urgency.
- Communication: Consistent communication with the project manager and team members helps keep everyone informed and avoids delays.
- Flexible Approach: Unexpected issues always arise, so I am adaptable and willing to adjust my schedule as needed.
- Delegation: When possible, I delegate tasks to other team members efficiently.
By focusing on efficiency and proactive planning, I ensure that projects are completed on time and within budget.
Q 26. How do you maintain accurate records of materials and labor costs?
Accurate record-keeping is essential for managing costs and ensuring project profitability. I use a combination of digital and paper-based systems.
- Digital Tracking: I utilize spreadsheets or project management software to track materials used, labor hours, and associated costs. This allows for easy access to real-time data and facilitates accurate reporting.
- Detailed Invoices: All purchases are documented with detailed invoices and receipts, ensuring accurate cost accounting.
- Timesheets: I maintain accurate timesheets to track labor hours, distinguishing between regular and overtime pay.
- Regular Audits: Periodic audits of expenses ensure accuracy and help identify any discrepancies early on.
Maintaining accurate records also aids in future project estimations and improves overall project management.
Q 27. What is your experience with working on projects with tight deadlines?
I have extensive experience working on projects with tight deadlines. My approach involves careful planning, efficient resource allocation, and proactive problem-solving.
- Detailed Scheduling: Creating a realistic schedule that considers potential delays is vital. This includes buffer time to account for unexpected issues.
- Teamwork: Effective communication and collaboration within the team are crucial in managing tight deadlines.
- Prioritization: Identifying and focusing on the most critical tasks first ensures that essential work is completed on time.
- Flexibility: Being open to adjusting the schedule when necessary avoids significant delays.
Recently, I worked on a project where we had to complete the installation of a new plumbing system in a high-rise building before the tenant move-in date. By effectively managing the team, utilizing efficient techniques, and adjusting the schedule as needed, we successfully met the tight deadline.
Q 28. Describe a challenging plumbing project you successfully completed and the lessons you learned.
One of the most challenging projects I undertook involved replacing the entire plumbing system in a historic building. The building’s age presented unique challenges such as outdated infrastructure, unexpected hidden obstacles (like old, fragile pipes), and the need to preserve its historical integrity.
The initial assessment revealed extensive corrosion and leaks throughout the system. The challenge lay in carefully navigating the existing infrastructure while minimizing damage to the historical structure. We employed non-destructive testing methods like camera inspections to assess the condition of the pipes before excavation, and used specialized tools to minimize disruption.
We successfully completed the project while preserving the historical aspects of the building. The most significant lesson learned was the importance of thorough initial assessment and detailed planning when dealing with complex, historical structures. It emphasized the need for creative problem-solving and adaptability to overcome unexpected obstacles.
Key Topics to Learn for Construction Plumber Interview
- Plumbing Codes and Regulations: Understanding local, state, and national building codes related to plumbing installations and repairs is crucial. This includes knowledge of relevant safety standards.
- Pipefitting and Installation Techniques: Practical experience with various pipe materials (copper, PVC, PEX), joining methods (soldering, solvent welding, compression fittings), and installation techniques in different construction settings is essential. Be prepared to discuss your experience with different pipe sizes and pressure ratings.
- Blueprint Reading and Interpretation: Demonstrate your ability to interpret plumbing schematics and blueprints to understand the layout and requirements of a plumbing system within a larger construction project.
- Troubleshooting and Repair: Discuss your experience diagnosing and resolving common plumbing issues, such as leaks, clogs, low water pressure, and malfunctioning fixtures. Highlight your problem-solving skills and ability to work efficiently under pressure.
- Water Supply and Drainage Systems: A solid understanding of how water supply and drainage systems work, including pressure, flow rates, and waste disposal, is vital. Be ready to discuss different types of pumps, valves, and fittings.
- Safety Procedures and Practices: Construction plumbing involves inherent risks. Showcase your knowledge of relevant safety regulations, personal protective equipment (PPE), and safe working practices.
- Working with Other Trades: Construction is a collaborative environment. Discuss your ability to effectively communicate and coordinate with other tradespeople, such as electricians and carpenters.
- Tools and Equipment: Familiarity with common plumbing tools and equipment (pipe cutters, wrenches, soldering torches, etc.) is expected. Be prepared to discuss their proper use and maintenance.
- Estimating and Costing: For more senior roles, understanding material costs, labor estimates, and project budgeting will be beneficial.
Next Steps
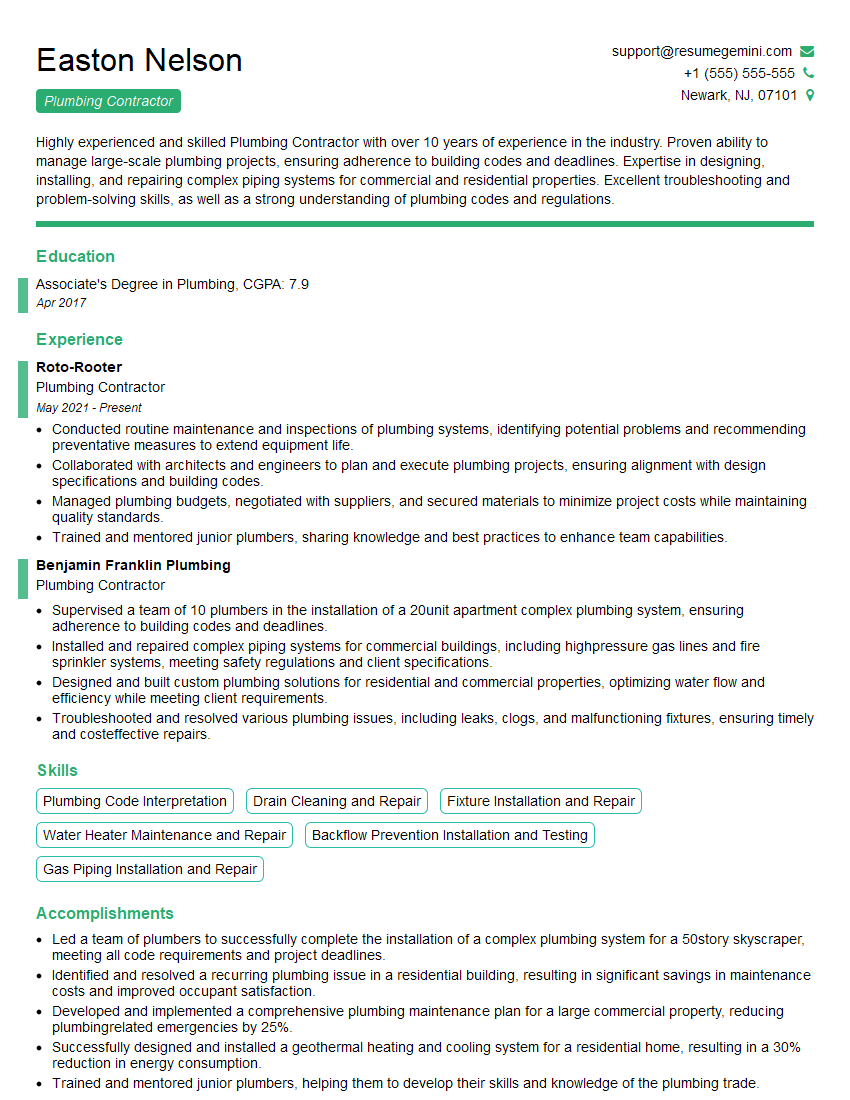
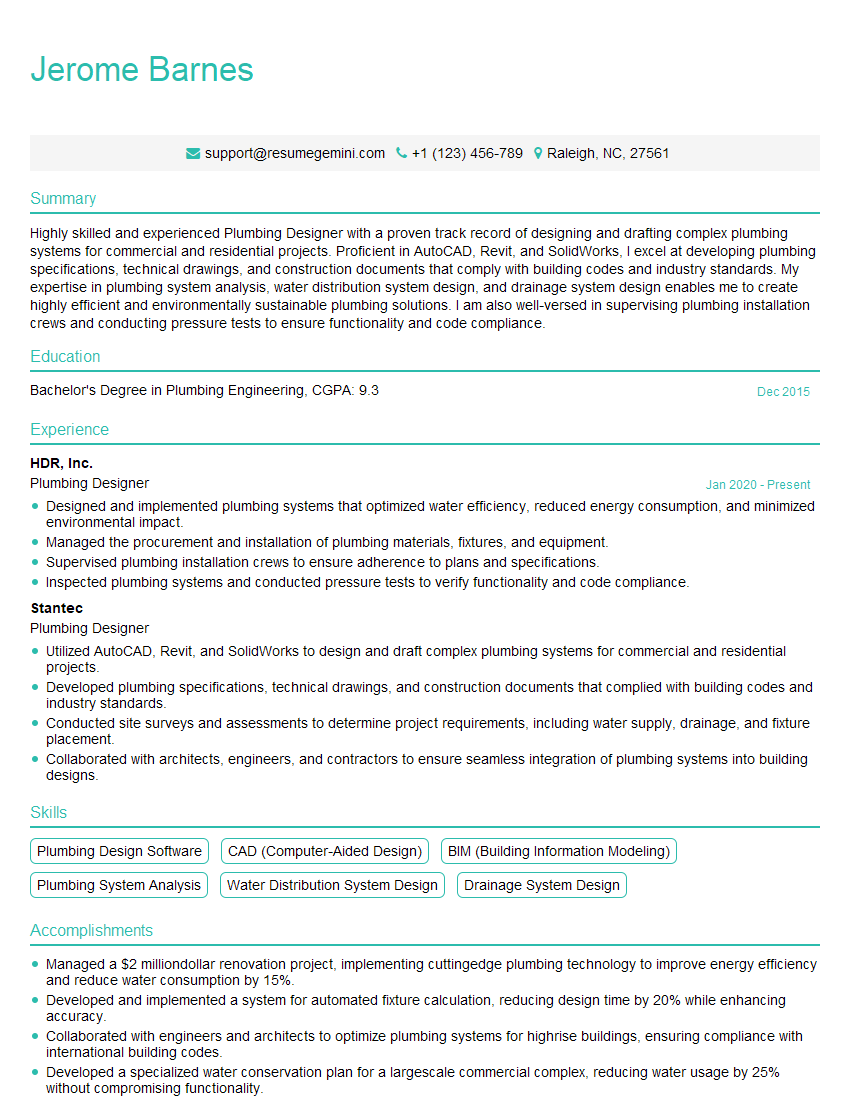
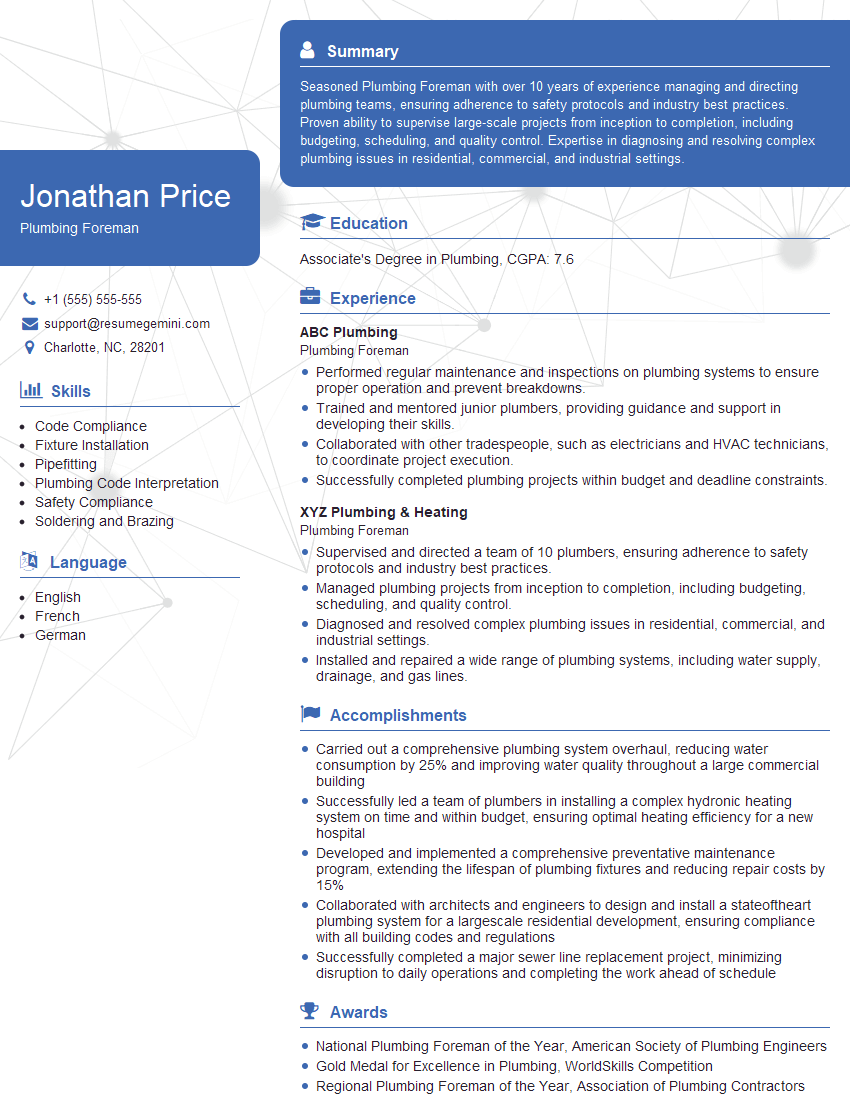
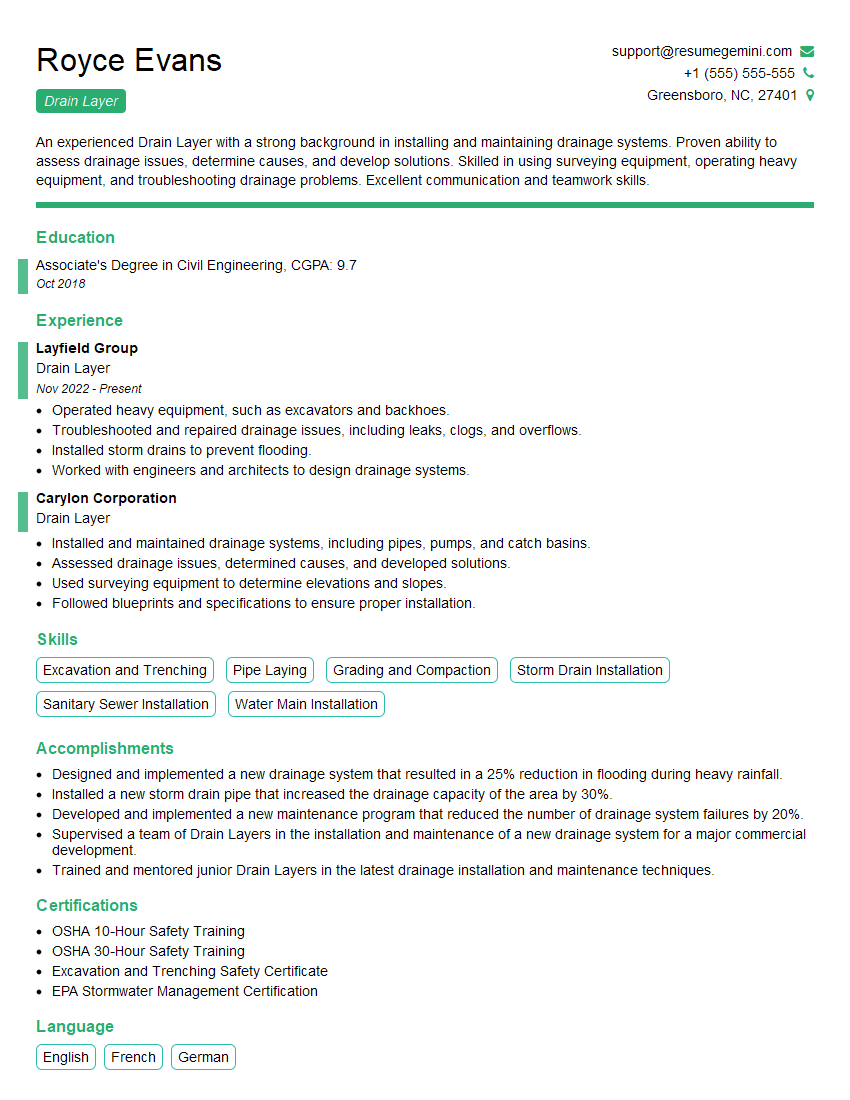
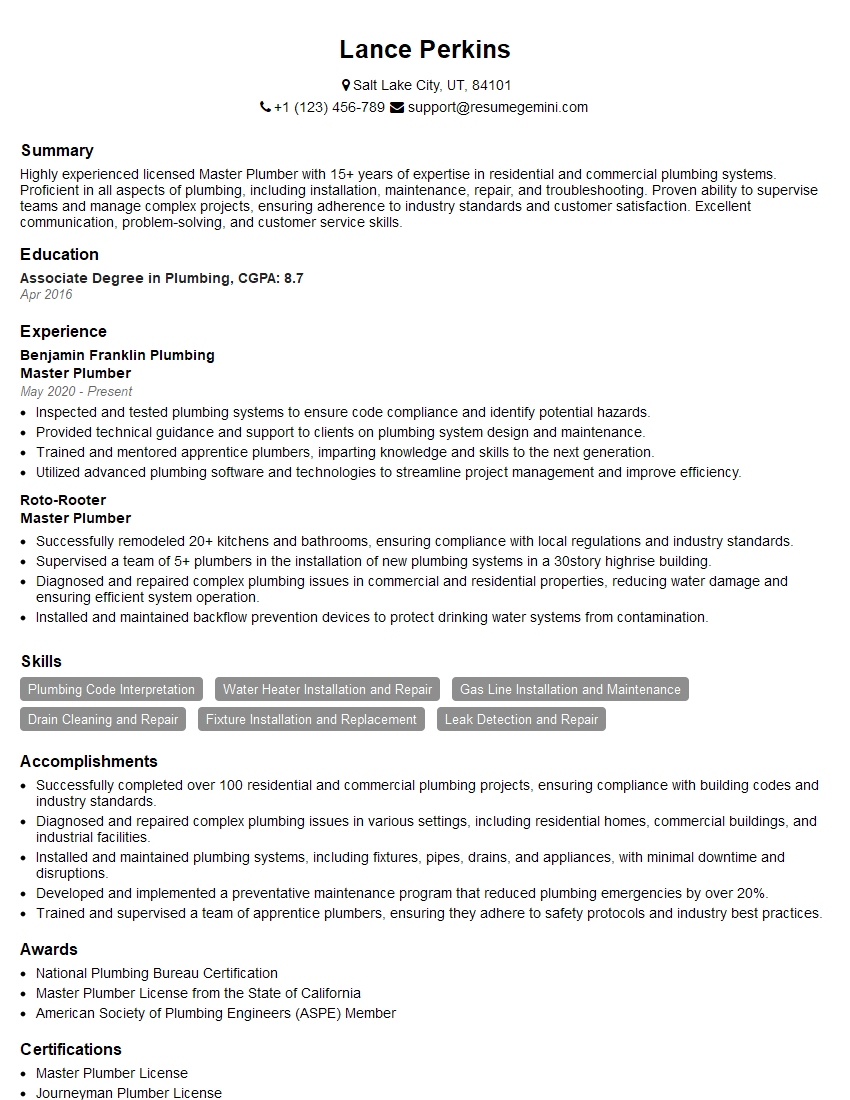
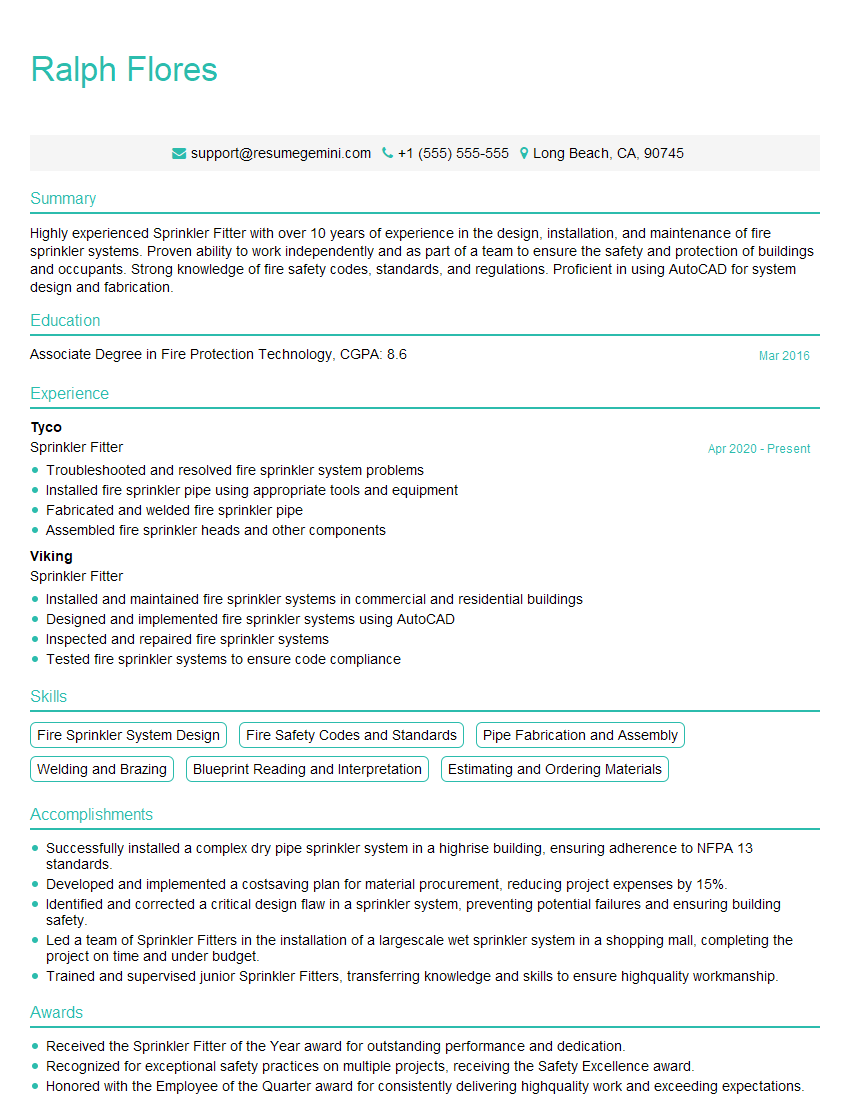
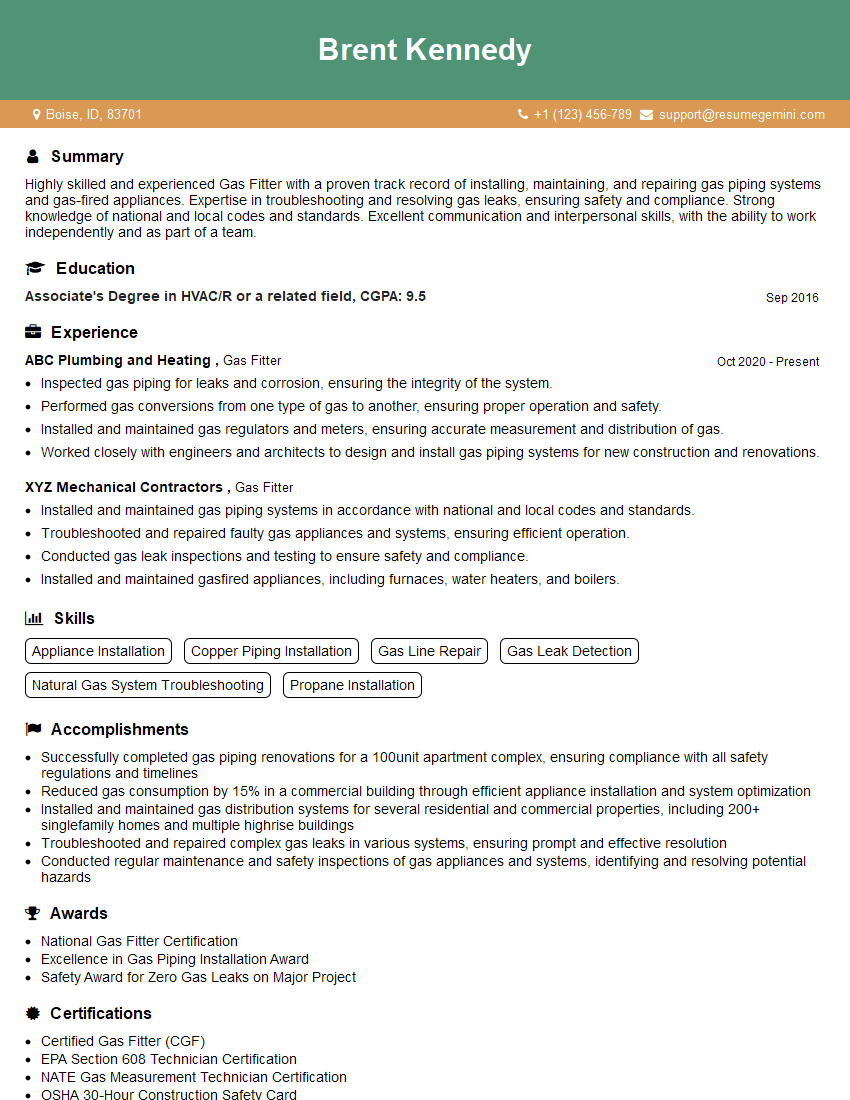
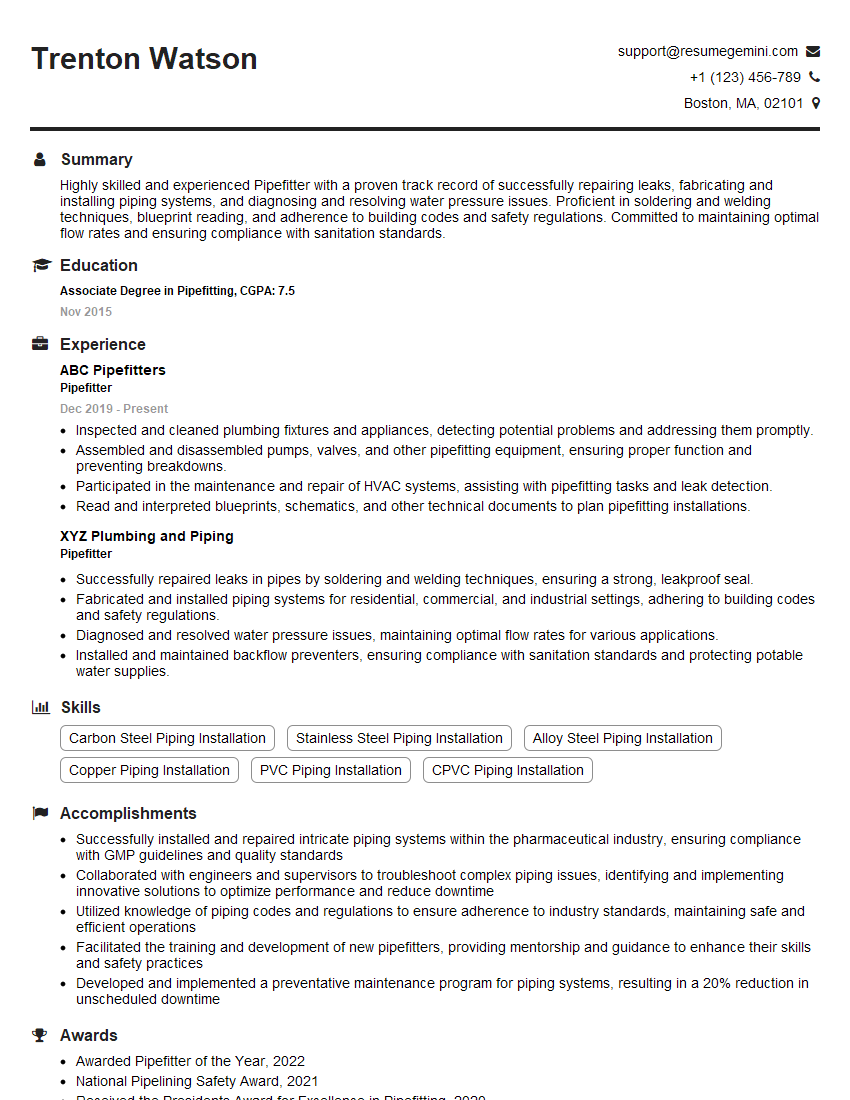
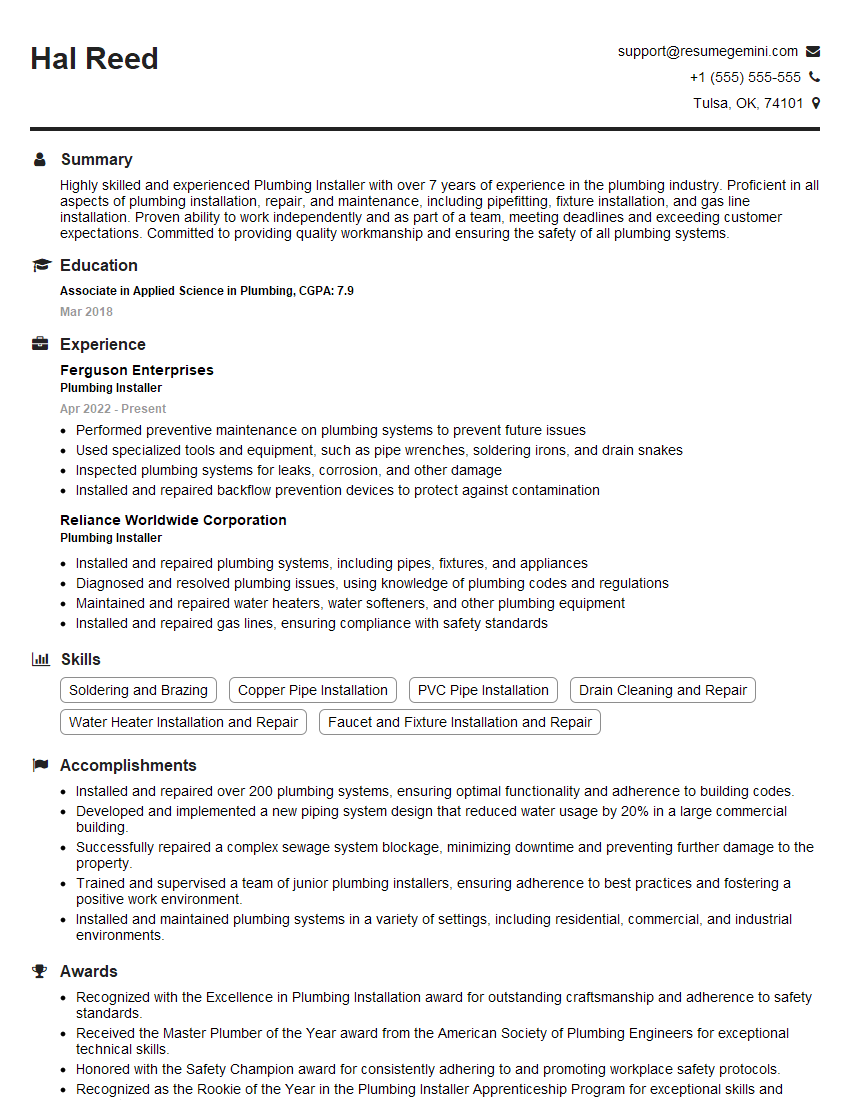
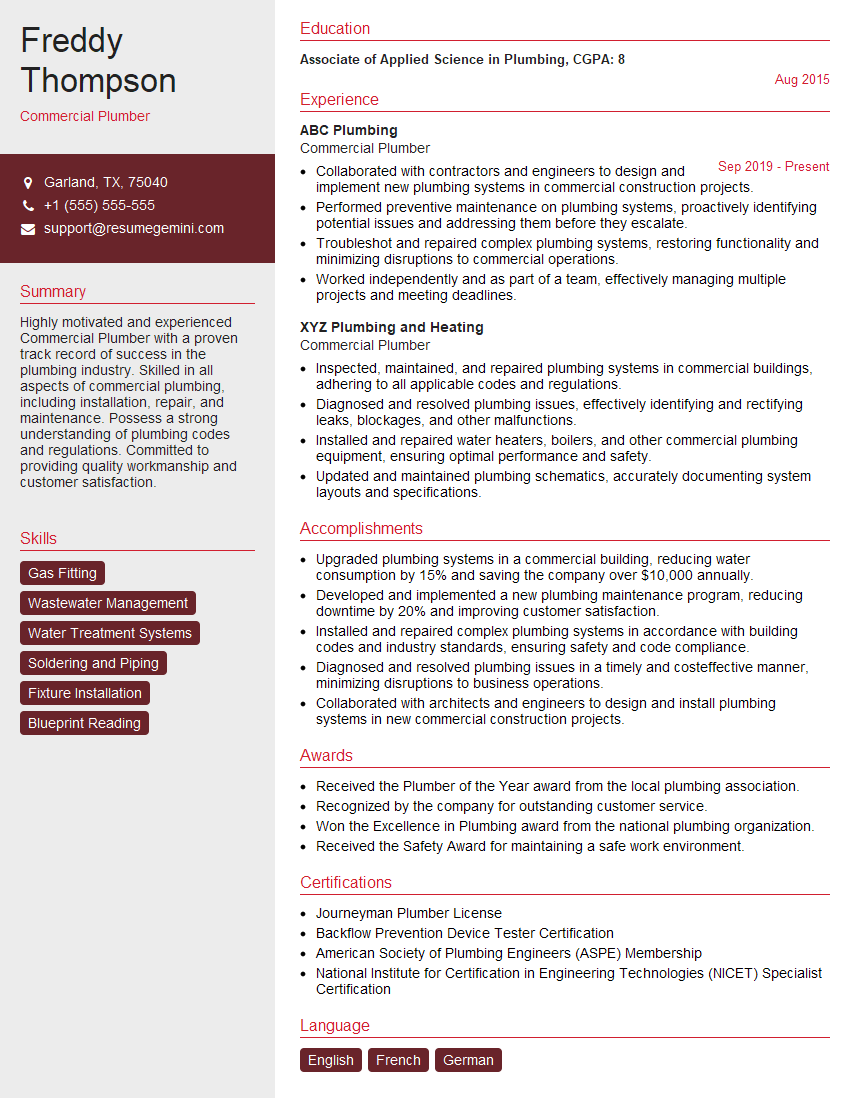
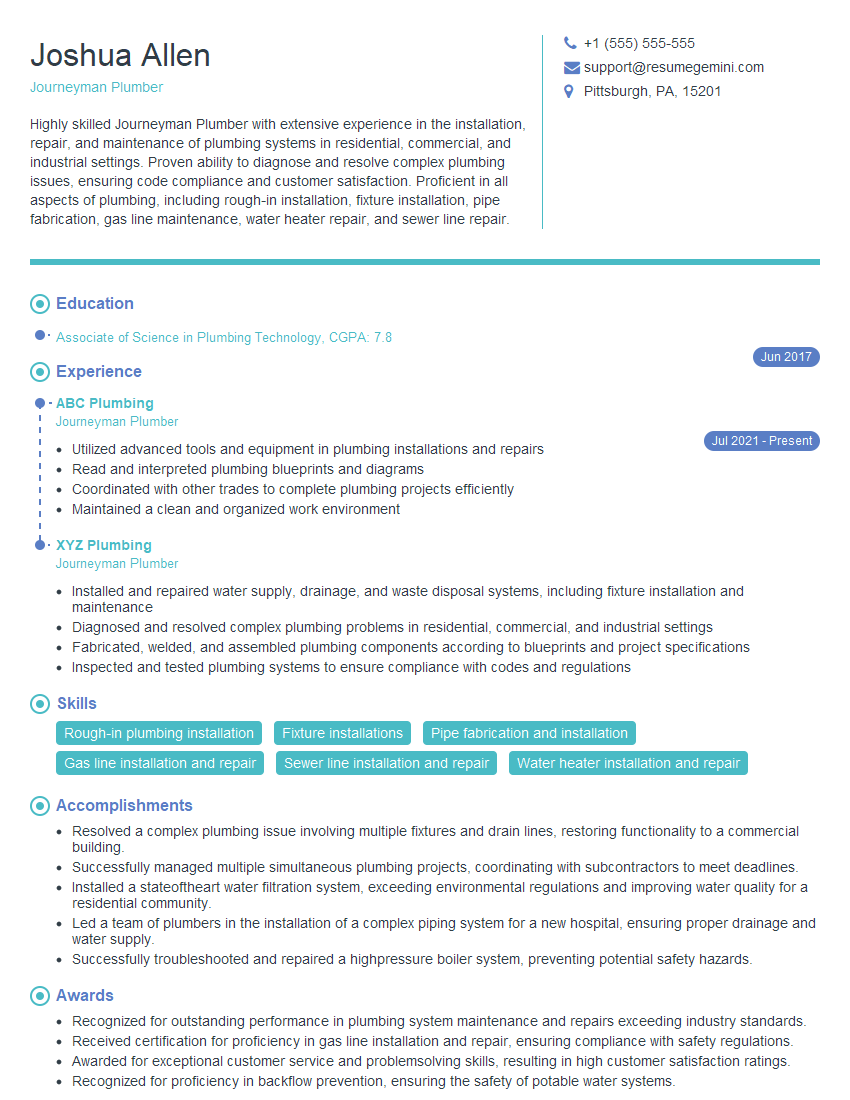
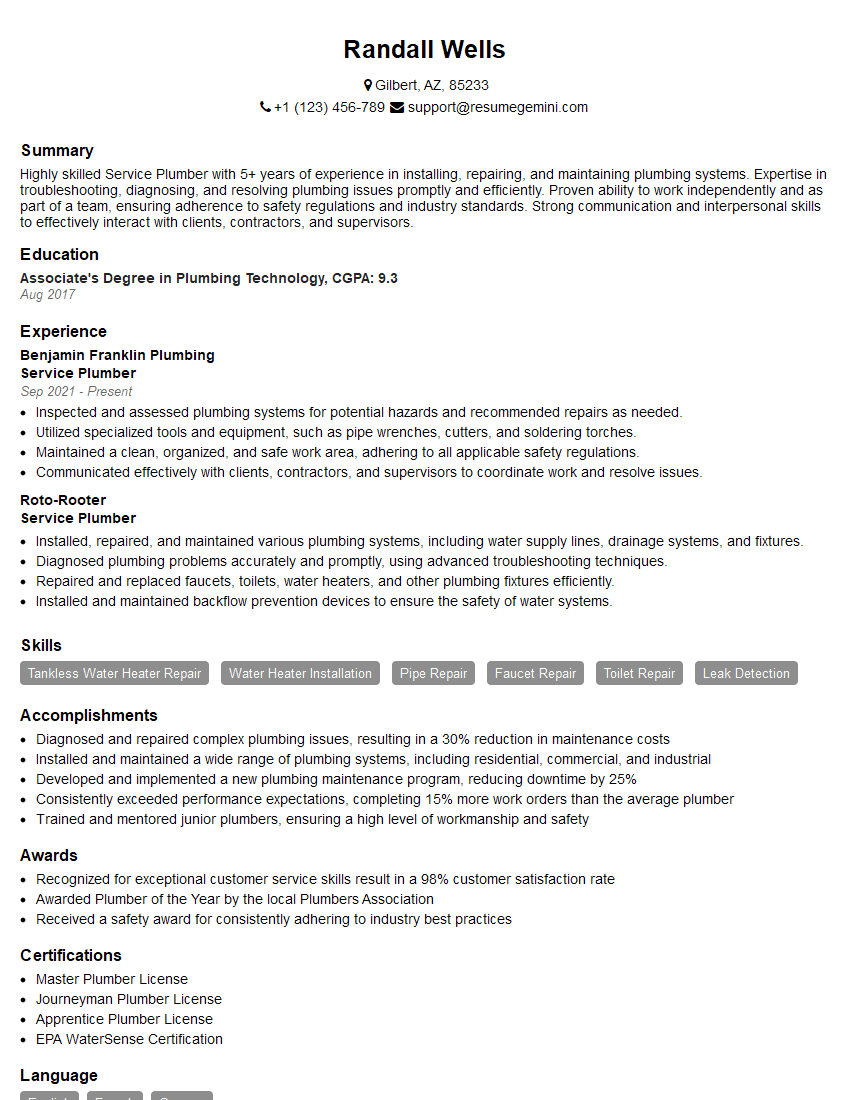
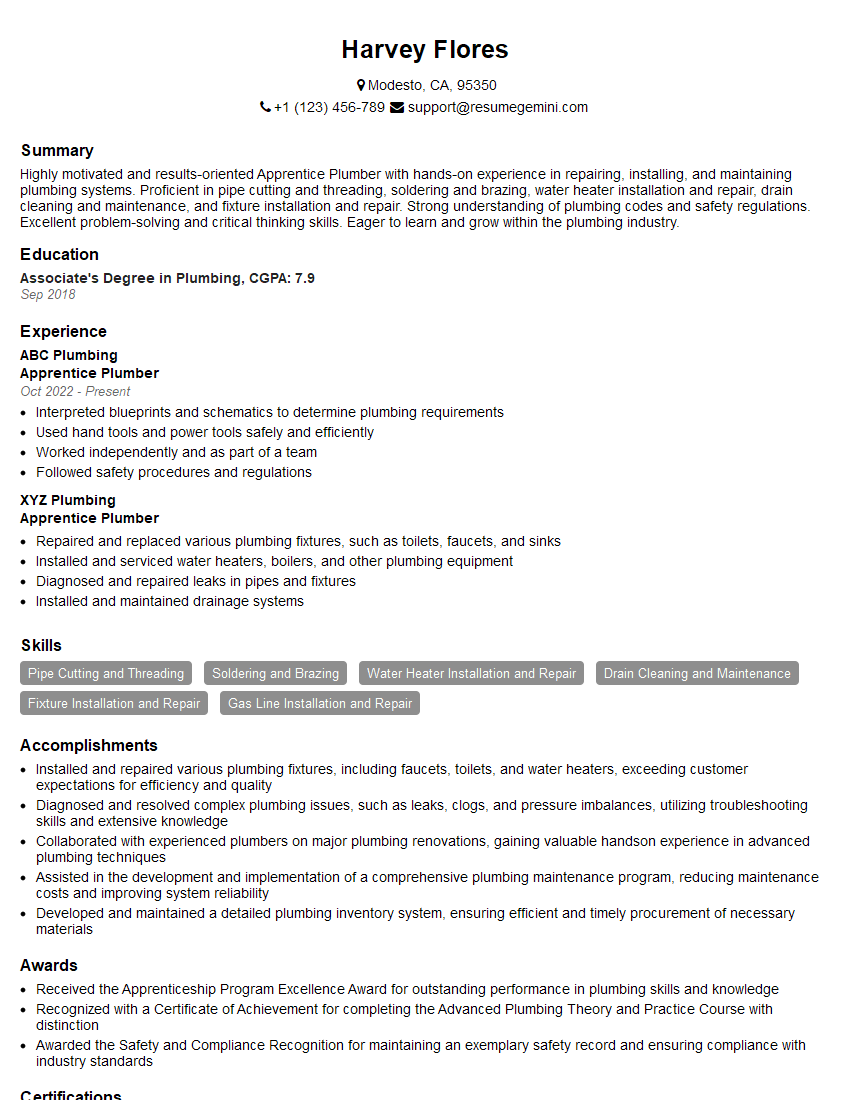
Mastering the skills of a Construction Plumber opens doors to a rewarding and stable career with excellent earning potential and opportunities for advancement. To maximize your job prospects, creating a strong, ATS-friendly resume is paramount. ResumeGemini is a trusted resource that can help you build a professional resume that highlights your skills and experience effectively. Examples of resumes tailored to Construction Plumber roles are provided to guide you. Invest the time to craft a compelling resume – it’s your first impression with potential employers.
Explore more articles
Users Rating of Our Blogs
Share Your Experience
We value your feedback! Please rate our content and share your thoughts (optional).
What Readers Say About Our Blog
To the interviewgemini.com Webmaster.
Very helpful and content specific questions to help prepare me for my interview!
Thank you
To the interviewgemini.com Webmaster.
This was kind of a unique content I found around the specialized skills. Very helpful questions and good detailed answers.
Very Helpful blog, thank you Interviewgemini team.
