Interviews are more than just a Q&A session—they’re a chance to prove your worth. This blog dives into essential Casting and Splinting interview questions and expert tips to help you align your answers with what hiring managers are looking for. Start preparing to shine!
Questions Asked in Casting and Splinting Interview
Q 1. Describe the different types of casting materials and their applications.
Casting materials are chosen based on the injury’s location, severity, and the patient’s specific needs. The primary goal is to provide adequate immobilization while allowing for proper healing.
- Plaster of Paris (POP): A traditional material, relatively inexpensive, lightweight when dry, and molds well to the body. However, it takes longer to set and can be heavy while wet, increasing the risk of skin irritation. It’s less commonly used now due to the availability of other options.
- Synthetic Casting Materials (Fiberglass and Polyurethane): These materials are lighter, stronger, and water-resistant compared to POP. They set faster, reducing patient discomfort during application. Fiberglass casts are more rigid, while polyurethane casts offer more flexibility. Fiberglass is a popular choice for extremity casts due to its strength and lightweight nature. Polyurethane is often preferred for children because of its lighter weight and better conformability.
- Thermoplastic Materials: These materials are used for splints and can be reheated and remolded. They offer custom fitting and adjustability.
Applications: POP was historically used for most fractures and injuries requiring immobilization. Now, synthetic casts are preferred for most situations due to their superior properties. Thermoplastic materials are particularly useful for unstable injuries where adjustments might be needed or for patients with sensitive skin that might be irritated by other materials.
Q 2. Explain the process of applying a short-arm cast.
Applying a short-arm cast involves several key steps, emphasizing patient comfort and proper technique to ensure effective immobilization and prevent complications.
- Assessment: Thoroughly examine the arm, assessing the injury and the surrounding soft tissues. Note any existing wounds or skin sensitivities.
- Preparation: Cleanse the area and trim any excess hair to ensure proper adherence of the casting material.
- Padding: Apply appropriate padding (e.g., cotton stockinette) to protect the skin and create a smooth surface for cast application. Ensure padding is even to prevent pressure points.
- Positioning: Support the forearm in a neutral position (slightly flexed at the elbow) and place the arm on a well-padded surface. Maintaining the correct position is critical for optimal fracture healing.
- Casting Application: Wet the casting material (e.g., fiberglass) according to the manufacturer’s instructions. Apply it in even layers, molding it around the arm to create a snug, yet not overly tight, cast. The cast should extend slightly beyond the wrist and elbow joints for stability.
- Finishing: Allow the cast to dry completely. Smooth any rough edges to prevent skin irritation. Inspect the cast for any imperfections or areas of pressure.
- Post-application assessment: Assess circulation and comfort after casting.
Example: Imagine applying a short-arm cast following a distal radius fracture. Careful padding is crucial to prevent pressure on the sensitive ulnar nerve. The cast needs to immobilize the wrist and forearm sufficiently while avoiding unnecessary restriction of elbow mobility.
Q 3. How do you assess the adequacy of circulation after cast application?
Assessing circulation after cast application is paramount to prevent serious complications. You should assess neurovascular status regularly (every 15-30 minutes initially, then less frequently as the patient stabilizes).
- Color: The fingers or toes distal to the cast should be pink and warm. Pallor (pale skin) or cyanosis (blueish discoloration) suggests impaired blood flow.
- Temperature: Compare the temperature of the affected limb to the unaffected limb. Coolness indicates compromised circulation.
- Capillary Refill: Gently blanch the nail bed by pressing on it. The color should return within 2 seconds. Prolonged refill time (>2 seconds) indicates impaired circulation.
- Sensation: Ask the patient if they can feel touch, pain, and temperature in the fingers or toes distal to the cast. Any change or loss of sensation suggests nerve compression.
- Movement: Assess the ability of the patient to move the fingers or toes. Inability to move suggests nerve or muscle compromise.
- Pulse: Palpate the distal pulses (e.g., radial pulse in a forearm cast). Absence or a weak pulse indicates compromised arterial blood supply.
Example: A patient with a new cast complains of numbness and tingling in their fingers, accompanied by pallor and slow capillary refill. These are warning signs and require immediate attention; the cast may be too tight.
Q 4. What are the signs and symptoms of compartment syndrome?
Compartment syndrome is a serious condition characterized by increased pressure within a confined muscle compartment, compromising blood supply and nerve function. Early recognition and intervention are crucial to prevent permanent damage.
- Pain: Severe, unrelenting pain, disproportionate to the injury, that is not relieved by analgesics.
- Paresthesia: Numbness, tingling, or burning sensation in the affected area.
- Pallor: Pale skin in the affected extremity.
- Paralysis: Weakness or loss of function in the affected muscles.
- Pulselessness: Absent or weak pulse distal to the affected compartment.
- Poikilothermia: Changes in the temperature of the affected limb (often coolness).
These six Ps provide a helpful mnemonic. Early recognition is key because compartment syndrome can lead to permanent muscle damage, nerve damage, and even limb loss if not treated promptly. Immediate medical attention is required if any of these signs are present.
Q 5. Describe the different types of splints and their indications.
Splints provide temporary immobilization and support for injuries, offering more flexibility than casts. The choice of splint depends on the specific injury and patient needs.
- Posterior Splints: Provide support to the posterior aspect of the limb. Often used for injuries to the wrist, forearm, or elbow.
- Anterior Splints: Support the anterior portion of the limb. Useful for knee injuries or other anterior structural issues.
- Sugar-Tong Splints: A type of posterior splint used for forearm injuries.
- Volkmann Splints: Specifically designed for forearm fractures to keep the forearm in pronation.
- Thermoplastic Splints: Moldable splints made from heat-activated plastics (e.g., polyethylene). Offer customized support and are readily adjustable. These are ideal for complex injuries requiring frequent adjustments.
- Air Splints: Inflatable splints that provide immobilization and support. Useful for transporting patients with suspected fractures.
Indications: Splints are commonly used for injuries that require temporary immobilization, during the initial stages of healing, or for injuries where swelling is anticipated. They also allow for better monitoring of the injured area than a cast.
Q 6. How do you measure for a properly fitting cast?
Accurate measurement is essential for a properly fitting cast that provides adequate immobilization without causing constriction. Incorrect measurements can lead to complications like compartment syndrome or skin breakdown.
- Length: Measure the length required to immobilize the joint(s) involved, extending slightly beyond the adjacent joints for stability. This often requires adding a few centimeters on either side of the injured joint.
- Circumference: Measure the circumference of the limb at various points above and below the injury site to assess for swelling and ensure even distribution of the casting material.
- Contour: Assess the contours of the limb to ensure the cast will conform to its shape without causing pressure points. This includes any bony prominences.
Example: When measuring for a short arm cast, you’d measure from the distal humerus to the metacarpals, accounting for extra space at the elbow and wrist. You’d measure circumference at the mid-forearm and around the wrist to ensure the cast isn’t too tight.
Importance: Measurements provide a guide for the amount of casting material required, ensuring the cast is neither too loose (providing insufficient support) nor too tight (compromising circulation).
Q 7. Explain the procedure for removing a cast.
Cast removal requires specialized tools and a gentle approach to prevent injury to the patient. Always explain the process to the patient to reduce anxiety.
- Preparation: Gather the necessary tools: a cast saw (oscillating saw is preferred for safety), padding for the skin, and possibly a protective covering. Explain the procedure to the patient and reassure them it will not be painful.
- Positioning: Position the patient comfortably, ensuring the limb is well-supported.
- Cast Saw Application: Use the cast saw to carefully cut through the cast, keeping the saw blade at a slight angle to the skin’s surface to prevent unnecessary abrasion or cutting into the skin. Keep the saw blade moving constantly to prevent heat buildup. Use gentle strokes to ensure that the underlying skin remains protected.
- Removal of the cast: Once the cast is cut, gently peel away any remaining pieces. Never force the removal, and pay careful attention to avoid injuring the skin underneath.
- Post-removal assessment: Assess the skin for any irritation, pressure sores, or signs of infection. Check range of motion and neurovascular status of the limb. This may also require a physician’s evaluation depending on the condition of the limb and the patient’s response.
Caution: Using a cast saw is a technique that requires adequate training and understanding of how to safely use the equipment. The process is best handled by a trained healthcare professional to prevent accidental skin injury.
Q 8. What are the potential complications associated with casting?
Casting, while a vital technique for fracture healing and injury management, carries several potential complications. These can range from minor inconveniences to serious, potentially limb-threatening issues.
- Compartment Syndrome: This is a serious complication where swelling within a confined muscle compartment compromises blood supply. Symptoms include intense pain, numbness, tingling, and pallor distal to the cast. Immediate cast removal is crucial.
- Pressure Sores: Prolonged pressure from the cast can lead to skin breakdown and ulceration, particularly over bony prominences. Regular monitoring and proper cast padding are essential preventative measures.
- Nerve Palsy: Improper cast application or excessive pressure can cause nerve damage, resulting in weakness, numbness, or paralysis in the affected area. Careful assessment and meticulous application techniques are vital.
- Vascular Compromise: Similar to compartment syndrome, inadequate blood flow due to cast tightness can lead to ischemia (lack of blood supply) and potentially tissue necrosis (tissue death). The five Ps – pain, pallor, pulselessness, paresthesia (numbness or tingling), and paralysis – are critical indicators.
- Disuse Atrophy: Muscle wasting can occur due to immobility. Post-cast rehabilitation programs are crucial to restore muscle strength and function.
- Contractures: Prolonged immobilization can lead to joint stiffness and contractures, limiting range of motion. Early mobilization and physical therapy are needed.
- Skin Irritation: Allergic reactions to cast materials or skin irritation from sweat accumulation are common. Proper hygiene and skin care can mitigate these issues.
For example, I once treated a patient who developed compartment syndrome after a poorly applied leg cast. Early recognition and surgical fasciotomy (surgical incision to relieve pressure) saved his leg.
Q 9. How do you manage a patient with a cast who reports pain?
Managing pain in a patient with a cast requires a multi-faceted approach focusing on both assessing the cause and providing appropriate pain relief. It’s crucial to distinguish between normal post-injury pain and pain indicative of a complication.
- Assess the pain: Determine the location, intensity (using a pain scale), character (sharp, dull, aching), and duration of the pain. Note any associated symptoms like swelling, numbness, or changes in skin color or temperature.
- Elevate the limb: Elevating the limb above the heart can reduce swelling and alleviate pain.
- Pharmacological management: Over-the-counter pain relievers like ibuprofen or acetaminophen may be sufficient for mild pain. Stronger analgesics, potentially opioids, may be necessary for severe pain. This should always be prescribed and managed by a physician.
- Ice therapy: Applying ice packs to the affected area can reduce swelling and inflammation, thereby alleviating pain. Never apply ice directly to the skin; use a thin cloth barrier.
- Cast bivalve: In cases of significant pain or suspected complications, such as compartment syndrome, the cast may need to be temporarily opened (bivalved) to relieve pressure. This requires a physician’s assessment.
- Referral to physician: Persistent or worsening pain despite these measures necessitates immediate medical evaluation to rule out complications.
Remember: Never adjust or try to manipulate a cast independently to alleviate pain. Always seek professional guidance.
Q 10. What are the key considerations when casting a pediatric patient?
Casting pediatric patients presents unique challenges due to their smaller size, developing bones, and faster growth rates. Key considerations include:
- Growth plates: Careful consideration must be given to protecting the growth plates, as injury can lead to growth disturbances. Splinting is often preferred over casting in certain fractures to minimize growth plate stress.
- Frequent monitoring: Children’s casts require more frequent monitoring due to their rapid growth and higher risk of complications like compartment syndrome.
- Cast material: Lighter, more flexible cast materials are often used to minimize weight and improve comfort.
- Cast padding: Adequate padding is crucial to prevent pressure sores and skin irritation. Specialized pediatric padding may be needed.
- Parental education: Thorough education of parents about cast care, pain management, and signs of complications is essential. Parents must know what to look for and when to seek immediate medical attention.
- Cast removal: Cast removal techniques need to be gentler and more child-friendly.
- Psychological impact: The emotional impact of a cast on a child needs consideration. Age-appropriate explanation and support are important.
For instance, when casting a child’s forearm, we might use a lightweight fiberglass cast and apply extra padding around the elbow to prevent pressure sores.
Q 11. How do you educate a patient on proper cast care?
Patient education is paramount to ensure successful cast healing and prevent complications. The following points should be emphasized:
- Keep the cast dry: Explain the importance of keeping the cast completely dry to prevent weakening and skin irritation. Methods for showering or bathing with a cast should be demonstrated.
- Elevate the limb: Instructions on elevating the limb to reduce swelling should be provided.
- Pain management: Patients should be educated on appropriate pain management strategies, including medication usage and ice application.
- Early detection of complications: Clearly explain the five Ps (pain, pallor, pulselessness, paresthesia, paralysis) as indicators of serious problems requiring immediate medical attention. Educate them on other warning signs like increasing pain, swelling, unusual odor, or changes in skin color or temperature around the cast.
- Hygiene: Instruct on maintaining good hygiene around the cast to prevent skin irritation and infection.
- Follow-up appointments: Stress the importance of attending all scheduled follow-up appointments for cast removal and assessment.
- Range of motion exercises: For joints not immobilized, teach range-of-motion exercises to prevent stiffness.
A practical example is providing a written instruction sheet along with verbal explanation, ensuring the patient completely understands the cast care guidelines.
Q 12. Describe the different types of fractures that require casting or splinting.
Many types of fractures necessitate casting or splinting, the choice depending on the fracture location, type, and severity.
- Stable fractures: These fractures have minimal displacement and can often be managed with casting alone. Examples include stable wrist fractures, stable ankle fractures, and some humeral shaft fractures.
- Unstable fractures: These fractures have significant displacement or angulation and may require more complex treatment, sometimes including surgical fixation before casting.
- Comminuted fractures: These fractures involve multiple bone fragments and often require surgical intervention for optimal healing. Casting is often used post-operatively to stabilize the fracture.
- Greenstick fractures (pediatric): These incomplete fractures occur mainly in children’s bones. They are often managed with splinting.
- Spiral fractures: These fractures twist around the bone and can indicate a rotational injury. They usually require casting.
- Stress fractures: These small cracks in the bone, often caused by overuse, are usually managed with rest and immobilization using a cast or splint.
The decision to cast or splint is made by a physician considering the specific fracture characteristics and the patient’s overall condition.
Q 13. Explain the principles of proper immobilization.
Proper immobilization aims to stabilize the fractured bone, reduce pain, and promote healing. Key principles include:
- Anatomical alignment: The fractured bone segments must be aligned as closely as possible to their normal anatomical position before immobilization. This often involves manual manipulation (reduction) by a physician.
- Adequate immobilization: The cast or splint must provide sufficient support to prevent movement at the fracture site. This means encompassing the joints above and below the fracture.
- Appropriate material selection: The choice of cast material (plaster, fiberglass, etc.) depends on the fracture type, location, and patient factors. Fiberglass casts are lightweight and dry quickly, while plaster casts are stronger but heavier and take longer to dry.
- Proper padding: Adequate padding is crucial to prevent pressure sores and skin irritation. Special attention should be paid to bony prominences.
- Regular monitoring: Close monitoring post-immobilization is crucial to detect any signs of complications, such as swelling, pain, or changes in skin color or temperature.
Imagine trying to mend a broken stick; you wouldn’t just tape the broken ends together without aligning them first. Similarly, proper alignment is critical for bone healing.
Q 14. How do you assess skin integrity before and after cast application?
Assessing skin integrity before and after cast application is essential to prevent complications. This involves a thorough visual inspection and palpation.
- Pre-cast assessment: Examine the skin for any pre-existing wounds, abrasions, or skin conditions. Note any areas of decreased sensation or circulation. Pay close attention to bony prominences.
- Cast application: During cast application, ensure adequate padding to protect bony prominences and prevent pressure. Smooth out any wrinkles or creases in the padding material.
- Post-cast assessment: After cast application, closely monitor the skin for signs of pressure sores, such as redness, swelling, warmth, or blistering. Assess for changes in skin color, sensation, or temperature. Assess for signs of circulatory compromise (five Ps).
- Documentation: Thorough documentation of the pre- and post-cast skin assessment is vital. This should include photographic documentation if needed.
For example, a patient with poor circulation may need careful consideration of padding and cast placement to prevent circulatory compromise.
Q 15. What are the contraindications for casting?
Contraindications for casting are situations where applying a cast would be harmful or ineffective. These can be broadly categorized into systemic and local factors. Systemic contraindications include severe peripheral vascular disease (where poor blood flow could lead to tissue damage under the cast), uncontrolled infection (a cast could trap infection), and certain systemic conditions affecting blood clotting. Local contraindications include open wounds or significant skin breakdown under the area intended for casting; presence of compartment syndrome (a serious condition where swelling within a confined muscle compartment compromises blood supply); and severe edema (swelling) that may worsen under a constricting cast. Always carefully assess the patient’s overall health and the specific injury before considering casting.
For example, a patient with diabetes and poor circulation in their leg would not be a suitable candidate for a cast, as the restricted blood flow could lead to serious complications. Similarly, an open fracture requiring surgical intervention would necessitate open wound management before any thought of casting.
Career Expert Tips:
- Ace those interviews! Prepare effectively by reviewing the Top 50 Most Common Interview Questions on ResumeGemini.
- Navigate your job search with confidence! Explore a wide range of Career Tips on ResumeGemini. Learn about common challenges and recommendations to overcome them.
- Craft the perfect resume! Master the Art of Resume Writing with ResumeGemini’s guide. Showcase your unique qualifications and achievements effectively.
- Don’t miss out on holiday savings! Build your dream resume with ResumeGemini’s ATS optimized templates.
Q 16. Describe the process of applying a long-leg cast.
Applying a long-leg cast involves several crucial steps to ensure proper immobilization and patient comfort. First, we assess the patient’s injury, noting the alignment and swelling. Then, we position the patient comfortably, usually supine. Padding is crucial – we use stockinette to cover the leg, followed by layers of padding, especially over bony prominences (like the ankles and knees) to prevent pressure sores. The plaster or fiberglass rolls are then carefully applied, starting from the toes and working upwards, ensuring even pressure and avoiding wrinkles. The cast is molded to conform to the leg’s contours, maintaining the proper anatomical alignment. We ensure adequate width and length to provide complete immobilization. The cast needs to be firm but not too tight to avoid restricting blood flow. Finally, after the cast sets, we reassess the toes for capillary refill and sensation, checking for any signs of compromised circulation. Post-application, we educate the patient on cast care and potential complications.
Q 17. How do you manage a patient with a wet cast?
Managing a patient with a wet cast involves protecting it from damage while allowing it to dry properly. The cast needs to dry completely, which can take several hours for fiberglass and up to 24-48 hours for plaster. We elevate the limb to help with drainage and reduce swelling. We should avoid covering the cast completely as this traps moisture and could slow drying. Using a hair dryer (on a cool setting) can help expedite the drying process of a fiberglass cast, but it is crucial to maintain a safe distance to prevent burning the skin. Regular monitoring is essential to check for any signs of skin irritation, discomfort, or impaired circulation. Once dry, patient education focuses on keeping the cast clean and dry. A wet plaster cast can be heavy and uncomfortable, and the patient should be aware of ways to manage this – such as elevating the limb and using support to transfer weight.
Q 18. What are the indications for using a splint versus a cast?
The choice between a splint and a cast depends largely on the nature of the injury and the stage of healing. Splints are generally used for injuries that require less immobilization and when swelling is expected. They allow for some movement and are often easier to remove for wound inspection or edema management. For example, a minor sprain might be treated with a splint allowing for some range of motion while the tissues heal. Casts, on the other hand, provide rigid immobilization and are preferred for fractures or unstable injuries requiring complete immobilization to facilitate healing. A fractured tibia, for instance, would usually require a cast for proper alignment and stabilization. Splints are also frequently used in the acute phase of injury, before swelling subsides. If edema is significant, a rigid cast may restrict blood flow. Thus, a splint might be applied initially to facilitate monitoring and then replaced with a cast once swelling reduces.
Q 19. Explain the difference between a plaster and fiberglass cast.
Plaster and fiberglass casts both offer immobilization, but they differ significantly in their properties. Plaster casts, made from plaster of Paris, are heavier, less durable, and take longer to dry (up to 24-48 hours). They offer excellent moldability, conforming well to the limb’s contours. Fiberglass casts, however, are lighter, stronger, water-resistant (though not waterproof), and dry much more quickly (within minutes to an hour). They are less prone to cracking but offer slightly less malleability. The choice depends on the clinical situation: plaster might be chosen for its moldability in complex injuries, while fiberglass might be better for patients requiring a lighter, more durable cast, and where quicker drying time is beneficial.
Q 20. How do you address skin irritation under a cast?
Skin irritation under a cast can be a significant problem. It often arises from pressure, moisture, or friction. Early detection is vital. We assess the patient for complaints of itching, burning, pain, or odor emanating from the cast. We should never attempt to insert objects under the cast to scratch. If irritation is suspected, we carefully examine the skin at the cast edges after carefully removing any portion of the cast necessary to allow for inspection. We can use a small mirror to help with this. Depending on the severity, we may recommend measures like keeping the skin clean and dry, using a cool compress on exposed skin edges, or administering topical medications like antifungal creams if infection is present. If the irritation is severe, or if there is an indication of infection, removal of the cast and further intervention may be required. In severe cases, surgical debridement of necrotic tissue might be necessary.
Q 21. Describe the steps involved in creating a custom splint.
Creating a custom splint involves several steps. First, we accurately assess the patient’s injury and the required level of immobilization. Next, we select the appropriate splinting material; this could be plaster, fiberglass, or thermoplastic materials. For thermoplastic materials, we heat the material using a heat gun or hot water bath until pliable. We then mold the material to the patient’s limb, ensuring proper anatomical alignment and support. It’s crucial to avoid excessive pressure on bony prominences. The splint should be snug but not constricting. We allow the material to cool and harden, securing it with straps or tape. Finally, we assess the splint’s fit, making any necessary adjustments, and provide patient education on splint care and potential complications. For plaster or fiberglass, similar molding techniques are used but the material is rolled on like a cast. The final product provides support and immobilization customized to the specific injury and patient anatomy.
Q 22. What are the different types of fracture reduction techniques?
Fracture reduction techniques aim to restore a broken bone to its normal anatomical position. There are two main categories: closed and open reduction.
Closed Reduction: This is a non-surgical approach where the bone fragments are manipulated back into alignment externally, usually with the aid of manual traction and manipulation. It’s often performed under anesthesia or sedation. Success relies heavily on the fracture type and the skill of the physician. For example, a simple, undisplaced wrist fracture might be effectively treated with closed reduction and immobilization in a cast.
Open Reduction: If closed reduction is unsuccessful or not feasible (e.g., complex fractures, significant displacement), open reduction is necessary. This involves surgical intervention where an incision is made to expose the fracture site, and the bone fragments are directly manipulated and often stabilized with internal fixation devices like plates, screws, or rods. A severely comminuted (shattered) femur fracture would typically require open reduction and internal fixation.
The choice of technique depends on several factors including the type and severity of the fracture, the patient’s overall health, and the availability of resources.
Q 23. How do you assess the neurovascular status of an extremity before and after casting?
Assessing neurovascular status is crucial before and after any casting or splinting procedure to ensure the limb’s blood supply and nerve function are not compromised. We use the acronym 6 Ps:
- Pain: Assess the level of pain, its location, and character.
- Pallor: Observe the skin color; pallor (pale skin) can indicate decreased blood flow.
- Pulses: Palpate distal pulses (e.g., radial pulse in the wrist, dorsalis pedis pulse in the foot) to check for adequate blood circulation. Compare pulses bilaterally.
- Paresthesia: Check for any numbness, tingling, or altered sensation.
- Paralysis: Evaluate motor function by asking the patient to move the fingers or toes. Weakness or inability to move indicates potential nerve damage.
- Pressure: Assess for excessive pressure points or tightness of the cast that may compromise circulation.
Before casting, thorough assessment is baseline data. After casting, regular monitoring (at least every 1-2 hours initially) is crucial to detect any neurovascular compromise early, allowing for prompt intervention. Any changes in neurovascular status necessitate immediate removal of the cast and consultation with a physician.
Q 24. What are the different types of traction and their applications?
Traction involves applying a pulling force to a limb to reduce or prevent fracture displacement, relieve muscle spasms, and promote alignment. Types include:
Skin Traction: This uses weights and adhesive bandages applied directly to the skin. It’s usually used for short-term immobilization and temporary reduction before definitive casting or surgery. Examples include Buck’s traction (for hip fractures) and Dunlop traction (for forearm fractures). It’s important to avoid excessive weight to prevent skin injury.
Skeletal Traction: This involves surgically inserting pins or wires into the bone to apply traction. It’s more effective for prolonged immobilization and management of more complex fractures, providing stronger and more direct pull. For example, skeletal traction might be used for femur fractures requiring significant alignment before surgery.
The choice between skin and skeletal traction depends on the fracture type, severity, and the patient’s condition. It is crucial to monitor for skin breakdown, infection at the pin site (in skeletal traction), and correct weight application to prevent complications.
Q 25. Explain the importance of proper patient positioning during casting.
Proper patient positioning is vital for effective casting and splinting to prevent complications such as pressure sores, malalignment, and discomfort. The goal is to maintain the limb in the desired anatomical position during the casting process. This involves:
Neutral positioning: The limb should be in a natural, comfortable position, avoiding excessive flexion or extension.
Supporting the limb: Pillows, rolls, and other supports should be used to maintain alignment and prevent pressure points. For instance, supporting the elbow and wrist during forearm casting is crucial.
Avoiding compression: Clothing, jewelry, and other items should be removed to prevent compression during the casting process.
Incorrect positioning can lead to misalignment, which hinders healing and may require re-casting or surgical intervention. For example, improperly positioned fingers during a hand cast can cause nerve compression.
Q 26. How do you document the casting procedure?
Meticulous documentation of the casting procedure is essential for legal and medical reasons. My documentation usually includes:
Patient demographics: Name, date of birth, medical record number.
Date and time of procedure: Accurate timekeeping is important.
Type of fracture: Precise location and description.
Type of cast/splint: Materials and size used.
Pre- and post-casting neurovascular assessment: Detailed documentation of the 6 Ps.
Positioning of the limb during casting: Specific details about how the limb was positioned.
Complications: Any issues encountered during the procedure (e.g., bleeding, difficulty applying the cast).
Post-casting instructions: Detailed instructions given to the patient regarding cast care, follow-up appointments, and signs of complications.
Digital imaging (X-rays) are often included as part of the documentation to show the fracture and its alignment after reduction.
Q 27. Describe your experience with different casting techniques.
Throughout my career, I’ve gained extensive experience with various casting techniques, including the application of plaster casts, fiberglass casts, and various types of splints. I’m proficient in applying casts for upper and lower extremity fractures, including humeral shaft fractures, forearm fractures, femoral shaft fractures, and tibial fractures. I have also experience in applying specialized casts, such as those for unstable wrist fractures (e.g., sugar-tong splints), and pediatric casting techniques which require extra care and attention due to the growing bone and skin’s susceptibility to pressure damage.
My experience includes managing complications such as cast sores, circulatory compromise, and addressing patient discomfort. I’m familiar with different casting materials and their properties, choosing the most appropriate material based on the specific requirements of the fracture and the patient’s condition. I’m also adept at modifying casts as needed and have experience with removing casts.
Q 28. What are some common errors to avoid during casting and splinting?
Several common errors can lead to complications during casting and splinting. These include:
Insufficient padding: Inadequate padding can cause pressure sores and skin breakdown under the cast.
Improper cast application technique: Poor application can lead to weak spots in the cast, malalignment, or pressure points.
Ignoring neurovascular compromise: Failure to recognize and address neurovascular compromise can lead to permanent nerve damage or limb loss. This is possibly the most serious error.
Poor patient education: Not providing the patient with adequate instructions for post-casting care can result in complications.
Failure to assess and document pre- and post-reduction assessments: Accurate and detailed documentation is crucial for appropriate follow up and treatment.
Using incorrect material for the fracture: Some materials are better suited than others, dependent on the fracture type and healing time.
Careful attention to detail, meticulous technique, and thorough patient assessment and education are key to avoiding these errors and ensuring optimal patient outcomes.
Key Topics to Learn for Casting and Splinting Interview
- Types of Fractures and Injuries: Understanding various fracture types (e.g., closed, open, comminuted) and their implications for casting and splinting techniques is crucial. This includes recognizing associated soft tissue injuries.
- Casting Materials and Techniques: Mastering the application of plaster, fiberglass, and other casting materials, including proper techniques for molding, padding, and applying casts to different body parts. Practical experience is key here.
- Splinting Techniques: Familiarize yourself with various splinting methods (e.g., rigid, flexible, traction) and their appropriate applications based on injury type and location. Understand the principles of proper immobilization.
- Assessment and Patient Care: Develop a strong understanding of pre- and post-casting/splinting patient assessments, including neurovascular checks and pain management strategies. This demonstrates your ability to provide holistic care.
- Complications and Management: Be prepared to discuss potential complications (e.g., compartment syndrome, skin breakdown) and the appropriate interventions. Knowing how to recognize and respond to these situations is vital.
- Biomechanics and Principles of Immobilization: A solid grasp of the underlying biomechanical principles guiding casting and splinting will demonstrate a deeper understanding of the field. This includes understanding proper alignment and immobilization techniques.
- Post-Casting Care and Follow-up: Understand the importance of patient education on post-casting care, including wound care, exercises, and follow-up appointments. This shows a commitment to patient well-being.
Next Steps
Mastering casting and splinting techniques opens doors to rewarding and impactful careers in healthcare. A strong foundation in these skills is highly sought after, leading to diverse opportunities and professional growth. To maximize your job prospects, it’s vital to present your skills effectively. Crafting an ATS-friendly resume is critical for getting your application noticed. We strongly recommend using ResumeGemini, a trusted resource for building professional resumes. ResumeGemini provides examples of resumes specifically tailored to the Casting and Splinting field, helping you showcase your expertise and experience effectively.
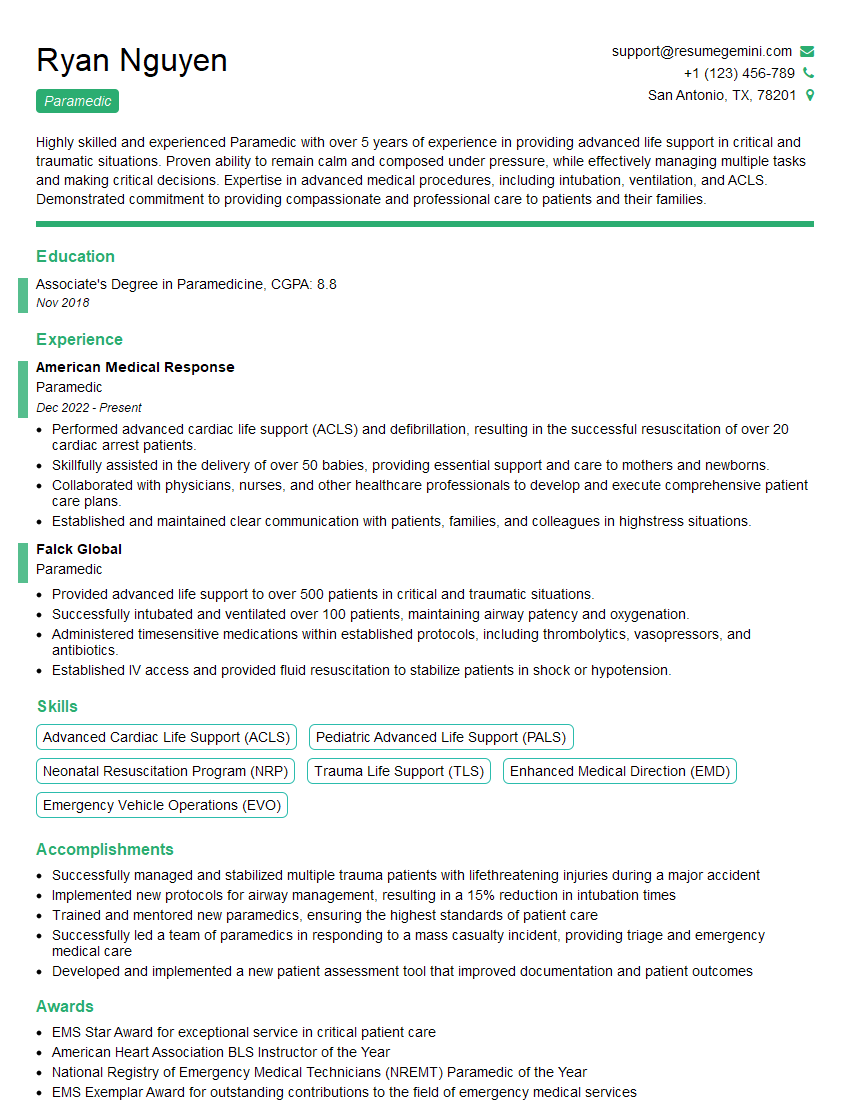
Paramedic Resume Sample
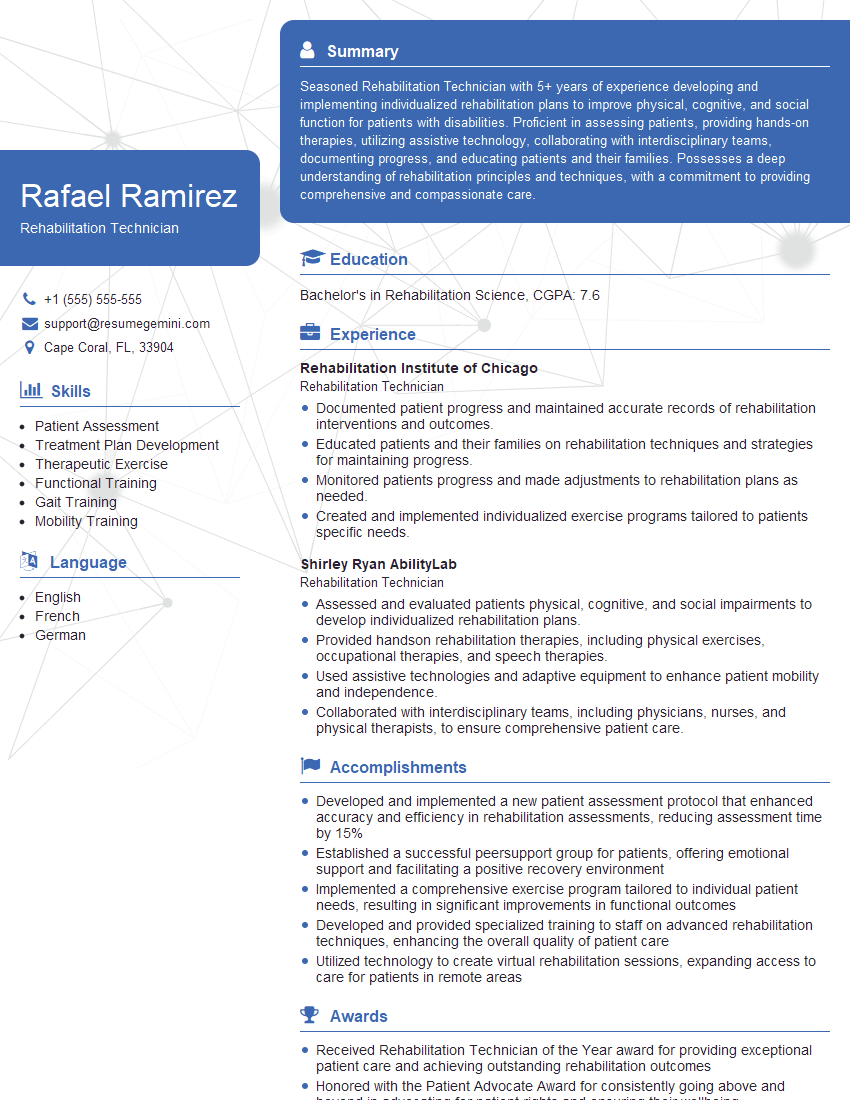
Rehabilitation Technician Resume Sample
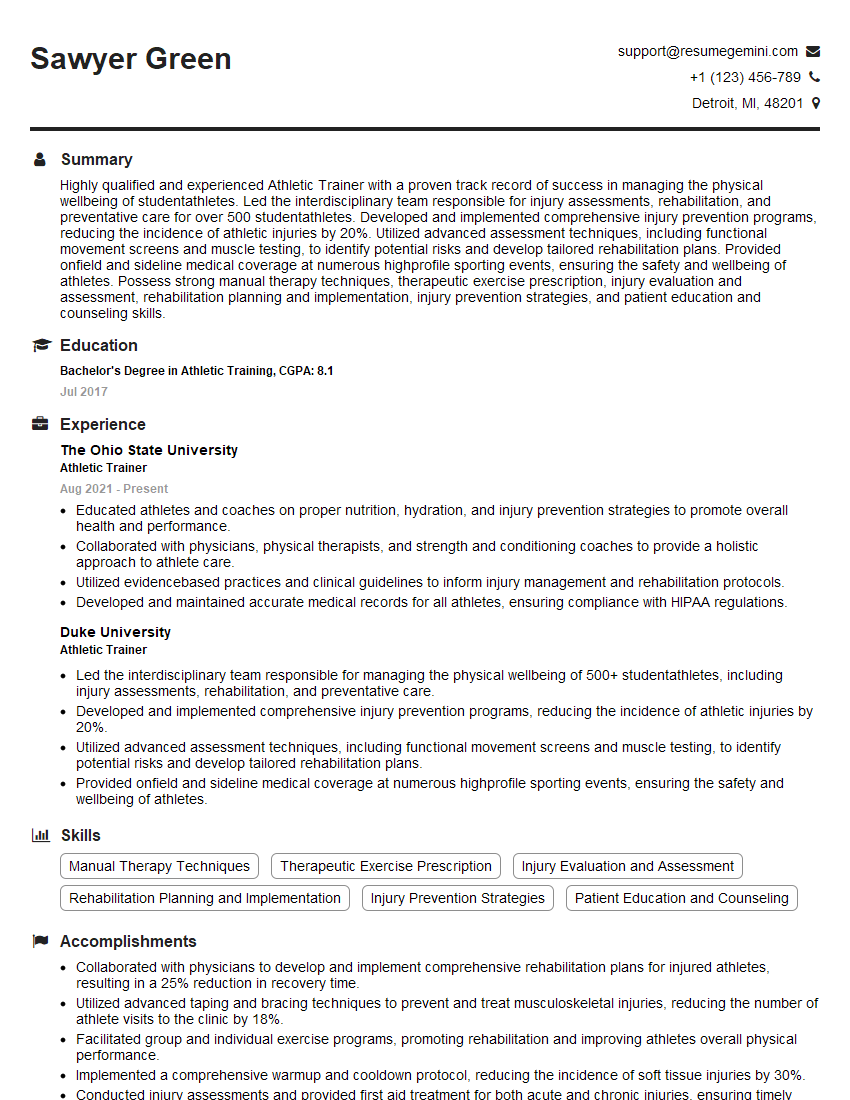
Athletic Trainer Resume Sample
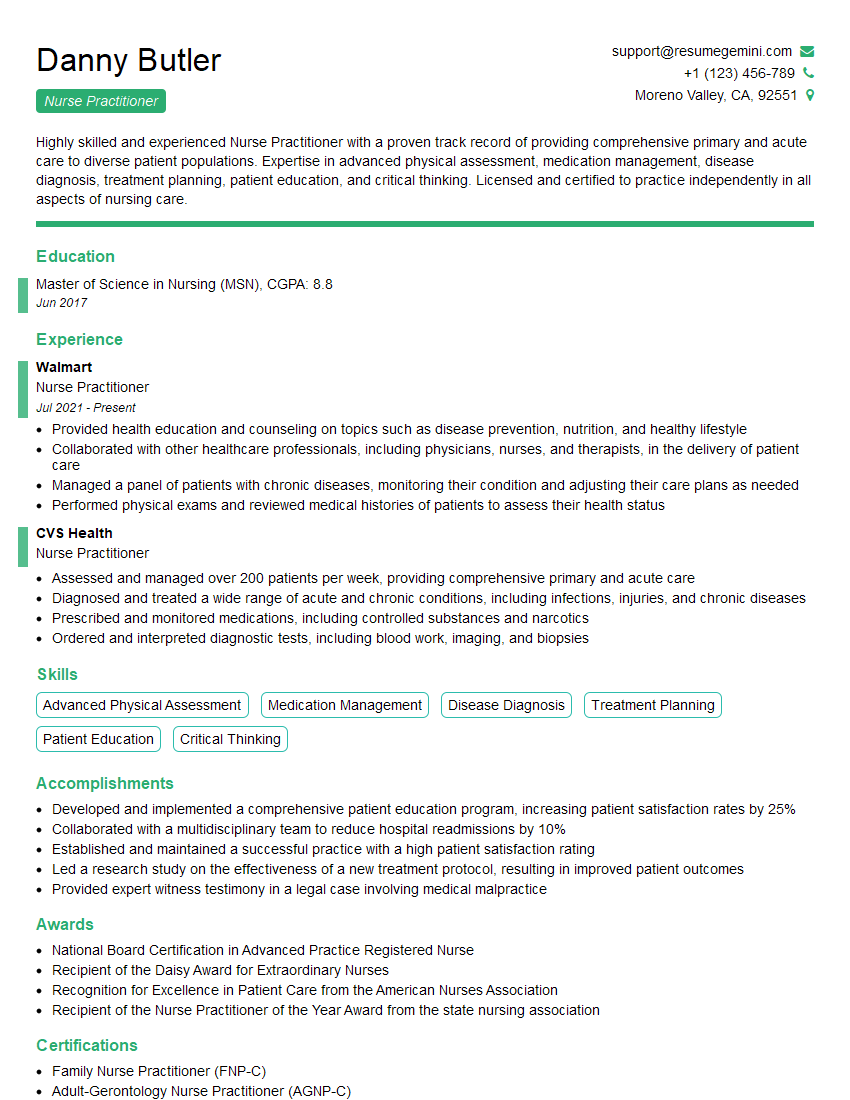
Nurse Practitioner Resume Sample

Physician Assistant Resume Sample
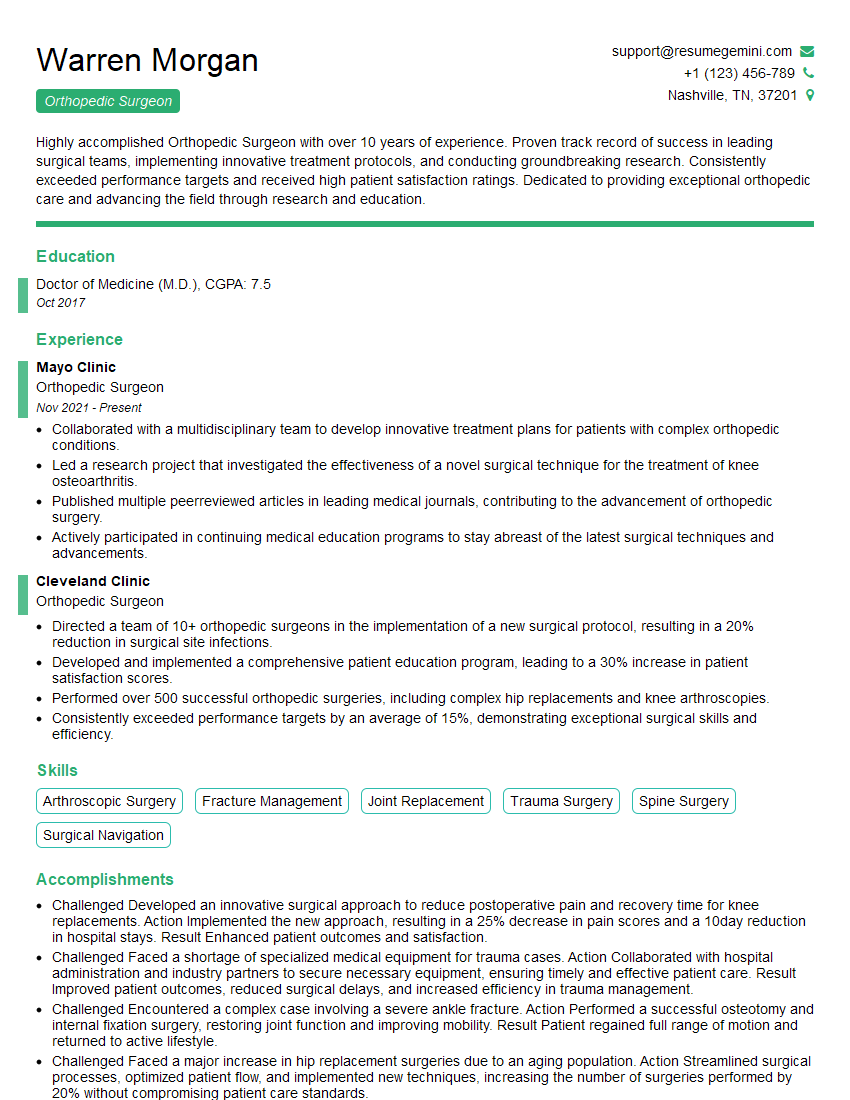
Orthopedic Surgeon Resume Sample
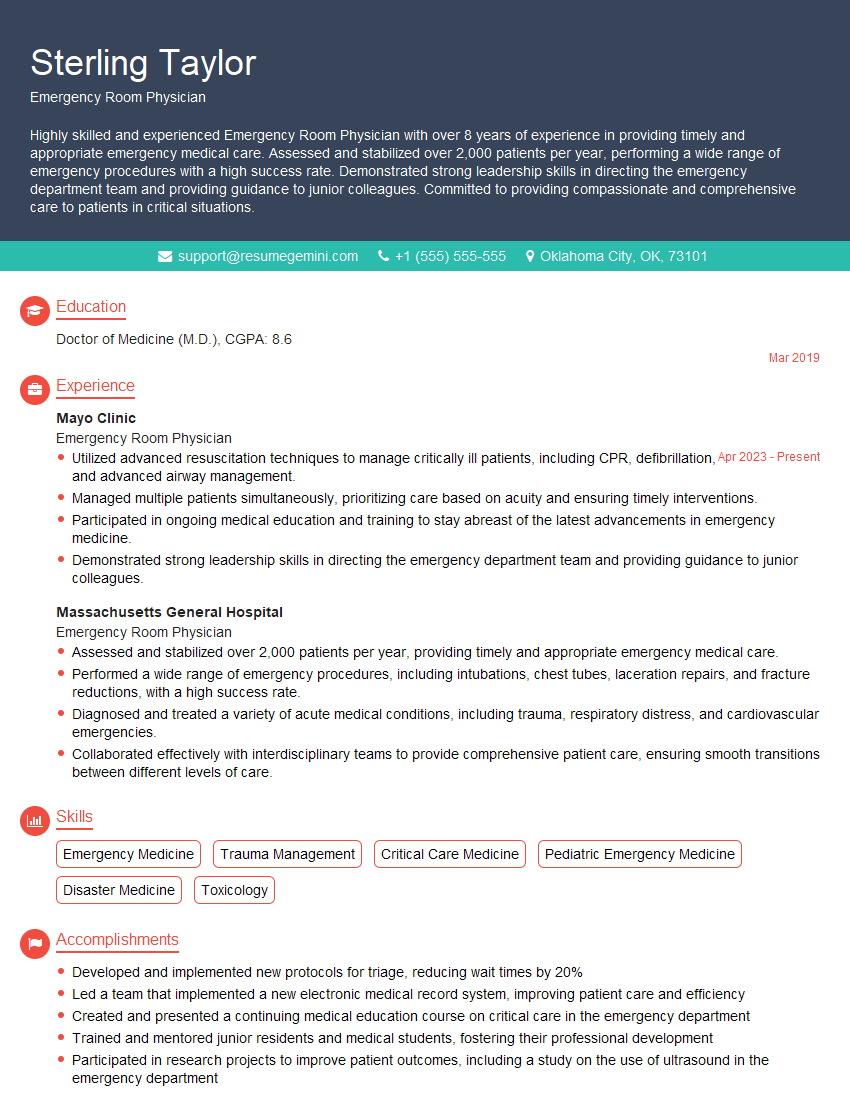
Emergency Room Physician Resume Sample
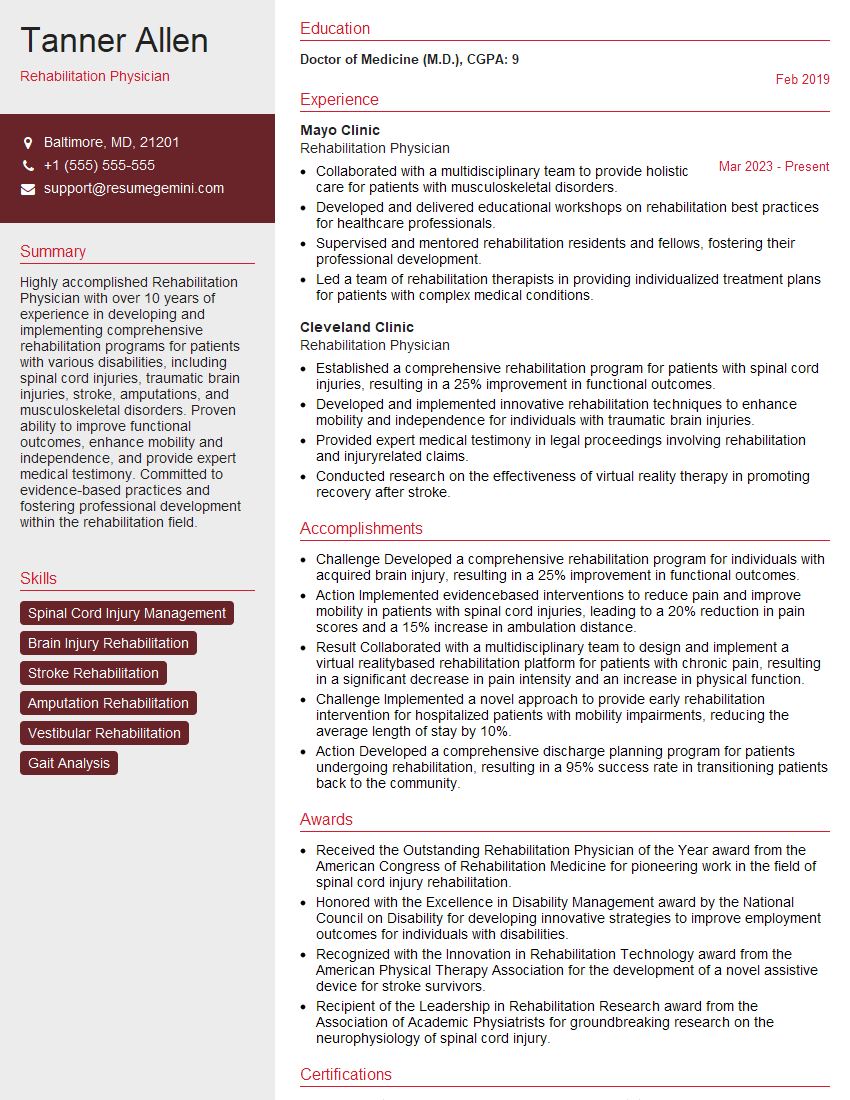
Rehabilitation Physician Resume Sample
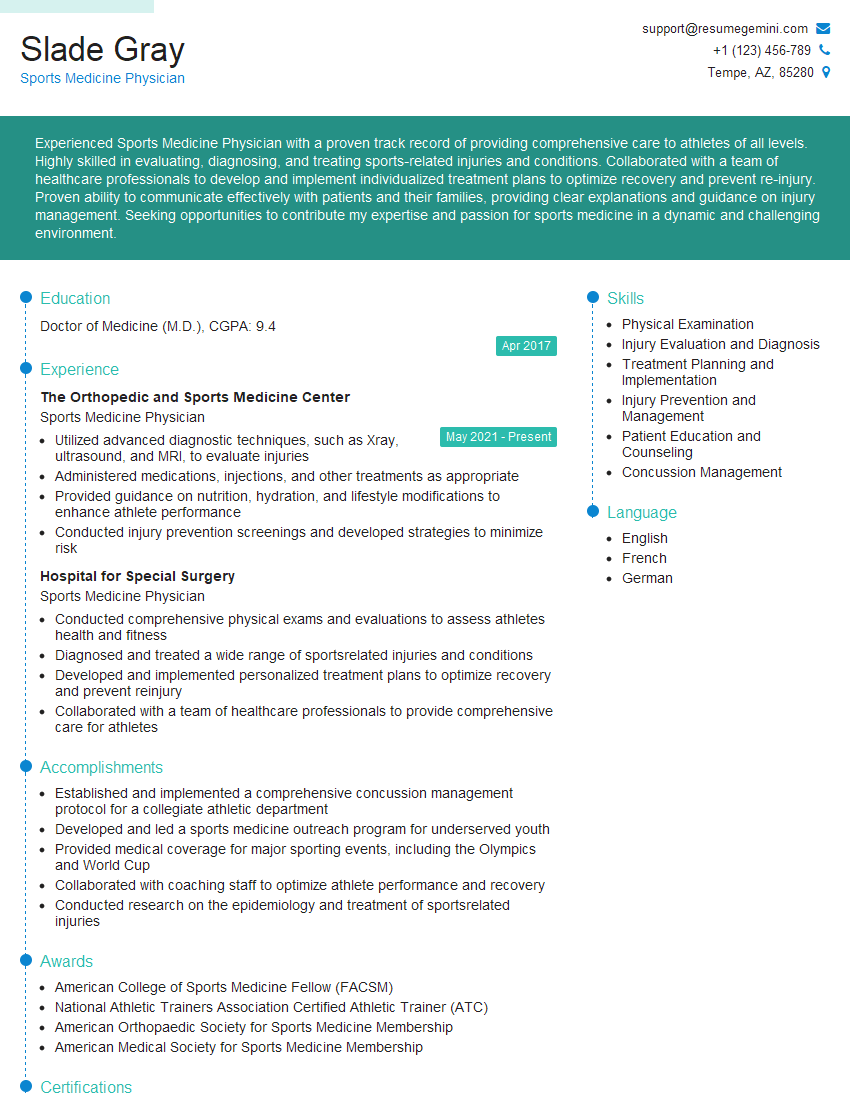
Sports Medicine Physician Resume Sample
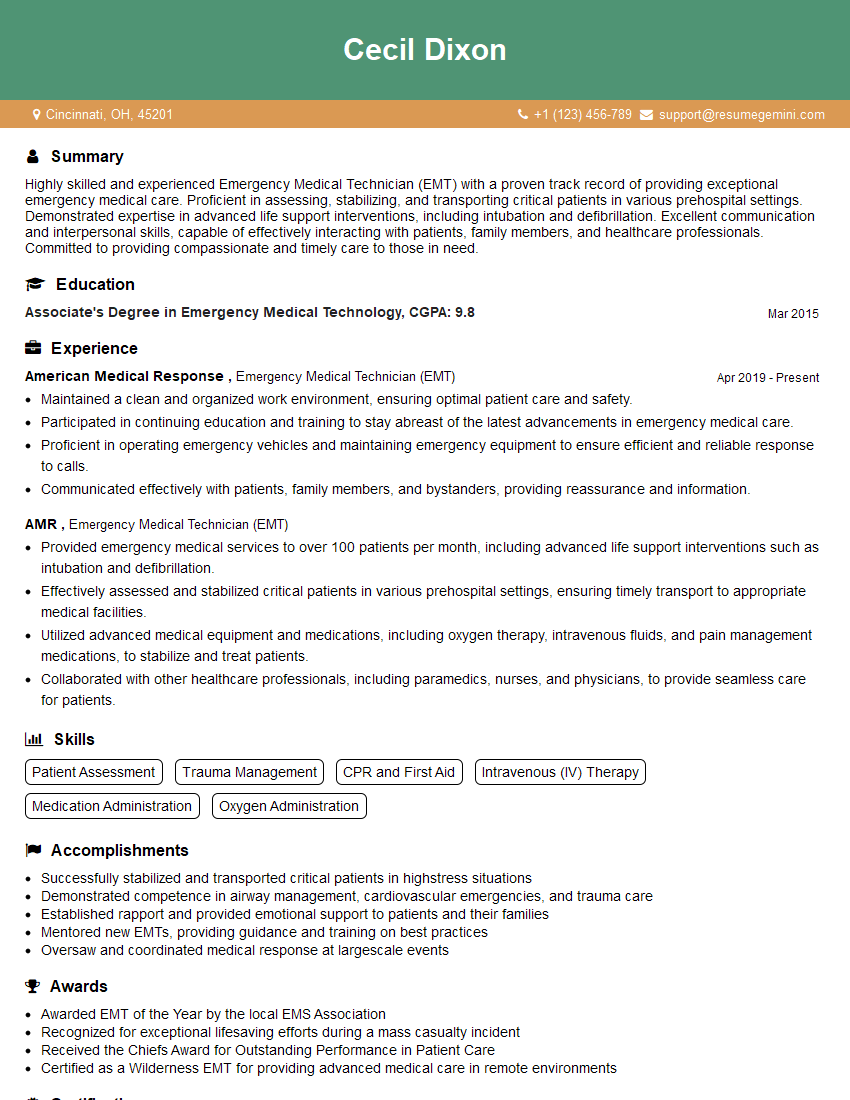
Emergency Medical Technician (EMT) Resume Sample
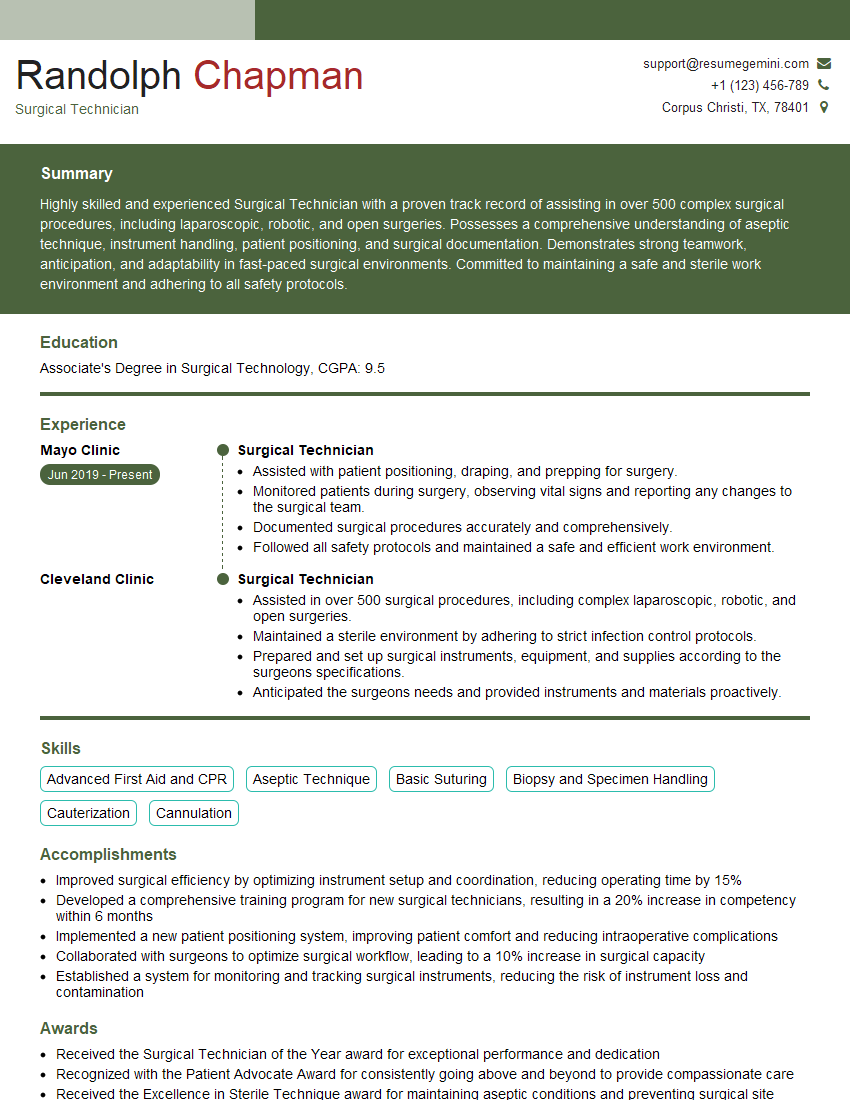
Surgical Technician Resume Sample
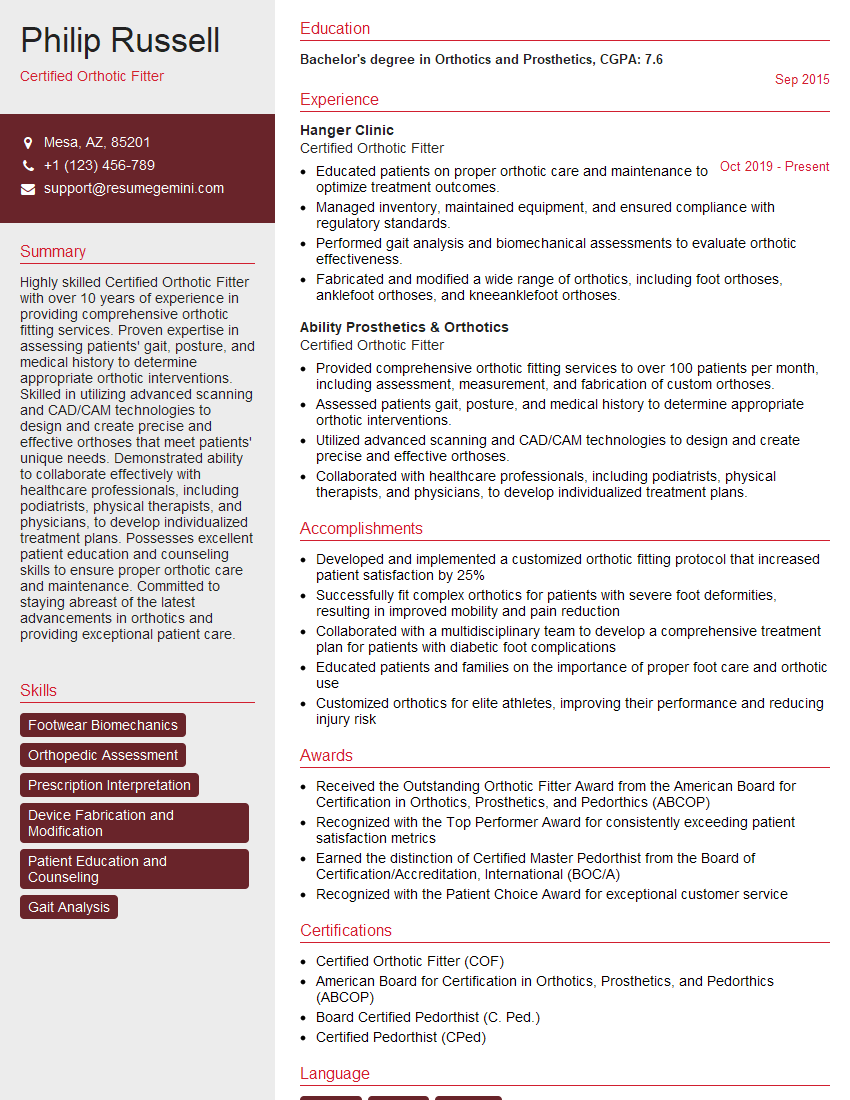
Certified Orthotic Fitter Resume Sample
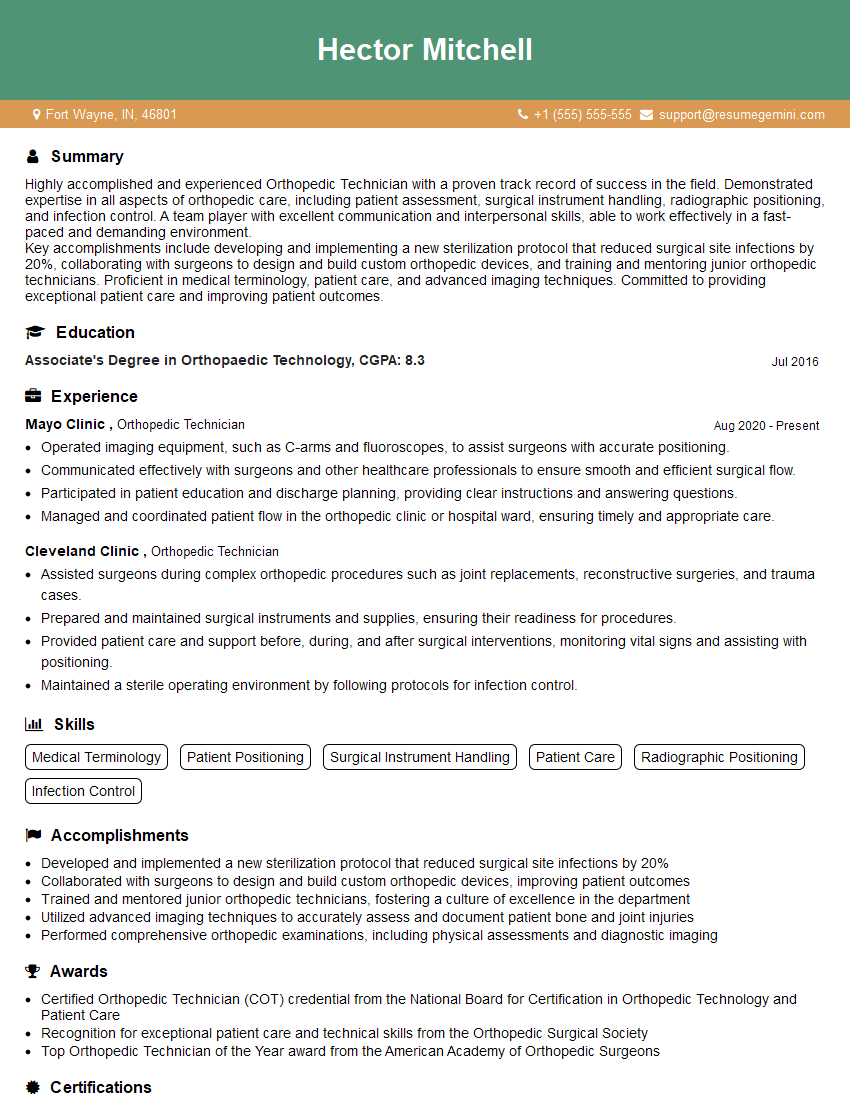
Orthopedic Technician Resume Sample
Explore more articles
Users Rating of Our Blogs
Share Your Experience
We value your feedback! Please rate our content and share your thoughts (optional).
What Readers Say About Our Blog
To the interviewgemini.com Webmaster.
Very helpful and content specific questions to help prepare me for my interview!
Thank you
To the interviewgemini.com Webmaster.
This was kind of a unique content I found around the specialized skills. Very helpful questions and good detailed answers.
Very Helpful blog, thank you Interviewgemini team.