Feeling uncertain about what to expect in your upcoming interview? We’ve got you covered! This blog highlights the most important Hanging Sheetrock interview questions and provides actionable advice to help you stand out as the ideal candidate. Let’s pave the way for your success.
Questions Asked in Hanging Sheetrock Interview
Q 1. Describe your experience hanging sheetrock in various environments (residential, commercial).
My experience in hanging sheetrock spans over a decade, encompassing a wide range of residential and commercial projects. In residential settings, I’ve worked on everything from small renovations in older homes requiring meticulous attention to detail around existing features, to new constructions where speed and efficiency are key. Commercial projects have presented different challenges, such as working with larger sheets, higher ceilings, and often more complex layouts, including those in office buildings, retail spaces, and even some light industrial settings. The scale is often larger, and the deadlines are tighter, demanding a high level of precision and teamwork.
For example, on a recent residential project, I had to carefully navigate existing plumbing and electrical lines while installing sheetrock around a tricky bay window. In contrast, a recent commercial project involved installing fire-rated sheetrock in a multi-story office building, requiring adherence to strict building codes and safety regulations.
Q 2. What types of sheetrock have you worked with and what are their differences?
I’ve worked with several types of sheetrock, each suited to different applications. Standard sheetrock (also known as drywall) is the most common, offering a good balance of cost and durability. Moisture-resistant sheetrock (often green-colored) is ideal for bathrooms and kitchens where exposure to moisture is a concern. Fire-resistant sheetrock (typically pink or purple) provides added fire protection, crucial in commercial buildings and certain residential areas.
Furthermore, I have experience with specialized types like soundproof sheetrock (often a denser material), which helps reduce noise transmission between rooms, and cement board, which offers superior durability and water resistance for exterior applications or areas subject to extreme wear and tear. The choice of sheetrock type significantly impacts the project’s success, cost, and longevity.
Q 3. Explain your process for measuring and cutting sheetrock accurately.
Accurate measuring and cutting are fundamental to efficient sheetrock hanging. I begin by carefully measuring the wall or ceiling section using a tape measure, noting any obstructions or irregularities. For straight cuts, I utilize a utility knife and a long, straight edge, such as a metal straightedge or a T-square. For more complex cuts, such as around windows or doors, I use a jigsaw or keyhole saw for precision. I always double-check my measurements to avoid costly mistakes. Marking the sheetrock clearly with a pencil before cutting helps maintain accuracy and avoids accidental damage.
For example, when cutting around a doorway, I’ll first measure the width and height of the opening, then transfer those measurements to the sheetrock. I prefer making a series of small, precise cuts rather than one large, potentially imprecise cut. This allows for a cleaner, more accurate fit around the opening.
Q 4. How do you ensure proper alignment and spacing of sheetrock panels?
Maintaining proper alignment and spacing is critical for a professional finish. I start by establishing a plumb line or straight edge at the beginning of a wall section. This acts as my reference point. Subsequent panels are then aligned to this initial line, ensuring vertical alignment. I use spacers (typically small wood blocks) between the panels to maintain consistent spacing, usually 1/8 inch, allowing for expansion and contraction. A level is continuously used to check for any deviation from plumb or level, and adjustments are made accordingly.
Regularly checking alignment across multiple panels prevents cumulative errors that can lead to noticeable gaps or misalignments as you progress down a wall. It is like building with bricks – each brick needs to be carefully placed to build a straight and sturdy wall.
Q 5. What tools and equipment are essential for efficient sheetrock hanging?
Efficient sheetrock hanging requires a variety of tools and equipment. The essentials include a tape measure, utility knife, pencil, level, T-square or straightedge, jigsaw or keyhole saw, drywall squares, spacers, a hammer, and a screw gun with appropriate drill bits. In addition to these, safety glasses and hearing protection are paramount. For larger projects or higher ceilings, a lift or scaffolding is often necessary for safety and efficiency. A dust collection system can also significantly improve working conditions.
Having the right tools readily available minimizes downtime and ensures a smoother workflow. For instance, a powerful screw gun with a depth-stop ensures consistent screw penetration, preventing damage to the sheetrock or pushing screws through.
Q 6. Describe your method for fastening sheetrock to framing.
Fastening sheetrock to framing involves using drywall screws. I typically use a screw gun, ensuring the screws are countersunk (slightly below the surface of the sheetrock) but not driven too deeply, preventing damage to the sheetrock surface. Screws are spaced approximately 6-8 inches apart along the edges and 12 inches apart in the field (the center of the panel), adjusting spacing as needed depending on the sheetrock thickness and framing. The screws should be driven straight to avoid cracking the sheetrock.
Consistency is key. Using a screw gun with a depth-stop ensures that all screws are driven to the same depth, leading to a professional-looking, even finish. Over-driving the screws can cause cracking while under-driving leads to loose panels.
Q 7. How do you handle difficult areas, such as corners, angles, and openings?
Difficult areas require extra care and specialized techniques. For inside corners, I use corner bead to create a smooth, clean edge. Outside corners often use a similar bead, but application techniques differ. Angles require careful measuring and cutting. Openings, such as doorways or windows, need precise cutting and often require additional framing or furring strips to ensure a solid and level surface for the sheetrock. I might utilize specialized tools and techniques for these areas.
For example, when working around a curved wall, I might use a flexible sheetrock or carefully cut and shape standard sheetrock panels to match the curve, ensuring a smooth, seamless finish. Proper planning and preparation are key to successfully navigating these challenging areas, ultimately leading to a clean, finished product.
Q 8. What are your strategies for avoiding common sheetrock hanging mistakes?
Avoiding common sheetrock hanging mistakes starts with meticulous planning and execution. Think of it like baking a cake – a misstep at any stage can ruin the final product. My strategies focus on three key areas: preparation, technique, and inspection.
Preparation: This includes accurately measuring and cutting the sheetrock to avoid gaps or overlaps. I always double-check my measurements and use a sharp utility knife for clean cuts. Pre-drilling pilot holes for screws prevents cracking and ensures proper fastening.
Technique: Maintaining consistent spacing between screws is crucial. I use a measuring tape or a screw-spacing tool to achieve even distribution, preventing weak points. I also ensure the sheetrock is properly secured to the framing, avoiding loose or uneven areas.
Inspection: After each sheet is hung, I conduct a thorough visual inspection for gaps, unevenness, or improperly seated screws. Addressing these issues immediately prevents larger problems down the line. Think of it as quality control during manufacturing – small fixes now prevent major rework later. I even use a level and a flashlight to check for hidden imperfections.
For instance, on a recent project, I noticed a slightly bowed wall. By adjusting my screw placement and using slightly more pressure during installation, I compensated for the bow and created a perfectly flat surface.
Q 9. How do you maintain consistent quality and speed throughout a project?
Maintaining consistent quality and speed is a balancing act, but achievable through efficient workflows and attention to detail. My approach is structured around these principles:
Efficient Staging: I organize materials strategically, keeping frequently used items within easy reach. This minimizes wasted time searching for tools and supplies. It’s all about minimizing unnecessary movements and maximizing workflow.
Teamwork: When working with a team, clear communication and task assignment are essential. Each team member should have a defined role to ensure smooth coordination and avoid bottlenecks. Think of an assembly line; each person has their specific task that ensures speed and quality.
Continuous Improvement: I constantly review my methods and identify areas for improvement. Are there faster ways to cut sheetrock, or more efficient screw placement strategies? Continuous refinement leads to improved speed and consistency over time.
For example, I recently experimented with using a drywall lift, and it significantly sped up our hanging process, especially on taller walls. This improvement didn’t compromise quality, but rather improved both speed and safety.
Q 10. Explain your understanding of building codes and safety regulations related to sheetrock.
Understanding building codes and safety regulations is paramount. Neglecting these aspects can lead to serious consequences, ranging from project delays to safety hazards. My understanding encompasses several key areas:
Fire Resistance: I’m familiar with fire-resistant sheetrock requirements, ensuring correct type and installation methods based on local codes and building classifications. This includes knowing the difference between Type X and standard drywall, and where each should be used.
Moisture Resistance: I am knowledgeable about using moisture-resistant sheetrock in areas prone to humidity, such as bathrooms and kitchens. This prevents mold and other damage over time. Using the appropriate type of tape and compound is equally important.
Safety Regulations: I always comply with OSHA standards, ensuring proper use of personal protective equipment (PPE), such as safety glasses, gloves, and dust masks. I’m also mindful of fall protection when working at heights, and use appropriate scaffolding or lifts.
For instance, a recent job required installing Type X sheetrock in a stairwell due to fire code regulations. I carefully followed the specific guidelines for installation and ensured compliance before moving to the next stage.
Q 11. How do you manage your time and workload on a sheetrock installation project?
Time and workload management on a sheetrock installation project necessitates a well-defined plan and attention to detail. My approach involves:
Detailed Project Planning: I start by creating a detailed schedule, factoring in the total square footage, number of workers, and potential challenges. This ensures a realistic timeframe. Breaking the project into smaller, manageable tasks is also crucial.
Prioritization: I prioritize tasks based on their importance and dependencies. This ensures the project progresses logically, without getting stuck on minor issues.
Regular Monitoring: I monitor progress regularly, identifying any delays or potential issues early on. This allows for proactive adjustments to the schedule and prevents major setbacks.
For instance, on a large commercial project, I divided the work into sections, assigning specific teams to each. By monitoring their progress daily and addressing any challenges promptly, we successfully completed the project ahead of schedule.
Q 12. Describe your experience working with different types of fasteners (screws, nails).
My experience with various fasteners extends beyond simple usage; it involves understanding their properties and applications. I’m proficient with both screws and nails, but prefer screws for most sheetrock installations.
Screws: I typically use self-tapping drywall screws, choosing the appropriate length based on the thickness of the sheetrock and the framing. These provide a stronger, more secure hold than nails. Using a screw gun also helps maintain consistency in screw depth and placement.
Nails: Nails are less commonly used for sheetrock, except perhaps for situations where a screw gun isn’t practical. If nails are used, I ensure they are appropriately sized and driven straight to prevent damage. The risk of splitting the drywall is much greater with nails.
Specialized Fasteners: I have experience using specialized fasteners for specific applications, such as corrosion-resistant screws in wet areas.
For instance, in a high-humidity environment, I would select screws specifically designed for corrosion resistance to prevent premature fastener failure and ensure the longevity of the work.
Q 13. What is your experience with using lift equipment for sheetrock installation?
My experience with lift equipment for sheetrock installation is extensive and positive. Using a lift significantly enhances safety and efficiency, particularly with larger sheets and higher ceilings.
Safety: Lifts eliminate the need for manual handling of heavy sheets, reducing the risk of back injuries and other workplace accidents. This is especially important on larger-scale projects.
Efficiency: A lift allows for faster and more precise placement of sheetrock, reducing installation time. This is particularly beneficial in areas with difficult access.
Types of Lifts: I’m familiar with various types of drywall lifts, including manual and powered models. I choose the appropriate lift based on the project requirements and available resources.
A recent project involving a high-ceilinged commercial space benefited greatly from using a powered drywall lift. It significantly improved both efficiency and worker safety by allowing for quick and accurate placement of the large sheets.
Q 14. How do you deal with damaged or defective sheetrock?
Dealing with damaged or defective sheetrock requires a systematic approach that minimizes waste and ensures a quality finish. My strategy involves:
Assessment: I begin by carefully assessing the extent of the damage. Is it a minor imperfection or a significant defect? This helps determine the most effective repair strategy.
Repair Options: For minor damage, patching with joint compound is usually sufficient. For more extensive damage, replacing the affected section may be necessary. The goal is to minimize the repair and make it unnoticeable.
Replacement: If replacement is necessary, I carefully cut out the damaged section, ensuring a clean, straight cut. Then, a replacement piece is fitted and secured, matching the surrounding sheetrock. Using matching tape and compound makes the repair blend in flawlessly.
In one instance, a delivery arrived with several sheets exhibiting minor dents. I was able to effectively repair these by carefully filling the dents with joint compound and sanding smooth. The finished product was nearly indistinguishable from the undamaged portions.
Q 15. Explain your understanding of different types of drywall joints and finishing techniques.
Drywall joints are where two sheets of drywall meet, and proper finishing is crucial for a smooth, professional-looking wall. There are several types, each requiring specific techniques:
- Butt Joints: These are the simplest, where two sheets meet edge to edge. They require careful attention to ensure a tight, even seam.
- Inside Corner Joints: Where two walls meet at an inside corner. These require special corner bead for reinforcement and a smooth finish.
- Outside Corner Joints: Where two walls meet at an outside corner. These also utilize corner bead, but the application technique differs from inside corners.
- T-Joints: Occur where a sheet of drywall ends and another sheet is butted against it, creating a ‘T’ shape. These require careful attention to blending the mud seamlessly.
Finishing techniques involve applying joint compound (also called mud) in multiple coats, sanding between each coat to create a smooth, seamless transition. The process typically involves taping the joint with mesh tape, applying multiple coats of mud, feathering the edges to blend with the surrounding wall, and finally sanding to achieve a perfectly smooth surface. Think of it like baking a cake – multiple layers and careful smoothing are essential for a professional result.
Career Expert Tips:
- Ace those interviews! Prepare effectively by reviewing the Top 50 Most Common Interview Questions on ResumeGemini.
- Navigate your job search with confidence! Explore a wide range of Career Tips on ResumeGemini. Learn about common challenges and recommendations to overcome them.
- Craft the perfect resume! Master the Art of Resume Writing with ResumeGemini’s guide. Showcase your unique qualifications and achievements effectively.
- Don’t miss out on holiday savings! Build your dream resume with ResumeGemini’s ATS optimized templates.
Q 16. How do you ensure a smooth and even surface after installing sheetrock?
Achieving a smooth and even surface after sheetrock installation requires meticulous attention to detail throughout the entire process. It starts with proper installation – ensuring the sheets are properly aligned, fastened securely with screws, and minimizing gaps between sheets. This reduces the amount of mud needed, making for a smoother finish.
The key is careful taping and mudding: using high-quality mesh tape to cover the joints, applying thin coats of mud to avoid cracking, allowing each coat to dry completely before sanding, and feathering the edges for a seamless transition. Multiple coats are usually necessary, and patience is key! Imagine sculpting with mud – you want to build it up gradually, sanding to refine the shape until you achieve a flawlessly smooth surface.
Q 17. Describe your experience with taping and mudding sheetrock.
Taping and mudding are the heart of drywall finishing. My experience includes working with a wide range of projects, from small residential repairs to larger commercial installations. I’m proficient in applying different types of tape, from paper to fiberglass mesh, each suited for various applications. I understand the importance of using the right tools – a taping knife, a putty knife, and a sanding sponge – to achieve a flawless finish.
The process involves applying the tape to the joint, embedding it securely into the mud, and then applying successive coats of mud, each coat slightly wider than the previous one, gradually feathering the edges to create a smooth transition. Proper drying time between coats is crucial to prevent cracking. I always focus on minimizing visible seams and achieving a seamless blend with the surrounding wall. In a recent project, a client was initially concerned about a noticeable joint in their living room. Through meticulous taping and mudding, I was able to achieve an invisible seam, leaving them thrilled with the result.
Q 18. What are the different types of joint compound you’ve worked with?
I’ve worked with various types of joint compound, each possessing unique properties:
- All-Purpose Compound: This is a versatile compound suitable for most applications. It’s easy to work with and sands well.
- Lightweight Compound: Ideal for larger surfaces or areas with multiple coats, this compound is less dense, reducing the weight on the wall and minimizing stress on the seams.
- Setting-Type Compound: This compound dries quickly, ideal for situations where fast turnaround is needed. However, it requires more experience to work with, as it sets rapidly and can be harder to sand.
Choosing the right compound depends on the project’s scope and requirements. For instance, a large commercial project may benefit from lightweight compound to reduce weight and potential stress on the structure, while a quick repair might call for a fast-setting type.
Q 19. How do you manage waste materials during sheetrock installation?
Waste management is a crucial aspect of responsible sheetrock installation. On every project, I prioritize minimizing waste and proper disposal. This involves accurate measurements to avoid unnecessary cuts, using off-cuts for smaller projects or patching if possible, and carefully sorting materials for recycling. Drywall scraps are usually disposed of at designated recycling centers, while other materials like cardboard are typically separated for standard recycling streams.
Following established waste management protocols not only minimizes environmental impact but also enhances jobsite efficiency. In a recent large-scale project, a careful waste management plan allowed us to reduce waste disposal costs and maintain a cleaner, more organized workspace which contributed to overall project efficiency.
Q 20. What is your experience with using specialized tools like a drywall lift or a corner tool?
I’m experienced in using a variety of specialized tools, improving efficiency and precision.
- Drywall Lift: This invaluable tool significantly reduces strain and improves safety when handling large drywall sheets. It is a must-have for larger projects or when working alone.
- Corner Tool: This specialized tool allows for precise application of mud to inside and outside corners, producing a consistently sharp and straight edge. It ensures a professional look and minimizes the risk of uneven or messy corners.
Mastering these tools not only saves time and effort but also results in a superior quality finish. For example, on a recent project with high ceilings, using a drywall lift prevented fatigue and enabled us to complete the job efficiently and without risk of injury.
Q 21. How do you identify and address potential problems during sheetrock installation?
Identifying and addressing problems during sheetrock installation is crucial. Potential issues include:
- Uneven surfaces: These need to be addressed before installing drywall to prevent issues with adhesion and create a more level base.
- Gaps between sheets: These require filling with compound before taping and mudding.
- Improperly fastened screws: These can lead to bulging drywall and require refastening or replacement.
- Cracks: These can occur due to inadequate support or drying issues and need to be properly repaired.
My approach involves a systematic inspection of the work throughout the process. I proactively identify and resolve minor issues early on to prevent them from escalating into larger problems. This saves time, money, and reduces the risk of rework. It’s like preventative maintenance for a car – addressing small issues before they become major repairs.
Q 22. Describe your experience working in a team environment on a sheetrock installation project.
Teamwork is crucial in sheetrock installation. On a recent large-scale project for a new school, we had a team of five: two hangers, two finishers, and a lead. The hangers focused on efficiently installing the sheets, ensuring proper alignment and spacing. Meanwhile, the finishers followed, taping and mudding. Our lead managed the workflow, ensuring materials were readily available and addressing any issues that arose. Effective communication was key – daily briefings helped us coordinate our efforts and avoid conflicts. For instance, one hanger specializing in corners worked in tandem with a finisher experienced in corner bead application, resulting in a seamless, high-quality finish. The team’s collective experience and collaborative spirit were essential in meeting the tight deadlines.
Q 23. How do you prioritize tasks when faced with multiple deadlines?
Prioritizing tasks with multiple deadlines requires a strategic approach. I use a combination of methods: I start by creating a detailed project timeline that breaks down all tasks, assigning deadlines to each. Then, I prioritize tasks based on urgency and dependency. Critical path tasks (those directly affecting subsequent tasks) get precedence. For example, if the framing inspection is crucial before sheetrock installation, that task takes priority. I also utilize tools like project management software to visualize deadlines and track progress. Regular progress checks keep the project on track and allow for swift adjustments if unexpected delays occur.
Q 24. What safety precautions do you take when working with sheetrock?
Safety is paramount. When working with sheetrock, I always wear safety glasses to protect my eyes from flying debris. Hearing protection is essential to mitigate the noise from power tools. Dust masks are a must, as sheetrock dust can be harmful if inhaled. Proper lifting techniques are critical to prevent back injuries; I always use a lifting device when necessary for heavy sheets. Furthermore, I ensure the work area is clean and free from obstructions to prevent tripping hazards. Regularly inspecting tools for damage before use is another crucial safety precaution. I also always follow the manufacturer’s instructions for all tools and materials used.
Q 25. How do you handle unexpected changes or challenges during a project?
Unexpected challenges are inevitable in construction. For instance, once, we discovered unforeseen electrical conduit running through a wall section, altering our planned sheetrock installation. My approach is to remain calm, assess the situation, and communicate the change to the project lead immediately. We then collaboratively find a solution – perhaps adjusting the placement of the sheetrock or working with the electrician to reroute the conduit. Flexibility and problem-solving skills are vital in adapting to such changes while maintaining project quality and adhering to safety regulations. Proper documentation of the changes is vital for record-keeping and future reference.
Q 26. What is your understanding of the different types of sheetrock finishes?
Sheetrock finishes vary depending on the project’s requirements. Type X sheetrock offers fire resistance and is commonly used in fire-rated walls. Moisture-resistant sheetrock (MR) is ideal for bathrooms and other high-humidity areas. Standard sheetrock is used in general applications. The finish itself can be various textures – smooth, knockdown, or orange peel – achieved through different taping and mudding techniques. Choosing the appropriate type and finish is essential to meet building codes and client expectations.
Q 27. Describe your experience working with acoustical sheetrock.
Acoustical sheetrock is specialized sheetrock designed to absorb sound. It often has a perforated surface or a special core composition. I have experience installing this type of sheetrock in various projects like recording studios and home theaters. The installation process is similar to standard sheetrock, but extra care is needed to ensure proper sealing at the seams to optimize sound absorption. Special attention is given to achieving a consistent, smooth finish to allow the acoustical properties of the sheetrock to work effectively. The type of taping and finishing compound is also important for maintaining the soundproofing properties.
Q 28. What are some common challenges you encounter when installing sheetrock and how do you overcome them?
Common challenges include working with uneven walls or ceilings, which require careful planning and possibly the use of furring strips for a level surface. Damaged sheetrock during transportation or handling can also pose a problem, requiring replacements and adjustments to the schedule. Incorrectly measured sheets leading to wasted materials or gaps is another common issue. I overcome these by meticulously preparing the surface, double-checking measurements, and always ordering extra material to accommodate for potential waste or damage. Proactive communication with the team and the project manager helps in addressing these issues promptly and efficiently.
Key Topics to Learn for Hanging Sheetrock Interview
- Understanding Sheetrock Types: Learn the differences between various sheetrock types (e.g., moisture-resistant, fire-resistant) and their appropriate applications.
- Measuring and Cutting Sheetrock: Master accurate measurements and efficient cutting techniques to minimize waste and ensure precise fits.
- Fastening Techniques: Become proficient in using different fasteners (screws, nails) and understand the importance of proper spacing and depth for secure installation.
- Taping and Mudding: Learn the process of applying tape and joint compound for smooth, seamless finishes. Understand different taping methods and techniques for achieving professional results.
- Finishing Techniques: Explore various finishing techniques to achieve different textures and levels of smoothness. Understand sanding techniques and the use of different tools.
- Safety Procedures and Regulations: Familiarize yourself with relevant safety protocols, including proper use of personal protective equipment (PPE) and awareness of potential hazards.
- Tools and Equipment: Demonstrate knowledge of various tools used in hanging sheetrock, including their proper use and maintenance.
- Problem-solving and Troubleshooting: Be prepared to discuss how you would approach common problems encountered during sheetrock installation, such as uneven surfaces or damaged sheets.
- Working with Other Trades: Understand the coordination required when working alongside other tradespeople on a construction site.
- Estimating and Project Planning: Demonstrate an understanding of how to estimate materials and plan the efficient execution of sheetrock hanging projects.
Next Steps
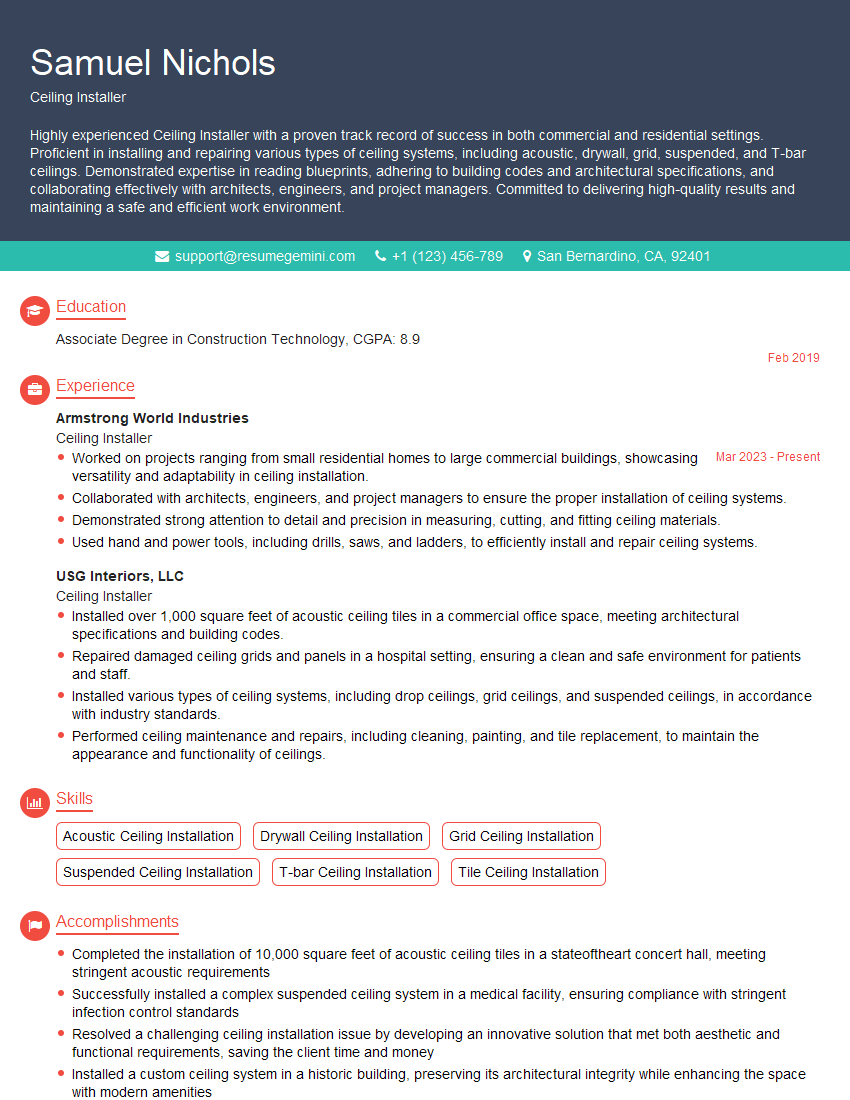
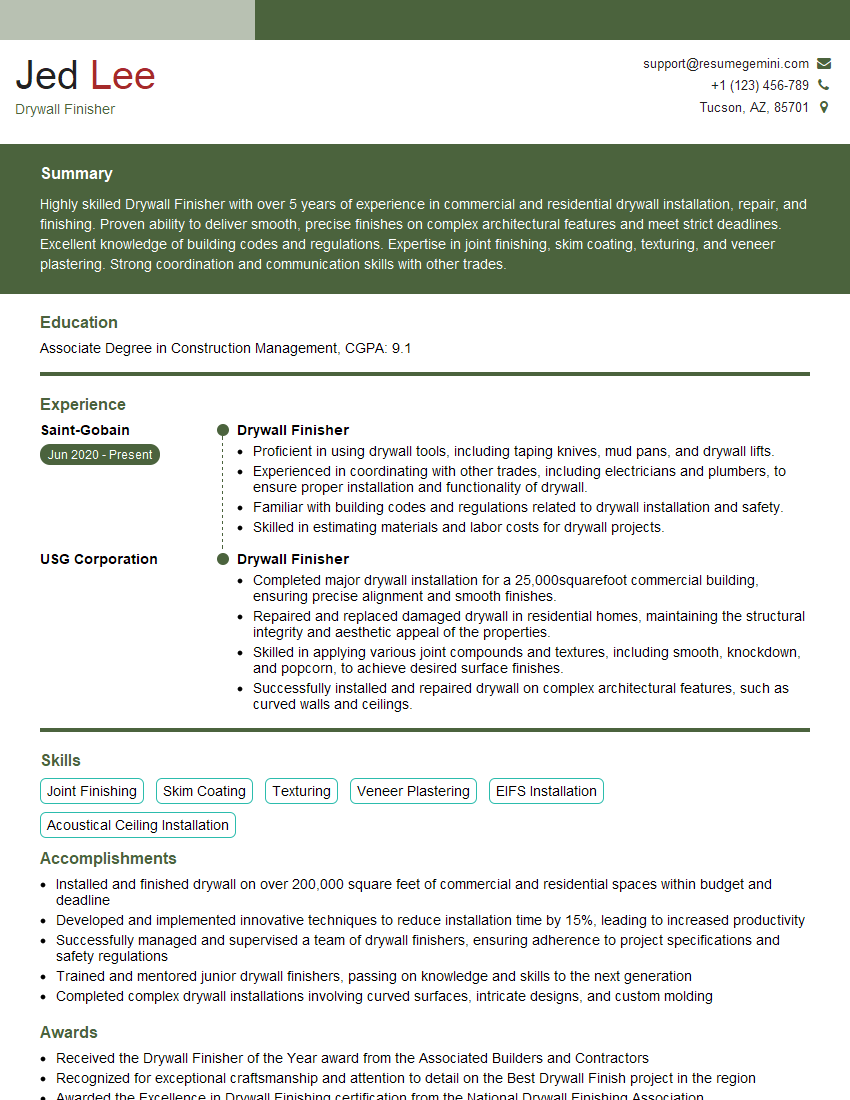
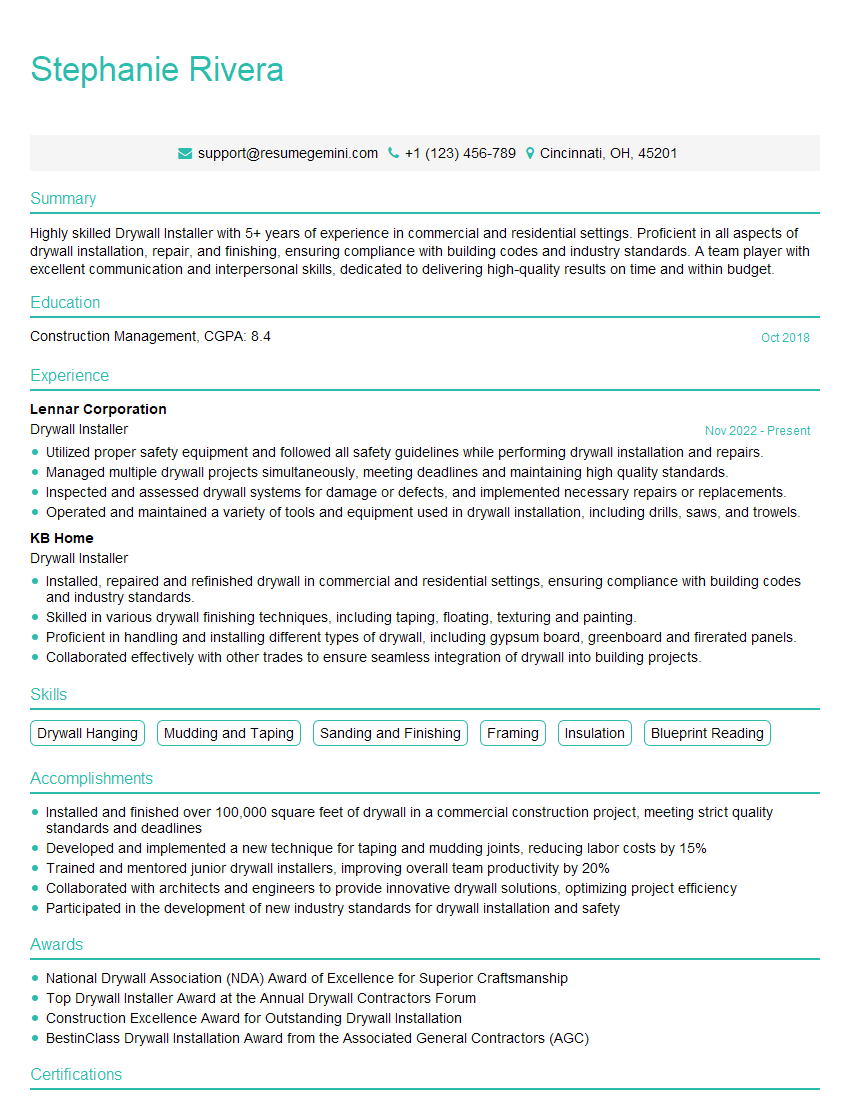
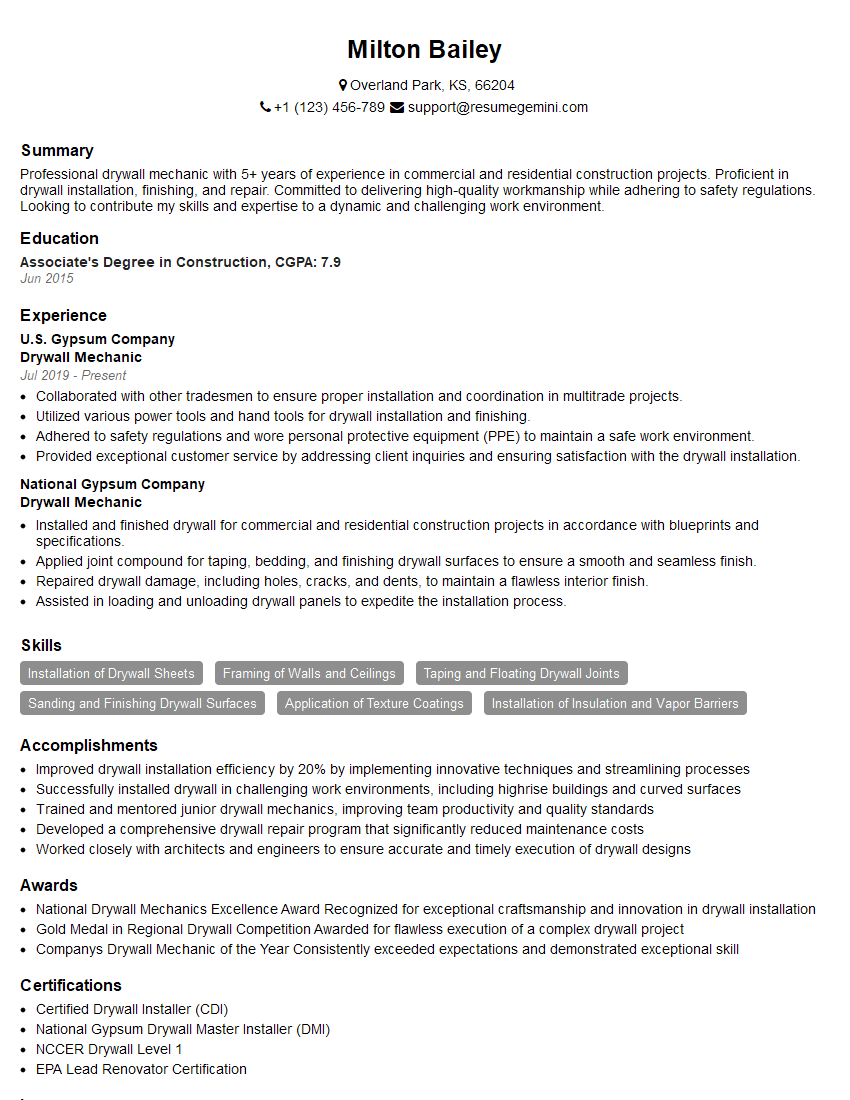
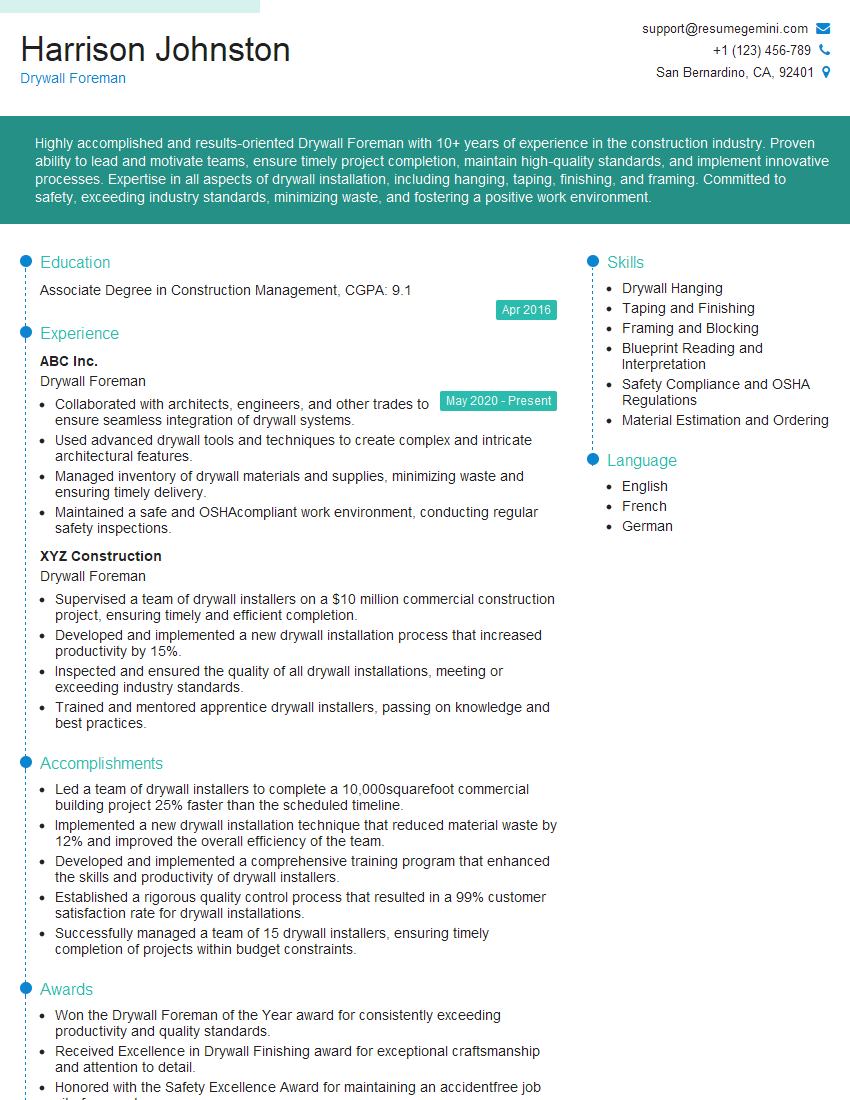
Mastering the art of hanging sheetrock is crucial for career advancement in the construction industry. It demonstrates a valuable skillset and opens doors to higher-paying positions and increased responsibility. To maximize your job prospects, creating a strong, ATS-friendly resume is essential. ResumeGemini is a trusted resource to help you build a professional resume that highlights your skills and experience effectively. Examples of resumes tailored to the Hanging Sheetrock profession are available, providing you with a template to showcase your abilities and secure your dream job.
Explore more articles
Users Rating of Our Blogs
Share Your Experience
We value your feedback! Please rate our content and share your thoughts (optional).
What Readers Say About Our Blog
This was kind of a unique content I found around the specialized skills. Very helpful questions and good detailed answers.
Very Helpful blog, thank you Interviewgemini team.
