The thought of an interview can be nerve-wracking, but the right preparation can make all the difference. Explore this comprehensive guide to Basic Photography and Videography interview questions and gain the confidence you need to showcase your abilities and secure the role.
Questions Asked in Basic Photography and Videography Interview
Q 1. Explain the difference between aperture, shutter speed, and ISO.
Aperture, shutter speed, and ISO are the three pillars of exposure in photography and videography. They work together to control how much light reaches your camera’s sensor, ultimately determining the brightness and overall look of your image or video.
- Aperture: Think of the aperture as the pupil of your eye. It’s the opening in the lens that lets light through. It’s measured in f-stops (e.g., f/2.8, f/5.6, f/11). A lower f-stop (like f/2.8) means a wider aperture, letting in more light and creating a shallow depth of field (blurred background). A higher f-stop (like f/11) means a smaller aperture, letting in less light and creating a greater depth of field (more in focus).
- Shutter Speed: This controls how long the camera’s sensor is exposed to light. It’s measured in seconds or fractions of a second (e.g., 1/200s, 1/60s, 1s). Faster shutter speeds (like 1/200s) freeze motion, while slower shutter speeds (like 1/60s or slower) can blur motion, creating a sense of movement.
- ISO: This measures the sensitivity of your camera’s sensor to light. A lower ISO (like ISO 100) is less sensitive, resulting in cleaner images with less noise (grain), but requires more light. A higher ISO (like ISO 3200) is more sensitive, allowing you to shoot in low light, but it can introduce more noise into your image.
Imagine taking a photograph of a fast-moving bird. You’d want a fast shutter speed to freeze its motion, a wider aperture (lower f-stop) to let in enough light despite the fast shutter speed, and a relatively low ISO to maintain image quality. If you were photographing a landscape at sunset, you might use a slower shutter speed to capture the mood, a smaller aperture (higher f-stop) for a sharp image from foreground to background, and adjust your ISO accordingly, potentially increasing it slightly to compensate for lower light.
Q 2. What are the three main types of camera shots?
The three main types of camera shots, based on the subject’s relative size in the frame, are:
- Wide Shot (WS): Shows the subject from a distance, often within a large setting. This shot provides context and shows the environment surrounding the subject. Think of a wide shot of a person standing in a vast field.
- Medium Shot (MS): Shows the subject from the waist up. It offers a balance between showing the subject and their environment. A medium shot of someone talking at a podium is a common example.
- Close-Up (CU): Shows a specific detail or a small portion of the subject, often the face or hands. This shot emphasizes detail and emotion. Think of a close-up of an actor’s face expressing surprise.
These are fundamental shots, and various modifications and combinations exist (like extreme close-ups or medium long shots), but understanding these three basics is key to constructing compelling visual narratives.
Q 3. Describe the rule of thirds in photography.
The rule of thirds is a compositional guideline that suggests placing key elements of your photograph along imaginary lines that divide the frame into thirds, both horizontally and vertically. These lines intersect at four points often referred to as ‘power points’.
Instead of centering your subject, placing it at one of these power points creates a more visually appealing and balanced image. It leads the viewer’s eye through the frame in a more engaging way. Imagine taking a picture of a majestic mountain range. Instead of placing the mountain range dead center, positioning it along one of the horizontal thirds adds visual interest.
This principle works exceptionally well in landscape, portrait, and other genres of photography because it leverages natural visual flow and avoids the sometimes static feel of perfect center composition.
Q 4. What is white balance and why is it important?
White balance is the process of correcting the color temperature of your image or video to accurately reflect the colors of the scene as they appear to the human eye. Different light sources have different color temperatures; sunlight is generally cooler (bluish), while incandescent lighting is warmer (yellowish).
Without proper white balance, your images can appear too warm (orangish) or too cool (bluish). For example, if you shoot a photograph indoors under tungsten lighting without adjusting white balance, your image will likely have a significant orange cast. White balance is crucial for ensuring accurate and natural-looking colors in your photos and videos. Most cameras offer automatic white balance, but manual adjustments are often necessary to achieve the most accurate color representation, particularly under mixed or unusual lighting conditions.
Q 5. How do you achieve shallow depth of field?
Shallow depth of field means that only a small portion of your image is in sharp focus, while the rest is blurred (bokeh). This effect is often used to draw attention to the main subject and create a visually appealing background.
You achieve shallow depth of field primarily by using a wide aperture (low f-stop number, like f/1.4 or f/2.8), a longer focal length (telephoto lens), and positioning your subject at a sufficient distance from the background. A wider aperture lets in more light and creates the shallow depth of field. The longer focal length compresses the perspective, making the background blur more effectively. The distance between subject and background amplifies the effect. A portrait photographer, for instance, might use a shallow depth of field to isolate their subject, making the background softly out of focus, allowing the viewer’s eye to fall immediately on their face.
Q 6. What file formats are best for photography and videography?
For photography, RAW is generally preferred for its flexibility and higher quality. For videography, high-bitrate codecs like ProRes or DNxHD are best for professional quality, offering the least loss of data.
JPEG is a compressed format, offering smaller file sizes, but sacrificing image detail. JPEG is a suitable choice for web use or quick sharing, but for high quality and editing purposes RAW offers much greater latitude. In video, compression is essential for manageable file sizes but should be considered to find a balance between quality and storage space requirements.
Q 7. Explain the difference between RAW and JPEG image formats.
RAW and JPEG are two different image file formats, with key differences impacting image quality and file size.
- RAW: A RAW file contains uncompressed or minimally compressed image data directly from the camera’s sensor. It retains all the information captured by the sensor, giving you maximum flexibility in post-processing. You can adjust exposure, white balance, contrast, and other settings with minimal loss of quality. However, RAW files are much larger than JPEGs.
- JPEG: A JPEG file is a compressed image format. This compression discards some image data to reduce file size. While convenient for sharing and web use, JPEG compression can result in some loss of detail and dynamic range, making it less suitable for significant editing.
Think of it like this: RAW is the original, unedited master recording of a song, offering the greatest control over the final mix. JPEG is like listening to an MP3; it’s convenient and easy to share but lacks some of the nuance of the original.
Q 8. What are some common video editing software programs?
Video editing software offers a range of tools to assemble and enhance video footage. The best choice depends on your needs, budget, and experience level. Some popular options include:
- Adobe Premiere Pro: A professional-grade, industry-standard software known for its powerful features and extensive capabilities. It’s a great option for complex projects and high-end productions, but it has a steeper learning curve and a higher price tag.
- Final Cut Pro X: A macOS-exclusive editor favoured by many for its intuitive interface and relatively fast performance. It’s a strong contender for both beginners and professionals.
- DaVinci Resolve: A highly versatile tool offering a free version with impressive features, alongside more powerful paid versions for advanced color grading and effects. It’s a popular choice for those seeking a comprehensive suite at a variety of price points.
- Avid Media Composer: Another professional-grade option known for its stability and power, often used in large-scale productions. It’s also known for its steeper learning curve.
- HitFilm Express: A free, powerful editor great for special effects and VFX work, ideal for those interested in visual effects.
Choosing the right software depends on your project’s scope and your comfort level with different interfaces. Experimenting with free trials or free versions is a good way to find the best fit.
Q 9. What is color grading and why is it important in videography?
Color grading is the process of adjusting the color and tone of your video footage to achieve a specific look and feel. It’s not just about making everything look brighter or more saturated; it’s about enhancing the mood, setting the scene, and creating a consistent visual style throughout your video. Think of it as the makeup and wardrobe for your video.
Importance:
- Mood and Atmosphere: Warm tones can evoke feelings of comfort and nostalgia, while cool tones might suggest a more serious or dramatic atmosphere. A well-graded video can significantly impact the emotional response of the viewer.
- Consistency: Color grading ensures a cohesive visual style across different shots, even if those shots were filmed under varying lighting conditions. This creates a more professional and polished look.
- Storytelling: Color can subtly guide the viewer’s attention and enhance the narrative. For instance, using a specific color to highlight a character or object throughout the video can subtly reinforce their importance.
- Brand Identity: Businesses might use consistent color grading in their marketing videos to maintain brand consistency and recognition.
For example, a horror film might utilize dark, desaturated colors to create a sense of dread, while a romantic comedy might employ warm, vibrant hues to enhance its lighthearted tone. The right color grading choices are crucial to achieving the desired impact.
Q 10. Describe the different types of lighting setups.
Lighting setups are crucial in videography as they greatly influence the overall mood, aesthetics, and clarity of your videos. There are several common types:
- Three-Point Lighting: This is a fundamental setup consisting of:
- Key Light: The main light source, providing the primary illumination on the subject. It’s usually placed at a 45-degree angle to the subject.
- Fill Light: A softer light placed opposite the key light, reducing shadows and adding detail to the subject’s face.
- Back Light: Positioned behind the subject, it separates the subject from the background, adding depth and dimension.
- High-Key Lighting: This involves using bright, even lighting, minimizing shadows and creating a cheerful, upbeat feel. Think of sitcoms or lighthearted commercials.
- Low-Key Lighting: This emphasizes shadows and darkness, creating a mysterious, dramatic, or suspenseful mood. Horror films and noir scenes often use this style.
- Side Lighting: Emphasizes texture and creates dramatic shadows, often used for portraits or to add a specific stylistic choice.
- Rim Lighting (Backlighting): Highlights the edges of the subject, separating them from the background and creating a more three-dimensional look.
The choice of lighting setup depends on the desired effect and the mood you want to convey in your video.
Q 11. How do you handle difficult lighting conditions?
Difficult lighting conditions present challenges, but several techniques can mitigate them:
- Reflectors: Bounce light from existing sources (like sunlight) onto your subject to fill in shadows and soften harsh lighting. These can be simple white boards, specialized reflectors, or even strategically placed materials.
- Diffusers: Soften harsh light sources by scattering the light, reducing intensity and creating a more even illumination. This can be achieved with diffusers attached to lights or translucent materials placed over light sources.
- Artificial Lighting: Supplementing available light with artificial lights like LED panels or softboxes allows you to control the light intensity and direction precisely, overcoming shortcomings in ambient lighting.
- White Balance Adjustment: Adjusting your camera’s white balance setting helps to correct color casts caused by different types of light (e.g., tungsten, fluorescent, daylight).
- Post-Production Adjustments: While not ideal, software like Adobe Premiere Pro or DaVinci Resolve offers tools to correct color balance and adjust exposure in post-production to improve the look of footage shot under challenging conditions.
For example, filming outdoors on an overcast day might require a reflector to brighten shadows. In a dimly lit interior, artificial lighting would be essential. Always analyze your shooting environment and plan your lighting strategy accordingly.
Q 12. What are some common audio recording techniques?
Effective audio recording is essential for high-quality videos. Here are some common techniques:
- Lavaliere Microphones (Lapel Mics): Small, clip-on microphones that are easily concealed and provide clear, close-up audio, ideal for interviews or presentations.
- Shotgun Microphones: Highly directional mics that pick up sound from a narrow area, reducing background noise. Great for recording dialogue in noisy environments or capturing sound from a distance.
- Boom Microphones: Mounted on a boom pole, these allow precise placement of the microphone above the subject, capturing clear audio without being visible on camera.
- Wireless Microphones: Offer freedom of movement for subjects without the limitations of wires. Great for interviews and dynamic scenes.
- Handheld Microphones: Used for close-up voice recording, they’re versatile but susceptible to handling noise.
- Environmental Recording: Incorporating ambient sounds to build atmosphere and context.
The ideal microphone choice depends on the shooting environment, subject matter, and budget. Testing and experimenting are essential to understanding how each type performs under various conditions.
Q 13. How do you ensure good audio quality in your videos?
Ensuring good audio quality involves several steps:
- Microphone Placement: Strategically positioning your microphone minimizes background noise and maximizes the clarity of your subject’s voice. Consider proximity, directionality, and potential noise sources.
- Monitoring Audio Levels: Using headphones allows you to monitor the audio in real-time, preventing clipping (distortion from audio signals exceeding the maximum amplitude) and ensuring consistent volume.
- Minimizing Background Noise: Choose quiet locations, use sound-dampening materials (e.g., blankets, foam), and employ techniques like directional microphones to isolate your subject’s audio from surrounding sounds.
- Post-Production Audio Editing: Software like Audacity or Adobe Audition provide tools for noise reduction, equalization, compression, and other enhancements to refine your audio.
- Room Acoustics: Consider the acoustics of your recording environment. Rooms with hard surfaces can cause reflections and echoes, which can be mitigated using sound-absorbing materials.
For example, using a lavalier microphone close to the subject’s mouth in a quiet room will drastically improve audio clarity compared to a distant handheld mic in a noisy environment. Paying close attention to audio throughout the production process, from recording to post-processing, is crucial.
Q 14. What is a storyboard and why is it useful?
A storyboard is a visual representation of your video’s planned shots, similar to a comic book for your film. It’s a series of sketches or drawings showing the key scenes, camera angles, and action planned for each shot.
Usefulness:
- Pre-visualization: Storyboards help you visualize the final product before filming, identifying potential issues or improvements in the narrative flow and shot composition.
- Planning and Organization: They streamline the filmmaking process, providing a clear roadmap for the crew and actors. It facilitates efficient scheduling and resource allocation.
- Communication: Storyboards serve as a visual communication tool, ensuring everyone on the team is on the same page regarding the intended shots and overall vision.
- Client Communication: They’re invaluable for clients, providing a clear representation of the intended project, allowing for adjustments and feedback before costly filming begins.
- Editing Guide: The storyboard provides a reference during the editing process, making it simpler to assemble the shots in the intended sequence.
Imagine building a house without blueprints. A storyboard acts as those blueprints, guiding the entire filmmaking process from start to finish, leading to a more efficient and cohesive final product.
Q 15. Explain the importance of composition in both photography and videography.
Composition is the art of arranging elements within your frame to create a visually appealing and impactful image or video. It’s about guiding the viewer’s eye and conveying a specific message or mood. In both photography and videography, strong composition is crucial for telling a compelling story.
- Rule of Thirds: Instead of placing your subject in the center, position it along imaginary lines that divide your frame into thirds, both horizontally and vertically. This creates a more dynamic and engaging image.
- Leading Lines: Use lines within the scene—roads, rivers, fences—to draw the viewer’s eye towards your subject. This creates depth and guides the narrative.
- Symmetry and Patterns: Symmetrical compositions offer a sense of balance and harmony, while patterns can create visual rhythm and interest.
- Framing: Use elements within the scene—like doorways, arches, or branches—to frame your subject, adding depth and context.
- Headroom and Lead Room: In videography, leave enough space above a subject’s head (headroom) and in the direction they’re looking or moving (lead room) to avoid a cramped or unbalanced feel.
For example, imagine photographing a lone tree on a hill. Placing it dead center would be less engaging than positioning it at one of the intersection points of the rule of thirds, allowing the surrounding landscape to enhance the image.
Career Expert Tips:
- Ace those interviews! Prepare effectively by reviewing the Top 50 Most Common Interview Questions on ResumeGemini.
- Navigate your job search with confidence! Explore a wide range of Career Tips on ResumeGemini. Learn about common challenges and recommendations to overcome them.
- Craft the perfect resume! Master the Art of Resume Writing with ResumeGemini’s guide. Showcase your unique qualifications and achievements effectively.
- Don’t miss out on holiday savings! Build your dream resume with ResumeGemini’s ATS optimized templates.
Q 16. What is your experience with different camera types (DSLR, mirrorless, etc.)?
My experience spans a variety of camera systems. I’ve extensively used DSLRs (Digital Single-Lens Reflex) like Canon 5D Mark IV and Nikon D850, appreciating their robust build and excellent image quality. However, I’ve transitioned significantly to mirrorless cameras, such as Sony a7R IV and Fujifilm X-T4. Mirrorless cameras offer advantages like lighter weight, superior autofocus systems, and silent shooting, which is especially beneficial for videography.
I’ve also worked with various cinema cameras, including the Blackmagic Pocket Cinema Camera 4K and RED Komodo, for projects requiring higher resolution and professional video capabilities. Each camera type has its strengths and weaknesses, and selecting the right tool depends heavily on the specific project requirements, budget, and desired aesthetic.
Q 17. Describe your workflow from shooting to final output in photography.
My photography workflow is a methodical process, focusing on efficiency and quality. It typically involves these stages:
- Shooting: Careful planning and consideration of lighting, composition, and subject matter are crucial before even picking up the camera.
- Post-Processing: I use Adobe Lightroom for initial adjustments, such as white balance, exposure, contrast, and color grading.
- Retouching: For more advanced editing like removing blemishes or adjusting finer details, I utilize Adobe Photoshop.
- Final Output: Depending on the client’s needs, this might involve delivering high-resolution images, web-optimized files, or preparing images for print. I always ensure proper file naming conventions and metadata tagging.
For example, shooting a product photo would involve setting up lighting to minimize harsh shadows, carefully composing the shot using the rule of thirds, and then post-processing to ensure the product is clearly visible and colors are accurate.
Q 18. Describe your workflow from shooting to final output in videography.
My videography workflow is more involved, requiring several steps from pre-production to post-production:
- Pre-production: This involves planning the shoot—scriptwriting (if applicable), storyboarding, location scouting, and gathering necessary equipment.
- Shooting: I use a combination of techniques, such as establishing shots, close-ups, and B-roll footage, to create a visually engaging narrative. Audio recording is paramount, so I always use high-quality microphones.
- Post-production: This is where the magic happens. I use software like Adobe Premiere Pro for video editing, which includes assembling footage, color grading, adding transitions and effects, and sound mixing. DaVinci Resolve is also frequently utilized for more advanced color grading.
- Final Output: The final output can vary widely, from delivering a raw video file to a fully edited and color-corrected video ready for online platforms or broadcasting. I always ensure the final video meets the client’s specifications and desired quality.
For example, creating a promotional video might involve shooting interviews, B-roll footage of the product in use, and then editing it together with music and graphics to create a compelling story.
Q 19. How do you handle client feedback and revisions?
Handling client feedback is a crucial aspect of my work. I encourage open communication throughout the process, aiming to understand their vision and expectations. I actively listen to their feedback, ask clarifying questions, and provide my professional perspective. I view revisions as an opportunity to refine the final product and ensure client satisfaction.
I typically organize revisions using a version control system, clearly labeling each iteration. This allows for easy comparison and tracking of changes. I maintain a professional and collaborative approach, always focusing on delivering the best possible outcome while adhering to project deadlines.
Q 20. What is your experience with various photography/videography equipment?
My experience with photography and videography equipment is extensive. I am proficient with a range of cameras, lenses, lighting equipment, and audio gear. I’m comfortable using DSLRs and mirrorless cameras, various lenses (prime and zoom), lighting kits (including continuous and strobe lighting), and a selection of microphones, including lavalier, shotgun, and boom microphones. I also have experience with gimbals, sliders, and other accessories that enhance the quality of the final product.
I am always staying up-to-date with the latest technology and trends in the industry. My equipment selection is driven by the needs of each specific project and budget constraints, ensuring that the right tools are used to achieve optimal results.
Q 21. How do you manage your time and projects effectively?
Effective time and project management are critical to my success. I use project management tools like Asana or Trello to organize tasks, deadlines, and client communication. I break down larger projects into smaller, manageable tasks, assigning priorities and deadlines to each. This helps prevent feeling overwhelmed and ensures that I can deliver projects on time and within budget.
I prioritize tasks based on urgency and importance, using methods like time blocking to allocate specific time slots for particular activities. I also maintain a detailed client calendar to keep track of deadlines and scheduling conflicts. Regular communication with clients is key to avoiding misunderstandings and keeping projects on track.
Q 22. How do you stay updated on new trends and technologies?
Staying current in the dynamic fields of photography and videography requires a multi-pronged approach. I actively follow industry blogs and publications like PetaPixel and No Film School, which offer insightful articles on emerging trends and new technologies. I also subscribe to relevant YouTube channels featuring prominent photographers and videographers who often share tutorials and behind-the-scenes looks at their work. Furthermore, I actively participate in online communities and forums, engaging in discussions and learning from other professionals’ experiences. Finally, attending workshops, conferences, and webinars allows me to network and gain hands-on experience with the latest equipment and software.
For example, recently I learned about the advancements in AI-powered image enhancement through an online workshop, and I’m currently exploring how to integrate that into my workflow. Staying engaged with these various resources ensures that I remain at the forefront of innovation.
Q 23. Describe a time you had to problem-solve a technical issue.
During a recent corporate video shoot, we experienced a sudden power outage right in the middle of filming a crucial scene. The location didn’t have a backup generator, and we were working against a tight deadline. My immediate solution was to switch to our available battery-powered lighting and cameras. However, the natural light was fading quickly. I quickly assessed the remaining daylight and adjusted the camera settings to maximize the available light, using a higher ISO and wider aperture to compensate for the lower light conditions. To maintain consistency with the previously shot footage, I used color correction techniques in post-production. This involved meticulously matching the color temperature and exposure of the battery-powered shots with the earlier footage to ensure a seamless final product. We successfully completed the shoot, delivering the project on time, demonstrating my ability to think on my feet and find creative solutions under pressure.
Q 24. What software are you proficient in for photo and video editing?
My photo and video editing proficiency spans a range of software, including Adobe Photoshop, Lightroom Classic, Premiere Pro, and After Effects. Photoshop is my go-to for advanced retouching, masking, and compositing. Lightroom excels at organizing, processing, and color grading large batches of photos. Premiere Pro forms the backbone of my video editing workflow, handling everything from basic cuts to complex color grading and audio mixing. Finally, After Effects allows me to add visual effects and motion graphics for a polished final product. I am also familiar with DaVinci Resolve for its robust color grading capabilities.
Q 25. Describe your experience with different camera lenses and their uses.
Understanding camera lenses is crucial for achieving the desired look and feel in photos and videos. I’m experienced with a variety of lenses, each serving a unique purpose. A wide-angle lens (e.g., 16-35mm) is excellent for capturing expansive landscapes or creating a dramatic sense of scale. A standard lens (e.g., 50mm) mimics the human eye’s perspective, ideal for portraits or everyday shots. A telephoto lens (e.g., 70-200mm) compresses perspective, allowing for close-ups of distant subjects, great for wildlife or sports photography. Macro lenses are specialized for extreme close-up shots of tiny details. The choice of lens significantly impacts the overall aesthetic and the storytelling potential of your image or video.
Q 26. What is your understanding of video compression techniques?
Video compression techniques are essential for managing file sizes while maintaining acceptable video quality. The goal is to reduce the amount of data needed to store or transmit a video without significant loss of visual information. Common compression methods include MPEG-4 (used in MP4 files), H.264 (also known as AVC), and the more modern and efficient H.265 (also known as HEVC). These codecs use algorithms to remove redundant data and reduce file size. The choice of codec and compression level involves a trade-off between file size and quality – higher compression leads to smaller files but can result in noticeable artifacts or quality loss. Understanding these trade-offs is crucial for optimizing video for different platforms and bandwidth limitations.
Q 27. How do you ensure your images and videos are optimized for different platforms?
Optimizing images and videos for different platforms requires considering factors like resolution, aspect ratio, file size, and codec. For example, Instagram might require a specific aspect ratio (e.g., 1:1 or 9:16) and a smaller file size for optimal loading speed. YouTube, on the other hand, supports a wider range of resolutions and file types. I typically export multiple versions of my work – one optimized for each platform – to ensure the best viewing experience across devices. This often involves using platform-specific encoding settings and paying close attention to file size to ensure quick loading times without compromising quality. Using tools like Adobe Media Encoder allows for batch processing and automation of this task.
Q 28. What are your strengths and weaknesses as a photographer/videographer?
My strengths lie in my creativity, problem-solving abilities, and technical proficiency. I am adept at visualizing a concept and translating it into a compelling visual narrative, whether through photography or videography. I can efficiently troubleshoot technical challenges and adapt to unexpected situations on set. My technical skills encompass a wide range of software and hardware. However, like any artist, I am constantly striving to improve. One area I am working on is expanding my knowledge of advanced lighting techniques for more sophisticated and dramatic visuals. Another area for growth is efficient project management on large-scale productions involving many stakeholders.
Key Topics to Learn for Basic Photography and Videography Interview
- Composition and Framing: Understanding the rule of thirds, leading lines, and other compositional techniques for visually appealing photos and videos. Practical application: Analyzing existing images and videos to identify strong and weak compositional choices.
- Exposure Triangle (ISO, Aperture, Shutter Speed): Mastering the interplay between these three elements to achieve proper exposure in various shooting conditions. Practical application: Troubleshooting exposure problems in different lighting scenarios (e.g., low light, bright sunlight).
- Lighting Techniques: Understanding natural and artificial lighting, including three-point lighting setups and the use of diffusers and reflectors. Practical application: Planning and executing a photoshoot or video shoot with effective lighting.
- Camera Operation and Settings: Familiarizing yourself with your camera’s features, including manual and automatic modes, white balance, and focusing techniques. Practical application: Demonstrating proficiency in operating different camera models and adjusting settings for various situations.
- Video Editing Basics: Understanding the workflow of video editing, including importing footage, cutting, adding transitions, and basic color correction. Practical application: Editing a short video clip to showcase storytelling and post-production skills.
- Audio Recording and Mixing: Understanding the importance of good audio and basic techniques for recording and mixing sound for videos. Practical application: Describing strategies for minimizing background noise and improving audio clarity.
- Storytelling and Visual Communication: Thinking about the message you want to convey through your photography and videography and how to best tell a visual story. Practical application: Analyzing effective visual storytelling in various mediums.
- File Management and Workflow: Developing efficient systems for organizing and backing up your files to ensure project continuity. Practical application: Describing a personal workflow for managing large photography and videography projects.
Next Steps
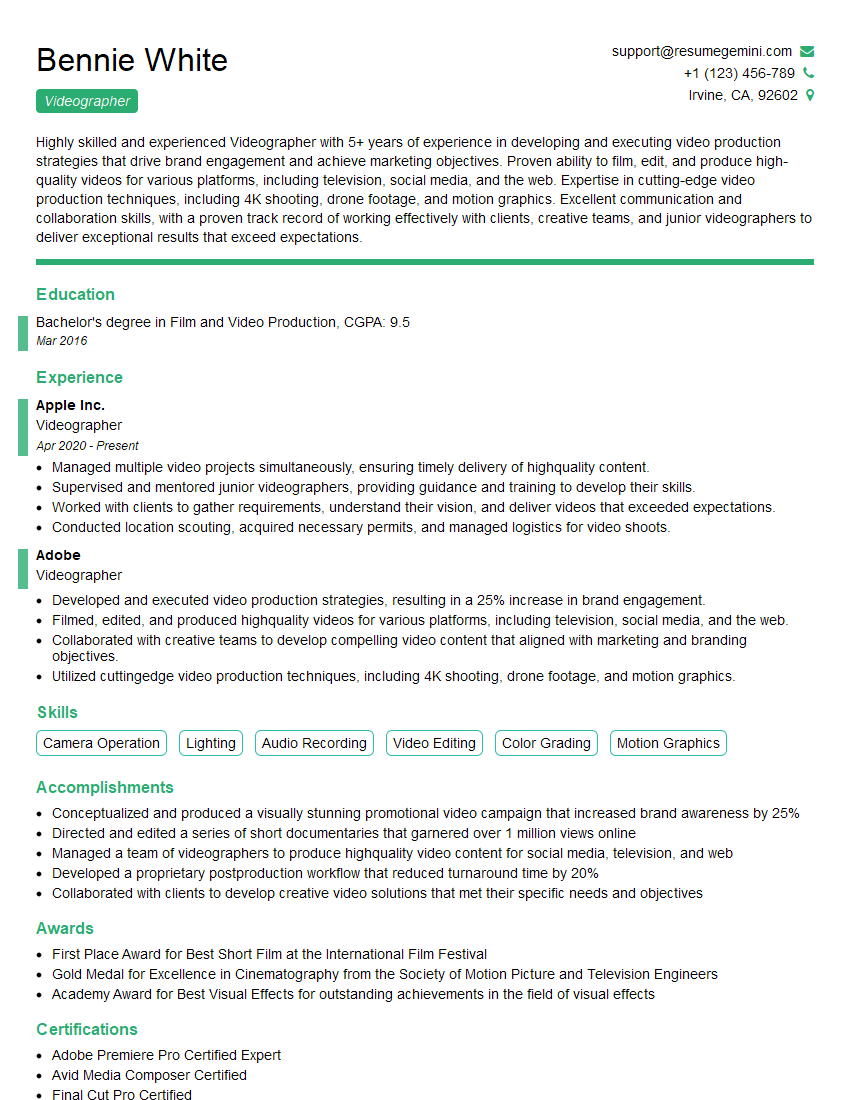
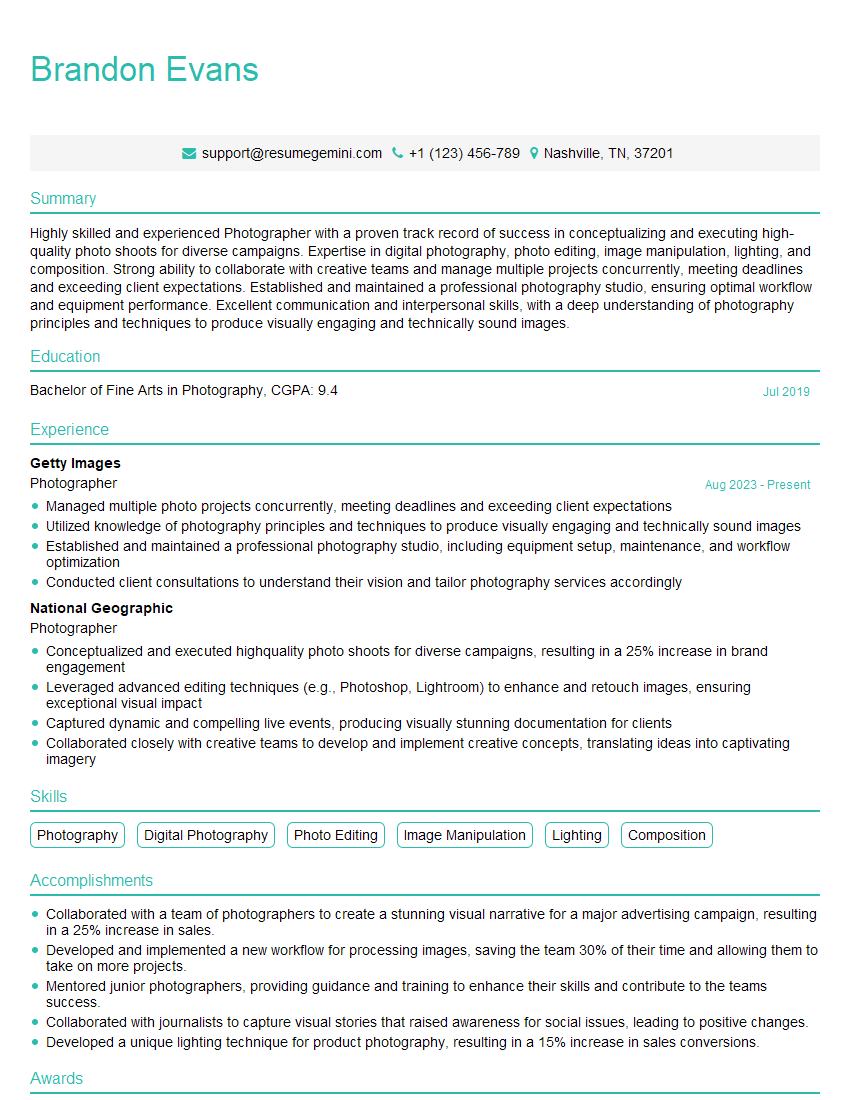
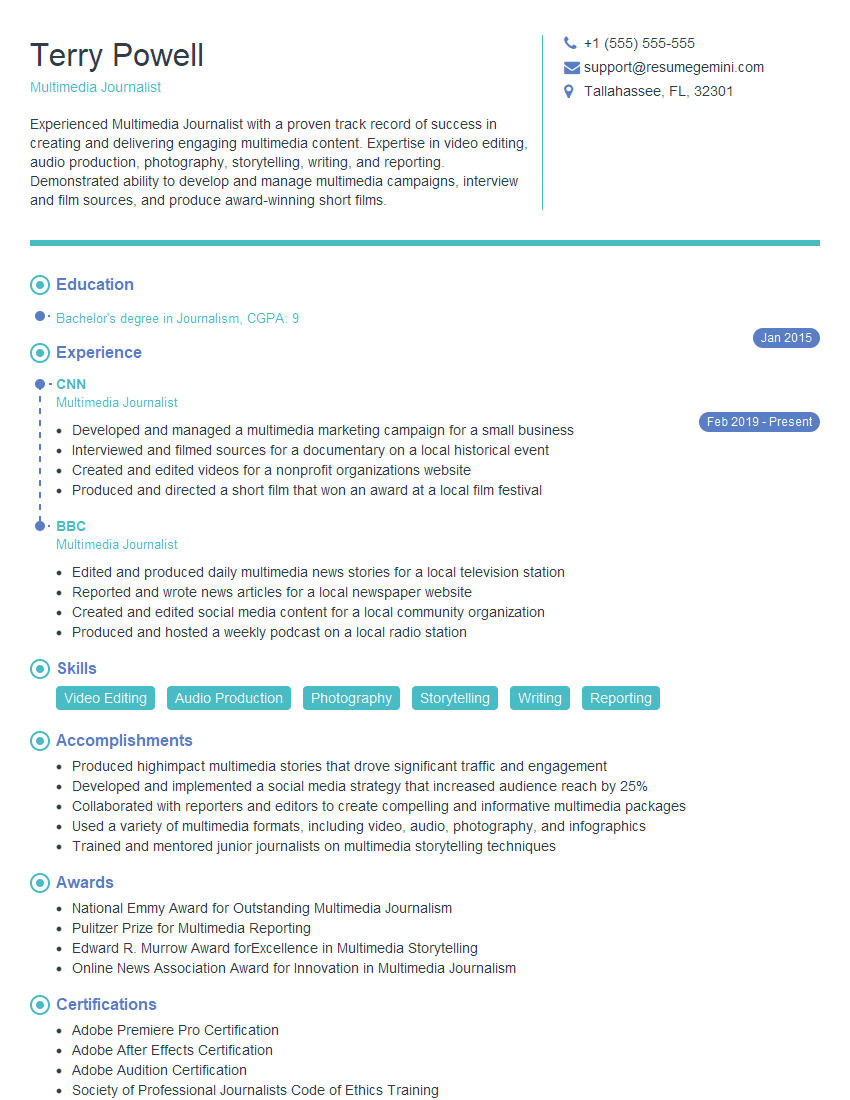
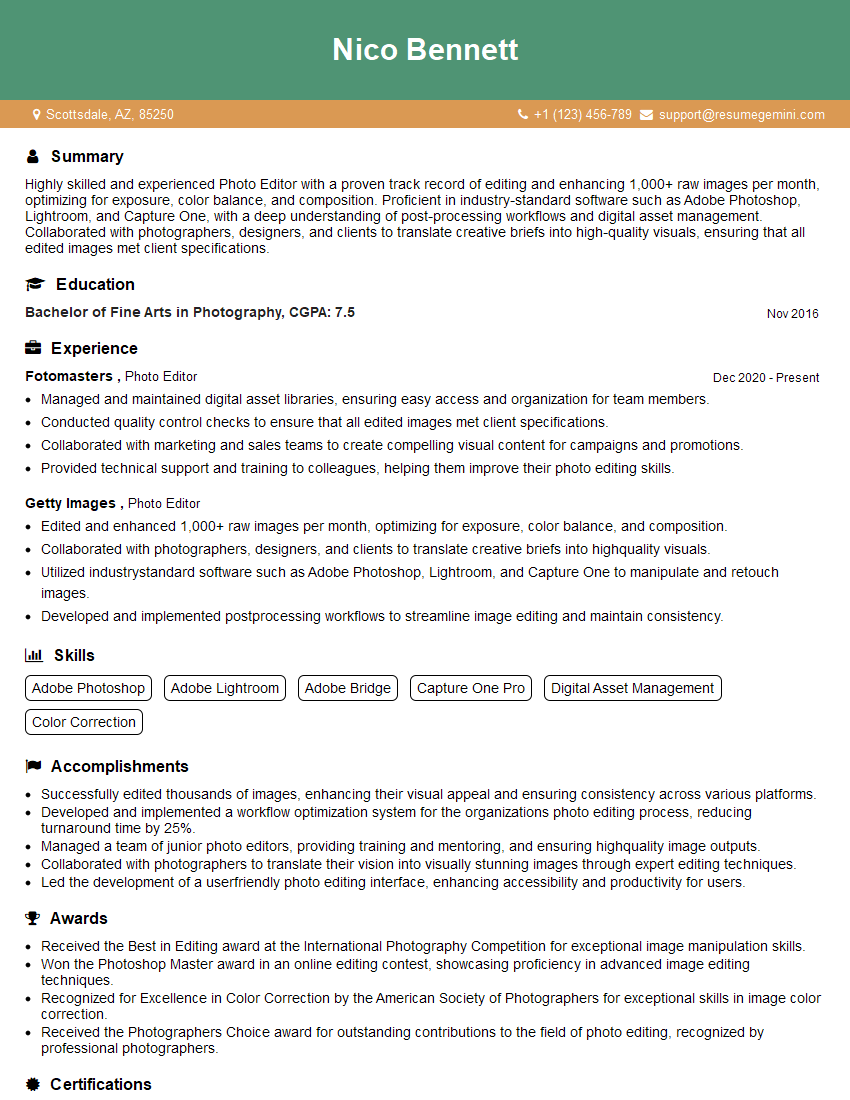
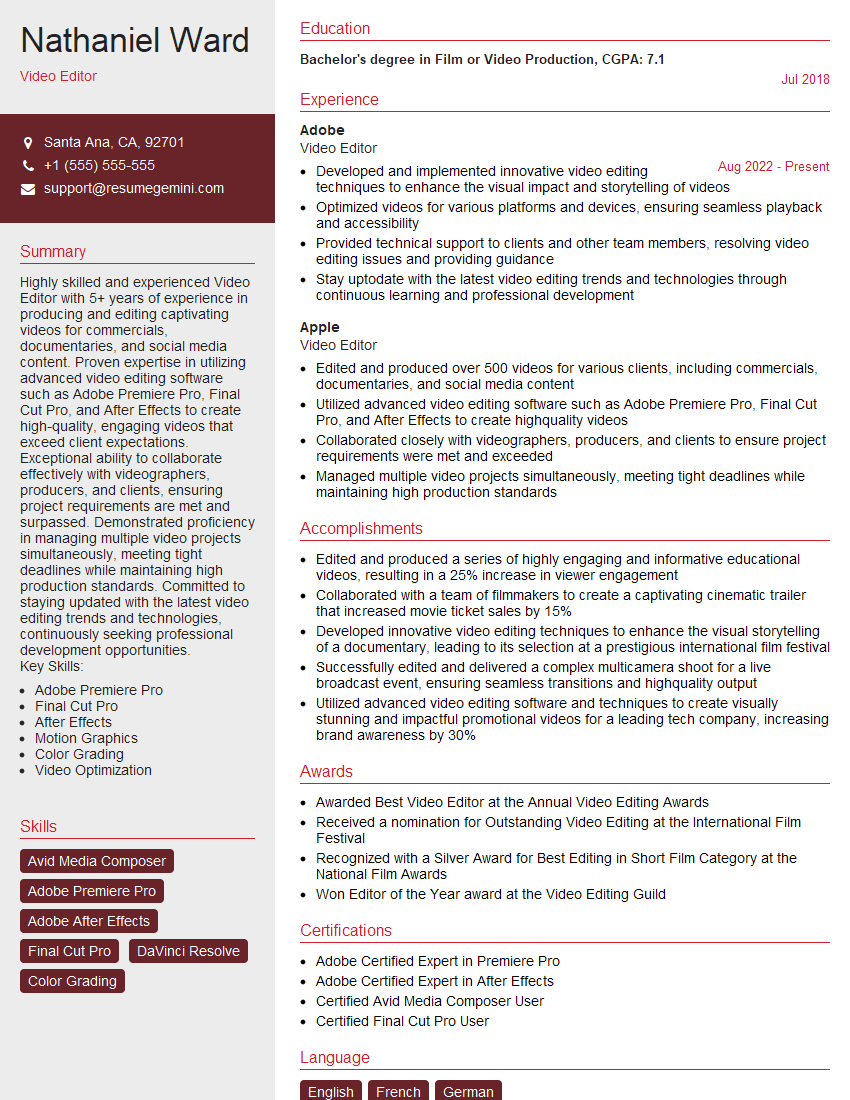
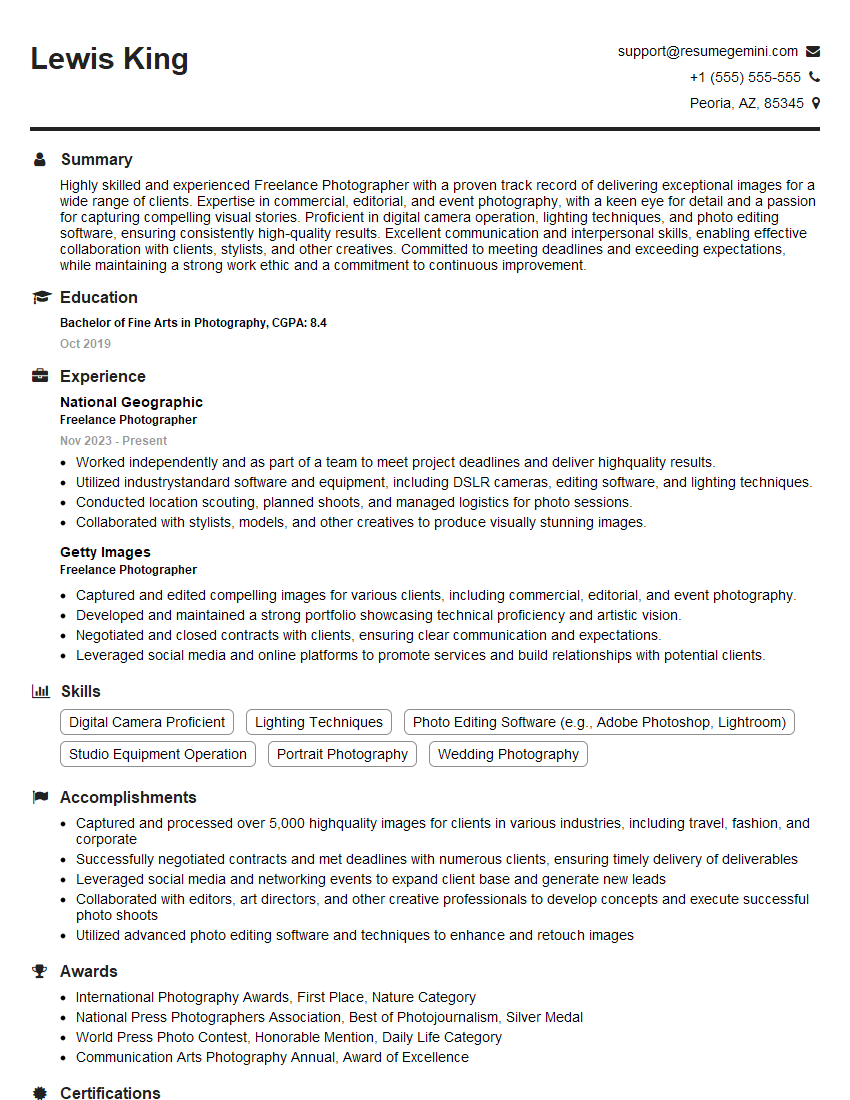
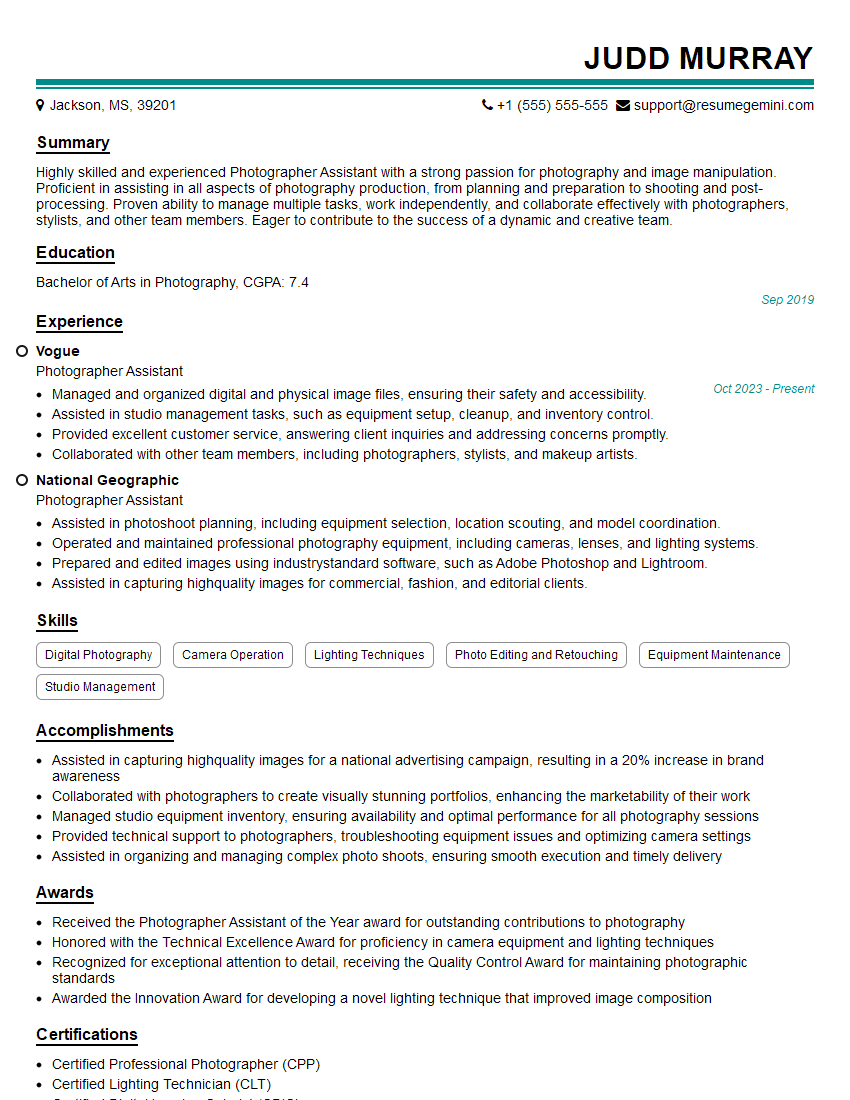
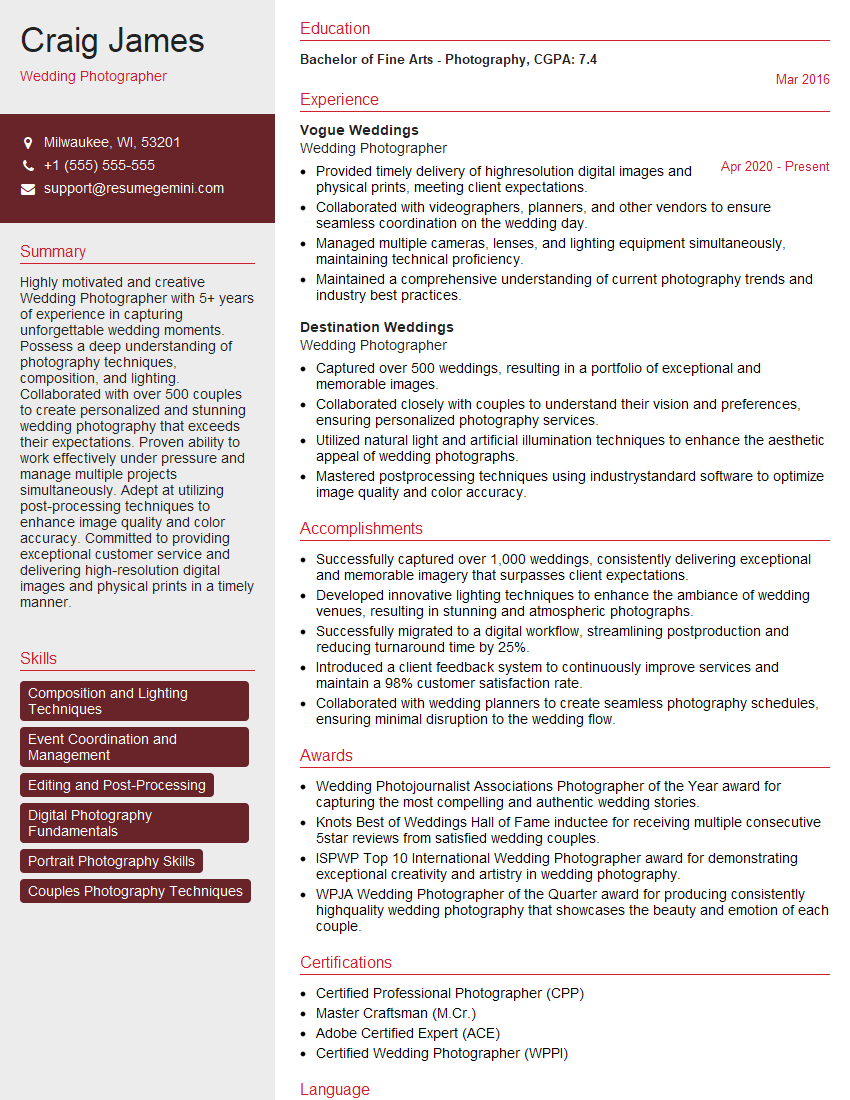
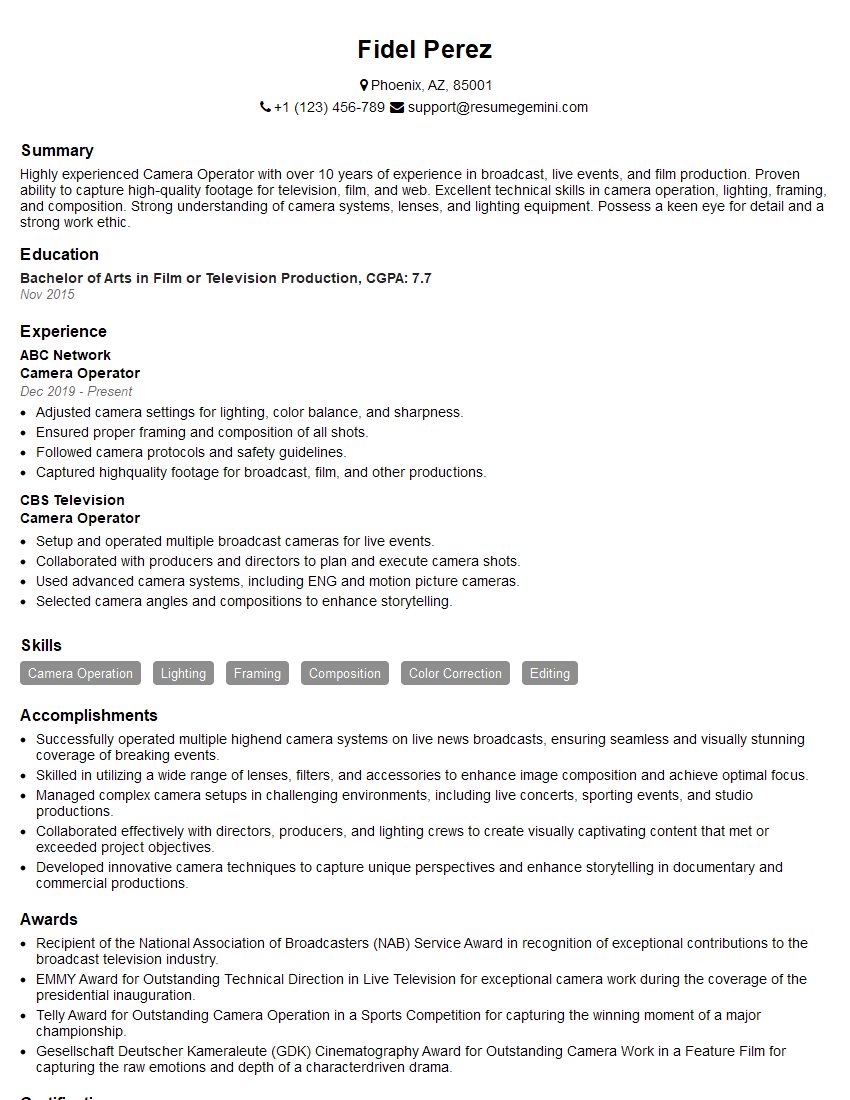
Mastering basic photography and videography is crucial for a wide range of careers, opening doors to exciting opportunities in fields like media production, marketing, and event planning. A strong resume is your key to unlocking these possibilities. Create an ATS-friendly resume that highlights your skills and experience effectively. To help you build a professional and impactful resume, consider using ResumeGemini; it’s a trusted resource designed to make the process easier. Examples of resumes tailored to Basic Photography and Videography are available to guide you.
Explore more articles
Users Rating of Our Blogs
Share Your Experience
We value your feedback! Please rate our content and share your thoughts (optional).
What Readers Say About Our Blog
This was kind of a unique content I found around the specialized skills. Very helpful questions and good detailed answers.
Very Helpful blog, thank you Interviewgemini team.

