Every successful interview starts with knowing what to expect. In this blog, we’ll take you through the top Calibration and maintenance of instruments interview questions, breaking them down with expert tips to help you deliver impactful answers. Step into your next interview fully prepared and ready to succeed.
Questions Asked in Calibration and maintenance of instruments Interview
Q 1. Explain the difference between calibration and maintenance.
Calibration and maintenance, while both crucial for instrument accuracy and longevity, are distinct processes. Calibration is the process of adjusting an instrument to match a known standard, ensuring its readings are accurate. Think of it like setting your watch to the correct time. It verifies the instrument’s accuracy against a traceable standard. Maintenance, on the other hand, encompasses all activities that keep the instrument in good working order, including cleaning, lubrication, and repair. It’s like regularly servicing your car – ensuring all parts function correctly. While maintenance helps prevent failures and prolongs instrument life, calibration focuses solely on accuracy.
For instance, a laboratory scale might require regular cleaning (maintenance) to remove debris that could affect readings. However, its accuracy needs to be verified through calibration against certified weights. A calibration failure doesn’t necessarily mean the scale is broken; it simply means it’s not providing accurate measurements.
Q 2. What are the common types of calibration standards used?
Calibration standards are artifacts or instruments of known accuracy used to verify the accuracy of other instruments. Common types include:
- National Standards: These are the highest level of accuracy, often maintained by national metrology institutes. They form the foundation of the entire traceability chain.
- Working Standards: These are used daily in the calibration laboratory and are calibrated against national standards. They are less accurate than national standards but sufficient for most routine calibrations.
- Reference Standards: These are highly accurate standards that are used to calibrate working standards. They are typically more expensive and require more careful handling.
- Transfer Standards: These are used to transfer calibration from a laboratory to the field or to calibrate instruments that cannot be easily moved to the laboratory.
The choice of standard depends on the required accuracy and the instrument being calibrated. For example, calibrating a high-precision analytical balance would require a higher-accuracy standard than calibrating a simple thermometer.
Q 3. Describe your experience with different calibration methods (e.g., comparison, substitution).
I’ve extensive experience with various calibration methods. Comparison calibration is a straightforward method where the instrument under test is compared directly to a known standard. For example, comparing the output of a voltage meter against a calibrated voltage source. This is efficient for simple instruments. Substitution calibration involves replacing the standard with the instrument under test and observing the difference in readings. It’s particularly useful when the standard and instrument under test have similar characteristics. For example, calibrating a pressure gauge using a calibrated pressure source.
Beyond these, I’m also proficient in more complex methods like in-situ calibration, where the instrument is calibrated in its operational environment, and multi-point calibration, which uses multiple standards across the instrument’s operating range to create a more comprehensive calibration curve. My experience also covers various instruments ranging from pressure and temperature sensors to flow meters and analytical balances, each requiring specific calibration procedures.
Q 4. How do you identify and troubleshoot common instrument malfunctions?
Troubleshooting instrument malfunctions involves a systematic approach. It starts with a thorough visual inspection, checking for obvious problems like loose connections, damaged cables, or physical obstructions. Next, I review the instrument’s operational logs and error messages, which often provide clues to the problem’s source.
For example, if a temperature sensor consistently reads low, I’d check for poor sensor contact, a malfunctioning probe, or a calibration drift. I’d then use appropriate test equipment, like multimeters or signal generators, to isolate the fault. I always follow the manufacturer’s troubleshooting guide and utilize diagnostic software, where available. If the problem persists, I document the issue and contact technical support or initiate a repair process.
The key is methodical investigation: checking power supply, signal integrity, sensor health, and calibration data before considering more involved repairs or replacements.
Q 5. What safety precautions do you take when working with instruments?
Safety is paramount in instrument calibration and maintenance. My safety practices include:
- Personal Protective Equipment (PPE): Always wearing appropriate PPE, such as safety glasses, gloves, and lab coats, depending on the instrument and chemicals involved.
- Lockout/Tagout Procedures: Following lockout/tagout procedures when working with energized equipment to prevent accidental activation.
- Proper Handling of Hazardous Materials: Following safety data sheets (SDS) and proper disposal methods for any hazardous materials used in calibration or maintenance.
- Ergonomics: Using proper lifting techniques and ergonomic equipment to prevent injuries during maintenance tasks.
- Grounding and Electrical Safety: Ensuring proper grounding to prevent electrical shocks.
I always prioritize a safe work environment and adhere strictly to company safety regulations and procedures.
Q 6. Explain your understanding of traceability in calibration.
Traceability in calibration is the ability to link the calibration of an instrument back to national or international standards through an unbroken chain of comparisons. It ensures the accuracy of the calibration is reliable and verifiable. This is achieved through a documented chain of custody, where each standard is calibrated against a higher-order standard, ultimately linking back to a primary standard maintained by a national metrology institute.
Imagine a pyramid; the primary standard is at the top, and subsequent standards are calibrated against it. Your instrument calibration sits at the bottom of the pyramid. The calibration certificate should show this chain of traceability, assuring the accuracy of your measurements. Without traceability, the accuracy of the calibration is questionable, making measurements unreliable.
Q 7. How do you maintain accurate calibration records and documentation?
Maintaining accurate calibration records and documentation is critical for ensuring compliance and regulatory requirements. I use a calibrated management system (often software-based) to track all calibration activities. This system includes:
- Calibration certificates: These documents provide details about the calibration, including the instrument’s identification, the calibration standards used, the results, and the traceability chain.
- Calibration schedules: A schedule outlining the frequency of calibrations for each instrument.
- Calibration reports: Summarizing the calibration results, identifying any out-of-tolerance readings, and recommendations for corrective actions.
- Instrument maintenance logs: Recording all maintenance activities performed on the instruments.
All records are kept securely, organized, and readily accessible, ensuring complete traceability and regulatory compliance. Data is backed up regularly to prevent data loss.
Q 8. Describe your experience with various types of instruments (e.g., pressure gauges, temperature sensors).
My experience spans a wide range of instruments crucial in various industries. I’ve extensively worked with pressure gauges, from simple Bourdon tube types to sophisticated digital pressure transducers used in high-precision applications like pharmaceutical manufacturing. With temperature sensors, my expertise includes thermocouples (Type K, J, T, etc.), RTDs (platinum resistance thermometers), and thermistors, each with its own calibration and maintenance requirements. I’m also proficient with flow meters (mass flow, volumetric flow), level sensors (ultrasonic, radar, capacitive), and analytical instruments like pH meters and spectrophotometers. For example, in a recent project involving a food processing plant, I calibrated a network of RTDs used in their pasteurization process, ensuring the product met strict safety standards. In another instance, I troubleshot faulty pressure gauges in a chemical plant, identifying a leak leading to inaccurate readings and preventing potential hazards. This involved not only calibrating the gauges but also diagnosing the underlying system issue.
Q 9. How do you determine the appropriate calibration interval for an instrument?
Determining the appropriate calibration interval is crucial for ensuring measurement accuracy and data reliability. It’s not a one-size-fits-all approach; several factors must be considered. These include the instrument’s type and precision, its usage frequency and severity of the environment it operates in, past calibration history (showing stability or drift), regulatory requirements (industry standards or legal mandates), and the criticality of the measurement to the overall process. For example, a highly precise instrument used in a critical process requiring frequent use might need calibration monthly or even weekly, while a less precise instrument used infrequently in a benign environment might only need calibration annually. I typically use a risk-based approach, combining these factors to establish a scientifically justified calibration schedule, documented and traceable.
Q 10. What software or tools do you use for calibration and data management?
My work utilizes a combination of software and tools. For data management, I employ calibration management software like [mention specific software e.g., Fluke Calibration software, or other relevant software] to track calibration records, generate certificates, and manage instrument history. This allows for efficient scheduling, automated reminders, and comprehensive audit trails. For calibration itself, I use various precision instruments: calibration standards (traceable to national or international standards), multimeters, data acquisition systems, and specialized calibration equipment specific to the instruments being calibrated. For instance, when calibrating a pressure gauge, I use a deadweight tester; for thermocouples, I use a calibration furnace. The software then helps to analyze the data, generate reports, and ensure traceability.
Q 11. Explain your understanding of uncertainty analysis in calibration.
Uncertainty analysis is paramount in calibration, reflecting the range of values within which the true value of a measurement lies with a specified probability. It quantifies the uncertainty associated with every measurement, from the calibration standard used to environmental factors influencing the measurement process. This involves identifying all potential sources of error – instrument resolution, calibration standard uncertainty, environmental conditions (temperature, humidity), operator skill – and quantifying their contributions. The combined uncertainty is then calculated, usually expressed as a standard uncertainty (with a 68% confidence level) or an expanded uncertainty (with a 95% confidence level). This is crucial for interpreting calibration results and assessing the overall measurement quality. A high uncertainty value signifies a less reliable measurement, indicating potential need for improved calibration techniques or instrumentation.
Q 12. How do you handle calibration discrepancies or out-of-tolerance results?
Calibration discrepancies or out-of-tolerance results require a methodical investigation. First, I verify the results by repeating the calibration process. If the discrepancy persists, I investigate potential causes such as instrument malfunction, improper usage, environmental effects, or even a faulty calibration standard. A thorough examination of the instrument’s history and maintenance logs may reveal clues. Depending on the root cause, actions might include instrument repair or replacement, recalibration with improved techniques, or adjustment of the instrument’s settings (if permissible). Detailed documentation of the discrepancy, investigation, and corrective actions is essential for maintaining a comprehensive audit trail and ensuring traceability. In serious cases involving significant deviations from expected values, a thorough system review might be necessary to uncover the underlying cause and prevent recurrence.
Q 13. Describe your experience with preventative maintenance procedures.
Preventative maintenance is key to extending instrument lifespan and maintaining accuracy. My experience encompasses various procedures including visual inspections for damage, cleaning (according to manufacturer specifications), lubrication (where applicable), and functional checks to identify potential issues before they lead to failures or inaccuracies. For example, I regularly inspect pressure gauges for leaks or damage to the Bourdon tube, and I clean the sensor of temperature sensors to avoid signal interference. I perform regular checks on the power supply of electronic instruments. These procedures are documented, with a schedule tailored to the specific instrument and its operating environment. A well-defined preventative maintenance program minimizes downtime, extends instrument life, and ultimately reduces calibration costs by preventing unexpected failures.
Q 14. How do you prioritize maintenance tasks?
Prioritizing maintenance tasks involves a risk-based approach. Criticality of the instrument to the process, its potential impact on safety or product quality, the instrument’s age and condition, the cost of downtime in case of failure, and the frequency of its use are all factors influencing priority. I typically use a combination of scheduling tools and a criticality matrix to assign priorities. High-priority tasks address instruments crucial for safety or critical processes and are scheduled proactively. Lower-priority tasks involve instruments with less critical functions or those showing minimal wear and tear. This ensures that resources are allocated effectively to maintain the highest level of measurement accuracy and minimize operational risk. Regular review and adjustment of the priority list are essential to adapt to changing operational needs.
Q 15. What are the common causes of instrument failure?
Instrument failure stems from a variety of causes, broadly categorized into environmental factors, operational errors, and component degradation.
- Environmental Factors: Extreme temperatures, humidity, vibration, and dust can all damage sensitive instrument components. For instance, a temperature sensor exposed to excessive heat might drift out of calibration, leading to inaccurate readings.
- Operational Errors: Improper handling, incorrect settings, or exceeding operational limits are common culprits. Think of a pressure gauge subjected to pressures beyond its rated range; this can damage the internal mechanism and render the gauge unusable.
- Component Degradation: Over time, components wear out. This includes things like battery depletion, sensor drift (a gradual change in accuracy), or mechanical wear and tear in moving parts, such as a worn-out potentiometer in an older multimeter.
Regular preventative maintenance, including cleaning, inspections, and environmental protection, significantly minimizes these risks.
Career Expert Tips:
- Ace those interviews! Prepare effectively by reviewing the Top 50 Most Common Interview Questions on ResumeGemini.
- Navigate your job search with confidence! Explore a wide range of Career Tips on ResumeGemini. Learn about common challenges and recommendations to overcome them.
- Craft the perfect resume! Master the Art of Resume Writing with ResumeGemini’s guide. Showcase your unique qualifications and achievements effectively.
- Don’t miss out on holiday savings! Build your dream resume with ResumeGemini’s ATS optimized templates.
Q 16. Explain your experience with repairing or replacing instrument components.
My experience encompasses a wide range of repairs and replacements. I’ve worked on everything from simple replacements of faulty sensors in temperature controllers to more complex repairs involving circuit board diagnostics and component-level soldering in precision analytical instruments. For example, I once repaired a gas chromatograph that had a malfunctioning injector. This involved carefully disassembling the injector, identifying a faulty solenoid valve, replacing it with a certified equivalent, and rigorously testing the system’s functionality afterward. In other cases, when repair is uneconomical or impractical, replacing a faulty component with a new, calibrated part is the most efficient solution. Proper documentation of all repairs and replacements is critical for traceability and maintaining instrument history.
Q 17. How do you ensure the accuracy and reliability of calibration results?
Ensuring accuracy and reliability in calibration results requires a multi-faceted approach.
- Traceability: Calibration must be traceable to national or international standards. This means using calibrated reference standards and equipment that have themselves been calibrated against these standards. This creates a chain of traceability back to the fundamental units of measurement.
- Proper Methodology: Following established calibration procedures is paramount. This includes using appropriate test equipment, performing tests under controlled environmental conditions, and meticulously recording all data.
- Calibration Software/Data Acquisition Systems: Using quality software for data acquisition and analysis helps eliminate manual errors and improves accuracy. This software often includes checks for data consistency and statistical analysis.
- Regular Calibration of Calibration Equipment: The reference standards and instruments used for calibration themselves need regular calibration to maintain their accuracy. This avoids introducing systematic errors.
- Technician Competency: Highly trained and experienced technicians are essential to properly perform calibrations, interpret results, and identify potential issues.
By combining these methods, we significantly reduce uncertainties and ensure the reliability of calibration results. Imagine trying to measure the length of a table using a ruler that isn’t calibrated correctly—your results would be inaccurate. This applies to all instruments: accurate calibration ensures accurate measurements.
Q 18. Describe your experience with different types of calibration certificates.
Different types of calibration certificates indicate various levels of compliance and scope.
- UKAS (United Kingdom Accreditation Service) or similar national accreditation body certificates: These represent the highest level of accreditation, indicating that the calibration lab adheres to strict ISO 17025 standards. They provide greater confidence in the reliability of the calibration results.
- Manufacturer’s certificates: These certificates are usually provided by the instrument manufacturer, indicating that the instrument has been calibrated according to their internal standards. These are generally less rigorous than those from accredited laboratories.
- In-house certificates: Some organizations perform calibrations in-house. Their certificates demonstrate that the calibration was done according to internal procedures, but the reliability of the results depends entirely on the quality of their internal calibration systems.
Understanding the difference between these certificates is crucial for selecting the right level of calibration for specific equipment and applications. A high-precision analytical instrument in a regulated environment would require an UKAS-accredited certificate, while simpler tools might only need a manufacturer’s certificate.
Q 19. How do you stay up-to-date with changes in calibration standards and technology?
Staying current in the field requires a multifaceted approach.
- Professional Organizations: Membership in organizations like the American Society of Mechanical Engineers (ASME) or the Institute of Electrical and Electronics Engineers (IEEE) provides access to publications, conferences, and training opportunities.
- Industry Publications: Regularly reading journals and industry-specific magazines helps track advancements in calibration techniques and technologies.
- Vendor Training: Participating in training programs offered by instrument manufacturers and calibration equipment suppliers keeps me abreast of the latest developments in instrumentation and calibration procedures.
- Online Resources: Utilizing online resources, webinars, and professional networking platforms keeps me informed about new standards and emerging technologies.
Continuous learning is essential for staying relevant in this field and ensures that I am using best practices and the latest techniques. Think of it as a pilot continually undergoing flight simulator training to maintain their skills and knowledge of the latest technologies in aviation.
Q 20. What is your experience with ISO 9000 or other quality management systems?
My experience with ISO 9000 and similar quality management systems is extensive. I’ve worked in environments where adherence to ISO 9001 standards was mandatory, meaning I understand the importance of documented procedures, calibration control, traceability, and corrective action. My responsibilities included developing and maintaining calibration procedures, ensuring traceability of calibrations, managing calibration records, and contributing to internal audits. The goal is to demonstrate the consistency and reliability of our calibration process, which ultimately translates to reliable results that support our quality products and services.
Q 21. How do you handle calibration of complex or specialized instruments?
Calibrating complex or specialized instruments requires a deeper understanding of their operational principles and often involves specialized equipment and techniques.
- Thorough Understanding: It’s essential to have a comprehensive understanding of the instrument’s functionality, its potential sources of error, and the relevant standards. This usually involves studying the instrument’s manuals and specifications.
- Specialized Equipment: Advanced instruments often require specialized equipment, such as precision signal generators, high-accuracy multimeters, or environmental chambers, that are themselves calibrated.
- Step-by-step Procedure: Calibration of complex instruments usually follows a detailed step-by-step procedure outlining the specific tests, adjustments, and calculations required. This procedure might involve using specialized software to automate data acquisition and analysis.
- Expertise: This work requires highly skilled technicians with detailed knowledge of the specific instrument.
For example, calibrating a mass spectrometer, an instrument used to identify and quantify the components of a sample, necessitates the use of highly calibrated standard gases and complex data analysis software. Each step needs to be meticulously documented, and results meticulously examined for accuracy.
Q 22. Describe a challenging calibration or maintenance task you faced and how you solved it.
One of the most challenging calibration tasks I faced involved a high-precision laser interferometer used in a semiconductor manufacturing facility. The instrument was exhibiting erratic readings, leading to significant discrepancies in the final product dimensions. Initial troubleshooting pointed to potential issues with the laser itself, the optical path, or the environmental control system.
My approach was systematic. First, I meticulously checked the environmental factors – temperature, humidity, and vibrations – ensuring they were within the specified tolerances for the instrument. This involved reviewing environmental logs and recalibrating the environmental control system. I found minor deviations in temperature stability, a key factor impacting the interferometer’s accuracy.
Next, I performed a thorough visual inspection of the optical path, looking for any dust, scratches, or misalignments. I used a specialized cleaning procedure for the optics, being extremely careful to avoid damage. Finally, I tested the laser’s output power and stability. I discovered that the laser’s power fluctuated slightly outside its acceptable range, hinting at a failing component within the laser assembly itself.
The solution involved a combination of strategies: adjusting the environmental controls to achieve optimal stability, meticulously cleaning the optical path, and, most critically, replacing the aging laser diode. After implementing these fixes, the interferometer’s readings stabilized, and the calibration passed successfully. This experience highlighted the importance of a systematic, methodical approach, covering environmental factors, hardware integrity, and the importance of precise documentation throughout the entire process. This ensured accurate troubleshooting and successful resolution.
Q 23. What is your understanding of statistical process control (SPC) and its relevance to calibration?
Statistical Process Control (SPC) is a powerful methodology used to monitor and control process variation. In calibration, it’s crucial for ensuring that measurement systems maintain consistent accuracy and reliability over time. Think of it as a ‘check-up’ for your measurement instruments.
SPC uses control charts, which visually represent data collected from calibration checks. By plotting the measurement data over time, we can identify trends, patterns, or deviations from expected performance. These charts help us proactively identify potential problems before they lead to inaccurate measurements, which could have significant consequences. Common charts used include X-bar and R charts (for average and range), or individual and moving range charts.
For example, if the calibration data consistently drifts outside the control limits of the chart, it signals a potential problem with the instrument—perhaps it requires recalibration or even repair. Conversely, consistent data within the control limits indicates good instrument stability and reliability. This data-driven approach helps optimize calibration schedules, minimizing downtime and ensuring the long-term accuracy of measurement instruments.
Q 24. How do you manage your workload and prioritize tasks effectively?
Effective workload management is key in this role. I use a combination of techniques to prioritize tasks. I start by categorizing tasks based on urgency and importance (using a matrix). Urgent and important tasks, like emergency repairs, get immediate attention. Important but not urgent tasks, such as scheduled preventative maintenance, are planned for appropriately. Less important tasks are scheduled accordingly, often batch-processed for efficiency.
I also utilize tools such as project management software to keep track of all my responsibilities and deadlines. This allows me to visually monitor progress, identify potential bottlenecks, and adjust my schedule as needed. Regular review and adjustment of my schedule is key, enabling me to react promptly to evolving needs and priorities. Furthermore, effective communication with colleagues and managers ensures that priorities are clear and that unexpected demands are efficiently integrated into my schedule.
Q 25. Describe your experience with working in a team environment.
I thrive in team environments. In my previous roles, I’ve collaborated extensively with engineers, technicians, and quality control personnel. My strengths include active listening, clear communication, and the ability to contribute constructively to problem-solving sessions.
For example, in one project involving the calibration of multiple gas chromatographs, I took the lead in organizing the team’s workload, developing a detailed schedule and clearly defining individual responsibilities. This collaborative approach not only resulted in the timely calibration of all instruments but also improved team cohesion and workflow efficiencies. I believe my skills in communication, collaboration, and proactive problem-solving significantly contribute to a positive and highly productive team dynamic.
Q 26. What are your salary expectations?
My salary expectations are in line with the industry standard for my experience and skillset in calibration and maintenance, considering the specific responsibilities of this role and the location. I am open to discussing this further once I have a complete understanding of the compensation and benefits package offered.
Q 27. What are your long-term career goals?
My long-term career goals involve becoming a recognized expert in precision instrumentation calibration and maintenance. I aspire to lead teams and contribute to the development of innovative calibration techniques and technologies. I am particularly interested in staying abreast of emerging technologies that can enhance precision, efficiency, and reliability in the field of measurement.
Q 28. Why are you interested in this position?
I am highly interested in this position because it aligns perfectly with my skills and experience. The opportunity to work with [mention specific equipment or technologies mentioned in the job description] is particularly appealing, as I have a strong background in [mention relevant skills/experience]. Furthermore, the company’s commitment to [mention company values or initiatives mentioned in the job description] resonates strongly with my professional ethics and aspirations. I am confident that I can make a significant contribution to your team.
Key Topics to Learn for Calibration and Maintenance of Instruments Interview
- Understanding Measurement Uncertainty: Explore the sources of error in instrument readings and methods for minimizing uncertainty. This includes understanding statistical concepts like standard deviation and confidence intervals.
- Calibration Techniques: Learn various calibration methods, including direct comparison, substitution, and indirect comparison. Understand the importance of traceability to national standards.
- Preventive Maintenance Strategies: Discuss the importance of routine maintenance schedules, including cleaning, lubrication, and component replacement, to extend instrument lifespan and accuracy.
- Troubleshooting Common Instrument Issues: Develop your problem-solving skills by exploring common malfunctions and their causes. Practice diagnosing issues based on error messages, unusual readings, or physical signs of wear.
- Calibration Standards and Traceability: Understand the importance of using certified reference standards and maintaining a clear chain of traceability to ensure the accuracy and reliability of your measurements.
- Documentation and Record Keeping: Learn best practices for maintaining accurate and complete calibration records, including dates, results, and corrective actions. This is crucial for regulatory compliance.
- Specific Instrument Types: Depending on your target role, focus on the calibration and maintenance procedures for specific instrument types, such as pressure gauges, temperature sensors, flow meters, or analytical instruments. Highlight your expertise in the instruments relevant to the job description.
- Safety Procedures: Demonstrate understanding of safe handling practices for various instruments and chemicals, emphasizing adherence to relevant safety regulations.
- Data Analysis and Interpretation: Practice analyzing calibration data to identify trends, assess instrument performance, and make informed decisions about maintenance or replacement.
Next Steps
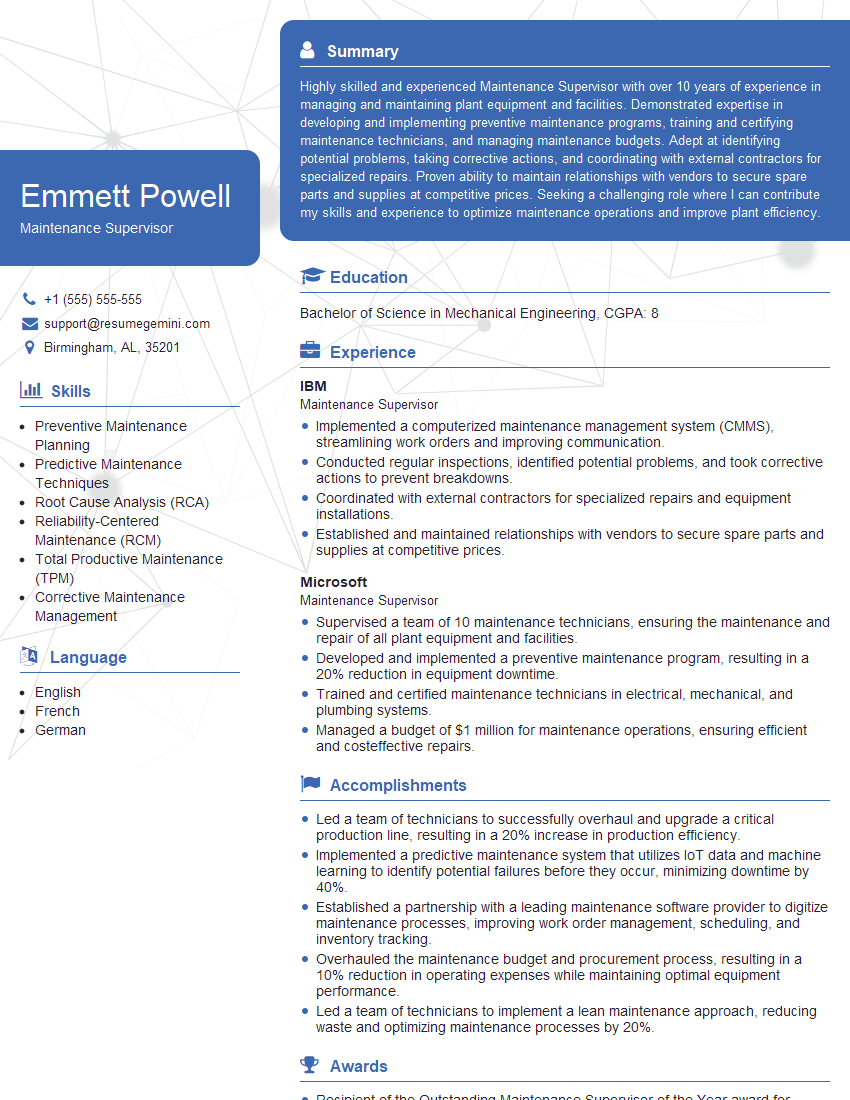
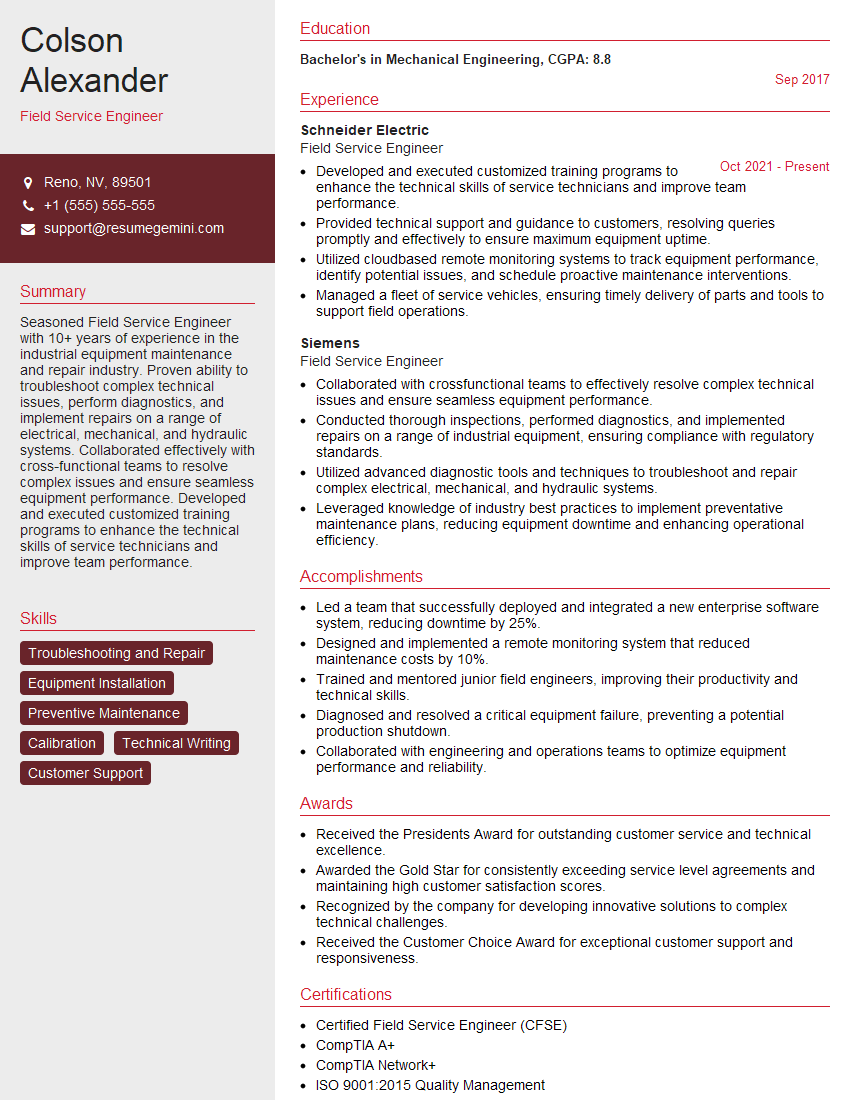
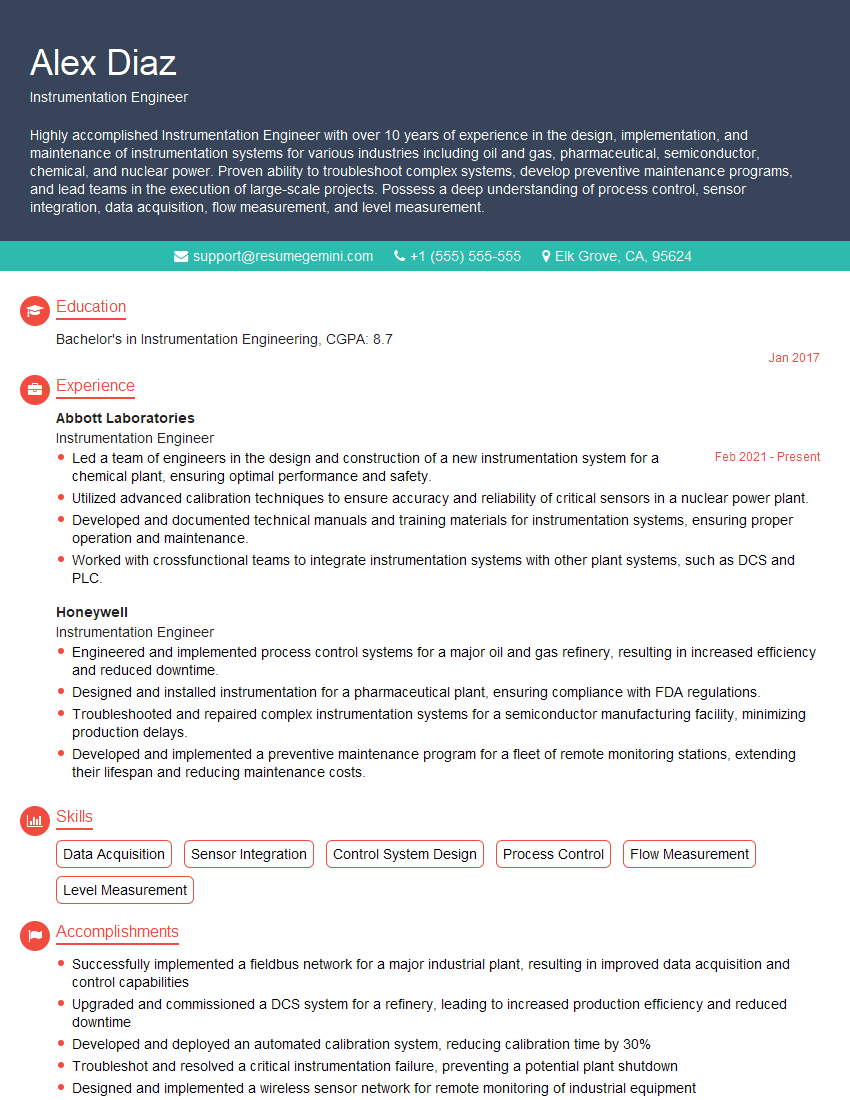
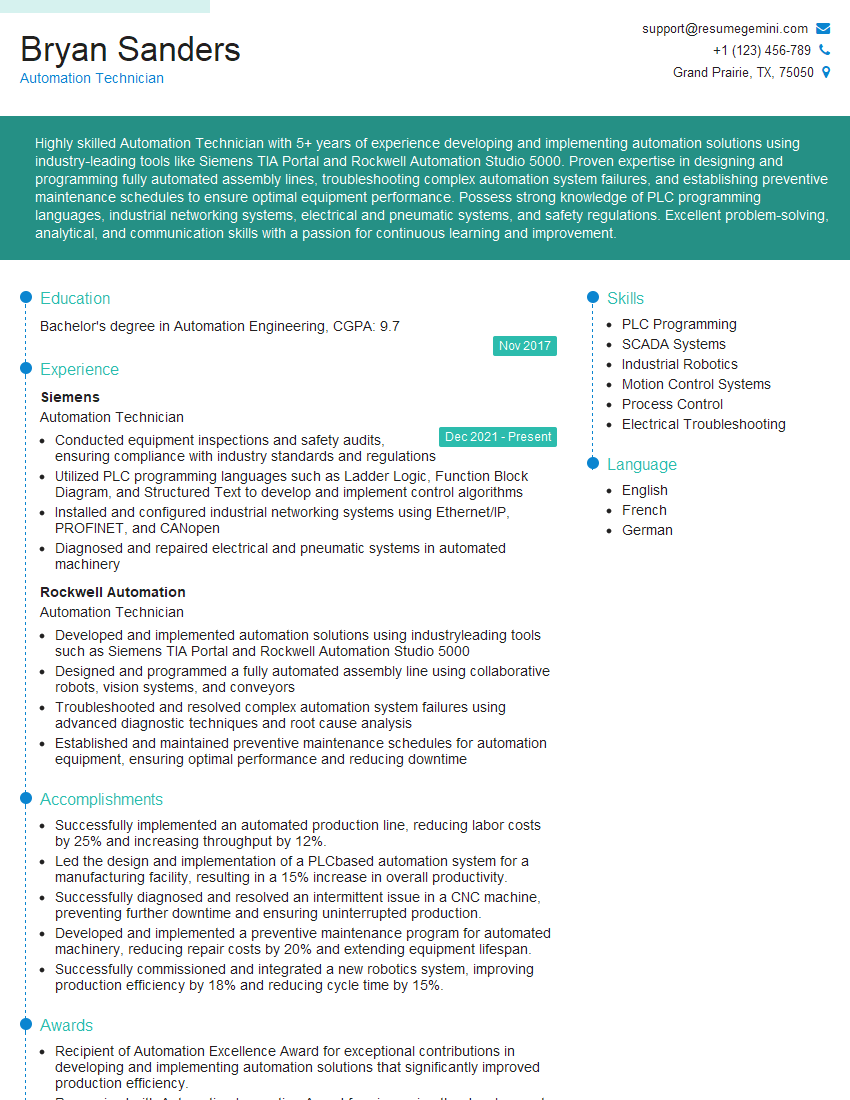
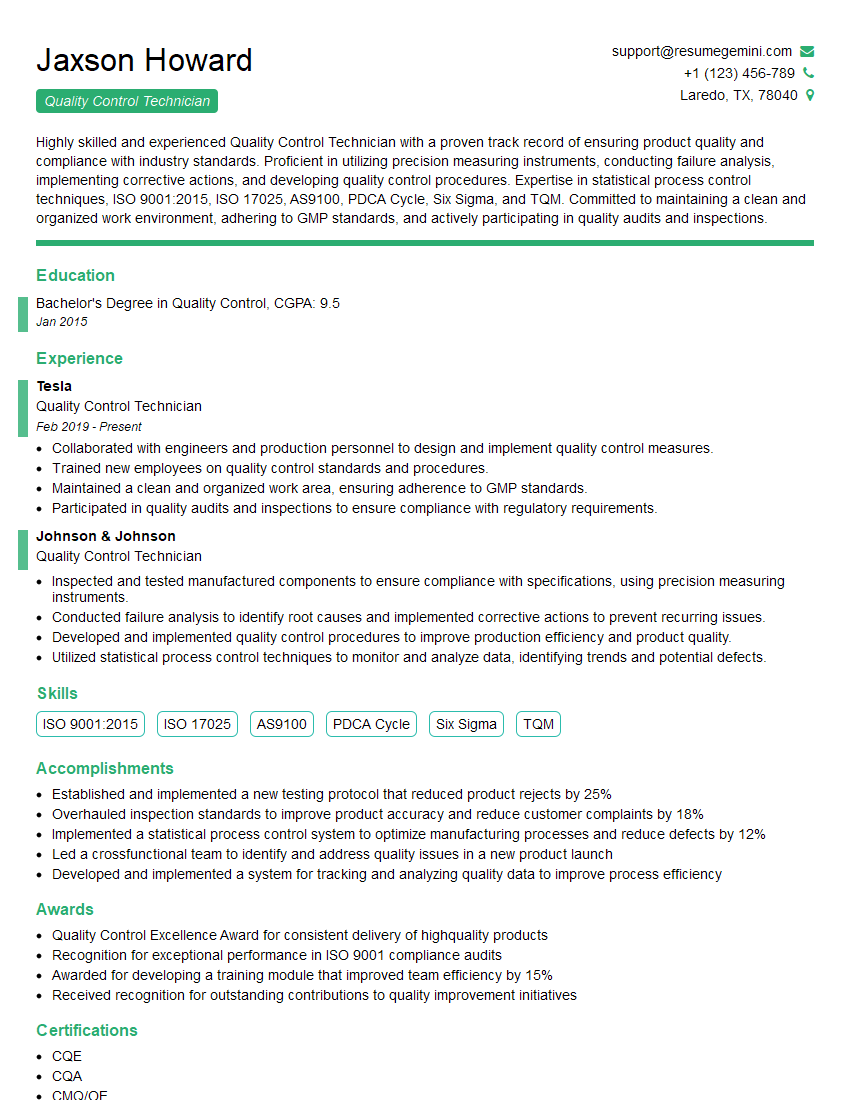
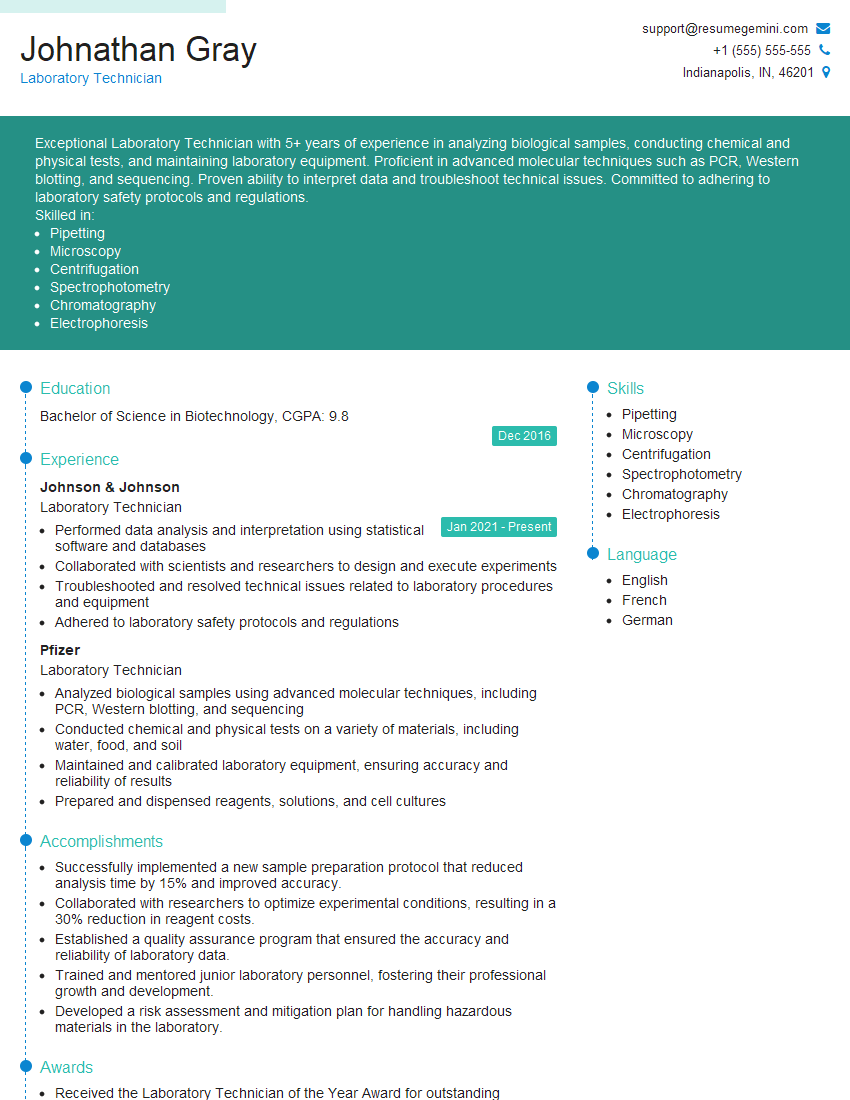
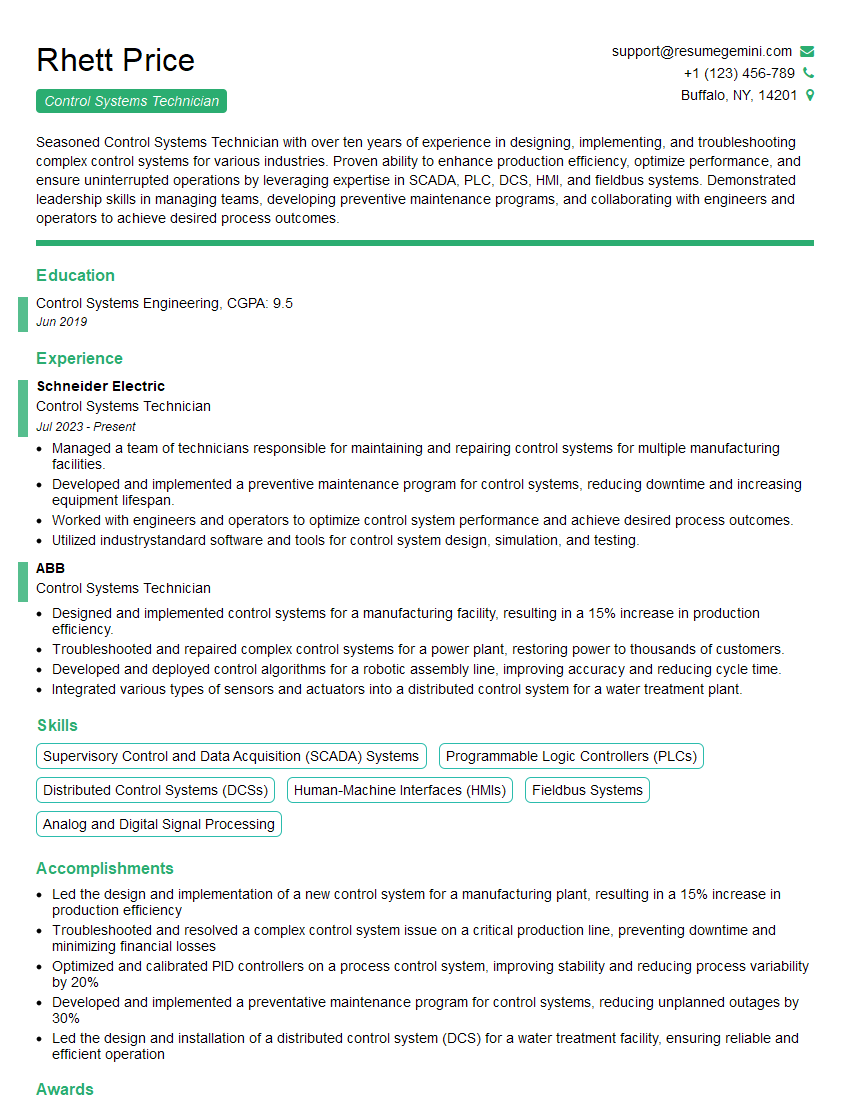
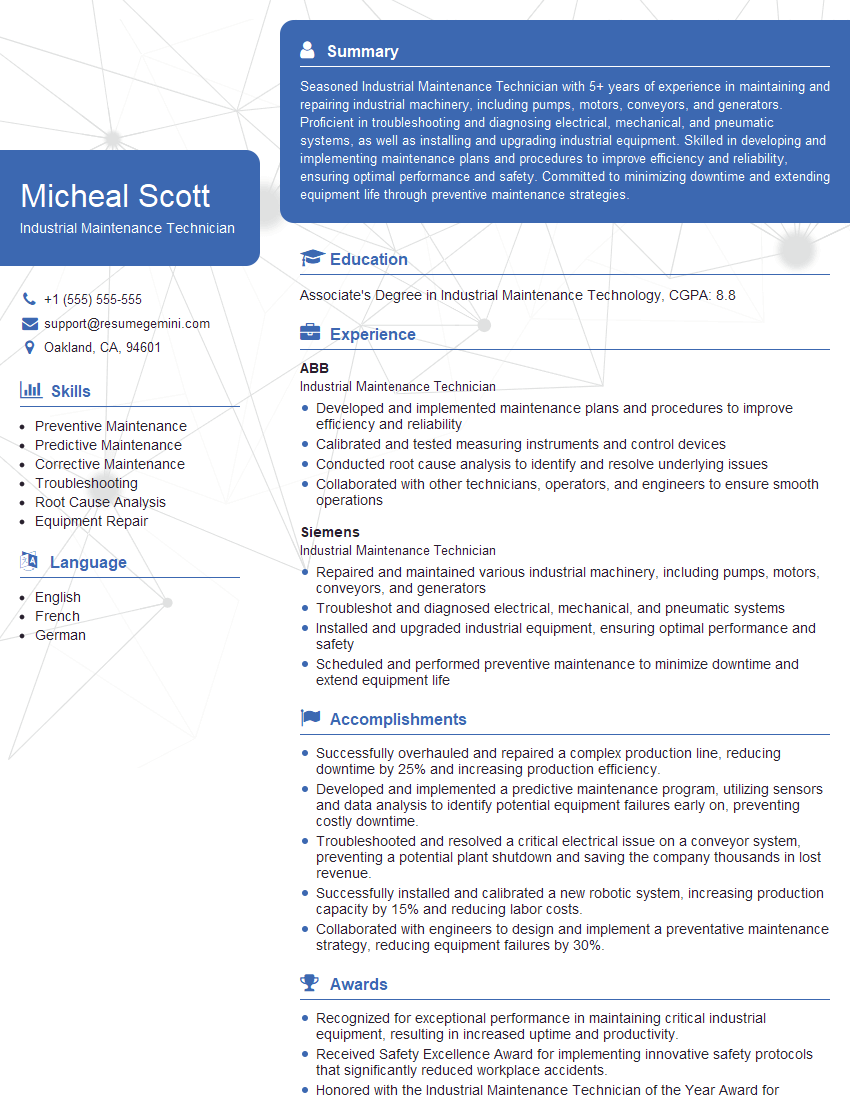
Mastering calibration and maintenance of instruments is crucial for a successful career in this field, opening doors to specialized roles and increased earning potential. A well-crafted resume is your key to unlocking these opportunities. Make sure your resume is ATS-friendly to ensure it gets noticed by recruiters. ResumeGemini is a trusted resource that can help you build a professional and impactful resume, highlighting your skills and experience in a way that stands out. Examples of resumes tailored to Calibration and Maintenance of Instruments are available to help guide you.
Explore more articles
Users Rating of Our Blogs
Share Your Experience
We value your feedback! Please rate our content and share your thoughts (optional).
What Readers Say About Our Blog
To the interviewgemini.com Webmaster.
Very helpful and content specific questions to help prepare me for my interview!
Thank you
To the interviewgemini.com Webmaster.
This was kind of a unique content I found around the specialized skills. Very helpful questions and good detailed answers.
Very Helpful blog, thank you Interviewgemini team.
