Cracking a skill-specific interview, like one for Cutting and shaping glass, requires understanding the nuances of the role. In this blog, we present the questions you’re most likely to encounter, along with insights into how to answer them effectively. Let’s ensure you’re ready to make a strong impression.
Questions Asked in Cutting and shaping glass Interview
Q 1. What types of glass are best suited for cutting and shaping with a score and snap method?
The score and snap method works best on annealed glass that’s relatively flat and free from internal stresses. Think of window glass or common float glass – these are readily available and easily scored. Thicker pieces of annealed glass are manageable, but you’ll need more force for the snapping action. However, you should avoid using this method on tempered glass (also known as safety glass). Tempered glass is heat-treated to be stronger, but when it breaks, it shatters into many small, relatively harmless pieces. Attempting to score and snap it will result in unpredictable and potentially dangerous breakage. Other types of specialty glass, such as laminated glass or borosilicate glass, also may not be suitable for this technique due to their composition and strength. Essentially, the ideal glass for score and snap is plain, annealed glass – the kind you might find in a standard window pane.
Q 2. Explain the process of beveling glass.
Beveling glass involves creating a sloped or angled edge, often used for aesthetic purposes or to reduce sharpness. It’s typically done using a bevelling machine. These machines use abrasive wheels to grind the glass at a specific angle, gradually removing material to create the bevel. The process starts by securing the glass piece firmly onto the machine’s platen. Then, the operator adjusts the angle and depth of the cut, slowly lowering the wheel against the glass until the desired bevel is achieved. The process often involves several passes to ensure a smooth and even bevel. The angle and width of the bevel can be customized depending on the project’s requirements. Precision is crucial, as a poorly executed bevel can lead to an uneven finish or even breakage.
Q 3. Describe different methods for grinding and polishing glass edges.
Grinding and polishing glass edges are crucial for achieving smooth, safe finishes. Several methods exist, depending on the level of precision required. For coarser grinding, we use coarse grit grinding wheels to remove significant amounts of material, shaping the glass and preparing it for finer polishing. Then, progressively finer grits are used to refine the surface. This process is often done on a bench grinder or a specialized glass grinding machine. For polishing, we employ polishing wheels with increasingly finer polishing compounds like cerium oxide or diamond polishing compounds. This creates a smooth, polished edge. Hand-grinding and polishing with handheld tools, like diamond-tipped files and polishing compounds, can be used for smaller pieces or detailed work, although it is significantly more labor-intensive and requires skill to achieve precision. Ultimately, the choice of method depends on the edge type, quantity, and desired finish.
Q 4. How do you ensure the safety of yourself and others while operating glass cutting equipment?
Safety is paramount when working with glass. Always wear appropriate personal protective equipment (PPE), including safety glasses, gloves, and a dust mask, particularly when grinding and polishing. Glass dust can be harmful to your lungs. Ensure the glass cutting equipment is properly maintained and in good working order. Never operate machinery when fatigued or under the influence of drugs or alcohol. Understand the controls and safety features of any equipment before operation, and always secure the workpiece firmly to prevent unexpected movement. For larger pieces of glass, consider using a dedicated glass handling system and vacuum lifting devices to prevent injury. Regularly inspect the workspace for hazards and maintain a tidy work environment to reduce trip-and-fall risks. Proper training and adherence to safe practices are non-negotiable for preventing accidents.
Q 5. What are the safety precautions for handling different types of glass?
Different glass types require varying safety precautions. Annealed glass, while relatively easy to work with, can still cause cuts if not handled carefully. Always use gloves and avoid sharp edges. Tempered glass should never be cut or altered once manufactured; it can break unpredictably. Dispose of tempered glass fragments responsibly. Laminated glass, which comprises two or more layers bonded with an interlayer, needs additional care during handling and disposal, as the layers may separate. Borosilicate glass is heat-resistant but can still break under excessive force. Always lift and move heavy glass with assistance to prevent injuries. In summary, understanding the properties of each type of glass is key to safely handling them.
Q 6. What are the common causes of glass breakage during cutting and shaping, and how can they be prevented?
Glass breakage during cutting and shaping can stem from several issues. Improper scoring – too shallow or uneven – can cause the glass to break unpredictably. Excessive force during snapping can also result in shattering. Internal stresses or flaws in the glass itself can lead to sudden breakage. Using dull or incorrect cutting tools can cause uneven pressure and lead to chipping or cracking. The presence of chips or cracks prior to cutting will result in breakage. To prevent this, always inspect the glass before cutting and carefully score the glass applying consistent pressure. Use sharp cutting tools. Ensure the glass is supported adequately during the cutting and snapping process to minimize stress. Using a lubricant (like water) during scoring can also help to prevent excessive stress on the glass.
Q 7. How do you determine the appropriate cutting tools and techniques for various glass thicknesses?
The choice of cutting tools and techniques varies significantly with glass thickness. Thin glass (under 3mm) can typically be cut with a simple glass cutter and snapped by hand. For thicker glass (3-6mm), a more robust glass cutter with a harder wheel may be necessary, and a specialized glass breaking tool might be helpful for snapping. For very thick glass (over 6mm), specialized cutting and breaking equipment, such as a glass saw or a mechanical score-and-snap system, may be required. For extremely thick or hardened glass, specialized machinery, possibly involving diamond saws or laser cutting, may become necessary. The technique also adapts. A lighter, more precise scoring is used for thinner glass, while a deeper, more assertive score is necessary for thicker glass to ensure a clean break. Always prioritize safety and use the correct equipment for the task.
Q 8. Explain the process of creating a curved or contoured glass piece.
Creating curved or contoured glass involves bending the glass while it’s in a malleable state, typically achieved through heat bending or slumping.
Heat Bending: This method uses a kiln to heat the glass to its softening point, then carefully shaping it over a mold. The mold’s shape determines the final curvature of the glass. Think of it like working with clay – you heat it, shape it, and then let it cool slowly to maintain the form. This is ideal for creating smooth, consistent curves in artistic pieces or for functional applications like curved shelves or display cases. Precise temperature control is critical to avoid cracking or warping.
Slumping: Similar to heat bending, slumping involves heating glass and placing it onto a mold. However, slumping utilizes gravity to help form the glass into the mold’s shape, resulting in a more relaxed and often less precise curve compared to heat bending. This technique is particularly useful for creating unique shapes and textures, often seen in artistic glasswork like bowls or decorative panels.
The type of glass used significantly impacts the shaping process. Borosilicate glass, for instance, has a higher softening point and greater resistance to thermal shock, making it suitable for intricate curves and complex shapes.
Q 9. What are the different types of glass etching techniques?
Glass etching involves creating designs on the surface of the glass by removing a layer of material. Several techniques achieve this:
- Acid Etching: This uses hydrofluoric acid or other specialized etchants to chemically remove the surface of the glass, creating a frosted or matte effect. The depth of etching can be controlled by the concentration of the acid and the etching time. This is a popular method for creating personalized designs or logos on glassware.
- Sandblasting: A high-pressure stream of abrasive particles, usually sand, is directed at the glass surface to erode the material, creating designs or textures. The intensity and duration of the sandblasting determine the depth and roughness of the etching. It’s ideal for intricate designs and deep etching, but requires specialized equipment and safety precautions.
- Cream Etching: This uses a cream-like abrasive compound applied to the glass and then scrubbed to create a frosted effect. It’s less precise than acid etching or sandblasting but simpler to perform, often used for smaller-scale projects.
- Laser Etching: This is a precise and modern technique that uses a laser beam to ablate the glass surface, creating sharp, detailed designs. It’s highly versatile and allows for a wide range of effects, from delicate lines to intricate patterns.
Q 10. How do you measure and mark glass accurately for cutting?
Accurate measurement and marking are fundamental for precise glass cutting. I use a combination of tools and techniques to ensure accuracy:
- Steel Ruler and Marking Pencil: A high-quality steel ruler is essential for straight cuts. A grease pencil or a fine-tipped oil-based marker is ideal because it leaves a visible mark on the glass surface.
- Glass Cutter: The scoring technique is vital. A consistent, firm score is made using a quality glass cutter, ensuring the score is not too deep (to prevent chipping) or too shallow (to not create a clean break).
- Measuring Twice, Cutting Once: I always double-check my measurements before making any cuts, eliminating errors early in the process. A simple mistake in measurement can ruin an entire piece of glass.
- Squares and Templates: For angled cuts or complex shapes, I utilize squares and templates to create precise cutting lines. Templates can be made from cardboard, acrylic, or other suitable materials.
- Digital Caliper or Micrometer: For exceptionally precise measurements, digital tools provide high accuracy, especially crucial in projects requiring very specific dimensions.
For larger projects, I use a laser measuring tool for speed and accuracy across larger pieces of glass.
Q 11. Describe your experience working with CNC glass cutting machinery.
My experience with CNC glass cutting machinery spans over five years, working with various models and software packages. I am proficient in programming CNC machines to cut intricate designs, complex shapes, and perform various operations like beveling and drilling.
I’m familiar with the setup, operation, and maintenance of CNC glass cutting systems, including calibration, tool changes, and troubleshooting common issues. My expertise includes optimizing cutting paths to reduce waste and increase efficiency. I understand how different parameters like cutting speed, pressure, and tooling impact the quality of the cut and have optimized several processes to improve output and reduce material waste.
For example, I once used a CNC machine to create a custom-designed glass mosaic for a commercial project. The design involved hundreds of intricate pieces, each requiring precise cuts and angles. By carefully programming the machine and using specialized tooling, I was able to complete the project on time and within budget, resulting in a high-quality finished product.
Q 12. What is the difference between annealed and tempered glass, and how does this impact cutting and shaping?
Annealed glass is standard float glass, relatively soft, and easy to cut and shape using traditional methods. Tempered glass, on the other hand, undergoes a heat-treating process that makes it significantly stronger and more resistant to breakage. However, this also makes it considerably more difficult and dangerous to cut and shape.
Cutting tempered glass requires specialized equipment and extreme caution. Attempting to cut or shape tempered glass using traditional methods can result in shattering and potential injury. Specialized diamond-tipped tools and controlled scoring techniques are usually employed.
The difference in strength also impacts the designs possible. While annealed glass offers greater flexibility in design, tempered glass is preferred where strength and safety are paramount, such as in automotive windshields and shower doors. The trade-off is the reduced design possibilities with tempered glass.
Q 13. How do you handle chipped or cracked glass during a project?
Handling chipped or cracked glass requires careful attention to safety and proper techniques.
First, I always assess the damage: the extent of the crack, the stability of the piece, and potential hazards. If the crack is minor and contained, I might be able to salvage the piece by carefully trimming the damaged area using a diamond grinder and then polishing the edge. For larger cracks or unstable pieces, it’s often necessary to discard the glass and start again. Safety glasses and gloves are always essential.
If the crack is significant and poses a safety risk, the piece must be discarded following proper waste disposal protocols. Prevention is key; careful handling, proper storage, and using the right cutting techniques minimize the chance of damage. For instance, using a steady hand and appropriate scoring pressure helps to prevent chipping during the initial cutting phase. Moreover, I always wear safety glasses to protect my eyes from flying debris when cutting or grinding glass.
Q 14. Explain the importance of quality control in glass cutting and shaping.
Quality control is paramount in glass cutting and shaping, as even minor imperfections can compromise the final product’s integrity, functionality, and aesthetics.
My quality control measures begin with inspecting raw materials for defects before starting any cutting or shaping. Throughout the process, I regularly check for flaws, including cracks, chips, or imperfections. After each step, I visually inspect the glass for accuracy and quality of the cut or shape. Accurate measurements and precise cutting are verified, and inconsistencies are promptly addressed. In addition, final inspection ensures dimensional accuracy and surface finish. Any defects are documented and necessary corrective actions are taken.
In projects involving multiple pieces, I pay close attention to ensuring consistency in size, shape, and finish across all the components. By implementing robust quality control measures, I ensure the final product meets the required specifications, is safe, and aesthetically pleasing, upholding professional standards and client expectations.
Q 15. How do you maintain and clean your glass cutting and shaping tools?
Maintaining glass cutting and shaping tools is crucial for precision and longevity. Think of your tools as extensions of your skill – keeping them sharp and clean is like keeping your hands steady.
Cleanliness: After each use, I meticulously clean my tools. For oil-fed cutters, this involves wiping away excess oil and any glass fragments with a soft cloth. Carbide cutters benefit from a gentle brushing to remove embedded glass dust. A soft-bristled brush is ideal for preventing scratching.
Lubrication: Oil-fed cutters require regular lubrication with a high-quality glass-cutting oil. This ensures smooth wheel rotation and prevents premature wear. I check the oil level before each use and re-oil as needed. The frequency depends on the intensity of use; more frequent use means more frequent oiling.
Storage: Proper storage is essential. I keep my tools in a designated case or drawer, protected from dust and impacts. Carbide cutters, being more fragile, need individual protective sleeves to prevent chipping or damage. Sharp tools are valuable tools!
Sharpening: Carbide cutters can be sharpened using specialized sharpening stones or by a professional sharpening service. This will restore the sharpness and precision of the cutting edge, extending their lifespan significantly. Oil-fed cutters, on the other hand, usually require replacement of the cutting wheel itself once it becomes dull.
Career Expert Tips:
- Ace those interviews! Prepare effectively by reviewing the Top 50 Most Common Interview Questions on ResumeGemini.
- Navigate your job search with confidence! Explore a wide range of Career Tips on ResumeGemini. Learn about common challenges and recommendations to overcome them.
- Craft the perfect resume! Master the Art of Resume Writing with ResumeGemini’s guide. Showcase your unique qualifications and achievements effectively.
- Don’t miss out on holiday savings! Build your dream resume with ResumeGemini’s ATS optimized templates.
Q 16. Describe your experience with different types of glass adhesives and sealants.
My experience encompasses a wide range of glass adhesives and sealants, each with its own strengths and weaknesses. The choice depends heavily on the application and the type of glass being used.
Silicone Sealants: Excellent for general-purpose bonding, particularly in areas requiring flexibility, such as sealing windows or creating weatherproof joints. However, they can be messy and require careful application to avoid excess sealant.
Epoxy Resins: Provide incredibly strong bonds and are ideal for high-stress applications. They’re excellent for joining pieces that require significant strength, but they have a shorter working time and require precise mixing ratios. I often use them for structural elements.
UV-Curable Adhesives: These adhesives cure rapidly upon exposure to ultraviolet light, offering quick bonding and a high level of precision. They are well-suited for applications requiring fast turnaround times and are often found in automated production lines.
Polyurethane Sealants: These are great for filling gaps and offering a good degree of weather resistance. They expand and contract with temperature changes which is good for exterior applications.
I always meticulously follow the manufacturer’s instructions for mixing ratios, curing times, and safety precautions. Using the wrong adhesive can lead to weak joints or even failure, so careful selection is paramount.
Q 17. What is your experience with laminated glass fabrication?
Laminated glass fabrication involves bonding two or more sheets of glass together with an interlayer, typically polyvinyl butyral (PVB). This creates a safety glass that is highly resistant to breakage and shattering. My experience includes handling various thicknesses and types of glass, as well as different interlayer materials.
The process generally involves: cleaning the glass sheets meticulously, applying the PVB interlayer, using a vacuum autoclave to bond the layers at elevated temperature and pressure, and then cutting and shaping the finished laminated glass panel.
One time, I was tasked with creating a large, curved laminated glass panel for a museum display case. The precise curvature required careful planning and precise control during the autoclave process. The end result was a stunning piece that perfectly met the client’s requirements, a testament to the precision of the process.
Q 18. How do you troubleshoot common problems encountered during glass cutting and shaping?
Troubleshooting is an integral part of glass cutting and shaping. Common problems are usually related to cutting, scoring, or the glass itself.
Chipping or Cracking: This often indicates dull cutters, excessive pressure during scoring, or inherent flaws in the glass. I always inspect the glass before cutting to look for imperfections, and ensure my cutters are sharp.
Inconsistent Scores: This could be due to inconsistent pressure on the cutter, dirty or worn cutting wheels, or improper scoring technique. Maintaining even pressure and using appropriate scoring techniques is crucial.
Snapping During Breakage: If the glass doesn’t break cleanly along the score line, it’s often because the score isn’t deep enough or isn’t straight. I carefully check the depth and straightness of my score before attempting to snap the glass.
Uneven Edges: This can result from improper use of the snapping tools or irregularities in the glass itself. I use a variety of tools like glass grinders and polishers to finish edges for precision.
Careful observation and systematic checking of each step help isolate the cause of the problem. Experience allows me to quickly identify the issue and implement a solution.
Q 19. Describe your experience with different types of glass cutting tools (e.g., oil-fed cutters, carbide cutters).
I have extensive experience with various glass cutting tools, each suited to specific tasks and materials.
Oil-Fed Cutters: These are versatile and ideal for various glass thicknesses. The oil lubricates the cutting wheel, reducing friction and creating a cleaner cut. The oil also helps prevent chipping. I frequently use these for straight cuts and intricate designs.
Carbide Cutters: These are typically harder and more durable than oil-fed cutters, excellent for cutting thicker or more robust glasses. They’re less prone to wear but require more careful handling to avoid chipping the cutting edge.
Rotary Glass Cutters: These are motorized versions and are useful for both straight cuts and curves. They are particularly efficient for mass production or when cutting a large number of identical pieces.
Snap Cutters: Handheld cutters that create a score line. They require skillful technique and are usually used for thinner glasses. They are a crucial part of the manual glass cutting workflow.
The selection of a tool depends on factors like the glass type, thickness, and desired cut precision. I choose the tool that will give me the best results for the task at hand.
Q 20. How do you ensure precise measurements and angles when cutting glass?
Precise measurements and angles are essential for creating accurate and aesthetically pleasing glass pieces. I use a combination of techniques to ensure precision.
Accurate Measuring Tools: I use high-quality steel rulers, squares, and protractors for accurate measurements. I also utilize digital calipers for measuring dimensions with greater precision, especially for intricate pieces.
Marking Techniques: I use a fine-point marking pencil to clearly mark cutting lines, ensuring they are straight and accurate. For angles, I utilize a protractor or angle-measuring tools, paying close attention to detail.
Jigs and Templates: For repetitive cuts or complex shapes, I use jigs and templates to guide the cutter and ensure consistency. This is particularly useful for mass production or when creating identical pieces.
Clamps and Fixtures: To prevent movement during cutting, I use clamps and fixtures to securely hold the glass in place. This is crucial for achieving straight lines and avoiding errors.
A small error in measurement can result in a noticeable inaccuracy in the final product. Paying meticulous attention to details at this stage is crucial for creating high-quality glasswork.
Q 21. Explain the process of creating a mitered joint in glass.
A mitered joint in glass is an angled joint where two pieces of glass meet at a precise angle, typically 45 degrees. It’s used to create aesthetically pleasing corners and connections.
The process involves:
Precise Measurement and Marking: Accurately measure and mark the 45-degree angles on each glass piece. Using a miter box can increase the accuracy and repeatability of the cut.
Cutting: Carefully cut each glass piece at the marked angle using a suitable glass cutter, ensuring a clean and precise cut. A slow and steady cut is critical.
Edge Finishing: Finish the cut edges of each glass piece to remove any sharp edges and burrs. This can be achieved through grinding, polishing, or using a specialized edge-finishing tool.
Bonding: Use a suitable adhesive, such as a structural adhesive or epoxy resin to join the mitered pieces. Ensure proper alignment before clamping them together. Accurate clamping is critical.
Curing: Allow the adhesive to cure completely according to the manufacturer’s instructions before handling the finished piece.
Creating a perfect mitered joint requires patience, precision, and the right tools. The result, however, is a clean and professional-looking join that adds sophistication to the glasswork.
Q 22. How do you work with different types of glass patterns or designs?
Working with glass patterns and designs involves a multifaceted approach, combining artistic vision with precise technical execution. The process begins with understanding the design itself – whether it’s a simple geometric shape or a complex, intricate artwork. This understanding dictates the choice of cutting and shaping methods. For instance, a simple circular design might be easily achieved using a diamond glass cutter and a template, followed by grinding and polishing to refine the edges. More complex designs, such as stained glass windows, often involve creating individual pieces using specialized tools like glass scoring tools and nippers to follow the pattern lines precisely. Templates, whether paper, plastic, or even digitally projected onto the glass, ensure accuracy. Then, depending on the design, techniques like beveling (creating angled edges), etching (creating decorative patterns), or sandblasting might be employed for added depth and visual interest. The final stage usually involves assembling the pieces using methods like lead came or adhesive, depending on the design and intended use.
For example, I once worked on a project involving a custom-designed stained-glass suncatcher featuring intricate floral patterns. Each petal and leaf was individually cut and shaped, ensuring consistent size and shape across the whole design. This required meticulous attention to detail and the use of multiple cutting and shaping tools.
Q 23. Describe your experience in working with specialized glass materials (e.g., borosilicate, tempered glass).
My experience encompasses a wide range of specialized glass materials. Borosilicate glass, known for its high heat resistance, requires specific handling techniques due to its higher strength and thermal shock resistance. Cutting and shaping borosilicate necessitates the use of specialized diamond wheels and careful control of the cutting process to avoid cracking due to internal stresses. Tempered glass, on the other hand, is significantly stronger than annealed glass but presents challenges in terms of cutting and shaping because once tempered, it cannot be easily modified. Any attempt to cut or shape tempered glass usually results in shattering. Instead, the shaping needs to be done *before* the tempering process. My experience includes working with both materials extensively, understanding their unique properties, and adapting my techniques accordingly. This includes utilizing specialized equipment for borosilicate, like high-speed diamond saws, and selecting pre-tempered glass of appropriate shape and size for projects where tempered glass is desired. For instance, I’ve worked on projects involving borosilicate beakers that required precise cuts and intricate shaping for scientific instruments. Another time, I helped a client find and install the proper pre-tempered glass for their shower enclosure.
Q 24. Explain your experience with glass polishing and finishing techniques.
Glass polishing and finishing are crucial steps in creating high-quality, aesthetically pleasing glass products. The techniques used depend on the desired finish – whether it’s a highly polished, mirror-like surface or a more matte, textured finish. Rough edges left after cutting are typically addressed through grinding, using progressively finer grits of abrasive wheels or belts to smoothen the surface. For polishing, various methods are employed. Mechanical polishing uses polishing compounds and rotating pads to achieve a highly reflective surface. Chemical polishing, on the other hand, uses chemical etchants to create a smooth, often slightly matte finish. The choice of method depends on the type of glass, desired level of finish, and the overall project specifications. For very intricate designs or specific finishes, hand polishing might be necessary, requiring significant skill and patience. I have extensive experience with all these techniques, regularly employing different combinations to meet diverse project requirements. For example, I’ve used mechanical polishing to create sleek, mirror-like edges on a large glass table top, while utilizing chemical polishing to give a subtle texture to a custom-designed glass vase.
Q 25. Describe a time you had to solve a complex problem related to glass cutting and shaping.
One challenging project involved creating a large, curved glass panel for a modern architectural installation. The curvature was complex and required a precise shaping process. Initially, we attempted to use a traditional glass-bending oven, but the resulting panel had significant stress points and was prone to cracking. After analyzing the problem, we realized the oven’s temperature control wasn’t precise enough for the complex curve. We switched to a specialized CNC-controlled glass shaping machine, allowing for more precise control over the heating and forming process. Furthermore, we also modified the support structure during shaping to minimize stress on the glass. The result was a flawlessly shaped panel that met all the project’s specifications, demonstrating effective problem-solving and adaptation to complex situations. It highlighted the importance of having a flexible and adaptive approach when faced with challenges in glass shaping.
Q 26. What are some common safety hazards associated with glass cutting and shaping, and how can they be mitigated?
Glass cutting and shaping involves several significant safety hazards. Sharp edges and fragments are the most obvious risks, requiring the consistent use of safety glasses and gloves. Flying debris during cutting can also cause serious eye injuries; thus eye protection is paramount. Dust generated during grinding and polishing can pose respiratory health issues; this necessitates the use of respirators and dust extraction systems. Furthermore, depending on the type of glass and cutting techniques, there’s a risk of cuts, burns (from heat-related processes), and exposure to chemicals used in polishing. Mitigating these hazards involves stringent adherence to safety protocols, including using appropriate personal protective equipment (PPE), proper ventilation, regular equipment maintenance, and following established safety procedures. Proper training and continuous safety awareness are essential to creating a safe work environment. For example, I’ve implemented a rigorous safety training program at my previous workplace, which led to a significant reduction in workplace accidents.
Q 27. How do you stay updated on the latest technologies and techniques in glass cutting and shaping?
Staying updated is vital in this rapidly evolving field. I regularly attend industry conferences and workshops to learn about new technologies, materials, and techniques. I actively subscribe to trade publications and journals, keeping abreast of current research and developments. Online resources, such as industry forums and manufacturer websites, are invaluable tools for learning about new equipment and processes. Furthermore, I actively participate in online professional communities, exchanging ideas and best practices with other professionals in the field. Continuous learning ensures I remain competitive and can offer innovative solutions to my clients.
Q 28. What are your salary expectations for this position?
My salary expectations are in the range of $75,000 to $95,000 annually, commensurate with my experience and expertise in this specialized field. This is based on my extensive knowledge of various glass types, cutting techniques, finishing processes and my proven track record of successfully completing challenging projects. I’m confident my skills and experience will be a valuable asset to your team.
Key Topics to Learn for Cutting and Shaping Glass Interview
- Glass Properties and Selection: Understanding different types of glass (float, annealed, tempered, etc.), their properties (strength, thermal resistance, etc.), and appropriate selection for various applications.
- Cutting Techniques: Mastering various cutting methods including manual scoring, automated cutting, and waterjet cutting. Understanding the principles behind each technique and their suitability for different glass thicknesses and shapes.
- Shaping Techniques: Familiarity with grinding, polishing, beveling, and edge finishing techniques. Understanding the tools and equipment involved and the importance of precision and safety.
- Safety Procedures and Regulations: Deep understanding of safety protocols related to handling glass, operating machinery, and disposal of waste materials. Knowledge of relevant industry regulations and best practices.
- Quality Control and Inspection: Ability to inspect finished products for defects, ensuring adherence to quality standards and specifications. Understanding quality control measures and techniques.
- Troubleshooting and Problem-solving: Ability to identify and resolve issues related to cutting, shaping, or finishing processes. Experience in diagnosing and rectifying defects.
- Tool Maintenance and Operation: Knowledge of proper maintenance procedures for cutting and shaping equipment. Understanding the operating principles of various machines and tools.
- Project Planning and Execution: Ability to plan and execute projects efficiently, meeting deadlines and adhering to specifications. This includes understanding project scopes and resource allocation.
Next Steps
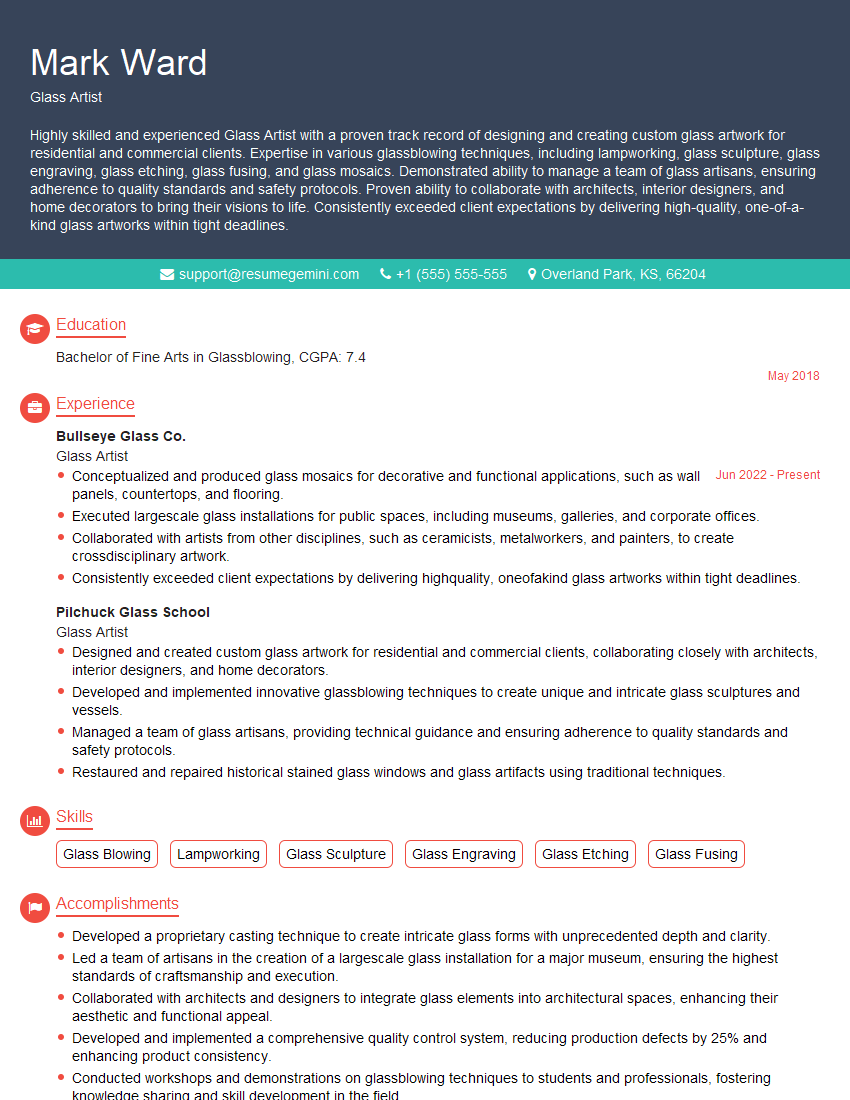
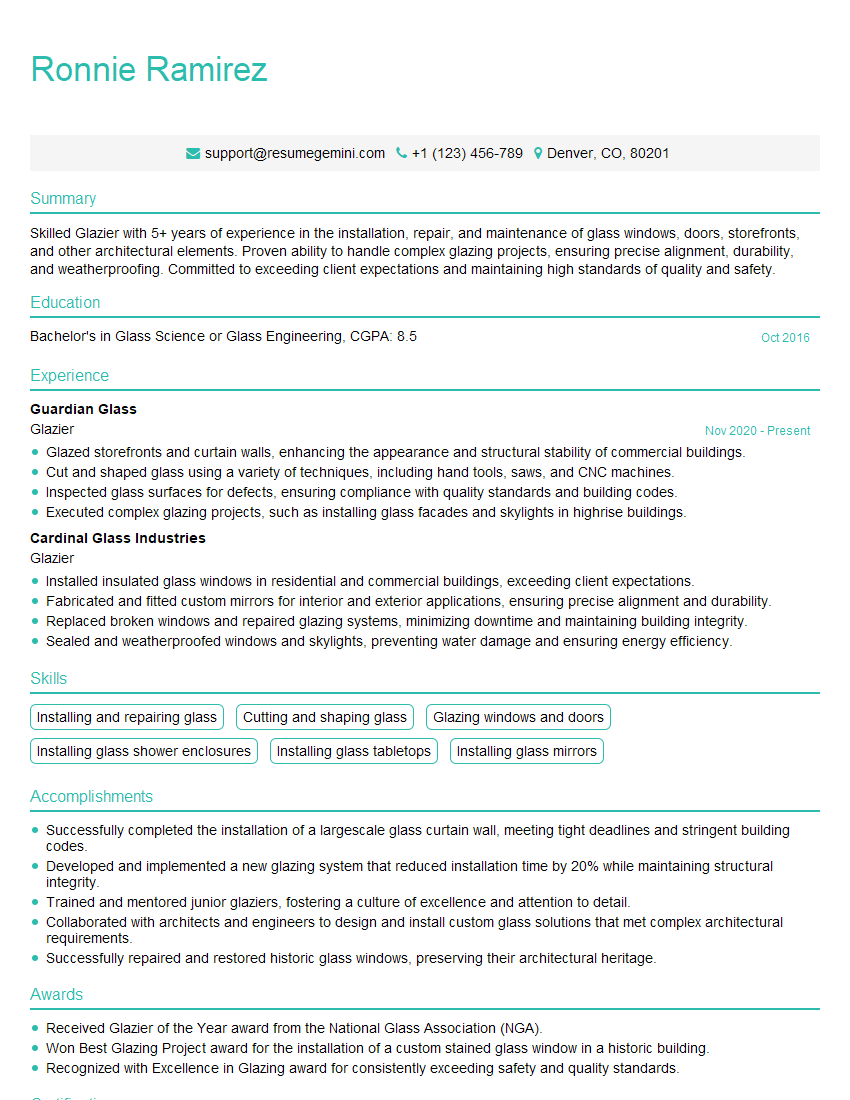
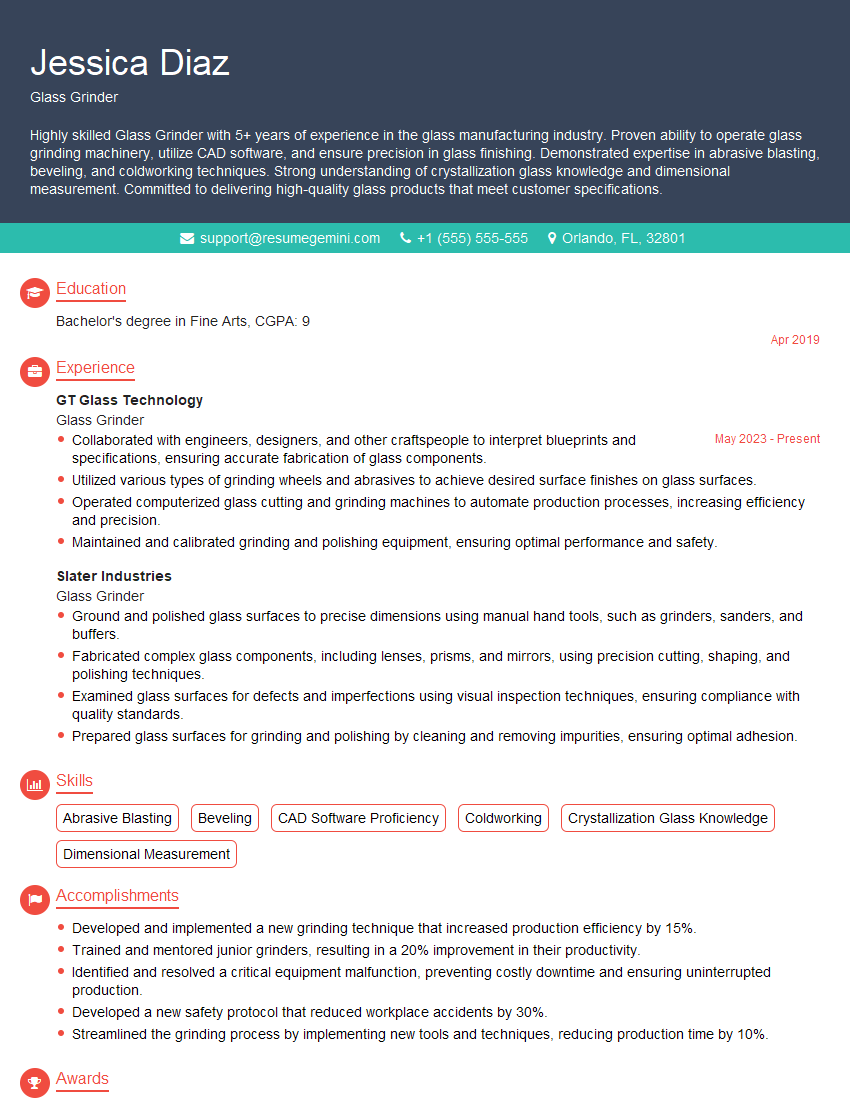
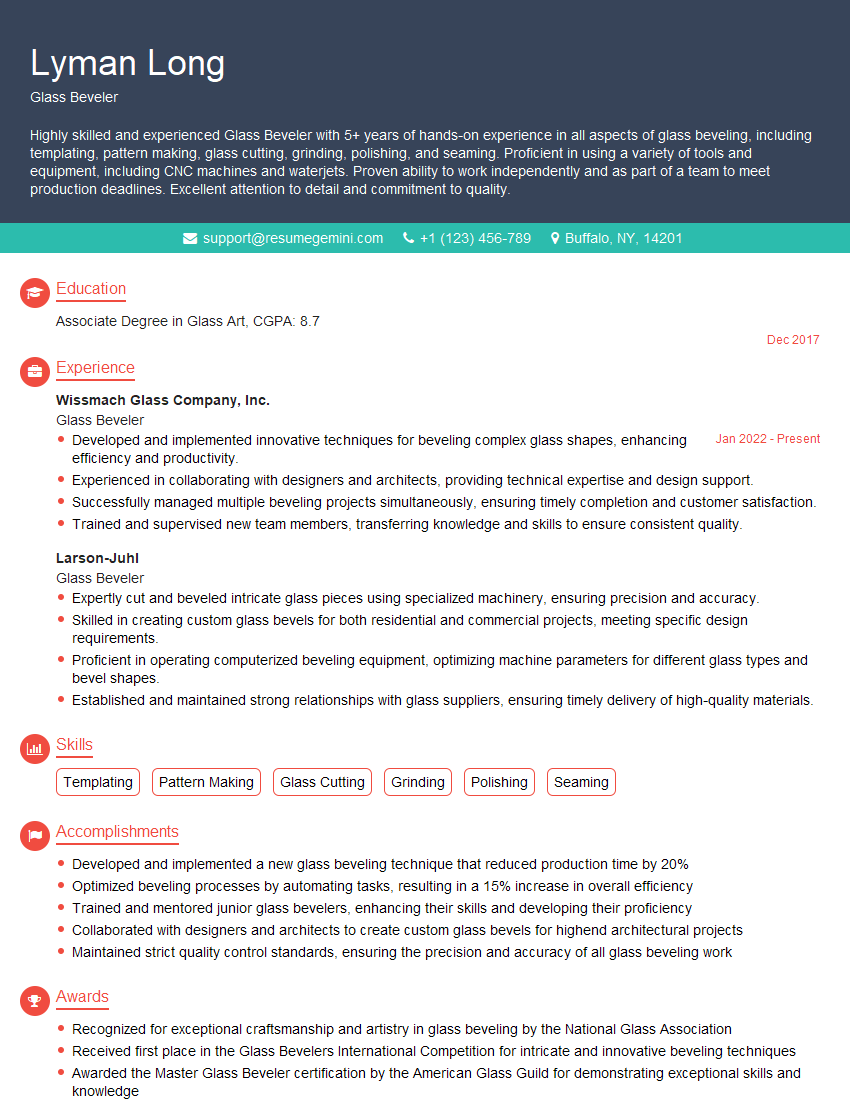
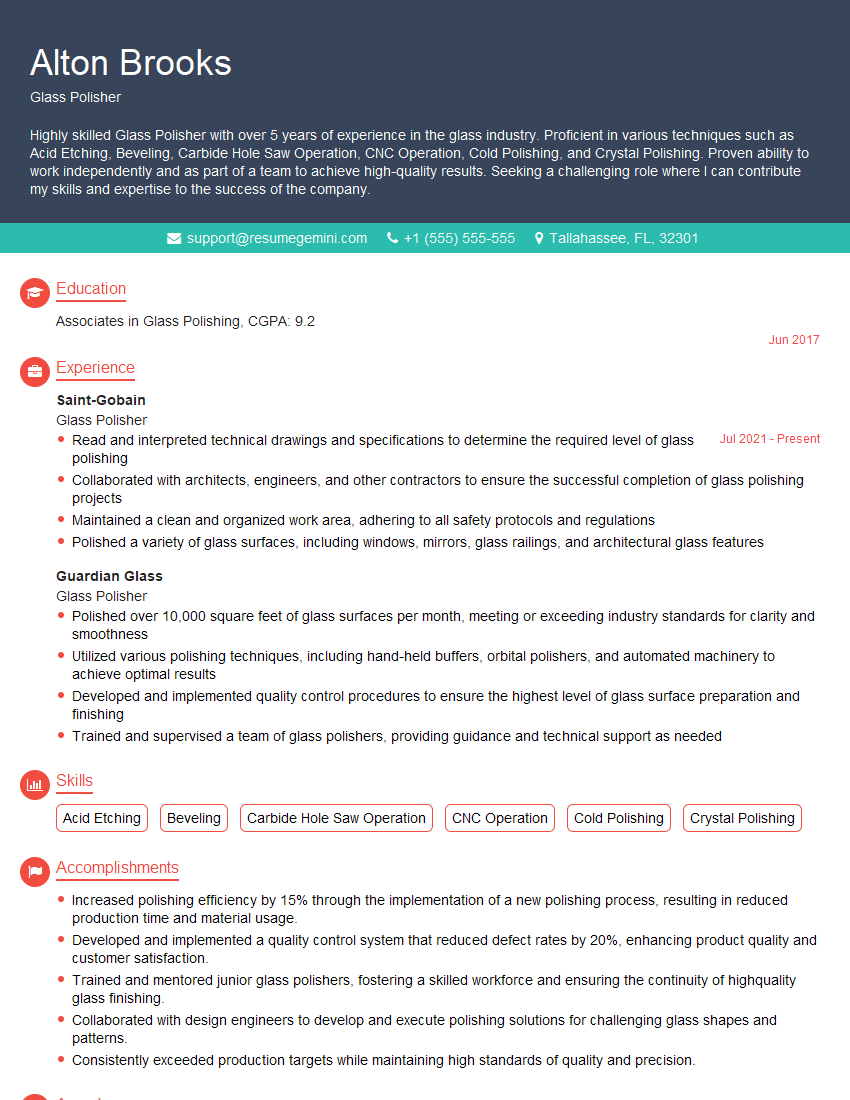
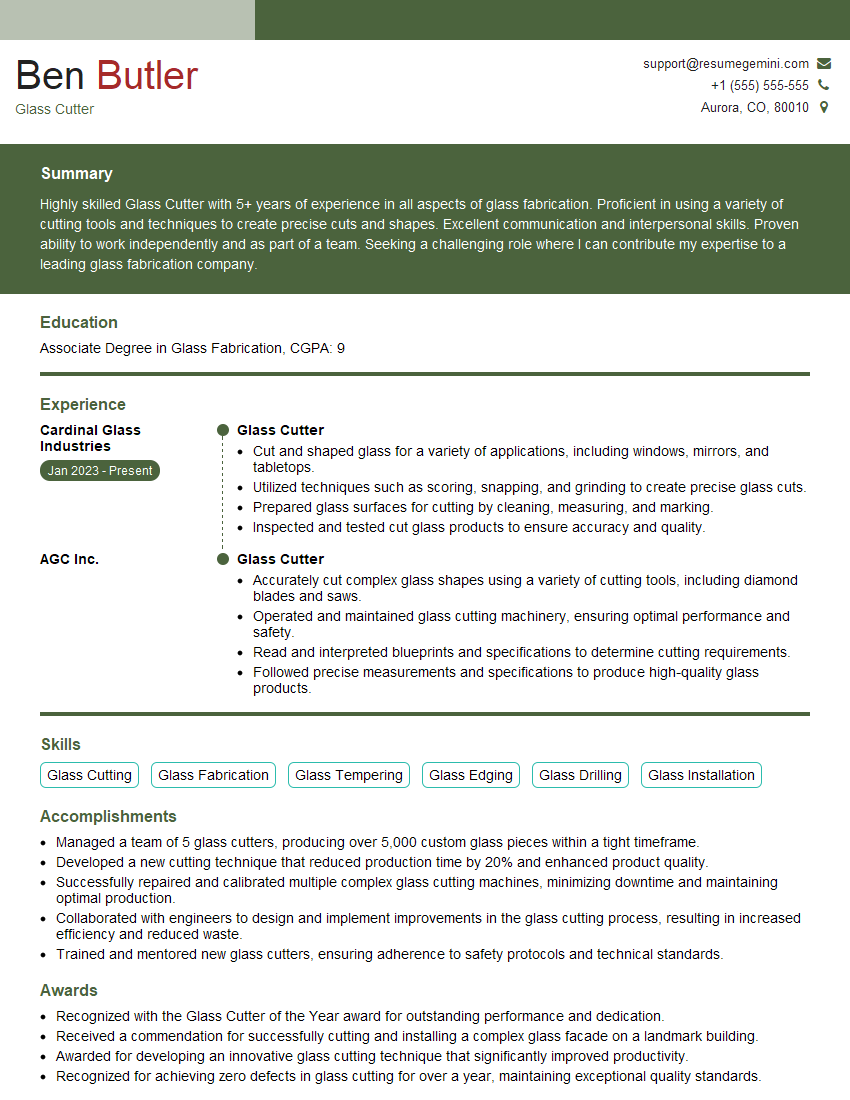
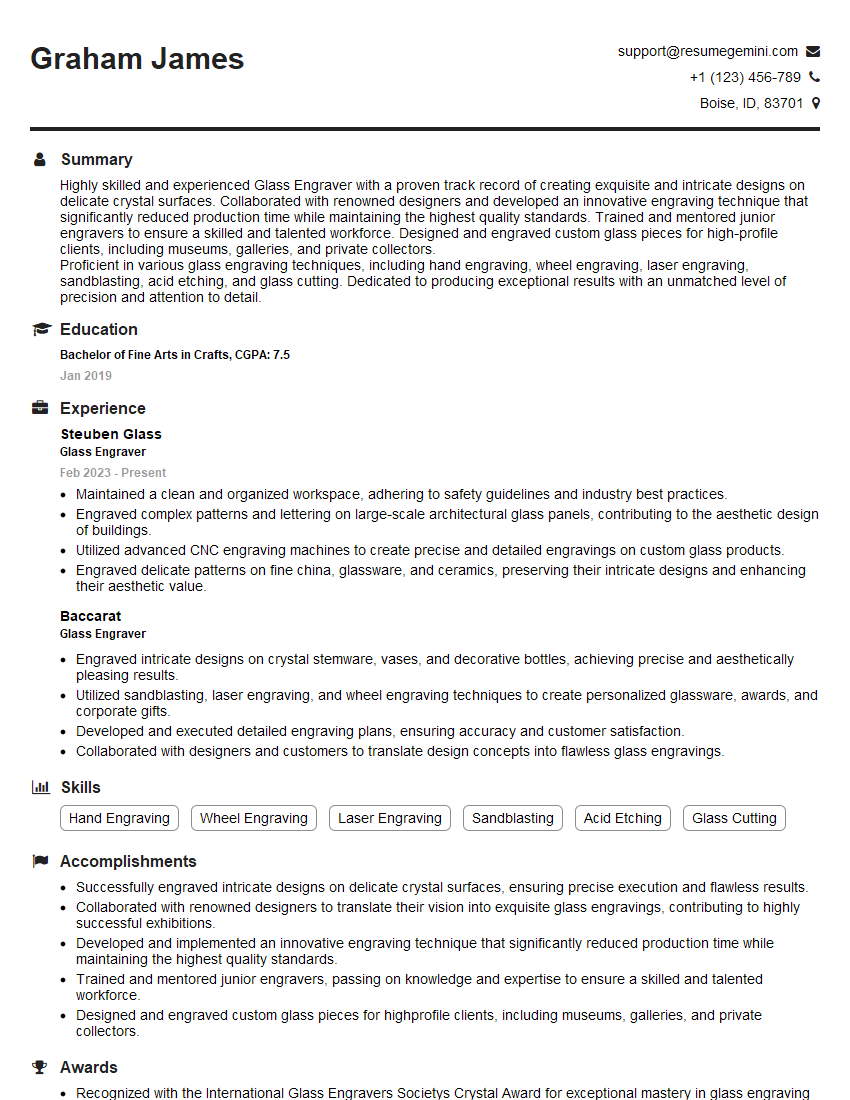
Mastering the art of cutting and shaping glass opens doors to exciting career opportunities in construction, manufacturing, art, and more. To stand out from the competition, a strong, ATS-friendly resume is essential. This is where ResumeGemini can help. ResumeGemini provides a user-friendly platform to build a professional resume that showcases your skills and experience effectively. We offer examples of resumes tailored to the Cutting and Shaping Glass industry to help you craft a compelling application. Invest time in creating a resume that highlights your capabilities and secures you the interview you deserve.
Explore more articles
Users Rating of Our Blogs
Share Your Experience
We value your feedback! Please rate our content and share your thoughts (optional).
What Readers Say About Our Blog
To the interviewgemini.com Webmaster.
Very helpful and content specific questions to help prepare me for my interview!
Thank you
To the interviewgemini.com Webmaster.
This was kind of a unique content I found around the specialized skills. Very helpful questions and good detailed answers.
Very Helpful blog, thank you Interviewgemini team.
