Are you ready to stand out in your next interview? Understanding and preparing for Knowledge of different types of art media and materials interview questions is a game-changer. In this blog, we’ve compiled key questions and expert advice to help you showcase your skills with confidence and precision. Let’s get started on your journey to acing the interview.
Questions Asked in Knowledge of different types of art media and materials Interview
Q 1. Describe the differences between acrylic, oil, and watercolor paints.
Acrylic, oil, and watercolor paints are all popular choices for artists, but they differ significantly in their properties and handling. Think of it like choosing the right tool for a job: a hammer for nails, a screwdriver for screws.
- Acrylics: These are water-based paints that dry quickly to a water-resistant finish. They are versatile, easy to clean up with water, and can be used on a variety of surfaces. However, their fast drying time can be a challenge for blending. Imagine trying to mix colors quickly before they set. Acrylics are also known for their vibrant colors and excellent lightfastness (resistance to fading).
- Oils: Oil paints are slow-drying, allowing for extended blending and layering. This gives artists incredible control over color and texture. The rich, luminous quality of oil paintings is prized, but the slow drying time requires patience and proper ventilation due to the solvents used. Think of it as building up layers of color, slowly revealing the masterpiece.
- Watercolors: These transparent paints are applied to paper using water as a medium. The delicate, luminous effect is achieved by layering washes of color. Watercolors are portable and require minimal equipment, but they offer less control over color mixing and are more challenging to correct mistakes. It’s like painting with light, each layer subtly modifying the previous one.
The choice depends entirely on the artist’s style and the desired effect. A quick study might use acrylics, while a detailed portrait might benefit from oils, and a dreamy landscape might be perfect for watercolors.
Q 2. Explain the properties of various paper types used in printmaking (e.g., rag paper, etching paper).
Paper selection in printmaking is crucial, as it directly impacts the final print’s quality and longevity. Different papers offer unique textures, absorbency, and durability, similar to choosing the right fabric for a garment.
- Rag Paper: This high-quality paper is made from cotton or linen fibers, making it incredibly durable and long-lasting. Its texture is often slightly textured and its ability to absorb ink is excellent. It’s ideal for techniques like etching and lithography where longevity and fine detail are crucial.
- Etching Paper: Specifically designed for etching, this paper is typically smooth and heavyweight to withstand the pressure of the printing process. Its surface is designed to hold the ink effectively and create a crisp, clean image. The paper needs to be robust enough to resist damage during the etching process, which involves repeated pressure and moisture.
- Other Papers: Other types exist, including Japanese paper (known for its unique textures and strengths), and various weights and textures of paper designed for specific printmaking processes, such as woodcut or screen printing. The choice depends on the printmaking technique used and desired aesthetic result.
Consider the properties of each paper type, and how those properties affect the final artwork. A delicate watercolor print will need different paper than a bold, textured woodcut.
Q 3. What are the advantages and disadvantages of using different sculpting materials (e.g., clay, bronze, wood)?
Sculpting materials each present unique advantages and disadvantages. Choosing the right material is like selecting the right building material for a house: strength, cost, and aesthetics all play a part.
- Clay: Highly versatile, easily manipulated, and relatively inexpensive. It’s ideal for beginners and allows for experimentation. However, it requires firing to become durable, and is susceptible to cracking and breakage before firing.
- Bronze: Extremely durable and long-lasting, bronze sculptures maintain their form for centuries. It has a unique aesthetic appeal, but is expensive and requires specialized casting techniques. Think of iconic statues that have lasted for millennia.
- Wood: A beautiful material that offers a range of textures and colors. It is relatively easy to carve and readily available, but it is susceptible to cracking, warping, and insect damage if not properly treated.
The best material depends on the sculptor’s skill level, budget, desired aesthetic, and the intended permanence of the work.
Q 4. How do you select the appropriate canvas for a specific painting technique?
Canvas selection is critical for optimal painting results. The canvas’s texture, weave, and absorbency significantly affect how the paint interacts with the surface. Choosing the wrong canvas can be like using the wrong type of brush for a painting; it will hinder your technique.
- Oil Painting: Linen canvases are preferred for their durability and ability to support thick paint layers. A medium-to-tight weave is suitable for most oil painting techniques.
- Acrylic Painting: Both linen and cotton canvases work well with acrylics. A tighter weave is generally preferable to prevent the paint from sinking too deeply into the fibers.
- Watercolor Painting: Watercolor paper, specifically designed for watercolor paints, is the most suitable option. It is highly absorbent, which allows for the creation of delicate washes and blends. Different weights are available for different painting styles.
Consider the desired texture, the paint’s characteristics, and the artist’s personal preferences when making the choice. Experimentation is key to finding the best canvas for each painting style.
Q 5. Explain the process of preparing a canvas for oil painting.
Preparing a canvas for oil painting is a crucial step to ensure its longevity and optimal paint adherence. It’s like priming a wall before painting – it provides a smooth, even surface for the paint.
- Sizing: This step seals the canvas fibers, preventing the paint from soaking into the canvas and affecting its integrity. Rabbit skin glue or acrylic gesso is commonly used.
- Priming: Applying a layer of gesso creates a smooth, even surface for painting. Gesso also improves the paint’s adhesion and provides a bright white ground for the colors.
- Sanded (optional): After the gesso dries, it may be lightly sanded to remove any texture and create a completely smooth surface.
- Additional coats (optional): Applying multiple coats of gesso can make the canvas more durable and provide additional depth of color.
A properly prepared canvas will prevent cracking, flaking, and ensure that the painting will last for generations. Careful preparation is paramount to a successful oil painting.
Q 6. What are the common solvents used in printmaking and their safety precautions?
Several solvents are used in printmaking to thin inks, clean tools, and remove unwanted ink. However, it’s crucial to handle them with care due to their toxicity.
- Turpentine: Traditionally used for oil-based inks, it’s effective but strong-smelling and flammable. It should be handled in well-ventilated areas and kept away from open flames.
- Mineral spirits: A less toxic alternative to turpentine, it’s also commonly used for cleaning brushes and tools. Proper ventilation is still necessary.
- Isopropyl alcohol: Used for water-based inks and cleaning, it’s less toxic than turpentine and mineral spirits but still requires appropriate handling.
Safety Precautions: Always work in a well-ventilated area, wear gloves and eye protection, and never ingest or inhale solvents. Dispose of used solvents responsibly according to local regulations. Remember, safety first! Treat these solvents with respect, as they can be harmful if not handled properly.
Q 7. Describe different types of varnishes and their application methods in art conservation.
Varnishes are essential in art conservation, protecting artworks from environmental damage and enhancing their appearance. Choosing the right varnish is like selecting the right sealant for a wooden deck.
- Retouching varnish: A removable varnish applied temporarily to protect a painting while it is being restored or retouched. It allows for easier removal of corrections if needed.
- Picture varnish: A durable, long-lasting protective layer that enhances the appearance and protects the artwork from UV light, dust and dirt. It can be either a solvent-based or water-based formula.
- Masking varnish: Used to protect specific areas of a painting during cleaning or restoration work.
Application Methods: Varnishes are typically applied using soft brushes or spray guns in thin, even coats, allowing sufficient drying time between coats. The specific method depends on the type of varnish and the artwork’s characteristics. Improper application can lead to problems such as cracking or discoloration, so precise and careful application is vital for preserving the integrity of artwork.
Q 8. How would you handle the cleaning and restoration of a damaged oil painting?
Cleaning and restoring a damaged oil painting is a delicate process requiring expertise and patience. It’s crucial to assess the damage first – is it surface dirt, varnish discoloration, cracking, flaking paint, or something more serious like mold? The approach varies drastically depending on the type and extent of the damage.
Surface Cleaning: Often, a soft, dry brush is all you need to remove loose dust. For more stubborn grime, a very soft brush with isopropyl alcohol (diluted appropriately) might be used, always testing on an inconspicuous area first. Never use harsh chemicals or abrasive materials.
Varnish Removal: Discolored or cracked varnish can obscure the painting. A conservator might use specialized solvents applied with cotton swabs to carefully remove the old varnish. This requires careful control to avoid damaging the underlying paint layers.
Crack Repair: Small cracks might be consolidated using a consolidant, a solution that strengthens the paint without altering its appearance. Larger cracks may require more invasive techniques, sometimes involving injecting consolidant or carefully inpainting lost paint using pigments that closely match the original.
Flaking Paint: Flaking paint requires stabilization using adhesives, often applied with a fine brush or syringe. The choice of adhesive depends on the paint’s composition and the type of damage. Improper adhesives can cause further damage in the long run.
Inpainting: Once the damage is stabilized, lost paint might be carefully recreated (inpainted) using pigments that blend seamlessly with the surrounding areas. This is a highly skilled technique that requires a keen eye for color and texture.
Final Varnish: After restoration, a protective varnish may be applied to shield the painting from future damage. This is usually a reversible varnish, meaning it can be removed in the future if needed. Throughout the entire process, meticulous documentation is vital, including detailed photographs and notes detailing each step taken.
Q 9. What are the challenges of working with different types of clay?
Working with different types of clay presents unique challenges due to their varying properties. The key differences lie in their plasticity, shrinkage rate, and firing behavior.
- Plasticity: High-plasticity clays are very malleable and easy to work with, but they can be prone to cracking during drying. Low-plasticity clays are stiffer and less prone to cracking, but can be more challenging to shape.
- Shrinkage Rate: Different clays shrink at different rates during drying and firing. This needs to be considered when creating complex shapes or joining pieces, as uneven shrinkage can lead to warping or cracking. Stoneware clays, for example, generally have a lower shrinkage rate than earthenware clays.
- Firing Behavior: Some clays are suitable for low-fire temperatures (cone 04-06), while others require higher temperatures (cone 6-10) for proper vitrification (the process of becoming hard and non-porous). Choosing the wrong clay for the firing temperature can lead to crumbling or cracking of the finished piece.
- Texture and Color: Clays vary significantly in their natural texture and color, ranging from smooth and white to rough and dark brown. This diversity allows for unique aesthetic effects.
For instance, a sculptor working with delicate forms might choose a high-plasticity clay to easily manipulate the material, while a potter creating a sturdy vessel might prefer a low-plasticity clay to reduce the risk of cracking. Understanding these properties is essential for achieving the desired result.
Q 10. Explain the process of firing ceramics and the impact of different firing temperatures.
Firing ceramics is a crucial process that transforms clay from a soft, malleable material into a hard, durable object. It involves heating the ceramic pieces in a kiln to specific temperatures for a set amount of time. The temperature plays a significant role in the final properties of the ceramic.
The Process: The firing process generally involves bisque firing followed by a glaze firing (though some techniques, like raku, skip the bisque). Bisque firing, typically around 1800-2000°F (982-1093°C), hardens the clay, making it strong enough to handle glazing. Glaze firing takes place at a higher temperature, depending on the type of clay and glaze used. During glaze firing, the glaze melts and fuses to the ceramic surface, creating a watertight, decorative finish.
Impact of Different Firing Temperatures: Different firing temperatures result in vastly different properties:
- Low-fire (Cone 04-06): Produces porous earthenware, suitable for decorative items but not for functional ware requiring watertightness.
- Mid-range (Cone 5-6): Results in stronger, less porous stoneware. More suitable for functional pottery.
- High-fire (Cone 10 and above): Creates very durable, vitrified porcelain, which is extremely strong, dense and resistant to water.
The choice of firing temperature also dictates the type of glaze that can be used. Low-fire glazes won’t melt at high temperatures and high-fire glazes might not mature properly at low temperatures. Careful consideration of all these factors ensures a successful firing and a high-quality ceramic piece.
Q 11. What are the different types of inks used in printmaking?
Printmaking utilizes various inks, each with unique properties affecting the print’s appearance, longevity, and printing technique. The choice of ink depends heavily on the printmaking method employed.
- Relief Printing (Woodcut, Wood Engraving, Linocut): Oil-based inks, often referred to as ‘printing inks,’ are commonly used. These inks are thick, pigmented and slow-drying, making them ideal for the raised surfaces of relief prints.
- Intaglio Printing (Etching, Engraving, Drypoint): Intaglio printing uses oil-based inks as well, but the ink is forced into the incised lines of the plate, creating richly detailed and textured impressions.
- Lithography: Lithographic printing employs water-based inks that are repelled by the greasy areas of the stone or plate, ensuring that ink only adheres to the designed image.
- Screen Printing (Serigraphy): Screen printing uses a wide variety of inks, from water-based to oil-based and even specialized inks such as those that glow in the dark or have a textured finish. The choice depends on the desired effect and the material being printed on.
Each ink type requires specific handling and cleaning techniques. Oil-based inks require solvents for cleaning, while water-based inks are easier to clean with soap and water. Understanding these differences is critical for producing high-quality, clean prints.
Q 12. Discuss the properties of various metal alloys used in sculpture.
Metal alloys are widely employed in sculpture, offering a range of properties that impact the artist’s creative process and the sculpture’s longevity. The choice of alloy depends on factors such as desired strength, malleability, corrosion resistance, and cost.
- Bronze (Copper Alloy): A classic choice for sculpture, bronze alloys (copper with tin, zinc, or other elements) are strong, durable, and can be cast into intricate details. Their patination (surface treatment) can produce a wide range of colors and textures.
- Brass (Copper-Zinc Alloy): Brass is easier to work with than bronze, being more malleable and readily available, making it suitable for techniques like hammering and chasing. Its golden color adds a unique aesthetic.
- Stainless Steel: A highly corrosion-resistant alloy, stainless steel is popular for outdoor sculptures. Its strength and longevity are advantageous but its hardness can make it more difficult to work with than softer metals.
- Aluminum Alloys: Lightweight and resistant to corrosion, aluminum alloys are becoming increasingly popular, especially in large-scale sculptures. They can be cast or welded, allowing for diverse forms.
The selection of a metal alloy often involves a balance between aesthetic considerations and practical limitations. A sculptor might choose bronze for its traditional appeal and rich patina, whereas a contemporary artist might favor aluminum for its lightness and modern feel. Understanding the properties of each alloy is essential for the successful creation of a metal sculpture.
Q 13. How do you select the appropriate wood for carving or sculpting?
Selecting the appropriate wood for carving or sculpting involves considering various factors related to the wood’s properties and the artist’s intended outcome.
- Hardness: Hardwoods like oak, maple, and mahogany are preferred for fine detail work due to their ability to hold sharp lines and intricate carvings. Softwoods like pine or basswood are easier to carve but lack the same detail-holding capacity. The choice depends on the desired level of detail and the artist’s skill level.
- Grain: The wood grain’s direction and pattern significantly impact the carving process. Straight, even grain makes for easier carving, while irregular grain can lead to unpredictable chipping or splitting. The artist might choose a wood with a particular grain pattern for aesthetic reasons, but this often requires more skill.
- Workability: Some woods are simply easier to carve than others. Basswood, for instance, is known for its soft texture and ease of carving, making it a beginner-friendly option. Harder woods require more experience and sharper tools.
- Durability: For outdoor sculptures, it’s important to choose a wood with natural resistance to decay and insect infestation. Cedar or redwood, for instance, are naturally durable choices, while other woods might require protective treatments.
- Aesthetic Qualities: The color, grain pattern, and overall texture of the wood are also considerations. An artist might select a specific wood for its aesthetic qualities, even if it’s more challenging to work with.
For example, a novice carver might opt for basswood for its easy workability, while an experienced sculptor might choose a harder wood like oak to achieve fine detailing in a more durable piece. The final decision involves balancing the wood’s properties with the artist’s skills and vision.
Q 14. What are the different types of adhesives used in art conservation and their applications?
In art conservation, choosing the right adhesive is paramount. The wrong adhesive can cause more damage than the initial problem! The selection depends on the materials being joined, the type of damage, and the reversibility requirements.
- Animal Glue: A traditional adhesive, animal glue is reversible and compatible with many materials. It’s often used for consolidating weakened canvas or reattaching detached paint layers. However, it’s vulnerable to moisture and pests.
- Wheat Starch Paste: A water-soluble adhesive, wheat starch paste is particularly suitable for paper and textiles. It’s less damaging than many synthetic adhesives and relatively easy to remove if needed.
- Acrylic Adhesives: These synthetic adhesives offer good strength and flexibility. They come in various viscosities, allowing for precise application in delicate situations. However, some can yellow over time and may not be completely reversible.
- Polyvinyl Acetate (PVAc) Emulsions: These are widely used for their good adhesion to various materials, including wood, paper, and textiles. However, their long-term stability needs careful monitoring.
- Epoxy Resins: Epoxy resins are exceptionally strong and durable, often used for structural repairs. However, they are less reversible and their use requires careful consideration due to their permanence.
Conservators often conduct extensive testing to determine the best adhesive for a specific situation. They consider factors such as the age and composition of the materials, the climate conditions, and the long-term stability of the adhesive. Reversibility is a key goal – the ability to remove the adhesive in the future if better techniques become available or if removal is necessary for further treatment.
Q 15. Explain the importance of archival materials in art preservation.
Archival materials are crucial for preserving artworks because they’re designed to resist degradation over time. Think of it like this: you wouldn’t store a priceless antique in a cardboard box – you’d use a climate-controlled vault! Similarly, archival materials are specifically chosen to protect art from the elements and the passage of time. This resistance is achieved through specific properties.
- Acid-free paper and boards: Acids are a major culprit in paper degradation, causing yellowing and brittleness. Acid-free materials prevent this chemical breakdown.
- UV-resistant materials: Ultraviolet (UV) light from sunlight is a significant cause of fading in pigments and dyes. UV-resistant glazing or enclosures protect the artwork from this damage.
- Stable plastics and adhesives: Certain plastics and adhesives break down over time, releasing harmful chemicals or becoming brittle. Archival-quality materials are selected for their long-term stability.
- Proper storage conditions: Even with archival materials, appropriate environmental control (temperature, humidity, and light levels) is paramount. Think of it like carefully storing a fine wine – the environment matters greatly.
Using archival materials isn’t just about preserving the physical artwork; it’s about safeguarding its cultural and historical value for future generations. Imagine a museum curator painstakingly preserving a historical document – the materials they use directly impact the document’s survival and its availability to future researchers.
Career Expert Tips:
- Ace those interviews! Prepare effectively by reviewing the Top 50 Most Common Interview Questions on ResumeGemini.
- Navigate your job search with confidence! Explore a wide range of Career Tips on ResumeGemini. Learn about common challenges and recommendations to overcome them.
- Craft the perfect resume! Master the Art of Resume Writing with ResumeGemini’s guide. Showcase your unique qualifications and achievements effectively.
- Don’t miss out on holiday savings! Build your dream resume with ResumeGemini’s ATS optimized templates.
Q 16. Describe the process of preparing a photograph for display or archival storage.
Preparing a photograph for display or archival storage involves a multi-step process that ensures its longevity and visual appeal. Think of it like preparing a delicate flower for pressing – it requires care and attention to detail.
- Cleaning: Gently clean the surface of the photograph using archival-safe methods; a soft brush or archival-quality cleaning solution might be used. Avoid harsh chemicals.
- Assessment: Examine the photograph for any damage, such as tears, creases, or fading. Note these issues for future reference and conservation treatment if needed.
- Mounting (optional): For display, archival-quality mounting board and adhesives can be used to support and protect the photograph. This prevents handling damage and keeps it flat. Avoid using sticky tape directly on the photo.
- Encapsulation (recommended): Encapsulation in an acid-free Mylar sleeve offers superior protection from light, dust, and handling. It acts as a barrier preserving the photograph’s condition.
- Storage: Store the photograph in a cool, dark, and dry place. Avoid direct sunlight and fluctuating temperatures. Acid-free boxes or archival-quality albums are ideal.
- Framing (for display): If framed, use UV-protective glazing and acid-free mats and backing boards. Ensure the framing doesn’t put pressure on the photograph.
By following these steps, you ensure your photograph remains in optimal condition, whether displayed for public admiration or carefully stored for the future.
Q 17. What are the different types of pigments and their properties?
Pigments are the colored powders that are mixed with a binder (like oil or acrylic) to create paint. Different pigments have unique properties affecting their lightfastness (resistance to fading), transparency, and toxicity.
- Inorganic pigments: These are derived from minerals and are generally more lightfast and durable. Examples include:
- Cadmium pigments: Vibrant yellows, oranges, and reds, known for their brilliance but are toxic.
- Ultramarine: A deep blue pigment historically made from lapis lazuli, known for its richness.
- Iron oxides: Earth tones like reds, yellows, and browns, very stable and non-toxic.
- Organic pigments: These are derived from organic sources (plants, animals, or synthetic materials) and may be less lightfast than inorganic pigments. Examples include:
- Alizarin crimson: A reddish-purple pigment known for its intense color.
- Prussian blue: A deep blue pigment, fairly lightfast and relatively inexpensive.
- Lakes: Pigments created by precipitating a dye onto an inert material, can be less lightfast.
Choosing the right pigment depends on the desired color, lightfastness requirements, and the artist’s budget and safety concerns. For example, a painter working on a mural exposed to sunlight would need pigments with high lightfastness, while an artist working on a painting for a private collection might prioritize color vibrancy even if it means slightly lower lightfastness.
Q 18. Discuss the health and safety considerations when working with art materials.
Working with art materials carries inherent health and safety risks, requiring careful attention and preventive measures. Think of it like working in a chemistry lab – proper safety protocols are essential.
- Respiratory protection: Many pigments, solvents, and mediums (like turpentine or mineral spirits) release harmful fumes. Use appropriate respirators to filter out these airborne particles.
- Skin protection: Many materials can irritate or damage skin. Wear gloves, long sleeves, and eye protection to prevent contact.
- Proper ventilation: Work in a well-ventilated space, or use a respirator and local exhaust ventilation systems, to minimize inhalation of toxic fumes.
- Disposal of waste: Dispose of solvents and other hazardous materials properly according to local regulations. Never pour them down the drain.
- Awareness of toxicity: Be aware of the toxicity of specific materials, such as cadmium and lead pigments, and take appropriate precautions.
- First aid: Have a first aid kit readily available and know how to handle spills or skin irritations.
Following these safety guidelines not only protects the artist’s health but also ensures the long-term preservation of their work. An artist’s health is their most valuable asset and must be prioritized.
Q 19. How would you address the issue of fading or discoloration in a painting?
Addressing fading or discoloration in a painting requires a careful, professional approach. It’s not a DIY project; it often necessitates expert intervention.
The best course of action depends on the cause of the fading (UV light exposure, unstable pigments, etc.) and the type of painting. A professional conservator would conduct a thorough assessment, including the painting’s materials and condition.
- Cleaning: Gentle cleaning can remove surface grime that may obscure the underlying colors. This needs to be performed using archival methods by a conservator.
- Retouching: A conservator might carefully retouch areas with minimal discoloration using historically accurate pigments and techniques. This is a very delicate process.
- Environmental control: Improving environmental conditions (controlling light exposure, temperature, and humidity) is crucial in preventing further fading. This is essential for long-term preservation.
- UV filtration: Using UV-protective glazing in framing can significantly reduce future fading from light exposure.
It’s important to note that attempts to clean or restore a painting without proper training can cause irreparable damage. It is vital to consult with a qualified conservator for expert advice and treatment.
Q 20. Explain different methods for creating texture in painting and sculpture.
Creating texture is a fundamental aspect of both painting and sculpture, adding depth and visual interest to the artwork. Think about the difference between a smooth, polished stone and a rough, textured rock – the texture significantly affects the overall aesthetic.
In painting:
- Impasto: Applying thick layers of paint allows the brushstrokes or palette knife marks to become visible, creating a three-dimensional effect. Think of Van Gogh’s thickly applied paint.
- Sgraffito: Scratching through layers of paint to reveal underlying colors creates a textural contrast and visual complexity.
- Adding mediums: Incorporating mediums like sand, gesso, or other materials into the paint can modify the texture, adding roughness or grit.
- Layering techniques: Building up layers of paint with varying thicknesses and drying times can create subtle or dramatic textural shifts.
In sculpture:
- Modeling: Shaping clay, wax, or other malleable materials allows for a wide range of textural effects, from smooth surfaces to deeply textured forms.
- Carving: Subtractive methods like carving stone, wood, or ice can produce a variety of textures depending on the tools and techniques used.
- Assemblage: Combining various materials (wood, metal, found objects) to create a sculptural form introduces a diverse range of textures.
- Casting: Casting techniques allow for replication of textures from a mold, preserving the original surface characteristics.
The choice of texture is a stylistic and expressive element; the artist’s skill in manipulating materials determines the final result.
Q 21. How do you choose the appropriate framing materials for a piece of art?
Choosing the right framing materials is crucial for both protecting the artwork and enhancing its presentation. Think of it as choosing the perfect outfit for a special occasion; the frame should complement the artwork, not overshadow it.
- Matting: Acid-free mats protect the artwork from the frame and provide a visual buffer. The color and width of the mat should complement the artwork.
- Glazing: UV-protective glazing is essential to protect the artwork from fading caused by sunlight. Consider the type of glazing (glass or acrylic) based on the artwork’s size and fragility.
- Frame material: The frame material (wood, metal, etc.) should be chosen to complement the artwork’s style and aesthetic. Consider the weight and durability of the material.
- Frame size and proportions: The frame should not overwhelm or detract from the artwork. The proportions should be balanced, with the frame complementing the artwork’s dimensions.
- Archival quality: All materials should be archival quality to prevent damage to the artwork over time. Avoid materials that contain acids or other harmful chemicals.
Choosing the right framing involves a balance of aesthetics and preservation. A poorly chosen frame can damage an artwork and diminish its value. A well-chosen frame enhances the presentation and protects the artwork for generations to come.
Q 22. What are the different types of glass used in framing and why are they chosen?
The choice of glass for framing significantly impacts the artwork’s preservation and presentation. Several types are commonly used, each with its own advantages and disadvantages.
- Regular Glass: This is the most economical option but offers minimal UV protection, leading to potential fading and damage over time. It’s suitable only for short-term display or artwork not highly susceptible to light damage.
- UV-Filtering Glass: This type absorbs a significant portion of harmful ultraviolet (UV) rays, preventing fading and color deterioration. It’s a preferred choice for valuable or light-sensitive artwork. Different levels of UV protection are available; look for glass with at least 99% UV protection.
- Museum Glass (or Conservation Glass): This is a premium choice, offering superior UV protection combined with reduced reflection and glare. Its clarity allows for optimal viewing of the artwork, making it ideal for museums and high-value pieces. It is often more expensive than UV-filtering glass but offers exceptional preservation qualities.
- Acrylic: While not technically glass, acrylic is a popular alternative, especially for larger or more fragile pieces. It’s lighter and less breakable than glass, offering better protection against accidental damage. However, it can scratch more easily and may not offer the same level of clarity as high-quality glass.
The decision of which glass to use depends on the artwork’s value, sensitivity to light, budget, and the desired level of protection. For instance, a museum-quality painting would necessitate museum glass, while a less valuable print might be adequately protected with UV-filtering glass.
Q 23. Describe the process of matting and mounting artwork.
Matting and mounting are crucial steps in preserving and presenting artwork. Matting involves placing a border of acid-free mat board around the artwork, creating visual separation and protection. Mounting involves adhering the artwork to a backing board for support and stability.
Matting Process:
- Choose the right mat board: Select acid-free, lignin-free, and buffered mat board to prevent discoloration and damage to the artwork. Different colors and thicknesses are available to complement the artwork.
- Measure and cut the mat: Accurate measurements are critical. Use a sharp blade and cutting mat to prevent tearing or damage.
- Create the window opening: This opening should precisely fit the artwork. A bevel cutter is often used to create a professional-looking edge.
- Assemble the mat: Carefully place the artwork into the window opening.
Mounting Process:
- Select the backing board: Choose an acid-free and stable backing board appropriate for the artwork’s size and weight.
- Adhesive Selection: Use a pH-neutral, archival-quality adhesive designed for artwork mounting. Avoid using glue sticks or tapes, which can damage the artwork over time.
- Apply the adhesive: Carefully apply a thin, even layer of adhesive to the backing board, avoiding contact with the artwork’s surface.
- Attach the artwork: Gently place the artwork onto the adhesive, ensuring proper alignment. Use weights or clamps to ensure even adhesion.
Proper matting and mounting prevent the artwork from direct contact with potentially harmful materials, such as acidic cardboard or glass, and also provide a professional and finished look.
Q 24. Discuss the ethical considerations involved in art conservation and restoration.
Ethical considerations in art conservation and restoration are paramount. The core principle is to cause no further harm to the artwork while preserving its aesthetic and historical value.
- Reversibility: Interventions should be reversible, allowing future conservators to undo or modify treatments if necessary. This prevents irreversible damage from ill-advised techniques.
- Minimally Invasive Techniques: Treatments should be as minimally invasive as possible, focusing on stabilizing the artwork rather than extensive alteration. This respects the artwork’s integrity and original craftsmanship.
- Transparency and Documentation: A detailed record of all treatments, materials used, and observations should be maintained. This allows future researchers and conservators to understand the artwork’s history and treatment.
- Respect for the Artist’s Intent: The original artist’s intent should be considered whenever possible. Modifications should only be made when necessary for preservation and should avoid altering the artwork’s aesthetic or artistic expression in a significant way.
- Authenticity vs. Intervention: Balancing the need to preserve the artwork with the desire to maintain its authenticity is a constant challenge. Any intervention should be justified and documented thoroughly.
For example, cleaning a painting might seem simple, but the wrong cleaning agent can damage the paint layers. Ethical considerations demand the conservator to use only the safest and most appropriate methods, meticulously documenting the process and its impact.
Q 25. How would you assess the condition of an artwork before initiating conservation?
Assessing the condition of an artwork before initiating conservation involves a thorough visual examination and often includes scientific analysis.
- Visual Examination: This includes carefully observing the artwork’s overall appearance, noting any visible damage such as cracks, tears, fading, discoloration, or pest infestation. The condition of the frame, mat, and backing board is also assessed.
- Photography: High-resolution digital images are taken to document the artwork’s condition before and after any treatment. These images serve as a crucial record for tracking changes.
- Scientific Analysis (if necessary): Depending on the artwork’s condition and material, scientific analysis such as X-ray fluorescence (XRF) or infrared reflectography (IRR) may be necessary to determine the composition of the materials, identify the presence of contaminants, and assess the extent of underlying damage. This might reveal hidden details or previous repairs.
- Material Testing (if necessary): Small, non-invasive samples might be taken for further analysis to determine material properties and best conservation strategies. This should be done cautiously and only if it will not harm the work.
This comprehensive assessment allows the conservator to develop a tailored conservation plan that addresses the artwork’s specific needs, ensuring the most effective and ethical treatment approach.
Q 26. Explain the concept of ‘art handling’ and its importance.
Art handling refers to the safe and proper techniques used to move, store, and display artworks. It’s crucial to prevent damage and ensure the longevity of the artwork. This includes everything from picking up a small sculpture to transporting a large painting.
- Proper Lifting Techniques: Always support the artwork’s full weight, using appropriate lifting devices or assistance if necessary. Avoid lifting from just one edge.
- Appropriate Gloves: Wear clean, cotton gloves to prevent transfer of oils, dirt, or acids to the artwork’s surface. Some artworks may require specialized gloves.
- Stable Support: Ensure the artwork has adequate support during handling and transport to prevent bending, warping, or breakage.
- Environmental Control: Maintain appropriate temperature, humidity, and light levels to protect the artwork from environmental damage.
- Safe Transportation: Use appropriate crates, protective packaging, and transportation methods tailored to the artwork’s size, fragility, and value.
Improper handling can lead to tears, scratches, dents, and other irreparable damage. For instance, incorrectly lifting a canvas painting could result in tears or damage to the stretcher bars. By prioritizing safe handling practices, we ensure the preservation and enjoyment of artwork for generations to come.
Q 27. Describe different methods for creating a digital art print from original work.
Creating digital art prints from original artwork involves several methods, each with its own advantages and limitations.
- Scanning: High-resolution scanners can capture detailed images of two-dimensional artwork. Flatbed scanners are ideal for smaller pieces, while drum scanners offer higher resolution and accuracy for larger or more intricate artwork.
- Photography: High-resolution digital photography using specialized equipment (like macro lenses and controlled lighting) is commonly used for artworks that cannot be easily scanned, such as sculptures or three-dimensional pieces. Care must be taken to minimize reflections and ensure even lighting.
- Digital Painting/Illustration: Artists may recreate artwork digitally by creating a new digital file based on the original artwork. This method is useful for recreating pieces that are damaged, or to produce new artwork in the same style as the original.
Once a digital image is obtained, it can be further edited and processed to correct for color balance, defects, and other issues. Different printmaking methods, such as giclée printing (which is known for its high-quality reproduction), can then be used to produce high-quality prints. The final output depends on the original artwork and the desired quality of the reproduction. The choice of method depends on factors such as the artwork’s size, three-dimensionality, condition, and the budget.
Q 28. What are some sustainable and eco-friendly art materials and practices?
Sustainability and eco-friendliness are increasingly important in the art world. Many artists and institutions are adopting sustainable practices and using eco-friendly materials.
- Recycled Paper: Utilizing recycled paper reduces the environmental impact of paper production.
- Natural Pigments: Employing natural pigments derived from plants, minerals, or insects reduces reliance on synthetic chemicals.
- Water-Based Paints and Inks: These are less toxic and more environmentally friendly compared to solvent-based counterparts.
- Sustainable Wood Sources: Selecting wood from sustainably managed forests ensures responsible sourcing of materials.
- Digital Art: Digital art eliminates the need for many physical materials, reducing waste and environmental impact. However, the energy consumption for digital devices and printing should be considered.
- Repurposed Materials: Using discarded or recycled materials to create art reduces waste and contributes to a circular economy.
For example, an artist might use recycled cardboard for sculptures or create prints using vegetable-based inks on recycled paper. Choosing these sustainable options minimizes the environmental footprint of the art-making process.
Key Topics to Learn for Knowledge of Different Types of Art Media and Materials Interview
- Drawing Media: Understanding the properties and applications of graphite, charcoal, pastels, colored pencils, and inks. Consider techniques like hatching, cross-hatching, and blending.
- Painting Media: Exploring the differences between watercolor, acrylic, oil, and gouache paints. Know the characteristics of each (drying time, texture, blending capabilities), and appropriate surfaces for application.
- Printmaking Techniques: Familiarity with relief printing (woodcut, linocut), intaglio (etching, engraving), lithography, and screen printing. Understand the processes and artistic effects achievable with each.
- Sculpture Media: Knowledge of various materials used in sculpture, such as clay, stone, wood, metal, and found objects. Discuss different sculpting techniques (additive vs. subtractive).
- Digital Media: Understanding digital painting and drawing software, such as Photoshop and Procreate. Discuss the advantages and disadvantages compared to traditional media.
- Mixed Media: Explore the creative possibilities of combining different art media and materials in a single artwork. Consider the challenges and solutions involved in this approach.
- Art Conservation and Preservation: Basic knowledge of how to handle and care for different art materials to prevent damage and ensure longevity.
- Art History & Influences: Understanding how different art movements and historical periods have shaped the use of various media and materials.
- Practical Application & Problem Solving: Be prepared to discuss how you’ve overcome challenges in using specific art media, how you’ve adapted your techniques to achieve desired effects, and how you choose materials based on project requirements.
Next Steps
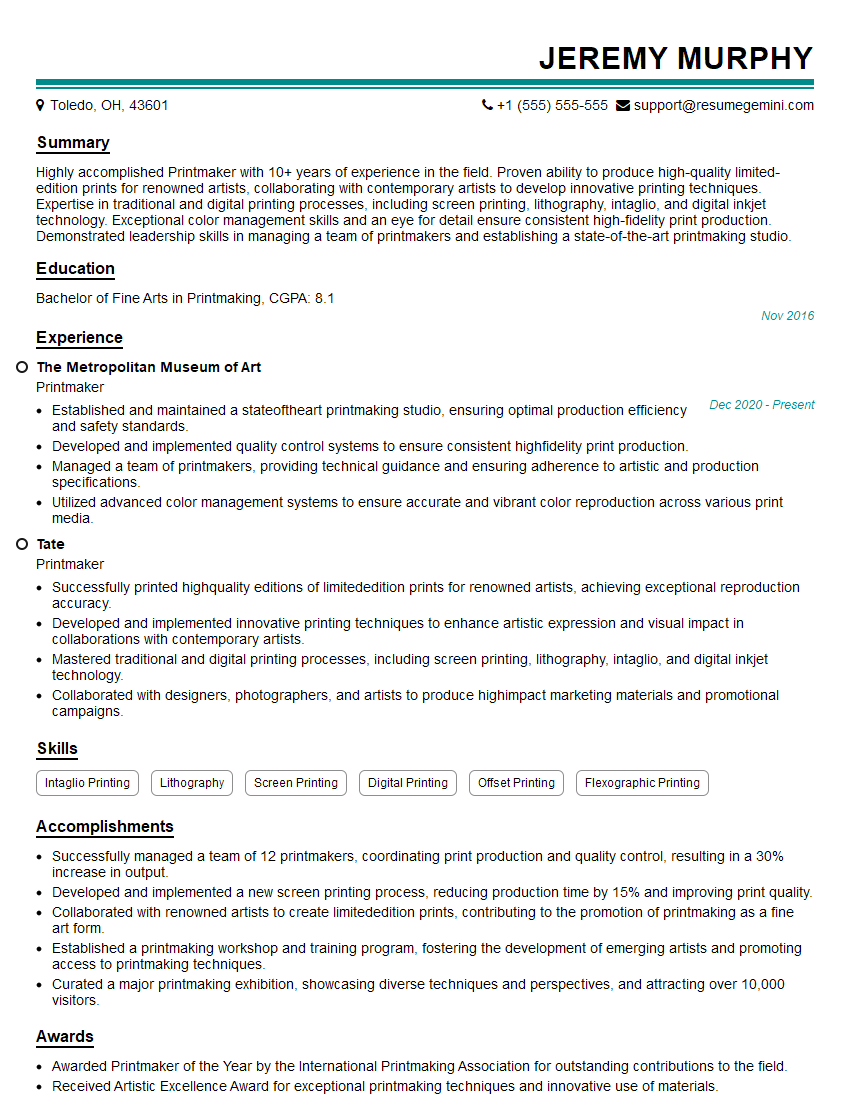
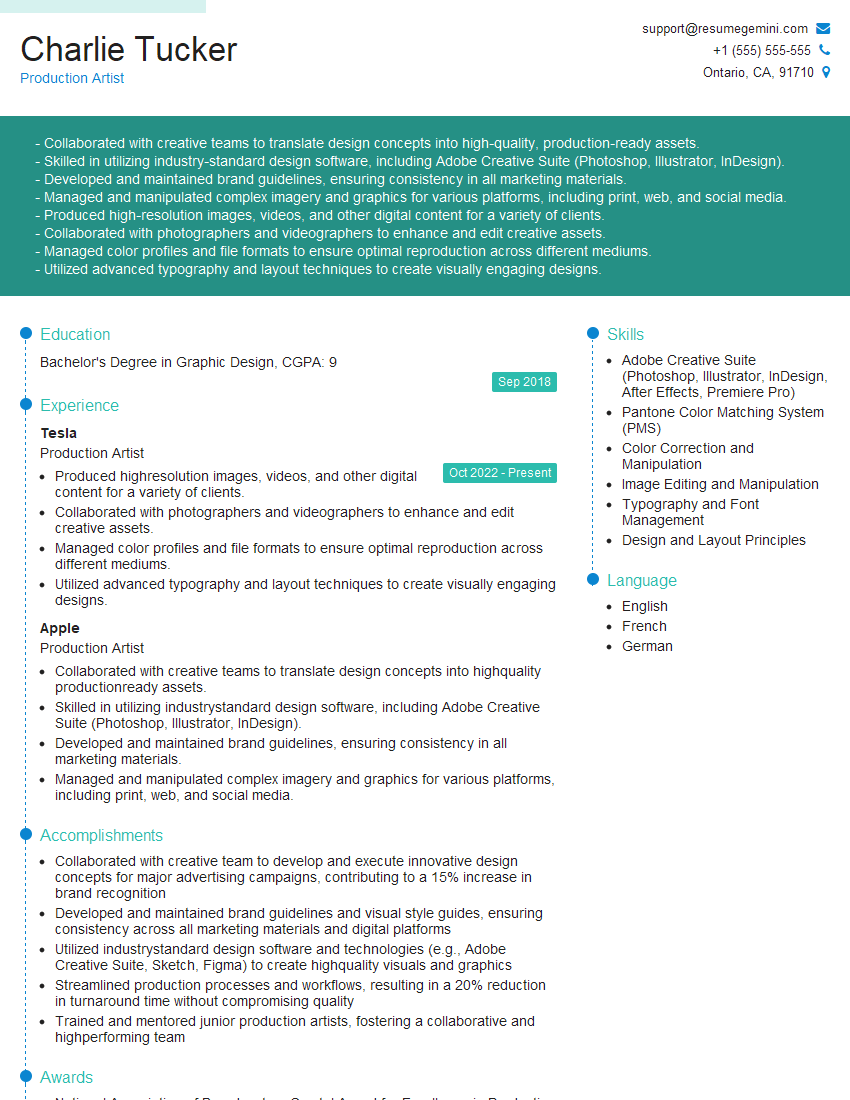
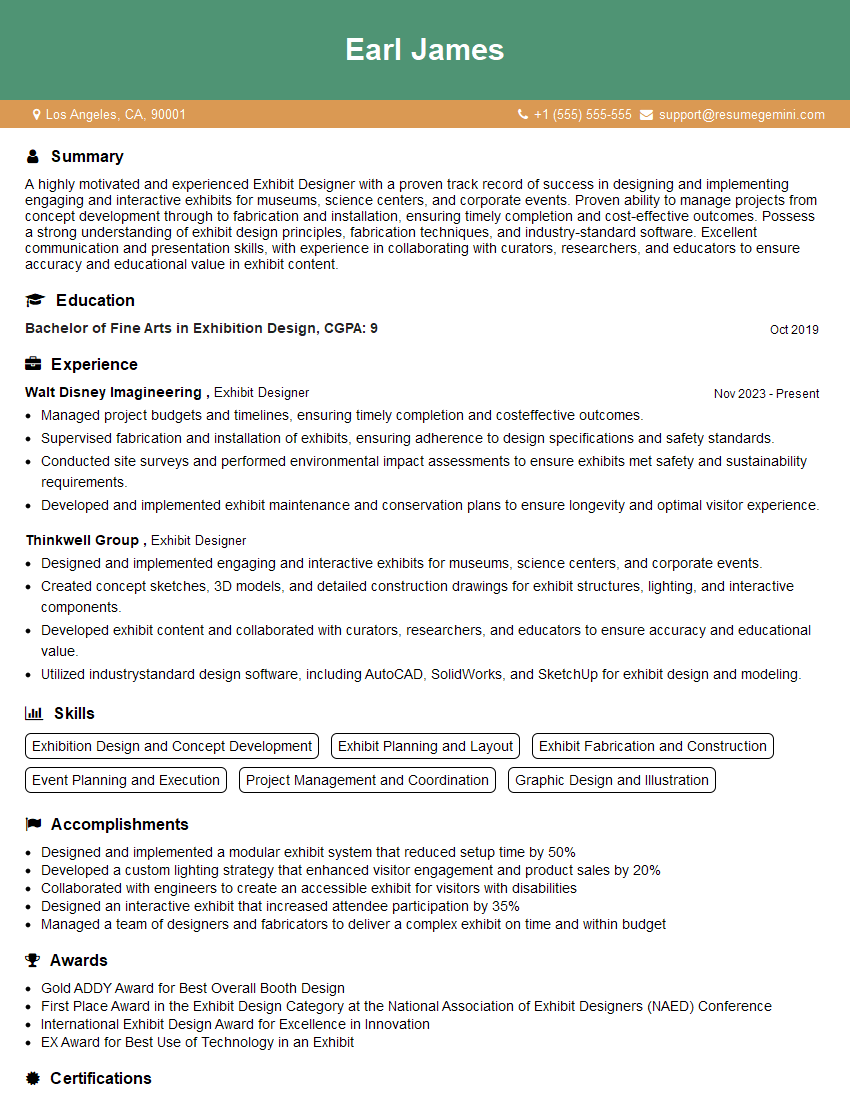
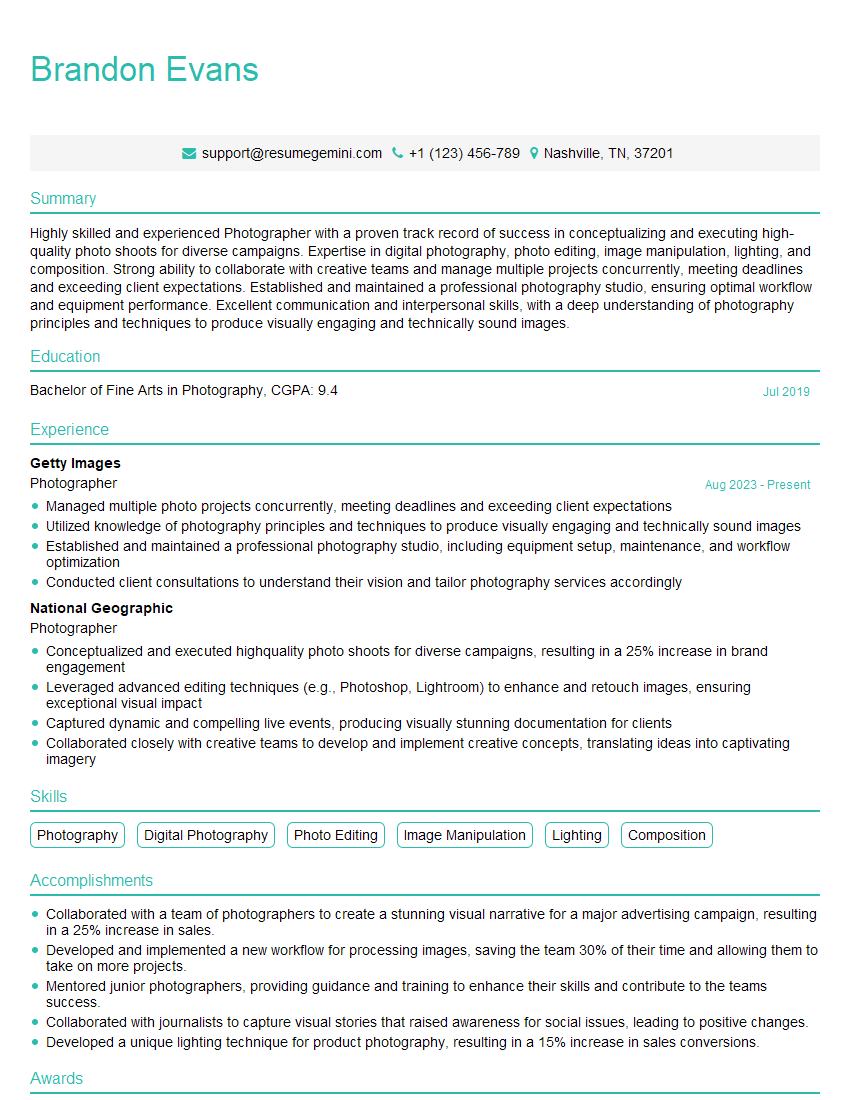
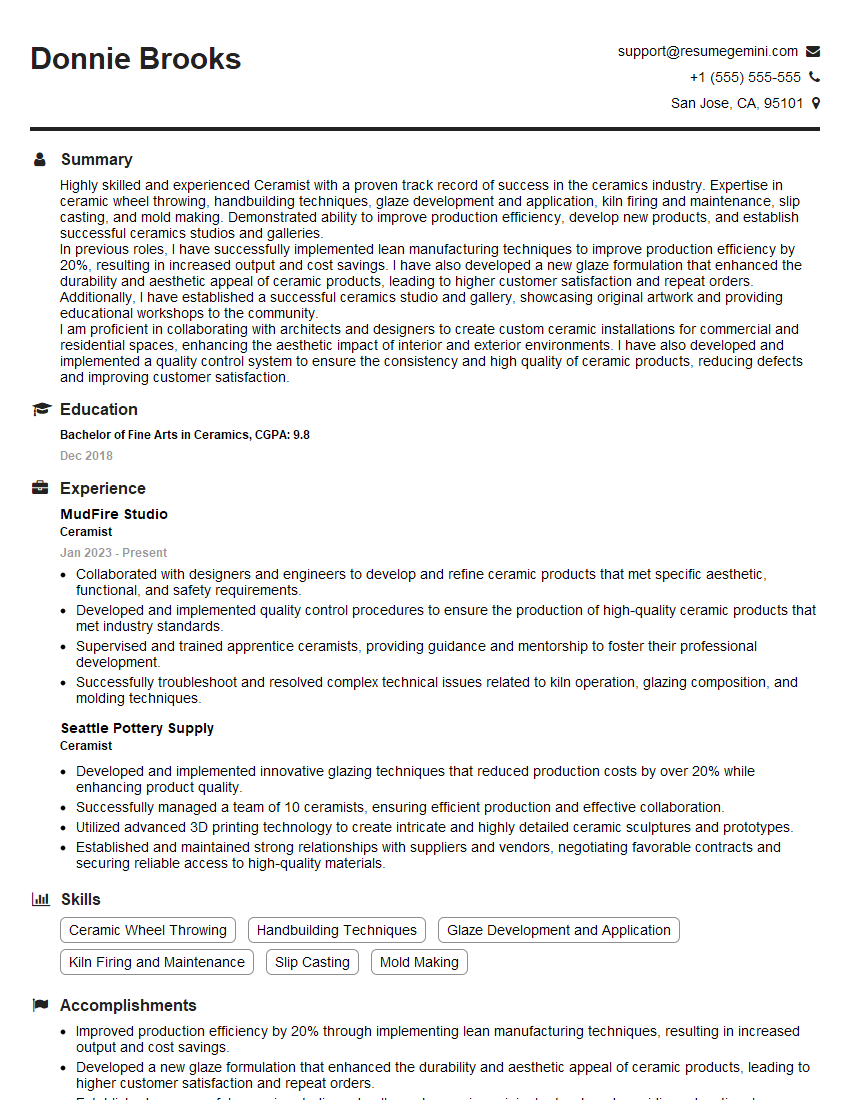
Mastering knowledge of different art media and materials is crucial for career advancement in the art world. A strong understanding of these concepts demonstrates your artistic expertise and problem-solving skills, making you a highly desirable candidate. To further enhance your job prospects, creating an ATS-friendly resume is essential. ResumeGemini is a trusted resource that can help you build a professional and impactful resume, highlighting your skills and experience effectively. Examples of resumes tailored to showcasing expertise in various art media and materials are available through ResumeGemini, allowing you to tailor your application to specific opportunities.
Explore more articles
Users Rating of Our Blogs
Share Your Experience
We value your feedback! Please rate our content and share your thoughts (optional).
What Readers Say About Our Blog
To the interviewgemini.com Webmaster.
Very helpful and content specific questions to help prepare me for my interview!
Thank you
To the interviewgemini.com Webmaster.
This was kind of a unique content I found around the specialized skills. Very helpful questions and good detailed answers.
Very Helpful blog, thank you Interviewgemini team.

