The right preparation can turn an interview into an opportunity to showcase your expertise. This guide to Music production and recording techniques interview questions is your ultimate resource, providing key insights and tips to help you ace your responses and stand out as a top candidate.
Questions Asked in Music production and recording techniques Interview
Q 1. Explain the differences between compression, limiting, and gain staging.
Compression, limiting, and gain staging are all crucial aspects of dynamic control in audio production, but they serve distinct purposes. Think of them as tools in a toolbox, each with its own specific job.
Compression reduces the dynamic range of a signal, making loud parts quieter and soft parts louder. It’s like a smoothing agent, creating a more consistent level. Imagine a vocalist whose singing goes from very quiet to very loud – compression evens that out. A common compression setting might be a ratio of 4:1, meaning for every 4dB increase in input, the output only increases by 1dB. The threshold determines the point at which compression starts. Attack and release times control how quickly the compressor reacts to changes in the signal’s level.
Limiting is a more extreme form of compression. It prevents the signal from exceeding a predefined threshold (the ceiling). It’s like a safety net, ensuring no peaks clip or distort. It’s often the final stage of mastering, ensuring the overall loudness is consistent across different playback systems. Imagine a mastering engineer needing to keep the music below 0dBFS to avoid digital clipping. Limiting is the go-to technique.
Gain staging is the process of setting appropriate levels at each stage of the signal chain to optimize headroom and prevent clipping. It’s about managing levels efficiently from the microphone preamp all the way to the master bus. Imagine arranging dominoes; if you push one too hard at the start, the whole line falls. Similarly, a poorly-set gain stage can lead to excessive noise or unwanted distortion.
Q 2. Describe your experience with various microphone types and their applications.
My experience with microphones spans a wide range, from classic condenser mics to dynamic workhorses and specialized ribbon mics. The choice of microphone greatly impacts the sound’s character and quality.
- Large-diaphragm condenser microphones (LDCs): These are my go-to for capturing vocals and acoustic instruments. Their sensitivity allows for detailed and nuanced recordings. The Neumann U 87, for example, is renowned for its versatility and ability to capture a smooth, detailed sound. I’ve used it countless times on lead vocals and acoustic guitar.
- Small-diaphragm condenser microphones (SMDCs): Perfect for capturing delicate acoustic instruments like acoustic guitars, violins, or overheads on drum kits. Their tighter polar patterns help isolate specific sound sources and avoid unwanted bleed.
- Dynamic microphones: Built for durability and high sound pressure levels (SPL), these mics are excellent for live performances, loud instruments like drums and amplifiers, or situations with high background noise. The Shure SM57 is a staple on snare drums for its punchy and cutting sound. I’ve even used it successfully on guitar amps, capturing the raw energy of the sound.
- Ribbon microphones: Known for their warm and smooth sound with a delicate top end, they capture a vintage and mellow tone, excellent for capturing the subtle nuances of guitars and horns. I find them invaluable for capturing that classic vintage sound on instruments like vocals or acoustic guitars.
Choosing the right mic involves considering factors like the instrument being recorded, the desired sound, and the recording environment. The same vocal can sound drastically different recorded with different microphones, revealing the critical role the mic plays.
Q 3. How do you approach EQing a vocal track for clarity and warmth?
EQing vocals for clarity and warmth is a balancing act. Clarity focuses on making the vocal cut through the mix without sounding harsh, while warmth adds body and richness to the sound.
My approach starts with listening critically to the vocal track. I identify frequencies that need attention:
- Muddiness (250-500Hz): A narrow cut in this range can eliminate muddiness without impacting the warmth. A slight boost in the 500Hz to 1kHz range is often needed to boost the presence and clarity.
- Nasal resonance (1-2kHz): Subtle cuts or boosts in this range can adjust the vocal’s nasal quality. A slight cut can refine the tone.
- Harshness (3-6kHz): Subtle cuts in this region help reduce sibilance (hissing sounds), improving smoothness without dulling the brilliance. A subtle boost helps to add air and brilliance.
- Body and warmth (100-250Hz & 80-200Hz): This adds body and richness to the vocal; using low-cut filters around 80-200Hz to remove rumble/subsonic frequencies is helpful to clean the signal. A mild boost in the 100-250Hz range might add body without muddiness.
I use surgical EQ techniques – targeted cuts and boosts with narrow Q values – to avoid affecting adjacent frequencies. I often use multiple EQ plugins to achieve a finely tuned result, as different EQs offer varied characteristics.
The final goal is natural vocal tone, balancing clarity and warmth according to the musical context. The mixing style, other instruments, and genre heavily influence the final EQ curve.
Q 4. What are your preferred methods for achieving a natural-sounding reverb?
Achieving natural-sounding reverb is all about choosing the right reverb type and applying it subtly. Overuse can make a mix sound artificial and muddy.
My preferred methods often involve a combination of techniques:
- Convolution Reverb: I frequently use convolution reverbs, which use impulse responses (IRs) of real spaces to simulate the acoustic environment. This is superb for creating very realistic-sounding reverbs, from small rooms to massive cathedrals. The IR quality is crucial here; carefully selecting high-quality impulse responses is key to natural sounding reverbs.
- Algorithmic Reverbs: Algorithmic reverbs are great for creating more creative, stylized reverb sounds and are more CPU-friendly. However, I often use them sparingly because they can sometimes sound a little artificial.
- Plate Reverbs: Plate reverbs tend to have a more vintage character and often lack the harshness of some digital reverbs. They offer a certain character and are easy to manipulate.
- Early Reflections: Adding early reflections separately, often a component of many algorithmic and convolution reverbs, makes a significant difference in realism. These are the first reflections that hit the listener’s ears; subtle manipulation of their level and timing can dramatically increase the sense of space and natural feel.
The key is subtlety. I start with a low level of reverb and gradually increase it until it adds depth without overwhelming the sound. The use of send/return tracks allows for flexible control, enabling individual instruments to receive different amounts of reverb based on their needs. Moreover, listening in mono is crucial; reverb tails should sound just as good (or even better) in mono.
Q 5. Explain the concept of phase cancellation and how to avoid it during recording and mixing.
Phase cancellation occurs when two identical signals are out of phase, meaning their waveforms are inverted. This results in destructive interference, leading to a significant reduction or complete cancellation of the sound.
Imagine two identical waves colliding head-on; if their peaks align, they reinforce each other, creating a louder sound. But if the peak of one wave aligns with the trough of the other, they cancel each other out, resulting in silence. This is phase cancellation.
Avoiding phase cancellation is crucial during recording and mixing. Key strategies include:
- Mono Compatible Microphone Placement: Carefully place microphones to minimize phase issues. For stereo recordings, keep a distance that is greater than 1/3 of the wavelength of the sound source.
- Phase Coherence Check: Use a phase meter plugin during mixing to check for phase issues between tracks. This is particularly helpful when dealing with multiple microphones on a single sound source. A quick visual cue that shows the wave phases helps in immediate detection.
- Accurate Microphone Polar Pattern Selection: Use appropriate microphone polar patterns to reduce bleed from other sound sources; this greatly reduces the chances of phase issues.
- Avoid Multiple Microphones on the same source without checking phase: Only use multiple microphones on the same source if you are confident about the phase alignment or if you have a method to fix the phase issues.
- Polarity Inversion: If phase cancellation is detected, try inverting the polarity of one of the signals. This is a quick fix in some scenarios; however, it often requires careful listening. It involves flipping the phase of one of the signals, effectively reversing the wave.
Careful microphone placement and use of phase-checking tools are essential in preventing phase cancellation problems.
Q 6. Describe your workflow for mixing a song from start to finish.
My mixing workflow is iterative and involves several stages.
- Preparation: I start by organizing and editing individual tracks. This includes fixing timing, pitch, and any obvious issues in each track.
- Gain Staging and Rough Mix: I establish a proper gain staging for all tracks to optimize headroom and to ensure a good balance between all the tracks. Then, I create a rough mix, focusing on getting the overall balance and levels right. This includes initial EQ, and basic compression on the main instruments and the vocals.
- Frequency Balancing and EQ: Next, I dive into detailed frequency balancing, using EQ to address potential clashes and to create space for each instrument. I carefully sculpt the frequency response of each instrument to ensure that every instrument is audible and it’s not masking another one.
- Dynamic Processing: I use compression, limiting, and gating to enhance the impact and clarity of individual instruments and the overall mix. I often use a dynamic EQ for vocals or other tracks, which dynamically adjust the EQ curve depending on the loudness and amplitude of the signal.
- Stereo Imaging and Panning: I use stereo imaging and panning techniques to create a wide and spacious stereo image, ensuring that each instrument occupies its own space in the stereo field.
- Reverb and Delay: I use reverb and delay to add depth and space to the mix. I often use several reverb plugins to create a natural and spacious feel. This step allows adding atmosphere and space without overdoing it.
- Automation and Subtleties: I often automate several parameters (gain, pan, effects, etc.) to add subtle changes and dynamics to the mix. This is often a creative step that adds expressiveness to the final mix.
- Mastering Prep and Final Mix: I prepare the mix for mastering by ensuring the overall level and dynamics are appropriate. I apply the final gain and finalize the levels before exporting the final mix.
- Mastering Feedback: I send the final mix to a mastering engineer to polish and prepare it for final release; getting feedback from a mastering engineer is crucial in this stage.
This iterative process involves repeated listening and adjustments, ensuring a balanced and polished final product. I frequently take breaks during mixing to prevent listener fatigue. A fresh ear is very important in this process.
Q 7. What DAWs are you proficient in, and what are their strengths and weaknesses?
I’m proficient in several DAWs (Digital Audio Workstations), each with its strengths and weaknesses.
- Pro Tools: A workhorse in professional studios, known for its stability, vast plugin support, and industry-standard integration. However, it can be expensive and has a steeper learning curve compared to others.
- Logic Pro X: A powerful and intuitive DAW popular among Mac users, offering an extensive array of built-in plugins and instruments at a very reasonable price. It’s highly integrated and user-friendly; however, its plugin ecosystem isn’t as vast as Pro Tools.
- Ableton Live: Excellent for electronic music production and live performance, with a strong focus on workflow and creative tools. Its session view is unique and useful, but its strength in scoring and post-production isn’t as evident as in Logic or Pro Tools.
- Cubase: A sophisticated DAW with powerful MIDI editing and scoring capabilities, often preferred by composers and musicians. The learning curve is slightly steep, and the initial cost can be higher than other options.
My choice of DAW depends on the project’s nature and requirements. For large-scale projects requiring precise editing and integration with other studio equipment, Pro Tools might be the best fit. For electronic music, Ableton Live is a clear winner. The best DAW is the one you are most productive and efficient with, so practice and experience are key factors to consider.
Q 8. How do you handle feedback issues during a live sound reinforcement situation?
Feedback in live sound is that ear-splitting squeal or howl you get when a microphone picks up its own amplified sound. It’s a nightmare for any sound engineer! Handling it involves a multi-pronged approach. First, I’d check microphone placement – too close to a monitor or amplifier is a common culprit. Then, I’d adjust the gain (volume) of the microphone and the monitor sending it to the PA system. Lowering either can often break the feedback loop. Equally crucial is using EQ (Equalization) to cut specific frequencies causing the feedback. Imagine it like carving out a hole in a sound wave to remove the offending frequencies. A graphic EQ allows visual adjustments, making this process easier. Finally, proper microphone technique is vital; singers should be aware of their positioning relative to the monitors. I’ve even used a feedback destroyer – a specialized device – in particularly challenging situations, effectively identifying and suppressing feedback frequencies in real time.
Q 9. What are your strategies for troubleshooting common recording problems (e.g., noise, distortion, latency)?
Troubleshooting recording problems is a detective job. Noise is often caused by poor grounding, faulty cables, or even the inherent noise floor of your equipment. A good first step is isolating the source. Try disconnecting components one by one to see if the noise disappears. Distortion usually comes from overloading your audio interface or individual channels. This means the signal is too strong for your equipment to handle properly. Lower the gain, especially if using high-output instruments like electric guitars. Latency, the delay between playing and hearing, is often due to buffer size issues in your Digital Audio Workstation (DAW) settings. Increasing the buffer size reduces latency but increases processing load on your computer, potentially affecting performance. A good trick is to test various buffer sizes during initial setup. If you’re still struggling, consider using a dedicated low-latency interface. A common analogy I use is baking – if you add too much of one ingredient (gain), your ‘cake’ (audio) will be ruined!
Q 10. Describe your experience with different plugin types (compressors, EQs, reverbs, etc.)
My experience with plugins spans years of working with various DAWs and hardware. Compressors are my go-to for controlling dynamics; they squash peaks and boost quieter parts, leading to a more even sound. I frequently use compressors on vocals and drums. EQs shape the tonal balance; I might use a high-pass filter to cut low-end muddiness from vocals or boost specific frequencies to enhance certain instruments. Reverbs add depth and space – essential for creating immersive soundscapes. I gravitate towards convolution reverbs for their realistic sounds, often using them on vocals, guitars, and drums to add realism. Other plugin types, like delays, chorus effects, and distortion pedals, all serve different functions within a production.
For example, I recently used a compressor with a gentle attack and release on a vocal track to tame some harsh sibilance (hissing sounds) without making it sound unnatural. On a drum bus, I used an EQ to cut out frequencies that were clashing with the bass line, allowing everything to sit better in the mix.
Q 11. How do you approach creating a cohesive mix that translates well across different playback systems?
Creating a cohesive mix that translates well across systems requires careful attention to detail and mastering techniques. The key is to avoid extreme settings and rely on subtle adjustments. I often start by establishing a solid foundation of frequencies, ensuring there are no harsh clashes or overlaps between instruments. Then I pay close attention to the stereo image, avoiding excessive width that might sound odd on mono playback. The process often involves listening on various playback devices – from small earbuds to powerful studio monitors – to check how the mix is perceived. Mastering processes, which involve limiting, compression, and equalization, further help even out the frequency balance and optimize the mix for various playback systems. Think of it like painting; you need a balance of colors to create a harmonious scene, not one that’s too bright or too dark in specific areas.
Q 12. What is your experience with analog vs. digital recording techniques?
Analog and digital recording each have their own unique characteristics and advantages. Analog, with its use of tape machines and other physical equipment, provides a certain warmth and character often described as ‘vintage.’ It has a natural compression and saturation that’s difficult to replicate digitally. However, analog is limited in its ability for editing and correction; mistakes can be very costly to rectify! Digital offers flexibility, allowing for precise edits and unlimited undo/redo capabilities. It’s also cheaper and easier to maintain. Many engineers now use hybrid approaches, using analog equipment for capturing the initial sound and then moving to the digital realm for mixing and mastering – getting the best of both worlds. My preference often depends on the project’s needs, its artistic vision, and available budget.
Q 13. Describe your understanding of signal flow in a recording studio environment.
Understanding signal flow is fundamental to successful recording. In a basic studio, the signal typically travels from the instrument (e.g., guitar) to a microphone (if it’s not a directly connected instrument), then to a preamplifier to boost its level. From there, it goes to an audio interface (a bridge between analog and digital worlds), finally reaching your DAW. Within the DAW, you process the signal using plugins (EQ, compression, effects), before routing it to your outputs. For example, a vocal signal might go through a preamp, an EQ, a compressor, and then reverb before hitting your DAW’s mixer tracks. Thinking of this as a chain is key: if one link is weak, the whole signal can suffer. Visualizing this flow is especially helpful in complex studio setups with numerous instruments and effects.
Q 14. How do you identify and address issues with low-end muddiness in a mix?
Low-end muddiness, that indistinct booming sound in the bass frequencies, is a common mixing problem. It’s often caused by multiple instruments occupying the same frequency range. Identifying the problem involves using EQs to pinpoint the conflicting frequencies. I would use a high-pass filter on instruments like guitars and vocals to remove low-end frequencies that aren’t contributing to their core sound; this cuts out the mud without affecting their main body. If the bass guitar is the culprit, I might use EQ to carve out space around its fundamental frequencies, making room for other instruments. Careful arrangement and mixing are also key – for instance, ensuring the bass guitar isn’t overpowering other instruments. Sometimes, subtle compression on the bass frequencies can help control their impact and even things out. A multi-band compressor could also be extremely useful here. The goal is to achieve a clear, defined low-end without making the mix sound thin or hollow.
Q 15. Explain the importance of proper microphone placement for different instruments.
Microphone placement is paramount in capturing the best possible sound from any instrument. It’s not just about pointing a mic at something; it’s about understanding the instrument’s sonic characteristics and how proximity, angle, and room acoustics affect the final recording.
Acoustic Guitar: For a warm, natural sound, I often use a large-diaphragm condenser microphone (like a Neumann U 87) placed about 12 inches from the soundhole, slightly off-axis to minimize harshness. Experimenting with different positions can reveal a surprising range of tonal variations. For a more intimate sound, a small diaphragm condenser could be used closer to the sound hole.
Drums: Drum miking is an art form in itself! I typically use a combination of dynamic and condenser microphones. A kick drum usually gets a dynamic mic inside (like a Shure Beta 52) and possibly an external condenser for ambience. Snares often get a dynamic mic (like a Shure SM57) close to the batter head and a condenser overhead for more air. Toms typically receive a dynamic microphone positioned close to the resonant head.
Vocals: Vocal mic placement is very personal. A large-diaphragm condenser mic (like a Neumann U 87 or AKG C414) is usually the choice, placed a few inches from the mouth. The angle is important to prevent plosives (hard consonant sounds like ‘p’ and ‘b’). A pop filter is crucial to further mitigate this.
Ultimately, the best placement is found through experimentation. I always record multiple takes with slight variations in microphone positioning to find the perfect capture.
Career Expert Tips:
- Ace those interviews! Prepare effectively by reviewing the Top 50 Most Common Interview Questions on ResumeGemini.
- Navigate your job search with confidence! Explore a wide range of Career Tips on ResumeGemini. Learn about common challenges and recommendations to overcome them.
- Craft the perfect resume! Master the Art of Resume Writing with ResumeGemini’s guide. Showcase your unique qualifications and achievements effectively.
- Don’t miss out on holiday savings! Build your dream resume with ResumeGemini’s ATS optimized templates.
Q 16. Describe your process for mastering a track for various platforms.
Mastering is the final stage of audio production, where the overall sound of the track is polished and optimized for different playback environments. My mastering process involves a careful listening to the track across various playback systems to ensure it translates well and sounds consistent. It’s not just about making it loud; it’s about making it sound its best.
Gain Staging: I start by analyzing the track’s dynamics and ensuring the levels are appropriate across all instruments and sections. Avoiding clipping (distortion due to exceeding the maximum level) is critical.
EQ: Subtle EQ adjustments are made to balance the frequencies and create a cohesive sonic landscape, making sure no single frequency range dominates. I might use a high-pass filter on bass instruments to remove unwanted rumble, or a gentle de-essing on vocals.
Compression: This helps glue the mix together, controlling dynamics and making the overall sound more consistent. Careful compression is key; over-compressing can lead to a lifeless sound.
Stereo Widening/Imaging: I sometimes use stereo widening to increase the perception of spaciousness. However, I am careful to avoid excessive widening, which can lead to phase issues and a muddy sound.
Loudness Maximization (with caution!): I use a limiter to optimize the loudness for the target platform (Spotify, Apple Music, YouTube, etc.), following their specific loudness standards. I prioritize keeping the overall dynamic range as much as possible without sacrificing clarity or detail. It’s important to not ‘brickwall’ the dynamics.
Platform-Specific Considerations: Different platforms have unique requirements. I pay close attention to LUFS (Loudness Units relative to Full Scale) and other specific guidelines to ensure optimal playback quality.
Mastering is iterative. I’ll listen to my work on various speakers and headphones, making minor adjustments until I achieve a consistent and high-quality result.
Q 17. What are your experience with different types of audio formats and their applications?
Audio formats play a crucial role in the production workflow, each offering unique advantages and disadvantages.
WAV (Waveform Audio File Format): A lossless format; it preserves all the original audio data. This is my preferred format for studio work, ensuring the highest possible fidelity during mixing and mastering.
AIFF (Audio Interchange File Format): Another lossless format, similar to WAV, often used on Apple platforms.
MP3 (MPEG Audio Layer III): A lossy format; data is discarded during compression to reduce file size. It’s widely used for online distribution due to its small file sizes, but compromises on audio quality compared to lossless formats.
AAC (Advanced Audio Coding): A lossy format that generally offers better quality than MP3 at the same bit rate. Increasingly popular for online streaming services.
FLAC (Free Lossless Audio Codec): A lossless format that is an open source alternative to WAV and AIFF. Provides high fidelity without huge file sizes.
The choice of format depends heavily on the stage of production. Lossless formats are essential during the production phase to preserve fidelity. Lossy formats are used for final distribution to accommodate smaller file sizes for online streaming and downloading.
Q 18. How do you collaborate effectively with musicians and other audio professionals?
Effective collaboration is essential in music production. Open communication, mutual respect, and clear expectations are key to a successful project.
Clear Communication: I always start by establishing clear communication channels and setting realistic expectations with musicians and engineers. Regular check-ins and open feedback sessions are important to ensure everyone is on the same page.
Active Listening: I actively listen to the artist’s vision for the project and incorporate their creative input as much as possible. I view myself as a facilitator of their musical ideas.
Shared Vision: I always strive to create a shared vision for the final product. I find that collaborative brainstorming is valuable for generating creative ideas and solutions.
Constructive Feedback: Giving and receiving constructive criticism is crucial. I focus on providing specific feedback that’s targeted and helpful, framing it in a supportive manner, not just pointing out flaws.
Technology and Workflow: Using collaborative platforms for file sharing and project management helps streamline workflow, minimizing conflicts and misunderstandings.
My past experiences working with various artists have taught me the value of patience, adaptability, and being able to understand and respond to diverse perspectives.
Q 19. What is your experience with automated mixing and editing techniques?
Automated mixing and editing techniques, such as those found in DAWs (Digital Audio Workstations) like Pro Tools, Logic Pro, and Ableton Live, have revolutionized the music production process. These tools offer powerful features that speed up workflow significantly.
Auto-Tune: This pitch correction software is widely used to correct vocal pitch inaccuracies or to create specific creative vocal effects.
Melodyne: Offers more sophisticated pitch correction and time-stretching capabilities, allowing for precise editing of individual notes in a vocal or instrumental performance.
Automation: DAWs allow you to automate almost any parameter, creating dynamic changes in volume, panning, EQ, and effects over time. This makes for a more efficient and creative workflow.
Virtual Instruments and Effects: The availability of vast libraries of virtual instruments and effects plugins means I can experiment and create a wide range of sounds without the need for physical instruments and equipment.
However, it’s crucial to remember that these are tools, not replacements for artistic judgment. Automation can save time, but it cannot replace the ears and intuition of a skilled engineer. I usually apply these techniques carefully, making sure the final sound remains natural and musical and not overly processed or artificial.
Q 20. Describe your experience working with different types of music genres.
I’ve worked across a wide range of genres, from pop and rock to electronic music, jazz, and classical. Each genre presents unique challenges and opportunities.
Pop: Often requires a highly polished and radio-ready sound, emphasizing clarity and catchiness.
Rock: Can be more raw and energetic, requiring a different approach to dynamics and mixing.
Electronic: Involves a high degree of precision and often incorporates synthesized sounds and advanced processing techniques.
Jazz: Demands a nuanced approach to capture the improvisational nature and dynamic range of the music.
Classical: Requires meticulous attention to detail, aiming to capture the purity and beauty of the acoustic instruments involved.
My experience across genres has expanded my technical skills and creative range. I approach each project with the specific sonic requirements of the genre in mind, adapting my techniques accordingly.
Q 21. How do you manage your time effectively in a fast-paced studio environment?
Studio time is precious, so efficient time management is crucial. My approach is multi-faceted.
Detailed Planning: I always begin with a detailed plan, outlining the tasks to be completed, the required equipment and personnel, and a realistic timeline. This includes pre-production meetings with artists and detailed session schedules.
Prioritization: I prioritize tasks based on urgency and importance, focusing on the most critical elements first. I use task management tools such as Trello or Asana to keep track of progress.
Organized Workflow: A well-organized studio environment is key to maintaining efficiency. I keep my digital workspace organized and avoid unnecessary clutter, both physically and digitally. I maintain clear file naming conventions.
Delegation: If possible, I delegate tasks to assistants or other team members to optimize efficiency.
Breaks and Rest: It’s crucial to take regular breaks to prevent burnout. Short breaks every few hours help maintain focus and prevent errors.
Working efficiently isn’t just about speed; it’s about maximizing the creative potential of each session while minimizing wasted time. By effectively managing my time, I can deliver high-quality work on schedule.
Q 22. What are your strategies for problem-solving and conflict resolution in a team setting?
In a team environment, effective communication is paramount. My strategy for problem-solving begins with active listening – truly understanding everyone’s perspective before offering solutions. I believe in collaborative brainstorming, fostering an environment where everyone feels comfortable contributing ideas, even if they seem unconventional at first. When conflicts arise, I focus on identifying the root cause, not assigning blame. This often involves facilitated discussions, where we clearly define the problem, explore possible solutions together, and agree on a plan of action with clear roles and responsibilities. For example, during a recent project, a disagreement arose regarding the tempo of a track. Instead of imposing my opinion, I organized a listening session where we compared different tempos, analyzed their effect on the overall mood, and ultimately reached a consensus based on objective sonic evaluation.
I also advocate for regular check-ins and open feedback sessions throughout the project. This prevents small issues from escalating into major conflicts. If a direct resolution isn’t possible, I believe in seeking mediation from a neutral third party, ensuring a fair and impartial approach.
Q 23. Explain your understanding of psychoacoustics and its impact on mixing and mastering.
Psychoacoustics is the study of how humans perceive sound. Understanding it is crucial for mixing and mastering because it bridges the gap between the technical aspects of audio and the listener’s subjective experience. For instance, the phenomenon of the ‘Fletcher-Munson curve’ shows that our perception of loudness varies depending on the frequency. At low volumes, we perceive bass and treble frequencies less accurately. Therefore, as a mixer, I account for this by ensuring that low-end frequencies have enough presence at lower playback volumes, avoiding the ‘muddy’ sound that often occurs. Similarly, during mastering, I use psychoacoustic principles to create a well-balanced sound across different playback systems and listening environments.
Another key aspect is masking. A louder sound can mask quieter sounds, especially those close in frequency. Knowing this, I use EQ and dynamics processing to strategically manage the frequency balance and dynamics, making certain sounds stand out more without sacrificing the overall clarity. For example, I might subtly reduce the frequencies that overlap between a bass guitar and kick drum to improve definition, leveraging the concept of masking to enhance the perceived separation between instruments.
Q 24. How do you ensure the quality and consistency of your audio projects?
Maintaining quality and consistency relies on a multi-pronged approach. First, I establish a meticulous workflow from the initial recording stages through to mastering. This includes detailed session organization, meticulous file management, and consistent use of standardized plugins and processing chains. Every project starts with a clear brief and detailed planning phase, outlining technical specifications and creative direction to ensure everyone is on the same page.
Secondly, regular quality checks are vital. I use a variety of monitoring techniques and listening environments (discussed further in a subsequent question) to catch potential issues early. I regularly compare my work against professional industry standards, listening critically and employing tools for objective analysis such as spectrum analyzers and phase meters. I also employ calibration techniques to ensure the accuracy of my monitoring equipment. Any deviation from the planned specifications is documented and addressed, often using version control systems to track changes and revert to previous versions if needed. Finally, A/B comparisons with similar high-quality projects help refine the final product, ensuring a consistent level of professionalism in all my projects.
Q 25. What are some of the challenges you’ve faced in music production and how did you overcome them?
One significant challenge I faced was working with a vocalist who struggled to maintain consistent pitch and tone across lengthy recording sessions. This impacted the overall cohesiveness of the final product. My solution involved implementing several strategies. First, we focused on vocal warm-ups and breathing exercises to address physical limitations. Secondly, I introduced various recording techniques like taking multiple takes and employing advanced editing tools like pitch correction to subtly adjust the performance without making it sound artificial.
Another challenge was mastering a project with a high dynamic range in a smaller room with untreated acoustics. This was overcome by employing dynamic range compression with careful consideration of the psychoacoustic aspects of loudness perception. I also used reference tracks in a professional monitoring environment to ensure the final master was competitive and translated well across various systems. Regular listening sessions in different acoustic environments and feedback from other trusted engineers helped guide my decision-making process.
Q 26. Describe your understanding of different monitoring techniques and the importance of acoustic treatment.
Accurate monitoring is crucial for a reliable mix. My approach involves near-field monitoring with high-quality studio monitors, placed strategically to minimize reflections and interference. I use a combination of flat-response monitors that provide accurate frequency response, and reference monitors to check the overall perceived balance. Regular calibration of the monitoring system using calibrated test tones ensures consistent accuracy.
Acoustic treatment plays a crucial role in minimizing room reflections and resonances that color the sound. I use acoustic panels and bass traps to control reflections and reduce unwanted resonances, creating a more neutral and accurate listening environment. My ideal setup prioritizes a well-treated room, enabling accurate frequency response assessment. A treated room minimizes the room’s influence on the sound and permits clearer judgement regarding the mix’s balance and dynamics. Without proper acoustic treatment, critical frequency imbalances may go unnoticed, leading to a final product that sounds different in other listening spaces.
Q 27. How do you stay up-to-date with the latest technologies and trends in the audio industry?
Staying current is essential in this dynamic field. I subscribe to several industry publications like Sound on Sound and Mix magazine. I actively participate in online forums and communities, engaging in discussions with other professionals and learning from their experiences. I also regularly attend workshops, conferences, and online courses focusing on new technologies and techniques, including software and hardware updates. By carefully studying these resources, I can effectively compare and select the best tools for each project, continually improving my skills and knowledge.
Moreover, I actively engage in listening to a wide range of genres and productions. This helps me understand current trends in mixing and mastering, informing my creative process and helping me anticipate changes in industry standards and techniques.
Q 28. What are your salary expectations for this position?
My salary expectations are commensurate with my experience and skills within the industry and the specifics of this role. I’m open to discussing a competitive compensation package that reflects my value and contributions to the team. Naturally, this would take into account factors such as responsibilities, benefits, and the overall compensation structure within the company.
Key Topics to Learn for Music Production and Recording Techniques Interview
- Microphones and Microphone Techniques: Understanding polar patterns (cardioid, omni, figure-8), microphone placement for different instruments, and combating acoustic issues.
- Signal Flow and Routing: Practical application of routing audio signals through mixers, interfaces, and DAWs; troubleshooting signal flow problems.
- Digital Audio Workstations (DAWs): Proficiency in at least one DAW (Pro Tools, Logic Pro X, Ableton Live, etc.), including MIDI editing, track arrangement, mixing, and mastering basics.
- Audio Editing and Processing: Techniques for noise reduction, equalization (EQ), compression, reverb, delay, and other effects; understanding the practical application of these tools to achieve a desired sound.
- Mixing and Mastering Fundamentals: Gain staging, panning, phase cancellation, achieving a balanced mix, and understanding the difference between mixing and mastering.
- Studio Acoustics and Treatment: Basic principles of room acoustics, the importance of acoustic treatment, and recognizing common acoustic problems.
- Music Theory and Composition: Demonstrate understanding of basic music theory concepts, chord progressions, melody writing, and arranging; ability to discuss how theory influences production choices.
- Hardware and Software: Familiarity with common audio interfaces, preamps, compressors, equalizers, and other studio equipment; understanding different software plugins and their functions.
- Workflow and Time Management: Discuss efficient studio workflow strategies, project management techniques, and effective time management in a production environment. Problem-solving approach to unexpected technical issues.
- Collaboration and Communication: Demonstrate an understanding of working effectively in a team, communicating technical needs, and providing constructive feedback.
Next Steps
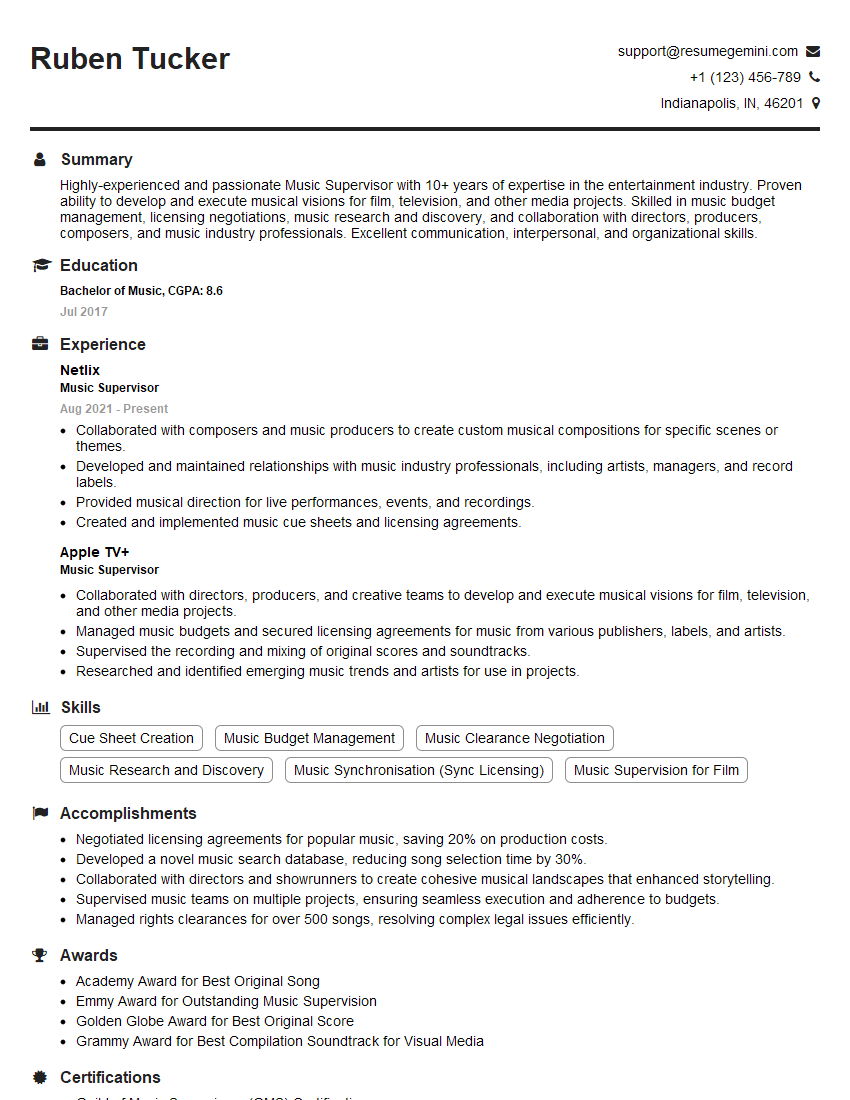
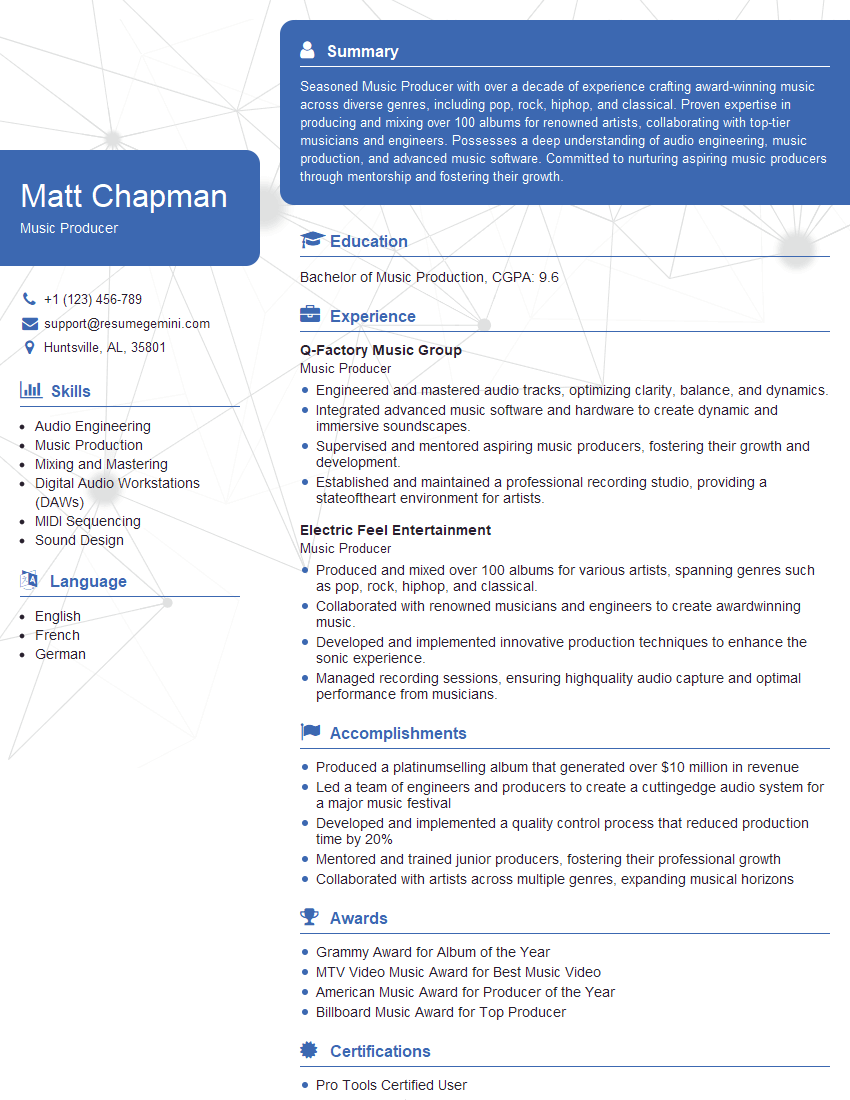
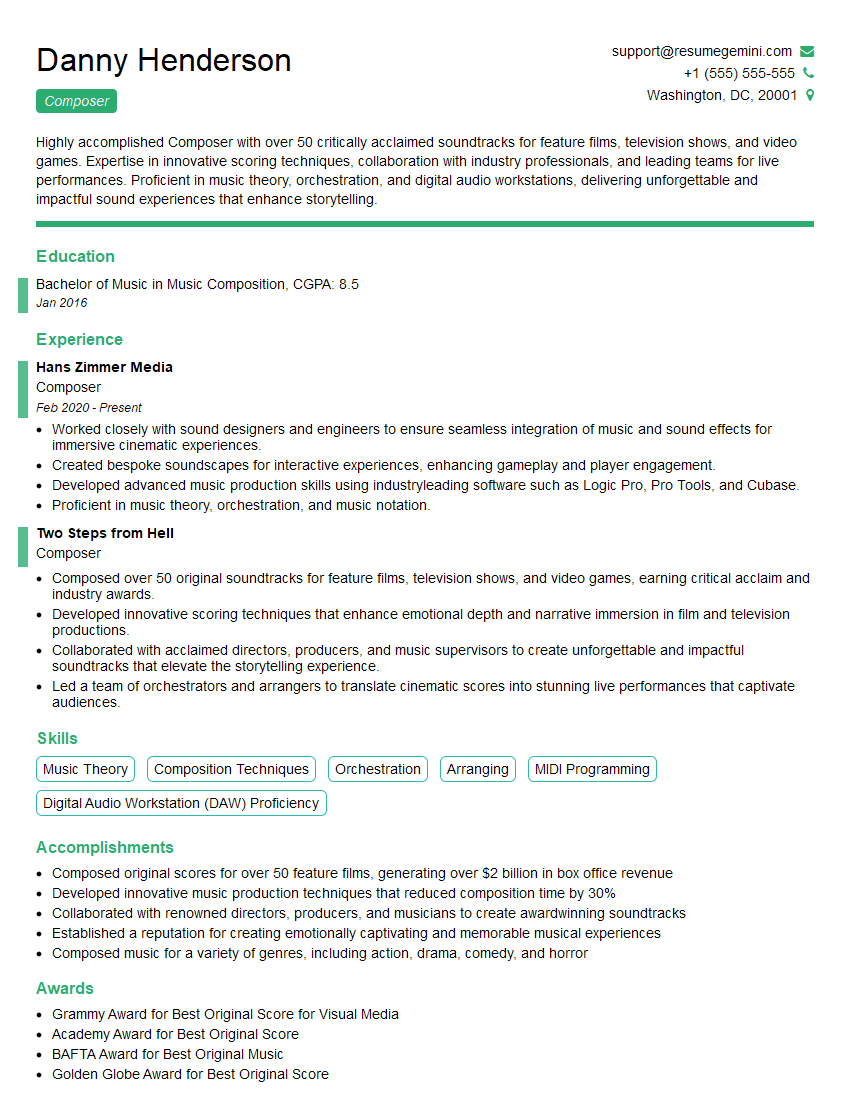
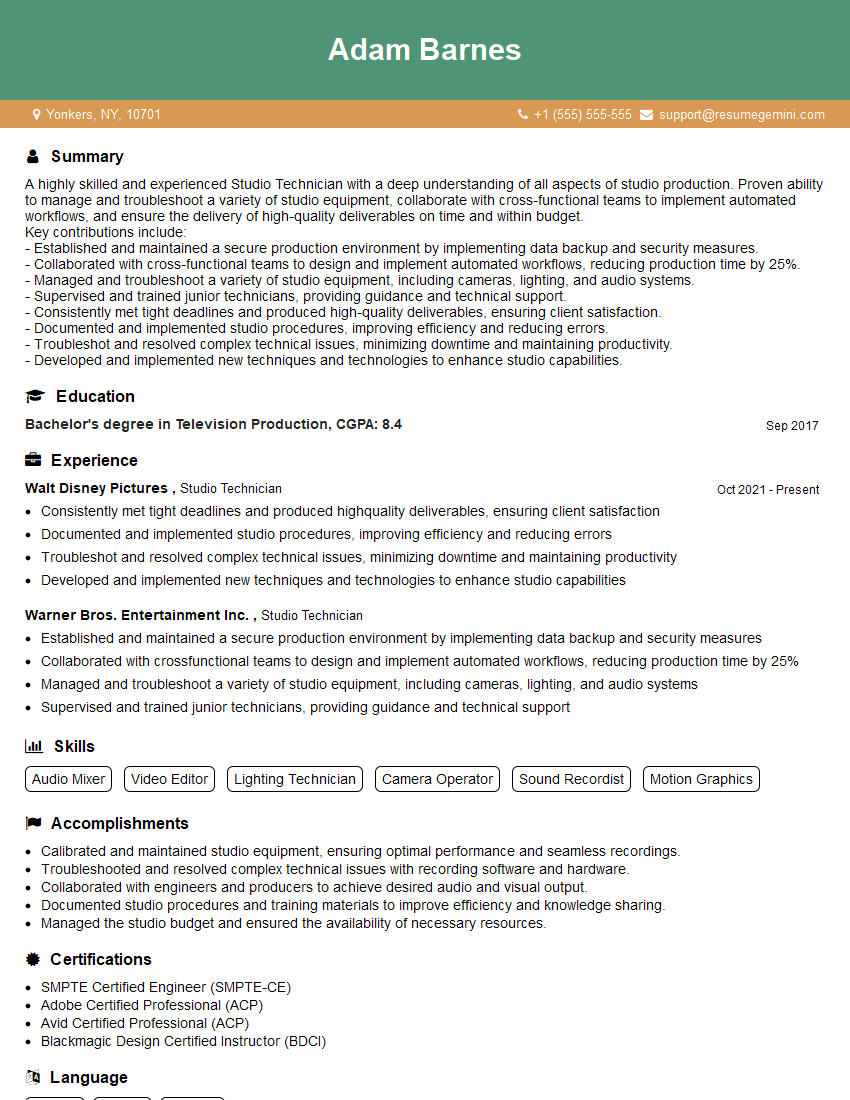
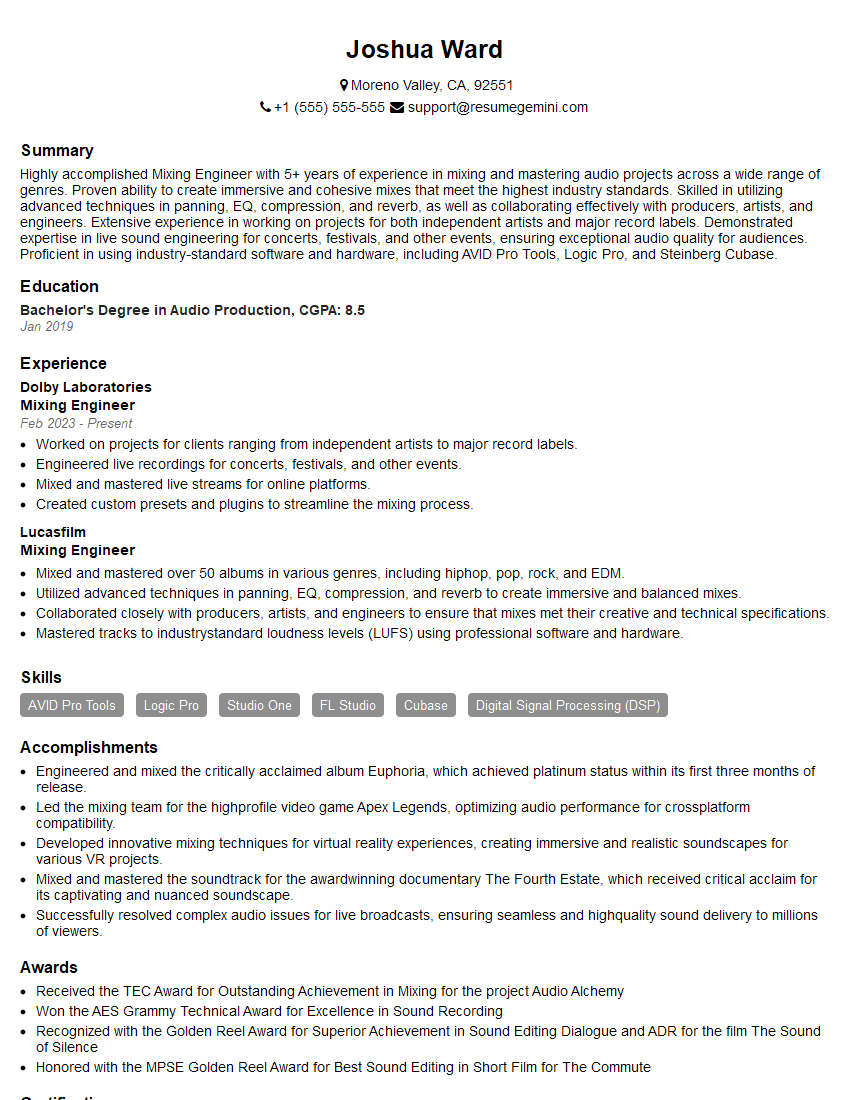
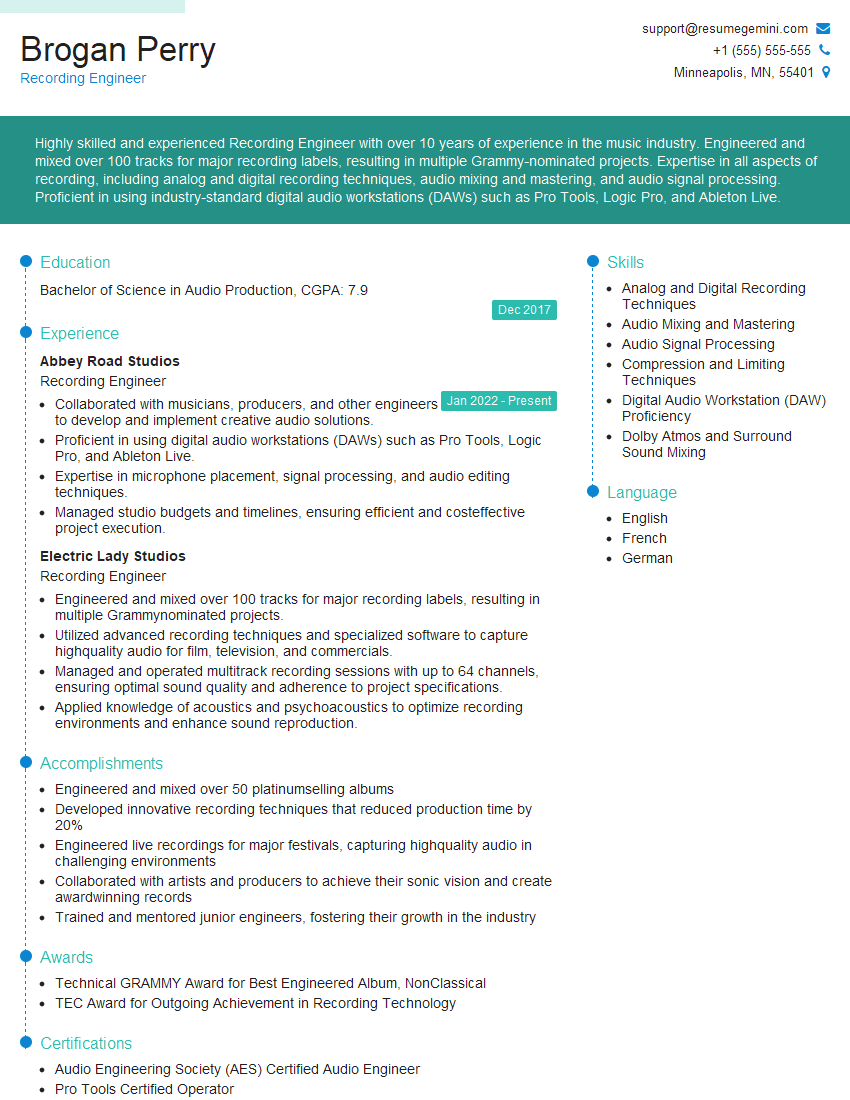
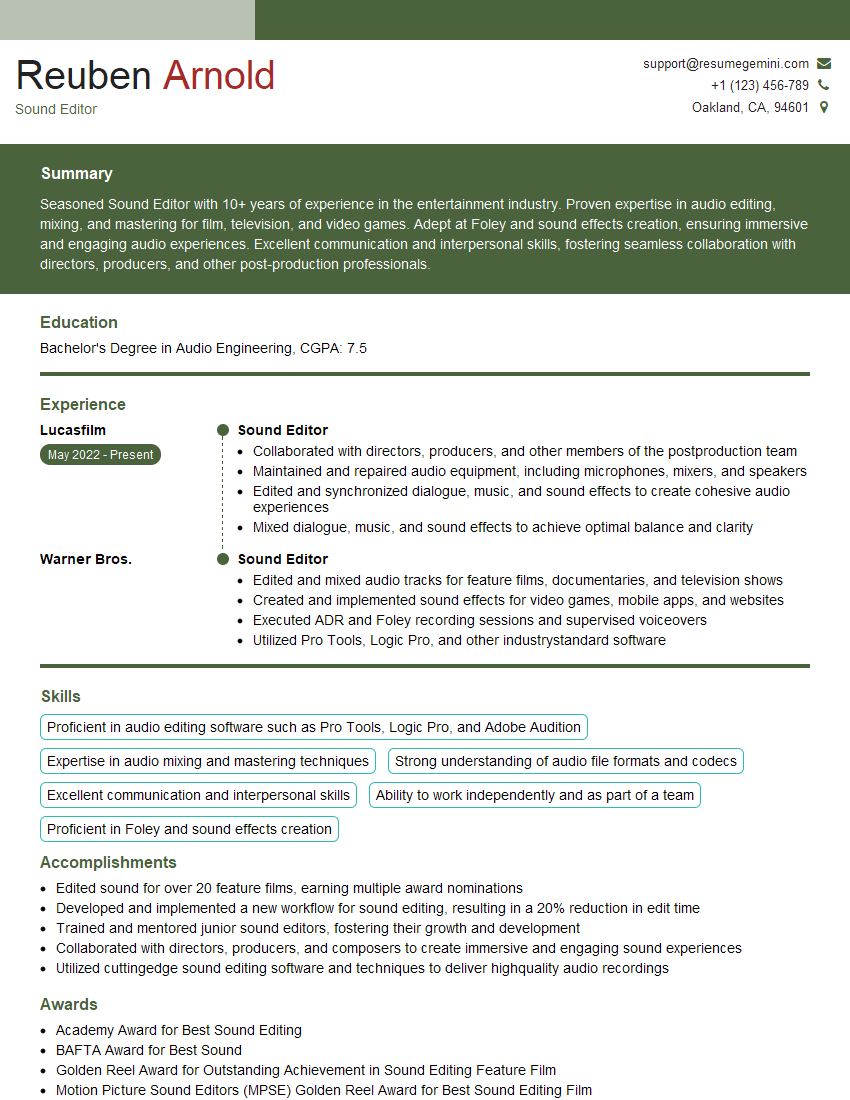
Mastering music production and recording techniques is crucial for career advancement in the competitive music industry. A strong understanding of these principles opens doors to diverse roles, from studio engineer to music producer to sound designer. To maximize your job prospects, creating a professional, ATS-friendly resume is essential. ResumeGemini is a trusted resource to help you build a compelling resume that highlights your skills and experience effectively. Examples of resumes tailored to music production and recording techniques are available to guide you through the process. Invest time in crafting a strong resume – it’s your first impression to potential employers.
Explore more articles
Users Rating of Our Blogs
Share Your Experience
We value your feedback! Please rate our content and share your thoughts (optional).
What Readers Say About Our Blog
This was kind of a unique content I found around the specialized skills. Very helpful questions and good detailed answers.
Very Helpful blog, thank you Interviewgemini team.
