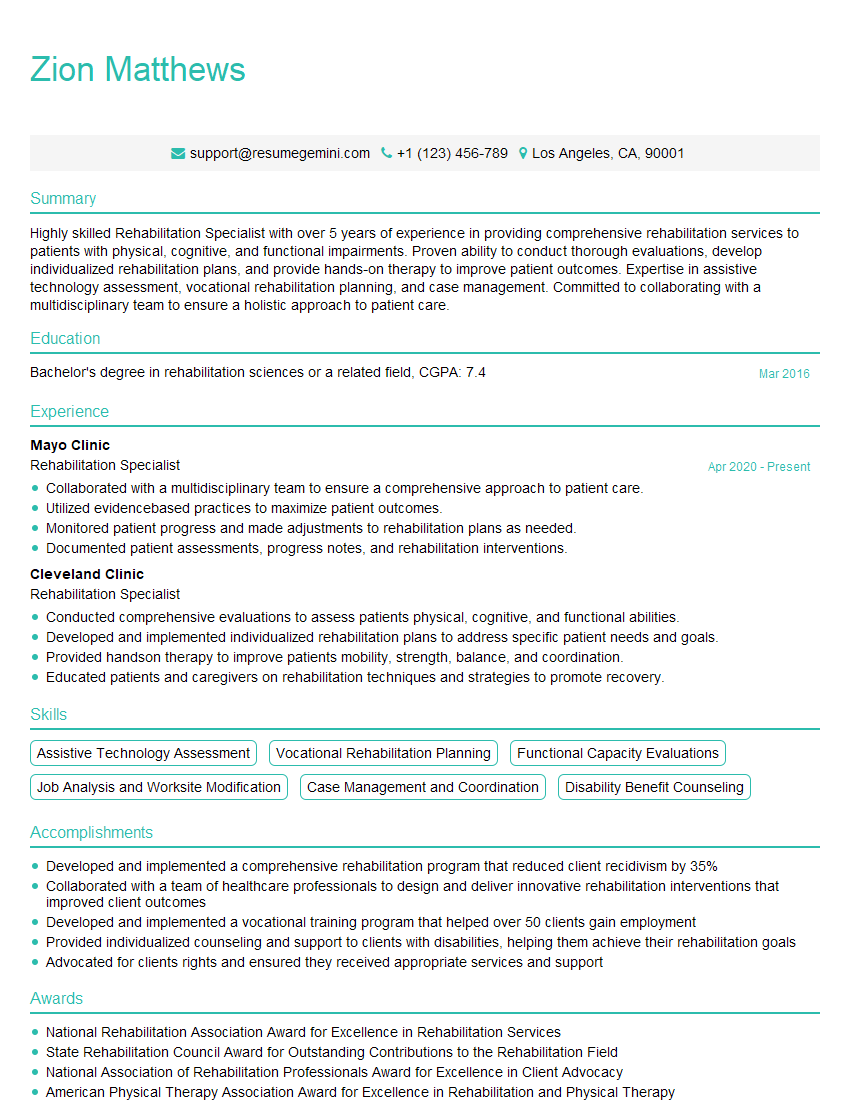
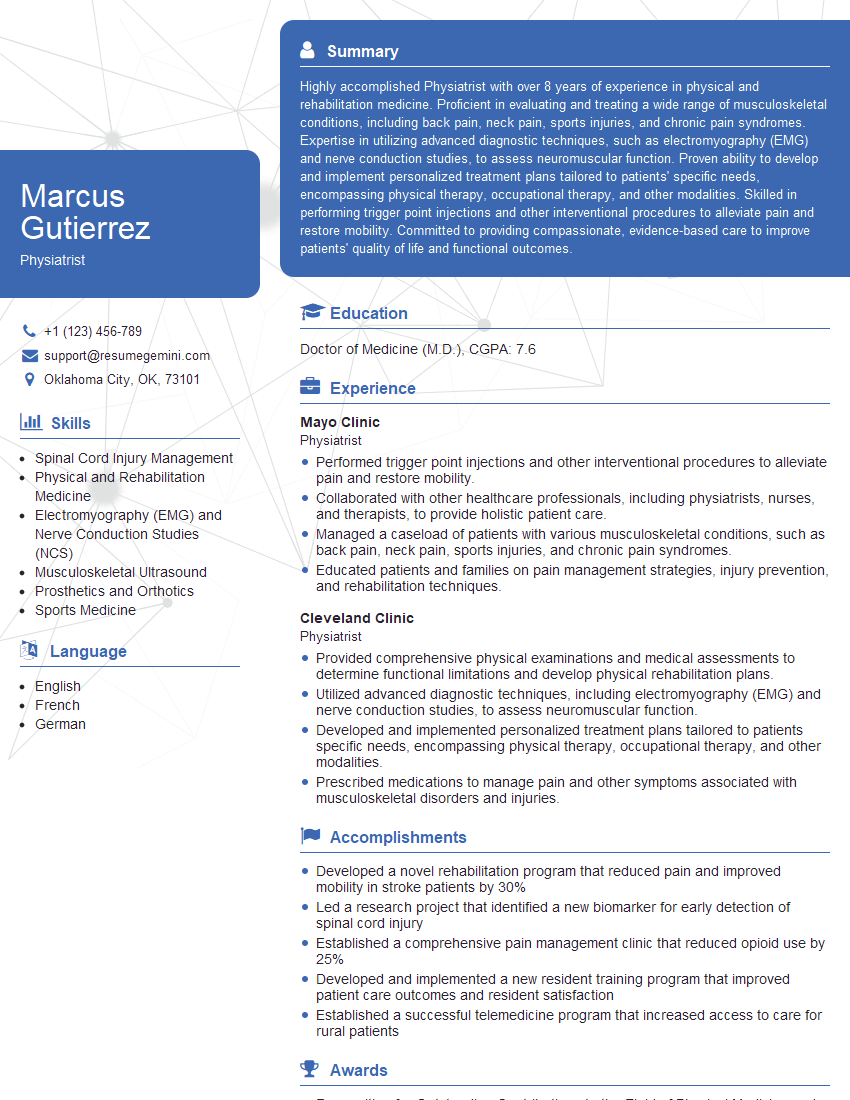
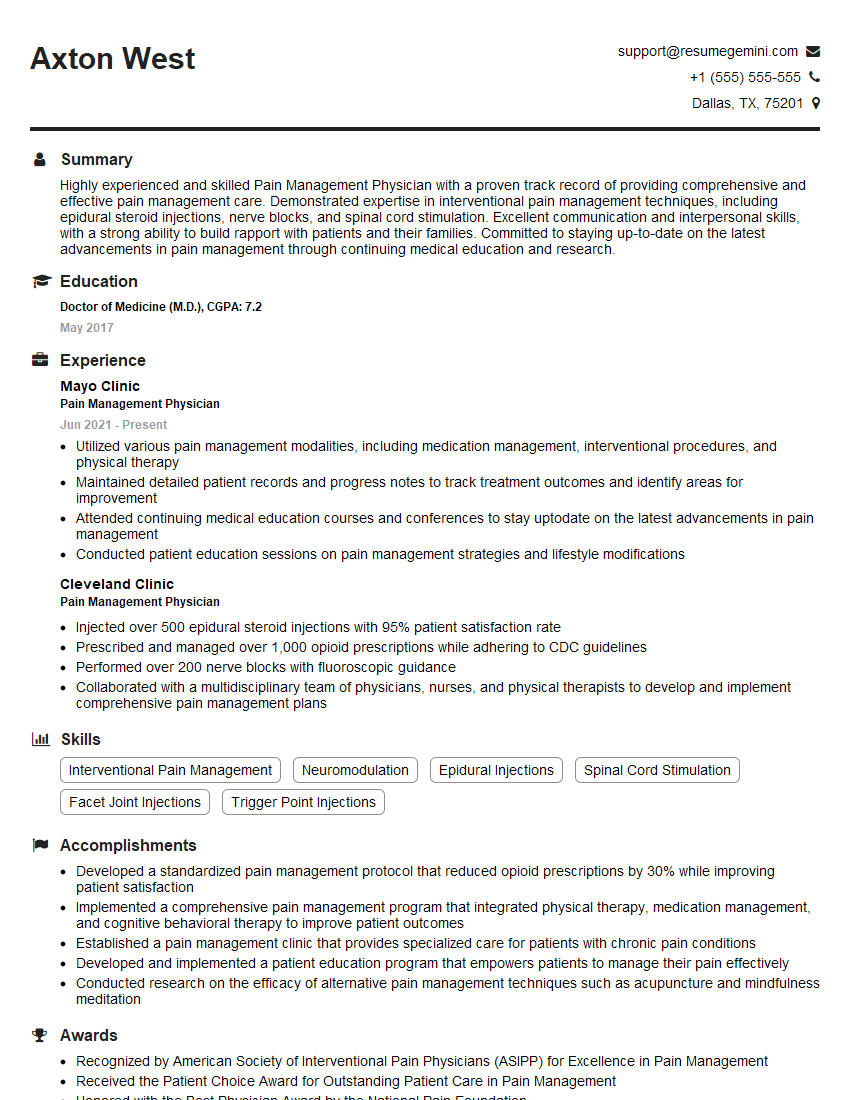
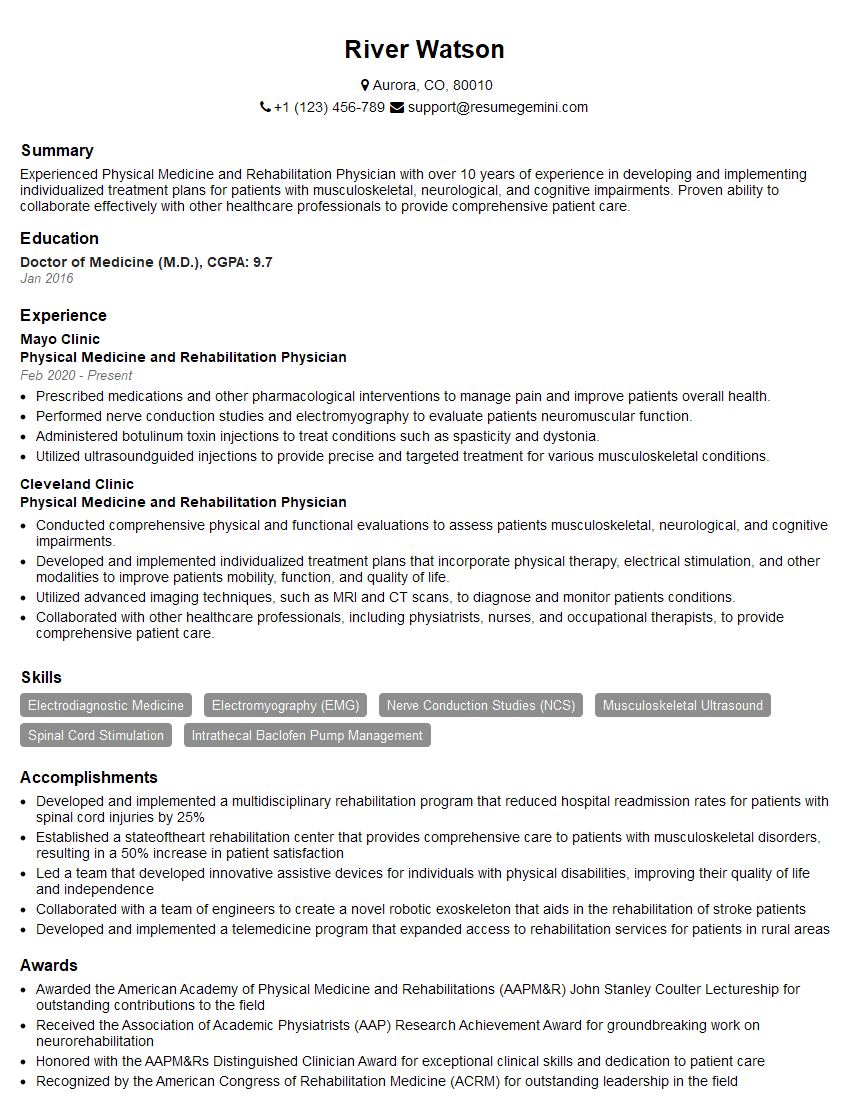
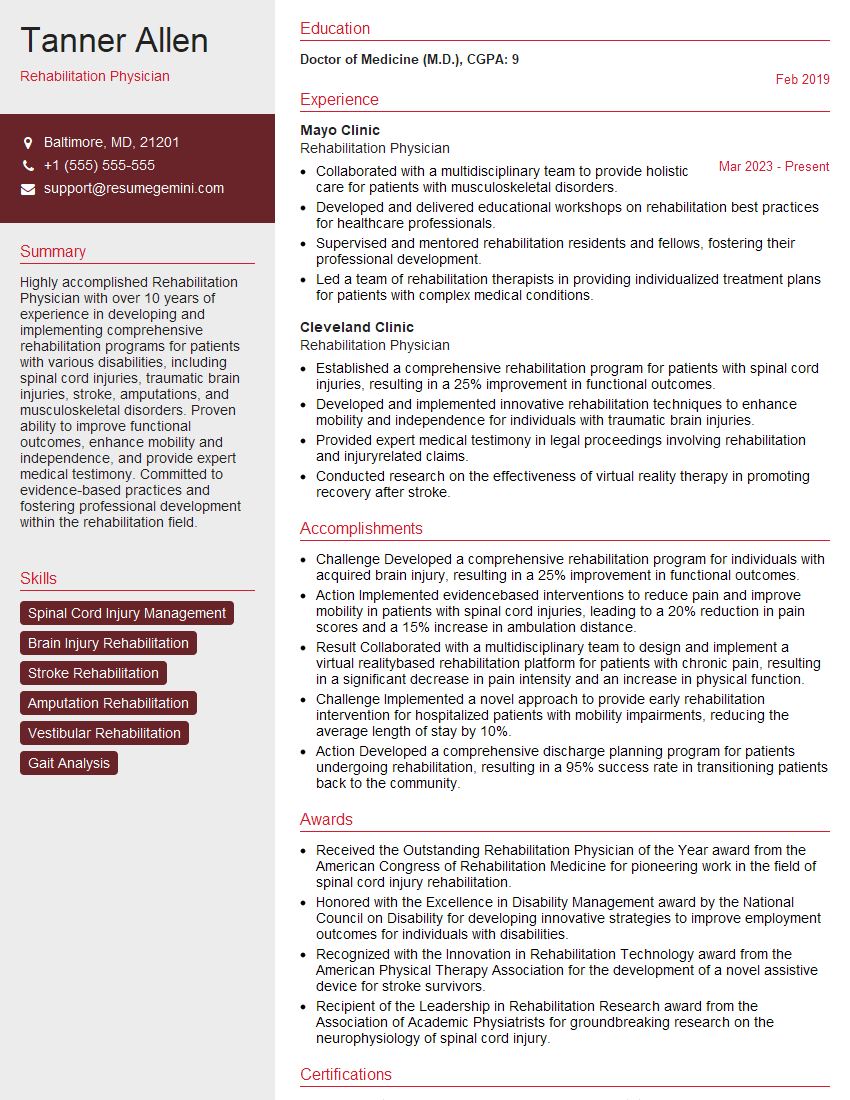
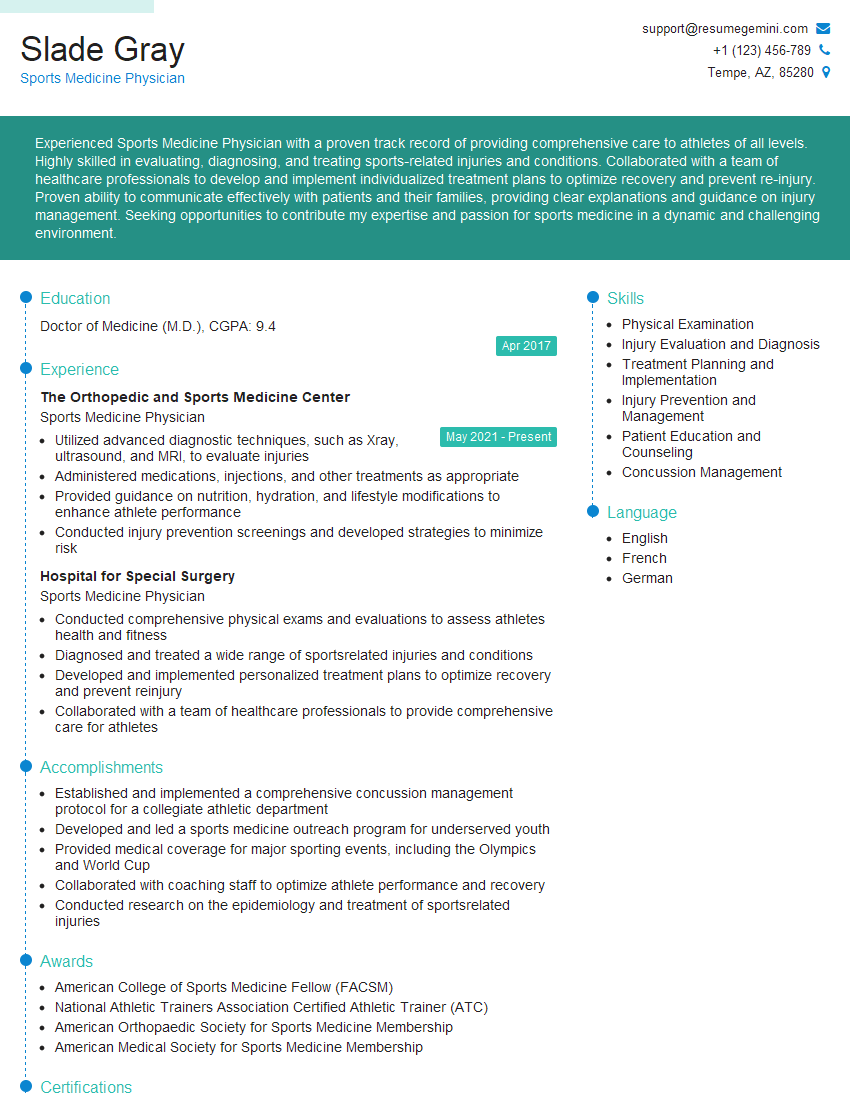
Every successful interview starts with knowing what to expect. In this blog, we’ll take you through the top PM&R Musculoskeletal Exam interview questions, breaking them down with expert tips to help you deliver impactful answers. Step into your next interview fully prepared and ready to succeed.
Questions Asked in PM&R Musculoskeletal Exam Interview
Q 1. Describe your approach to assessing a patient with suspected cervical radiculopathy.
Assessing a patient with suspected cervical radiculopathy involves a systematic approach combining history, physical examination, and potentially imaging. I begin by thoroughly reviewing the patient’s history, focusing on the onset, location, character, and radiation of their pain. This includes details about aggravating and relieving factors, any associated neurological symptoms (weakness, numbness, tingling), and previous injuries or medical conditions.
The physical exam is crucial. I assess the cervical spine’s range of motion, looking for limitations or pain. I then perform a detailed neurological examination, including:
- Sensory examination: Testing light touch, pinprick, and temperature sensation in the dermatomes corresponding to the suspected nerve root involvement (e.g., C6, C7, C8).
- Motor examination: Assessing muscle strength in muscles innervated by the suspected nerve root (e.g., biceps, triceps, finger flexors/extensors). Muscle strength is graded using the Medical Research Council (MRC) scale.
- Reflexes: Testing the biceps, brachioradialis, and triceps reflexes.
- Special tests: Performing provocative maneuvers such as Spurling’s test (extension and lateral flexion of the neck with axial loading) which can reproduce radicular symptoms.
Based on these findings, I may order imaging studies, such as X-rays or MRI, to rule out other causes of neck pain and confirm the diagnosis of cervical radiculopathy. For example, a patient presenting with right-sided neck pain radiating down the arm with weakness in the right triceps and diminished triceps reflex would strongly suggest a C7 radiculopathy. This would be supported by imaging showing a C7 nerve root compression.
Q 2. Explain the difference between upper and lower motor neuron lesions.
Upper and lower motor neuron lesions represent distinct patterns of neurological dysfunction. They differ in their location within the nervous system and the resulting clinical manifestations.
- Upper Motor Neuron (UMN) lesions affect motor pathways above the anterior horn cells of the spinal cord or motor nuclei of the brainstem. This leads to damage in the descending tracts responsible for voluntary movement. Characteristic findings include:
- Weakness: often more pronounced in distal muscles than proximal
- Spasticity: increased muscle tone with velocity-dependent resistance to passive movement
- Hyperreflexia: exaggerated deep tendon reflexes
- Clonus: rhythmic involuntary muscle contractions
- Positive Babinski sign: dorsiflexion of the big toe with fanning of other toes upon stimulation of the plantar surface of the foot
- Loss of fine motor control
- Lower Motor Neuron (LMN) lesions involve damage to the anterior horn cells of the spinal cord, cranial nerve motor nuclei, or peripheral nerves. Clinical features include:
- Weakness: often more pronounced in proximal muscles than distal
- Hypotonia or flaccidity: decreased or absent muscle tone
- Hyporeflexia or areflexia: diminished or absent deep tendon reflexes
- Muscle atrophy: wasting away of muscle tissue
- Fasciculations: spontaneous twitching of muscle fibers visible under the skin
Imagine a stroke (UMN lesion) causing weakness in the right arm with increased tone and brisk reflexes. Contrast this with a herniated disc compressing a spinal nerve root (LMN lesion) causing weakness with decreased reflexes and possibly muscle atrophy.
Q 3. How do you differentiate between carpal tunnel syndrome and cervical radiculopathy?
Differentiating between carpal tunnel syndrome (CTS) and cervical radiculopathy requires careful attention to the distribution of symptoms and the results of the physical examination. Both can cause numbness and tingling in the hand, but their patterns differ significantly.
- Carpal Tunnel Syndrome (CTS): typically involves paresthesia in the median nerve distribution of the hand – thumb, index, middle, and radial half of the ring finger. Symptoms are often worse at night or with repetitive hand use. Physical exam findings may include positive Phalen’s test (wrist flexion), Tinel’s sign (tapping over the median nerve at the wrist), and thenar muscle atrophy in chronic cases. The sensory deficit is typically confined to the hand.
- Cervical Radiculopathy: involves pain, numbness, and tingling that radiate down the arm along a specific dermatome, reflecting nerve root compression in the neck. The distribution is more widespread than CTS and may include the shoulder and scapular region. Weakness may affect muscles innervated by the affected nerve root. Provocative neck maneuvers may reproduce symptoms (e.g., Spurling’s test). Sensory changes extend beyond the hand, involving the arm and possibly the neck and shoulder.
For example, a patient complaining of nighttime hand numbness limited to the thumb, index, and middle fingers, with a positive Phalen’s test, is more suggestive of CTS. Conversely, a patient with neck pain radiating down the arm to the hand, with muscle weakness and decreased reflexes, is more likely to have cervical radiculopathy.
Q 4. What are the key components of a thorough neurological examination of the lower extremity?
A thorough neurological examination of the lower extremity includes assessment of motor function, sensory function, reflexes, and coordination. The steps are as follows:
- Motor examination: Assess muscle strength in key muscle groups (hip flexors, extensors, abductors, adductors; knee flexors, extensors; ankle dorsiflexors, plantar flexors). Use the MRC scale for grading muscle strength. Observe for any atrophy or fasciculations.
- Sensory examination: Test light touch, pinprick, temperature, and proprioception (position sense) along specific dermatomes of the lower extremity. Compare bilaterally.
- Reflexes: Test the patellar (knee jerk), Achilles (ankle jerk), and plantar reflexes. Note any hyperreflexia, hyporeflexia, or asymmetry.
- Coordination: Assess coordination through tests like heel-to-shin and finger-to-nose. Observe for any ataxia (lack of coordination) or dysmetria (inaccuracy of movement).
- Gait examination: Observe the patient’s gait for any abnormalities such as limping, antalgic gait (painful gait), or other signs of weakness or coordination problems.
A finding of foot drop (difficulty dorsiflexing the foot) and weakness in the tibialis anterior muscle, combined with reduced ankle reflexes, points towards an L5 radiculopathy or peroneal nerve lesion. Careful observation and assessment of each component are critical for effective diagnosis.
Q 5. How would you assess for muscle weakness in a patient with suspected myopathy?
Assessing muscle weakness in suspected myopathy involves focusing on proximal muscle weakness, often symmetrically distributed. Unlike in conditions such as radiculopathy or neuropathy, the weakness is not necessarily associated with clear dermatomal or peripheral nerve patterns. Here’s my approach:
- Observe for spontaneous movements: Note any fasciculations or tremors.
- Assess muscle bulk: Look for muscle atrophy or hypertrophy.
- Test proximal muscle strength: Focus on evaluating the strength of muscles around the shoulders (deltoids, biceps, triceps), hips (hip flexors, extensors, abductors), and thighs (quadriceps, hamstrings). Compare bilaterally. MRC scale is essential for documentation.
- Evaluate for fatigability: Have the patient perform repetitive movements (e.g., repeatedly raising their arms) to assess whether their strength declines quickly.
- Assess for myalgia (muscle pain): Some myopathies cause muscle pain.
For instance, a patient presenting with difficulty climbing stairs (proximal weakness), muscle tenderness, and diminished strength in their hip flexors and quadriceps would warrant further investigation for a potential myopathy. Laboratory tests, such as creatine kinase levels, and electromyography (EMG) are often used to confirm the diagnosis.
Q 6. Describe the technique for performing a straight leg raise test and its clinical significance.
The straight leg raise (SLR) test is used to assess for lumbar nerve root irritation, commonly associated with lumbar disc herniation. Here’s how to perform it and interpret the results:
Technique: With the patient supine, passively raise one leg, keeping the knee extended. Note the degree of hip flexion at which the patient reports pain. Positive SLR indicates irritation of the nerve root. The clinical significance of a positive SLR is that it suggests that the nerve root is under tension.
Clinical Significance: A positive SLR test is suggestive, but not diagnostic, of lumbar nerve root irritation. Pain radiating down the leg (sciatica) increases the likelihood of a nerve root problem. Other provocative tests such as the crossed SLR (pain in the opposite leg when the unaffected leg is raised) can further support the diagnosis. However, a positive SLR can also be present in other conditions affecting the lumbar spine or hip. Therefore, it is imperative to correlate the findings with the patient’s history and other components of the physical examination, including neurological testing. A positive test can indicate nerve root impingement from disc herniation or other spinal pathologies.
Q 7. How do you interpret the results of a Hoffman’s reflex?
Hoffman’s reflex is a clinical test used to assess for upper motor neuron lesions. It involves flicking the distal phalanx of the middle finger. A positive response is seen as flexion of the thumb and index finger (flexor response).
Interpretation: A positive Hoffman’s reflex is suggestive of an upper motor neuron lesion, often indicating corticospinal tract involvement. It’s a subtle test, and its interpretation requires experience. A positive finding should always be considered in the context of other neurological findings, such as increased tone, hyperreflexia, and a positive Babinski sign. A negative Hoffman’s reflex does not exclude the possibility of an UMN lesion. The specificity of the test is relatively low, meaning a positive result could also be present in some other conditions. A normal reflex implies there is no sign of UMN involvement at that moment.
Clinically, I use it as one piece of evidence when evaluating patients with suspected spinal cord or brain lesions. A positive Hoffman’s reflex, alongside other consistent findings of UMN dysfunction, helps strengthen the diagnostic impression of an upper motor neuron lesion.
Q 8. Explain the difference between spasticity and rigidity.
Spasticity and rigidity are both types of hypertonia, meaning increased muscle tone, but they differ significantly in their characteristics. Think of it like this: spasticity is like a spring, while rigidity is like a board.
Spasticity: This is velocity-dependent, meaning the resistance to passive movement increases with the speed of the movement. It’s also often associated with a clasp-knife phenomenon, where there’s initial resistance followed by a sudden release. Spasticity is usually caused by damage to the upper motor neurons, often seen in conditions like multiple sclerosis or stroke. For example, imagine trying to passively bend the knee of a patient with spasticity – you’ll meet initial resistance, then it will suddenly give way.
Rigidity: This is velocity-independent; resistance to passive movement remains consistent regardless of the speed. It’s often described as ‘lead-pipe’ rigidity (uniform resistance throughout the range of motion) or ‘cogwheel’ rigidity (a jerky, ratchet-like resistance). Rigidity is commonly seen in Parkinson’s disease, where it’s caused by damage to the basal ganglia.
In summary, the key difference lies in the velocity dependence of the resistance to passive movement. Spasticity is velocity-dependent, while rigidity is not.
Q 9. What are the common causes of foot drop?
Foot drop, the inability to dorsiflex the foot (lift the toes towards the shin), has several common causes, often stemming from damage to the nerves or muscles involved in this movement.
- Nerve damage: This is a frequent culprit, often involving the common peroneal nerve, which is responsible for dorsiflexion. Damage can occur due to trauma (e.g., fracture, surgery), compression (e.g., prolonged leg crossing), or nerve diseases like Charcot-Marie-Tooth disease.
- Muscle disorders: Conditions affecting the muscles responsible for dorsiflexion, such as muscular dystrophy or other myopathies, can lead to weakness and ultimately foot drop.
- Neurological conditions: Diseases like multiple sclerosis, stroke, or cerebral palsy can affect the brain’s signals to the muscles, resulting in foot drop.
- Anterior compartment syndrome: A condition characterized by increased pressure in the anterior compartment of the leg, compromising blood supply to the muscles and nerves.
Diagnosing the underlying cause requires a thorough neurological examination, including assessment of strength, reflexes, and sensation. Further investigations, such as electromyography (EMG) and nerve conduction studies (NCS), may be needed.
Q 10. How would you assess for sensory loss in the extremities?
Assessing sensory loss in the extremities involves a systematic approach, testing different sensory modalities: light touch, pain, temperature, proprioception (position sense), and vibration.
I would use a variety of methods:
- Light touch: Using a wisp of cotton, I’d gently touch different areas of the skin, asking the patient to indicate when they feel the touch.
- Pain: A sharp pin or safety pin would be used to test the perception of pain stimuli.
- Temperature: Two test tubes, one filled with hot water and the other with cold water, would be used to test the sensation of hot and cold.
- Proprioception: I’d move the patient’s finger or toe and ask them to indicate its position without looking.
- Vibration: A tuning fork would be placed over bony prominences to test the sensation of vibration.
The assessment should be performed bilaterally (comparing both sides), and a dermatomal map can be used to pinpoint the affected sensory areas if loss is detected. This helps to identify possible nerve root or peripheral nerve involvement.
Q 11. Describe your approach to evaluating a patient with chronic low back pain.
Evaluating a patient with chronic low back pain requires a comprehensive approach that goes beyond just assessing the back itself. My approach would involve:
- Thorough history: This includes onset, duration, character of pain, aggravating and relieving factors, relevant past medical history, social history and current medications. I would also want to know if the pain radiates into the legs (sciatica) and if they experience any bowel or bladder dysfunction.
- Physical examination: A focused musculoskeletal exam of the spine, including assessment of posture, range of motion (ROM), palpation for tenderness, and neurological examination (strength, reflexes, sensation) of the lower extremities. Special tests for nerve root compression (such as straight leg raise test) would also be performed.
- Imaging studies: Based on the history and physical exam findings, I may order imaging studies such as X-rays, MRI or CT scans, to look for structural abnormalities like disc herniation, spinal stenosis, or fracture. In many cases, imaging is not necessary in the initial assessment.
- Differential diagnosis: Chronic low back pain can have various causes, from musculoskeletal issues to inflammatory conditions, visceral pain or even psychological factors. A differential diagnosis will narrow down the possible etiologies and guide further management.
- Functional assessment: Assessing the patient’s ability to perform daily activities will guide treatment and rehabilitation goals, such as evaluating their ability to bend, lift, and walk.
The goal is not only to identify the cause of pain but also to develop a management plan that addresses the patient’s functional limitations and improves their quality of life.
Q 12. Explain the use of goniometry in assessing joint range of motion.
Goniometry is a simple but crucial method for measuring joint range of motion (ROM). A goniometer is essentially a protractor with two arms that align with the long axis of the bones that form the joint. It allows for objective measurement of the angle of flexion, extension, abduction, adduction, etc.
To use a goniometer, I would first stabilize the proximal segment of the joint, then align one arm of the goniometer along the proximal segment and the other along the distal segment. The angle indicated on the goniometer represents the joint angle. This measurement is compared with normative data for the patient’s age and gender to determine if ROM is within the normal range or if there is limitation or hypermobility.
For instance, assessing knee flexion: one arm would be aligned along the femur and the other along the tibia; the resulting angle represents the degree of knee flexion. Recording ROM objectively is vital for tracking progress and determining effectiveness of treatment in rehabilitation settings.
Q 13. How do you differentiate between osteoarthritis and rheumatoid arthritis?
Osteoarthritis (OA) and rheumatoid arthritis (RA) are both forms of arthritis that cause joint pain and inflammation, but they are distinctly different conditions.
Osteoarthritis (OA): This is a degenerative joint disease, meaning that the cartilage that cushions the joints wears down over time. It’s typically a localized condition, affecting a few joints, often those that bear weight (knees, hips). OA is usually associated with age, but may occur earlier in life with injuries to the joint.
Rheumatoid arthritis (RA): This is an autoimmune disease where the body’s immune system attacks the joints, causing chronic inflammation. RA is a systemic disease, often affecting multiple joints symmetrically (both hands, both feet). It is also commonly associated with other symptoms such as fatigue, fever, and weight loss.
Here’s a table summarizing the key differences:
| Feature | Osteoarthritis (OA) | Rheumatoid Arthritis (RA) |
|---|---|---|
| Onset | Gradual, often related to age or injury | Sudden or gradual |
| Joint involvement | Usually localized, affecting a few joints | Usually systemic, affecting multiple joints symmetrically |
| Inflammation | Minimal to moderate | Significant |
| Morning stiffness | Brief, usually less than 30 minutes | Prolonged, often lasting for hours |
| Autoimmune component | None | Present |
Proper diagnosis requires clinical evaluation, imaging studies (X-rays for OA, blood tests for RA), and consideration of the patient’s overall presentation.
Q 14. What are the common causes of shoulder pain?
Shoulder pain is a common complaint with a wide range of potential causes. It’s crucial to consider both local and referred sources of pain.
- Rotator cuff tendinopathy: Inflammation or tearing of the tendons that stabilize the shoulder joint. This is often caused by overuse, injury, or aging.
- Bursitis: Inflammation of the bursae (fluid-filled sacs) that cushion the shoulder joint. Repetitive movements or direct trauma can trigger bursitis.
- Subacromial impingement syndrome: Compression of the rotator cuff tendons and subacromial bursa under the acromion bone. This often occurs due to repetitive overhead activities.
- Frozen shoulder (adhesive capsulitis): Characterized by stiffness and pain in the shoulder joint, with limited range of motion. The exact cause isn’t always clear.
- Labral tears: Tears in the labrum, a ring of cartilage that helps to stabilize the shoulder joint. These can be caused by injury or repetitive stress.
- Referred pain: Shoulder pain can sometimes originate from other areas, such as the neck, heart (in the case of angina), or lungs.
A detailed history and physical examination, including assessment of ROM, strength, palpation for tenderness, and neurological testing, are critical for diagnosis. Imaging studies, such as X-rays or MRIs, may also be necessary depending on the suspected cause.
Q 15. Describe the examination techniques for assessing the rotator cuff.
Assessing the rotator cuff involves a comprehensive examination combining observation, palpation, and specific tests. We begin by observing the patient’s posture and noting any asymmetry or atrophy of the shoulder muscles. Palpation helps identify any tenderness, swelling, or crepitus (a crackling sound during movement). Then, we move on to specific tests to assess the integrity of each rotator cuff muscle.
- Empty Can Test: Assesses the supraspinatus. The patient abducts their arm to 90 degrees, internally rotates their shoulder, and then tries to resist downward pressure applied by the examiner. Weakness suggests a supraspinatus tear.
- Full Can Test: Similar to the empty can test, but with the arm externally rotated, which emphasizes the infraspinatus and teres minor. Weakness here could indicate infraspinatus or teres minor pathology.
- Internal Rotation Lag Sign: Assesses the subscapularis. The patient internally rotates their arm against resistance while the examiner passively abducts the arm to 90 degrees. Inability to maintain internal rotation suggests subscapularis dysfunction.
- Drop Arm Test: A simple but powerful test for a rotator cuff tear, specifically of the supraspinatus. The examiner passively abducts the patient’s arm to 90 degrees, and then asks the patient to slowly lower it. Inability to control the lowering or a sudden drop of the arm suggests a tear.
It’s crucial to remember that these tests are not definitive, and a combination of findings helps create a comprehensive picture. For example, I once saw a patient who had a positive Empty Can Test but minimal pain. Further investigation revealed a minor strain rather than a full tear. Always correlate findings with the patient’s history and imaging results when available.
Career Expert Tips:
- Ace those interviews! Prepare effectively by reviewing the Top 50 Most Common Interview Questions on ResumeGemini.
- Navigate your job search with confidence! Explore a wide range of Career Tips on ResumeGemini. Learn about common challenges and recommendations to overcome them.
- Craft the perfect resume! Master the Art of Resume Writing with ResumeGemini’s guide. Showcase your unique qualifications and achievements effectively.
- Don’t miss out on holiday savings! Build your dream resume with ResumeGemini’s ATS optimized templates.
Q 16. How do you assess for instability in the knee joint?
Assessing knee instability involves evaluating both the static and dynamic stability of the joint. We begin by assessing the overall alignment and any visible deformities like valgus (knock-knees) or varus (bowlegs) deformities. Palpation helps detect any swelling, tenderness, or crepitus. Dynamic assessment is crucial and includes:
- Lachman Test: Evaluates anterior cruciate ligament (ACL) integrity. The knee is flexed to about 20 degrees, and the examiner stabilizes the femur while attempting to translate the tibia anteriorly. Excessive anterior translation indicates an ACL injury. This is often more sensitive than the drawer test.
- Anterior Drawer Test: Another test for ACL instability, this one is performed with the knee flexed to 90 degrees. The examiner grasps the proximal tibia and attempts to draw it forward. Excessive anterior translation suggests an ACL injury.
- Posterior Drawer Test: Evaluates posterior cruciate ligament (PCL) integrity, performed similarly to the anterior drawer test but pushing the tibia posteriorly. Excessive posterior translation points to a PCL problem.
- Valgus and Varus Stress Tests: Assess the medial and lateral collateral ligaments (MCL and LCL). These are performed with the knee in extension and flexion, applying a valgus (inward) force to assess the MCL and a varus (outward) force for the LCL. Pain or excessive gapping suggests ligamentous injury.
- Pivot Shift Test: Evaluates ACL integrity and is more complex. It involves gradually flexing and extending the knee while applying a valgus stress, observing for a palpable shift of the tibia.
Combining these tests allows us to build a picture of the knee’s stability. I remember a patient with a suspected ACL tear, where the Lachman test was positive, but the anterior drawer test was negative. This highlighted the sensitivity of the Lachman test in detecting subtle injuries.
Q 17. What are the clinical features of De Quervain’s tenosynovitis?
De Quervain’s tenosynovitis is a stenosing tenosynovitis affecting the abductor pollicis longus and extensor pollicis brevis tendons at the radial wrist. Key clinical features include:
- Pain: Localized pain over the radial styloid process, often radiating to the thumb and forearm. The pain is often worse with thumb movements, particularly gripping, pinching, or twisting.
- Tenderness: Palpable tenderness over the tendons at the radial styloid.
- Swelling: May be present over the affected tendons.
- Positive Finkelstein’s Test: This is a highly specific test. The patient flexes their thumb into the palm and then clenches their fingers around the thumb. The wrist is then ulnarly deviated. Pain during this maneuver strongly suggests De Quervain’s tenosynovitis.
- Crepitus: A crackling or clicking sound may be palpable or audible during tendon movement.
Patients often describe their pain as a sharp, stabbing pain, making simple tasks like turning a doorknob or opening a jar very difficult. A thorough history and the Finkelstein’s test are often sufficient for diagnosis. I’ve seen many patients relieved after a simple steroid injection.
Q 18. Explain the use of special tests in evaluating wrist injuries.
Special tests for wrist injuries are crucial in identifying specific ligamentous or tendinous involvement. These tests are often used in conjunction with imaging to confirm a diagnosis.
- Watson’s Test (Scapholunate Instability): Assesses scapholunate ligament integrity. The examiner stabilizes the distal radius and ulna while flexing and extending the wrist. A palpable clunk or feeling of instability indicates possible scapholunate ligament injury.
- Grind Test (TFCC): Assesses the triangular fibrocartilage complex (TFCC). The examiner pronates and supinates the patient’s forearm while applying axial compression to the wrist. Pain suggests TFCC involvement.
- Finkelstein’s Test (De Quervain’s Tenosynovitis): As previously mentioned, this test specifically assesses for De Quervain’s tenosynovitis.
- Allen Test: Assesses the patency of the radial and ulnar arteries, crucial after wrist trauma to ensure adequate blood supply to the hand.
- Pinch Grip Test: Evaluates median nerve function; weakness suggests carpal tunnel syndrome.
It’s important to remember that these tests should be interpreted in context with the patient’s history and physical findings. A combination of positive tests increases the likelihood of a specific diagnosis. For example, a patient with a positive Watson’s test and a widened scapholunate interval on X-ray strongly suggests scapholunate instability.
Q 19. How do you assess for thoracic outlet syndrome?
Thoracic outlet syndrome (TOS) is a condition characterized by compression of neurovascular structures (brachial plexus and subclavian artery/vein) at the thoracic outlet. Assessing TOS involves a detailed history and physical examination:
- History: Ask about symptoms like upper extremity pain, numbness, tingling, coldness, weakness, swelling, and fatigue. Determine if symptoms are positional or activity-related. For example, are symptoms worse when arms are overhead?
- Physical Exam: Begin by observing the patient’s posture, noting any neck or shoulder abnormalities. Palpate the supraclavicular fossa for tenderness or pulsatile masses. Assess the pulses in the upper extremities and compare them bilaterally.
- Adson’s Test: The patient extends and externally rotates the neck while taking a deep breath and holding it. Diminished or absent radial pulse suggests compression.
- Roos Test (Elevated Arm Stress Test): The patient abducts the arms to 90 degrees, externally rotates them, and opens and closes their hands for 3 minutes. Reproducing symptoms indicates potential TOS.
- Wright’s Test (Hyperabduction Test): The patient’s arm is passively abducted above the head. A diminished or absent radial pulse suggests compression.
It’s crucial to remember that TOS is often a diagnosis of exclusion and that positive findings on these tests require correlation with the patient’s history and often additional imaging (e.g., MRI, CT) or nerve conduction studies to confirm the diagnosis and rule out other conditions. I recall a patient with suspected TOS where Adson’s test was positive, but additional studies showed cervical radiculopathy as the actual cause of her symptoms.
Q 20. Describe your approach to evaluating a patient with suspected nerve entrapment.
Evaluating a patient with suspected nerve entrapment begins with a thorough history, focusing on the distribution, character, and aggravating factors of their symptoms. This includes asking about paresthesias, pain, weakness, and any associated sensory deficits.
- History: Detailed information about the onset, location, and progression of the symptoms are crucial. Ask about specific activities or postures that exacerbate or relieve the symptoms. A well-taken history often points towards the likely site of entrapment.
- Physical Exam: Palpate the suspected nerve for tenderness. Assess the patient’s motor strength, reflexes, and sensation using dermatomal maps to identify the specific nerve distribution affected. For example, testing thumb opposition assesses the median nerve.
- Specific Tests: These depend on the suspected location of entrapment. Examples include the Tinel’s sign (tapping over a nerve eliciting tingling), Phalen’s test (holding wrists in flexion), and carpal compression test for carpal tunnel syndrome. Similar tests exist for other entrapment neuropathies, such as cubital tunnel syndrome and radial tunnel syndrome.
- Electrodiagnostic Studies: Nerve conduction studies (NCS) and electromyography (EMG) are often necessary to confirm the diagnosis and quantify the severity of the nerve involvement. These tests can pinpoint the location and extent of the nerve damage.
My approach is to start with the history and physical exam, followed by targeted special tests. If the findings are inconclusive, then electrodiagnostic studies become valuable for objectively confirming the diagnosis. A combination of approaches aids in providing the most accurate and comprehensive assessment and treatment plan.
Q 21. Explain the significance of assessing deep tendon reflexes.
Assessing deep tendon reflexes (DTRs) is a vital component of a neurological examination. DTRs provide information about the integrity of the reflex arc, which involves the sensory nerve, spinal cord, motor nerve, and muscle. Grading is typically done on a scale of 0 (absent) to 4+ (hyperreflexia).
- Significance: Changes in DTRs can indicate lesions at various points along the reflex arc. Hyporeflexia (reduced reflexes) may suggest peripheral neuropathy or lower motor neuron lesions. Hyperreflexia (increased reflexes) might signify upper motor neuron lesions or other neurological conditions.
- Clinical Use: DTRs help assess the presence and severity of neurological issues such as spinal cord injuries, multiple sclerosis, stroke, and various peripheral neuropathies.
- Commonly Tested Reflexes: Biceps, triceps, brachioradialis, patellar, and Achilles reflexes.
- Interpretation: Asymmetry in reflexes is a more significant finding than the absolute value in a single limb. For instance, a brisk reflex on one side and an absent reflex on the other side are more worrisome than bilaterally diminished reflexes.
I remember a patient who presented with weakness in their legs. While their sensory exam was relatively normal, their patellar and Achilles reflexes were significantly diminished. This finding, coupled with other signs, led to a diagnosis of a peripheral neuropathy.
Q 22. How do you assess for clonus?
Clonus is a series of involuntary, rhythmic muscle contractions. It’s a sign of upper motor neuron lesion. To assess for clonus, I typically start with the ankle. I passively dorsiflex the patient’s foot, quickly and briefly stretching the gastrocnemius muscle. If clonus is present, I’ll feel a series of rapid, repetitive, and rhythmic contractions of the gastrocnemius muscle. The number of beats is noted (e.g., 3+ clonus means three or more beats). The same technique can be applied to the patella (knee) and wrists. Sustained clonus, especially if present in multiple areas, is indicative of a more significant neurological problem.
For example, imagine quickly flexing and releasing a wrist: if clonus is present, the hand will rhythmically flex and extend several times after the initial stretch. The absence of clonus doesn’t rule out a neurological issue, but its presence is highly suggestive of an upper motor neuron lesion, something I’d investigate further with additional testing.
Q 23. Describe the different types of gait abnormalities and their causes.
Gait abnormalities, or disorders in walking, can stem from numerous causes affecting the musculoskeletal, neurological, or even cardiovascular system. Here are some common types:
- Spastic gait: Characterized by stiff, jerky movements, often due to upper motor neuron lesions (e.g., stroke, cerebral palsy). The legs are often held together, and walking is slow and stiff.
- Ataxic gait: Involves an unsteady, uncoordinated walk, with a wide base of support. This is typically caused by cerebellar lesions or other neurological conditions affecting balance and coordination.
- Antalgic gait: This is a protective gait where the individual attempts to minimize weight-bearing on the affected limb because of pain. The affected limb is held shorter and the individual’s steps are shorter.
- Gait apraxia: A problem with the planning and execution of movement, leading to clumsy, hesitant steps. Often associated with brain injuries.
- Parkinsonian gait: Demonstrates slow, shuffling steps with decreased arm swing, often seen in Parkinson’s disease due to dopaminergic deficiency.
- Waddling gait: Associated with weakness in the pelvic girdle muscles; the pelvis rotates excessively with each step. Common in muscular dystrophies.
Proper gait assessment involves observing the patient’s posture, stride length, base of support, swing phase, and stance phase. It’s important to analyze the gait cycle thoroughly, noting any deviations from normal to pinpoint potential underlying causes.
Q 24. What are the indications for performing an electromyography (EMG) and nerve conduction study (NCS)?
Electromyography (EMG) and nerve conduction studies (NCS) are essential electrodiagnostic tests used to evaluate neuromuscular disorders. Indications for these tests include:
- Muscle weakness: To differentiate between myopathic (muscle disease) and neuropathic (nerve disease) causes of weakness.
- Numbness or tingling (paresthesia): To identify nerve compression or damage.
- Pain: To assess for nerve involvement in conditions like radiculopathy or carpal tunnel syndrome.
- Muscle atrophy: To determine if muscle wasting is due to nerve damage or a primary muscle disease.
- Myasthenia gravis: A neuromuscular junction disorder that causes fluctuating muscle weakness.
- Evaluation of peripheral nerve injuries: Following trauma or surgery to determine the extent and type of injury.
- Monitoring disease progression: In conditions like amyotrophic lateral sclerosis (ALS) or muscular dystrophy.
In essence, EMG/NCS helps pinpoint the location and nature of the problem within the neuromuscular system. These results are critical in creating a focused diagnosis and treatment plan.
Q 25. How do you interpret the results of an EMG/NCS?
Interpreting EMG/NCS results requires experience and a systematic approach. NCS assess nerve conduction velocities, amplitudes, and latencies, identifying areas of nerve damage. EMG directly examines the electrical activity of muscles at rest and during contraction. Results are analyzed together to form a comprehensive picture.
NCS findings: Slowed conduction velocity suggests demyelination (damage to the myelin sheath). Decreased amplitude indicates axonal loss (damage to the nerve fiber). Increased latency points to impaired nerve conduction.
EMG findings: Spontaneous activity (fibrillations, fasciculations) at rest indicates denervation (loss of nerve supply). Reduced recruitment of motor units suggests myopathy or neurogenic changes.
The combination of NCS and EMG findings helps localize the lesion, determining whether the problem is primarily in the nerve, muscle, or neuromuscular junction. For instance, evidence of both slowed conduction velocity and fibrillation potentials would suggest a neurogenic disorder with ongoing denervation.
Q 26. Describe your experience with musculoskeletal ultrasound.
I have extensive experience with musculoskeletal ultrasound (MSK US). MSK US provides real-time images of muscles, tendons, ligaments, joints, and nerves. It’s a non-invasive technique that I use to visualize many musculoskeletal problems. This imaging modality allows for dynamic assessment, examining structure and function simultaneously. For example, I can assess tendon integrity, looking for partial or complete tears. I can also identify bursitis, synovitis, ganglion cysts, and even assess the presence of nerve entrapment, such as in carpal tunnel syndrome. Furthermore, I can guide injections, which minimizes the risk of complications by allowing real-time visualization of the needle’s path.
In my clinical practice, I use MSK US to guide steroid injections into inflamed joints or trigger points, for example, to improve diagnostic accuracy and help patients experience faster symptom relief. It’s become an indispensable tool in my practice, enhancing both my diagnostic capabilities and therapeutic interventions.
Q 27. Explain the principles of using manual muscle testing.
Manual muscle testing (MMT) is a method to objectively assess the strength of individual muscles or muscle groups. The principles involve comparing the patient’s muscle strength against resistance applied by the examiner. The examiner uses a standardized grading scale, typically ranging from 0 (no contraction) to 5 (normal strength), to document the findings.
The process involves positioning the patient appropriately to isolate the targeted muscle. The examiner then applies resistance to the muscle’s action while the patient attempts to perform the movement against that resistance. Careful observation of the quality of the contraction, smoothness, and any pain is crucial. For instance, testing elbow flexion requires me to stabilize the patient’s upper arm and apply resistance to the forearm as the patient flexes their elbow. The patient’s ability to overcome my resistance determines the final grade.
This is a standardized system used to measure objectively the effectiveness of interventions and track a patient’s progress during rehabilitation.
Q 28. What are some limitations of the physical examination in evaluating musculoskeletal disorders?
While the physical examination is a cornerstone of musculoskeletal assessment, it has limitations:
- Subjectivity: Pain scales and patient descriptions are subjective. Two patients with the same condition may report different levels of pain.
- Hidden pathology: Physical examination may miss subtle or deep-seated lesions that are not palpable or readily apparent.
- Patient cooperation: Accurate assessment relies on patient cooperation. Pain, cognitive impairment, or other factors can limit a patient’s ability to participate fully.
- Limited sensitivity and specificity: Some conditions may not produce clear physical findings. For example, early stages of osteoarthritis or subtle nerve lesions may not be detected solely by physical exam.
- Lack of quantification: While MMT provides a scale, other aspects of the examination rely on qualitative assessment, making it challenging to track precise changes over time.
These limitations emphasize the need to integrate the physical examination with other diagnostic modalities, such as imaging, electrodiagnostic tests, and laboratory investigations, for a comprehensive and accurate assessment of musculoskeletal disorders.
Key Topics to Learn for PM&R Musculoskeletal Exam Interview
Ace your PM&R Musculoskeletal Exam interview by focusing on these key areas. Remember, a deep understanding of both theory and practical application is crucial.
- Neurological Examination of the Musculoskeletal System: Mastering the techniques for evaluating sensory function, reflexes, and motor strength in different regions of the body is paramount. Consider the differential diagnoses related to various neurological findings.
- Orthopedic Examination Techniques: Practice your skills in joint assessment, range of motion testing, and palpation. Develop a systematic approach to identifying specific musculoskeletal injuries and conditions.
- Imaging Interpretation (X-ray, MRI, CT): Familiarize yourself with common imaging modalities and their role in diagnosing musculoskeletal disorders. Practice interpreting key findings and correlating them with clinical presentations.
- Differential Diagnosis of Musculoskeletal Pain: Develop a strong understanding of common conditions like arthritis, fractures, nerve compression syndromes, and muscle strains. Focus on differentiating between these conditions based on patient history, physical examination, and imaging findings.
- Treatment Modalities and Rehabilitation Strategies: Showcase your knowledge of non-surgical and surgical interventions, including medication management, physical therapy, and assistive devices. Be prepared to discuss appropriate rehabilitation plans for various musculoskeletal conditions.
- Case Study Analysis: Practice analyzing clinical case scenarios, identifying key features, formulating differential diagnoses, and proposing appropriate management strategies. This will strengthen your problem-solving skills.
Next Steps
Mastering the PM&R Musculoskeletal Exam opens doors to exciting career opportunities and positions you for success in this dynamic field. To maximize your job prospects, a well-crafted, ATS-friendly resume is essential. This is where ResumeGemini can help!
ResumeGemini provides a trusted platform for building professional resumes that highlight your skills and experience effectively. We offer examples of resumes tailored specifically to the PM&R Musculoskeletal Exam, guiding you to present your qualifications in the best possible light. Invest in your future and stand out from the competition with a polished resume – start building yours with ResumeGemini today!
Explore more articles
Users Rating of Our Blogs
Share Your Experience
We value your feedback! Please rate our content and share your thoughts (optional).
What Readers Say About Our Blog
This was kind of a unique content I found around the specialized skills. Very helpful questions and good detailed answers.
Very Helpful blog, thank you Interviewgemini team.
