The thought of an interview can be nerve-wracking, but the right preparation can make all the difference. Explore this comprehensive guide to Procedural Skills (e.g., Suturing, Intubation) interview questions and gain the confidence you need to showcase your abilities and secure the role.
Questions Asked in Procedural Skills (e.g., Suturing, Intubation) Interview
Q 1. Describe your experience with different suturing techniques.
My experience with suturing encompasses a wide range of techniques, selected based on the tissue type, wound location, and tension required. I’m proficient in simple interrupted sutures, which are excellent for superficial wounds requiring minimal tension. These are easy to remove and allow for good approximation. For deeper wounds or areas with significant tension, I utilize continuous sutures, such as running or interlocking, offering stronger closure. In situations requiring increased strength and minimal scarring, I employ buried sutures, placing them beneath the skin surface. Furthermore, I’m skilled in specialized techniques like vertical mattress sutures, which provide excellent eversion of wound edges, and horizontal mattress sutures, best for areas under tension. Finally, my experience includes the use of subcuticular sutures for cosmetic closure of superficial wounds.
For example, during a laceration repair on the face, I would prioritize a subcuticular suture to minimize scarring. However, for a deep laceration in the hand, where strength is paramount, a combination of vertical mattress and simple interrupted sutures would be employed to ensure proper healing and functionality.
Q 2. What are the indications and contraindications for rapid sequence intubation?
Rapid Sequence Intubation (RSI) is indicated in patients who are at risk of aspiration during intubation, such as those with a decreased level of consciousness, impaired gag reflex, or full stomachs. This technique aims to rapidly secure the airway while minimizing the risk of aspiration. Key indications include trauma patients with potential cervical spine injuries, patients requiring emergent surgery where airway management is crucial, and individuals experiencing respiratory failure or arrest.
Contraindications include relative contraindications, such as patients with known difficult airways, where RSI should be undertaken with extreme caution and alternative strategies considered. Absolute contraindications are rare but may involve situations where cricoid pressure would severely compromise blood flow or airway access.
Understanding patient-specific factors and carefully weighing the risks and benefits is crucial before deciding on RSI. For example, in a patient with a suspected cervical spine injury, RSI must be performed meticulously to avoid further damage.
Q 3. Explain the steps involved in performing a cricothyrotomy.
Cricothyrotomy is a life-saving procedure used to establish an airway when conventional methods fail. It involves creating an incision through the cricothyroid membrane to directly access the trachea. The steps are as follows:
- Preparation: Assess the situation, ensuring appropriate sterile equipment is available. This includes a scalpel, a tracheostomy tube or endotracheal tube of appropriate size, and suction equipment.
- Incision: A horizontal incision is made across the cricothyroid membrane, approximately 1-2 cm in length.
- Tracheal puncture: A blunt-ended instrument, or the tip of the scalpel, is then used to gently probe through the membrane, being careful to avoid puncturing the posterior tracheal wall.
- Tube insertion: A tracheostomy or endotracheal tube is then inserted through the opening, and secured in place.
- Confirmation: The placement of the tube should be verified using auscultation and capnography. Suction is important throughout the procedure to prevent airway obstruction.
It’s vital to remember this is a last resort, requiring a calm and efficient approach. Every step must be performed swiftly but precisely to ensure a patent airway is established. During the procedure it’s crucial to monitor the patient’s respiratory status and oxygen saturation carefully.
Q 4. How do you manage complications during central venous catheter insertion?
Complications during central venous catheter insertion include pneumothorax (collapsed lung), arterial puncture, hematoma, infection, and thrombosis (blood clot formation). Management depends on the specific complication.
- Pneumothorax: Requires immediate chest tube insertion to re-expand the lung. Oxygen supplementation and monitoring are crucial.
- Arterial puncture: Apply direct pressure to the site to stop bleeding, and closely monitor for hematoma formation. Further diagnostic testing may be needed.
- Hematoma: Usually resolves spontaneously with local compression, but significant hematomas may require evacuation.
- Infection: Requires immediate removal of the catheter, appropriate antibiotic therapy, and wound care.
- Thrombosis: May require anticoagulant therapy and removal of the catheter.
Prevention through meticulous technique, appropriate patient selection, and using ultrasound guidance are critical. Immediate recognition and management of any complication are key to minimizing further harm. For instance, a sudden drop in oxygen saturation during central line placement warrants immediate assessment for pneumothorax.
Q 5. Describe your approach to managing a difficult airway.
Managing a difficult airway requires a systematic approach, utilizing a combination of strategies based on the identified problem. My approach involves:
- Assessment: Thorough evaluation of the patient’s anatomy, including Mallampati score, neck mobility, and thyromental distance. Determining the cause of the difficulty is essential.
- Alternative techniques: If direct laryngoscopy is challenging, I would consider alternative airway management strategies such as video laryngoscopy, fiberoptic intubation, or a supraglottic airway device like a laryngeal mask airway (LMA).
- Surgical airway: If all other methods fail, I would proceed with a surgical airway, either a cricothyrotomy or tracheostomy, ensuring the appropriate equipment and expertise are available.
- Teamwork: Effective communication and collaboration with the surgical team, anesthesiologist, and other medical professionals are crucial during the process. A well-coordinated team improves the outcome significantly.
I’ve had experience managing various types of difficult airways, including patients with significant cervical spine injuries, and obese patients with limited neck mobility. Each situation calls for a calm and deliberate approach, with the highest priority given to maintaining the patient’s oxygenation and ventilation.
Q 6. What are the different types of sutures and when would you use each?
Several suture types exist, each suited for specific applications:
- Absorbable sutures: These are progressively broken down by the body over time. Examples include catgut (rapidly absorbed), and Vicryl (longer absorption). These are ideal for deep tissues where removal is not necessary.
- Non-absorbable sutures: These remain in the body indefinitely and must be removed after healing. Examples include silk, nylon, and polypropylene. These are often used for skin closure and areas requiring high tensile strength.
- Monofilament sutures: Made of a single strand, they have less friction and are less likely to harbor bacteria. Examples include nylon and polypropylene.
- Multifilament sutures: Composed of multiple strands, they are generally stronger but have greater friction and are more likely to harbor bacteria. Examples include silk and Vicryl.
The choice depends on factors including the tissue’s strength, wound tension, location, and cosmetic concerns. For instance, silk is ideal for skin closure due to its ease of handling, while polypropylene is preferred in areas under significant tension, such as facial lacerations. Vicryl is preferred for deep tissue closure where removal would be difficult or unnecessary.
Q 7. Explain the importance of proper needle handling and knot tying techniques.
Proper needle handling and knot-tying techniques are fundamental to successful wound closure. Improper techniques can lead to increased trauma, delayed healing, infection, and unsightly scars.
- Needle handling: Using appropriate needle holders, grasping the needle close to the eye, and employing smooth, controlled movements to avoid tissue trauma are vital.
- Knot tying: Employing a consistent technique, such as the square knot, prevents slippage and ensures secure closure. This is crucial for areas under tension. Avoiding excessive tension during knot tying is essential to prevent strangulation of tissues and isotonic injury.
The quality of the suture line directly affects the patient’s comfort and the aesthetic outcome. For example, excessive tension on the suture can lead to increased pain and poor scar formation, while a poorly tied knot can lead to wound dehiscence (separation).
Q 8. How do you assess the adequacy of ventilation during intubation?
Assessing adequate ventilation after intubation is crucial to ensure the patient’s oxygenation and prevent complications. We use a multi-pronged approach. Firstly, visualization is key; we confirm proper endotracheal tube (ETT) placement via direct visualization during insertion and then with chest x-ray to rule out esophageal intubation or mainstem bronchus intubation. Secondly, we rely on capnography, which measures the partial pressure of carbon dioxide (EtCO2) in exhaled breath. A normal EtCO2 reading (35-45 mmHg) indicates proper placement and adequate ventilation. Absence of EtCO2 strongly suggests esophageal intubation. Thirdly, we observe chest rise and fall, confirming symmetrical movement indicating bilateral lung ventilation. Lastly, we monitor SpO2 (oxygen saturation); a rising SpO2 confirms adequate oxygen delivery. If any of these parameters are abnormal, immediate action is required, such as repositioning the ETT or initiating rescue ventilation.
Q 9. What are the potential complications of intubation and how do you prevent them?
Intubation, while a life-saving procedure, carries potential risks. Hypoxia, due to inadequate ventilation or misplacement, is a major concern. We mitigate this by meticulously confirming proper ETT placement and using pulse oximetry and capnography. Trauma to the airway, teeth, or vocal cords can occur; careful technique, appropriate size ETT selection, and potentially using a bougie can minimize this. Infection is another risk; meticulous aseptic technique is paramount. Esophageal intubation is a critical error; confirming placement with capnography and chest x-ray is essential. Cardiac arrhythmias can occur during intubation due to vagal stimulation; careful monitoring and appropriate medications are utilized. Finally, pneumothorax, a collapsed lung, is possible; careful attention to lung sounds and chest x-ray are essential post-intubation. Prevention relies heavily on proper training, careful technique, constant monitoring, and rapid response to any abnormalities.
Q 10. Describe your experience with arterial line insertion.
I have extensive experience with arterial line insertion, having performed and supervised hundreds of procedures. The process begins with selecting the appropriate site (usually radial, brachial, or femoral artery), followed by proper skin preparation using antiseptic solutions. Local anesthetic is infiltrated to minimize discomfort. A needle is carefully advanced, and the arterial pulse is confirmed using aspiration of blood into the syringe. Once confirmed, the guidewire is advanced through the needle, which is then removed. A dilator is used to create a passage for the catheter, which is then inserted over the guidewire. The guidewire is removed and the catheter is secured. Continuous waveform monitoring verifies proper placement and patency. Post-insertion, we monitor the site for hematoma formation and ensure adequate perfusion to the distal extremity. We frequently use ultrasound guidance to aid in cannulation, especially in challenging cases. For instance, I recall a case where ultrasound significantly aided in finding a suitable radial artery in a patient with significant underlying vascular disease.
Q 11. How do you manage bleeding during a surgical procedure?
Bleeding control during surgery is paramount. Our initial approach is often based on direct pressure, using sponges to apply localized pressure to the bleeding site. If this fails, surgical techniques such as ligation (tying off bleeding vessels) or electrocautery (using heat to seal vessels) are employed. For larger vessels, or if the bleeding is uncontrollable with these methods, we may use advanced techniques such as the use of surgical clips, fibrin sealant, or even angiographic embolization. Careful hemostasis (stopping bleeding) is vital to prevent blood loss and maintain the surgical field. Understanding the anatomical location of the bleeding and the type of vessel involved helps guide the most effective strategy. We also ensure appropriate clotting factors are available and monitor the patient’s hemoglobin levels to manage blood loss effectively. I remember a case involving significant liver laceration where rapid application of direct pressure, combined with surgical clips and fibrin sealant, was critical to controlling the bleeding.
Q 12. What are the signs of infection at a surgical site?
Signs of surgical site infection (SSI) can manifest in several ways. Early signs include increasing pain at the incision site, redness, swelling, warmth to the touch, and purulent (pus-containing) drainage. Later signs may include fever, chills, and systemic signs of infection. The wound may open or show signs of dehiscence (separation of wound edges). Laboratory tests, such as a complete blood count (CBC) and culture of the wound drainage, can help confirm the diagnosis. Any suspicion of SSI warrants immediate attention, including wound care, antibiotics, and potentially surgical debridement (removal of infected tissue). Early recognition is key to preventing widespread infection. For example, I recently managed a case where early identification of increased erythema and purulent drainage around a laparotomy incision allowed for prompt administration of antibiotics and prevented further complications.
Q 13. How do you select the appropriate size and type of endotracheal tube?
Selecting the appropriate ETT size and type is crucial for effective ventilation and minimizing trauma. The size is usually determined based on the patient’s age, weight, and sex, using established formulas or charts. Generally, smaller tubes are preferred to minimize trauma to the airway. The type of ETT depends on the clinical scenario. A standard ETT is commonly used for routine intubation. In cases with potential airway compromise, a reinforced or high-volume low-pressure ETT might be better suited. Features such as a Murphy eye (a side hole near the distal tip) can help prevent airway obstruction. We also consider the need for specialized features like a tracheal suction port or a cuffless design. For example, in pediatric patients we carefully select smaller-sized tubes to minimize trauma. The size is critical as a tube that’s too large can injure the airway, while one that’s too small can lead to inadequate ventilation.
Q 14. Explain the use of different airway adjuncts.
Airway adjuncts are devices used to maintain or improve airway patency. Oral airways (Guedel airways) are used to keep the tongue from obstructing the airway, particularly in unconscious patients. Nasopharyngeal airways are inserted through the nose and are often preferred for patients with a gag reflex. Laryngeal masks airways (LMAs) are used to create a seal over the laryngeal inlet, providing a more secure airway than an oral or nasal airway. Endotracheal tubes (ETTs) are used for controlled ventilation and are essential in patients requiring mechanical ventilation. The choice of adjunct depends on the patient’s clinical status and the need for controlled ventilation. For instance, a Guedel airway might be sufficient for a patient with mild airway obstruction, while an LMA or ETT might be necessary for patients requiring controlled ventilation or who have compromised spontaneous breathing. Appropriate selection and placement are crucial to ensure a secure and effective airway.
Q 15. Describe the steps involved in performing a lumbar puncture.
A lumbar puncture, also known as a spinal tap, is a procedure to collect cerebrospinal fluid (CSF) from the subarachnoid space in the lumbar region of the spine. It’s a crucial diagnostic tool and sometimes used for therapeutic purposes like administering medications directly into the CSF.
- Patient Positioning and Preparation: The patient is typically positioned sitting or lying on their side with their back arched, knees drawn to the chest. The puncture site (usually L3-L4 or L4-L5) is identified and cleaned thoroughly with antiseptic.
- Needle Insertion: Using aseptic technique, a small needle is inserted into the subarachnoid space. The physician will feel a distinct ‘pop’ as the needle penetrates the dura mater (a tough outer layer of the spinal cord).
- CSF Collection: Once the needle is in the correct position, CSF is collected into sterile tubes for laboratory analysis. The pressure of the CSF can also be measured using a manometer.
- Needle Removal and Post-Procedure Care: After collecting the required amount of CSF, the needle is carefully withdrawn. A sterile dressing is applied to the puncture site. The patient is monitored for any complications, such as headaches or bleeding, and advised to rest.
Example: In a case of suspected meningitis, a lumbar puncture is essential to analyze CSF for the presence of infectious agents.
Career Expert Tips:
- Ace those interviews! Prepare effectively by reviewing the Top 50 Most Common Interview Questions on ResumeGemini.
- Navigate your job search with confidence! Explore a wide range of Career Tips on ResumeGemini. Learn about common challenges and recommendations to overcome them.
- Craft the perfect resume! Master the Art of Resume Writing with ResumeGemini’s guide. Showcase your unique qualifications and achievements effectively.
- Don’t miss out on holiday savings! Build your dream resume with ResumeGemini’s ATS optimized templates.
Q 16. What are the indications and contraindications for a thoracentesis?
Thoracentesis is a procedure involving needle insertion into the pleural space to remove fluid or air. It’s a crucial procedure in managing pleural effusions and pneumothorax.
Indications:
- Pleural effusion: To diagnose the cause of the effusion (e.g., infection, cancer, heart failure) and to relieve respiratory distress caused by fluid accumulation.
- Pneumothorax: To remove air from the pleural space, relieving pressure on the lung and improving breathing.
- Pleural biopsy: To obtain a tissue sample for diagnostic purposes.
Contraindications:
- Uncooperative patient: Thoracentesis requires patient cooperation to remain still during the procedure.
- Severe coagulopathy: Increased risk of bleeding at the puncture site.
- Localized infection at the puncture site: Risk of spreading infection into the pleural space.
- Empyema (infected pleural effusion): Thoracentesis may be contraindicated in this situation; drainage via chest tube is generally preferred.
Example: A patient presenting with shortness of breath and dullness to percussion on auscultation, suggesting a large pleural effusion, may benefit from a thoracentesis.
Q 17. How do you manage a pneumothorax during a procedure?
Managing a pneumothorax during a procedure requires immediate attention. The primary goal is to relieve the pressure on the lung and restore normal breathing.
- Needle Thoracostomy: This is the immediate, life-saving intervention. A large-bore needle is inserted into the pleural space to relieve the pressure. This is a temporary measure.
- Chest Tube Insertion: Once the immediate pressure is relieved, a chest tube is inserted to allow for continuous drainage of air or fluid. The chest tube is connected to a water-seal drainage system to prevent air from re-entering the pleural space.
- Supplemental Oxygen: Providing supplemental oxygen helps improve oxygenation and supports lung function.
- Monitoring: Close monitoring of the patient’s respiratory status, including oxygen saturation and heart rate, is crucial. The chest tube drainage should be observed regularly.
Example: During a lung biopsy, the development of a pneumothorax is a recognized complication. Immediate needle thoracostomy followed by chest tube insertion would be the management strategy.
Q 18. What are the different types of chest tubes and their indications?
Chest tubes are used to drain air, fluid, or blood from the pleural space. Different types are used depending on the situation.
- Small-bore chest tubes: These tubes are used for the drainage of small amounts of air or fluid. They are less likely to cause trauma.
- Large-bore chest tubes: These tubes are used for draining large amounts of fluid or air, like in a massive hemothorax or tension pneumothorax. They ensure efficient drainage.
- Pigtail catheters: These are smaller, flexible tubes suitable for drainage of pleural fluid in less urgent situations. They are often used for pleural effusion management.
Indications:
- Pneumothorax: To remove air from the pleural space.
- Hemothorax: To remove blood from the pleural space.
- Chylothorax: To drain lymphatic fluid.
- Empyema: To drain infected pleural fluid.
- Pleural effusion: To remove excess fluid from the pleural space.
Example: A patient with a tension pneumothorax would require a large-bore chest tube for immediate decompression.
Q 19. Describe your experience with inserting a nasogastric tube.
Inserting a nasogastric (NG) tube is a common procedure to provide nutrition, administer medications, or decompress the stomach. It involves passing a tube through the nose, down the esophagus, and into the stomach.
- Patient Assessment and Preparation: Assessment includes checking for nasal patency and any contraindications like recent nasal surgery. The patient’s gag reflex should be assessed. The procedure is explained to ensure the patient’s understanding and consent.
- Tube Measurement and Lubrication: The tube is measured against the patient’s nose to the earlobe and then to the xiphoid process to determine the correct insertion length. The tube is then lubricated with water-soluble lubricant.
- Tube Insertion: The tube is carefully inserted through the nostril, guided gently along the nasal passage and pharynx. The patient may be asked to swallow sips of water to aid in tube passage.
- Tube Placement Confirmation: Once the tube is in place, its position is confirmed via X-ray or measurement of the aspirated gastric contents (pH should be acidic).
- Securing the Tube: The tube is secured with tape to prevent dislodgement.
Example: I’ve inserted numerous NG tubes on patients post-operatively who required decompression or nutritional support. It’s crucial to always confirm the placement to avoid accidental lung intubation.
Q 20. How do you manage a patient with a suspected esophageal perforation?
Suspected esophageal perforation is a serious condition requiring immediate medical attention. The management strategy is focused on minimizing further damage and preventing mediastinitis (infection of the mediastinum).
- Stabilize the Patient: Maintain airway, breathing, and circulation. This often requires admission to an intensive care unit.
- Obtain Imaging: Chest X-ray, CT scan with contrast, and esophagram are crucial for confirming the diagnosis and determining the location and extent of the perforation.
- Fluid Resuscitation: IV fluids are administered to manage shock.
- Broad-spectrum Antibiotics: Administered to prevent infection.
- Surgical Intervention: Usually required, often involving repair of the perforation and drainage of any collections.
- NPO Status: Nothing by mouth is essential to prevent further leakage.
Example: A patient who experienced severe chest pain after endoscopy, with subsequent air in the mediastinum on imaging, would need immediate surgical intervention for suspected esophageal perforation.
Q 21. Explain the different types of nerve blocks and their applications.
Nerve blocks are techniques used to temporarily interrupt the transmission of nerve impulses, providing analgesia (pain relief) or muscle relaxation. Several types exist:
- Peripheral Nerve Blocks: These blocks target specific peripheral nerves, providing analgesia to a specific region. Examples include brachial plexus block (arm), femoral nerve block (leg), and intercostal nerve block (chest wall). They’re often used for post-operative pain management.
- Central Nerve Blocks: These blocks target larger nerve structures within the central nervous system. Examples include epidural and spinal blocks, commonly used during labor and delivery or major surgery. These provide more widespread analgesia.
- Sympathetic Nerve Blocks: These blocks target the sympathetic nervous system, primarily used for managing chronic pain conditions like complex regional pain syndrome (CRPS) by interrupting sympathetic nerve activity.
Applications:
- Post-operative pain management: Reducing pain and opioid requirements after surgery.
- Anesthesia: Providing regional anesthesia for procedures.
- Chronic pain management: Treating chronic pain conditions like CRPS or neuropathic pain.
- Diagnostic purposes: Helping identify the source of pain.
Example: A patient undergoing shoulder surgery might receive a brachial plexus block to manage post-operative pain in the arm and shoulder.
Q 22. What are the potential complications of regional anesthesia?
Regional anesthesia, while offering excellent pain relief, carries several potential complications. These can range from minor discomfort to life-threatening events. The severity depends on factors like the type of block used, the patient’s overall health, and the skill of the anesthesiologist.
- Hematoma formation: Bleeding at the injection site is a common, albeit usually minor, complication. Larger hematomas can cause nerve compression and pain.
- Nerve injury: Direct trauma to a nerve during needle insertion is possible, leading to temporary or permanent paresthesia (numbness or tingling) or paralysis. This is why meticulous anatomical knowledge is crucial.
- Infection: Although rare with proper aseptic technique, infection at the injection site is a risk. This can range from local cellulitis to more serious systemic infections.
- Systemic toxicity: Accidental intravascular injection of the anesthetic agent can cause systemic toxicity, affecting the cardiovascular and central nervous systems. Symptoms can include hypotension, bradycardia, seizures, and respiratory arrest. This necessitates careful aspiration before injection and continuous monitoring of the patient’s vital signs.
- Hypotension and bradycardia: These are common, particularly with sympathetic blockade. The body’s autonomic nervous system is affected, impacting blood pressure and heart rate.
- Post-dural puncture headache: This is a complication primarily associated with spinal anesthesia, where leakage of cerebrospinal fluid leads to a severe headache worsened by sitting or standing.
For example, I once encountered a patient who developed a significant hematoma after a femoral nerve block. Immediate pressure was applied, and the patient was closely monitored. Fortunately, the hematoma resolved without permanent nerve damage, but it highlighted the importance of meticulous technique and post-procedure surveillance.
Q 23. How do you manage a patient with a post-operative hemorrhage?
Managing post-operative hemorrhage is a critical and time-sensitive situation requiring a rapid and coordinated response. The immediate priorities are maintaining airway, breathing, and circulation (ABCs), and controlling the bleeding.
- Assess the situation: Quickly evaluate the patient’s vital signs (blood pressure, heart rate, respiratory rate, oxygen saturation), level of consciousness, and the location and extent of bleeding.
- Control the bleeding: Direct pressure on the bleeding site is the first step. If possible, elevate the affected extremity. Surgical exploration and repair may be necessary depending on the source and severity of the bleed.
- Fluid resuscitation: Replace lost blood volume with intravenous fluids (crystalloids and colloids) to maintain adequate blood pressure and tissue perfusion. Blood transfusion may be required.
- Monitor vital signs: Continuous monitoring of vital signs is crucial to assess the effectiveness of interventions and detect any deterioration.
- Oxygen support: Administer supplemental oxygen to improve tissue oxygenation.
- Further investigations: Depending on the situation, additional investigations such as blood tests (complete blood count, coagulation profile), imaging (CT scan), and angiography may be necessary to identify the source of bleeding and guide further management.
In one instance, I assisted in managing a patient who experienced significant bleeding following a splenectomy. We immediately initiated fluid resuscitation, transfused packed red blood cells, and the surgical team returned to the operating room for further surgical intervention to control the bleeding. The patient’s condition stabilized after prompt and decisive action.
Q 24. Describe your experience with wound care and dressing changes.
Wound care and dressing changes are fundamental aspects of post-operative care, aiming to prevent infection and promote healing. My experience encompasses a broad range of wound types, from simple lacerations to complex surgical incisions.
I am proficient in assessing wound characteristics (size, depth, presence of infection, drainage), selecting appropriate dressings (gauze, hydrocolloids, alginates, etc.) based on wound type and characteristics, and implementing proper wound cleansing techniques. I understand the importance of using sterile technique throughout the process to minimize the risk of contamination.
My approach includes patient education on wound care, signs of infection (increased pain, swelling, redness, drainage), and proper hygiene practices. I meticulously document all wound assessments and dressing changes in the patient’s medical record. I have a high level of comfort handling various wound complexities and frequently collaborate with wound care specialists for particularly challenging cases.
For example, I managed a patient with a diabetic foot ulcer that required regular debridement, dressing changes with specialized wound dressings, and close monitoring for signs of infection. Through diligent care and collaboration with a podiatrist, we successfully promoted wound healing and prevented amputation.
Q 25. What are the principles of sterile technique?
Sterile technique is a set of practices designed to prevent contamination of a surgical field or sterile object with microorganisms. The aim is to create a barrier against pathogens, minimizing the risk of infection.
- Hand hygiene: Thorough hand washing with antimicrobial soap or alcohol-based hand rub is the cornerstone of sterile technique. It reduces the microbial load on hands.
- Gowning and gloving: Surgical gowns and gloves provide a physical barrier, preventing microorganisms from transferring from the healthcare provider to the sterile field.
- Sterile field preparation: The surgical site is prepared using antiseptic solutions to reduce microbial contamination. This involves cleaning a wide area around the incision site.
- Drape placement: Sterile drapes create a barrier around the surgical site, isolating it from the surrounding environment.
- Instrument handling: Sterile instruments are handled carefully, avoiding contact with non-sterile surfaces.
- Maintaining sterility: Once a field or item is considered sterile, it should be protected from contamination.
Imagine a sterile field as a bubble of protection. Any breach of this bubble (e.g., touching a non-sterile object) compromises the sterility and necessitates taking corrective measures, possibly restarting the entire preparation process.
Q 26. How do you handle sharps safety during a procedure?
Sharps safety is paramount in all medical procedures. Improper handling of sharps can lead to needlestick injuries, posing a significant risk of infection transmission to healthcare workers.
- Appropriate disposal: Sharps must be disposed of immediately after use in designated puncture-resistant containers. Never recap needles.
- Safe handling techniques: Use needle-safe devices whenever possible. Avoid recapping or bending needles. Pass sharps hand-to-hand with caution.
- Education and training: Regular training on safe sharps handling techniques is crucial for all healthcare personnel.
- Engineering controls: Use safety-engineered devices such as needleless systems or retractable needles to reduce exposure risk.
- Environmental controls: Maintain a clutter-free environment to minimize accidental sharps injuries.
I always adhere to the principles of sharps safety, using safety-engineered devices whenever available and following meticulous disposal procedures. In my experience, even seemingly small steps, such as using a needle-safe IV connector, can significantly reduce the chances of needle stick injuries.
Q 27. Describe your experience with advanced cardiac life support (ACLS) procedures.
I have extensive experience in advanced cardiac life support (ACLS) procedures. My training and practice involve the management of various cardiac emergencies, including cardiac arrest, unstable angina, acute myocardial infarction, and other life-threatening arrhythmias.
I am proficient in performing basic and advanced life support algorithms, including cardiopulmonary resuscitation (CPR), defibrillation, advanced airway management, and the administration of emergency medications. I have participated in numerous simulated and real-life ACLS scenarios, gaining practical experience in high-pressure situations.
My understanding extends beyond the algorithmic approach to include critical assessment, rapid diagnosis, and the ability to adapt management strategies based on the patient’s specific response. I am comfortable leading resuscitation efforts, coordinating with other healthcare professionals, and making crucial decisions under time constraints.
For example, I played a vital role in successfully resuscitating a patient who experienced cardiac arrest during surgery. Our coordinated and efficient ACLS intervention, including the prompt administration of epinephrine and defibrillation, resulted in the restoration of spontaneous circulation and ultimately, the patient’s survival. This experience reinforces the critical importance of teamwork and the effective application of ACLS protocols.
Q 28. Explain your understanding of Mallampati classification and its relevance to intubation.
The Mallampati classification is a clinical assessment tool used to predict the difficulty of endotracheal intubation. It assesses the visibility of the oropharynx and structures, providing an indication of the likely ease or difficulty in visualizing the glottis during intubation.
The classification uses four grades, with Grade I indicating excellent visualization of the soft palate, uvula, fauces, and tonsillar pillars. Grade IV represents the poorest visualization, with only the hard palate visible. The higher the grade, the greater the anticipated difficulty in intubation.
The relevance to intubation lies in its predictive value. A high Mallampati score increases the risk of a difficult airway and warrants a more cautious approach. It may indicate the need for additional airway management strategies such as fiberoptic intubation or the use of a bougie. While it’s not a perfect predictor, it helps guide pre-operative planning and helps to anticipate potential challenges.
For instance, a patient with a Mallampati Class III might necessitate a more experienced anesthesiologist or the use of alternative intubation techniques. I always take the Mallampati score into account when planning airway management, choosing an approach that optimizes safety and efficiency.
Key Topics to Learn for Procedural Skills (e.g., Suturing, Intubation) Interview
- Suturing: Understanding suture materials (absorbable vs. non-absorbable), knot-tying techniques (e.g., square knot, surgeon’s knot), appropriate suture selection based on wound type and location, wound closure techniques (e.g., simple interrupted, continuous), and post-suture care instructions.
- Intubation: Anatomy of the airway, indications and contraindications for intubation, selection of appropriate endotracheal tube size, laryngoscopy techniques (direct and indirect), confirming proper tube placement (auscultation, capnography, chest x-ray), and management of complications (e.g., hypoxemia, esophageal intubation).
- Aseptic Technique: Principles of asepsis, sterilization methods, hand hygiene, draping techniques, and maintaining a sterile field during procedures. This is crucial for both suturing and intubation.
- Instrument Handling & Technique: Demonstrating proficiency in handling surgical instruments (forceps, scissors, needle holders) and maintaining proper technique to minimize trauma and maximize efficiency. This applies to both procedures.
- Troubleshooting & Problem Solving: Anticipating potential complications (e.g., bleeding, infection, airway obstruction), recognizing signs of complications, and implementing appropriate corrective measures. This is essential for both procedures and demonstrates critical thinking.
- Patient Assessment & Communication: Understanding the importance of pre-procedure patient assessment (e.g., allergies, medical history), obtaining informed consent, communicating effectively with the patient and the surgical team, and ensuring patient comfort and safety throughout the procedure.
Next Steps
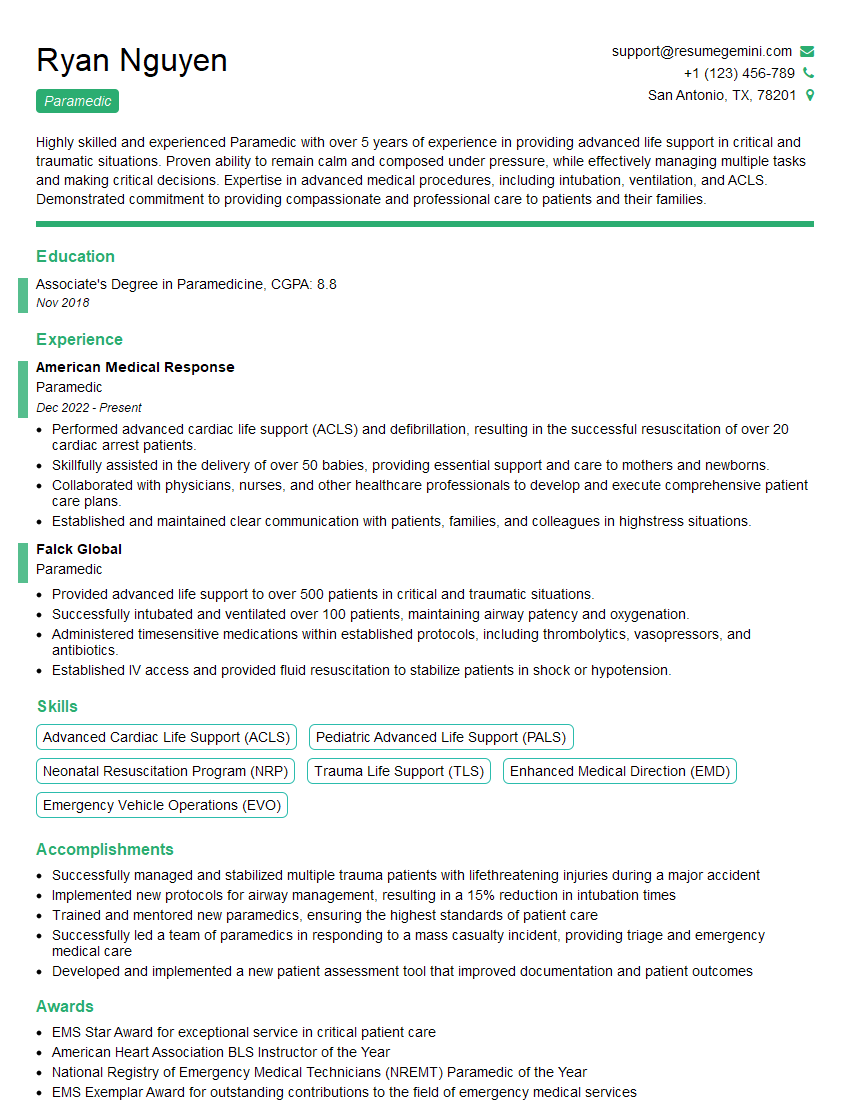
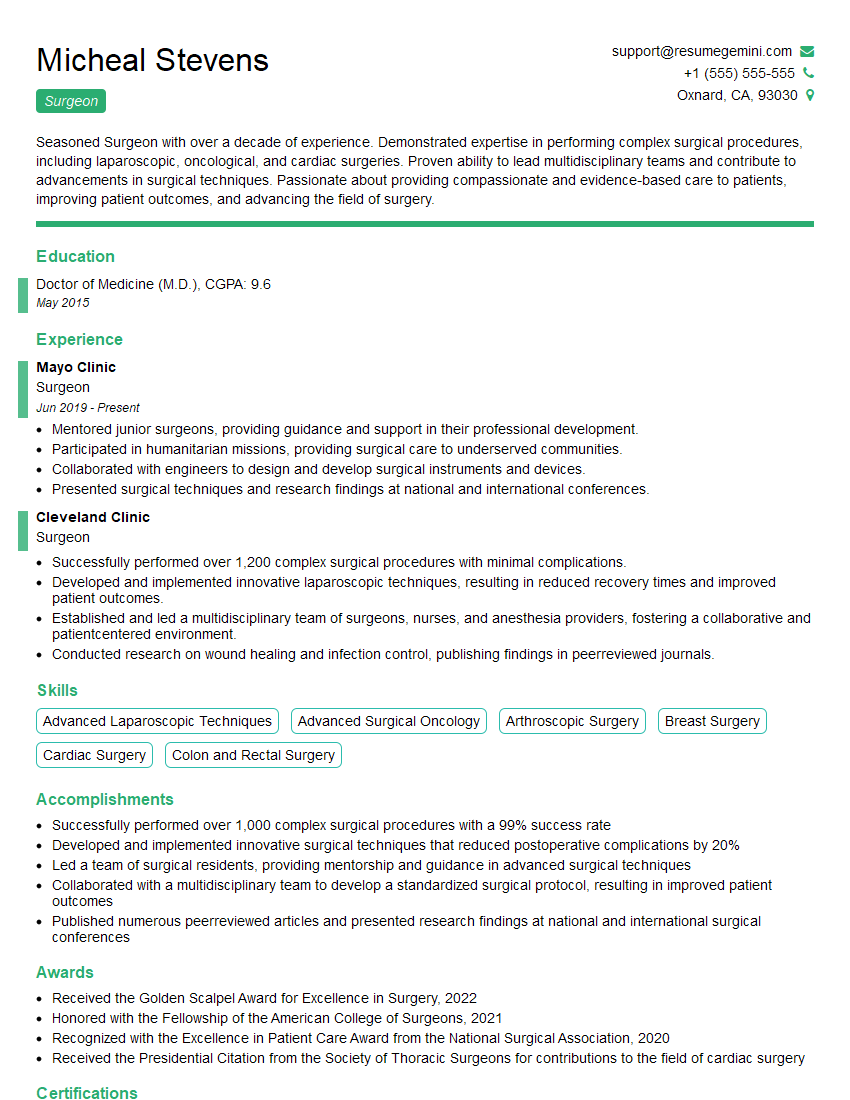
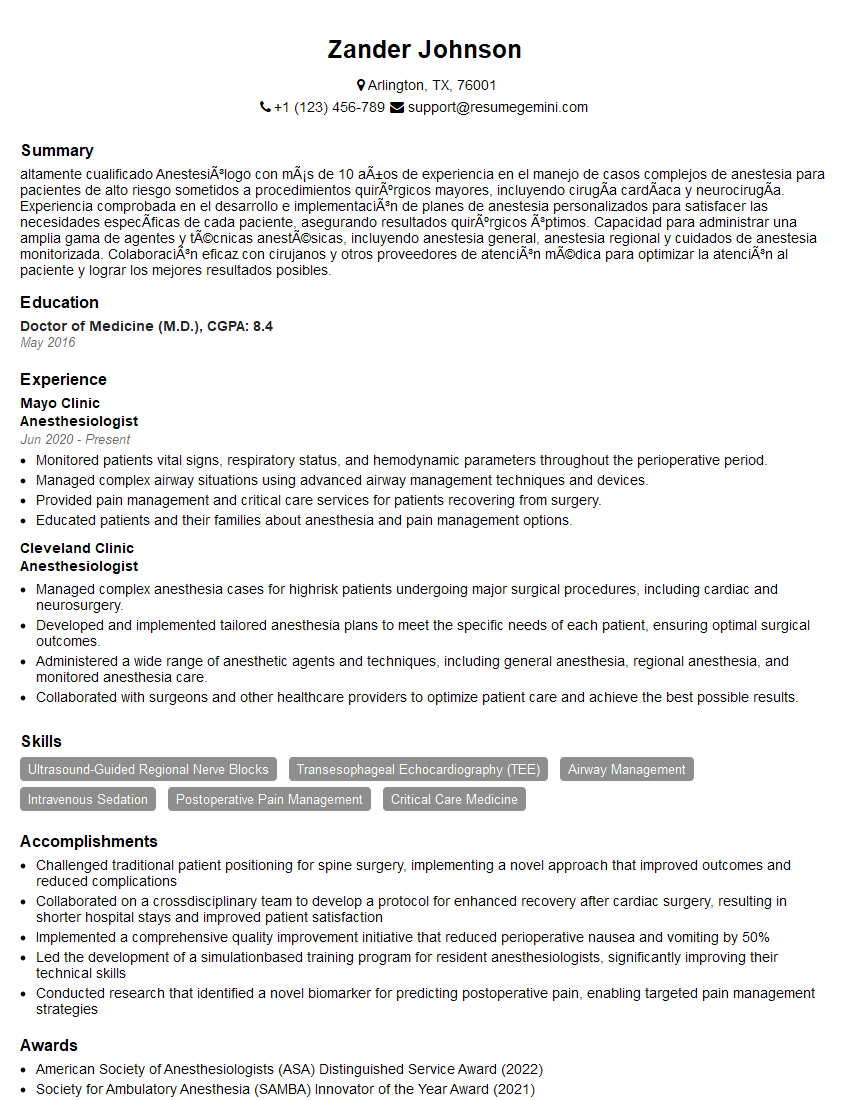
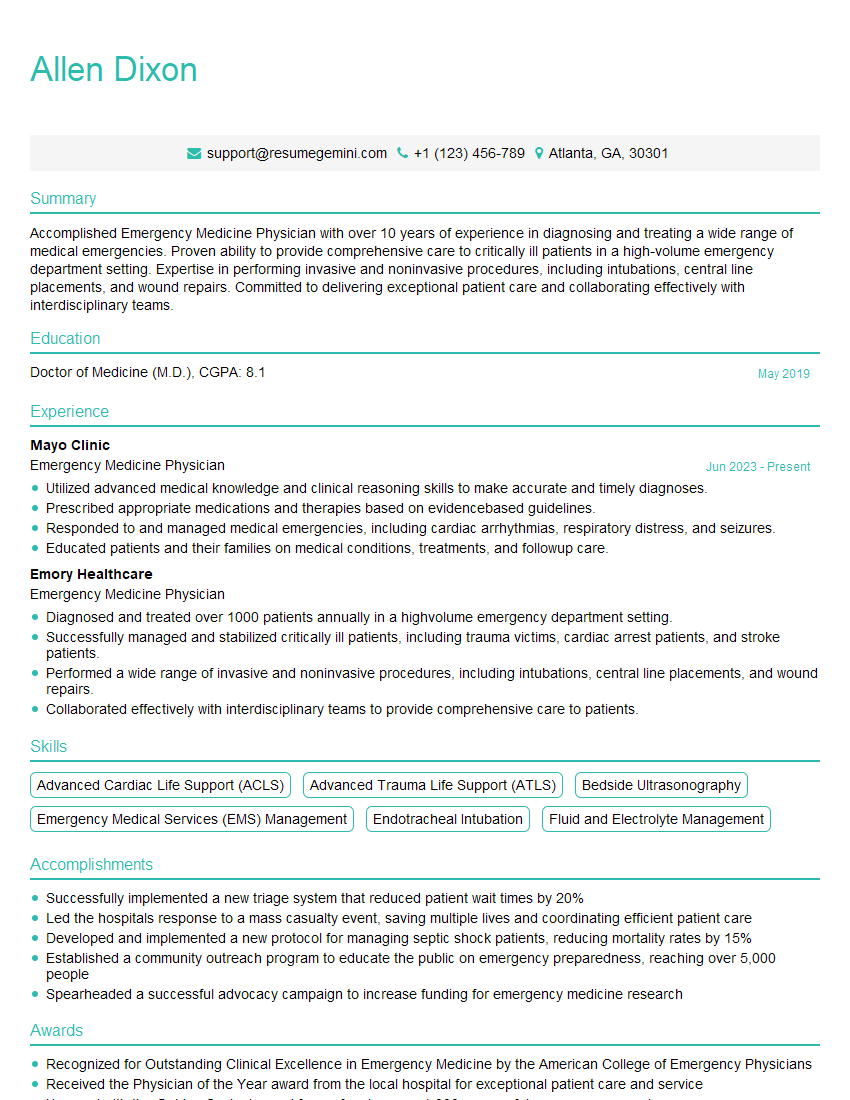
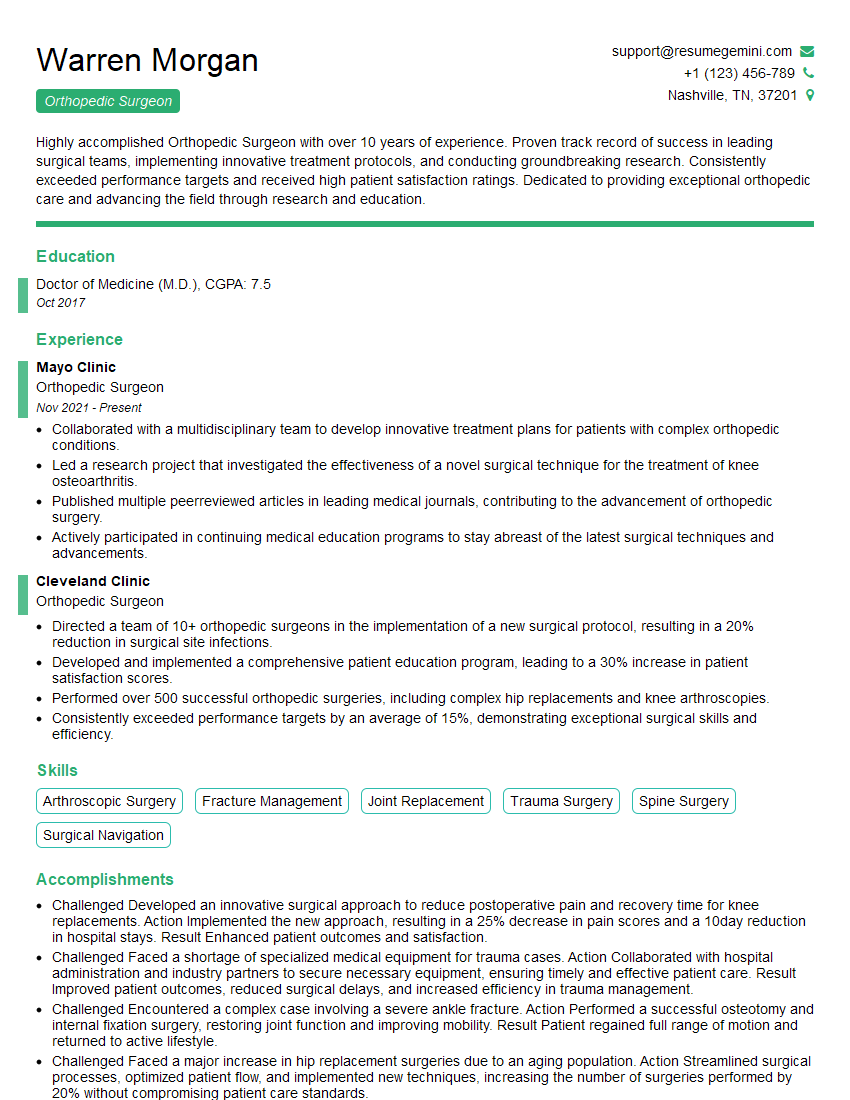
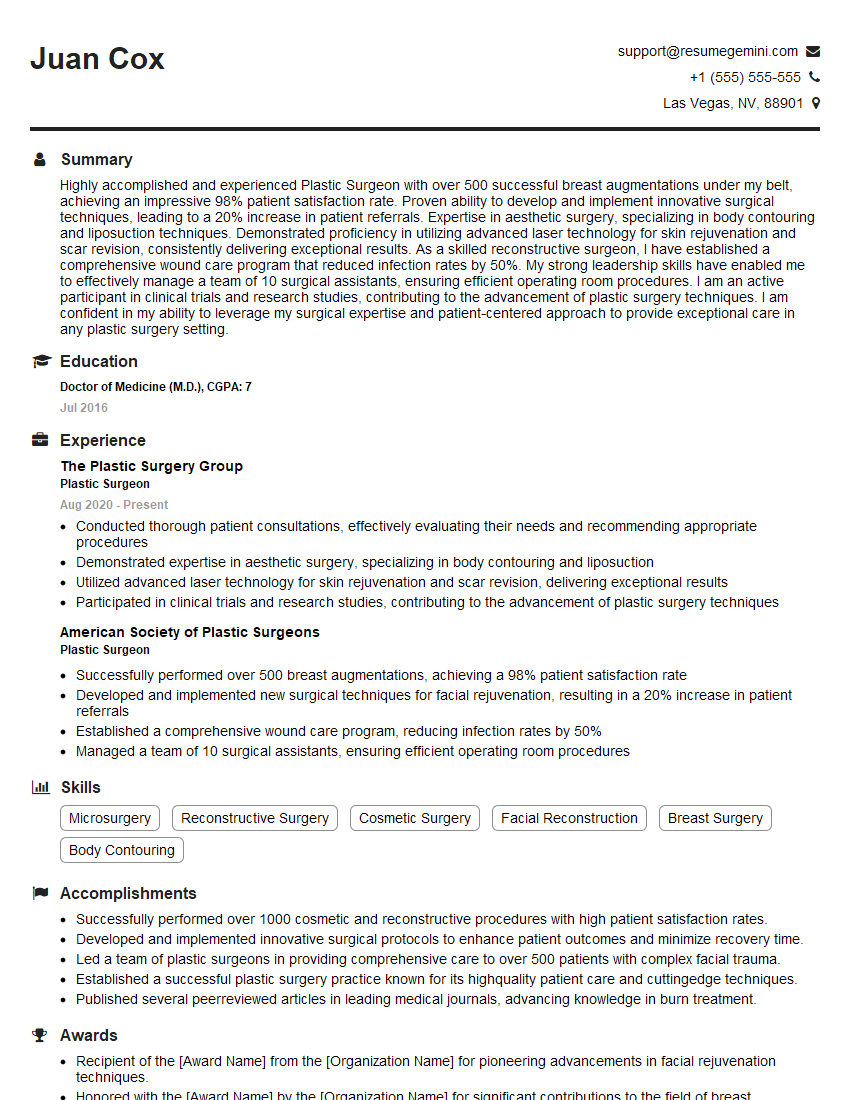
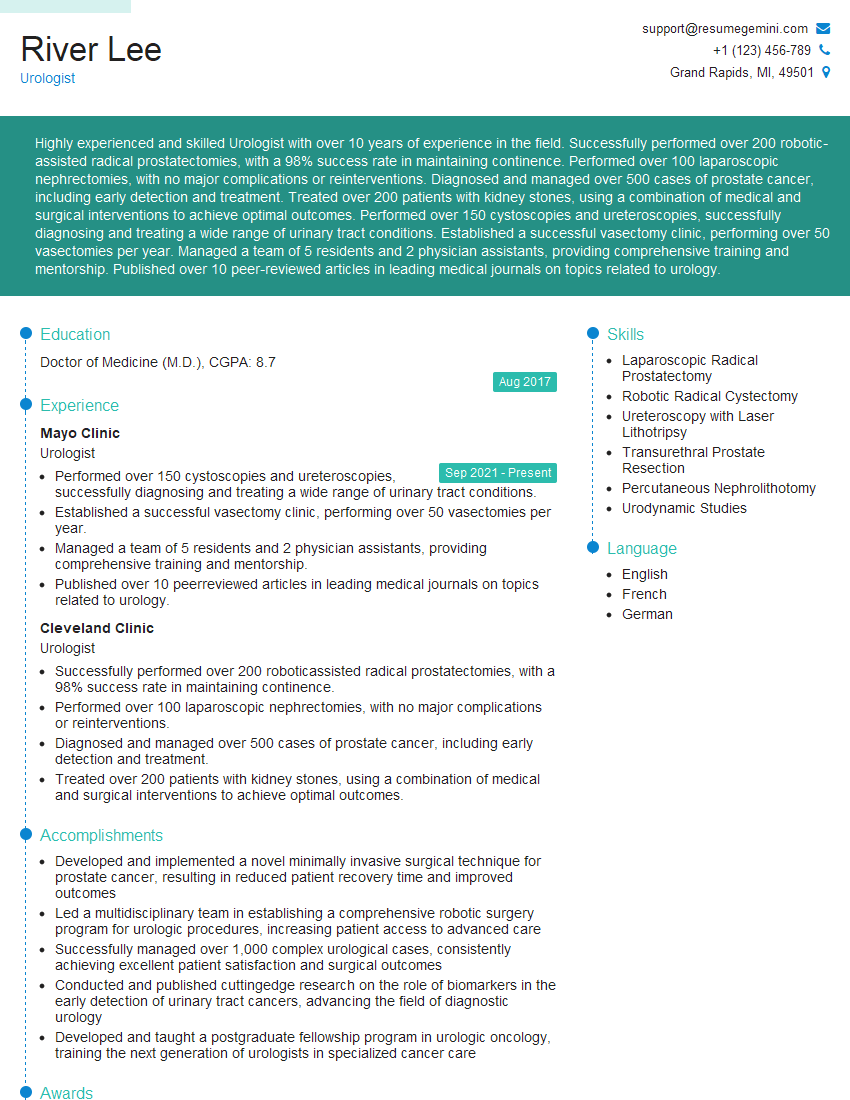
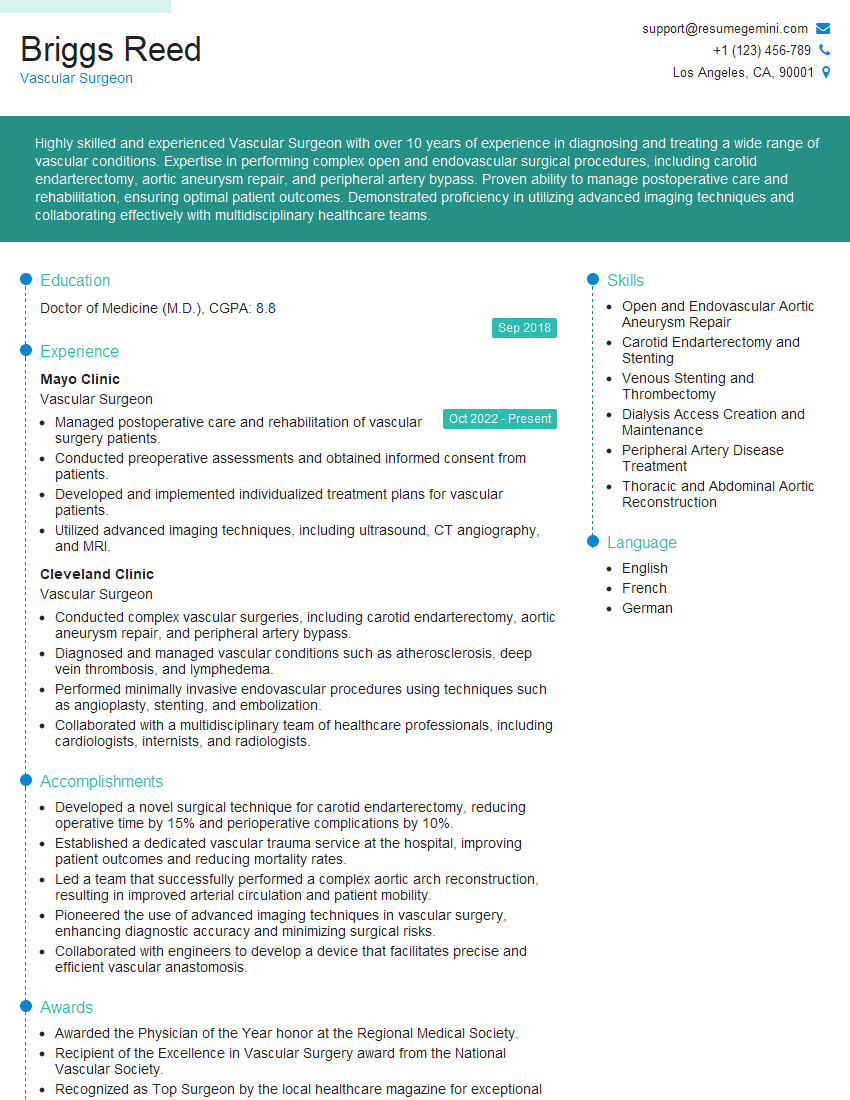
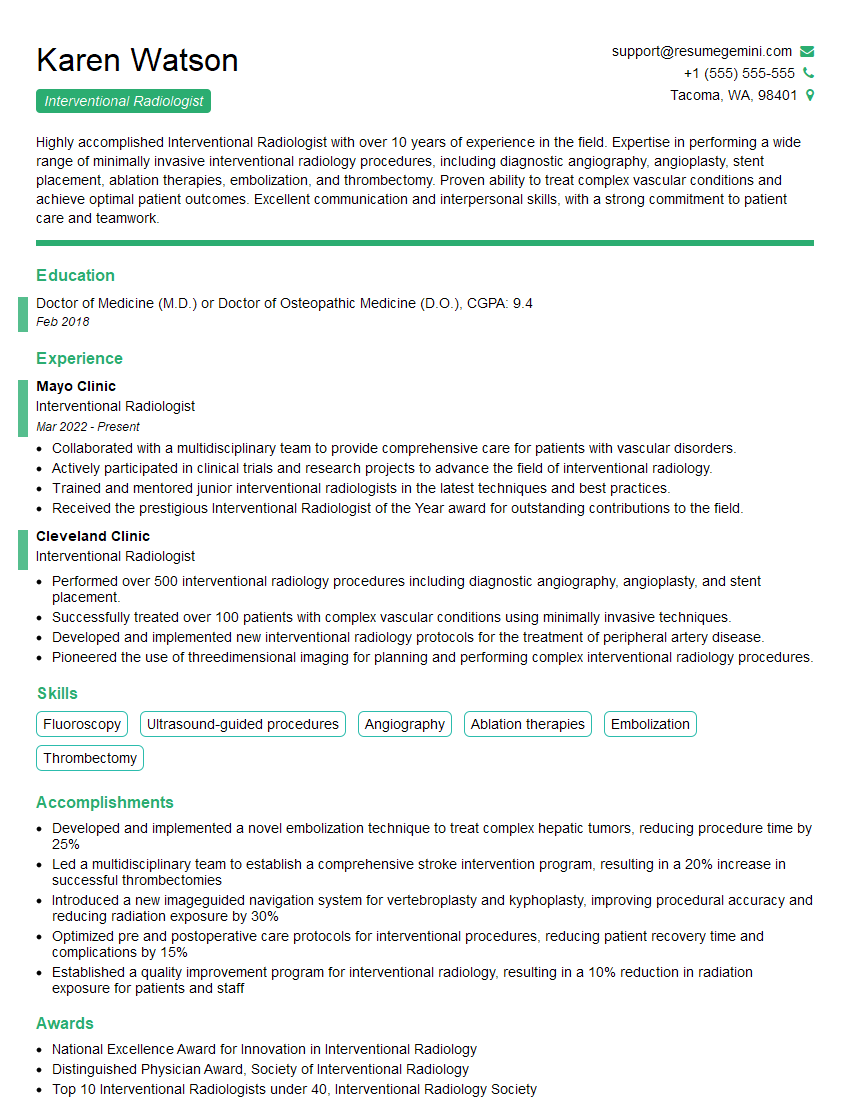
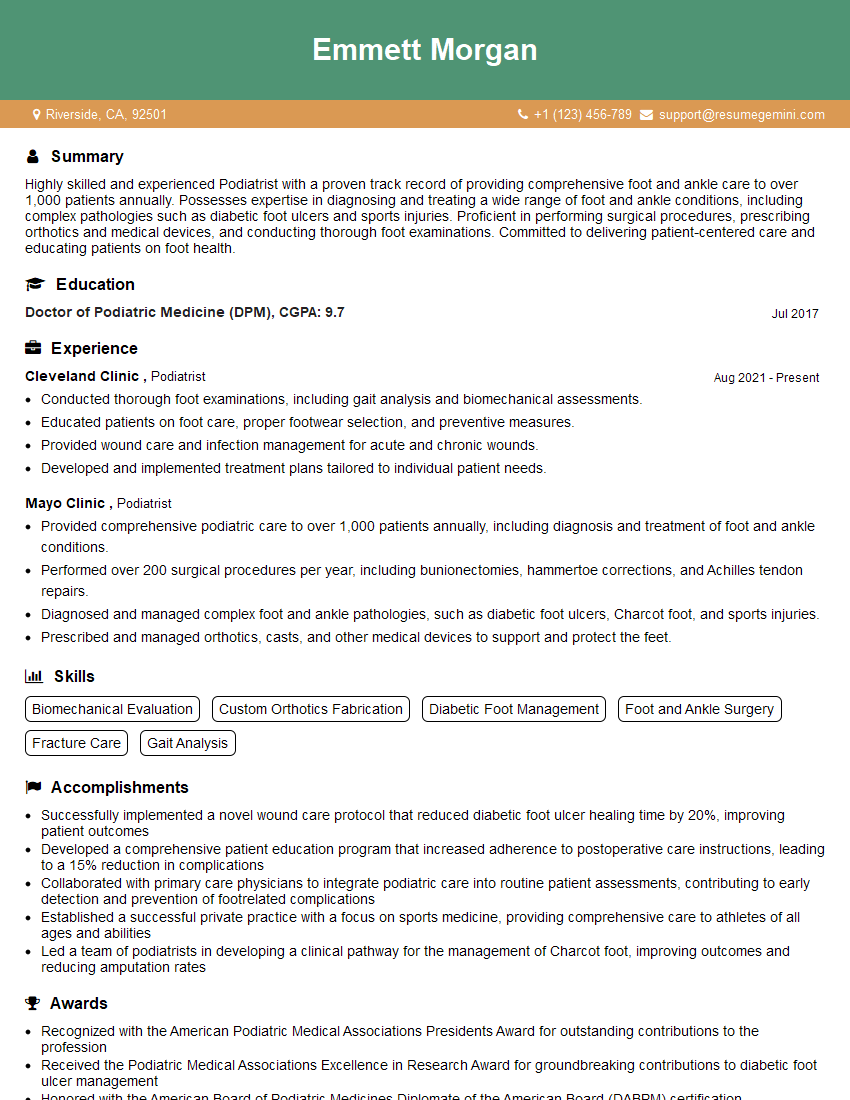
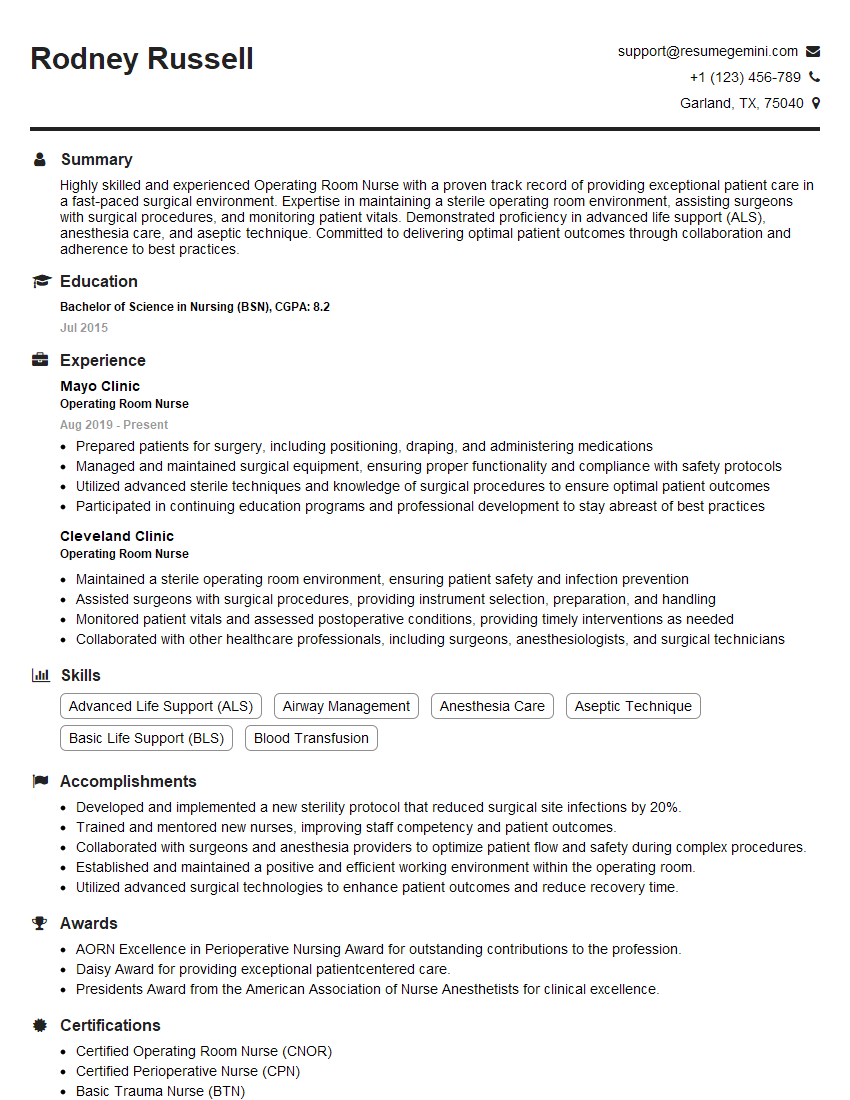
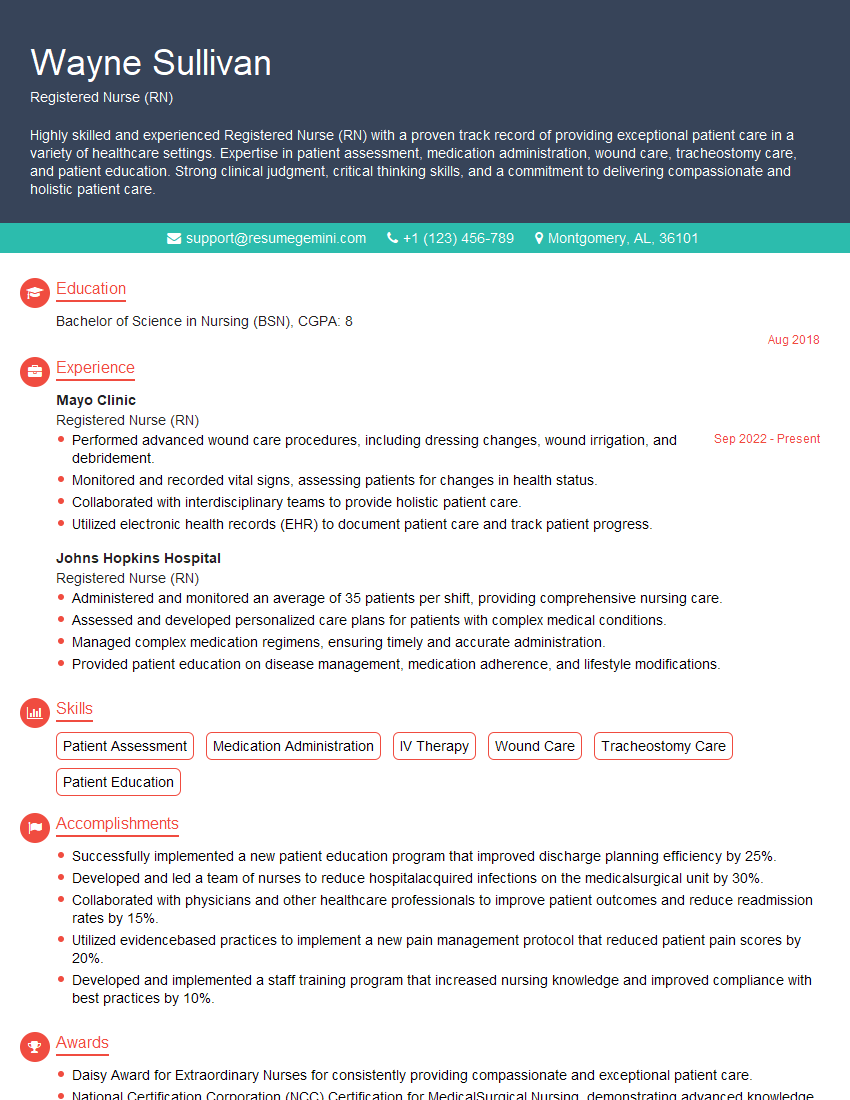
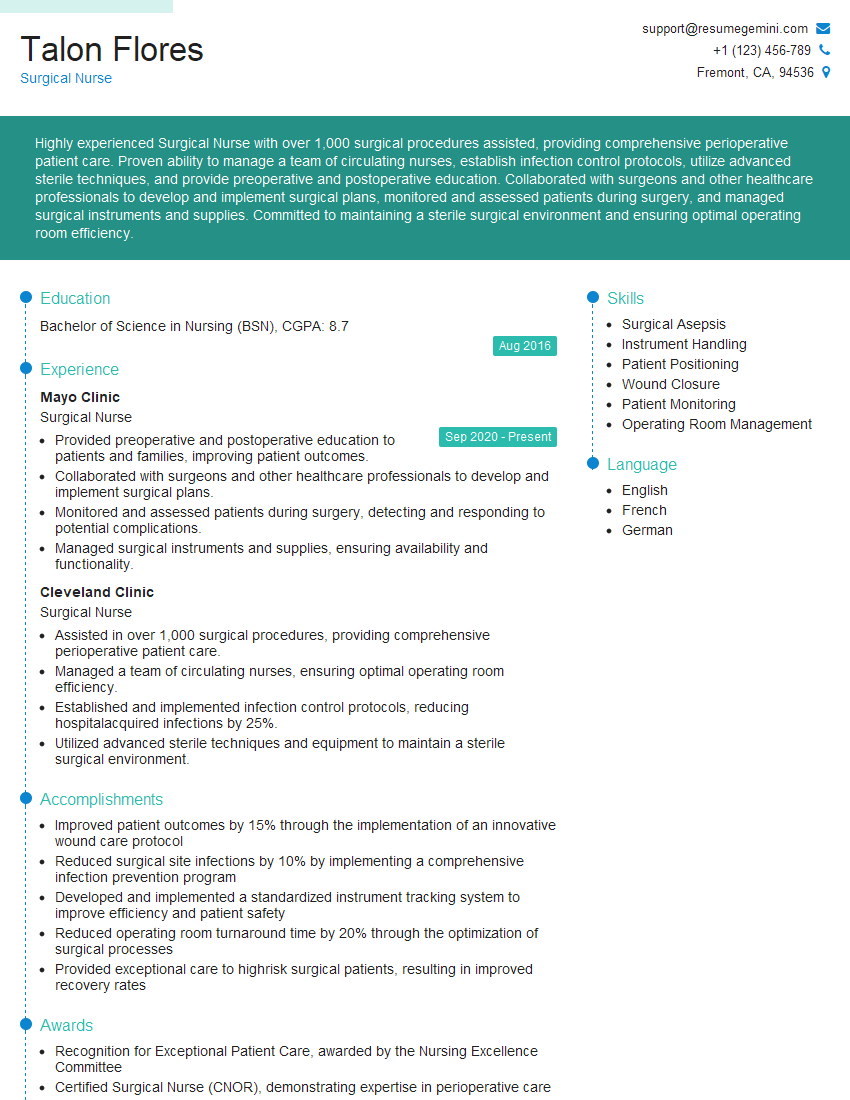
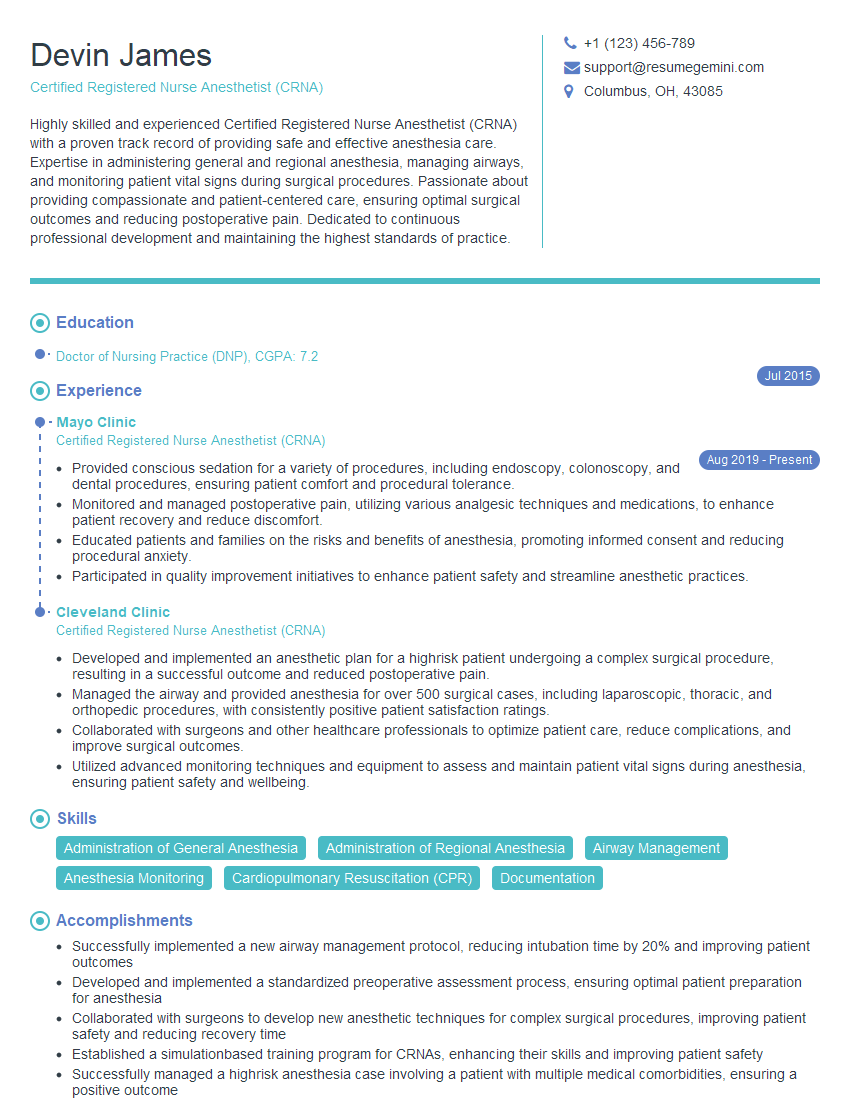
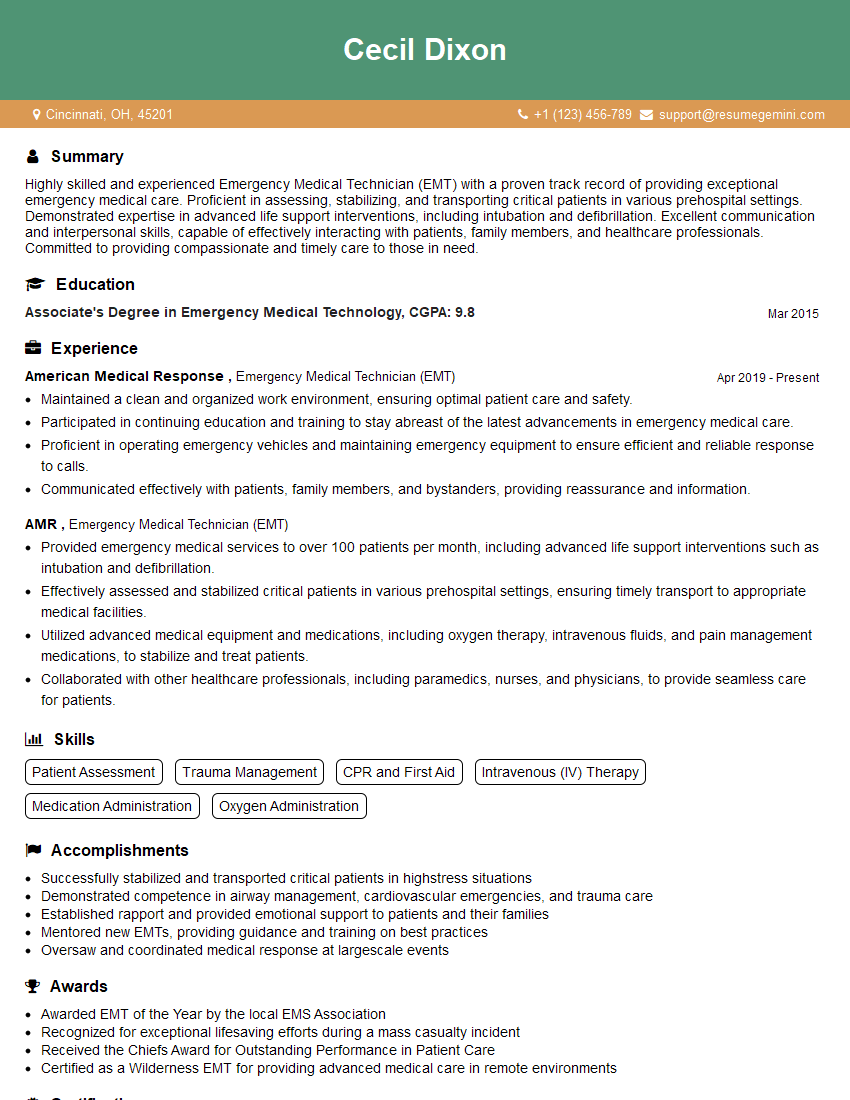
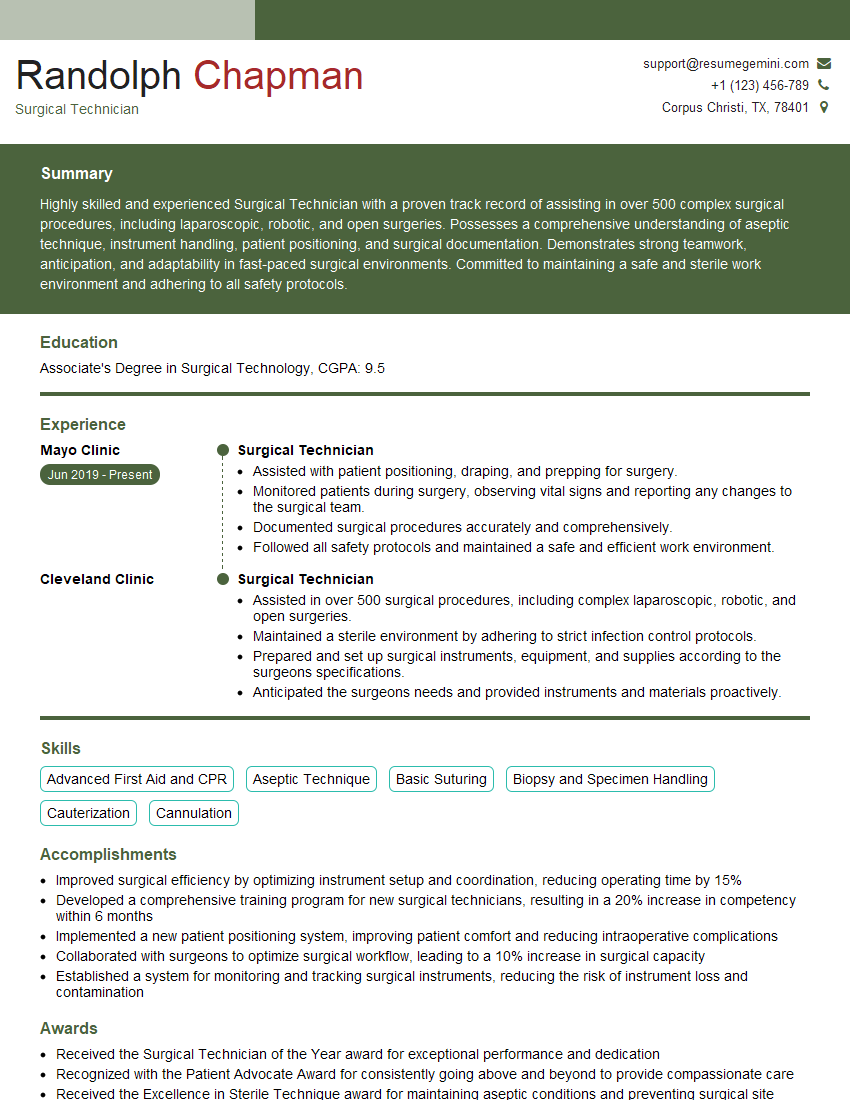
Mastering procedural skills like suturing and intubation is vital for career advancement in many healthcare fields. Demonstrating proficiency in these areas significantly enhances your credibility and opens doors to more advanced roles and opportunities. To maximize your job prospects, it’s crucial to create an ATS-friendly resume that effectively highlights your skills and experience. ResumeGemini is a trusted resource to help you build a professional and impactful resume that catches the eye of recruiters. We offer examples of resumes tailored to highlight expertise in procedural skills like suturing and intubation, helping you present your qualifications in the best possible light.
Explore more articles
Users Rating of Our Blogs
Share Your Experience
We value your feedback! Please rate our content and share your thoughts (optional).
What Readers Say About Our Blog
Hi, I have something for you and recorded a quick Loom video to show the kind of value I can bring to you.
Even if we don’t work together, I’m confident you’ll take away something valuable and learn a few new ideas.
Here’s the link: https://bit.ly/loom-video-daniel
Would love your thoughts after watching!
– Daniel
This was kind of a unique content I found around the specialized skills. Very helpful questions and good detailed answers.
Very Helpful blog, thank you Interviewgemini team.
