Every successful interview starts with knowing what to expect. In this blog, we’ll take you through the top Raw Material Inspection and Quality Control interview questions, breaking them down with expert tips to help you deliver impactful answers. Step into your next interview fully prepared and ready to succeed.
Questions Asked in Raw Material Inspection and Quality Control Interview
Q 1. Describe your experience with various raw material inspection techniques.
Raw material inspection employs a variety of techniques to ensure quality and conformity to specifications. My experience encompasses visual inspection, where we check for obvious defects like discoloration, damage, or contamination. Then there’s dimensional inspection, using tools like calipers and micrometers to verify size and tolerances. We also utilize chemical analysis, often employing techniques like titration, spectroscopy (UV-Vis, FTIR, etc.), and chromatography (HPLC, GC) to determine the chemical composition and purity of materials. Physical property testing is crucial, covering aspects like density, viscosity, tensile strength, and hardness, depending on the material. Finally, microbiological testing is sometimes necessary, involving culturing to check for bacterial or fungal contamination, particularly important in food or pharmaceutical industries.
For example, in a previous role inspecting incoming batches of plastic pellets for injection molding, we used visual inspection to check for color consistency and the absence of foreign matter. Dimensional analysis using sieves verified particle size distribution was within specifications. Furthermore, spectroscopic analysis confirmed the absence of harmful additives.
Q 2. Explain your understanding of different quality control standards (e.g., ISO 9001).
Quality control standards, such as ISO 9001, provide a framework for establishing and maintaining a quality management system (QMS). ISO 9001 focuses on consistently meeting customer requirements and enhancing customer satisfaction. It emphasizes several key aspects, including:
- Documented Procedures: Having clear, documented processes for all aspects of the supply chain, from receiving raw materials to shipping finished goods.
- Internal Audits: Regularly assessing the effectiveness of the QMS through internal audits.
- Management Review: Periodic high-level review of the QMS’s performance and effectiveness.
- Corrective and Preventive Actions (CAPA): A systematic approach to identifying, analyzing, and resolving non-conformances to prevent recurrence.
- Continuous Improvement: A commitment to ongoing improvement of the QMS.
Understanding these standards is vital because they ensure that our processes are robust, reliable, and meet internationally recognized benchmarks. Non-compliance can lead to significant financial penalties, reputational damage, and even legal issues. In practice, ISO 9001 provides a roadmap for building a sustainable and successful quality control program.
Q 3. How do you identify and document non-conformances during raw material inspection?
Identifying and documenting non-conformances is a critical step in maintaining quality. When a raw material fails to meet specifications, we immediately isolate the material to prevent its use. A non-conformance report (NCR) is then generated, meticulously detailing the issue. This report includes details such as the material’s identification (batch number, supplier, etc.), the specific non-conformity (e.g., ‘off-specification chemical composition’), the test results showing the deviation from the specification, the quantity affected, and the date of discovery. We also include proposed corrective actions and root cause analysis. The NCR is then reviewed by appropriate personnel, and a disposition is determined (e.g., rejection, rework, concession). The entire process is carefully documented and tracked to ensure accountability and facilitate continuous improvement.
For instance, if a shipment of steel showed significantly lower tensile strength than specified, we’d document this in the NCR, possibly attaching the results of the tensile testing. Depending on the severity and the supplier’s response, we might reject the material, negotiate a price reduction, or seek a replacement shipment.
Q 4. What are your methods for verifying the accuracy of supplier certificates of analysis?
Supplier certificates of analysis (CoA) are important, but they shouldn’t be taken at face value. Verification is essential. Our methods include:
- Independent Testing: We often conduct our own independent testing of a representative sample from the incoming material to verify the data provided in the CoA. This ensures that the information provided by the supplier is accurate and reliable.
- Supplier Audit: Regular audits of our key suppliers allow us to assess their testing capabilities and ensure that their quality control systems are adequate. This gives us greater confidence in the accuracy of their CoAs.
- Trend Analysis: We track data from multiple CoAs over time to identify any trends or patterns that might indicate inconsistencies in the supplier’s quality control processes.
- Historical Data: We compare the current CoA with historical data from the same supplier to detect any significant changes in material properties.
If discrepancies are found, we engage directly with the supplier to understand the root cause and implement corrective actions to prevent future occurrences. This collaborative approach strengthens our supply chain relationships and enhances the reliability of our raw materials.
Q 5. Describe your experience with statistical process control (SPC) techniques.
Statistical Process Control (SPC) techniques are invaluable for monitoring and controlling variation in processes. We utilize control charts (e.g., X-bar and R charts, p-charts, c-charts) to track key parameters during raw material inspection. By plotting data points over time, we can identify trends, shifts, and unusual variations, providing early warnings of potential quality issues. Control limits, derived statistically, define acceptable variation. Points outside these limits signal a process that is out of control, requiring investigation and corrective action.
For example, in monitoring the particle size distribution of a powder, we might use an X-bar and R chart to track the average particle size and the range of sizes in each sample. If a point falls outside the control limits, it indicates that the process producing the powder may be experiencing unexpected variation, potentially leading to quality problems downstream.
Q 6. How do you handle discrepancies between incoming material specifications and supplier documentation?
Discrepancies between incoming material specifications and supplier documentation are addressed immediately. First, we verify that our specifications are current and accurate. Then, we thoroughly investigate the discrepancy. We may conduct additional testing to confirm the actual material properties. We then contact the supplier to discuss the issue and request clarification or evidence supporting their documentation. If the material does not meet our specifications, we will discuss options with the supplier. This may include return of the material, price adjustments, or negotiating concessions. Thorough documentation is vital throughout this process, to prevent future similar incidents.
For example, if a CoA shows a higher level of a particular impurity than our specification allows, we’d verify our testing results and then work with the supplier to explain why this occurred and determine if the material is still usable (possibly with a concession). If not, a return or replacement shipment would be negotiated.
Q 7. Explain your process for investigating and resolving raw material-related quality issues.
Investigating and resolving raw material-related quality issues follows a structured approach. We begin by gathering all relevant data, including the NCR, test results, supplier documentation, and any other pertinent information. A root cause analysis is then conducted to identify the underlying cause of the problem. Common tools like fishbone diagrams (Ishikawa diagrams) and 5 Whys can be helpful here. Once the root cause is identified, we develop and implement corrective actions to prevent recurrence. This may involve changes to our inspection procedures, communication with suppliers to address their quality control systems, or adjustments to our purchasing specifications. The effectiveness of the corrective actions is monitored to ensure the problem is permanently resolved.
For instance, if recurring issues arise from a particular supplier, we might perform a detailed audit of their facility to identify weaknesses in their processes. This could lead to changes in their production methods or to our decision to find an alternative supplier.
Q 8. What is your experience with different types of testing equipment used in raw material inspection?
My experience encompasses a wide range of testing equipment crucial for raw material inspection. This includes, but isn’t limited to, spectrophotometers for color analysis, particle size analyzers (like laser diffraction instruments) for determining the distribution of particle sizes, and various types of balances (analytical and precision) for accurate mass measurements. For material strength and integrity, I’ve extensively used tensile testers, compression testers, and hardness testers. Furthermore, I’m proficient with moisture analyzers, viscometers for measuring viscosity, and microscopy (both optical and electron) for detailed material structure analysis. In cases requiring chemical analysis, I’ve worked with titrators and pH meters. The selection of the appropriate equipment always depends on the specific material and the quality parameters being inspected. For instance, when inspecting fabrics, I would employ tensile strength testing to determine their breaking point, whereas for powders, I would use particle size analyzers to ensure consistency.
For example, in a previous role involving the inspection of incoming pigments for paint production, I utilized a spectrophotometer to precisely measure and compare the color against the specified standard, ensuring consistent color batches. Any deviation was meticulously documented and further investigated.
Q 9. Describe your experience with calibration procedures for testing equipment.
Calibration is the cornerstone of accurate and reliable testing. My experience includes following strict calibration schedules according to manufacturer’s instructions and using traceable standards. This involves regular verification of the equipment’s accuracy against certified reference materials or standards. I meticulously document all calibration activities, including the date, results, and any necessary adjustments. For instance, balances require regular weight calibration using certified weights, while spectrophotometers need verification against certified color standards. We typically utilize a calibration management system (CMS) to track these activities. A failure to properly calibrate equipment can lead to inaccurate results, potentially compromising product quality and even causing safety issues. I’m experienced in working with various calibration certificates and using statistical process control (SPC) charts to monitor the equipment’s performance over time, flagging any significant drifts or deviations that might signal the need for recalibration or equipment maintenance. In one instance, a slight drift in a spectrophotometer’s calibration caused a batch of paint to have a subtly different shade than expected. By promptly identifying this deviation through our calibration monitoring, we averted a potential production setback and significant costs.
Q 10. How do you maintain accurate records of inspection results and corrective actions?
Maintaining accurate records is paramount. We use a combination of electronic and paper-based systems depending on the nature of the inspection and company regulations. For electronic records, we often utilize a LIMS (Laboratory Information Management System) which integrates seamlessly with our quality management system (QMS). This system captures all testing data, including the date, time, tester’s identification, equipment used, results, and any non-conformances. For corrective actions, a detailed procedure is followed, including root cause analysis and documented corrective and preventive actions (CAPA) in the system. Any deviations from specifications are promptly reported, and investigations are launched to pinpoint the root cause. This is followed by implementing corrective actions and verifying their effectiveness. Paper-based records are always maintained in a secure location following relevant archiving policies. In this way, we ensure the complete traceability of the entire process and facilitate audits.
Q 11. How do you ensure the traceability of raw materials throughout the production process?
Traceability is vital for ensuring product quality and safety. We accomplish this by using a unique identification system for each batch of raw materials, usually via lot numbers or batch codes. These codes are recorded at every stage of the process, from receiving to storage, and through to production. This allows for complete tracking of the material’s journey. We often utilize barcode or RFID technology to simplify this tracking and reduce the potential for errors. In cases of non-conformance or product recalls, this detailed traceability greatly simplifies the identification and segregation of affected batches. For instance, we would be able to trace a defective batch of material to its origin and all products manufactured using it, ensuring effective and efficient mitigation of the problem.
Q 12. How familiar are you with different sampling techniques?
I’m familiar with various sampling techniques, understanding that the method employed depends heavily on the material’s nature and the inspection objectives. This includes random sampling, stratified sampling (for materials with known variations), systematic sampling (for uniform materials), and judgment sampling (for situations requiring expert assessment). For instance, in inspecting a large delivery of granular material like sand, I would employ systematic sampling by taking samples at regular intervals. However, for a batch of incoming components with a potential for significant variability, I would opt for stratified sampling, selecting sub-samples from different locations or batches to ensure representation of the entire population. My understanding of sampling plans, such as acceptance sampling plans (ASPs), helps to determine the optimal sample size to achieve a balance between confidence and cost-effectiveness. I am also well-versed in the requirements of relevant standards for proper sampling procedures.
Q 13. Explain your experience with root cause analysis for quality defects.
Root cause analysis is a critical skill for continuous improvement. When a quality defect is identified, I utilize tools like the 5 Whys, fishbone diagrams (Ishikawa diagrams), and Pareto analysis to systematically identify the underlying causes. This approach helps us move beyond simply addressing the immediate problem and instead focuses on preventing similar issues from recurring. For instance, if a batch of paint was found to have inconsistent viscosity, I would conduct a root cause analysis, considering various factors, such as variations in the raw materials, equipment malfunction, or process parameters. The 5 Whys would help me to drill down to the root of the problem, and a fishbone diagram would help me visualize all potential contributing factors. By documenting the root cause and implementing corrective actions, we can minimize the chances of recurrence. The use of data analysis, including control charts, helps verify the effectiveness of the corrective measures implemented and track performance over time.
Q 14. How do you prioritize inspection tasks to ensure timely completion?
Prioritization of inspection tasks involves balancing urgency and importance. I typically employ a risk-based approach, prioritizing inspections of critical raw materials that pose a higher risk to product quality or safety. This is often combined with a first-in, first-out (FIFO) approach for handling raw materials. Time-sensitive materials are prioritized, ensuring their inspection is completed before their expiry or use-by date. I use tools like Kanban boards or project management software to visually manage and track the progress of inspections. This allows me to efficiently allocate resources and ensure timely completion of all tasks. Effective communication and coordination with other departments (like production and procurement) are essential for efficient prioritization and minimizing delays. Moreover, a thorough understanding of the production schedule and material requirements helps us to proactively schedule inspections, anticipating upcoming needs and preventing bottlenecks.
Q 15. Describe your experience with working in a team environment to address quality control issues.
In my experience, effective teamwork is paramount in addressing quality control issues. I’ve been part of several cross-functional teams involving engineers, production staff, and laboratory technicians. For instance, we once faced consistently high defect rates in a particular batch of molded plastic parts. Instead of assigning blame, we used a structured problem-solving approach.
- Brainstorming Session: We initiated a brainstorming session to identify potential root causes – from raw material inconsistencies to machine malfunctioning and operator error.
- Data Analysis: We meticulously analyzed production data, inspecting defective parts and correlating them with specific machine parameters and raw material lots.
- Corrective Actions: Based on the data, we implemented several corrective actions including recalibrating the molding machine, tightening raw material specifications, and providing additional operator training.
- Continuous Monitoring: We continued to monitor the defect rate post-implementation, documenting the effectiveness of each change and making further adjustments as needed.
This collaborative approach ensured that we identified the root cause, implemented effective solutions, and prevented future occurrences. Open communication, mutual respect, and a shared commitment to quality were key to our success.
Career Expert Tips:
- Ace those interviews! Prepare effectively by reviewing the Top 50 Most Common Interview Questions on ResumeGemini.
- Navigate your job search with confidence! Explore a wide range of Career Tips on ResumeGemini. Learn about common challenges and recommendations to overcome them.
- Craft the perfect resume! Master the Art of Resume Writing with ResumeGemini’s guide. Showcase your unique qualifications and achievements effectively.
- Don’t miss out on holiday savings! Build your dream resume with ResumeGemini’s ATS optimized templates.
Q 16. How do you handle situations where inspection results are inconclusive?
Inconclusive inspection results require a methodical approach. My strategy involves a multi-step process to resolve ambiguity:
- Repeatability: I first re-run the test to eliminate the possibility of human or equipment error. If the result remains inconclusive, I consider possible factors such as environmental conditions.
- Further Testing: I then utilize different, complementary testing methods. For instance, if visual inspection is inconclusive on metal fatigue, I might employ non-destructive testing methods like ultrasonic inspection or X-ray analysis.
- Expert Consultation: If the results remain unclear after repeated testing, I consult with materials scientists or other experts in the relevant field for their interpretation and recommendations.
- Documentation: Every step of the process is thoroughly documented, including the initial inconclusive results, subsequent tests, consultations, and final conclusions. This detailed record ensures transparency and facilitates future decision-making.
For example, I once encountered inconclusive results while assessing the tensile strength of a new type of alloy. By employing different testing methods and engaging with a metallurgy expert, we were able to identify a subtle compositional anomaly that accounted for the variability in the initial test results. This collaborative process ensured the safety and reliability of the final product.
Q 17. Describe your experience with using a quality management system (QMS).
Throughout my career, I’ve extensively used Quality Management Systems (QMS), most notably ISO 9001. My experience includes implementing, maintaining, and auditing QMS procedures within manufacturing environments.
- Documentation Control: I am proficient in managing and updating various documents including inspection procedures, test methods, and quality records, all within a structured QMS environment.
- Internal Audits: I have performed numerous internal audits to ensure ongoing compliance with QMS standards, identifying areas for improvement and driving corrective actions.
- Corrective and Preventive Actions (CAPA): I actively participate in the investigation and resolution of quality issues through the implementation of CAPA procedures, ensuring that root causes are addressed and preventative measures are implemented to avoid recurrence.
- Continuous Improvement: A crucial aspect of my role involves participating in continuous improvement initiatives, leveraging data analysis and process optimization techniques to improve the overall effectiveness of the QMS.
For example, I helped implement a new electronic document management system within a previous company, improving efficiency and reducing paperwork. This project directly supported the organization’s ISO 9001 certification.
Q 18. How do you ensure that your inspection procedures comply with regulatory requirements?
Ensuring compliance with regulatory requirements is a critical aspect of my role. This involves a combination of understanding the relevant regulations and diligently implementing compliant inspection procedures.
- Regulatory Knowledge: I stay updated on all relevant regulations, including those pertaining to specific materials, industries, and geographical locations. This includes familiarity with standards like FDA regulations for food-grade materials or RoHS directives for electronics.
- Procedure Development: I participate in the development and review of inspection procedures, ensuring they accurately reflect the regulatory requirements. This involves carefully defining acceptance criteria and clearly outlining testing methods.
- Calibration and Maintenance: I ensure that all measuring instruments and equipment are properly calibrated and maintained according to regulatory guidelines to ensure accurate and reliable measurements.
- Record Keeping: Detailed and accurate record-keeping is vital for demonstrating compliance. I meticulously document all inspection results and associated data, maintaining traceability throughout the entire process.
For example, when working with food-grade plastics, I meticulously follow FDA regulations, including specific requirements for testing for potential contaminants and ensuring compliance with GMP (Good Manufacturing Practices).
Q 19. What is your experience with different types of raw materials (e.g., metals, plastics, chemicals)?
My experience encompasses a broad range of raw materials, including metals, plastics, and chemicals. My expertise extends to various inspection techniques tailored to each material type.
- Metals: I have extensive experience inspecting metals including steel, aluminum, and alloys. Techniques used include visual inspection, dimensional checks, hardness testing, tensile strength testing, and non-destructive testing methods such as ultrasonic inspection.
- Plastics: My work with plastics includes thermoplastics and thermosets. Common inspections involve dimensional measurements, visual inspections for defects, mechanical testing (e.g., tensile strength, impact resistance), and analysis of material properties such as density and melt flow index.
- Chemicals: I have experience with both liquid and solid chemicals, applying techniques such as purity analysis (e.g., titration, chromatography), viscosity measurements, and pH testing. Safety protocols are paramount in handling and inspecting chemical materials.
Each material requires a different set of tests and considerations. For instance, the inspection of a high-strength steel component would involve significantly different tests compared to inspecting a batch of plastic pellets for color consistency. My experience allows me to adapt my approach to each unique material.
Q 20. How do you communicate inspection results to relevant stakeholders?
Effective communication of inspection results is crucial for maintaining quality and transparency. My approach involves several key steps:
- Clear and Concise Reporting: I prepare clear and concise inspection reports, using standardized formats and terminology, providing an unambiguous summary of the inspection findings.
- Data Visualization: I often use data visualization techniques like charts and graphs to clearly illustrate key inspection metrics, making complex information easily digestible for various stakeholders.
- Targeted Communication: I tailor my communication style and the level of detail provided to the specific audience. A detailed technical report might be appropriate for engineers, while a concise summary is suitable for management.
- Escalation Procedures: I have established clear escalation procedures for critical quality issues. This involves promptly notifying the appropriate personnel of any non-conformances or potential risks.
For example, if a critical defect is identified, I immediately notify the production manager and quality manager, providing them with the necessary information to take corrective action. Regular reporting to management provides updates on overall quality metrics and potential areas for improvement.
Q 21. Describe your experience with data analysis and reporting for quality control.
Data analysis and reporting are fundamental to my quality control work. I utilize various analytical tools and techniques to track quality metrics, identify trends, and drive continuous improvement.
- Statistical Process Control (SPC): I use SPC charts (e.g., control charts) to monitor key process variables and identify deviations from expected performance. This helps prevent defects from occurring.
- Data Mining: I employ data mining techniques to uncover hidden patterns and relationships within large datasets, potentially identifying previously unrecognized root causes of quality issues.
- Report Generation: I generate regular reports summarizing key quality metrics, defect rates, and other relevant data. This information assists in decision-making and informs continuous improvement efforts.
- Software Proficiency: I have proficiency with various statistical software packages (e.g., Minitab, JMP) and data visualization tools to analyze data effectively and communicate findings.
For example, by analyzing historical data on material defects, I was able to identify a seasonal variation in a specific raw material, leading to preventative measures that reduced defects during peak season. Data-driven decision-making is vital for driving continuous improvement in quality control.
Q 22. How do you stay up-to-date with the latest industry standards and best practices in quality control?
Staying current in the dynamic field of raw material inspection and quality control requires a multi-pronged approach. It’s not enough to simply rely on past knowledge; continuous learning is key. I actively engage in several strategies to maintain my expertise. Firstly, I subscribe to and regularly read industry publications like Quality Progress and Quality Engineering. These journals often feature articles on the latest techniques, emerging challenges, and revised standards. Secondly, I participate in professional development workshops and conferences. These events provide invaluable opportunities to network with peers and learn about cutting-edge advancements from leading experts. For example, last year I attended a conference focused on advancements in spectroscopic analysis for raw material identification. Finally, I actively seek out online resources like webinars and online courses offered by organizations like ASQ (American Society for Quality) to deepen my knowledge in specific areas, such as advanced statistical process control (SPC) techniques.
In short, I view staying up-to-date as an ongoing commitment, and I am always actively seeking out new information and best practices.
Q 23. Explain your experience with implementing corrective and preventive actions (CAPA).
Implementing Corrective and Preventive Actions (CAPA) is a cornerstone of any robust quality control system. My experience involves a systematic approach, beginning with thorough investigation. When a quality issue arises, I first gather data to understand the root cause. This often involves analyzing inspection reports, production records, and even conducting interviews with personnel involved. For example, I once investigated a batch of substandard plastic pellets. Through careful analysis, we traced the issue to a faulty hopper on a raw material silo, leading to inconsistent feeding and subsequent flaws in the pellets.
Once the root cause is identified, I collaborate with the relevant teams (production, engineering, procurement) to develop a corrective action. In the pellet example, this involved replacing the hopper and implementing improved cleaning protocols. Then, I’m focused on developing preventive actions that stop the problem from recurring, such as implementing regular maintenance schedules for the silo hoppers and introducing a more robust monitoring system for raw material feed consistency. Throughout this process, robust documentation is essential for traceability and audit compliance. Effective CAPA implementation helps prevent future occurrences, improving quality and efficiency across the board.
Q 24. How do you contribute to continuous improvement efforts in quality control?
Continuous improvement is a core value in my approach to quality control. My contributions focus on several key areas. First, I actively participate in regular quality control meetings, where I share insights based on my analysis of inspection data. Identifying trends, even seemingly minor deviations, can signal larger problems early. For instance, noticing a slight uptick in rejected batches of a certain raw material prompted an investigation that uncovered a supplier quality issue.
Secondly, I champion the use of data-driven decision making. I regularly analyze quality metrics, using tools like control charts and process capability analysis to identify areas for improvement. For example, implementing a new sampling strategy led to a significant reduction in inspection time while maintaining accuracy. Thirdly, I promote the adoption of new technologies and methodologies to enhance efficiency and accuracy. I am always exploring and recommending tools and methods that help us continually improve. For example, we recently implemented an automated vision system which significantly reduced the human error in inspection for fine-grained materials.
Q 25. Describe a time you had to make a difficult decision regarding raw material acceptance or rejection.
One challenging situation involved a large shipment of a key ingredient for our flagship product. Initial testing revealed that a small percentage of the shipment showed slight deviations from our established specifications, but still fell within the acceptable range per the supplier’s specifications. However, based on my experience and knowledge of the process, I had a strong feeling that this deviation could potentially cause downstream issues with the final product, leading to a recall. The decision was difficult because rejecting the shipment meant incurring significant delays and costs. However, prioritizing product quality over short-term cost savings was paramount.
Ultimately, I recommended rejecting the shipment and initiated discussions with the supplier to resolve the issue and prevent it from happening again. While this led to a short-term disruption, it prevented a far larger and more costly product recall. It underscored the importance of prioritizing quality over expediency, even when facing difficult choices. The supplier also appreciated our proactive stance, further strengthening our partnership.
Q 26. How would you handle a situation where a critical raw material delivery is delayed?
A delayed critical raw material delivery requires immediate and decisive action. My first step would be to confirm the delay’s cause and projected timeline with the supplier. Parallel to this, I would initiate discussions with internal stakeholders, including production and procurement, to assess the impact of the delay on our production schedule. This involves understanding the lead times for alternative materials (if available) and the potential impact on our delivery commitments to customers.
Depending on the severity and the alternative possibilities, I would explore several options: We might negotiate expedited shipping from the current supplier; investigate using a backup supplier (if one exists); assess the feasibility of adjusting the production schedule to accommodate the delay; or explore the use of substitute raw materials (if technically feasible and quality-assured). Throughout this process, meticulous documentation and transparent communication with relevant parties are crucial to minimize disruption and maintain product quality.
Q 27. What are your salary expectations for this role?
My salary expectations are in line with the industry standard for a professional with my experience and expertise in raw material inspection and quality control. I am confident that my skills and contributions significantly benefit your company, and I am open to discussing a compensation package that reflects my value.
Q 28. Do you have any questions for me?
I have several questions to help me better understand this opportunity. First, could you tell me more about the specific technologies and methodologies utilized by your quality control department? Second, what are the company’s key performance indicators (KPIs) for raw material quality, and how are they measured? Finally, what are the opportunities for professional development and growth within the company?
Key Topics to Learn for Raw Material Inspection and Quality Control Interview
- Understanding Raw Material Specifications: Learn to interpret technical specifications, including chemical composition, physical properties, and tolerances. This is fundamental to effective inspection.
- Inspection Techniques and Methodologies: Familiarize yourself with various inspection methods like visual inspection, dimensional measurement, chemical testing, and physical testing. Be ready to discuss your experience with specific equipment and procedures.
- Quality Control Charts and Statistical Process Control (SPC): Understand how to interpret and utilize control charts to monitor process capability and identify potential issues. This demonstrates your analytical skills.
- Non-Conforming Material Handling: Know the procedures for handling and documenting non-conforming materials, including segregation, rejection, and potential rework processes. This showcases your understanding of quality assurance protocols.
- Laboratory Testing and Analysis: Depending on the role, you may need to demonstrate familiarity with various laboratory techniques and the interpretation of results. Highlight any relevant experience with analytical equipment or methods.
- Documentation and Record Keeping: Master the importance of accurate and detailed record-keeping, including inspection reports, test results, and non-conformance reports. This is crucial for traceability and compliance.
- Root Cause Analysis and Problem Solving: Practice identifying and analyzing the root causes of quality issues, using tools like 5 Whys or Fishbone diagrams. This demonstrates your problem-solving skills and proactive approach.
- Quality Management Systems (QMS): Familiarize yourself with common QMS standards like ISO 9001. Understanding these frameworks will demonstrate your commitment to quality.
- Safety Regulations and Procedures: Be prepared to discuss your knowledge of relevant safety regulations and procedures within a laboratory or manufacturing environment. Safety is paramount in quality control.
- Communication and Teamwork: Highlight your ability to effectively communicate inspection results and collaborate with other team members, including production staff and management.
Next Steps
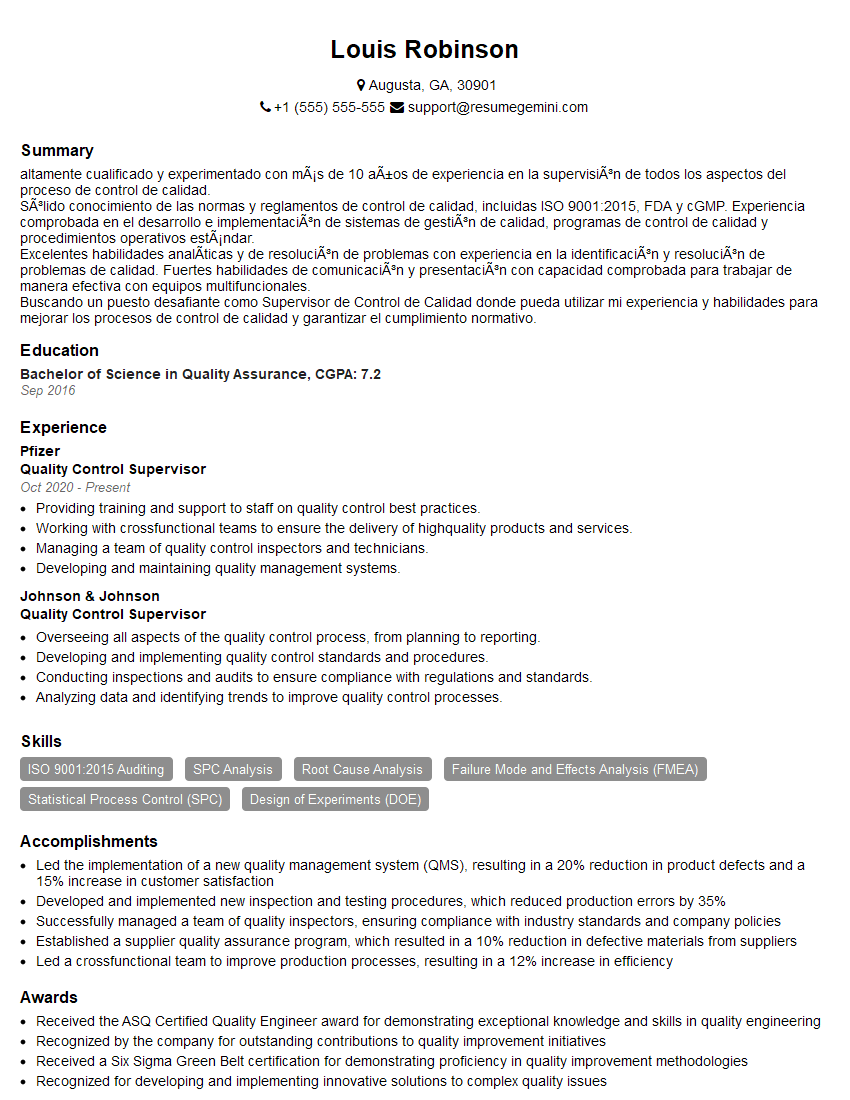
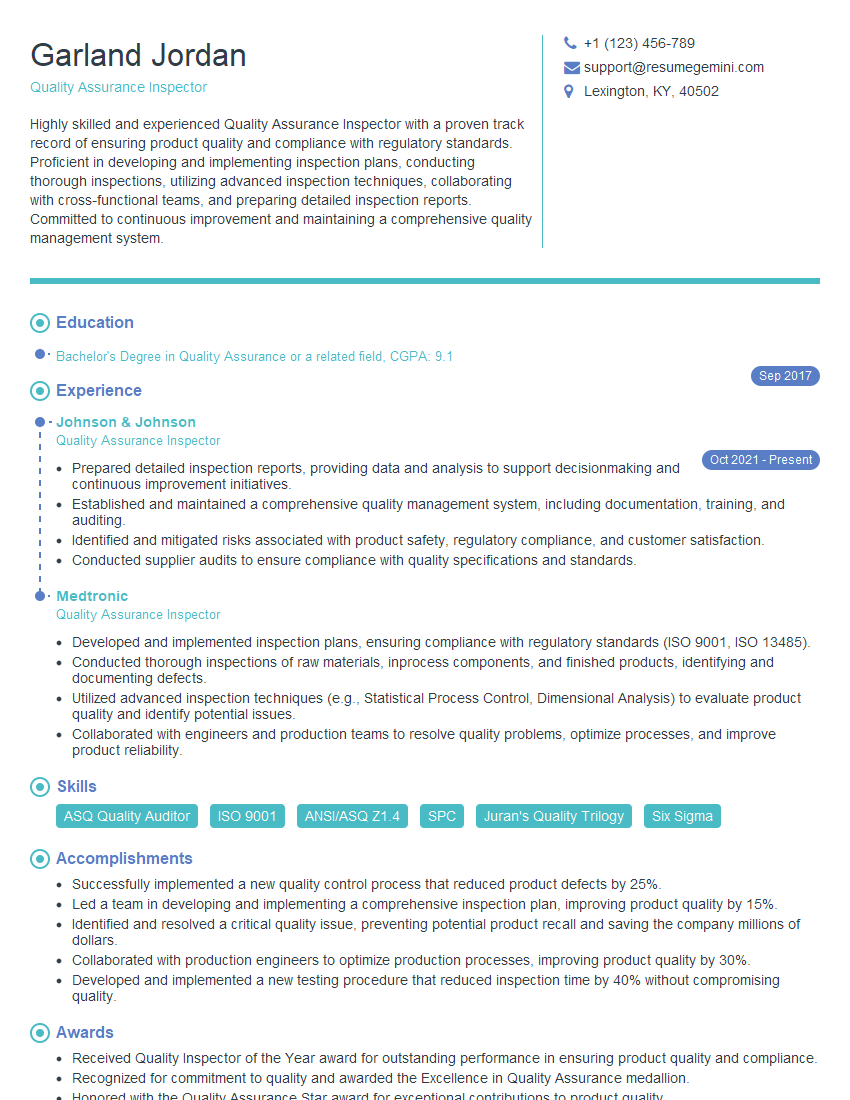
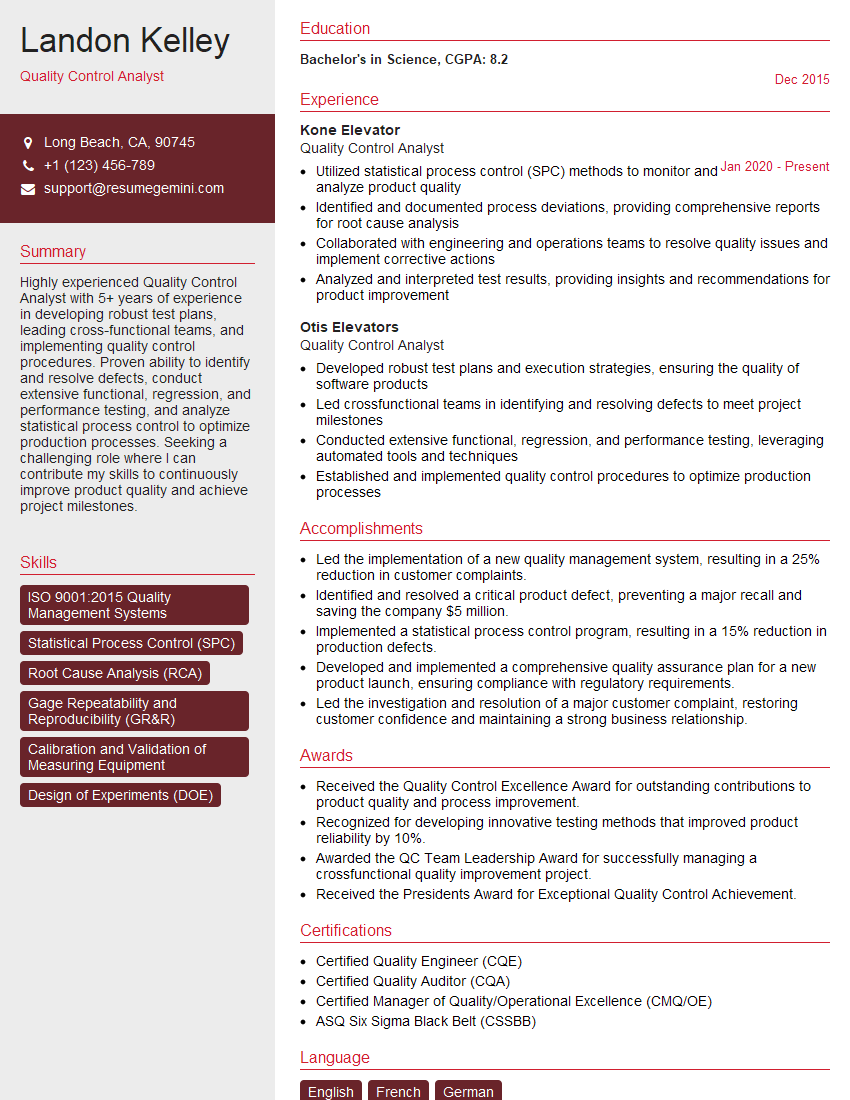
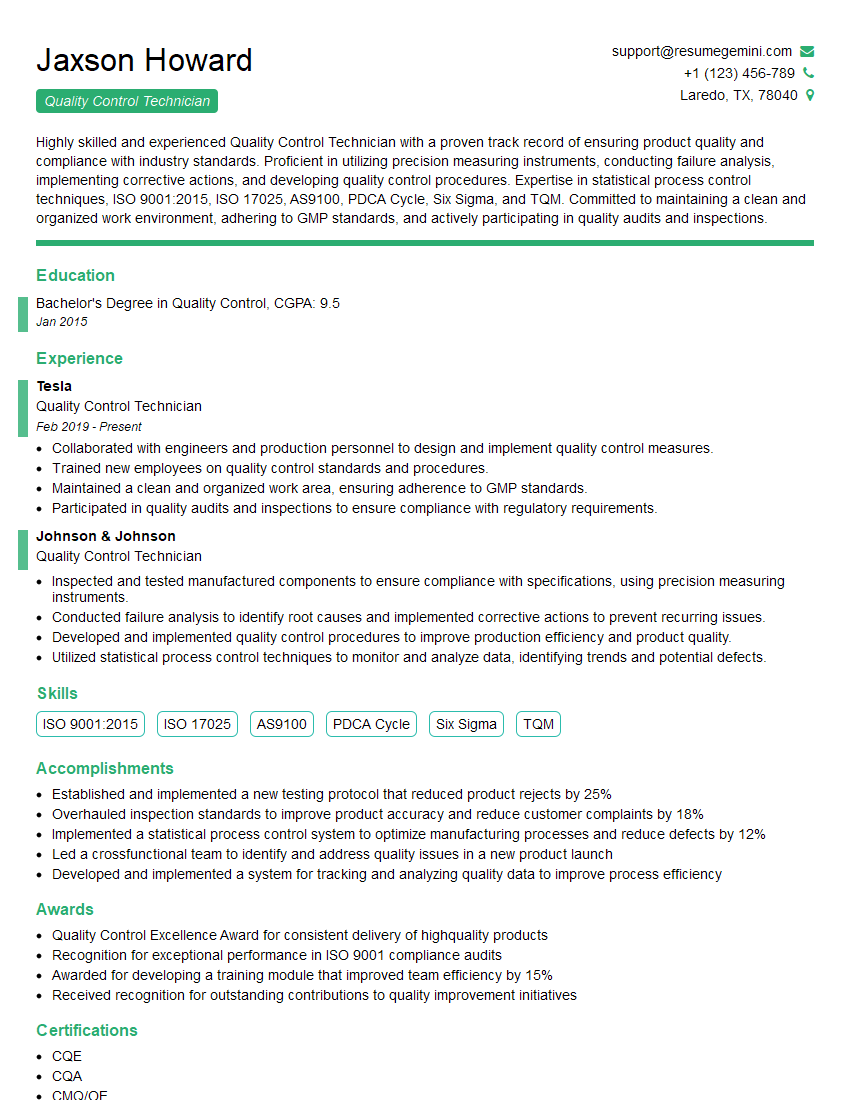
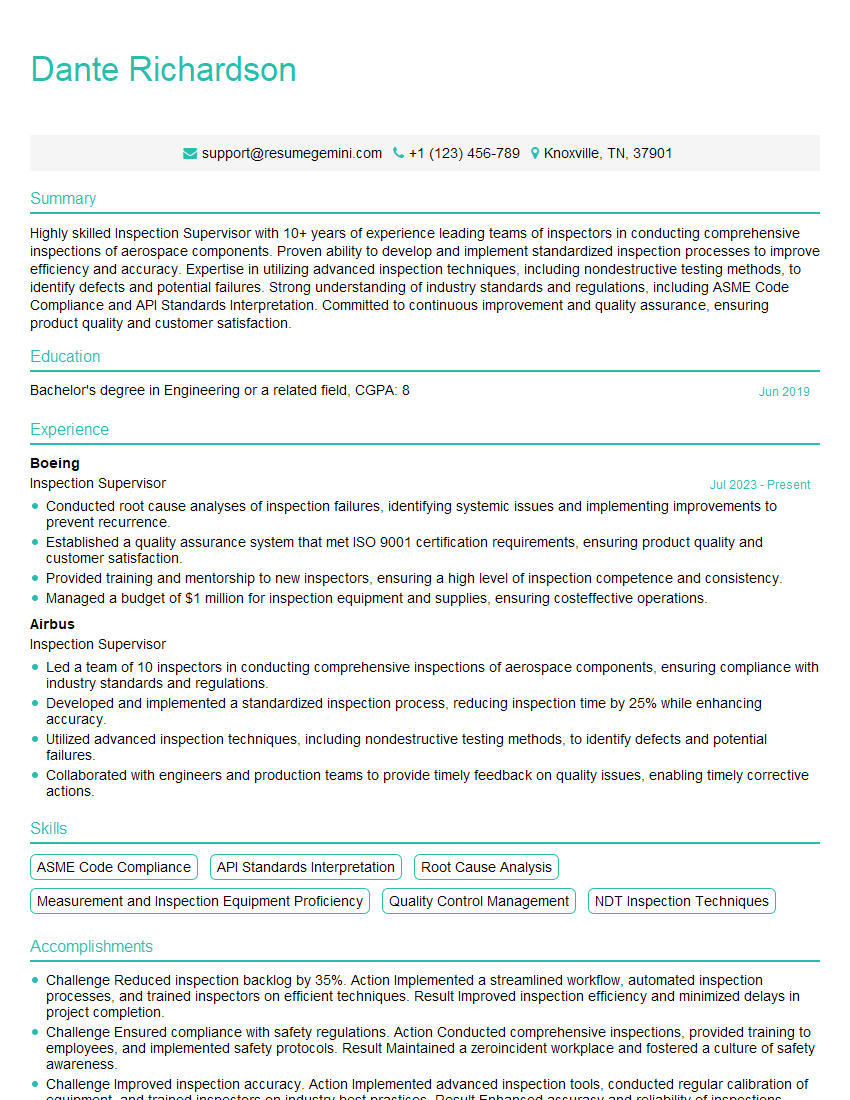
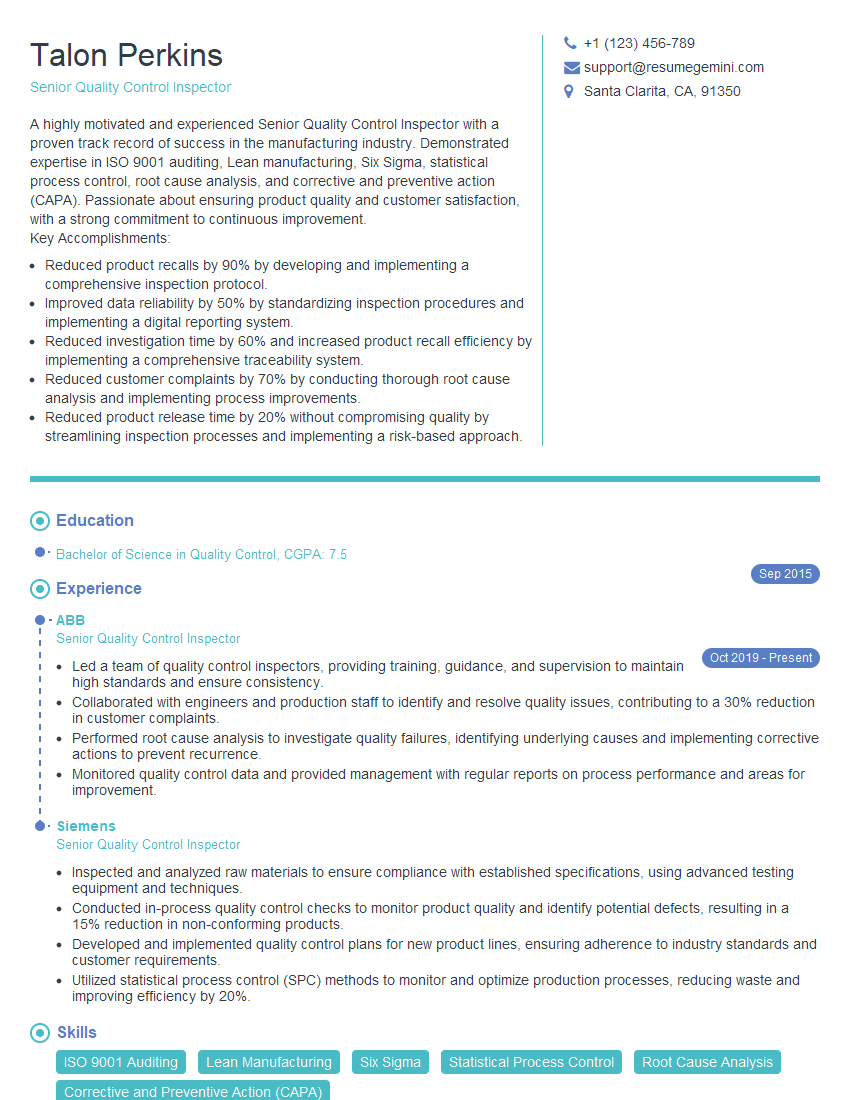
Mastering Raw Material Inspection and Quality Control opens doors to rewarding careers with excellent growth potential in various industries. A strong understanding of these principles is highly valued by employers. To significantly boost your job prospects, create an ATS-friendly resume that effectively showcases your skills and experience. ResumeGemini is a trusted resource that can help you build a professional and impactful resume. We provide examples of resumes tailored to Raw Material Inspection and Quality Control to help you get started. Invest the time to create a strong resume – it’s your first impression with potential employers.
Explore more articles
Users Rating of Our Blogs
Share Your Experience
We value your feedback! Please rate our content and share your thoughts (optional).
What Readers Say About Our Blog
Hi, I have something for you and recorded a quick Loom video to show the kind of value I can bring to you.
Even if we don’t work together, I’m confident you’ll take away something valuable and learn a few new ideas.
Here’s the link: https://bit.ly/loom-video-daniel
Would love your thoughts after watching!
– Daniel
This was kind of a unique content I found around the specialized skills. Very helpful questions and good detailed answers.
Very Helpful blog, thank you Interviewgemini team.


