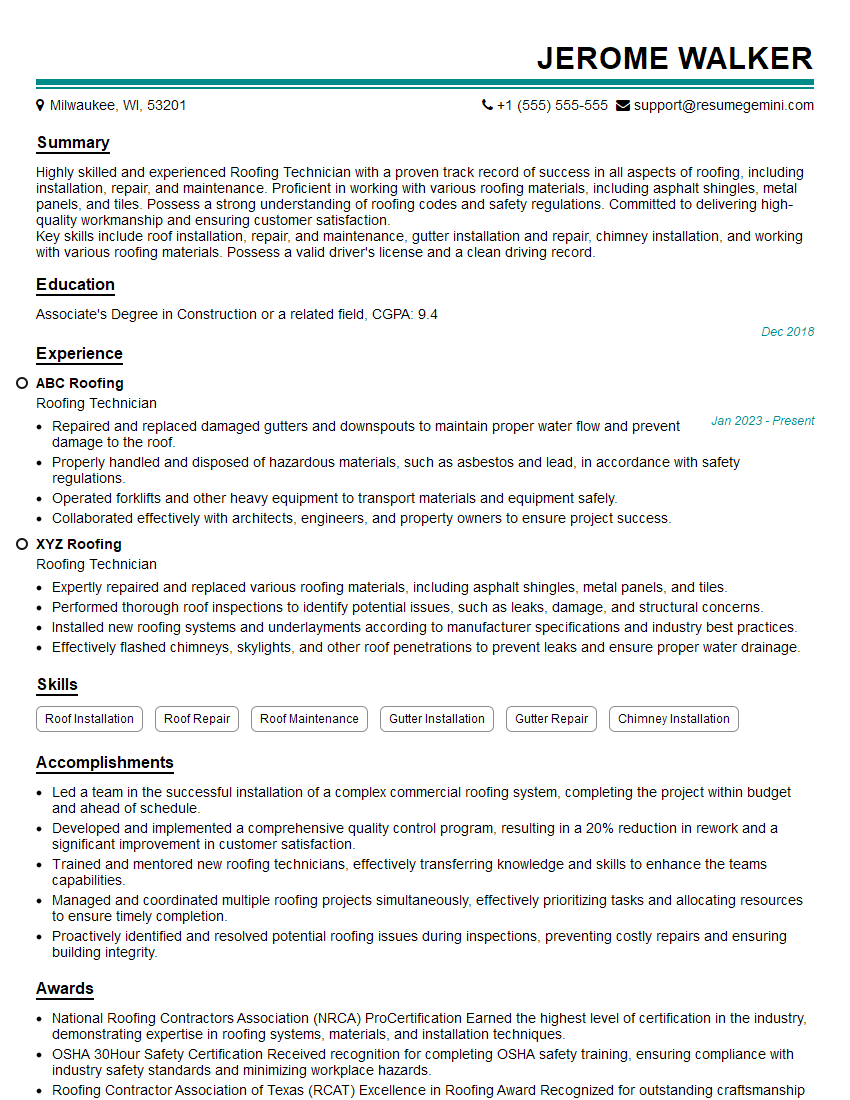
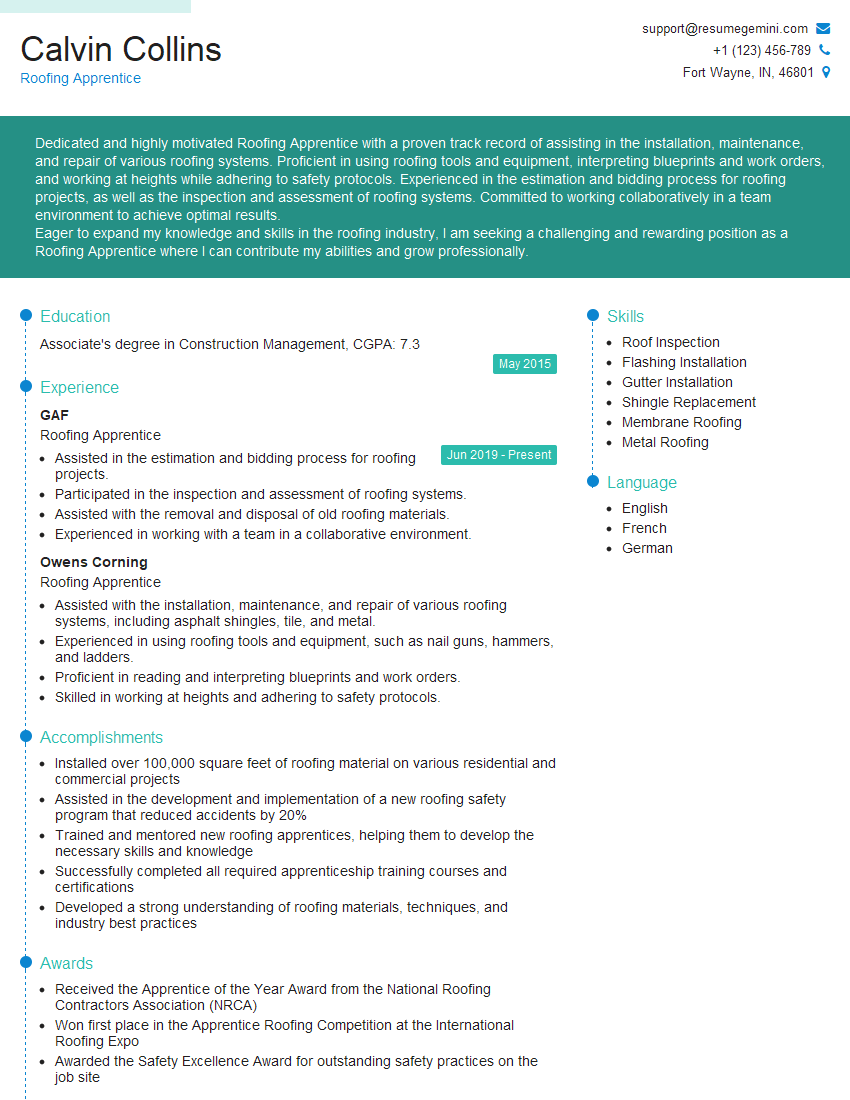
Every successful interview starts with knowing what to expect. In this blog, we’ll take you through the top Shingle Laying interview questions, breaking them down with expert tips to help you deliver impactful answers. Step into your next interview fully prepared and ready to succeed.
Questions Asked in Shingle Laying Interview
Q 1. What are the different types of asphalt shingles?
Asphalt shingles come in a variety of types, each with its own characteristics and lifespan. The most common types include:
- 3-Tab Shingles: These are the most economical and widely used. They feature a layered design with three distinct tabs and are relatively easy to install. Think of them as the ‘workhorse’ of the shingle world.
- Architectural Shingles (Dimensional Shingles): These offer a more upscale look with thicker profiles and varied dimensions. They’re more durable and weather-resistant than 3-tab shingles, providing a richer, more textured appearance. Imagine them as a step up in terms of style and longevity.
- Luxury Shingles: This category encompasses high-end options like slate, wood shake (though less commonly asphalt), and shingles designed to mimic natural materials. They’re pricier but offer superior aesthetic appeal and durability, essentially the top-of-the-line choice.
The choice depends on budget, desired aesthetic, and the home’s architectural style. For example, a modern home might benefit from the clean lines of 3-tab shingles, while a more traditional home could be enhanced by the texture of architectural shingles.
Q 2. Explain the process of underlayment installation.
Underlayment installation is crucial for a long-lasting roof. It’s a waterproof barrier placed between the roof decking and the shingles, offering added protection against leaks. The process typically involves these steps:
- Preparation: Ensure the roof decking is clean, dry, and free of debris. Any damaged decking needs repair before proceeding.
- Laying the Underlayment: Starting at the lowest point of the roof, typically the eaves, begin unrolling the underlayment. Overlap each roll by at least 6 inches to ensure full coverage. Use roofing nails or staples to secure the underlayment at regular intervals (following manufacturer’s recommendations).
- Flashing: Pay close attention to areas like valleys, chimneys, and vents. These critical areas require careful flashing (metal strips) to prevent water penetration. The underlayment should be carefully sealed around these flashings.
- Finishing: Once the entire roof is covered, check for any gaps or loose areas and secure them properly.
Using quality underlayment, such as synthetic felt, adds an extra layer of protection against wind-driven rain and potential leaks. It’s an investment worth making to maximize the lifespan of the roof.
Q 3. How do you measure for and cut shingles accurately?
Accurate shingle measurement and cutting are essential for a professional-looking and leak-proof roof. I use a combination of techniques:
- Accurate Measurements: I carefully measure the roof’s dimensions to determine the number of shingles needed. This involves accounting for overlaps, starter courses, and waste.
- Using a Utility Knife or Shears: A sharp utility knife or specialized roofing shears allows for clean, precise cuts. I always use a straight edge as a guide for straight cuts.
- Cutting Techniques: For intricate cuts around vents or chimneys, I often use a combination of measuring, marking, and cutting. Sometimes pre-cutting shingles off-roof is more efficient for complex shapes.
- Checking and Adjusting: Regularly checking the alignment and spacing of shingles during installation helps ensure accuracy. Minor adjustments can be made as needed throughout the process.
Precision is paramount to avoid creating gaps or overlaps that could compromise the roof’s integrity. For instance, a poorly cut shingle near a valley can lead to water penetration.
Q 4. Describe your experience with different shingle installation methods.
My experience encompasses various shingle installation methods, including:
- Standard Installation: This involves following the manufacturer’s instructions, paying close attention to shingle alignment, overlap, and nailing patterns. This is the most common approach.
- Vertical Layering: While less common, this technique can be used to create a visually interesting pattern. It requires precise measurement and cutting.
- Complex Roof Designs: I have handled projects with multiple slopes, dormers, and other architectural features, adapting my techniques to match the roof’s complexity. Each requires a different approach to cutting and overlapping to ensure a watertight seal.
Adaptability is key. Each project presents its own unique challenges, and I am proficient in adapting my approach to successfully navigate these complexities.
Q 5. What safety precautions do you take when working at heights?
Safety is my top priority when working at heights. My safety procedures include:
- Harness and Lanyard System: I always use a properly inspected harness and lanyard system, securely anchored to a stable point on the roof.
- Fall Protection Training: I’m certified in fall protection training, understanding the risks and how to mitigate them.
- Roof Access: Safe access to the roof is essential. I use appropriate ladders, scaffolding, and safety nets, adhering to all relevant safety regulations.
- Regular Inspection of Equipment: Before each project, I inspect all safety equipment, including harnesses, lanyards, and ladders, to ensure they are in perfect condition.
- Weather Conditions: I never work in unsafe weather conditions, such as high winds or heavy rain, postponing work until conditions are favorable.
Falling from a roof is a significant hazard, and I never compromise on safety procedures.
Q 6. How do you handle difficult shingle installations (e.g., valleys, hips, ridges)?
Challenging areas like valleys, hips, and ridges require specialized techniques:
- Valleys: Water flows heavily into valleys. I use proper flashing and carefully cut and overlap shingles to ensure a watertight seal. I often install a metal valley flashing underneath the shingles for added protection.
- Hips and Ridges: Hips and ridges require careful shingle cutting and placement to ensure a neat and weather-resistant finish. I use hip and ridge cap shingles designed for these areas.
For instance, on a complex hip roof, I might start by installing the flashing in the valleys, then work my way up the slopes towards the ridge, carefully cutting and overlapping each shingle. This method ensures the flashing works effectively and the shingles are perfectly aligned. It’s a more time consuming task but vital for long term roof performance.
Q 7. What are the common causes of shingle failure?
Shingle failure can stem from various causes:
- Age and Weathering: Over time, shingles degrade due to sun exposure, wind, rain, and temperature fluctuations. This leads to cracking, curling, and loss of granules.
- Poor Installation: Improper nailing, inadequate flashing, or incorrect overlapping can create vulnerabilities that lead to leaks.
- Wind Damage: Strong winds can tear off shingles, especially if they’re improperly installed or the roof is poorly designed.
- Algae and Moss Growth: These organisms can weaken shingles, compromising their ability to repel water.
- Improper Ventilation: Lack of adequate attic ventilation can trap moisture, leading to premature shingle deterioration.
Regular roof inspections can help identify potential problems early on, preventing costly repairs. For example, noticing curled shingles early indicates potential problems down the line, enabling proactive preventative measures.
Q 8. How do you identify and repair damaged shingles?
Identifying and repairing damaged shingles is crucial for maintaining a roof’s integrity. First, a thorough inspection is needed. I look for signs like cracks, curling, missing granules, or discoloration. The type of damage dictates the repair method. For example, a few cracked shingles near the ridge might just need replacement. I’d carefully remove the damaged shingles, ensuring I don’t dislodge adjacent ones. Then, I’d install new shingles, matching the existing ones as closely as possible, making sure to properly nail them and maintain consistent overlap. More extensive damage might require a larger section repair or even a full roof replacement.
Imagine a roof like a chain; a single weak link can compromise the whole structure. Addressing minor damage promptly prevents larger, more costly problems down the road.
- Cracked Shingles: Simple replacement is usually sufficient.
- Curled Shingles: Often caused by sun exposure, these require replacement.
- Missing Granules: Indicates wear and tear; sealant may help temporarily but replacement is the better solution.
Q 9. What is your experience with different flashing types and their installation?
Flashing is critical in preventing water leaks at vulnerable points on a roof, such as chimneys, valleys, and dormers. I have extensive experience with various types, including step flashing (used around chimneys and walls), counter flashing (overlaps step flashing), and valley flashing (used in valleys to guide water). Installation involves meticulous attention to detail. For example, with step flashing, each piece needs to overlap the previous one, creating a watertight seal. I always use high-quality materials and ensure proper sealant application to prevent leaks. I’ve also worked with different metals including galvanized steel, aluminum, and copper, each suited for specific applications and environments. Choosing the right flashing is crucial, as an improper installation can lead to costly water damage.
Think of flashing as the roof’s armor, protecting its weak points from water intrusion. Precise installation is key to its effectiveness.
Q 10. Describe your experience with ventilation systems in roofing.
Proper roof ventilation is essential to prevent moisture buildup, which can lead to mold, rot, and premature shingle failure. I’m experienced with various ventilation systems, including ridge vents, soffit vents, and gable vents. The ideal setup creates a balanced airflow, pulling hot, moist air out from under the shingles while drawing cool, dry air in through the soffits. This prevents attic temperatures from reaching extremes, extending the life of the roof and improving energy efficiency. I consider the size and layout of the attic when designing the ventilation system, ensuring adequate airflow for the entire area. Poor ventilation can lead to premature roof failure, so proper planning is critical.
Imagine your attic as a greenhouse; adequate ventilation is key to controlling temperature and humidity. A well-ventilated roof is a healthy roof.
Q 11. How do you ensure proper shingle overlap and alignment?
Proper shingle overlap and alignment are critical for a watertight roof. The manufacturer’s specifications dictate the required overlap; typically, it’s a few inches, varying by shingle type. I use a chalk line to establish straight lines, ensuring consistent alignment. Each shingle is carefully placed and nailed, ensuring proper coverage and preventing gaps. I consistently check for consistent alignment and overlap throughout the entire roofing process. Any inconsistencies can create vulnerabilities to water infiltration, potentially leading to significant damage.
Think of shingles as tiles in a mosaic. Proper overlap and alignment are essential to create a beautiful and functional whole. Consistent and precise application of shingles is crucial for preventing costly repairs down the road.
Q 12. Explain the importance of maintaining proper sealant application.
Proper sealant application is essential for a long-lasting, leak-free roof. Sealant is used in several critical areas, including around flashings, valleys, and penetrations like chimneys and vents. I use high-quality sealant, following the manufacturer’s instructions carefully. This involves ensuring the surfaces are clean and dry before application and applying the sealant evenly and generously, creating a continuous, watertight seal. A skimpy application or using the wrong type of sealant can compromise the roof’s integrity, leading to leaks and costly repairs.
Sealant acts as the glue that holds the various parts of the roofing system together. A proper application ensures a lasting and durable seal against the elements.
Q 13. What are the signs of a failing roof?
Several signs indicate a failing roof, some subtle, others obvious. These include missing or damaged shingles, curling or cupping shingles, granules accumulating in gutters, dark streaks on ceilings or walls (indicating leaks), sagging rooflines, and excessive moss or algae growth. I also look for signs of water stains inside the attic or on the ceiling. The presence of any of these signs warrants a thorough inspection, and potentially, prompt repair or replacement.
Ignoring these signs can lead to significant structural damage, making timely identification and repair crucial for cost-effectiveness and safety.
Q 14. How do you determine the appropriate number of shingles needed for a project?
Determining the number of shingles needed involves careful measurements and calculations. First, I determine the roof’s surface area, factoring in the slope and any complex shapes. Then, I refer to the shingle manufacturer’s specifications to determine the coverage area per shingle bundle. Accounting for waste (usually around 5-10%, depending on the complexity of the roof), I calculate the total number of bundles needed. Accurate measurements are vital to avoid shortages or excessive purchases.
Accurate calculation prevents unnecessary waste and delays. Knowing how to do this saves both time and money, and ultimately ensures the project is completed successfully.
Q 15. What tools and equipment are essential for shingle installation?
Shingle installation requires a range of specialized tools and equipment for optimal efficiency and a quality finish. These can be broadly categorized into safety gear, measuring and cutting tools, and installation tools.
- Safety Gear: This is paramount! It includes a safety harness and lanyard (especially for steep roofs), safety glasses, work gloves, steel-toed boots, and a hard hat. I always prioritize safety first, as a single slip can have severe consequences.
- Measuring and Cutting Tools: Accurate measurements are crucial. This includes a measuring tape, chalk line, utility knife, and a roofing hatchet or power cutter for precise cuts, particularly around vents and chimneys. A good quality speed square helps with accurate angles for complex cuts.
- Installation Tools: These are the tools that directly interact with the shingles. This includes a shingle shovel or magnetic shingle carrier for easy handling of bundles, a roofing nail gun (for speed and consistency), a hammer (for manual nailing in tricky spots or when the nail gun malfunctions), and a roofing nail puller for removing and repositioning improperly placed shingles. We also use a roofing underlayment stapler in most cases.
Beyond these core tools, having a quality ladder, appropriately sized for the roof height, is essential. And finally, a good strong work truck or van will make transporting supplies more efficient, and safer.
Career Expert Tips:
- Ace those interviews! Prepare effectively by reviewing the Top 50 Most Common Interview Questions on ResumeGemini.
- Navigate your job search with confidence! Explore a wide range of Career Tips on ResumeGemini. Learn about common challenges and recommendations to overcome them.
- Craft the perfect resume! Master the Art of Resume Writing with ResumeGemini’s guide. Showcase your unique qualifications and achievements effectively.
- Don’t miss out on holiday savings! Build your dream resume with ResumeGemini’s ATS optimized templates.
Q 16. How do you maintain your tools and equipment?
Maintaining tools and equipment is just as crucial as using them properly. Regular maintenance ensures longevity, performance, and safety. Think of it like this: a dull knife is dangerous and inefficient. It’s the same with roofing tools.
- Cleaning: After each job, I thoroughly clean all tools. This involves brushing off debris, removing any dried-on materials, and ensuring everything is free of dirt and dust. I lubricate any moving parts, like the nail gun, and protect them from rust with an appropriate spray.
- Sharpening: Blades like utility knives need regular sharpening to maintain their cutting ability. A dull blade increases the risk of slips and cuts and also affects the quality of the shingle cuts.
- Inspection: I routinely inspect tools for damage. Damaged tools – a cracked hard hat, bent ladder – should never be used, leading to potential safety hazards.
- Storage: Proper storage protects tools from damage and theft. I keep them in a secure, dry location to avoid rust and degradation.
This preventative maintenance minimizes downtime, keeps costs low, and ultimately safeguards myself and the job quality.
Q 17. Explain your experience with working with different roofing materials.
My experience encompasses a wide range of roofing materials, but I have considerable expertise in asphalt shingles, which remain the most common roofing material in residential construction. I’m also proficient with working with slate shingles, wood shakes, and tile (for both residential and commercial projects).
Asphalt shingles come in various styles and thicknesses, each with its own installation techniques. For example, three-tab shingles are easier to install than architectural shingles due to their simpler design, but architectural shingles typically offer greater durability and aesthetic appeal. Working with slate or tile requires a different approach entirely, involving heavier materials and specialized installation methods. I am experienced in both the nuances of their installation and the particular safety considerations needed.
Understanding the unique characteristics and installation methods of each material is vital for achieving a long-lasting, high-quality roof.
Q 18. Describe your understanding of local building codes and regulations.
Compliance with local building codes and regulations is non-negotiable. Before starting any project, I thoroughly review all applicable codes, permits, and regulations for the specific area. This includes understanding requirements related to things such as slope, underlayment, flashing, and ventilation.
For example, in some areas there are specific requirements for wind resistance in high wind zones. I always ensure my work meets or exceeds these standards to guarantee the roof’s longevity and structural integrity. I often work with local inspectors to clarify any ambiguities and ensure full compliance, to avoid delays, costly corrections, or disputes.
My knowledge ensures a smooth process, protects clients’ interests, and safeguards my professional reputation.
Q 19. How do you handle unexpected problems during a shingle installation?
Unexpected problems are part and parcel of roofing work. The key is to be prepared and have a systematic approach to problem-solving.
For example, if I discover rotted decking during installation, I’ll carefully assess the extent of the damage. This involves documenting the problem and immediately informing the client. I wouldn’t continue until this issue is resolved – typically, by replacing the damaged decking before proceeding with the shingle installation. Similarly, discovering a missing flashing component requires immediate attention and remediation to prevent leaks.
My approach is always to communicate transparently with the client, document the problem thoroughly, identify the best solution, and implement it in a timely and professional manner.
Q 20. What is your experience with working in different weather conditions?
Working in various weather conditions is a common aspect of this profession. Safety is always my primary concern. Extremes of temperature, rain, and wind all impact the efficiency and safety of the job.
Extreme heat demands frequent breaks, hydration, and use of appropriate sun protection. Working in rain requires careful planning and consideration of safety precautions to prevent slips and falls. High winds can make working at heights dangerous.
I always assess the weather forecast before starting work and adjust my schedule or halt the job entirely if conditions become unsafe. My experience allows me to adapt my approach to various conditions while prioritizing my safety and the project’s quality.
Q 21. How do you manage your time effectively on a roofing project?
Efficient time management is crucial for project success and client satisfaction. My approach involves a detailed planning phase, meticulous sequencing of tasks, and effective resource allocation.
Before starting a job, I create a detailed schedule, breaking down the project into smaller, manageable tasks. This includes estimating the time needed for each stage – from material delivery and preparation to the final cleanup. I also factor in potential delays due to unforeseen issues or weather changes. I communicate this schedule to the client, maintaining open lines of communication throughout the project.
Throughout the project, I regularly monitor progress, adjusting the schedule as needed while keeping the client updated. This proactive approach ensures the project is completed on time and within budget.
Q 22. How do you communicate with clients and other contractors?
Communication is paramount in construction. With clients, I prioritize clear, concise updates, using plain language to avoid technical jargon. I schedule regular meetings, providing photographic and written progress reports. I actively listen to concerns and address them promptly, fostering trust and transparency. With other contractors, I maintain open lines of communication, confirming schedules, coordinating deliveries, and resolving conflicts collaboratively. For example, I recently worked with an electrician on a complex roofing project. We had daily check-ins to ensure seamless integration of our work, avoiding delays and misunderstandings.
I believe in proactive communication; addressing potential issues before they become problems. This builds strong working relationships, critical for successful project completion.
Q 23. Describe your experience with project estimations and bidding.
Accurate project estimations are crucial. My process starts with a thorough site inspection, meticulously documenting roof measurements, shingle type, and existing conditions. I factor in material costs, labor hours, potential challenges (e.g., difficult roof access, steep slopes), and permit fees. I use established pricing models, adjusted based on experience and market rates. I prepare detailed, itemized bids, ensuring complete transparency with clients. For example, I recently estimated a complex re-roofing project. My bid included a breakdown of material costs (shingles, underlayment, flashing), labor costs (teaming, disposal, cleanup), and contingency for unforeseen issues. The client appreciated the transparency and detail.
I always aim for competitive yet profitable bids, considering both the project’s complexity and my desired profit margin. Regular review of market pricing keeps my bids current and competitive.
Q 24. How do you prioritize safety on the job site?
Safety is my top priority. Before any work begins, I conduct a thorough job site assessment, identifying potential hazards like uneven terrain, exposed wires, or fragile structures. I then implement a comprehensive safety plan, including appropriate personal protective equipment (PPE) for all team members—hard hats, safety harnesses, gloves, and eye protection. We conduct regular safety briefings, emphasizing safe work practices and emergency procedures. Fall protection systems are always employed for steep roofs, adhering to OSHA regulations. For example, on a recent job, I noticed a potential electrical hazard. I immediately halted the work, contacted the electrician, and ensured the hazard was resolved before resuming. Regular inspections and adherence to a rigorous safety plan ensure a safe work environment.
Q 25. What is your experience with roof inspections and assessments?
Roof inspections are crucial for accurate assessments. I employ a methodical approach, starting with a visual inspection from the ground, noting any obvious damage or deterioration. I then conduct a thorough on-roof assessment, carefully inspecting shingles, flashing, underlayment, and vents for signs of wear, tear, leaks, or damage. I use specialized tools, such as moisture meters, to detect hidden problems. Detailed photographic documentation is critical, providing clear evidence of the roof’s condition. This information informs my recommendations—whether repair, partial replacement, or a complete re-roofing is necessary. For example, a recent inspection revealed minor shingle damage but significant moisture intrusion in a specific area, suggesting underlying structural problems, which I documented and relayed to the client.
Q 26. How do you ensure the quality of your workmanship?
Quality workmanship is achieved through meticulous attention to detail at every stage. We use high-quality materials, adhering strictly to manufacturer’s specifications. Proper installation techniques are followed diligently – starting with underlayment installation, ensuring proper ventilation, and precise shingle placement. Regular quality checks are conducted throughout the process, ensuring that each step meets our rigorous standards. We strive for clean, efficient work, leaving the job site tidy upon completion. Client feedback is highly valued, and we address any concerns immediately. Our commitment to excellence ensures durable, long-lasting roofing systems.
Q 27. What are your strengths and weaknesses related to shingle installation?
My strengths lie in my meticulous attention to detail, efficient work practices, and ability to lead a team effectively. I have an excellent understanding of various shingle types and installation techniques, ensuring optimal performance. One weakness I’m actively addressing is delegating tasks more effectively. While I’m proficient at all aspects of shingle installation, learning to trust my team more and delegate tasks will enhance efficiency and allow me to focus on the bigger picture.
Q 28. Where do you see yourself in 5 years in the roofing industry?
In five years, I aim to be a respected and highly sought-after roofing professional, possibly leading a small crew or managing projects independently. I plan to enhance my knowledge of emerging roofing technologies and sustainable practices. Continuous professional development through courses and certifications will ensure I stay abreast of industry best practices. Ultimately, I aim to build a solid reputation for quality workmanship, exceptional customer service, and a commitment to safety.
Key Topics to Learn for Your Shingle Laying Interview
- Roofing Underlayment: Understanding different types, their applications, and proper installation techniques. This includes knowing when and why to use felt paper, synthetic underlayments, and ice and water shields.
- Shingle Selection and Preparation: Familiarize yourself with various shingle types (asphalt, composite, etc.), their features, and how to properly inspect and prepare them before installation. This includes understanding shingle sizing and square footage calculations.
- Starter Courses and Flashing: Mastering the techniques for installing starter courses and applying flashing around chimneys, vents, and valleys to prevent leaks. Understanding different flashing materials is crucial.
- Proper Nail Placement and Pattern: Learn the correct nailing techniques to ensure long-term durability and weather resistance. Knowing the appropriate nail spacing and pattern for different shingle types is essential.
- Ridge and Hip Installation: Understanding the intricacies of installing shingles on ridges and hips, ensuring a clean, watertight finish. This includes knowing the various methods and techniques for these areas.
- Safety Procedures and Regulations: Demonstrate your knowledge of OSHA safety regulations and best practices for working at heights, including proper use of safety equipment and fall protection.
- Troubleshooting and Problem-Solving: Be prepared to discuss common problems encountered during shingle installation (e.g., wind damage, improper flashing) and how you would effectively address them.
- Waste Management and Cleanup: Show that you understand the importance of proper waste disposal and job site cleanup to maintain a professional image and adhere to environmental regulations.
- Estimating and Project Planning: Knowing how to read blueprints, estimate material needs, and create a realistic project timeline demonstrates valuable skills to employers.
Next Steps
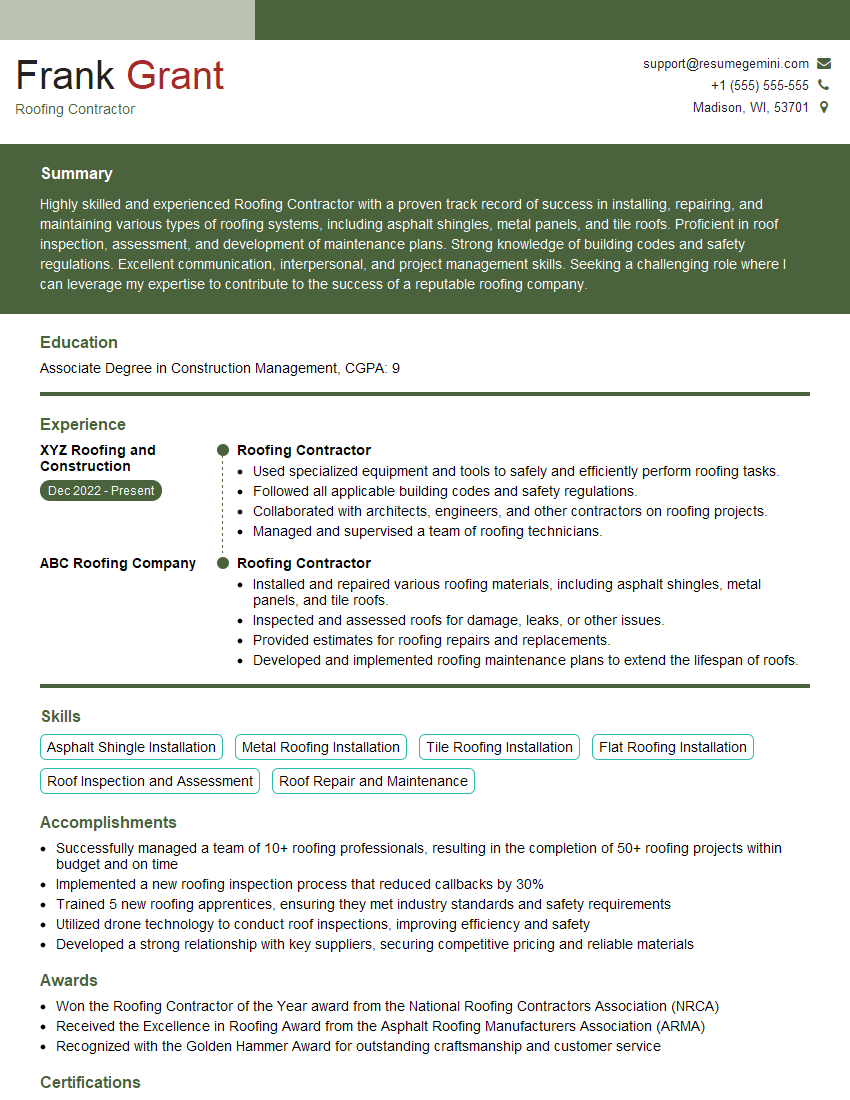
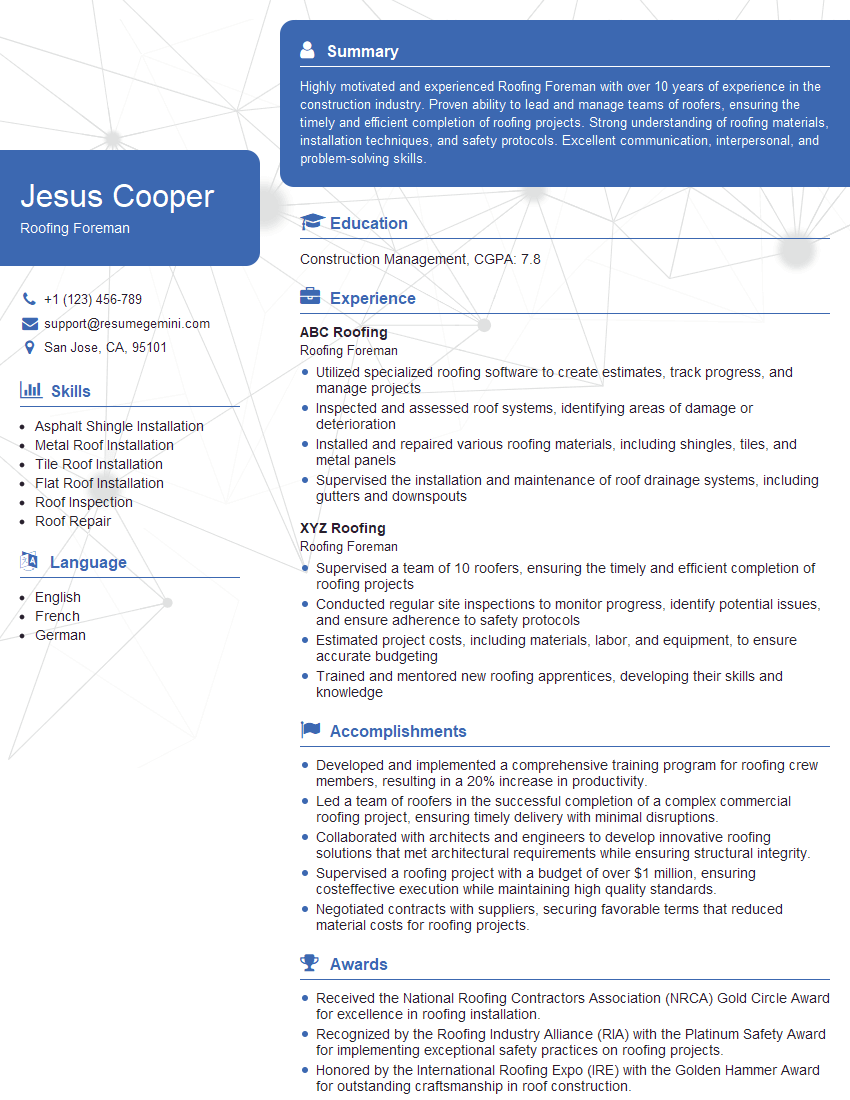
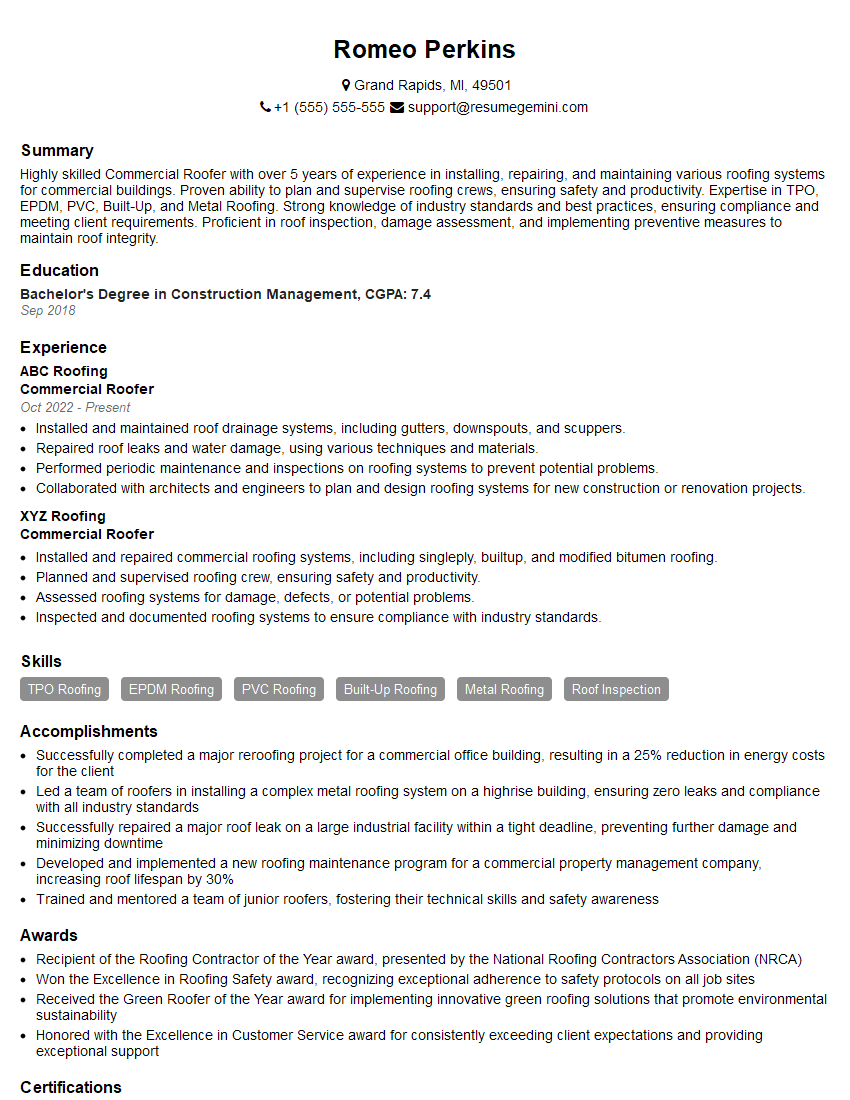
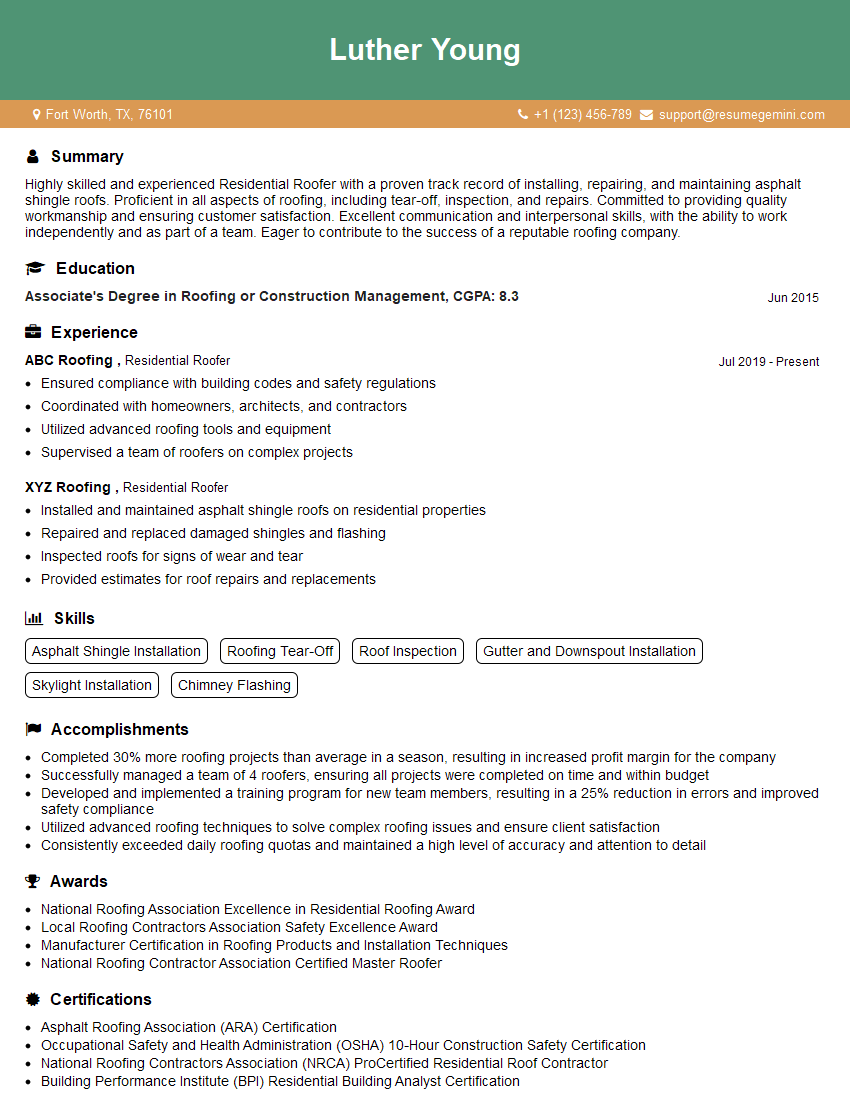
Mastering shingle laying opens doors to a rewarding career with opportunities for advancement and specialization. To maximize your job prospects, crafting a strong, ATS-friendly resume is critical. ResumeGemini is a trusted resource to help you build a professional resume that highlights your skills and experience effectively. Examples of resumes tailored specifically for shingle laying professionals are available to help guide you. Take the next step towards your dream job – build your best resume with ResumeGemini today!
Explore more articles
Users Rating of Our Blogs
Share Your Experience
We value your feedback! Please rate our content and share your thoughts (optional).
What Readers Say About Our Blog
This was kind of a unique content I found around the specialized skills. Very helpful questions and good detailed answers.
Very Helpful blog, thank you Interviewgemini team.
