Feeling uncertain about what to expect in your upcoming interview? We’ve got you covered! This blog highlights the most important Tissue Dissection and Processing interview questions and provides actionable advice to help you stand out as the ideal candidate. Let’s pave the way for your success.
Questions Asked in Tissue Dissection and Processing Interview
Q 1. Describe the process of tissue fixation.
Tissue fixation is the crucial first step in tissue processing, aiming to preserve the tissue’s structure and prevent degradation. It essentially ‘freezes’ the tissue in time, preventing autolysis (self-digestion) and putrefaction by bacterial action. This is achieved by using fixatives, which are chemical solutions that cross-link proteins and other cellular components, stabilizing the tissue’s architecture.
The most common fixative is formalin (formaldehyde), a 10% neutral buffered solution. Other fixatives include glutaraldehyde (for electron microscopy), Bouin’s solution (for preserving nuclear detail), and Zenker’s solution (excellent for fixation of connective tissues). The choice of fixative depends on the type of tissue and the intended downstream applications (e.g., histology, immunohistochemistry, electron microscopy).
The process typically involves immersing the tissue in a sufficient volume of fixative (at least 10-20 times the tissue volume) for a specific duration, which depends on the tissue size and the fixative used. For example, smaller biopsies might fix adequately in 6-12 hours, while larger specimens might require 24-48 hours or even longer. Agitation helps ensure uniform penetration of the fixative.
Improper fixation can lead to artifacts in subsequent processing steps, rendering the tissue unsuitable for accurate diagnosis and analysis. For instance, insufficient fixation can lead to tissue shrinkage and distortion, while over-fixation can make the tissue too hard for sectioning.
Q 2. Explain the importance of proper tissue orientation during embedding.
Proper tissue orientation during embedding is critical for obtaining meaningful sections and accurate diagnostic interpretations. Imagine trying to examine a slice of a layered cake – if the slice is cut incorrectly, you won’t be able to fully appreciate the layers’ arrangement. Similarly, incorrect tissue orientation can obscure important anatomical features or lead to misinterpretations.
For example, if you’re processing a biopsy of a lymph node, embedding it with the correct orientation (usually with the cortex facing up) allows you to visualize the different zones (cortex, paracortex, medulla) effectively during sectioning. In surgical specimens like a colon resection, the orientation should follow the longitudinal axis to ensure proper assessment of the bowel wall.
To achieve correct orientation, the tissue is carefully positioned in the mold before embedding. Cassettes are used for identification and orientation markings, ensuring the correct plane is cut during microtomy. Neglecting proper orientation can result in sections that are difficult to interpret, leading to inaccurate diagnoses and potentially impacting patient care.
Q 3. What are the different types of tissue embedding media and their applications?
Several embedding media are used in histology, each with specific properties and applications:
- Paraffin wax: The most common embedding medium. It’s relatively inexpensive, easy to use, and provides good support for sectioning thin (3-5 µm) sections for light microscopy. It is water-insoluble, so tissues need to be dehydrated before embedding.
- Agar: A plant-derived polysaccharide, often used for delicate tissues or those that need rapid processing. It provides good support and can be easily removed after sectioning.
- Gelatin: Another water-soluble medium, suitable for delicate tissues and cryostat sections. It’s often used for frozen sections due to its lower melting point.
- Resins (e.g., epoxy, acrylic): Used for electron microscopy, offering better ultra-thin sectioning capabilities than paraffin. These resins are harder and allow for much thinner sections (50-100 nm).
The choice of embedding medium is determined by the type of tissue, the desired section thickness, and the microscopic technique to be used. For example, paraffin wax is ideal for routine histological examination by light microscopy, while epoxy resins are preferred for ultrastructural studies by electron microscopy.
Q 4. Describe the steps involved in microtomy.
Microtomy is the process of sectioning the embedded tissue into thin slices (usually 3-5 µm thick for light microscopy) using a microtome. This allows for visualization of the tissue under a microscope. The process involves several steps:
- Mounting the block: The tissue block (embedded in paraffin or other medium) is securely mounted onto the microtome chuck.
- Trimming: The block is trimmed to a manageable size and shape, creating a smooth, flat surface for sectioning.
- Sectioning: The microtome’s knife is advanced across the block, cutting thin sections. This requires precise adjustments to the microtome settings, such as the thickness of the section and the angle of the knife.
- Collecting sections: The cut sections are floated on a water bath to flatten them, removing wrinkles and folds. They are then collected onto glass slides.
- Adhering sections to slides: The sections are adhered to the slides, often using an adhesive such as albumin.
- Drying sections: Slides are dried thoroughly to ensure the sections adhere firmly.
Proper technique and maintenance of the microtome are essential for obtaining high-quality, even sections. Poorly cut sections can hinder downstream processes such as staining and analysis.
Q 5. How do you troubleshoot common microtomy issues such as chatter or compression?
Troubleshooting microtomy issues requires systematic investigation. Here’s how to address common problems:
- Chatter (vibrations leading to irregular sections):
- Check the knife sharpness and replace if necessary. Dull knives are a primary cause.
- Ensure the block is securely mounted and the chuck is clean.
- Adjust the cutting angle and speed. Sometimes a slightly different angle can reduce vibration.
- Check for loose parts or vibrations in the microtome itself.
- Compression (sections are compressed and distorted):
- Reduce the section thickness. Thicker sections are more prone to compression.
- Use a sharper knife. A dull knife leads to increased friction and compression.
- Adjust the clearance angle between the knife and the block. A smaller angle can help.
- Check the knife’s alignment. Misalignment can lead to uneven pressure and compression.
- Ensure the block is not too hard or brittle. If so, consider a different processing method or a different knife.
Careful observation, systematic adjustment of settings, and proper maintenance of the microtome are key to resolving these issues.
Q 6. Explain the principle of H&E staining.
Hematoxylin and eosin (H&E) staining is the most common staining method in histology. It’s a differential stain, meaning it stains different tissue components with different colors, facilitating visualization of cellular structures.
Hematoxylin is a basic dye that stains acidic components (like DNA and RNA in the nucleus) a bluish-purple color. Eosin is an acidic dye that stains basic components (like cytoplasm and extracellular matrix) a pinkish-red color.
The process involves deparaffinizing the tissue section, rehydrating it, then staining with hematoxylin followed by eosin. Finally, the section is dehydrated and mounted with a coverslip. This staining procedure allows for the identification of different cellular structures, facilitating tissue diagnosis.
The combination of these two dyes highlights the nuclei (blue) and the cytoplasm (pink), providing a clear contrast that enables pathologists to identify different cell types and tissue structures. For example, the intensely stained nuclei of lymphocytes stand out against the lighter-stained cytoplasm.
Q 7. What are the different types of special stains and their applications?
Many special stains are available, targeting specific tissue components or microorganisms. Some examples:
- Periodic acid-Schiff (PAS): Stains carbohydrates (glycogen, mucus) magenta, useful for identifying fungal infections or certain tumors.
- Masson’s trichrome: Differentiates collagen (green), muscle (red), and nuclei (black), helpful in studying connective tissue diseases.
- Gram stain: Differentiates bacteria into Gram-positive (purple) and Gram-negative (pink), crucial for bacterial identification in infectious diseases.
- Silver stain: Stains various structures, including nerve fibers (black), microorganisms, and amyloid deposits (black), used in neurology and the study of certain degenerative diseases.
- Immunohistochemical (IHC) stains: Employ antibodies to detect specific proteins, crucial for identifying certain tumor types or diagnosing infectious diseases.
The choice of special stain depends on the specific diagnostic question. For instance, PAS staining might be used to look for glycogen storage diseases, while IHC staining might be used to identify the presence of specific hormone receptors in breast cancer.
Q 8. Describe the process of immunohistochemistry.
Immunohistochemistry (IHC) is a powerful laboratory technique used to visualize the localization of specific proteins or antigens within tissue sections. Think of it like highlighting specific molecules within a complex cellular neighborhood. It combines histology (the study of tissue structure) with immunology (the study of the immune system) to reveal the presence and distribution of target molecules. The process generally involves several key steps:
- Tissue Section Preparation: This includes proper tissue fixation, processing (often paraffin embedding), sectioning, and mounting onto slides.
- Antigen Retrieval: This step is crucial for exposing the target antigen, often masked by fixation processes. Methods include heat-induced epitope retrieval (HIER) or enzyme-induced epitope retrieval (EIER).
- Blocking: This step prevents non-specific antibody binding to reduce background staining. Common blocking agents include normal serum or protein solutions.
- Primary Antibody Incubation: The tissue section is incubated with a primary antibody specifically designed to bind to the target antigen. This antibody is akin to a key that only fits the specific protein ‘lock’ we are interested in.
- Secondary Antibody Incubation: A secondary antibody, conjugated to an enzyme (e.g., horseradish peroxidase or alkaline phosphatase) or a fluorophore, is added. This secondary antibody binds to the primary antibody, amplifying the signal.
- Chromogen/Fluorophore Detection: The enzyme-conjugated secondary antibody reacts with a chromogen (e.g., DAB, producing a brown precipitate) or a fluorophore (e.g., FITC, producing fluorescence) to produce a visible signal at the location of the target antigen.
- Counterstaining: A counterstain (e.g., hematoxylin) is often used to visualize the tissue architecture and provide contrast.
- Mounting and Microscopy: Finally, the stained slide is mounted with a coverslip and viewed under a microscope.
For example, IHC can be used to detect the presence of specific cancer markers in a biopsy sample, aiding in diagnosis and prognosis. The choice of antibody and the optimization of each step are critical for achieving reliable and meaningful results.
Q 9. Explain the importance of quality control in tissue processing.
Quality control in tissue processing is paramount to ensure the accuracy and reliability of histological and immunohistochemical results. Imagine building a house – if the foundation is weak, the whole structure is compromised. Similarly, flaws in tissue processing can lead to misdiagnosis and flawed research.
- Reagent Quality: Using high-quality fixatives, embedding media, and other reagents is fundamental. Regular testing and verification of reagent quality and expiry dates are vital.
- Equipment Calibration and Maintenance: Microtomes, tissue processors, and staining equipment must be meticulously calibrated and maintained according to manufacturer instructions. Regular checks and preventative maintenance avoid unexpected breakdowns and prevent artefacts.
- Processing Parameters: Optimal processing parameters (e.g., fixation time, paraffin infiltration time) must be strictly followed and recorded for each tissue type. Deviations can introduce artefacts and compromise staining quality.
- Positive and Negative Controls: Inclusion of positive and negative controls in every batch of processing and staining is essential for validating the quality of reagents and procedures. This step acts as a benchmark and flags any issues early.
- Technician Training and Proficiency: Well-trained and experienced technicians are crucial for consistent quality. Regular proficiency testing and continuing education ensures that proper procedures are followed.
- Record Keeping: Detailed records of all processing steps, reagents used, and any deviations from standard procedures are essential for traceability and quality assurance. This allows for troubleshooting and improvements.
Failing to adhere to quality control measures can result in artefacts such as tissue shrinkage, uneven staining, and loss of antigenicity. These artefacts can lead to misinterpretation of results with significant clinical or research consequences.
Q 10. How do you identify and address artifacts in histological sections?
Artifacts in histological sections are imperfections or alterations that occur during tissue processing or staining. They can significantly affect the interpretation of results and lead to misdiagnosis if not identified and addressed. Think of them as unwanted noise in an image that obscures the true signal.
Identification of artifacts often requires experience and careful microscopic examination. Common artifacts include:
- Fixation Artifacts: Poor fixation can lead to tissue shrinkage, distortion, and loss of cellular detail. Identifying this often involves comparing the tissue section to known healthy tissue.
- Processing Artifacts: Uneven processing can lead to differential staining intensity and tissue damage. For instance, prolonged processing times might cause tissue hardening.
- Sectioning Artifacts: Chatter marks (vibrations during sectioning), compression artifacts (too much pressure on the microtome), and knife marks can compromise the quality of sections.
- Staining Artifacts: Precipitation of stain, uneven staining, and background staining are common staining artifacts that can be mitigated by optimizing staining protocols and using appropriate controls.
Addressing artifacts involves careful attention to detail in every step of the process. For example, ensuring proper fixation, using appropriate processing parameters, optimizing staining protocols, and using sharp microtome blades can minimize artifacts. If artifacts are present, it might be necessary to repeat the process with improvements based on the identified source of error. In some cases, the artifact might be unavoidable, and it is important to note its presence and impact when interpreting the results.
Q 11. What are the safety precautions involved in handling tissue samples and chemicals?
Handling tissue samples and chemicals in a histology lab requires strict adherence to safety protocols to protect both the personnel and the environment. Safety is not just a guideline; it’s a critical component of responsible laboratory practice.
- Personal Protective Equipment (PPE): Always wear appropriate PPE, including lab coats, gloves, eye protection, and face masks, when handling tissue samples and chemicals.
- Biosafety Precautions: Treat all tissue samples as potentially infectious and follow appropriate biosafety guidelines. This includes proper handling of sharps and using biological safety cabinets when necessary.
- Chemical Safety: Handle all chemicals with care, following the manufacturer’s instructions. This includes using appropriate ventilation, wearing appropriate gloves, and avoiding contact with skin and eyes.
- Waste Disposal: Dispose of all tissue waste and chemicals according to local and national regulations. This often involves separate disposal pathways for different types of waste.
- Sharps Safety: Handle sharp instruments such as scalpels and microtome blades with utmost care, using appropriate containers for disposal.
- Emergency Procedures: Be aware of the location and proper use of safety showers, eye wash stations, and fire extinguishers.
- Training and Awareness: Regular safety training and awareness sessions are essential for all personnel working in a histology lab.
Ignoring safety protocols can lead to serious injuries, contamination, and environmental damage. Regular safety audits and adherence to established safety procedures are critical in maintaining a safe working environment.
Q 12. Explain the difference between paraffin and frozen sectioning techniques.
Paraffin and frozen sectioning are two common methods for preparing tissue samples for microscopic examination, each with its own advantages and disadvantages. The choice depends on the specific application and the type of analysis required.
Paraffin Sectioning:
- Process: Tissue is fixed, dehydrated, and infiltrated with paraffin wax before sectioning with a microtome. This produces thin, high-quality sections that are well-suited for a wide range of histological and immunohistochemical stains.
- Advantages: Produces high-quality, permanent sections; allows for multiple staining techniques.
- Disadvantages: Time-consuming process; can result in antigen loss or alteration due to heat and chemical treatments; unsuitable for certain enzymes and proteins.
Frozen Sectioning:
- Process: Tissue is rapidly frozen and sectioned using a cryostat. This method is much quicker and preserves certain antigens better.
- Advantages: Rapid processing; preserves tissue architecture and antigenicity well; useful for intraoperative consultation (rapid diagnosis during surgery).
- Disadvantages: Sections are of lower quality than paraffin sections; lower resolution; special staining techniques are required; not suitable for long-term storage.
In essence, paraffin sectioning is like taking a photograph with high resolution and detail, perfect for long-term preservation. Frozen sectioning is like a quick sketch; less detailed but perfect for immediate examination.
Q 13. Describe your experience with different types of microtomes.
My experience encompasses a variety of microtomes, from rotary microtomes for routine paraffin sectioning to cryostats for frozen sections. Each type has its own set of features and applications.
- Rotary Microtomes: I’m proficient in operating and maintaining both manual and motorized rotary microtomes. These are the workhorses of histology labs, providing consistent and precise sections for paraffin-embedded tissues. I have experience with different manufacturers (e.g., Leica, Thermo Fisher) and understand the nuances of blade angle, feed rate adjustment, and section thickness control.
- Cryostats: I have extensive experience with cryostats, utilizing these instruments for generating frozen sections. I’m skilled in handling various tissue types and optimizing settings for different applications, including immunofluorescence and rapid intraoperative diagnoses. Proper temperature control and maintaining a clean cryochamber are key elements I carefully manage.
- Ultramicrotomes: While less frequently used in my routine work, I possess experience with ultramicrotomes for producing extremely thin sections (nanometer range) for electron microscopy. This requires specialized training and meticulous technique for proper sectioning.
My understanding extends beyond simple operation. I can troubleshoot common problems such as blade chatter, section compression, and ribboning issues. Proper maintenance, including routine cleaning, lubrication, and blade sharpening, is critical for optimizing performance and longevity of these valuable instruments.
Q 14. How do you maintain and troubleshoot a tissue processor?
Maintaining and troubleshooting a tissue processor is essential for ensuring the quality of processed tissues and the longevity of the equipment. This is akin to regularly servicing a car to avoid major repairs.
Maintenance:
- Regular Cleaning: Cleaning the tissue processor, particularly the processing chambers and reagent containers, is crucial to prevent cross-contamination and maintain optimal performance. This involves removing residue, drying components, and ensuring proper sealing.
- Reagent Monitoring: Regularly checking and replacing reagents according to established protocols is critical to avoid degradation and potential artefacts. Expiry dates and reagent quality must be carefully monitored.
- Calibration: Periodic calibration of the processor’s parameters (e.g., temperature, time) ensures consistent processing and prevents inconsistencies in tissue quality.
- Preventive Maintenance: Following the manufacturer’s recommendations for scheduled maintenance (lubrication, filter changes) helps avoid breakdowns and prolongs the lifespan of the equipment.
Troubleshooting:
- Malfunctioning Heating System: This can be due to faulty heating elements or thermostats. Troubleshooting might involve inspecting heating elements, checking thermostat settings and circuitry, or contacting a service technician.
- Reagent Leaks: This can result from loose connections, cracked containers, or damaged seals. Addressing leaks involves carefully inspecting all connections and containers, tightening fittings, and replacing damaged parts.
- Processing Time Errors: This could indicate malfunctioning timers or control circuits. Diagnostics may involve checking timer settings, inspecting electrical wiring and connections, and checking the programming.
- Uneven Processing: This could suggest an issue with reagent circulation, pump function, or temperature uniformity. Diagnosing this problem often requires inspecting the pump mechanism, ensuring proper reagent flow, and calibrating temperature sensors.
Proper maintenance and troubleshooting skills prevent costly downtime and ensure that the tissue processor operates reliably, producing high-quality processed tissues. In case of complex issues, contacting a qualified service technician is essential.
Q 15. What is your experience with automated tissue staining systems?
My experience with automated tissue staining systems is extensive. I’ve worked with several leading systems, including Leica BOND, Ventana BenchMark ULTRA, and Dako Autostainer Link 48. These systems significantly improve efficiency and standardization in the staining process. For example, the Leica BOND system’s automated reagent dispensing and precise timing eliminates human error and ensures consistency across batches. I’m proficient in operating, maintaining, and troubleshooting these systems, including managing software parameters to optimize staining protocols for specific applications, like immunohistochemistry (IHC) and in situ hybridization (ISH). I understand the importance of preventative maintenance to minimize downtime and maximize the lifespan of these valuable instruments. Furthermore, I am familiar with quality control measures specific to automated stainers, such as running positive and negative controls alongside patient samples to validate staining quality and ensuring proper calibration and cleaning protocols are followed.
Career Expert Tips:
- Ace those interviews! Prepare effectively by reviewing the Top 50 Most Common Interview Questions on ResumeGemini.
- Navigate your job search with confidence! Explore a wide range of Career Tips on ResumeGemini. Learn about common challenges and recommendations to overcome them.
- Craft the perfect resume! Master the Art of Resume Writing with ResumeGemini’s guide. Showcase your unique qualifications and achievements effectively.
- Don’t miss out on holiday savings! Build your dream resume with ResumeGemini’s ATS optimized templates.
Q 16. Describe your experience with digital pathology.
My experience with digital pathology encompasses both image acquisition and analysis. I’m skilled in using whole slide scanners (e.g., 3DHISTECH Pannoramic, Leica Aperio) to create digital representations of tissue sections. This involves optimizing scanning parameters for resolution, color balance, and focus to ensure high-quality digital images. Beyond scanning, I’m adept at using digital pathology software for image analysis, including quantitative image analysis techniques to measure features like cell density, nuclear size, and staining intensity. This is crucial for research and diagnostic applications. For instance, I’ve used image analysis software to assess tumor microenvironment characteristics in oncology research projects. The transition to digital pathology significantly improves accessibility to slides, allows for remote consultations, and enables collaborative review with specialists, ultimately improving diagnostic accuracy and efficiency.
Q 17. How do you ensure the accurate labeling and tracking of tissue samples?
Accurate labeling and tracking of tissue samples are paramount to maintain data integrity and patient safety. Our lab employs a rigorous system combining manual and automated tracking. Each sample receives a unique, barcoded identifier upon accessioning. This barcode is then tracked throughout the entire processing workflow using laboratory information management systems (LIMS). LIMS integrates with our automated systems, ensuring seamless transfer of information. For manual tracking, we utilize standardized forms and meticulous documentation at each step. We regularly conduct audits to verify the accuracy of our tracking system, identifying and rectifying any discrepancies promptly. Imagine a scenario where a patient’s biopsy is mislabeled—the consequences could be disastrous. Our multi-layered approach to labeling and tracking minimizes this risk significantly. The use of LIMS greatly reduces the possibility of human error, improving the overall reliability and trustworthiness of our processes.
Q 18. Explain your understanding of regulatory compliance in a histology lab.
Regulatory compliance in a histology lab is critical. We adhere strictly to regulations such as CLIA (Clinical Laboratory Improvement Amendments), CAP (College of American Pathologists) accreditation standards, and HIPAA (Health Insurance Portability and Accountability Act) guidelines. This involves maintaining detailed records, implementing robust quality control measures, ensuring proper specimen handling, and maintaining the confidentiality of patient information. We participate in proficiency testing programs to demonstrate competency, and we regularly review and update our Standard Operating Procedures (SOPs) to reflect the latest regulatory changes. For example, maintaining meticulous records of instrument calibration, reagent lot numbers, and personnel training is crucial for CLIA compliance. Non-compliance can lead to significant penalties, including fines and loss of accreditation; therefore, a deep understanding and strict adherence to these guidelines are non-negotiable.
Q 19. Describe your experience with quality assurance in tissue processing.
Quality assurance (QA) in tissue processing is a continuous process aimed at ensuring the reliability and accuracy of our results. We implement a multi-faceted QA program that includes regular checks on instrument performance, reagent quality, and technician competency. This involves routine maintenance and calibration of equipment, along with running quality control slides alongside patient samples. We also perform periodic audits of our SOPs, checking for consistency in our techniques and procedures. Microscopic evaluation of stained tissues by experienced histotechnologists forms a vital part of QA. We monitor staining intensity, tissue morphology, and the absence of artifacts. Furthermore, we have a system for managing and addressing any complaints or deviations from expected quality. A robust QA system is fundamental for producing high-quality histological results that are critical for accurate diagnoses and research findings.
Q 20. How would you handle a situation where a tissue sample is damaged or lost?
The damage or loss of a tissue sample is a serious event. Our first step would be to initiate an immediate investigation to determine the cause of the damage or loss. This involves reviewing all documentation associated with the sample, from its accessioning to its final processing steps. We would contact the referring physician or clinician to inform them of the situation and discuss options for obtaining a replacement sample, if possible. Depending on the circumstances, we may need to launch a formal incident report outlining the details of the event and the corrective actions taken. We maintain a detailed log of such events for quality improvement purposes and to identify areas where our processes could be improved to prevent future occurrences. Transparency and prompt communication are vital in such situations to maintain trust and ensure the quality of patient care is not compromised.
Q 21. Explain your understanding of different types of tissue fixatives and their optimal usage.
Different tissue fixatives are used depending on the intended application and the type of tissue being processed. Formaldehyde (formalin) is the most common fixative, excellent for preserving tissue morphology. However, its use is becoming increasingly restricted due to its carcinogenic properties. Formalin-free alternatives include buffered glutaraldehyde, which is ideal for electron microscopy, and zinc-based fixatives, known for better antigen preservation for immunohistochemistry. The choice of fixative impacts the quality of downstream analyses. For example, using formalin for electron microscopy would damage the ultrastructure of the cells. Optimizing fixation involves considering factors like the size and type of tissue, the desired preservation of morphology and antigens, and the intended downstream analysis. Each fixative has its optimal concentration, temperature, and immersion time for best results. Choosing the correct fixative and following appropriate fixation protocols are vital for high-quality histological preparations.
Q 22. What is your experience with cryostat sectioning?
Cryostat sectioning is a crucial technique in histology for preparing extremely thin sections of frozen tissue. Unlike paraffin embedding, which requires time-consuming processing steps, cryostat sectioning allows for rapid preparation, preserving delicate tissue antigens and cellular structures. This is particularly important for immunofluorescence studies or when rapid diagnosis is needed, such as in frozen section biopsies during surgery.
My experience encompasses the entire process: from optimal tissue freezing using isopentane cooled by liquid nitrogen to achieve rapid freezing and minimizing ice crystal formation, to microtome sectioning using a cryostat at precise thicknesses (typically 4-10µm), and finally, mounting the sections onto slides for staining or immunohistochemistry. I’m proficient in troubleshooting common issues such as section compression, chatter, or ice crystal artifacts, adjusting parameters like freezing temperature, sectioning speed, and blade angle to optimize section quality. For example, I once successfully rescued a particularly difficult sample of brain tissue by employing a lower freezing temperature and using a new cryostat blade, resulting in high-quality sections for the subsequent immunofluorescence analysis.
Q 23. Describe the process of preparing tissue for electron microscopy.
Preparing tissue for electron microscopy (EM) is a meticulous process requiring precise steps to preserve ultrastructural details. The goal is to achieve optimal preservation of cellular components and their relationships without introducing artifacts. It’s a significantly more complex procedure than preparing tissue for light microscopy.
The process typically involves several key stages:
- Fixation: This step is crucial for preserving the tissue’s structure and preventing degradation. Glutaraldehyde is often used as the primary fixative, cross-linking proteins and stabilizing the cellular components. Osmium tetroxide is frequently employed as a secondary fixative to enhance membrane contrast.
- Dehydration: The tissue is gradually dehydrated through a graded series of ethanol solutions, removing water and replacing it with a solvent compatible with the embedding medium. This step is critical to prevent ice crystal formation during the next step.
- Infiltration and Embedding: The dehydrated tissue is infiltrated with a resin, typically epoxy resin (like Spurr’s resin or Epon), which hardens to create a solid block suitable for ultramicrotomy. This process often requires several hours to days, depending on the tissue type and resin used.
- Ultramicrotomy: Ultrathin sections (typically 60-90 nm) are cut using an ultramicrotome equipped with a diamond knife. These sections are then collected on copper grids for staining and imaging.
- Staining: Heavy metal stains like uranyl acetate and lead citrate are used to enhance contrast and visibility of the ultrastructure under the electron microscope.
For example, while processing cardiac muscle for EM to study mitochondrial morphology, precise control of fixation time and concentration was crucial to avoid artifacts. Insufficient fixation could lead to cell damage, while over-fixation could introduce structural changes. Careful optimization was needed to visualize the mitochondria clearly and accurately.
Q 24. How do you ensure the proper storage and retrieval of tissue blocks?
Proper storage and retrieval of tissue blocks are paramount to maintaining their integrity and usability. Improper handling can lead to tissue degradation, compromising the quality of downstream analyses.
We adhere to strict protocols for both storage and retrieval, using a combination of methods. Firstly, all tissue blocks are meticulously labeled with unique identifiers (patient ID, date, tissue type, etc.). This ensures proper traceability. We use a well-organized system of block storage containers usually separated by tissue type and date, minimizing chances of mixing up specimens. These are stored in freezers at optimal temperatures (-80°C for long-term storage, -20°C for shorter-term), reducing the rate of enzymatic degradation. A comprehensive and readily accessible database tracks the location and history of every tissue block. This database acts as a critical tool when retrieving a specific block for future analysis, eliminating time-consuming searches. Retrieval follows a strict first-in, first-out system, to ensure the oldest blocks are used first to avoid degradation.
For instance, we recently located a block needed for a critical research study that had been archived for five years. The database allowed us to identify its exact location within minutes, maintaining the integrity of the tissue and the research project timeline.
Q 25. Explain your understanding of different types of tissue processing protocols.
Several tissue processing protocols exist, each with its advantages and disadvantages, depending on the intended application. The choice of protocol often depends on the type of tissue, the preservation of specific antigens, and the downstream applications (e.g., histology, immunohistochemistry, molecular studies).
Common protocols include:
- Routine paraffin embedding: This is the most common method used for light microscopy. It involves fixation, dehydration, clearing, and paraffin wax infiltration, followed by embedding and sectioning. It’s a reliable method for long-term storage.
- Frozen sectioning: As previously discussed, this technique is used for rapid processing of tissue, preserving tissue morphology, preserving antigenicity for immunohistochemistry and immunofluorescence, but it’s not ideal for long-term storage.
- Microwave processing: This accelerated method reduces processing time, but the high temperature could compromise the morphology of some tissues.
- Automated tissue processors: These machines automate many aspects of tissue processing, ensuring consistency and reducing manual labor, increasing throughput and efficiency.
For example, when processing samples for immunohistochemistry, we might adjust the fixation time and antigen retrieval methods to optimize the preservation and detection of specific proteins. In other cases, we need to prioritize the speed of processing, for instance in cases requiring rapid diagnosis in a surgical setting, opting for the rapid freezing and sectioning of the tissue.
Q 26. How do you handle urgent tissue processing requests?
Handling urgent tissue processing requests demands prioritization and efficient workflow management. The key is to balance speed with accuracy to prevent errors. I typically follow these steps:
- Immediate assessment: Quickly evaluate the request to understand the urgency and specific needs.
- Prioritization: Adjust the existing workload to allocate resources for urgent requests. This often involves rearranging the processing schedule.
- Streamlined processing: Use the fastest appropriate method to avoid delays; in some cases, this could mean opting for frozen sectioning instead of paraffin embedding.
- Clear communication: Keep the requesting party informed about the progress and estimated completion time.
- Double-checking: Ensure the accuracy of labeling and processing parameters to avoid errors with serious consequences.
In one instance, we received an urgent request for frozen section analysis during a critical surgical procedure. We expedited the processing, successfully delivering the sections to the pathologist within 20 minutes, directly influencing the surgical strategy.
Q 27. What are your experiences with different types of microscopes?
My experience encompasses various microscope types, each suited for different applications and providing unique insights into tissue structure.
- Light microscopes: I’m proficient in using bright-field, phase-contrast, and fluorescence microscopes for routine histological examination, immunohistochemistry, and immunofluorescence studies.
- Electron microscopes: As mentioned earlier, I have experience with both transmission electron microscopy (TEM) and scanning electron microscopy (SEM) for high-resolution imaging of ultrastructural details.
- Confocal microscopes: I’ve used confocal microscopy to obtain high-resolution optical sections of thick tissues, reducing background noise and improving image clarity, particularly useful in visualizing 3D structures.
The choice of microscope depends entirely on the research question and the desired level of detail. For example, while a light microscope suffices for visualizing cell morphology and staining patterns, TEM is crucial for studying subcellular organelles and their interactions at a nanometer scale. Confocal microscopy allows imaging deeper into tissues to visualize complex 3D structures that would be otherwise difficult to observe using traditional light microscopy.
Q 28. Describe your experience with tissue digestion techniques.
Tissue digestion techniques are employed to isolate specific cell populations from complex tissues. This is often a crucial step before flow cytometry, cell sorting, or other downstream molecular analyses.
Several methods are available, each with specific strengths and limitations:
- Enzymatic digestion: This involves using enzymes like collagenase, trypsin, or hyaluronidase to break down the extracellular matrix and separate cells. Careful optimization of enzyme concentration and digestion time is crucial to avoid damaging the cells.
- Mechanical digestion: This involves physically disrupting the tissue using techniques like mincing, homogenization, or filtration. This is often used in combination with enzymatic digestion.
- Chemical digestion: This method uses chemicals to break down the tissue. This is less frequently used compared to enzymatic methods because it can damage cellular structures.
The choice of digestion method is determined by the type of tissue and the target cell population. For example, I have used collagenase digestion to isolate lymphocytes from lymph node tissue. Optimization involved fine-tuning the enzyme concentration and incubation time to achieve a single-cell suspension with high cell viability. I have also used mechanical homogenization in conjunction with enzymatic digestion for isolating hepatocytes from liver tissue.
Key Topics to Learn for Tissue Dissection and Processing Interview
- Microscopic Anatomy and Histology: Understanding tissue structures at a cellular level is crucial. Be prepared to discuss different tissue types and their characteristics.
- Dissection Techniques: Mastering various dissection methods, including gross dissection and microdissection, is essential. Practice describing your experience and proficiency with different tools and approaches.
- Specimen Handling and Preservation: Discuss the importance of proper fixation, embedding, and storage techniques to maintain tissue integrity and prevent degradation.
- Tissue Processing for Microscopy: Explain the steps involved in preparing tissues for histological examination, including dehydration, clearing, and embedding in paraffin wax or other embedding media.
- Quality Control and Troubleshooting: Be prepared to discuss common challenges encountered during tissue processing and how you would address them, ensuring high-quality samples for analysis.
- Safety Procedures and Regulations: Demonstrate your knowledge of laboratory safety protocols and adherence to relevant regulations regarding handling biological specimens.
- Instrumentation and Equipment: Familiarize yourself with the various instruments and equipment used in tissue dissection and processing, highlighting your experience with specific technologies.
- Data Analysis and Interpretation: Discuss how you would interpret results obtained from processed tissues, highlighting your ability to connect microscopic findings with macroscopic observations.
Next Steps
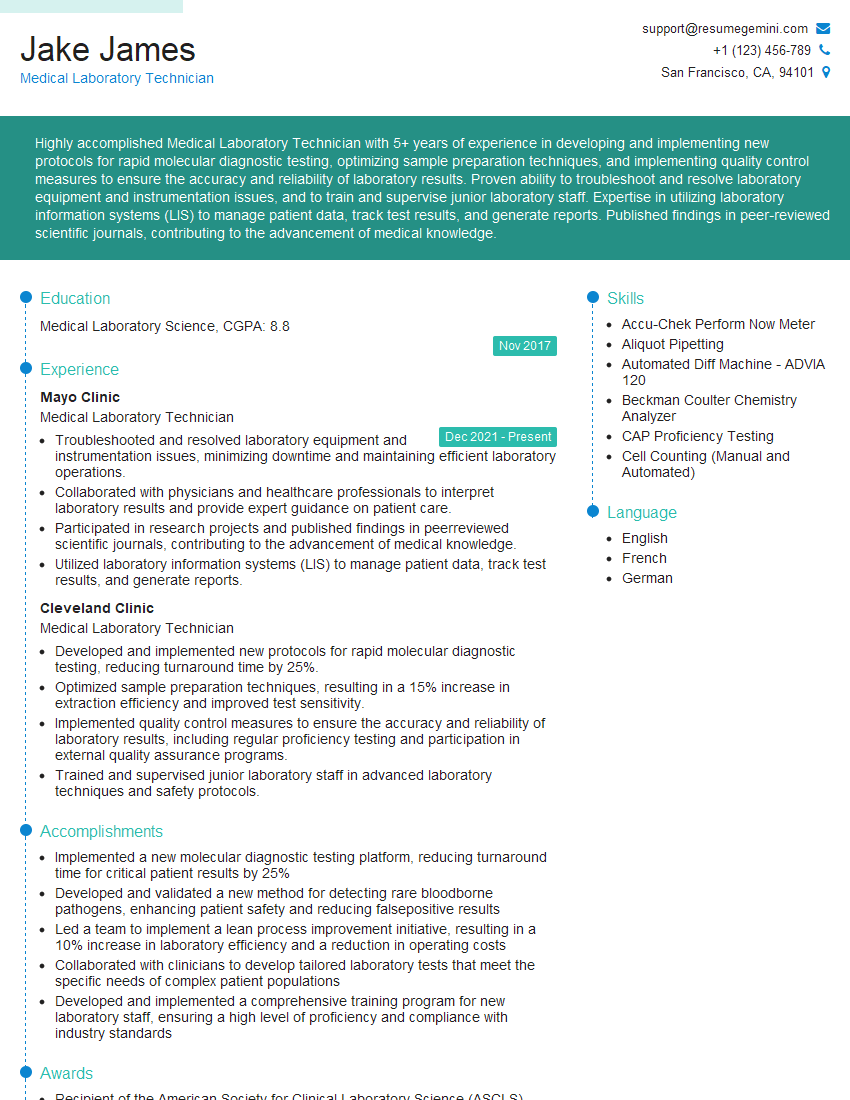
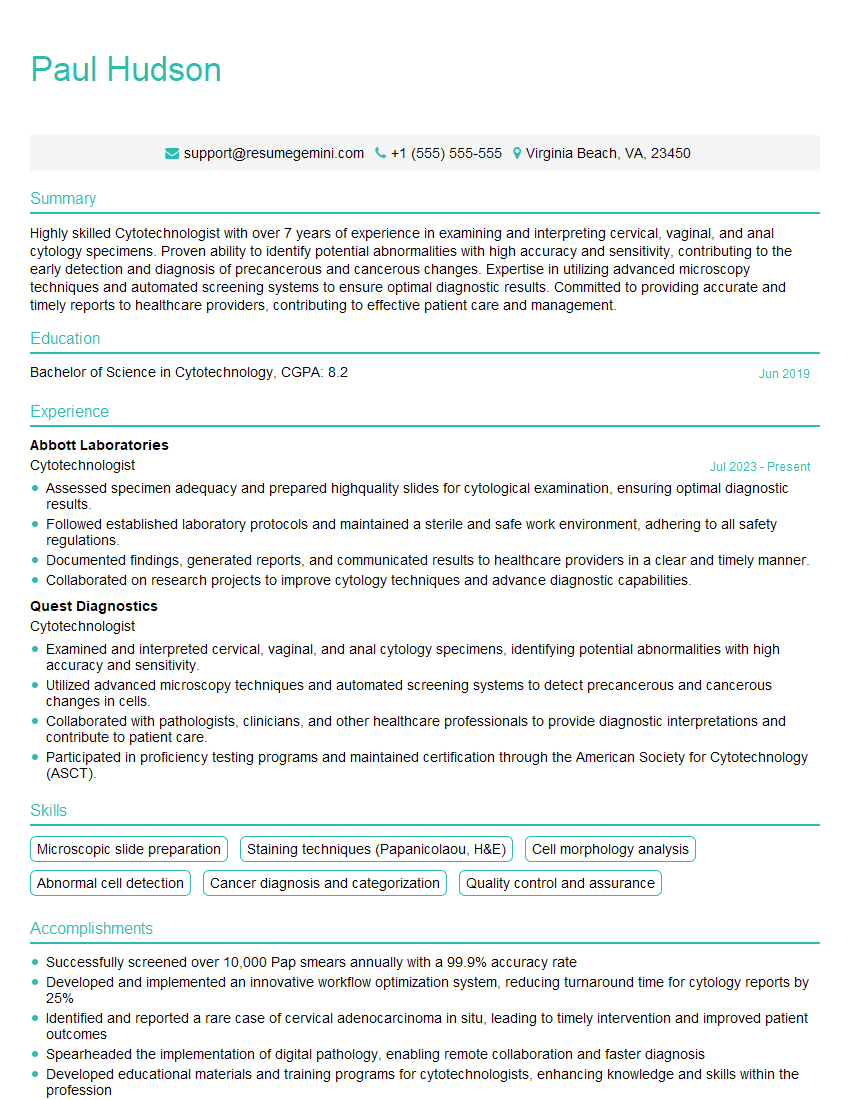
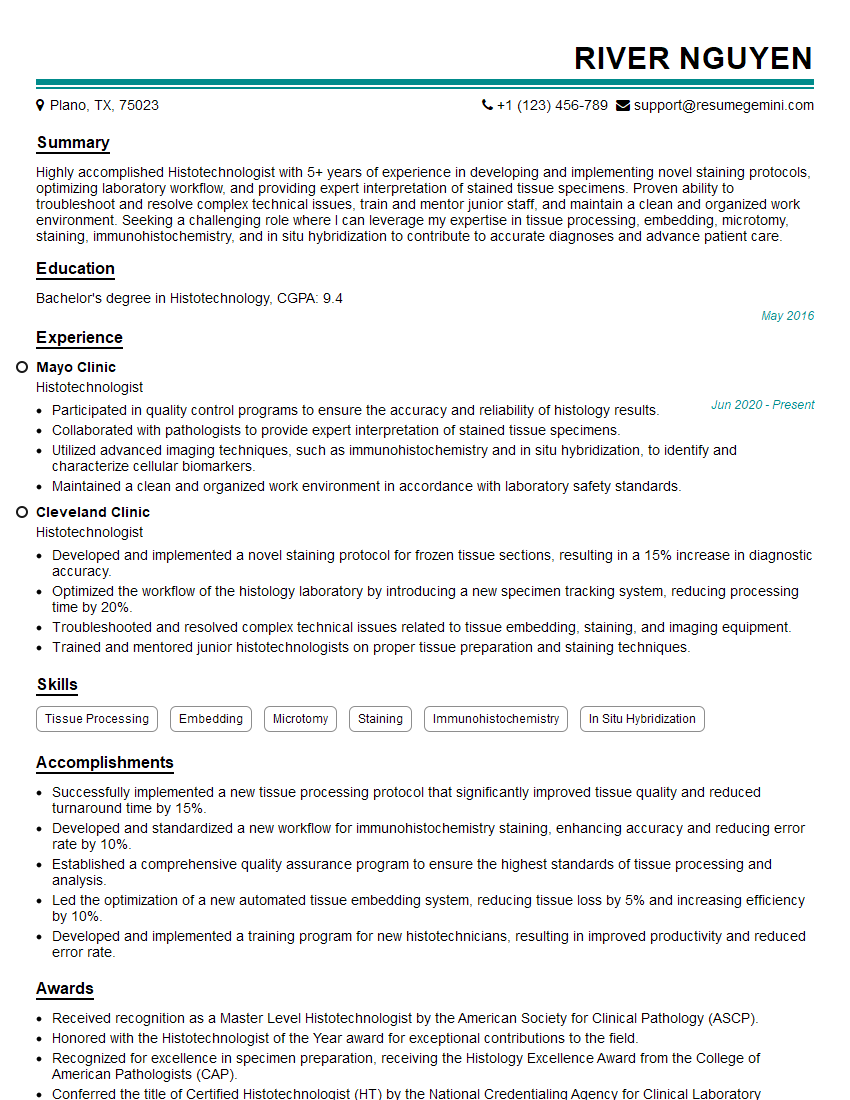
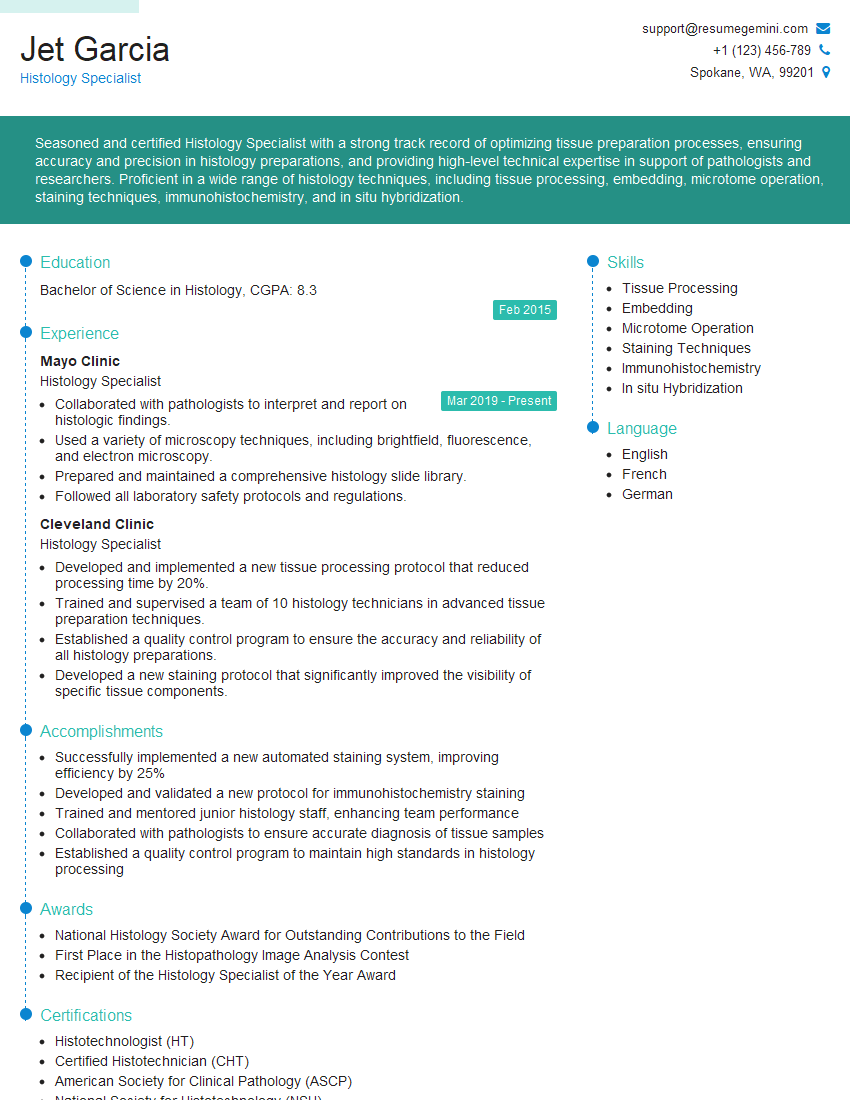
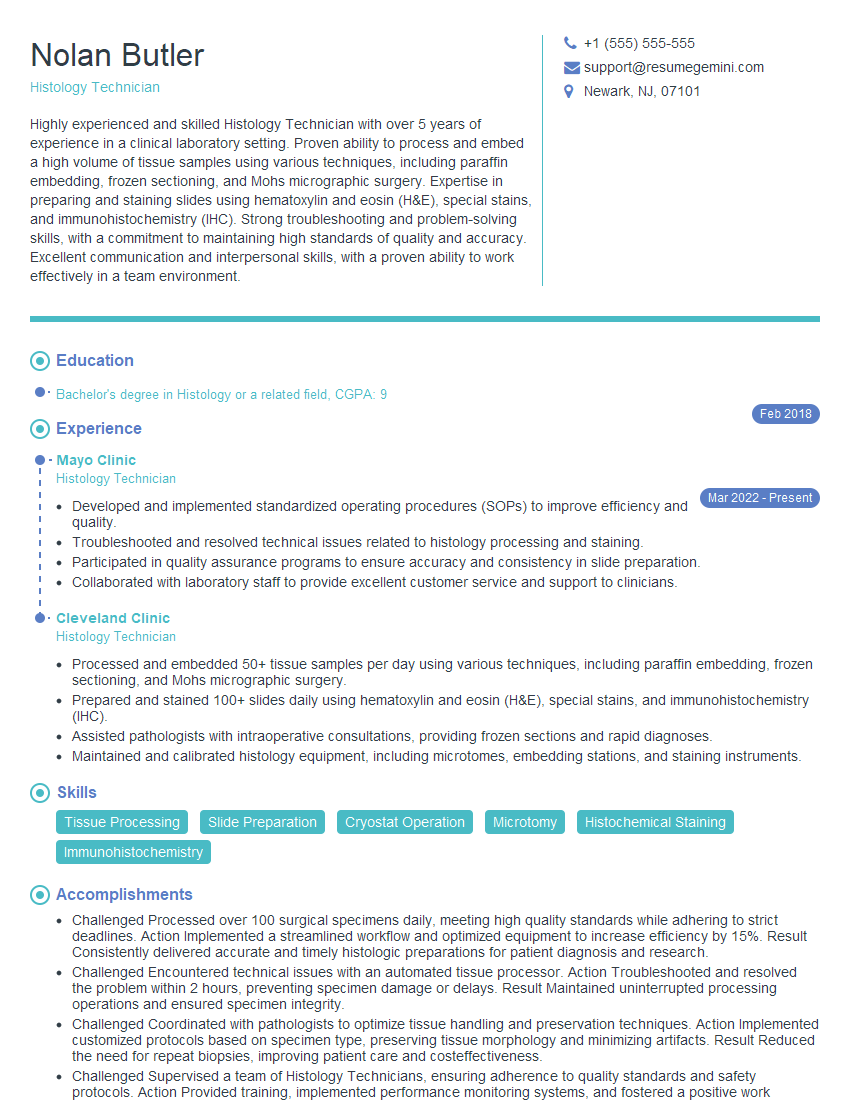
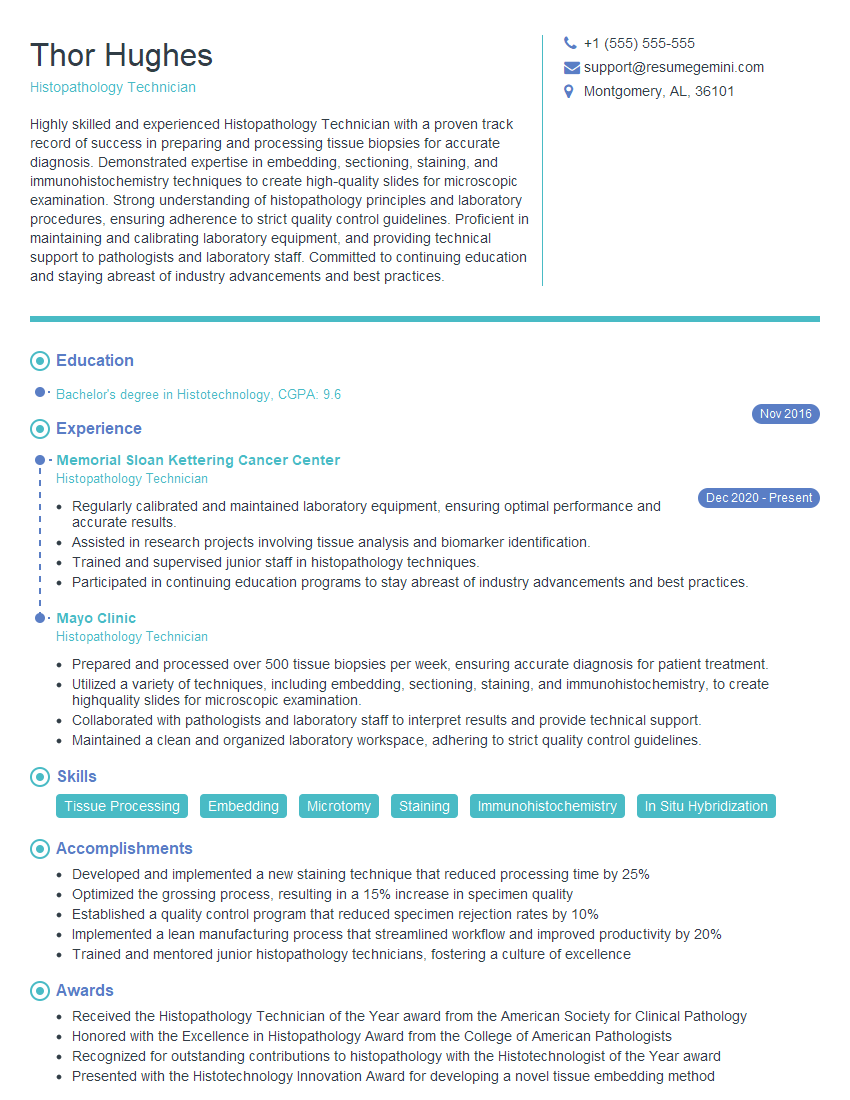
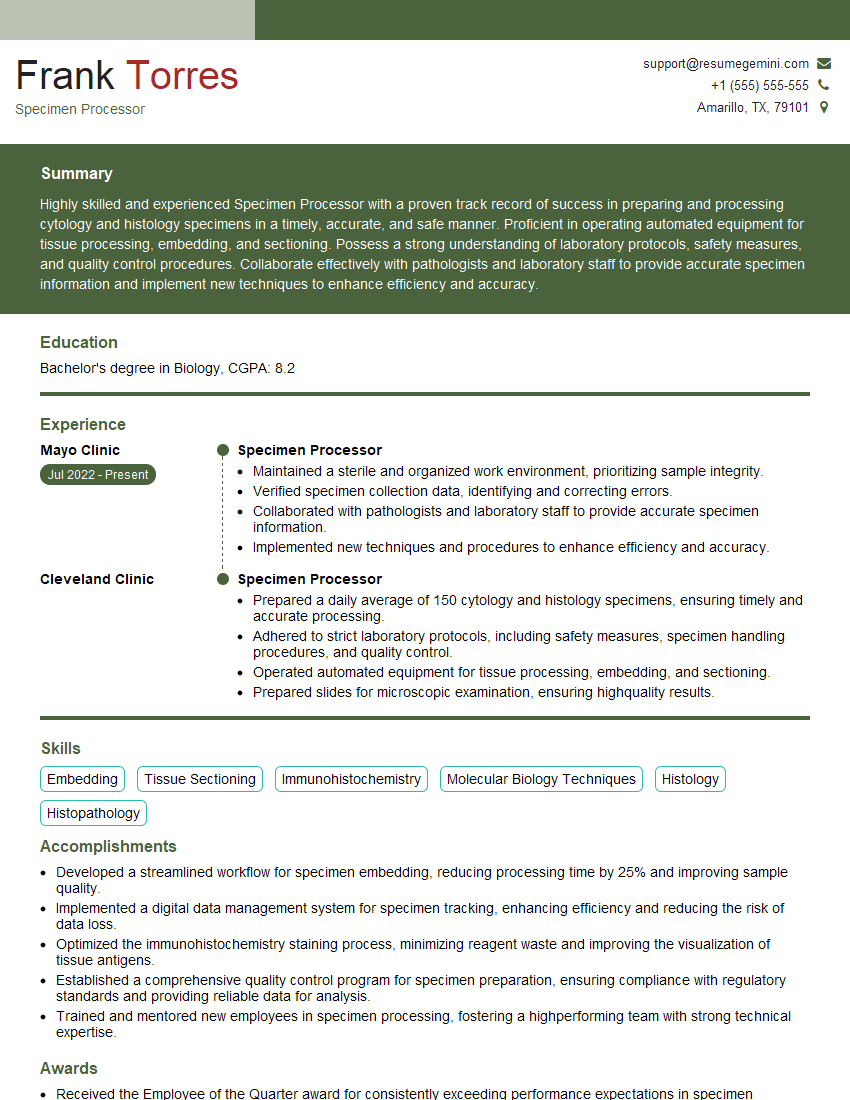
Mastering tissue dissection and processing opens doors to exciting career opportunities in research, diagnostics, and pathology. A strong foundation in these techniques is highly valued across various scientific and medical fields. To maximize your job prospects, creating a compelling and ATS-friendly resume is crucial. ResumeGemini can significantly help you in this process. It provides a user-friendly platform for building professional resumes, and we offer examples of resumes tailored to Tissue Dissection and Processing to guide you. Invest time in crafting a resume that showcases your skills and experience effectively – it’s your first impression on potential employers.
Explore more articles
Users Rating of Our Blogs
Share Your Experience
We value your feedback! Please rate our content and share your thoughts (optional).
What Readers Say About Our Blog
This was kind of a unique content I found around the specialized skills. Very helpful questions and good detailed answers.
Very Helpful blog, thank you Interviewgemini team.
