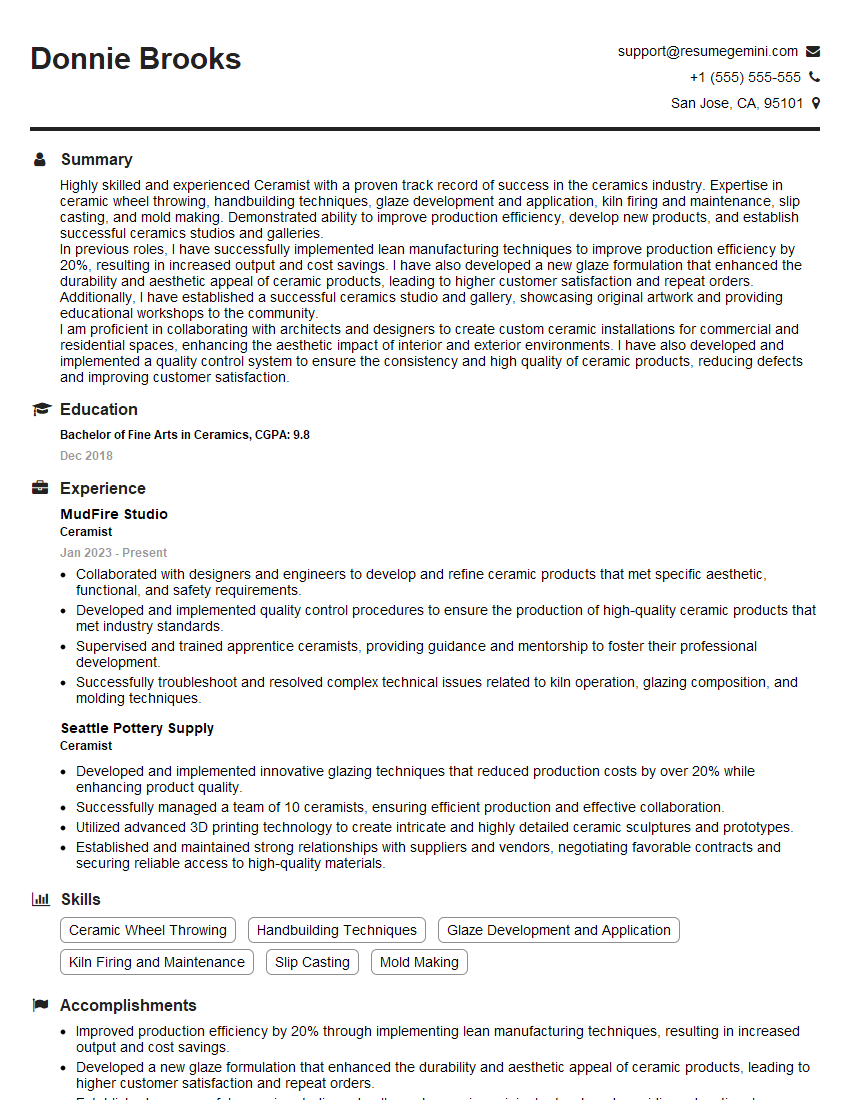
Preparation is the key to success in any interview. In this post, we’ll explore crucial Working with ceramics interview questions and equip you with strategies to craft impactful answers. Whether you’re a beginner or a pro, these tips will elevate your preparation.
Questions Asked in Working with ceramics Interview
Q 1. Describe your experience with different clay bodies (e.g., earthenware, stoneware, porcelain).
My experience spans a wide range of clay bodies, each with unique properties influencing the final piece. Earthenware, known for its low firing temperature (around 1800°F or 980°C), is porous and readily absorbs water. I’ve used it extensively for simple, rustic pottery, benefiting from its ease of firing and affordability. Stoneware, fired at higher temperatures (2200-2300°F or 1200-1260°C), is much stronger, denser, and watertight. It’s my go-to for functional pieces like mugs and bowls, appreciating its durability and versatility. Porcelain, the highest-firing clay body (2300-2600°F or 1260-1430°C), is exceptionally fine, translucent, and strong. I’ve used porcelain to create delicate, elegant forms, pushing its limits for intricate detail. The choice of clay body significantly affects the final product’s aesthetic and functional characteristics.
For example, a delicate teacup would benefit from the fine nature of porcelain, whereas a robust flower pot would be better suited to the strength of stoneware. Each clay body demands a different approach to forming, glazing, and firing, making the selection crucial to the successful outcome.
Q 2. Explain the process of wedging clay and its importance.
Wedging is a crucial step in preparing clay for forming. It involves systematically kneading and manipulating the clay to remove air pockets and ensure a uniform consistency. Think of it like making bread dough – you need to work out the lumps and ensure even texture for a successful outcome. Improperly wedged clay can lead to cracks and explosions during firing due to trapped air.
I typically use a combination of methods, including the ‘ram’s head’ and ‘spiral’ techniques. The ram’s head method involves cutting the clay in half, slamming the two pieces together, and rotating the clay while repeating the process. The spiral method involves rolling out a cylinder of clay, cutting it into smaller pieces, and recombining them with a rotating and pushing motion. The goal is to achieve a clay body free from air bubbles and with a consistent texture, ensuring even drying and firing.
Q 3. What are the different types of kilns and their applications?
Kilns come in various types, each suited for different needs. Electric kilns are the most common for studio use, offering precise temperature control and ease of use. I often utilize these for smaller batches and experimenting with glazes. Gas kilns are larger and more powerful, allowing for faster firing cycles and greater volume. They are better suited for larger-scale production. Wood kilns, historically significant, create unique atmospheric effects through smoke and flame interaction with the clay body. This process is more challenging to control but generates an unmatched aesthetic appeal. Finally, Raku kilns allow for low-fire, quick firings often involving reduction processes, giving interesting surface effects.
The choice depends on factors such as budget, scale of production, desired aesthetic, and access to fuel sources. Electric kilns are preferred for their precision and convenience in studio settings, while wood and gas kilns are better for high-volume production or specific aesthetic results.
Q 4. How do you control oxidation and reduction firing?
Oxidation and reduction firing refer to the atmosphere within the kiln during the firing process. In oxidation firing, there’s ample oxygen, leading to a brighter, more vibrant palette in glazes and clay bodies. Reduction firing involves limiting oxygen supply; this creates a more dramatic color palette by altering the chemical makeup of glazes and clay. This often results in warmer, more earthy tones, sometimes with metallic or copper-like effects.
Controlling these atmospheres involves manipulating the kiln’s airflow. For oxidation, ample airflow is maintained throughout the firing process. For reduction, the kiln’s vents are partially or completely closed, reducing oxygen levels within the chamber. The specific timing and duration of reduction is crucial in achieving the desired results, often requiring close monitoring of the kiln’s temperature and atmosphere.
Q 5. Describe your experience with various glazing techniques (e.g., dipping, spraying, brushing).
I’m proficient in various glazing techniques, each yielding distinct results. Dipping involves submerging the bisque-fired pottery in a glaze vat, ensuring even coating but leaving areas with thicker glaze accumulation where it pools. Spraying offers finer control, allowing for layering, controlled application, and achieving smoother coverage with thinner glaze applications. Brushing offers the most control, allowing for textured and varied glaze applications, although it requires more skill and precision. The choice of technique depends on the desired aesthetic outcome and the properties of the glaze itself.
For example, a rustic bowl might benefit from the textural variation of brushing, while a sleek, modern vase might call for the smooth application of spraying.
Q 6. What are the challenges in achieving consistent glaze results?
Achieving consistent glaze results is a continuous challenge. Factors such as glaze composition, application technique, kiln temperature, and firing atmosphere can all impact the final outcome. Variations in clay body porosity can also significantly affect the glaze’s behavior during firing. Even seemingly minor fluctuations can lead to variations in color, texture, and overall appearance from piece to piece. Maintaining meticulous records of glaze recipes, firing cycles, and application techniques is critical in identifying and minimizing inconsistencies.
For example, uneven glaze application can lead to areas of the piece with different color saturation or even crazing (fine cracks). Temperature variations during firing can affect glaze melt flow, producing uneven surfaces or pooling.
Q 7. Explain the process of troubleshooting glaze problems.
Troubleshooting glaze problems requires systematic investigation. I begin by carefully examining the finished pieces, noting the specific defects—crazing, crawling, pinholes, blistering, etc. I then review my process: glaze recipe, application technique, kiln temperature profile, and firing atmosphere. If the problem lies with the glaze recipe, I might adjust the components (e.g., increase the flux to improve flow or lower the silica content for reduced crazing). If the issue is with application, I reassess my technique, aiming for more even coverage or reducing glaze thickness. Kiln issues may necessitate recalibrating the kiln’s temperature sensors or altering firing cycles.
It is crucial to keep detailed records—a glaze recipe notebook is essential—to help in identifying patterns and tracing the cause. A methodical approach and a record-keeping system are crucial for successful troubleshooting.
Q 8. How do you manage shrinkage during the ceramic process?
Shrinkage in ceramics is a natural consequence of water evaporating from the clay body during drying and firing. It’s crucial to manage this shrinkage to prevent cracking and warping. The amount of shrinkage varies depending on the clay type and its formulation.
To manage shrinkage, I focus on several key strategies:
- Careful wedging: Thorough wedging removes air pockets, ensuring even drying and minimizing the risk of cracking. Think of it like kneading dough – it creates a uniform consistency.
- Slow drying: I never rush the drying process. Rapid drying can cause uneven shrinkage and cracking. I often use plastic sheets to slow down surface drying and ensure even moisture loss throughout the piece. I might even use damp cloths or bags in particularly dry conditions.
- Proper clay choice: Selecting the right clay for the project is critical. Different clays have different shrinkage rates. For large pieces, I might opt for a clay with a lower shrinkage rate to reduce the risk of problems.
- Bisque firing: The bisque firing, a low-temperature firing, further reduces the moisture content, making the piece more durable and less prone to cracking during the glaze firing.
- Design considerations: The design itself can influence shrinkage. Thick sections dry and shrink slower than thin sections, potentially leading to stress and cracking. I always strive for a balanced wall thickness in my designs.
For example, on a large sculptural piece, I’ve successfully prevented cracking by using a combination of slow drying, plastic sheeting, and a low-shrinkage clay body. The resulting piece was structurally sound and showed minimal warping.
Q 9. Describe your experience with different pottery wheels.
My experience with pottery wheels spans various models, from simple kick wheels to sophisticated electric wheels with variable speeds and foot controls. Each type has its advantages and disadvantages.
- Kick wheels: These offer a more tactile and physically demanding experience, allowing for great control and a deeper connection with the clay. However, they require significant upper body strength and consistent effort to maintain a constant speed.
- Electric wheels: Electric wheels provide a much smoother, more consistent speed, reducing physical strain and allowing for more intricate work. The variable speed control allows me to adjust the wheel speed for different techniques and clay consistencies. I find these particularly useful for throwing delicate forms.
- Combination Wheels: I’ve also worked with combination wheels that offer both kick and electric capabilities, offering flexibility depending on the project and personal preference. These are really nice for studios that want to cater to different skill sets.
I appreciate the precision and consistency of electric wheels for detailed work, but I also value the direct control and feel of a kick wheel for larger, more expressive pieces. Choosing the right wheel really depends on the specific needs of the project and my personal preference on a given day.
Q 10. What are your preferred hand-building techniques?
Hand-building techniques offer a unique level of creative freedom and allow for the creation of forms that are difficult or impossible to achieve on the wheel. My preferred techniques include:
- Pinch Potting: This is a fundamental technique where the clay is shaped by pinching it between the thumb and fingers. It’s perfect for creating small, delicate forms and allows for a spontaneous, organic feel. I’ve used pinch pots as bases for larger sculptures.
- Coil Building: This involves rolling out long, thin coils of clay and layering them to create the desired shape. This method allows for greater control over the thickness and form of the piece. Coil building is ideal for creating larger vessels and sculptural pieces; for example, I made a life size replica of a bird’s nest using this method.
- Slab Building: Slabs of clay, rolled to a uniform thickness, are cut, shaped, and joined together. This is excellent for creating geometric forms and intricate designs. I often incorporate slab building to create decorative panels and architectural elements in my ceramic work.
Each technique offers distinct advantages, and I often combine them in a single piece to achieve a desired effect. For instance, I might start with a slab-built base and then add coil-built details and pinch-pot elements to create a unique and interesting form.
Q 11. How do you ensure the structural integrity of your ceramic pieces?
Ensuring structural integrity is paramount in ceramics. Cracks and breaks are common problems, so careful attention to detail is crucial throughout the process. Here’s how I achieve this:
- Proper clay preparation: Thorough wedging eliminates air pockets, preventing weakness and potential cracking points.
- Consistent wall thickness: Avoid overly thin or thick areas, as these create stress points during drying and firing. I use calipers to ensure consistent thickness, especially in larger pieces.
- Strong joins: When joining clay pieces (coil, slab building), I ensure a tight, well-scored, and thoroughly slip-and-score fit. I also use a sturdy armature for large or complex structures.
- Careful drying: Slow and even drying minimizes internal stresses, which can lead to cracking.
- Appropriate firing schedules: I carefully select firing schedules based on the clay body and piece’s size. This ensures even heating and cooling, minimizing the risk of thermal shock and cracking. I record all my firing schedules for future reference and reproducibility.
- Supporting structures: For delicate or tall pieces, I employ supporting structures during drying and firing, such as stilts or shelves, to prevent warping or collapse.
For instance, in constructing a tall vase, I used a combination of consistent wall thickness, a supportive armature during construction and drying, and a slow, controlled firing schedule. The final result was a structurally sound and elegant piece.
Q 12. What safety precautions do you take when working with kilns and glazes?
Safety is my top priority when working with kilns and glazes. I adhere to strict safety protocols to protect myself and my surroundings:
- Kiln safety: I never leave a kiln unattended during firing, and I use appropriate safety equipment like heat-resistant gloves and eyewear. I always ensure proper ventilation to prevent carbon monoxide buildup. I regularly inspect the kiln for any signs of damage or malfunction.
- Glaze safety: I always wear a respirator when mixing and applying glazes, as many contain fine particles that can be harmful if inhaled. I work in a well-ventilated area and dispose of glaze waste properly. I meticulously label all glazes to avoid accidental mixing of incompatible materials. I also utilize gloves and protective eye wear.
- Emergency preparedness: I have a clear understanding of how to react in case of emergency, including a fire extinguisher readily available and knowledge of emergency contact information.
Following these procedures consistently ensures a safe and controlled environment, protecting both myself and the integrity of the pieces.
Q 13. Describe your experience with ceramic decorating techniques (e.g., painting, sgraffito, decals).
I enjoy experimenting with a variety of ceramic decorating techniques to add texture, color, and visual interest to my work. My experience includes:
- Underglaze painting: I use underglaze paints, which are applied before the glaze firing, to create intricate designs and detailed images. These paints fuse with the clay during firing, resulting in a durable and long-lasting finish. I use fine brushes and often incorporate layering techniques for added depth.
- Sgraffito: This technique involves scratching through a layer of slip (liquid clay) or colored glaze to reveal the underlying clay body. This allows for the creation of textural effects and linear designs. It’s a very expressive method.
- Decals: Decals offer a quick and efficient way to apply intricate designs and images. I select high-quality commercial decals or create my own custom designs using decal paper. The decals are applied, and then the piece is fired to fuse the decal with the glaze.
- Glaze layering and dripping: I frequently use multiple glaze layers and dripping techniques to add depth, texture and vibrant colors to my pieces. This allows for unexpected and organic effects.
I frequently combine these techniques to achieve complex and visually stunning results. For example, I recently completed a series of vases that combined underglaze painting with sgraffito, creating a unique interplay of textures and colors.
Q 14. How do you maintain your ceramic tools and equipment?
Maintaining my tools and equipment is vital for their longevity and my safety. My routine includes:
- Cleaning: After each use, I thoroughly clean my tools, removing all clay residue. This prevents the clay from drying and becoming difficult to remove later. I use water and sponges for most tools, and a stiff brush for more stubborn clay.
- Storage: I store tools in a designated area, organized and protected from damage. I avoid storing tools where they might be exposed to extreme temperatures or moisture.
- Sharpening: I regularly sharpen my trimming tools and carving tools using appropriate sharpening stones or tools. Sharp tools are essential for precision and safety.
- Kiln maintenance: I follow the manufacturer’s instructions for kiln maintenance and cleaning. I inspect the kiln elements and insulation regularly for any damage and address any issues promptly.
- Equipment repair: I promptly address any equipment malfunctions. I might undertake simple repairs myself, or seek professional help for more complex issues.
By consistently following these maintenance procedures, I ensure the longevity and efficiency of my tools and equipment, leading to a more productive and safer work environment.
Q 15. What software or CAD programs are you familiar with in relation to ceramics?
My experience with CAD software in ceramics centers around leveraging their capabilities for design and prototyping. I’m proficient in several programs, including Blender and Rhino. Blender is incredibly useful for creating complex 3D models, particularly organic forms that are difficult to achieve through traditional hand-building techniques. I use it to design intricate sculptures and experiment with form before committing to clay. Rhino, with its precise modeling capabilities and plugin support, is invaluable for creating accurate and repeatable forms for mold making, especially for production runs. For example, I recently used Rhino to design a series of interlocking tile molds, ensuring perfect alignment and fit.
Beyond these, I’m familiar with the basics of Fusion 360, which offers a more integrated design and manufacturing workflow. Although less frequently used in the purely artistic aspects of my work, it’s exceptionally helpful when dealing with functional ceramics that require precise dimensions and manufacturing considerations.
Career Expert Tips:
- Ace those interviews! Prepare effectively by reviewing the Top 50 Most Common Interview Questions on ResumeGemini.
- Navigate your job search with confidence! Explore a wide range of Career Tips on ResumeGemini. Learn about common challenges and recommendations to overcome them.
- Craft the perfect resume! Master the Art of Resume Writing with ResumeGemini’s guide. Showcase your unique qualifications and achievements effectively.
- Don’t miss out on holiday savings! Build your dream resume with ResumeGemini’s ATS optimized templates.
Q 16. Explain your understanding of different firing schedules and their effects on ceramics.
Firing schedules are crucial in ceramics, as they dictate the transformation of the clay body from a plastic state to a durable, fired ceramic. Different clay bodies and glazes require specific firing schedules to achieve optimal results. A typical schedule involves a slow bisque firing (low-temperature firing to remove moisture and make the clay more stable), followed by a higher-temperature glaze firing. The rate of heating and cooling is critical; rapid changes can lead to cracking or crazing.
For instance, a low-fire earthenware clay might have a bisque firing schedule reaching 1000°C over 8 hours, followed by a glaze firing to 1080°C at a slightly slower rate. This contrasts sharply with a high-fire porcelain schedule, which might reach 1280°C or higher over 12 hours or more. The slower heating in high-fire processes is necessary to minimize thermal shock. Controlling the cooling phase, often involving a gradual decrease in temperature, is equally vital to avoid shattering the pieces. I meticulously document every firing cycle, noting temperature, time, and any observed anomalies, to fine-tune my approach over time.
Q 17. Describe your experience working with high-temperature kilns.
My experience with high-temperature kilns spans several years and various kiln types, including electric and gas kilns. I’m comfortable with all aspects of kiln operation, from loading and unloading to troubleshooting technical issues. Safety is paramount, so I’m fully versed in kiln safety procedures, including appropriate personal protective equipment and fire prevention measures. I’ve worked with kilns ranging from small, tabletop units to larger, multi-chambered kilns capable of firing several hundred pieces at once. Managing larger kilns requires advanced knowledge of temperature control, airflow, and efficient loading techniques to prevent uneven firing.
For example, I once encountered a situation where a high-temperature kiln experienced a power fluctuation during a crucial firing cycle. Through quick thinking and careful monitoring, I was able to adjust the firing schedule manually to minimize damage and salvage the majority of the pieces. This incident reinforced the importance of understanding the kiln’s inner workings and developing contingency plans for such unforeseen events.
Q 18. How do you maintain quality control throughout the ceramic process?
Maintaining quality control in ceramics is a multi-step process starting from clay selection. I begin by meticulously checking the clay’s consistency, ensuring it’s free from impurities. This is followed by careful wedging to remove air pockets and achieve uniformity. Throughout the forming process, I regularly inspect the pieces for flaws and imperfections. Bisque firing reveals any structural weaknesses, allowing for adjustments in future work.
Glaze application is also a crucial stage where attention to detail is vital. I carefully mix and apply glazes, ensuring even coverage and minimizing drips or runs. After glaze firing, I conduct a thorough inspection, checking for glaze defects like pinholes or crazing. Detailed record-keeping of each stage, including clay type, glaze recipe, and firing schedule, allows me to identify and rectify any inconsistencies. A sample piece from each batch is kept as a reference for consistent quality.
Q 19. What are your strategies for handling large-scale ceramic projects?
Large-scale ceramic projects require meticulous planning and organization. I approach them by breaking down the project into smaller, manageable phases. This involves creating detailed design plans, estimating material requirements, and establishing a clear production timeline. Efficient mold making is crucial; I often utilize slip casting or press molding for large quantities. To ensure consistency, I create detailed work instructions for the team, accompanied by clear quality control checks at each step. I also regularly monitor the progress, addressing any issues proactively to maintain the project schedule and quality.
For instance, when working on a large-scale installation project involving hundreds of tiles, I collaborated with a team of skilled technicians, dividing the work into stages like mold making, casting, bisque firing, glazing, and final firing. Regular progress meetings and quality checks at every stage ensured that the final product met the client’s expectations within the specified deadline.
Q 20. How do you manage deadlines and production schedules?
Managing deadlines and production schedules for ceramic projects requires a proactive and organized approach. I start by creating a detailed project timeline, breaking down the project into smaller tasks and assigning realistic completion times. This timeline is carefully considered to account for kiln firing schedules, drying times, and potential delays. I utilize project management tools to track progress, identify potential bottlenecks, and make necessary adjustments to the schedule. Open communication with the client and team is crucial to managing expectations and proactively addressing any unforeseen issues.
For example, I recently faced a tight deadline for a custom ceramic dinnerware set. By closely monitoring each stage of production, using a Gantt chart to visualize tasks, and consistently communicating with the client about progress, I successfully delivered the project on time and to the client’s satisfaction. This involved prioritizing key tasks, efficiently allocating resources, and addressing minor issues before they escalated into major delays.
Q 21. Describe your experience with mold making and casting techniques.
Mold making and casting are essential techniques in my ceramic practice. I’m proficient in various mold-making methods, including plaster molds, rubber molds, and slip-casting molds. Plaster molds are ideal for creating intricate details but are only suitable for a limited number of casts. Rubber molds offer greater durability and can withstand many more castings. Slip casting allows for the creation of hollow forms and is exceptionally efficient for production runs. I select the appropriate method depending on the complexity of the design and the desired quantity.
For example, I recently used plaster molds to create unique sculptural pieces, capturing fine details. For a larger production of teacups, I opted for slip casting, as it proved the most efficient and cost-effective method. My experience extends to creating multi-part molds for complex forms, requiring precise alignment and sealing to prevent leakage during casting.
Q 22. What are your strengths and weaknesses as a ceramic artist/technician?
My greatest strength as a ceramic artist lies in my meticulous attention to detail and my ability to translate complex designs into three-dimensional forms. I’m highly skilled in various techniques, from wheel throwing to hand-building, allowing me to approach projects with versatility. I’m also a quick learner and adapt easily to new challenges.
However, my perfectionism can sometimes lead to slower production times. I am actively working on managing this by prioritizing tasks and focusing on achieving a high standard within realistic deadlines. I’ve found setting small, achievable milestones helps.
Q 23. How do you adapt to new challenges and technologies in the ceramics field?
The ceramics field is constantly evolving, with new technologies and materials emerging regularly. I adapt by actively seeking out workshops, attending conferences like the NCECA (National Council on Education for the Ceramic Arts) convention, and engaging with online communities and resources. For example, I recently learned to use 3D printing to create molds for slip casting, significantly improving efficiency and design possibilities. This proactive approach allows me to integrate the latest innovations into my practice.
Q 24. Describe your experience with different types of ceramic sculpture techniques.
My experience encompasses a wide range of ceramic sculpture techniques. I’m proficient in wheel throwing, creating everything from delicate porcelain vessels to robust stoneware forms. I also excel in hand-building techniques, including pinch-potting, coil building, and slab construction. These allow me to create unique, organic shapes that would be impossible to achieve on the wheel. For example, a recent project involved coil building a large, abstract sculpture, requiring careful planning and execution to maintain structural integrity. I also have experience with slip casting, which allows for mass production of identical pieces, and raku firing, a process known for its dramatic and unpredictable results.
Q 25. Explain your understanding of the history and evolution of ceramics.
The history of ceramics is a fascinating journey, spanning millennia and countless cultures. From the earliest earthenware vessels crafted by Neolithic communities, to the sophisticated porcelain of the Ming Dynasty, and the innovative work of contemporary artists, the evolution of ceramics reflects the ingenuity and artistic expression of humanity. The development of new firing techniques, glazes, and materials has driven this progress. For instance, the invention of the potter’s wheel revolutionized production, while the discovery of high-temperature kilns enabled the creation of stronger and more durable ceramics. Understanding this history informs my own practice, allowing me to draw inspiration from traditional techniques while pushing the boundaries of what’s possible.
Q 26. How do you stay updated on current trends and innovations in the ceramics industry?
Staying current in the ceramics world requires a multi-faceted approach. I subscribe to industry magazines like Ceramics Monthly and Ceramic Review. I actively follow ceramic artists on social media platforms like Instagram and Pinterest, attending online and in-person workshops. Participating in online forums and attending exhibitions like those at the SOFA (Sculpture Objects Functional Art + Design) show also exposes me to new ideas and trends. This continuous learning helps me refine my techniques and stay inspired.
Q 27. Describe your experience working collaboratively with other artists or technicians.
Collaboration is essential in the art world. I’ve worked with other artists on several projects, including a recent installation where we combined my ceramic sculptures with another artist’s metalwork. This collaborative process expanded our creative vision, leading to a more dynamic and impactful result. I’ve also worked alongside technicians in studio settings, learning from their expertise in kiln operation and glaze formulation. Effective communication and a shared understanding of artistic goals are crucial for successful collaboration.
Q 28. How do you price your ceramic work (if applicable)?
Pricing my ceramic work involves considering several factors: the time spent on the piece, the cost of materials (clay, glazes, kiln firing), the level of skill and technique involved, and the market value for similar works. I calculate my hourly rate and multiply it by the time spent on the piece. I then add the cost of materials and factor in a profit margin. I also research comparable artworks to ensure my prices are competitive yet reflect the value of my artistry. The pricing structure can be adjusted based on the commission, volume, or exclusivity of a piece.
Key Topics to Learn for Working with Ceramics Interview
- Clay Preparation and Properties: Understanding different clay types (e.g., earthenware, stoneware, porcelain), their characteristics, and appropriate preparation techniques for various projects.
- Forming Techniques: Hands-on experience with various methods like pinching, coiling, slab building, wheel throwing, and mold making. Be prepared to discuss the advantages and limitations of each.
- Glazing and Decoration: Knowledge of glaze chemistry, application techniques (dipping, brushing, pouring), and firing considerations. Familiarity with various decorative methods (e.g., painting, carving, stamping).
- Kiln Operation and Firing Schedules: Understanding different kiln types (electric, gas, wood), appropriate firing schedules for various clay bodies and glazes, and troubleshooting common firing issues.
- Safety Procedures and Studio Management: Demonstrate awareness of safety protocols related to clay, glazes, and kiln operation. Discuss efficient studio organization and waste management practices.
- Design and Aesthetics: Ability to discuss design principles, creative processes, and the artistic considerations involved in ceramic work. Showcasing your portfolio is crucial here.
- Troubleshooting and Problem-Solving: Be ready to discuss common problems encountered during the ceramic process (e.g., cracking, warping, glaze defects) and how you would approach solving them.
Next Steps
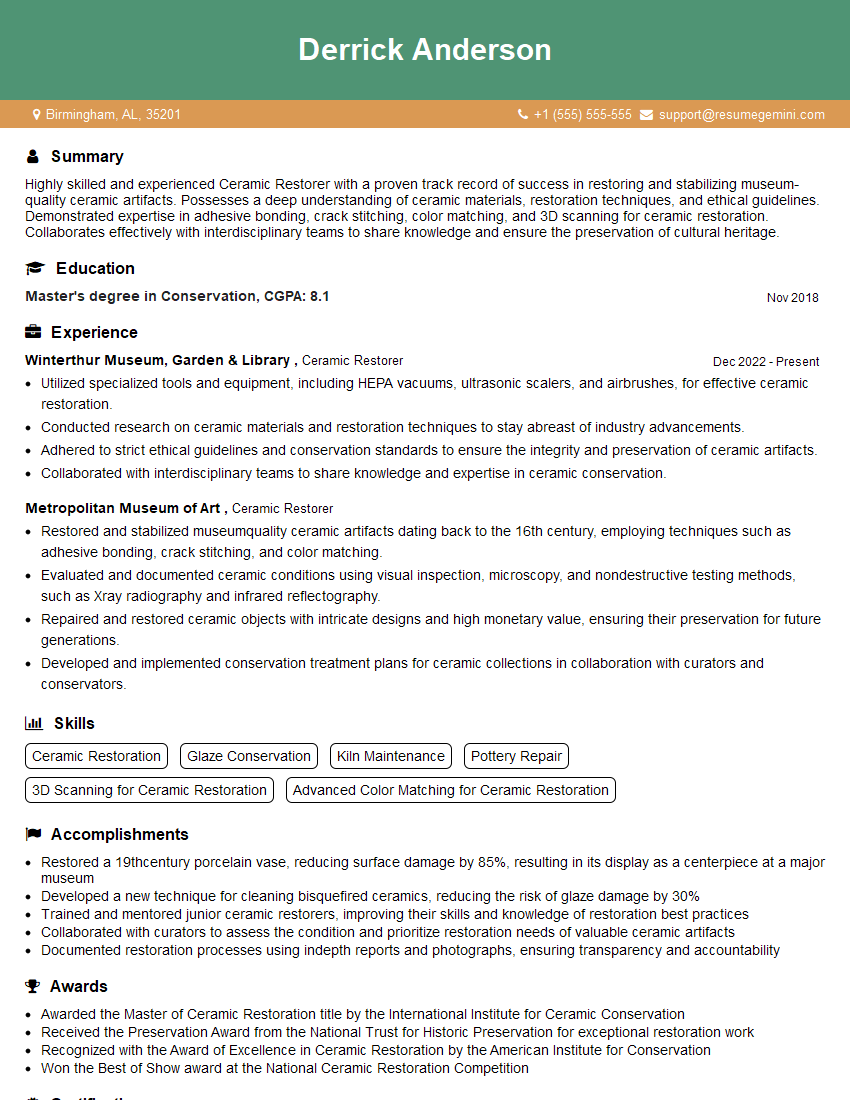
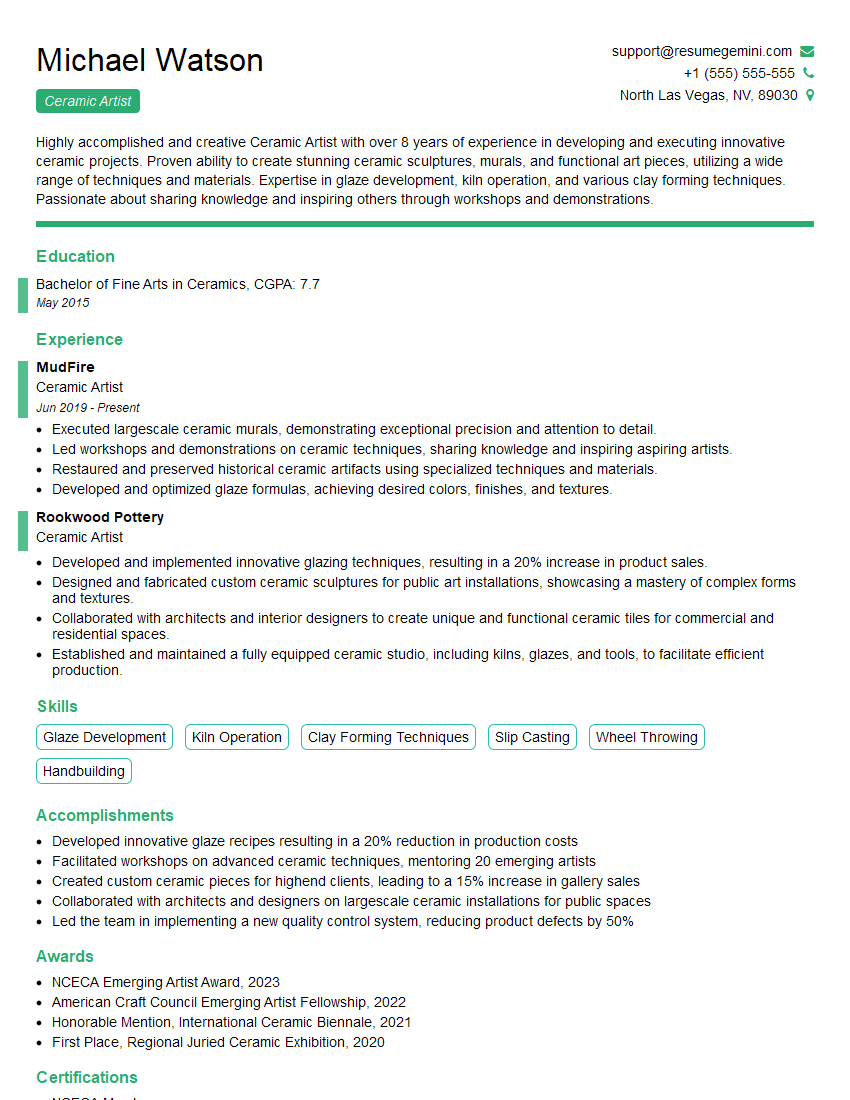
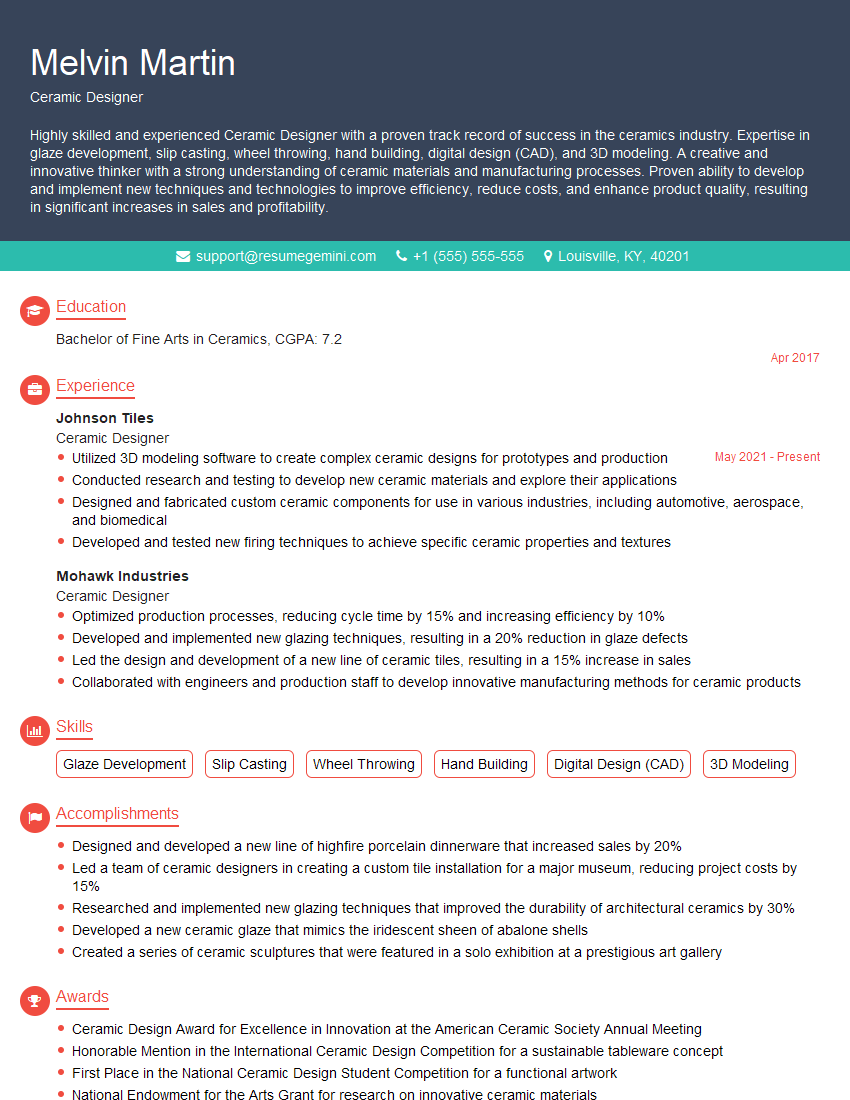
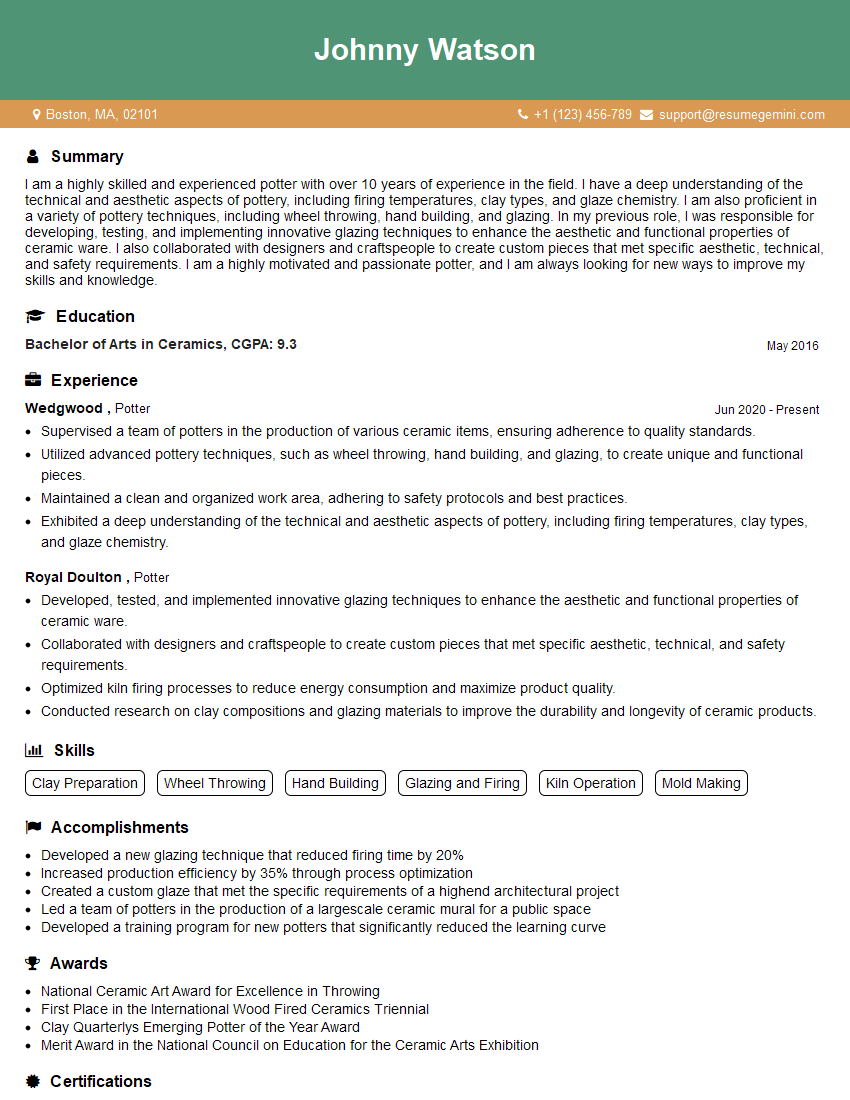
Mastering the art of working with ceramics opens doors to exciting career opportunities in various creative fields, from independent artistry to industrial design and production. To significantly boost your job prospects, creating a strong, ATS-friendly resume is essential. ResumeGemini is a trusted resource that can help you build a professional and impactful resume tailored to the specific requirements of your target jobs. Examples of resumes tailored to working with ceramics are available within ResumeGemini to help guide your creation process.
Explore more articles
Users Rating of Our Blogs
Share Your Experience
We value your feedback! Please rate our content and share your thoughts (optional).
What Readers Say About Our Blog
Hi, I have something for you and recorded a quick Loom video to show the kind of value I can bring to you.
Even if we don’t work together, I’m confident you’ll take away something valuable and learn a few new ideas.
Here’s the link: https://bit.ly/loom-video-daniel
Would love your thoughts after watching!
– Daniel
This was kind of a unique content I found around the specialized skills. Very helpful questions and good detailed answers.
Very Helpful blog, thank you Interviewgemini team.
