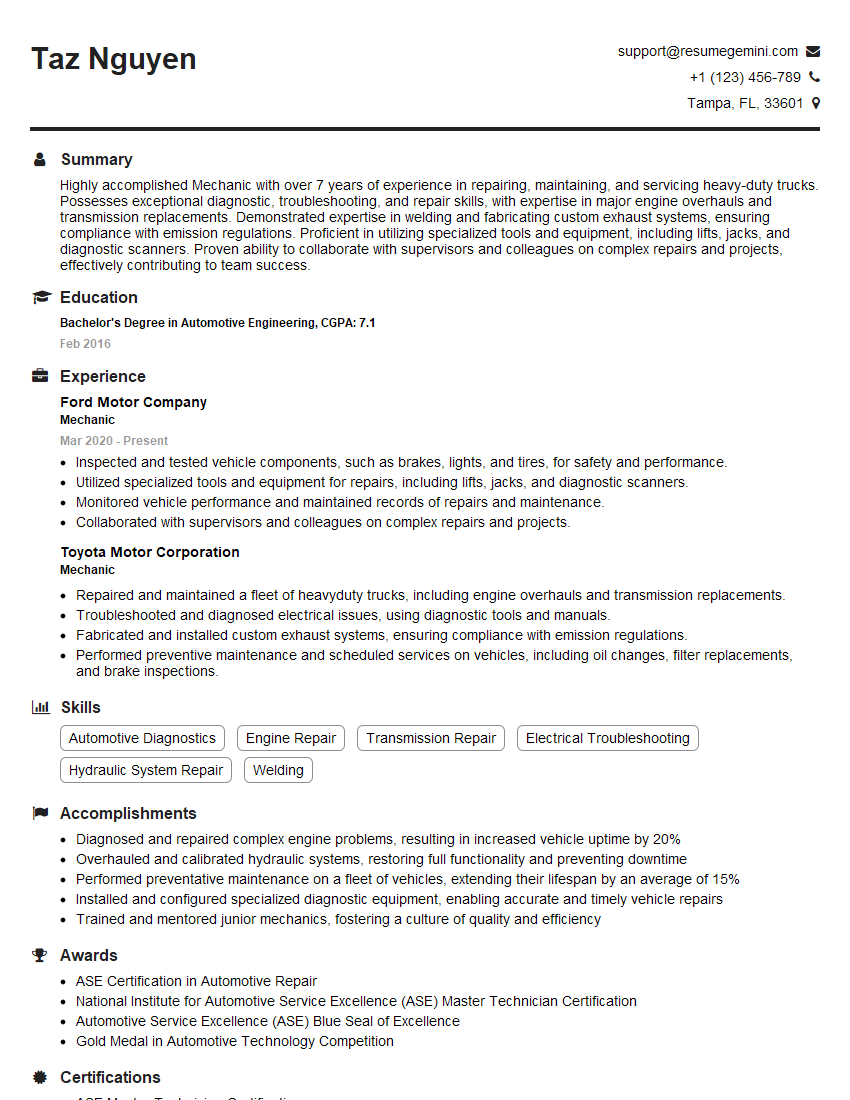
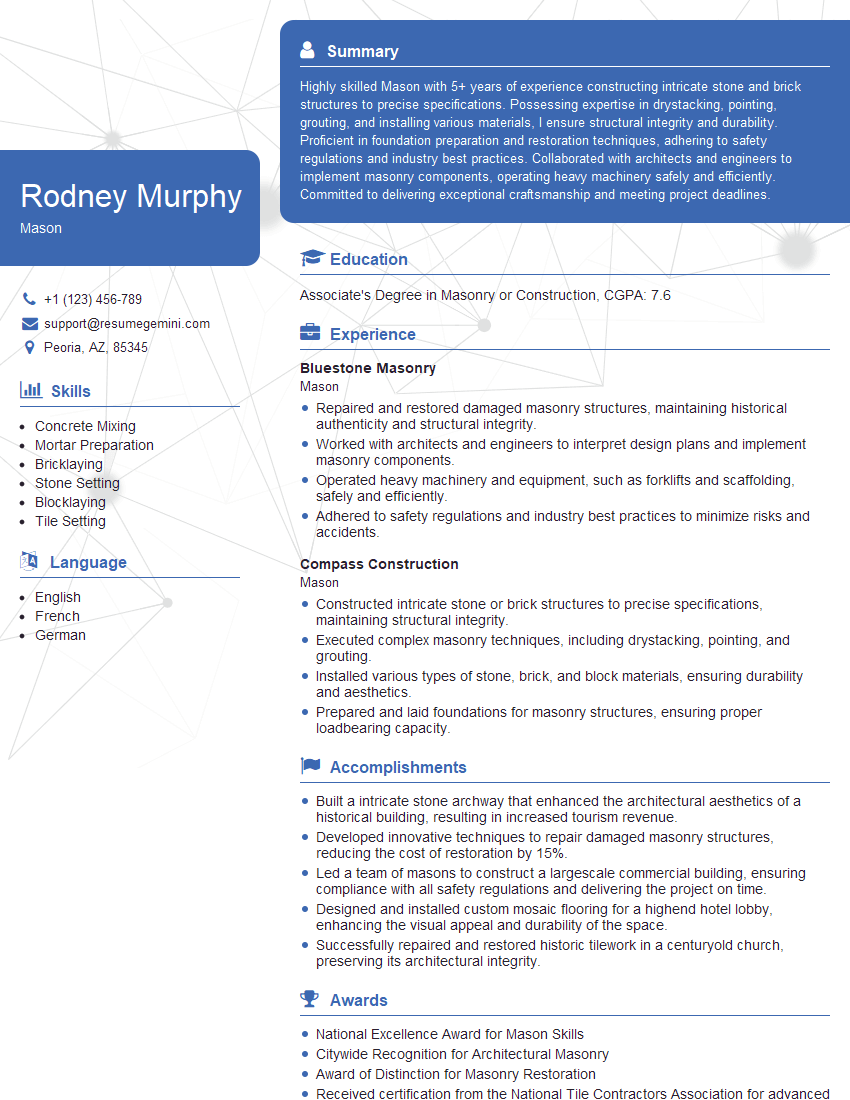
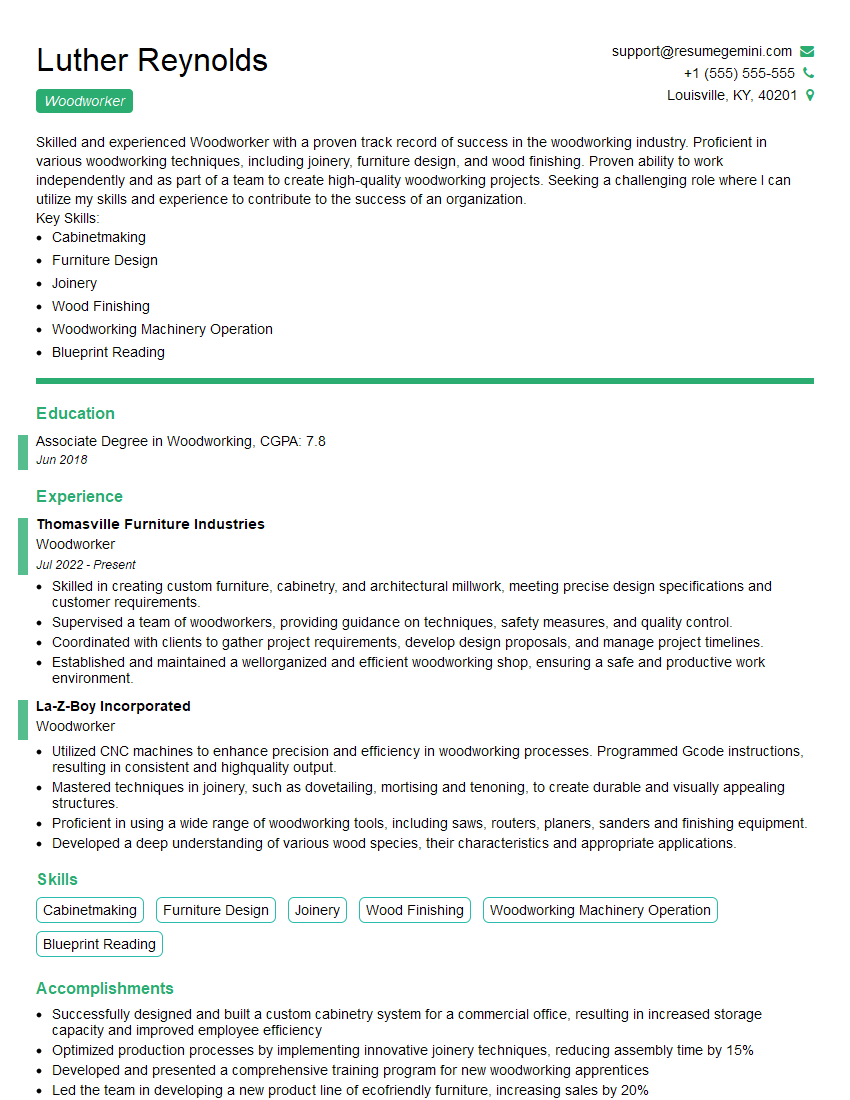
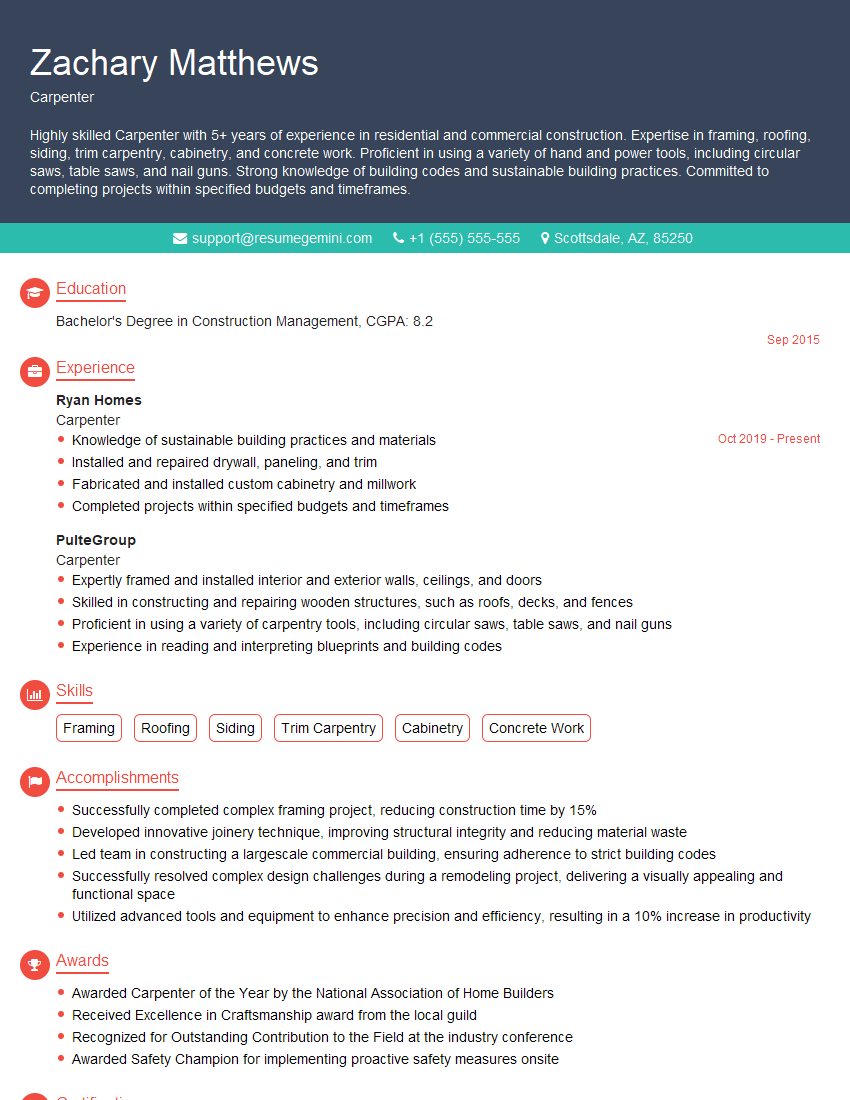
Unlock your full potential by mastering the most common Working with hand tools interview questions. This blog offers a deep dive into the critical topics, ensuring you’re not only prepared to answer but to excel. With these insights, you’ll approach your interview with clarity and confidence.
Questions Asked in Working with hand tools Interview
Q 1. Describe your experience with different types of saws (e.g., hand saw, circular saw, jigsaw).
My experience with saws spans a wide range, from traditional hand saws to power tools like circular saws and jigsaws. Hand saws, such as rip saws (for cutting with the grain) and crosscut saws (for cutting across the grain), require precision and control. The tooth design dictates the cut – larger teeth for rough cuts, finer teeth for detailed work. I’ve used them extensively for fine woodworking projects, appreciating the feel and accuracy they offer, especially in tight spaces where a power saw is impractical. Circular saws, on the other hand, are ideal for quick, straight cuts in larger pieces of wood. Proper blade selection is crucial here; a fine-toothed blade for cleaner cuts in hardwoods, and a coarser one for softer woods or faster rough cuts. Safety measures, such as using a guide rail for straight cuts and wearing appropriate safety gear, are paramount. Jigsaws excel at curved and intricate cuts, invaluable in creating decorative elements or fitting pieces together precisely. Blade selection is equally important here; various blade types are designed for different materials, like wood, metal, or plastic. I’ve utilized all these saws countless times, always prioritizing safety and selecting the right tool for the task.
Q 2. Explain the proper techniques for using a chisel and mallet.
Using a chisel and mallet requires a combination of skill and technique. The key is controlled force and proper posture. First, firmly secure the workpiece using clamps or a vise. Then, position the chisel at the desired angle, ensuring a firm grip. The mallet should be swung smoothly, aiming for the chisel’s head and not the edge. Avoid excessive force, which can damage the chisel or workpiece. For fine work, tap gently with the mallet, and for more aggressive cuts, apply more controlled force. The angle of the chisel is pivotal; a shallower angle for fine paring, a steeper angle for more aggressive cuts. I always start with shallower cuts, gradually deepening them as needed to avoid chipping or breaking the material. Imagine sculpting with wood; each strike is part of a larger pattern. Maintaining a controlled stance, keeping your eyes on the chisel’s progression, is key to avoiding accidents.
Q 3. How do you ensure safety when using hand tools?
Safety is paramount when working with hand tools. This begins with proper preparation. Always inspect the tools for damage before use – cracks, loose handles, or dull blades can lead to accidents. Wear appropriate safety gear, including safety glasses to protect your eyes from flying debris, work gloves to improve grip and protect your hands, and hearing protection when using power tools. Maintain a clear workspace, free from clutter and obstructions, to prevent tripping hazards. Use clamps and vises to secure your workpiece, preventing it from moving unexpectedly. Always cut away from your body, and be aware of your surroundings. Never rush; haste is the enemy of safety. Finally, understand the limitations of your tools and your skills. Start with simpler projects to build your confidence and proficiency before tackling complex tasks. A good rule of thumb is that if you are unsure about something, seek assistance.
Q 4. What are the different types of screwdrivers and their applications?
Screwdrivers come in various types, each suited for different screw heads. The most common are Phillips, slotted (flathead), and Torx. Phillips screwdrivers have an X-shaped tip, designed to resist cam-out (the screwdriver slipping out of the screw head). Slotted screwdrivers have a flat, straight tip, suitable for many common screws. Torx screwdrivers have a six-pointed star-shaped tip, offering better grip and torque transfer than Phillips, often used in precision applications. Beyond these, you have specialized drivers like Robertson (square), hex (six-sided), and various security drivers designed to prevent tampering. The correct screwdriver is crucial; using the wrong one can damage the screw head, stripping it and rendering it unusable. I always ensure I have a comprehensive set of screwdrivers, encompassing various sizes and types, to address the demands of any project.
Q 5. Describe your experience with measuring tools (e.g., tape measure, calipers, level).
My experience with measuring tools is extensive. Tape measures are indispensable for quick linear measurements, whether taking dimensions for a project or checking the accuracy of cuts. Calipers are vital for precision measurements, crucial for ensuring tight tolerances in woodworking or metalworking. I frequently use calipers to accurately measure the diameter of dowels or the thickness of materials. Levels are essential for ensuring surfaces are perfectly horizontal or vertical, crucial for framing, shelving, and any structural work. Beyond these, I’m also familiar with other precision measuring tools like rulers, squares, and protractors. Accurate measurement forms the bedrock of any successful project; using appropriate measuring tools ensures accuracy from the beginning, saving time and preventing costly mistakes later.
Q 6. How do you select the appropriate hand tool for a specific task?
Selecting the appropriate hand tool hinges on understanding the task at hand. Consider the material you’re working with (wood, metal, plastic, etc.), the desired cut or shape, the level of precision needed, and the size of the workpiece. For example, a hand saw is ideal for precise cuts in wood, while a chisel is best for shaping or removing material. A hammer is perfect for driving nails, while a wrench is used for tightening nuts and bolts. Always choose the tool best suited to the task – using the wrong tool is inefficient and may even lead to injury or damage to the workpiece. I always assess the project requirements thoroughly before selecting the tools needed. This ensures efficiency and a higher-quality result.
Q 7. Explain the importance of maintaining hand tools.
Maintaining hand tools is crucial for both safety and longevity. Regular cleaning is essential, removing sawdust, debris, and rust. Sharpening blades, especially on saws and chisels, is vital for clean cuts and efficient work. A dull blade requires more force, increasing the risk of injury and potentially damaging the workpiece. Proper storage is equally important, keeping tools in a dry place, protected from damage and corrosion. Handles should be checked for tightness and cracks, and any damaged tools should be repaired or replaced. Well-maintained tools are safer, more efficient, and last much longer. I always make tool maintenance a priority; I find it increases productivity and reduces the overall costs associated with replacements.
Q 8. Describe your experience with sharpening hand tools.
Sharpening hand tools is crucial for efficiency and safety. A dull tool requires more force, leading to inaccuracy and increased risk of injury. My approach involves understanding the tool’s geometry and using appropriate sharpening techniques. For example, chisels and plane irons require a specific bevel angle, typically 25-30 degrees, achieved through a combination of coarse and fine stones. I start with a coarser stone to remove significant damage, gradually progressing to finer stones for a polished edge. I regularly check the sharpness by testing the edge on a piece of softwood – a sharp tool will effortlessly slice through it. For saws, I use a saw file, carefully maintaining the teeth’s profile and set. Each tool type requires a slightly different approach, and years of practice have honed my skills in recognizing and addressing the specific needs of each.
For instance, when sharpening a plane iron, I use a honing guide to ensure a consistent bevel angle. This guide clamps onto the iron and allows for precise control during sharpening. I then strop the blade on leather to create a razor-sharp edge. The whole process demands patience and attention to detail; rushing can lead to damaged tools and unsatisfactory results.
Q 9. How do you handle a broken or damaged hand tool?
Handling a broken or damaged hand tool begins with a thorough safety assessment. If the damage compromises the tool’s structural integrity – for instance, a cracked hammer head or a severely bent chisel – the tool must be immediately discarded. Safety is paramount. Minor damage, such as a chipped chisel edge or a loose handle, can often be repaired. I typically start by assessing the extent of the damage. A chipped chisel can be sharpened back to its proper form. A loose hammer head needs to be checked for cracks and if none are present it can be re-secured with epoxy. However, for complex repairs or those that require specialized knowledge or equipment, I seek professional help or replacement. It’s always better to replace a compromised tool than risk injury. Proper tool maintenance, including regular inspection and storage, significantly minimizes the risk of damage and ensures longevity.
Q 10. What are the different types of hammers and their uses?
Hammers come in various types, each designed for specific applications. The most common is the claw hammer, used for driving and removing nails. Its curved claw allows for easy nail extraction. Ball-peen hammers have a round, domed face, ideal for shaping metal. Sledgehammers, with their large heads and heavy weight, are used for demolition and forceful impact. Mallet hammers feature softer heads made of rubber, wood, or plastic, reducing the risk of damaging materials like wood or metal. Finally, small tack hammers are designed for fine work, driving small nails and tacks. Selecting the right hammer for the task is essential for both efficiency and safety. Using the wrong type of hammer can lead to damaged materials or injury.
- Claw Hammer: General-purpose, driving and removing nails.
- Ball-peen Hammer: Shaping metal.
- Sledgehammer: Demolition, heavy-duty work.
- Mallet Hammer: Protecting materials from damage.
- Tack Hammer: Fine work, small nails and tacks.
Q 11. How do you use a plane to smooth wood?
Using a plane to smooth wood requires a combination of skill and technique. First, adjust the blade’s depth using the plane’s adjustment mechanism. A slight adjustment is often sufficient for initial smoothing. Then, hold the plane firmly with both hands, your leading hand controlling the direction and your trailing hand providing stability. Maintain a consistent angle, typically around 45 degrees, and use a smooth, even stroke, working with the grain of the wood. Avoid excessive pressure, as this could tear the wood. Start with several passes, taking only small amounts of material with each stroke. Gradually reduce the depth of cut as the surface becomes smoother. It’s important to keep the blade sharp; a dull blade will tear the wood instead of creating a smooth finish. Finally, inspect your work regularly. The goal is to achieve a perfectly smooth, even surface.
For example, when planing end grain, I use a smoothing plane in short strokes to avoid tearing. For long boards, I use a jack plane initially to remove significant material, followed by a smoother plane for the final finish. The process is iterative and requires practice to master.
Q 12. Describe your experience working with various materials (wood, metal, plastic).
My experience encompasses working with wood, metal, and plastic, each requiring different techniques and tools. Woodworking necessitates understanding grain direction to avoid splitting and utilizing appropriate chisels, planes, and saws. Metalworking involves knowledge of different metal types and their properties, demanding tools like files, hacksaws, and punches. Plastic, depending on its type, can be cut, shaped, and joined using specialized tools, understanding material brittleness, or pliability. Proper safety measures, such as using protective gear, are crucial across all these materials. For instance, working with hardwoods like oak demands more careful cutting techniques and sharper tools than working with softer woods like pine. Similarly, working with different metals requires a good understanding of their hardness and brittleness to choose the right tools and techniques.
Q 13. How do you interpret blueprints or schematics when using hand tools?
Interpreting blueprints and schematics is essential for accurate and efficient work. I carefully study the dimensions, specifications, and annotations to understand the project’s requirements. I pay close attention to details like scale, material types, and assembly instructions. Accurate measurements are crucial, and I use measuring tools like rulers, squares, and calipers to ensure precision. I also consider the sequence of operations, planning my approach before starting work to maximize efficiency and avoid errors. Sometimes, I create a separate layout diagram to clarify complex sections, helping visualize the process and ensure the project proceeds logically and smoothly.
For example, if a blueprint shows a specific angle for a cut, I use a protractor and marking gauge to precisely transfer that angle onto the workpiece before cutting.
Q 14. Explain the process of drilling a hole accurately and safely.
Drilling a hole accurately and safely starts with selecting the right drill bit for the material and desired hole size. Next, use a center punch to mark the exact drilling location, creating a small indentation to guide the drill bit. Clamp the workpiece securely to prevent movement during drilling. Start drilling slowly at low speed, allowing the bit to find its center. Gradually increase the speed as the hole deepens. Apply moderate pressure to maintain even drilling, avoiding excessive force that can cause the bit to wander or break. For deep holes, periodically remove the bit to clear out shavings and prevent overheating. Finally, remember to wear appropriate safety gear, including eye protection, to prevent injury from flying debris. Always start with a pilot hole for larger diameter bits, which aids accuracy and prevents the wood from splitting.
Q 15. What are the different types of pliers and their applications?
Pliers are indispensable hand tools used for gripping, bending, and cutting various materials. Different types are designed for specific tasks. Think of them as specialized fingers!
- Slip-Joint Pliers: These are versatile general-purpose pliers with adjustable jaws, perfect for gripping irregularly shaped objects or nuts and bolts of varying sizes. I’ve used them countless times for everything from plumbing repairs to automotive work.
- Needle-Nose Pliers: Their long, slender jaws are ideal for reaching into tight spaces and delicate work like electronics repair or jewelry making. Their precision is invaluable.
- Lineman’s Pliers: These heavy-duty pliers boast powerful jaws for gripping and cutting wires. Safety is paramount when using these; I always ensure the wire is properly secured before cutting.
- Locking Pliers (e.g., Vise-Grips): These pliers have a locking mechanism, maintaining a firm grip without constant pressure. This is crucial when working on stubborn nuts or bolts, especially in confined areas.
- Diagonal Cutting Pliers (Dikes): Specifically designed for clean cuts on wires and small metal components. I rely on these for precision electronics work.
The choice of pliers depends entirely on the specific task. Using the wrong type can lead to inefficient work and even damage to the material.
Career Expert Tips:
- Ace those interviews! Prepare effectively by reviewing the Top 50 Most Common Interview Questions on ResumeGemini.
- Navigate your job search with confidence! Explore a wide range of Career Tips on ResumeGemini. Learn about common challenges and recommendations to overcome them.
- Craft the perfect resume! Master the Art of Resume Writing with ResumeGemini’s guide. Showcase your unique qualifications and achievements effectively.
- Don’t miss out on holiday savings! Build your dream resume with ResumeGemini’s ATS optimized templates.
Q 16. Describe your experience with working with various types of fasteners (screws, nails, bolts).
My experience with fasteners spans decades and countless projects. Proper technique and tool selection are key for both installation and removal.
- Screws: I’m proficient with various screw types (Phillips, flathead, Torx, etc.) and use appropriate screwdrivers to avoid cam-out and damage. I always pre-drill pilot holes for wood screws to prevent splitting.
- Nails: From finishing nails to framing nails, I know how to select the right nail for the job and use a hammer with the correct weight and balance. I always use a nail set to counter-sink nails for a clean finish.
- Bolts: Working with bolts often involves using wrenches, sockets, and ratchets. I’m skilled in selecting the appropriate size and type of wrench and understand the importance of using the correct torque to avoid stripping threads.
Understanding the material being fastened is crucial. Different materials require different techniques and fastener types. For example, using the wrong type of screw in a certain type of wood could easily lead to splitting.
Q 17. How do you ensure accuracy and precision when using hand tools?
Accuracy and precision with hand tools are achieved through a combination of technique, tool selection, and careful planning. It’s about being methodical and mindful.
- Sharp Tools: Dull tools require more force, leading to inaccuracies and potential injury. Regularly sharpening my tools is non-negotiable.
- Proper Measurement: I always double-check measurements using multiple methods, especially for critical cuts or placements. A trusty measuring tape is my best friend.
- Stable Work Surface: A secure workbench is essential for preventing errors and ensuring stability. This avoids jerky movements which can lead to mistakes.
- Careful Technique: Slow, deliberate movements, maintaining a firm grip, and using the tool as intended are key. Rushing leads to mistakes.
For example, when cutting wood, I use a marking gauge to ensure accurate cuts along a straight line. This precision is especially critical in finer woodworking projects.
Q 18. Explain your experience with using a coping saw.
The coping saw, with its fine-toothed blade, is ideal for intricate cuts in wood and other materials. Its narrow blade allows for tight curves and detailed work.
My experience includes using it for various tasks, such as creating decorative moldings, cutting curves in wooden frames, and even intricate fretwork. It’s crucial to use a blade appropriate for the material being cut. The tension on the blade also significantly impacts the cut quality. A loose blade will result in a wobbly and inaccurate cut.
When using a coping saw, maintaining a light, controlled pressure is crucial. Applying too much force can break the blade or result in a jagged cut. I always work in a well-lit area to ensure precision and visibility.
Q 19. What is your preferred method for removing old paint or varnish?
Removing old paint or varnish depends on the type of surface and the thickness of the coating. There are various methods, each with its pros and cons.
- Scraping: For thicker layers, a paint scraper is effective. I use different scrapers depending on the surface. This is a physical method and can be time-consuming but provides precise control.
- Heat Gun: A heat gun softens the paint or varnish, making it easier to scrape. However, caution is necessary to avoid damaging the underlying surface. It’s crucial to wear appropriate safety gear.
- Chemical Strippers: Chemical strippers are effective but require careful handling due to the potential health hazards. I always follow the manufacturer’s instructions, using appropriate PPE.
I often combine methods, using a heat gun to soften the paint, then carefully scraping it off. The choice of method depends on the specific project and materials involved. Safety is always my top priority.
Q 20. Describe your experience with using a rasp or file.
Rasps and files are used for shaping and smoothing wood and metal. They come in various shapes and sizes, each designed for specific applications. Think of them as miniature sculptors’ tools.
My experience with these tools includes shaping wood for furniture making, smoothing metal components, and creating intricate details in various projects. I always use a file with the appropriate coarseness for the desired result. Using too coarse of a file on delicate work could easily ruin the piece. Furthermore, I always use a file card to keep the teeth clean and free from clogging, maintaining efficiency and preventing damage to the work piece.
Proper technique is critical. I use a push-and-pull motion, avoiding excessive pressure to prevent bending or breaking the file. I always support the work piece to avoid slippage and ensure a smooth, even finish.
Q 21. How do you maintain proper posture and ergonomics when using hand tools?
Maintaining proper posture and ergonomics is crucial for preventing injuries and fatigue when using hand tools. It’s about working smarter, not harder.
- Proper stance: Maintaining a balanced stance with feet shoulder-width apart and avoiding twisting is essential.
- Comfortable grip: Holding tools correctly, avoiding excessive pressure, and using tools that fit the hand size reduces stress and strain.
- Avoid awkward positions: Adjusting the workbench height or using appropriate clamping devices prevents awkward postures and reduces strain on the back and neck.
- Take breaks: Regular short breaks prevent fatigue and allow muscles to recover, promoting long-term health and wellbeing.
I regularly evaluate my posture while working and adjust accordingly. Regular stretching exercises and proper body mechanics are vital for long-term hand tool use. I consider it a critical part of the job, just as important as knowing the tools themselves.
Q 22. Explain your experience working from drawings and specifications.
Working from drawings and specifications is fundamental to precision woodworking. It requires a keen eye for detail and a thorough understanding of the provided information. My approach involves several key steps: First, I carefully review the drawings, noting dimensions, material specifications, and any special instructions. I then translate these 2D representations into a 3D understanding of the final product. This often involves visualizing the assembly process and anticipating potential challenges. For example, when building a complex dovetail joint, I’ll mentally walk through each cut, ensuring the angles and measurements are accurate and will result in a tight, secure fit. Next, I meticulously measure and mark my lumber according to the plan, double-checking measurements at every stage to minimize errors. Finally, I execute the plan systematically, regularly comparing my progress against the drawings to maintain accuracy.
In one project, I was tasked with building a custom bookcase from detailed architectural drawings. These drawings included intricate molding and curved elements. By systematically following the drawings and taking careful measurements at each step, I was able to construct the bookcase precisely to specifications, meeting the client’s expectations and demonstrating my ability to interpret and execute complex plans.
Q 23. Describe your approach to troubleshooting problems encountered during a hand tool task.
Troubleshooting in hand tool work relies on a methodical and analytical approach. My first step is always to identify the exact problem. Is the joint misaligned? Is the cut inaccurate? Or is there a material defect? Once the problem is identified, I retrace my steps to determine the source of the error. This may involve checking my measurements, assessing tool sharpness, or examining the wood grain for potential weaknesses. I often use a combination of visual inspection, feel, and measurement to pinpoint the issue. For example, a poorly fitting dovetail joint might indicate an inaccurate marking or a dull chisel. Then I systematically address the identified cause, whether it’s resharpening a tool, re-measuring, or making a slight adjustment to the workpiece.
In one instance, I encountered difficulty planing a piece of particularly knotty wood. The plane kept catching and creating uneven surfaces. After carefully examining the wood grain, I realized the knots were interfering. My solution involved adjusting my planing technique, using smaller, lighter strokes to avoid catching on the knots and ensuring a smoother, consistent finish.
Q 24. What safety precautions do you take when working at heights?
Safety at heights is paramount. My approach is based on a layered safety system, starting with proper planning and risk assessment. Before starting any work at heights, I meticulously inspect the ladder or scaffold to ensure its stability and structural integrity, checking for any damage or weaknesses. I always ensure a secure footing and use a safety harness whenever possible, securing it to a robust anchor point. I also avoid distractions and maintain three points of contact on the ladder (two hands and one foot, or two feet and one hand). Finally, I never overreach and always stay within the ladder’s safe working limits. If the task is extensive or complex, I’ll consider using an appropriate fall protection system and always follow the manufacturer’s instructions for all equipment.
I remember working on a high gable roof repairing some damaged shingles. I used a ladder that was significantly longer than I typically use, therefore I took the extra precaution of having a colleague help me hold the ladder firmly while I worked. I also tied off my safety harness to a solid section of the roof, providing an added layer of protection.
Q 25. How do you handle unexpected situations or emergencies while using hand tools?
Unexpected situations require quick thinking and a calm response. My first priority is always safety. If I experience a tool malfunction (like a chisel breaking), I immediately stop work, secure the area, and assess the situation. If there is a risk of injury, I’ll evacuate the immediate area until the hazard is neutralized. Then, I’ll determine the best course of action, which may involve repairing the tool, substituting with an alternative, or modifying my approach. I communicate effectively with colleagues or supervisors to ensure everyone’s safety and to coordinate any necessary adjustments to the project plan.
Once, while using a hand saw, I inadvertently cut into a water pipe, causing a leak. I immediately shut off the water supply and alerted my supervisor. We then took the appropriate steps to repair the pipe, preventing further damage and ensuring the safety of everyone involved.
Q 26. Describe your experience working as part of a team.
Teamwork is crucial in many woodworking projects. My experience has shown that effective collaboration relies on clear communication, mutual respect, and a shared understanding of goals and responsibilities. I actively contribute to a positive team dynamic by offering assistance, sharing my knowledge, and actively listening to the contributions of others. I believe in a collaborative approach, where each team member’s strengths are utilized to achieve optimal results. I readily adapt my approach to suit the team’s needs and am comfortable taking direction as well as providing guidance.
During a recent project involving the construction of a large timber-framed structure, I worked closely with a team of carpenters, each specializing in different aspects of the construction. By effectively communicating and coordinating our efforts, we successfully completed the project ahead of schedule and within budget.
Q 27. What is your understanding of different wood types and their properties?
Understanding wood types and their properties is critical for successful woodworking. Different woods have varying densities, grain patterns, hardness, and workability. For instance, hardwoods like oak and maple are dense, strong, and durable, making them ideal for furniture construction, while softer woods like pine and cedar are easier to work with but less durable. The grain pattern impacts the ease of cutting and the final finish. Understanding these differences allows me to choose the appropriate wood for a specific project and adjust my techniques accordingly. I also consider the wood’s moisture content, as this can affect its stability and susceptibility to warping or cracking.
For example, when building a fine dining table, I would select a hardwood like cherry or walnut for its beauty, strength, and durability. For a less demanding project like a birdhouse, a softer wood like pine would be a suitable and more economical choice.
Q 28. How do you choose the right drill bit for different materials?
Selecting the correct drill bit depends heavily on the material being drilled. For wood, I typically use twist drill bits, choosing a size appropriate for the screw or fastener. The point angle is generally less critical in wood than in other materials. For metals, I might use high-speed steel (HSS) bits, or for harder metals, cobalt-based HSS bits for improved durability. For masonry, I use masonry bits, which have carbide tips designed to withstand the abrasive properties of concrete and brick. The type of bit also impacts the size and type of pilot hole needed to prevent splitting or cracking. When drilling into plastics, I would select bits specifically designed for plastics, as the wrong bit can cause melting or tearing of the material. It’s crucial to consider the material’s hardness and its tendency to chip or crack to avoid damaging the workpiece.
For example, when installing hinges on a wooden door, I’d use a standard twist drill bit to create pilot holes for the screws. When drilling into concrete to install an anchor, I would carefully select a masonry bit to ensure clean and precise holes without damaging the bit.
Key Topics to Learn for Working with Hand Tools Interview
- Safety Procedures: Understanding and applying safe work practices with hand tools, including proper handling, storage, and maintenance to prevent accidents.
- Tool Selection and Usage: Knowing which tools are appropriate for specific tasks and demonstrating proficiency in their correct and efficient use. This includes understanding the limitations of each tool.
- Measuring and Marking Techniques: Accurate measurement and marking are crucial. Practice using various measuring tools and techniques for precise work.
- Material Knowledge: Familiarity with different materials (wood, metal, plastic, etc.) and how hand tools interact with each. Understanding material properties is key to successful projects.
- Basic Carpentry Techniques (if applicable): For roles involving carpentry, mastering fundamental techniques like sawing, drilling, chiseling, and joinery is essential.
- Troubleshooting and Problem Solving: Demonstrate your ability to identify and resolve common problems encountered while using hand tools. This includes recognizing tool malfunction and implementing corrective measures.
- Maintenance and Sharpening: Proper tool maintenance, including sharpening and cleaning, extends their lifespan and ensures optimal performance. Show you understand these processes.
- Project Planning and Execution: Discuss your approach to planning a project involving hand tools, from initial assessment to completion. Highlight your organizational skills.
Next Steps
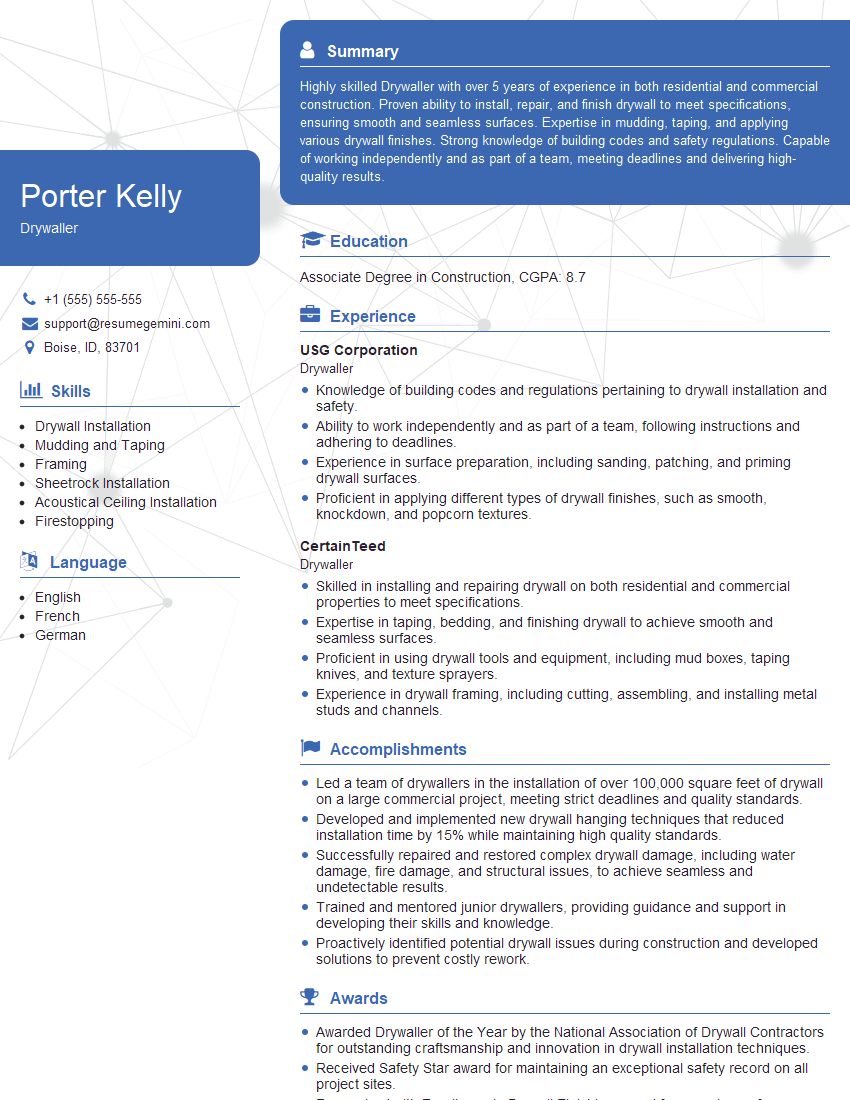
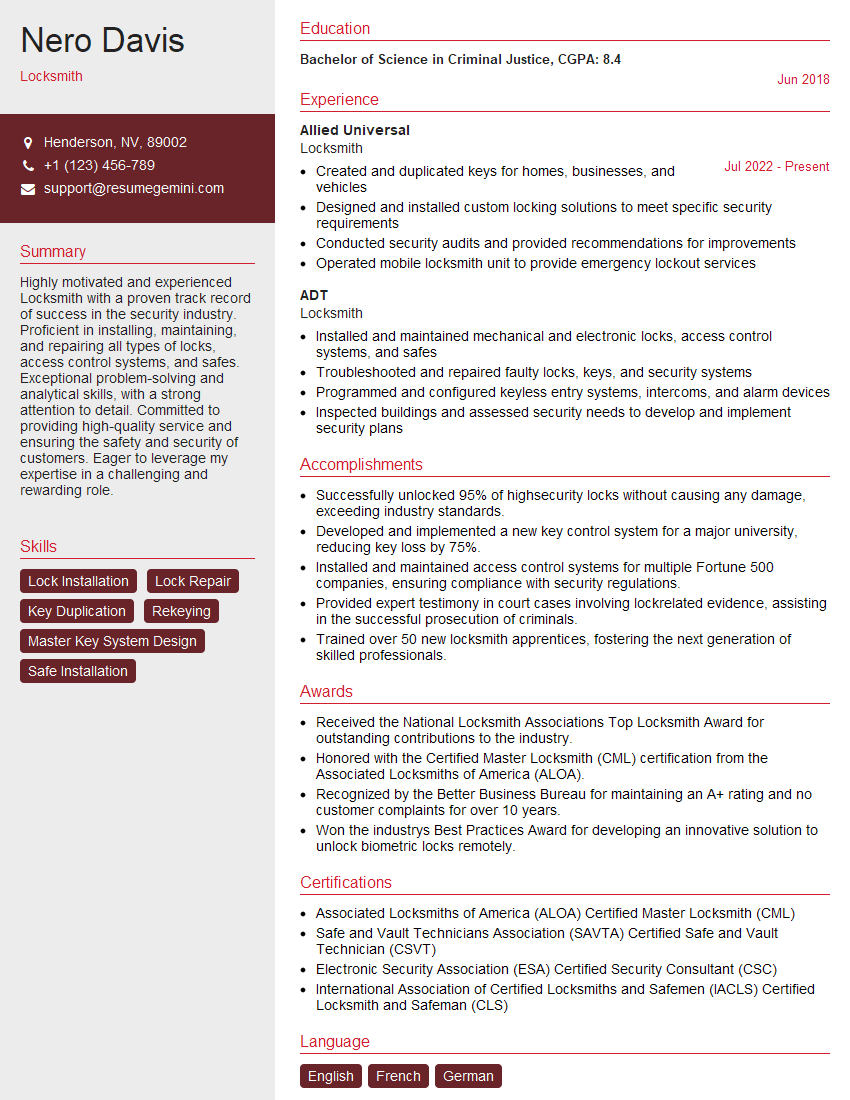
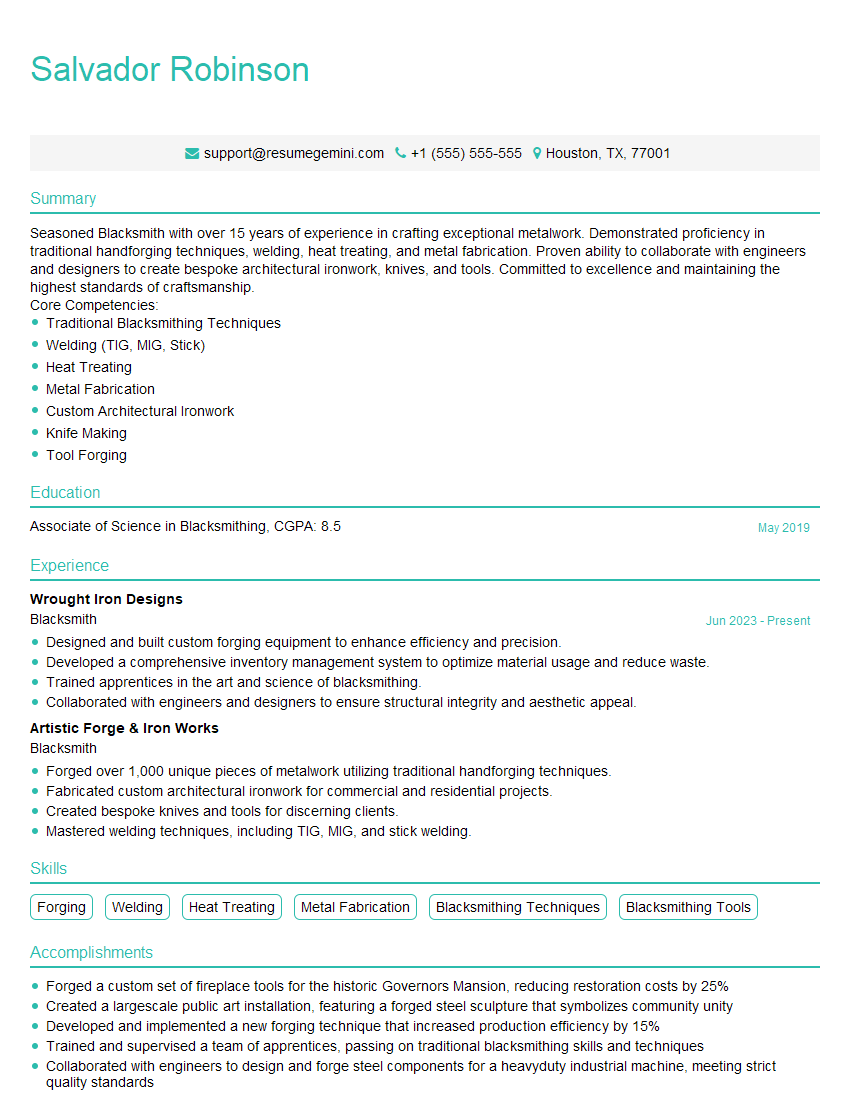
Mastering the use of hand tools is crucial for career advancement in many skilled trades and technical fields. Proficiency in this area demonstrates valuable skills like precision, problem-solving, and attention to detail – all highly sought after by employers. To increase your job prospects, focus on crafting an ATS-friendly resume that clearly showcases your abilities. ResumeGemini is a trusted resource for building professional and effective resumes. They provide examples of resumes tailored to “Working with Hand Tools” roles to help you create a compelling document that highlights your unique qualifications. Take the next step and build a resume that gets noticed!
Explore more articles
Users Rating of Our Blogs
Share Your Experience
We value your feedback! Please rate our content and share your thoughts (optional).
What Readers Say About Our Blog
This was kind of a unique content I found around the specialized skills. Very helpful questions and good detailed answers.
Very Helpful blog, thank you Interviewgemini team.
