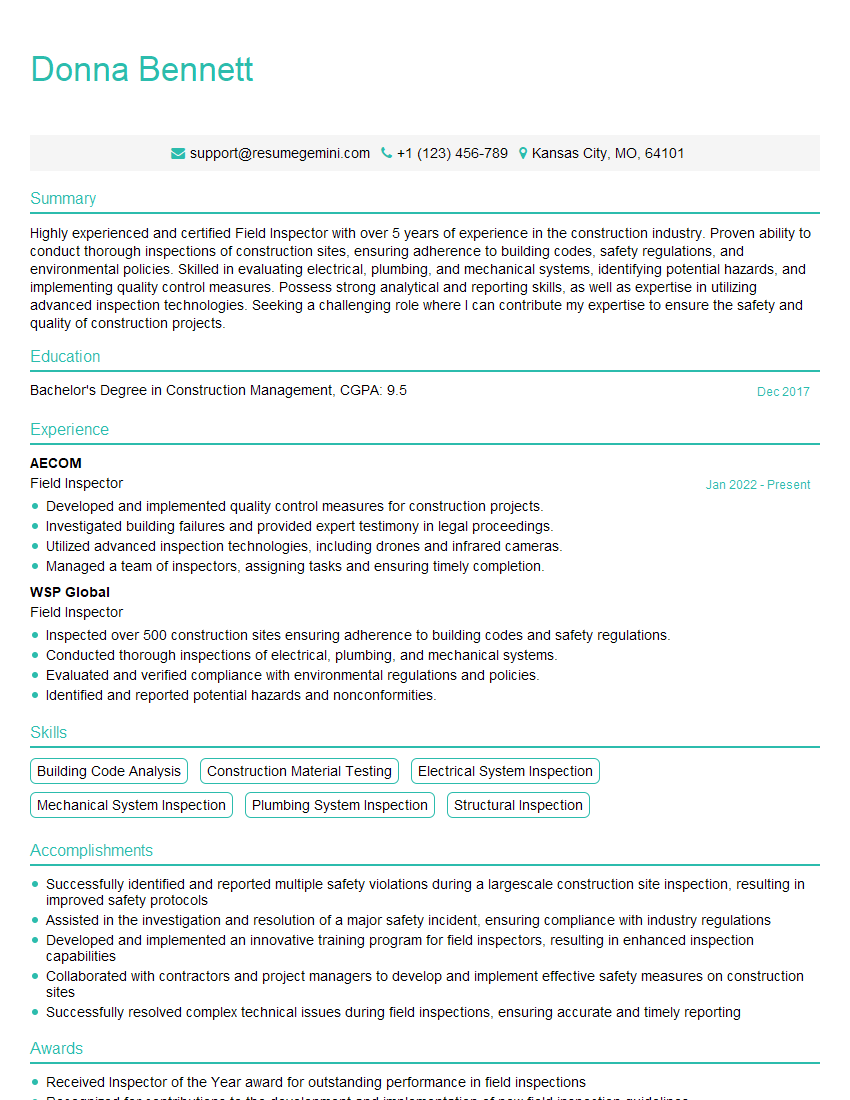
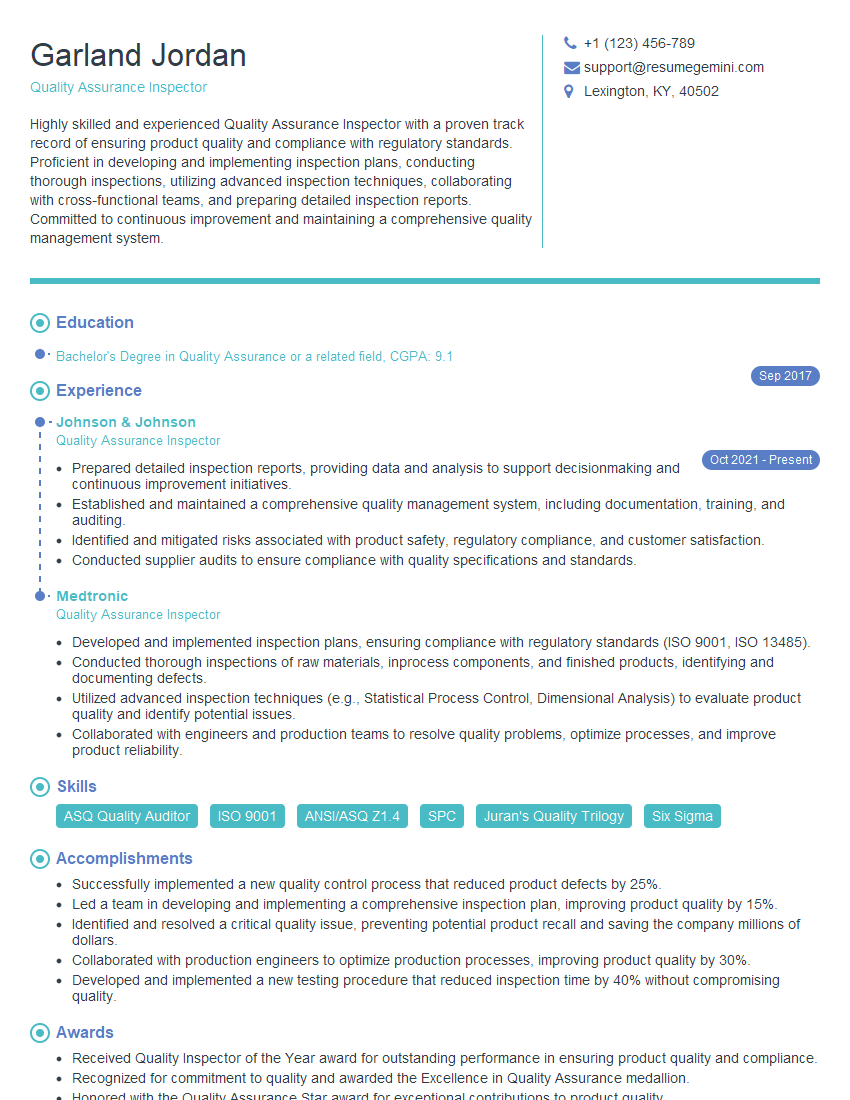
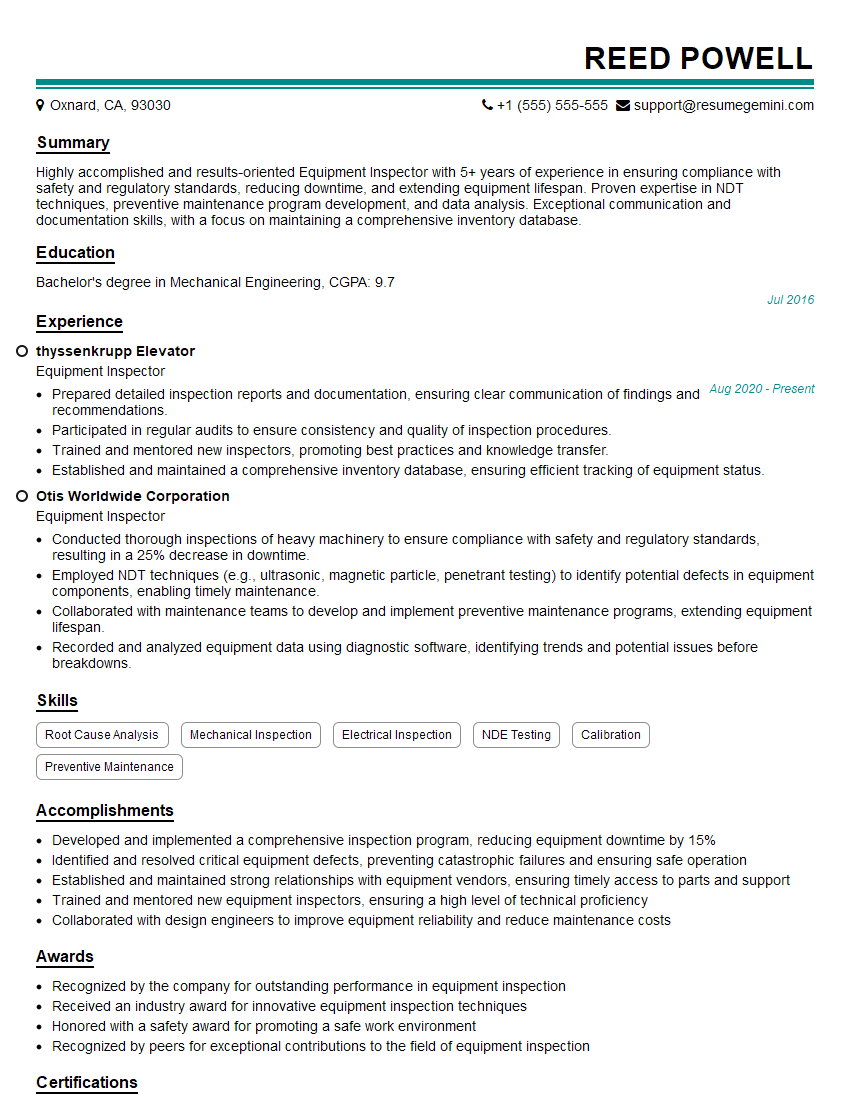
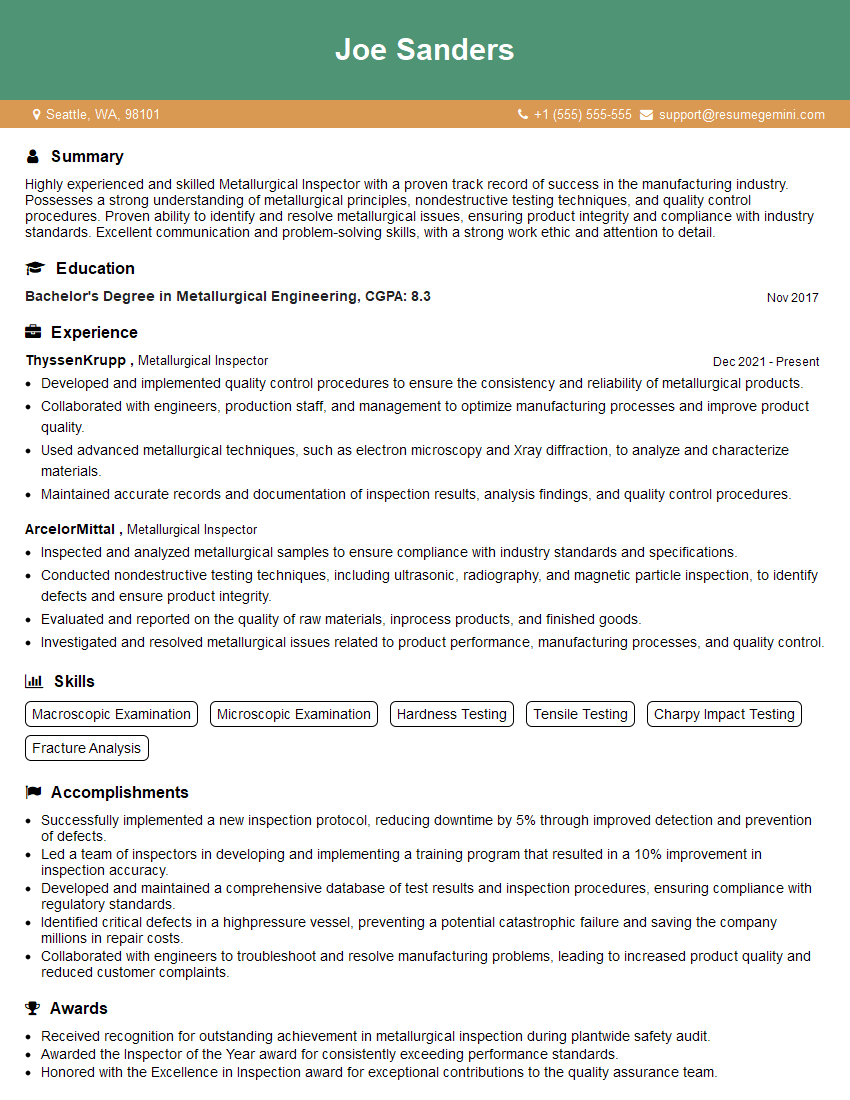
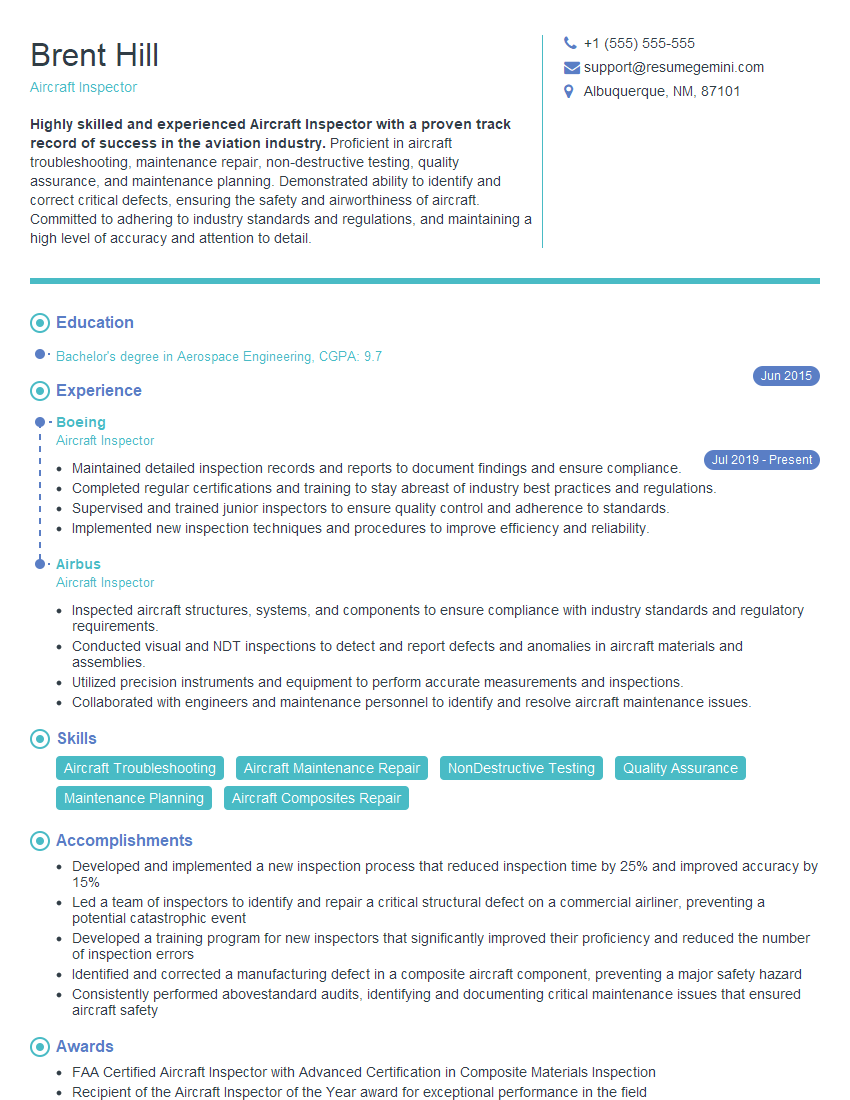
Cracking a skill-specific interview, like one for Equipment and Material Inspection, requires understanding the nuances of the role. In this blog, we present the questions you’re most likely to encounter, along with insights into how to answer them effectively. Let’s ensure you’re ready to make a strong impression.
Questions Asked in Equipment and Material Inspection Interview
Q 1. What are the different types of Non-Destructive Testing (NDT) methods?
Non-Destructive Testing (NDT) encompasses a variety of methods used to evaluate the properties of a material, component, or system without causing damage. This is crucial for ensuring safety and reliability in various industries. Different methods utilize different principles to detect flaws or measure properties.
- Visual Inspection: The simplest method, involving visual examination for surface defects.
- Liquid Penetrant Testing (LPT): Uses a dye to highlight surface-breaking flaws.
- Magnetic Particle Testing (MPT): Detects surface and near-surface flaws in ferromagnetic materials.
- Ultrasonic Testing (UT): Uses high-frequency sound waves to detect internal flaws.
- Radiographic Testing (RT): Employs X-rays or gamma rays to create images revealing internal flaws.
- Eddy Current Testing (ECT): Uses electromagnetic induction to detect surface and subsurface flaws in conductive materials.
- Acoustic Emission Testing (AET): Detects transient elastic waves generated by defects.
The choice of NDT method depends on the material, the type of defect expected, and the required level of detail.
Q 2. Explain the principles of ultrasonic testing.
Ultrasonic testing (UT) utilizes high-frequency sound waves (typically above 20 kHz) to detect internal flaws in materials. Imagine it like sonar, but for materials. A transducer transmits ultrasonic waves into the material. These waves travel through the material, reflecting off interfaces like flaws (cracks, voids, inclusions) or the back surface. The reflected waves are received by the same or a separate transducer, and the time it takes for the waves to return is measured. This time is directly proportional to the depth of the flaw.
Different types of waves (longitudinal, shear, surface) can be used depending on the material and the type of flaw being sought. The amplitude of the reflected waves indicates the size of the flaw. A skilled technician interprets the received signals to create an image or report of the material’s internal structure and identify any defects. Think of it as a detailed ‘sonogram’ of the material.
Q 3. Describe the process of visual inspection.
Visual inspection is the simplest and often the first NDT method employed. It involves a thorough visual examination of a component’s surface using the naked eye or with the aid of magnification tools like magnifying glasses, borescopes, or even microscopes. The inspector looks for surface defects such as cracks, scratches, corrosion, dents, pitting, or any signs of damage or wear. Adequate lighting is crucial for effective visual inspection. Documentation often includes photographs and detailed descriptions of observed defects, their location, and size.
For example, a visual inspection of a weld might reveal porosity (small holes) or lack of fusion (incomplete bonding of the weld metal), while examining a pressure vessel might uncover signs of corrosion or deformation.
Q 4. What are the limitations of magnetic particle testing?
Magnetic particle testing (MPT) is limited to ferromagnetic materials (iron, nickel, cobalt, and their alloys) because it relies on the material’s ability to be magnetized. It cannot be used on non-magnetic materials such as aluminum, copper, or plastics. Additionally, surface coatings or thick layers of paint can hinder the detection of subsurface defects. The depth of penetration of the magnetic field is also limited, meaning very deep flaws might not be detected. Furthermore, complex geometries can make it difficult to magnetize the part effectively, leading to incomplete inspection.
For example, MPT would be unsuitable for inspecting an aluminum aircraft component or a plastic part. It may also be challenging to inspect a part with a complex internal structure because the magnetic field might not penetrate all areas effectively.
Q 5. How do you interpret radiographic images?
Interpreting radiographic images requires specialized training and experience. Radiographic images (or radiographs) show the internal structure of a material, revealing density variations. Denser materials appear lighter, while less dense areas (like flaws) appear darker. The interpreter looks for indications of flaws such as cracks, porosity, inclusions, or other discontinuities. Understanding the material and the radiographic technique is vital for accurate interpretation.
The process involves comparing the image to reference standards, assessing the size, shape, and location of indications, and ultimately determining whether the flaws are acceptable or require corrective action. This process requires careful attention to detail and a thorough understanding of the material’s properties and the imaging technique used.
Q 6. What safety precautions are necessary during material inspection?
Safety during material inspection is paramount. Precautions vary depending on the specific NDT method used. For example, radiographic testing requires shielding from radiation using lead aprons and barriers. Ultrasonic testing may involve high-intensity sound, which can cause discomfort with prolonged exposure. Magnetic particle testing uses strong magnetic fields that could interfere with pacemakers or other sensitive medical devices. All methods require appropriate personal protective equipment (PPE), such as safety glasses, gloves, and hearing protection where necessary. Proper ventilation is also crucial in some NDT processes to mitigate potential hazards from fumes or dust.
A thorough risk assessment should be conducted before any inspection activity, and workers must receive proper training on safe operating procedures.
Q 7. How do you identify and document defects?
Identifying and documenting defects is a critical part of the material inspection process. The process usually involves:
- Precise Location: The exact location of the defect is recorded, often using coordinates or clear visual references.
- Detailed Description: A thorough description of the defect is provided including its type (crack, porosity, inclusion, etc.), size, shape, and orientation.
- Photography/Imagery: High-quality photographs or images from NDT methods are included as evidence.
- Severity Assessment: The severity of the defect is assessed based on its size, location, and potential impact on the component’s integrity.
- Reporting: All findings are documented in a formal report with clear and concise language, avoiding ambiguity.
This detailed documentation ensures traceability and facilitates decision-making concerning repair, replacement, or acceptance of the material.
Q 8. Explain your experience with different types of inspection reports.
Throughout my career, I’ve compiled and reviewed a wide range of inspection reports, each tailored to the specific equipment or material being assessed and the client’s requirements. These reports commonly fall into a few categories:
- Visual Inspection Reports: These detail surface imperfections, such as scratches, dents, or corrosion, often accompanied by photographs. For instance, a visual inspection report on a pressure vessel might note the presence of minor surface pitting and recommend further investigation using non-destructive testing (NDT) methods.
- Dimensional Inspection Reports: These reports document measurements taken using tools like calipers, micrometers, or coordinate measuring machines (CMMs). A dimensional report for a machined part might highlight deviations from the specified tolerances, potentially impacting functionality.
- NDT Inspection Reports: These reports document findings from techniques like ultrasonic testing (UT), radiographic testing (RT), magnetic particle testing (MT), and liquid penetrant testing (PT). A UT report on a weld might identify internal flaws, providing information about their size, location, and potential severity.
- Material Test Reports (MTRs): These reports detail the results of material testing, such as tensile strength, chemical composition, and hardness. An MTR for a steel plate used in construction would confirm its compliance with the specified grade and properties.
The common thread in all these reports is clear, concise documentation, traceability to the inspected item, and objective assessment of its condition against specified standards or criteria. I always ensure the reports are easily understandable, well-organized, and readily accessible for future reference.
Q 9. How do you handle discrepancies between inspection results and specifications?
Discrepancies between inspection results and specifications are a common occurrence, and handling them effectively is crucial. My approach is methodical and involves several steps:
- Verification: I begin by carefully re-checking the inspection process and data. Sometimes, the discrepancy is due to a simple error in measurement, calculation, or data entry. A second, independent review is often helpful here.
- Root Cause Analysis: If the discrepancy persists, I initiate a root cause analysis to identify the source of the problem. This might involve examining the manufacturing process, the inspection equipment, or even the specifications themselves. For example, a discrepancy might arise from a misunderstanding of the specifications or a malfunctioning measuring device.
- Documentation: All discrepancies, their investigation, and the conclusions reached are thoroughly documented. This documentation forms an important part of the overall inspection report and helps to prevent similar issues in the future.
- Corrective Action: Based on the root cause analysis, I propose and implement corrective actions. This could range from adjusting the inspection procedure to replacing faulty equipment or revising the specifications. Corrective actions should be clearly documented and verified to ensure effectiveness.
- Communication: I ensure clear communication with relevant stakeholders throughout the process. This includes informing the client, the manufacturer, and other team members about the discrepancy and the actions taken to resolve it.
Imagine a scenario where a batch of components fails to meet a critical dimensional tolerance. Following these steps allows for a systematic investigation, pinpointing the cause (e.g., a worn tool in the manufacturing process), implementing corrective actions (e.g., replacing the tool and re-inspecting), and ensuring that the problem does not recur.
Q 10. What is your experience with calibration of inspection equipment?
Calibration of inspection equipment is fundamental to ensuring the accuracy and reliability of inspection data. My experience encompasses various calibration methods and equipment, including:
- Micrometers and Calipers: I’m proficient in calibrating these using gauge blocks, ensuring their accuracy within specified tolerances.
- Coordinate Measuring Machines (CMMs): I have experience with CMM calibration procedures, including artifact measurements and software verification. CMM calibration requires a high level of precision and adherence to strict protocols.
- Non-Destructive Testing (NDT) Equipment: I’m familiar with the calibration requirements for various NDT instruments, such as ultrasonic flaw detectors, which necessitate regular checks against calibrated standards.
I strictly adhere to established calibration schedules and maintain meticulous records of all calibration activities, including calibration certificates and traceability to national standards. This ensures that all inspection equipment operates within its specified tolerances, minimizing measurement uncertainty and improving data confidence.
Q 11. Describe your experience with using data acquisition systems for inspection.
Data acquisition systems are invaluable for streamlining the inspection process and improving data management. I have extensive experience using various data acquisition systems in inspection, ranging from simple digital calipers with data logging capabilities to sophisticated automated systems integrating CMMs and NDT equipment. These systems enable the automated collection, storage, and analysis of large datasets.
For example, I’ve used data acquisition systems to collect dimensional data from hundreds of parts in a single run, reducing manual data entry and eliminating human error. The collected data can be easily analyzed, creating charts and reports highlighting trends and patterns. These systems allow for automated comparison against specifications, instantly flagging discrepancies.
My experience also includes using software to manage and analyze data from multiple inspections, generating comprehensive reports that provide insights into the overall quality of a product or process. This not only enhances efficiency but also improves traceability and regulatory compliance.
Q 12. How do you manage your workload when dealing with multiple inspection tasks?
Managing multiple inspection tasks effectively requires a structured approach. I typically utilize the following strategies:
- Prioritization: I prioritize tasks based on urgency, criticality, and deadlines. This ensures that the most important inspections are completed first.
- Planning and Scheduling: I develop a detailed schedule that allocates specific time slots for each inspection task, considering factors such as equipment availability and personnel requirements.
- Delegation: When possible, I delegate tasks to qualified team members to optimize workload distribution and improve efficiency.
- Time Management Techniques: I employ techniques like the Pomodoro Technique to maintain focus and avoid burnout, preventing inaccuracies caused by fatigue.
- Regular Review and Adjustment: I regularly review the schedule and make adjustments as needed to accommodate unexpected delays or changes in priorities.
Think of it like conducting an orchestra – each musician (inspector) has their part (inspection task), and a conductor (me) ensures that everyone plays in harmony, meeting the overall performance (project) deadline. This structured approach ensures that all inspections are completed accurately and on time.
Q 13. What is your understanding of quality control standards (e.g., ISO 9001)?
I possess a solid understanding of various quality control standards, most notably ISO 9001. This international standard outlines a framework for establishing, implementing, maintaining, and continually improving a quality management system (QMS).
My understanding extends to the principles of ISO 9001, including:
- Customer focus: Understanding and meeting customer requirements is paramount.
- Leadership: Strong leadership is essential for driving quality improvements.
- Engagement of people: Empowering and involving personnel is key to achieving quality objectives.
- Process approach: Managing processes effectively is critical for achieving consistent results.
- Improvement: Continuously seeking ways to improve the QMS is fundamental.
In my work, I ensure that all inspection activities align with the principles of ISO 9001, contributing to a robust and efficient QMS. This includes proper documentation, traceability, and adherence to documented procedures. The goal is not just to meet the requirements of the standards, but to utilize them to create a culture of continuous improvement within the inspection process.
Q 14. How do you maintain the accuracy and reliability of inspection data?
Maintaining the accuracy and reliability of inspection data is paramount. My approach involves several key strategies:
- Equipment Calibration: Regular calibration of inspection equipment, as discussed earlier, is crucial. This ensures that all measurements are traceable to national standards.
- Standard Operating Procedures (SOPs): Following well-defined SOPs for each inspection procedure minimizes variability and human error. SOPs provide clear instructions and ensure consistency.
- Data Validation: I implement robust data validation checks to identify and correct errors. This includes cross-checking data, comparing results from different methods, and reviewing for outliers.
- Traceability: Maintaining complete traceability of all inspection data, from sample identification to the final report, is essential for verifying results and investigating discrepancies.
- Quality Control Checks: Implementing internal quality control checks, such as peer reviews of inspection reports, helps identify potential errors and biases.
Imagine a bridge construction project; the accuracy of the inspection data directly impacts safety and structural integrity. By diligently following these strategies, we can ensure the reliability of our findings and safeguard against potential failures.
Q 15. Explain the importance of documentation in material inspection.
Documentation in material inspection is paramount; it’s the backbone of ensuring accountability, traceability, and the legal defensibility of inspection findings. Think of it as the meticulous record-keeping that safeguards against disputes and allows for continuous improvement. Without proper documentation, even the most thorough inspection is essentially useless.
- Traceability: Documentation allows you to trace the history of a material or piece of equipment from its origin to its final application. This is crucial for identifying the source of any defects and preventing future occurrences. Imagine a batch of faulty steel – documentation helps pinpoint the supplier or manufacturing process responsible.
- Legal Compliance: Many industries have strict regulations requiring detailed inspection records. These records serve as evidence of compliance and can protect a company from liability in case of accidents or failures. For example, aerospace and construction often have very stringent documentation requirements.
- Quality Control: Well-maintained documentation facilitates continuous improvement. By analyzing past inspection reports, we can identify trends, recurring issues, and areas needing process adjustments. It’s like a medical patient’s history – crucial for diagnosis and treatment.
- Auditing and Verification: External audits often require thorough inspection documentation to verify compliance with standards and specifications. This ensures the credibility of the inspection process and the organization itself.
In practice, this means maintaining detailed reports, using standardized forms, storing digital images, and following established procedures. Every step of the inspection, from sampling to final assessment, needs to be meticulously documented.
Career Expert Tips:
- Ace those interviews! Prepare effectively by reviewing the Top 50 Most Common Interview Questions on ResumeGemini.
- Navigate your job search with confidence! Explore a wide range of Career Tips on ResumeGemini. Learn about common challenges and recommendations to overcome them.
- Craft the perfect resume! Master the Art of Resume Writing with ResumeGemini’s guide. Showcase your unique qualifications and achievements effectively.
- Don’t miss out on holiday savings! Build your dream resume with ResumeGemini’s ATS optimized templates.
Q 16. How do you ensure the integrity of inspected equipment?
Ensuring the integrity of inspected equipment is a multifaceted process involving a combination of preventative and reactive measures. It’s like a doctor ensuring a patient’s health – a blend of proactive wellness checks and reactive treatment.
- Preventative Measures: This includes implementing robust maintenance schedules, proper handling procedures during storage and transport, and establishing clear operational guidelines. Regular lubrication, for instance, significantly extends the life of many pieces of equipment and reduces wear.
- Non-Destructive Testing (NDT): This is crucial for assessing the internal condition of equipment without causing damage. Techniques like ultrasonic testing, radiography, and magnetic particle inspection are commonly employed to detect internal flaws, cracks, and corrosion. Imagine an X-ray for a metal component – NDT helps us see inside without breaking it open.
- Visual Inspection: A simple yet powerful technique. Careful observation can reveal cracks, dents, corrosion, or signs of wear and tear. It’s the equivalent of a physical examination.
- Data Analysis: Monitoring equipment performance through sensors and data loggers can help predict potential failures and schedule timely inspections or repairs. Think of it as using wearable fitness trackers to monitor our health.
- Corrective Actions: Addressing identified flaws promptly and effectively is vital. This could involve repair, replacement, or even decommissioning depending on the severity of the issue. It’s the surgical intervention for the equipment.
Each stage is documented carefully to build a comprehensive history of the equipment’s condition. This allows for informed decision-making, ensures continued safe operation, and extends the equipment’s lifespan.
Q 17. Describe your experience with different types of materials (e.g., metals, composites)?
My experience spans a wide range of materials, including metals (ferrous and non-ferrous), composites, polymers, and ceramics. Each presents unique challenges and requires specialized inspection techniques.
- Metals: I’ve worked extensively with steels (various grades and alloys), aluminum alloys, titanium, and copper alloys. Inspections often focus on detecting flaws like cracks, inclusions, and corrosion. Techniques such as ultrasonic testing, magnetic particle inspection, and liquid penetrant testing are frequently used. For example, in the aerospace industry, we frequently use these techniques to check for micro-cracks in aircraft components.
- Composites: These materials, such as carbon fiber reinforced polymers (CFRP), require a different approach. Inspection focuses on fiber orientation, void content, delamination, and matrix degradation. Ultrasonic C-scans and X-ray inspection are often utilized to assess the internal structure. This is particularly important for aircraft components or high performance sporting goods where weight reduction is crucial.
- Polymers: Inspection of polymers often concentrates on assessing dimensional stability, surface imperfections, and degradation due to exposure to UV light or chemicals. Visual inspection, dimensional measurements, and material testing for mechanical properties are commonly employed.
- Ceramics: These materials are generally very brittle and susceptible to cracking. Inspection techniques may include visual inspection, dye penetrant testing, and acoustic emission testing to detect potential flaws.
My experience includes adapting inspection methodologies to the specific characteristics of each material, ensuring the most effective and accurate assessment of its integrity.
Q 18. What are the common causes of material degradation?
Material degradation is a natural process, but its rate can be significantly accelerated by various factors. It’s like the aging process – inevitable but influenced by lifestyle choices.
- Corrosion: Chemical or electrochemical reactions with the environment, leading to material loss. This is particularly prevalent in metals exposed to moisture, oxygen, and aggressive chemicals. Think of rust on a car – a classic example of corrosion.
- Fatigue: Repeated cyclic loading, even below the material’s yield strength, can lead to the initiation and propagation of cracks, eventually causing failure. This is common in components subjected to vibration or repeated stress cycles, like aircraft wings.
- Creep: Time-dependent deformation under sustained stress at elevated temperatures. This is a concern in high-temperature applications such as power plants and gas turbines.
- Erosion: Gradual material loss due to the abrasive action of fluids or particles. This is often observed in pipelines, pumps, and turbine blades.
- Environmental Degradation: Exposure to UV radiation, temperature fluctuations, and chemicals can degrade material properties over time, leading to embrittlement, cracking, and loss of strength. Think of the fading of plastic in sunlight.
Understanding the specific causes of degradation is critical for implementing effective preventative measures and mitigating potential failures.
Q 19. How do you determine the appropriate inspection method for a given material and application?
Choosing the right inspection method is crucial for obtaining accurate and reliable results. It’s like selecting the right tool for a specific job. The process involves a careful consideration of several factors.
- Material Properties: The type of material (metal, composite, polymer, etc.) dictates the suitability of different inspection techniques. For example, ultrasonic testing is effective for metals but may not be suitable for some composites.
- Application: The intended use of the material or equipment influences the required level of inspection detail and the types of defects that need to be detected. A critical component in a spacecraft requires much more stringent inspection than a simple metal bracket.
- Accessibility: The accessibility of the area to be inspected might limit the available techniques. For example, inspecting internal components may require NDT methods like radiography.
- Cost and Time Constraints: Some inspection methods are more expensive and time-consuming than others. The choice often involves balancing the need for thorough inspection with practical constraints.
- Relevant Standards and Codes: Industry standards and codes often specify the required inspection methods for particular applications.
A thorough understanding of these factors, combined with experience and expertise, allows for the selection of the most appropriate and effective inspection method.
Q 20. Explain your experience with corrosion inspection.
Corrosion inspection is a critical aspect of my work, as corrosion can significantly compromise the structural integrity of equipment and lead to catastrophic failures. It’s like detecting and treating a disease before it becomes life-threatening.
- Visual Inspection: The initial step involves a thorough visual examination to identify signs of corrosion such as rust, pitting, scaling, and discoloration. This is often augmented with magnification to better identify small anomalies.
- Non-Destructive Testing (NDT): Various NDT methods are employed depending on the type of corrosion and material. Ultrasonic testing can detect pitting or corrosion beneath the surface, while radiography can be used to assess internal corrosion in pipes or vessels. Electrochemical methods are used to measure corrosion rates.
- Thickness Measurement: Using tools like ultrasonic thickness gauges, we measure the remaining wall thickness of components to assess the extent of corrosion-related material loss.
- Corrosion Mapping: Sophisticated techniques like electromagnetic testing or advanced imaging can create detailed maps of corrosion distribution, aiding in assessing the severity and extent of damage.
My experience includes working with various types of corrosion (uniform, pitting, crevice, stress corrosion cracking) and applying the most appropriate techniques for each scenario. This often involves interpreting corrosion data to assess remaining life and recommend mitigation strategies.
Q 21. What are the common types of welding defects?
Welding defects are imperfections in a weld that can significantly reduce its strength and integrity. They’re like flaws in a chain – one weak link can break the whole thing.
- Porosity: The presence of gas pores or voids within the weld metal, reducing its strength and making it susceptible to cracking. Imagine tiny bubbles in the weld.
- Inclusion: Trapped foreign materials (slag, oxides) within the weld metal, causing weaknesses and stress concentrations. Think of pebbles in concrete.
- Cracks: Breaks or fissures in the weld metal, significantly reducing its strength and making it prone to failure. These can be surface cracks or internal cracks.
- Lack of Fusion: Incomplete bonding between the weld metal and the base material, creating a weak point in the joint. Imagine two pieces of metal not fully joined.
- Lack of Penetration: Incomplete fusion of the weld metal through the entire thickness of the joint, leading to insufficient strength. Like only partially welding two sheets together.
- Undercutting: A groove melted into the base material along the edge of the weld, weakening the joint. Think of a tiny channel next to the weld.
Detection of these defects typically involves visual inspection, radiography, ultrasonic testing, and liquid penetrant testing. The severity of the defects determines whether repair, rework, or rejection is necessary.
Q 22. How do you interpret welding symbols?
Welding symbols are a shorthand language used on engineering drawings to communicate complex welding requirements. They provide concise information about the type of weld, its size, location, and other critical parameters. Think of them as a roadmap for welders, ensuring consistency and quality.
Understanding a welding symbol involves recognizing several key components: the reference line, the arrow, the basic weld symbol, supplementary symbols, and dimensions. The arrow indicates the side of the joint to which the symbol applies. The basic weld symbol (e.g., a square for a fillet weld, a triangle for a groove weld) shows the type of weld. Supplementary symbols denote specific weld details such as the type of weld preparation, the presence of a backing material, and the finishing requirements. Dimensions specify the weld size, length, and other characteristics.
- Example: A symbol showing a small square on the arrow side of the reference line, followed by a dimension ‘6mm’ indicates a 6mm fillet weld on that side of the joint. If a circle is added to the basic symbol, it means the weld must be completed on both sides of the joint.
- Practical Application: In my experience, accurate interpretation of welding symbols prevents costly errors during fabrication. Misinterpreting a symbol can lead to improper welds, compromising the structural integrity of the final product. My proficiency in this area has saved multiple projects from potential failures by detecting such errors early in the fabrication process.
Q 23. What is your experience with dimensional inspection?
Dimensional inspection is a crucial part of quality control, ensuring that manufactured parts conform to the specified dimensions outlined in the engineering drawings. This involves using various measuring instruments to precisely measure linear dimensions, angles, and other geometric parameters. My experience includes performing dimensional inspections on a wide range of components, from small precision parts to large-scale structures.
I am proficient in various techniques, including using coordinate measuring machines (CMMs) for complex geometries, and employing traditional methods like manual inspection with calipers and micrometers for simpler components. This experience includes verifying the dimensional accuracy of parts during different manufacturing stages—from raw material inspection to final product verification. I frequently use statistical process control (SPC) charts to track dimensional variations and identify potential issues during the production process.
For example, in a recent project involving the manufacture of aerospace components, dimensional discrepancies discovered during my inspection led to adjustments in the machining process, preventing the production of non-compliant parts and potentially catastrophic failure of the finished product.
Q 24. Describe your experience with using various measuring instruments (e.g., calipers, micrometers)?
I have extensive experience utilizing a broad range of measuring instruments, including:
- Vernier Calipers: I use these for measuring external and internal dimensions, depths, and steps with high accuracy (typically to 0.1mm).
- Micrometers: These provide even greater accuracy (to 0.01mm or better) and are essential for precise measurements of small components.
- Dial Indicators: These are frequently used for checking surface flatness, parallelism, and runout.
- Height Gauges: These are critical for accurate height measurements.
- Angle Gauges: I use these to verify angles and bevels with high precision.
My experience goes beyond simply using these tools; it includes understanding their limitations, proper calibration procedures, and the significance of maintaining their accuracy. For instance, I know the importance of regularly checking the zero point of a micrometer and applying appropriate measuring techniques to minimize errors arising from parallax or tool pressure.
I’ve used these instruments extensively in various inspection projects, including verifying the dimensions of automotive parts, ensuring the alignment of machinery components, and quality control checks in the fabrication of metal structures. Precise measurements taken with these instruments have been instrumental in identifying deviations from specifications and preventing potential production issues.
Q 25. How do you handle conflict with other personnel during an inspection?
Conflicts can arise during inspections, particularly when discrepancies are identified or differing interpretations of standards are present. My approach focuses on professional communication and collaboration to resolve these issues constructively.
Firstly, I always try to understand the other person’s perspective. Open and respectful dialogue is essential. If a disagreement persists, I document the points of contention clearly and objectively. I favor a collaborative approach—working with the other personnel to identify the root cause of the issue and agreeing on a solution that complies with relevant standards and industry best practices. If necessary, I escalate the issue to my supervisor, providing a detailed report of the conflict and the steps taken to resolve it.
For instance, I once encountered a disagreement with a manufacturing team member over a borderline defect. By carefully reviewing the relevant specifications together and conducting additional measurements, we reached a mutual understanding, preventing unnecessary rework and maintaining a positive working relationship. My experience shows that a professional and collaborative approach is far more effective than confrontation.
Q 26. What are your strengths and weaknesses in relation to equipment and material inspection?
My strengths lie in my meticulous attention to detail, my ability to interpret technical drawings and specifications, and my proficiency in using various inspection tools and techniques. I am also adept at communicating technical information clearly and concisely, both verbally and in written reports. My experience in diverse inspection projects has given me a broad understanding of various manufacturing processes and their potential quality challenges.
My main weakness, if I were to identify one, is my occasional tendency to be overly critical. However, I actively work on mitigating this by focusing on constructive feedback and collaborating closely with manufacturing teams to offer solutions rather than simply highlighting problems. This approach allows me to ensure quality control without disrupting the workflow negatively.
Q 27. How do you stay up-to-date with the latest inspection techniques and technologies?
Staying updated in the dynamic field of equipment and material inspection is crucial. I employ several strategies to achieve this.
- Professional Organizations: I am an active member of relevant professional organizations (mention specific ones if applicable), which provide access to industry publications, conferences, and training opportunities.
- Industry Publications and Journals: I regularly read industry publications and journals such as (mention specific ones if applicable) to stay informed about new techniques, technologies, and standards.
- Online Courses and Webinars: I actively participate in online courses and webinars to enhance my skills in specific inspection techniques and software tools.
- Networking: I regularly attend industry events and maintain contact with professionals in the field to exchange knowledge and learn from their experiences.
- Manufacturer Training: Whenever possible, I attend training sessions offered by manufacturers of inspection equipment to enhance my understanding of the latest technologies and best practices.
Continuous learning is essential in this field. The adoption of new technologies like advanced imaging techniques and automated inspection systems is rapidly changing the landscape. By proactively seeking knowledge and adopting these advancements, I ensure that I maintain a high level of competency.
Key Topics to Learn for Equipment and Material Inspection Interview
- Inspection Techniques: Understanding various inspection methods (visual, dimensional, non-destructive testing), their applications, and limitations. Consider the theoretical basis of each method and how to select the appropriate technique for a given scenario.
- Material Properties and Standards: Knowledge of different material types (metals, polymers, composites), their properties (strength, durability, corrosion resistance), and relevant industry standards (e.g., ASTM, ASME). Practice applying this knowledge to real-world inspection challenges.
- Equipment Operation and Maintenance: Familiarity with common inspection equipment (calipers, micrometers, ultrasonic testing devices, etc.), their proper operation, calibration procedures, and routine maintenance. Be ready to discuss troubleshooting common equipment malfunctions.
- Defect Identification and Classification: Ability to identify various types of defects (surface cracks, internal flaws, dimensional inaccuracies), classify their severity according to relevant standards, and understand the potential consequences of these defects. Practice analyzing case studies of defective materials or equipment.
- Documentation and Reporting: Proficiency in creating clear, concise, and accurate inspection reports, including detailed descriptions of findings, photographs, and recommendations for corrective actions. Understanding the importance of meticulous record-keeping is crucial.
- Safety Regulations and Procedures: Thorough understanding of relevant safety regulations and procedures for conducting inspections in various environments. Demonstrate your commitment to safe work practices.
- Problem-Solving and Critical Thinking: Ability to analyze inspection results, identify root causes of defects, and propose effective solutions. Prepare examples showcasing your analytical and problem-solving skills.
Next Steps
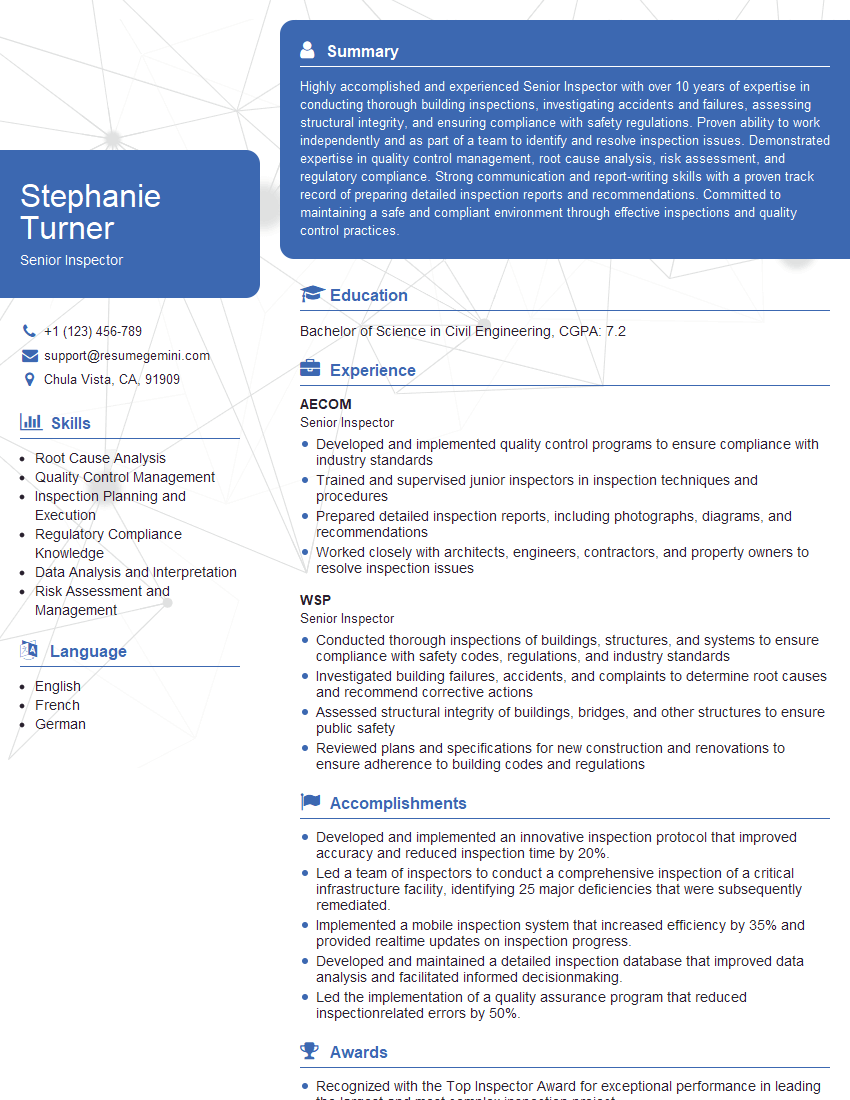
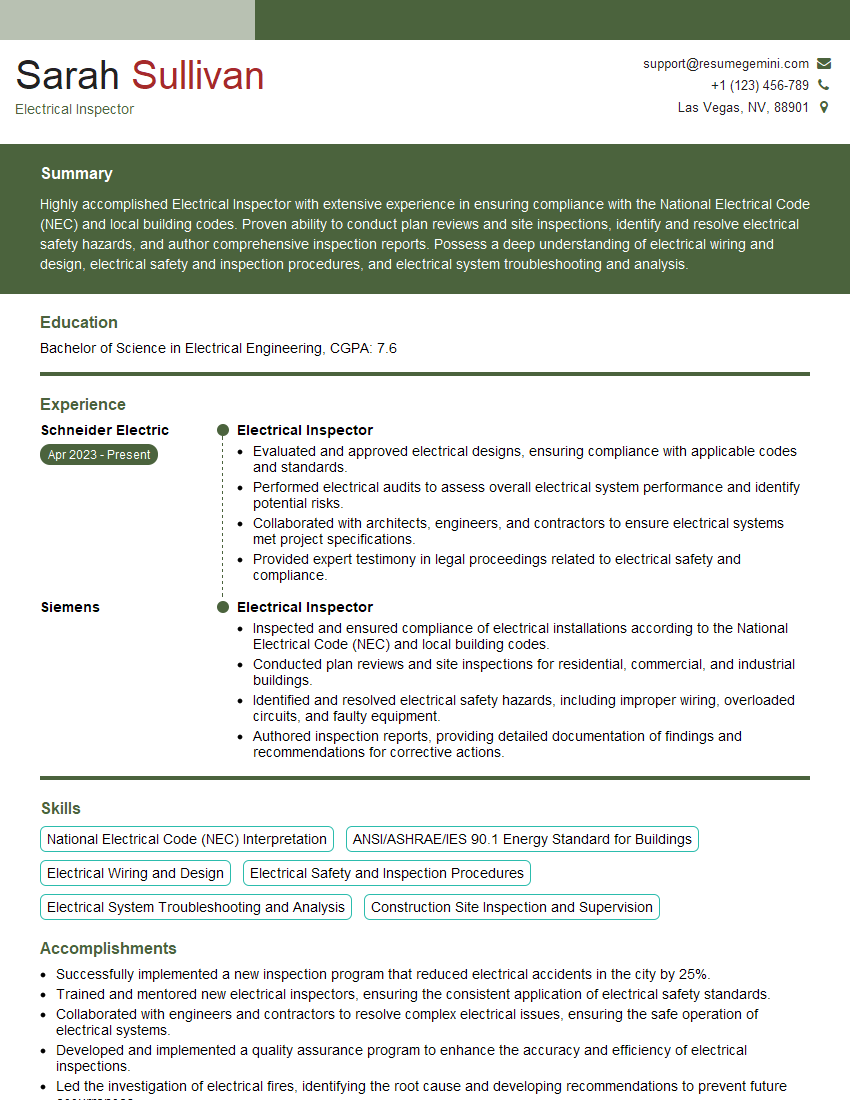
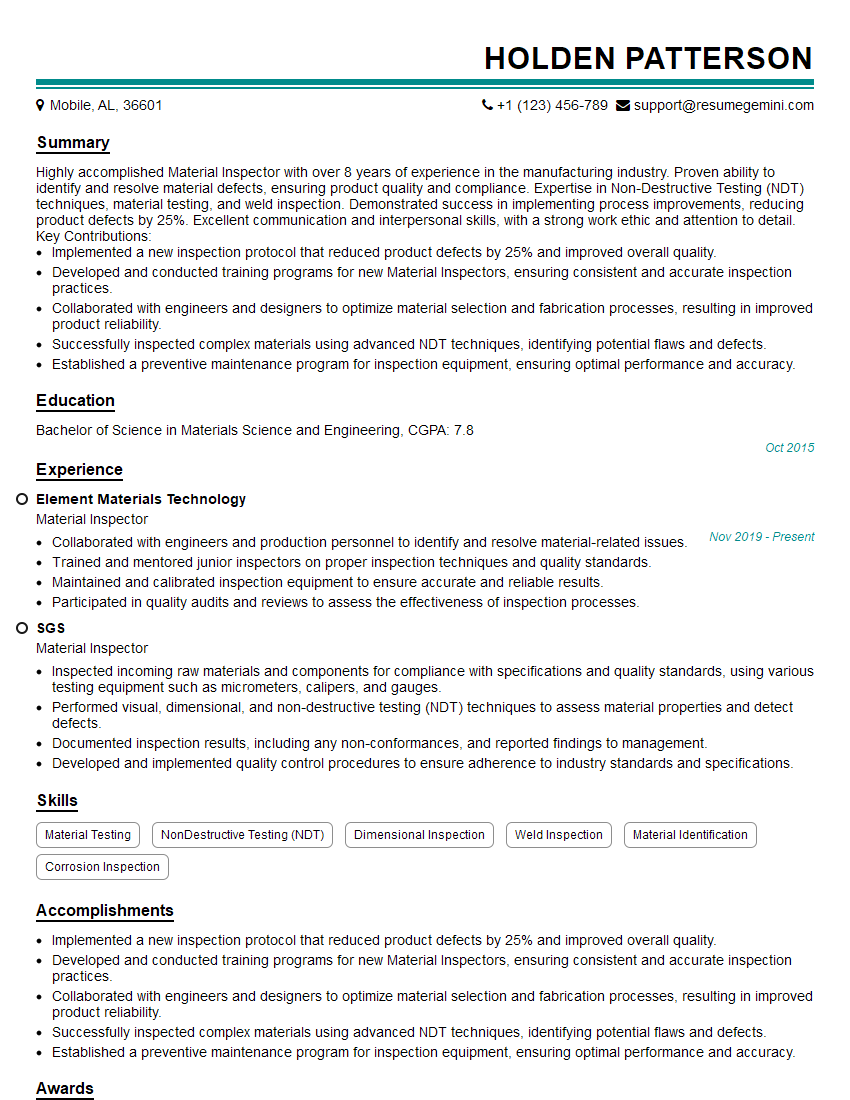
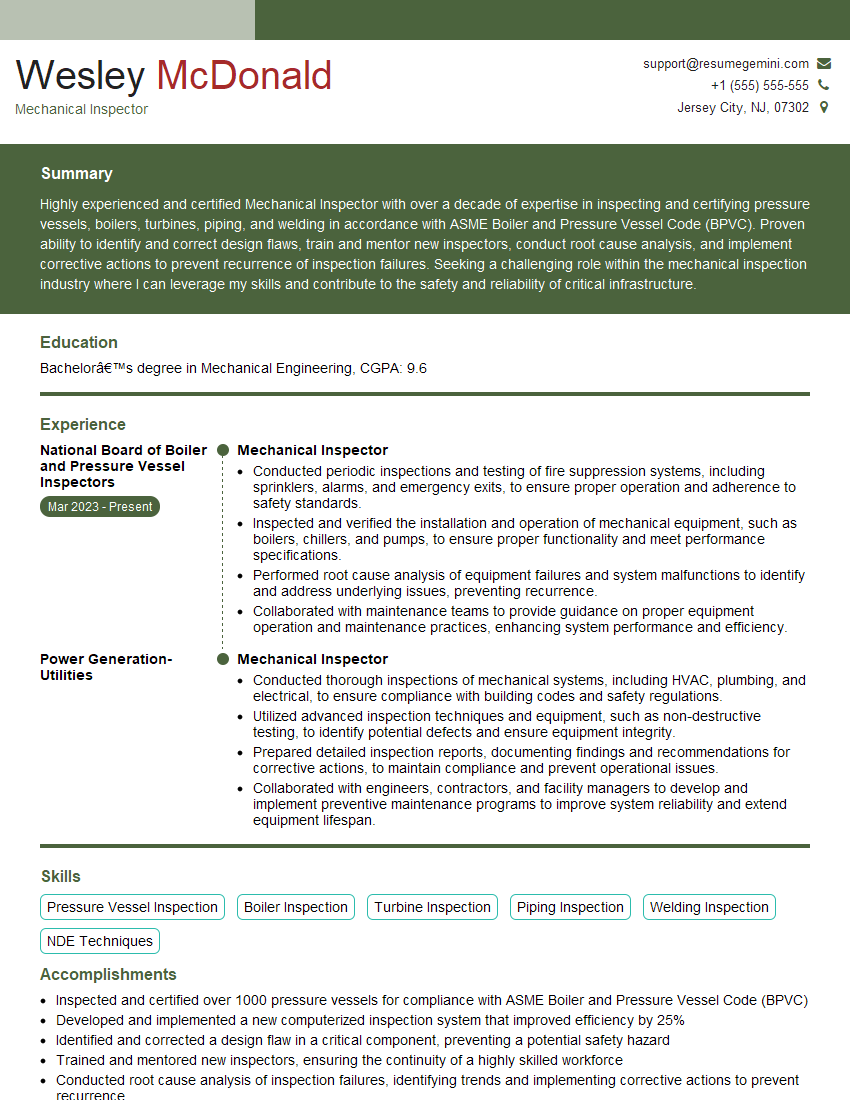
Mastering Equipment and Material Inspection opens doors to rewarding careers in manufacturing, construction, and various other industries, offering excellent growth potential and specialized expertise. To significantly enhance your job prospects, crafting an ATS-friendly resume is paramount. ResumeGemini is a trusted resource to help you build a professional and impactful resume that highlights your skills and experience effectively. Examples of resumes tailored to Equipment and Material Inspection are available to guide you through this process.
Explore more articles
Users Rating of Our Blogs
Share Your Experience
We value your feedback! Please rate our content and share your thoughts (optional).
What Readers Say About Our Blog
To the interviewgemini.com Webmaster.
Very helpful and content specific questions to help prepare me for my interview!
Thank you
To the interviewgemini.com Webmaster.
This was kind of a unique content I found around the specialized skills. Very helpful questions and good detailed answers.
Very Helpful blog, thank you Interviewgemini team.
