Preparation is the key to success in any interview. In this post, we’ll explore crucial Framed and sheathed structures interview questions and equip you with strategies to craft impactful answers. Whether you’re a beginner or a pro, these tips will elevate your preparation.
Questions Asked in Framed and sheathed structures Interview
Q 1. Explain the different types of framing lumber used in residential construction.
Framing lumber in residential construction is primarily categorized by its grade and size. The grade reflects the strength and quality of the wood, determined by the number and type of knots and imperfections. Size refers to the nominal dimensions, which are slightly larger than the actual dimensions due to shrinkage during drying.
- Dimension Lumber: This is the most common type, used for studs, joists, rafters, and other framing members. Common sizes include 2x4s, 2x6s, and 2x10s (actual dimensions are slightly smaller).
- Structural Lumber: Offers higher strength and stiffness than dimension lumber, often specified for larger or more demanding structures. It’s graded to stricter standards and is visually inspected for defects.
- Engineered Wood Products: These are manufactured products, such as laminated veneer lumber (LVL) and parallel strand lumber (PSL), offering greater strength and span capabilities compared to solid lumber. They are frequently used for beams and headers.
For example, a 2×4 stud would be used for interior walls in a typical house, while a larger 2×12 might be used for supporting a heavy load-bearing wall or a beam.
Q 2. Describe the process of installing wall sheathing.
Installing wall sheathing involves attaching panels of material to the exterior of the framed walls. This creates a weather barrier, strengthens the wall assembly, and provides a surface for the siding.
- Framing Inspection: Ensure that the wall framing is plumb, square, and properly braced.
- Sheathing Installation: Start at the bottom, aligning the first sheet and using appropriate fasteners (nails or screws) to secure it. Overlap the sheathing according to manufacturer’s instructions (usually 1/2 inch to an inch). Stagger the seams of adjacent sheets for better structural integrity.
- Fastener Placement: Use enough fasteners to securely attach the sheathing. Spacing and penetration depth depends on the sheathing material, wall height, and wind loads.
- Alignment and Leveling: Use a level to ensure proper alignment and prevent bowing or sagging.
- Building Wrap: Once the sheathing is in place, typically, a weather-resistant barrier (e.g., housewrap) is installed to provide an extra layer of protection against moisture infiltration.
Imagine it like wrapping a gift – the sheathing is the main wrapping, and the housewrap adds an additional layer of protection.
Q 3. What are the key considerations for proper roof framing?
Proper roof framing ensures structural stability and proper drainage. Key considerations include:
- Roof Pitch and Load Calculations: The roof pitch (slope) determines the load-bearing capacity and affects the selection of rafters, size, and spacing.
- Rafter Spacing and Size: The distance between rafters and their size depend on the roof span, snow load, wind load, and the type of roofing material.
- Ridge Beam and Support: The ridge beam is the highest horizontal member that connects the rafters and needs adequate support to handle the load.
- Proper Overhang and Eaves: Ensure adequate overhang at the eaves to protect the walls from water damage.
- Valley and Hip Rafters: Carefully detail the intersections and connections at valleys and hips to ensure water runoff.
- Shear Walls and Bracing: Proper bracing and shear walls are critical for lateral stability against wind and seismic forces.
Failure to consider these factors can lead to structural weakness, leaks, or even collapse. Professional structural engineering calculations are often required for complex roof designs.
Q 4. How do you ensure proper alignment and plumbness during framing?
Ensuring proper alignment and plumbness during framing is crucial for a structurally sound and aesthetically pleasing building. This is achieved through a combination of techniques:
- Plumb Bobs and Levels: These tools are used to check the verticality (plumb) and horizontality (level) of framing members.
- String Lines: String lines stretched between points establish reference lines to ensure the alignment of studs, joists, and other members.
- Temporary Bracing: Diagonal bracing helps maintain the squareness and stability of the frame during construction.
- Measuring and Marking: Accurate measurements and clear marking are fundamental to precision in framing.
- Regular Checks: Throughout the framing process, consistent checks for alignment and plumbness are essential to catch and correct any deviations early on.
Think of it like building with LEGOs: each piece needs to be properly aligned and secured to create a strong, stable structure.
Q 5. Explain the different types of sheathing materials and their applications.
Various sheathing materials are used depending on the application and building code requirements. Each has its own strengths and weaknesses:
- Oriented Strand Board (OSB): A cost-effective, strong, and widely used sheathing material made of wood strands bonded together with resin. Suitable for walls, roofs, and floors.
- Plywood: Another common choice, offering good strength and dimensional stability. Various grades exist, with higher grades used in more demanding applications.
- Structural Insulated Panels (SIPs): These panels combine an insulating core with structural sheathing, providing superior insulation and structural performance. More expensive but efficient.
- Cement Board: Used for exterior applications where moisture resistance is paramount, often used as a base for tile or stucco.
- Magnesium Oxide (MgO) Board: Offers superior moisture resistance, fire resistance and pest resistance compared to other sheathing options. More expensive but with long term advantages.
The choice depends on factors such as budget, climate, and intended use. For example, OSB is a cost-effective option for wall sheathing in dry climates, while cement board might be preferred for exterior walls in humid coastal areas.
Q 6. What are the common problems encountered during framing and how are they addressed?
Common framing problems include:
- Warping and Twisting of Lumber: This can be caused by moisture content variations. Using properly dried lumber and proper storage practices can mitigate this.
- Improper Fastener Placement: Insufficient or improperly placed fasteners can lead to weak connections and structural failure. Following manufacturer’s recommendations is key.
- Misalignment and Out-of-Plumb Walls: This affects the overall structural integrity and aesthetics. Regular checks with levels and plumb bobs are essential.
- Improper Bracing: Inadequate bracing can cause racking and instability. Using appropriate bracing techniques is crucial.
- Framing Errors: Missing or incorrectly placed members can create structural weaknesses. Careful planning and execution are key.
Addressing these problems often involves correcting the mistakes, adding additional bracing or fasteners, or in severe cases, replacing faulty members. Prevention is always better than cure, emphasizing quality control throughout the process.
Q 7. Describe the process of installing floor sheathing.
Floor sheathing is the process of installing panels of material over the floor joists to create a solid, level surface for the flooring finish. The process is similar to wall sheathing, but with some key differences:
- Joist Inspection: Ensure joists are properly spaced, leveled, and braced.
- Sheathing Installation: Begin at a corner, laying sheets perpendicular to joists with proper overlaps, securing them with nails or screws.
- Fastener Placement: Use appropriate fasteners, ensuring adequate penetration into the joists.
- Edge Treatment: If required, trim edges or use edge-treatments as per building codes and manufacturer recommendations.
- Moisture Barrier: Install a moisture barrier (e.g., polyethylene sheeting) beneath the sheathing to prevent moisture damage.
- Subfloor Preparation: For added stability and to compensate for imperfections in the joists or sheathing, a layer of plywood, levelling compound, or self-levelling underlayment may be installed prior to the final floor finish.
Think of it as building a strong, even platform before laying down your carpet or hardwood – it’s the foundation for the finished floor.
Q 8. What are the building codes and regulations relevant to framing and sheathing?
Building codes and regulations for framing and sheathing vary by location but generally aim to ensure structural integrity, safety, and energy efficiency. Key codes like the International Building Code (IBC) and local amendments dictate requirements for:
- Material Specifications: Codes specify allowable species of lumber, their grades, and moisture content. For example, the IBC outlines minimum allowable strength properties for lumber used in framing members.
- Member Sizing: The size of framing members (studs, joists, rafters) is dictated by span, load, and intended use. Larger spans necessitate larger members to withstand the loads.
- Spacing and Connections: Codes specify maximum spacing for studs, joists, and rafters, as well as requirements for fasteners (nails, screws, connectors) ensuring sufficient strength and stability. For instance, the number of nails required to connect a wall sheathing panel to a stud is strictly defined.
- Sheathing Requirements: Types of sheathing (OSB, plywood), their thickness, and installation methods are specified to ensure proper structural performance, moisture resistance, and fire safety. Proper overlapping of sheathing panels is crucial.
- Wind and Seismic Loads: Codes address requirements for bracing and anchoring to resist wind and seismic loads, depending on the building’s location and design. These requirements often involve specific shear wall designs and bracing systems.
Always consult the relevant local building codes and obtain necessary permits before starting any framing or sheathing work. Ignoring these regulations can lead to structural failures, safety hazards, and legal issues.
Q 9. How do you account for expansion and contraction in framing and sheathing?
Wood, the primary material in framing and sheathing, expands and contracts with changes in moisture content and temperature. Failure to account for this movement can lead to cracking, buckling, and structural damage. Here’s how we address it:
- Proper Spacing: Leave expansion gaps between sheathing panels, typically 1/8” to 1/4”, to allow for movement without causing stress. These gaps are then sealed with appropriate caulking or sealant.
- Movement Joints: In longer runs of framing or sheathing, incorporate movement joints – breaks in the continuous material – to allow for expansion and contraction across the length. These can be achieved using construction details such as control joints or expansion joints in concrete foundations or wall systems.
- Using Appropriate Fasteners: Avoid over-fastening, as this can restrict movement and lead to cracking. Allowing for some “play” in the system is critical.
- Proper Moisture Control: Maintaining appropriate moisture content in the lumber is crucial. Proper drying and storage of lumber before installation minimizes expansion and contraction. This directly minimizes potential issues later on.
- Flashing and Sealants: Using appropriate flashing and sealants around penetrations and transitions prevents water infiltration, reducing moisture-induced movement. Think about areas where roofs meet walls, for example.
Imagine a wooden board – as it gets wetter, it swells; as it dries, it shrinks. Understanding this basic principle is vital in managing these forces within the building envelope.
Q 10. Explain the importance of proper bracing and anchoring in framing.
Proper bracing and anchoring are crucial for structural stability, especially in resisting lateral forces like wind and earthquakes. Imagine a house as a large, complex Lego structure – without proper connections, the whole thing could easily fall apart.
- Wall Bracing: Sheathing acts as a diaphragm, transferring lateral loads to the foundation. Proper nailing of sheathing to studs ensures this load transfer. Additional bracing, like diagonal bracing or structural sheathing, is often required in high-wind or seismic zones.
- Anchoring to Foundation: Wall framing must be securely anchored to the foundation using anchor bolts or other approved methods. This prevents the walls from racking or moving away from the foundation under lateral loads.
- Roof Bracing: Roof trusses or rafters must be properly braced to prevent racking and collapse. This often involves using collar ties, ridge boards, and other bracing elements.
- Importance of Codes: Building codes specify minimum bracing requirements based on the building’s location and size. Neglecting these requirements can have disastrous consequences. For example, during a hurricane, a poorly braced building might suffer significant damage or even collapse.
Ignoring bracing and anchoring can compromise the building’s stability and safety, leading to significant damage or even collapse during extreme weather events. A small investment in proper bracing can offer a substantial return in terms of protecting the building and its occupants.
Q 11. How do you ensure proper moisture control during the framing and sheathing process?
Moisture control during framing and sheathing is paramount to prevent rot, mold, and other structural problems. Imagine a sponge – if it stays wet, it’ll eventually decay. Wood is much the same.
- Proper Lumber Storage: Store lumber under cover, off the ground, and in a well-ventilated area to prevent moisture absorption. This is particularly important in high-humidity environments.
- Water-Resistant Barriers: Install house wrap or other water-resistant barriers over the sheathing to protect the framing from rain and snow. This is a crucial layer in the building’s weather barrier system.
- Ventilation: Ensure adequate ventilation in the wall cavities and under the roof to allow for moisture evaporation. Proper ventilation helps prevent moisture buildup and related issues.
- Proper Flashing: Flashing around windows, doors, and other penetrations prevents water infiltration. This keeps moisture away from framing members in these critical areas.
- Inspection and Monitoring: Regular inspections during and after construction can identify moisture problems early on, allowing for timely corrective action.
Failure to control moisture can lead to significant damage, necessitating costly repairs and potential health problems. Think of it as an insurance policy against future problems.
Q 12. Describe the methods for connecting wall framing to the foundation.
Connecting wall framing to the foundation is critical for transferring loads and ensuring the structural integrity of the building. This connection is like the foundation of a house – without a strong base, the whole structure is at risk.
- Anchor Bolts: Embedded in the concrete foundation, anchor bolts provide a secure attachment point for the sill plate (the bottom horizontal member of the wall framing). These bolts are usually placed at regular intervals based on code requirements.
- Pressure-Treated Sill Plate: Using pressure-treated lumber for the sill plate provides resistance to rot and decay, ensuring a long-lasting connection to the foundation.
- Corrosion Protection: The use of appropriate corrosion-resistant materials is important to prevent degradation of the anchor bolts. This will extend the life of the structural connection.
- Proper Fastening: Securely fastening the sill plate to the anchor bolts using appropriate methods, often including washers to distribute load evenly. This must be done following all code recommendations.
- Caulking and Sealants: Proper caulking and sealing around the sill plate helps prevent water infiltration and potential damage to the framing and foundation.
A poorly connected wall framing can lead to settling, movement, and significant structural problems over time.
Q 13. Explain the different types of roof framing systems.
Several roof framing systems exist, each with its advantages and disadvantages. The choice depends on factors such as span, load, and aesthetic considerations. Think of it as choosing the right tool for the job.
- Trusses: Manufactured pre-assembled units that are lightweight and efficient for spanning long distances. They are often used in residential construction.
- Rafter Systems: Traditional systems using individual rafters supported by the walls and ridge board. These systems are suitable for smaller spans and are more adaptable to complex shapes, but they are more time and labor-intensive to create than trusses.
- Gambrel Roofs: Have two slopes on each side, allowing for greater usable attic space. This is commonly used in barns or more complex structures.
- Hip and Valley Roofs: Incorporate sloped sides on all four sides, providing good water runoff and a distinctive aesthetic. These require more complex framing than simpler gable roofs.
The selection of the appropriate roof framing system requires careful consideration of the structural requirements and design objectives. An incorrectly chosen system can lead to structural instability and potential collapse.
Q 14. What are the best practices for installing exterior sheathing?
Proper exterior sheathing installation is vital for structural integrity, weather resistance, and energy efficiency. It acts like the skin of the building, protecting it from the elements.
- Proper Sheathing Selection: Choose the correct type and thickness of sheathing based on the building code and intended use. This will depend on factors such as wind loads and expected snow loads.
- Correct Fastening: Follow manufacturer’s recommendations and building code requirements for fastening the sheathing to the framing. This involves using the appropriate nails or screws at the specified spacing.
- Overlapping Panels: Overlap sheathing panels according to the manufacturer’s guidelines, typically 4-6 inches, to ensure a continuous weather barrier. This prevents gaps and leaks.
- Proper Alignment: Ensure panels are properly aligned and spaced to minimize gaps. This creates an even, continuous surface for the exterior cladding.
- Protection from the Elements: Keep the sheathing dry during installation and subsequent construction phases. Cover exposed sheathing to protect it from rain, snow, and debris. This helps prevent water damage.
Poor sheathing installation can lead to leaks, moisture damage, heat loss, and structural problems. Think of it as an important step in creating a weatherproof and energy-efficient building envelope.
Q 15. How do you calculate the amount of lumber needed for a specific framing project?
Calculating lumber needs for framing starts with a detailed plan. This includes the blueprints specifying dimensions and the type of framing (platform, balloon, etc.). You’ll need to account for every piece: studs, joists, rafters, headers, and plates.
Step-by-Step Process:
- Measure: Accurately measure all wall lengths, heights, and openings (windows, doors). For roofs, determine rafter lengths and spacing.
- Quantify: Calculate the number of studs needed for each wall (considering spacing, e.g., 16 inches on center). Do the same for joists, rafters, and other components.
- Add Waste: Factor in waste (typically 5-10%, depending on complexity and lumber quality). This accounts for cuts, mistakes, and unusable pieces.
- Check for Special Cuts: Complex designs, such as angled cuts for roofs or intricate openings, might require additional lumber. Account for this added complexity.
- Total: Add up the lumber needed for each component to get the grand total.
Example: Let’s say you have a 12ft wall, using 16 inch on center stud spacing. You’ll need (12ft * 12in/ft) / 16in ≈ 9 studs. Add a few extra for waste.
Using a lumber calculator software or spreadsheet can significantly streamline this process and reduce errors.
Career Expert Tips:
- Ace those interviews! Prepare effectively by reviewing the Top 50 Most Common Interview Questions on ResumeGemini.
- Navigate your job search with confidence! Explore a wide range of Career Tips on ResumeGemini. Learn about common challenges and recommendations to overcome them.
- Craft the perfect resume! Master the Art of Resume Writing with ResumeGemini’s guide. Showcase your unique qualifications and achievements effectively.
- Don’t miss out on holiday savings! Build your dream resume with ResumeGemini’s ATS optimized templates.
Q 16. Describe the process of installing window and door openings in wall framing.
Installing window and door openings requires precision and attention to detail to ensure structural integrity. It involves creating framed openings within the wall framing to accommodate the windows and doors.
Process:
- Measure and Mark: Accurately measure and mark the location of each opening on the wall studs according to the architectural plans.
- Cut Studs: Carefully cut the studs at the marked locations using a saw, ensuring square cuts to prevent structural weakness.
- Install Headers: Install headers (strong horizontal beams) above the openings to support the weight of the structure above. The header size depends on the span and loading requirements. Usually, it’s constructed with multiple pieces of lumber laminated together.
- Install Cripple Studs: These shorter studs are placed below the header to support it and maintain wall stability.
- Install King Studs: King studs are placed on either side of the header for support and strength.
- Install Trimmer Studs: These studs are placed on the sides of the openings, connecting the header and sole plate, providing stability and load distribution.
- Sheathing: Install sheathing around the opening, carefully cutting around the frame for a snug fit.
Proper installation of these components is critical to ensure the strength and stability of the building.
Q 17. What are the safety precautions to be taken during framing and sheathing?
Safety is paramount throughout framing and sheathing. Falls, cuts, and impacts are common hazards.
Precautions:
- Personal Protective Equipment (PPE): Always wear safety glasses, hearing protection, work gloves, and steel-toed boots.
- Fall Protection: Use harnesses and safety lines when working at heights. Ensure proper scaffolding is used and inspected regularly.
- Tool Safety: Use power tools correctly and according to manufacturer instructions. Regularly inspect tools for damage.
- Lifting Techniques: Use proper lifting techniques to avoid injuries; lift with your legs, not your back. Use mechanical lifting aids when necessary.
- Housekeeping: Maintain a clean and organized worksite to prevent trips and falls. Dispose of waste properly.
- Awareness of Surroundings: Be aware of your surroundings and potential hazards, such as overhead power lines and other workers.
- Emergency Preparedness: Have a first aid kit readily available and know emergency procedures.
Q 18. How do you inspect the quality of framing and sheathing work?
Inspecting framing and sheathing quality involves verifying adherence to building codes, plans, and best practices. This is a visual and sometimes physical inspection.
Inspection Checklist:
- Plumbness and Squareness: Walls should be plumb (vertical) and square (90-degree angles). Check using a level and square.
- Proper Spacing: Studs, joists, and rafters should be spaced correctly (e.g., 16 inches on center).
- Header and Opening Installation: Verify correct installation and sizing of headers and other components around openings.
- Fastener Placement: Check for proper penetration depth and spacing of nails and other fasteners.
- Sheathing Alignment: Sheathing should be properly aligned, with no gaps or overlaps.
- Sheathing Fastening: Check for appropriate nailing patterns and fastener penetration.
- Damage: Inspect for any damage to lumber or sheathing (e.g., warping, cracking, insect damage).
Using a building inspector for a final inspection is recommended to ensure compliance with local building codes.
Q 19. Explain the use of different types of fasteners in framing and sheathing.
Various fasteners are used in framing and sheathing, each suited for specific applications.
Common Fasteners:
- Nails: Common nails, galvanized nails, and structural nails are used for various applications. The type and size are crucial based on the wood type, thickness, and load-bearing requirements.
- Screws: Wood screws provide stronger, more resistant connections and are often used in areas with high stress.
- Connectors: Metal connectors (e.g., hurricane straps, joist hangers) enhance structural strength and provide reliable connections.
- Bolts: High-strength bolts are used in heavy-duty applications or for specialized connections.
Example: Structural nails are used for sheathing, while longer screws might be preferable for attaching larger framing members like beams.
Choosing the right fastener ensures the structural integrity and longevity of the building.
Q 20. How do you handle framing and sheathing in areas with difficult terrain or access?
Framing and sheathing in challenging terrain or access areas require careful planning and potentially specialized equipment.
Strategies:
- Accessibility Planning: Develop a plan to access the area efficiently. This might involve creating temporary roads or using helicopters for material delivery in remote locations.
- Specialized Equipment: Consider using equipment such as mini excavators, cranes, or aerial lifts to move materials and handle construction in difficult-to-reach areas.
- Pre-Fabrication: Pre-fabricate as much as possible off-site to minimize on-site work and reduce time spent in challenging conditions.
- Safety Precautions: Enhanced safety precautions are crucial due to the increased risks associated with working in challenging areas. This includes thorough risk assessments, increased supervision, and the use of appropriate safety equipment.
Example: On a steep hillside, pre-fabricated wall sections might be lifted into place by a crane to avoid extensive on-site cutting and assembly.
Q 21. What are the common problems encountered with different sheathing materials?
Different sheathing materials present unique challenges.
Common Problems:
- Oriented Strand Board (OSB): OSB can be susceptible to moisture damage, leading to swelling, delamination, or rot. Proper sealing and protection from moisture are essential.
- Plywood: Plywood can be prone to warping or delamination if not properly handled or exposed to extreme temperatures or moisture.
- Fiber Cement: Fiber cement is very durable but can be brittle and prone to cracking if dropped or mishandled during installation. Appropriate handling is key.
- Water Damage: All sheathing materials are vulnerable to water damage. Ensuring proper weather protection during construction is critical to prevent long-term issues.
Proper selection, handling, and installation of sheathing materials are crucial to avoid these problems.
Q 22. Explain the principles of load distribution in framing systems.
Load distribution in framing systems relies on the principle of transferring loads from the roof and floors down to the foundation. Imagine a pyramid – the weight at the top (roof) is gradually distributed across a wider base (foundation). This is achieved through a series of interconnected structural members like rafters, joists, beams, and columns. These members work together, transferring the load in a predictable and controlled manner.
- Rafters and Joists: These horizontal members distribute loads from the roof and floors to the supporting walls.
- Beams: Larger horizontal members support concentrated loads or span greater distances.
- Columns and Walls: Vertical members transfer the loads from the beams and joists down to the foundation.
- Foundation: The ultimate load-bearing element, designed to safely transfer all loads to the ground.
Proper load distribution prevents structural failure by ensuring that no single member is overloaded. This requires careful consideration of materials, spans, and connections during the design process. For example, a longer span requires stronger joists or more frequent support points.
Q 23. How do you address issues related to air sealing and insulation in framed structures?
Air sealing and insulation are crucial for energy efficiency and occupant comfort in framed structures. Air sealing prevents drafts and reduces heat loss in winter and heat gain in summer, while insulation further improves thermal performance. Think of your house as a thermos – you want to minimize the transfer of heat across the walls and roof.
- Air Sealing: This involves sealing all gaps and cracks in the building envelope using caulk, spray foam, or weatherstripping. Pay close attention to areas around windows, doors, and penetrations for pipes and wiring.
- Insulation: Insulation materials such as fiberglass batts, cellulose, or spray foam are installed in walls, ceilings, and floors to slow down the rate of heat transfer. The R-value (resistance to heat flow) of the insulation determines its effectiveness; higher R-values indicate better insulation.
Effective air sealing and insulation not only improve energy efficiency and reduce energy bills but also contribute to a more comfortable and healthier living environment. Proper installation techniques are critical to ensure the effectiveness of both.
Q 24. Describe the process of installing fire-resistant sheathing.
Installing fire-resistant sheathing is a critical step in protecting framed structures from fire spread. These materials typically consist of gypsum (like drywall) or cement-based products and provide a fire barrier that can delay fire propagation, providing crucial time for evacuation and reducing property damage. The installation process involves:
- Preparation: Ensure the framing is properly constructed and braced.
- Fastening: Sheathing is fastened securely to the framing using appropriate nails or screws, following manufacturer’s instructions. The spacing and penetration depth are crucial for ensuring sufficient hold.
- Seaming: Overlapping seams should be properly sealed to prevent fire from passing through gaps.
- Taping and Finishing: Joints between sheets should be taped and finished (if necessary) to create a smooth, fire-resistant surface.
Different types of fire-resistant sheathing have varying degrees of fire resistance, categorized by their fire-resistance rating (often expressed as hours of fire protection). The required rating depends on building codes and the specific application.
For example, in high-rise buildings, a higher fire-resistance rating may be required than in a single-family dwelling. Always consult local building codes and the manufacturer’s instructions for specific requirements.
Q 25. What are the differences between platform framing and balloon framing?
Platform framing and balloon framing are two distinct methods of constructing framed structures. The key difference lies in how the wall studs are built and how they connect to the floor and roof.
- Platform Framing: Each floor is built as a separate platform, with the walls built on top of each floor. This is the most common method today due to its simpler construction and increased safety, particularly during construction.
- Balloon Framing: The studs extend continuously from the foundation to the roof, creating a taller, less interrupted wall assembly. This is less common now because of increased risk of fire spreading vertically and difficulties in adding insulation and wiring.
Imagine building with Lego bricks. Platform framing is like building each floor separately, while balloon framing is like building one long, continuous wall from the ground up. While balloon framing was common historically, platform framing offers superior safety and ease of construction, making it the dominant method in modern construction.
Q 26. How do you ensure the structural integrity of framed and sheathed structures?
Ensuring the structural integrity of framed and sheathed structures requires careful attention to several key aspects throughout the entire building process.
- Proper Design: The design must account for all expected loads (dead loads – weight of the structure itself; live loads – weight of occupants, furniture, and snow). Using software to design and verify framing plans is essential.
- Material Quality: Using high-quality lumber that meets specified standards ensures the strength and durability of the structure. Proper grading and inspection are important.
- Correct Installation: Following proper construction techniques, including precise cutting, fastening, and bracing, is essential for structural integrity. Adherence to building codes is mandatory.
- Regular Inspections: Conducting regular inspections throughout the construction process helps identify and correct any issues early on, preventing major problems down the line.
Think of it like building a house of cards – each card represents a structural element. If one card is placed incorrectly or is damaged, the whole structure can collapse. Similarly, neglecting any of these aspects can compromise the structural integrity of a framed and sheathed structure.
Q 27. What software or tools do you use to assist in framing and sheathing projects?
Several software tools and technologies significantly assist in framing and sheathing projects, improving efficiency and accuracy.
- Computer-Aided Design (CAD) software: Programs like AutoCAD or Revit are used to create detailed plans, including framing layouts and sheathing details. This ensures accuracy and minimizes errors.
- Building Information Modeling (BIM) software: BIM software provides a 3D model of the structure, allowing for better visualization and coordination of various building elements. It’s especially beneficial for complex projects.
- Framing software: Specialized software packages are available to calculate the required framing members based on loads and spans, optimizing material usage and structural efficiency.
- Laser measuring tools and levels: These tools aid in accurate measurements and leveling during construction, ensuring proper alignment and minimizing errors.
These tools are crucial for modern framing and sheathing projects, providing greater accuracy and efficiency compared to traditional methods.
Q 28. Describe a time you had to troubleshoot a framing or sheathing problem on a project.
On a recent project, we encountered unexpected deflection (bending) in a section of the roof framing. Initial inspection suggested the problem was caused by improperly sized rafters or overloaded connections. However, after a closer examination, we discovered that the issue stemmed from a foundation settlement. A section of the foundation had subsided, causing uneven support for the framing members. This led to the excessive deflection in the roof.
Our troubleshooting steps involved:
- Thorough Inspection: We carefully inspected the entire roof structure to pinpoint the exact location and extent of the deflection.
- Foundation Investigation: We investigated the foundation to determine the cause of the settlement.
- Load Analysis: We re-analyzed the loads acting on the roof framing to ensure they were adequately accounted for in the design.
- Corrective Measures: We worked with a structural engineer to develop corrective measures that included adjusting the foundation support and adding additional bracing to the affected roof section.
This experience highlighted the importance of considering all potential factors – including foundation conditions – that may impact the structural integrity of a building. It also underlined the value of a collaborative approach involving engineering expertise in solving complex structural issues.
Key Topics to Learn for Framed and Sheathed Structures Interview
- Structural Design Principles: Understanding load paths, force distribution, and the interaction between framing members and sheathing in various load scenarios (wind, snow, seismic).
- Material Properties and Selection: Knowledge of different framing materials (wood, steel, etc.) and sheathing materials (plywood, OSB, etc.), including their strengths, weaknesses, and suitability for specific applications.
- Connection Design: Understanding different types of connections (nails, screws, bolts, connectors) and their impact on overall structural performance. Analyzing connection details for strength and efficiency.
- Sheathing Behavior: Understanding the role of sheathing in providing diaphragm action, stiffness, and stability to the framed structure. Analyzing shear capacity and racking resistance.
- Practical Applications: Familiarity with different types of framed and sheathed structures (residential, commercial, industrial) and their design considerations. Experience with building codes and standards related to these structures.
- Analysis Techniques: Understanding basic structural analysis methods applicable to framed and sheathed structures (e.g., simplified methods, software-based analysis). Interpreting analysis results and identifying potential design issues.
- Construction Practices: Familiarity with common construction techniques and sequencing related to framed and sheathed structures. Understanding quality control and inspection methods.
- Problem-Solving and Troubleshooting: Ability to identify and address potential design or construction flaws. Experience with resolving structural issues in the field.
Next Steps
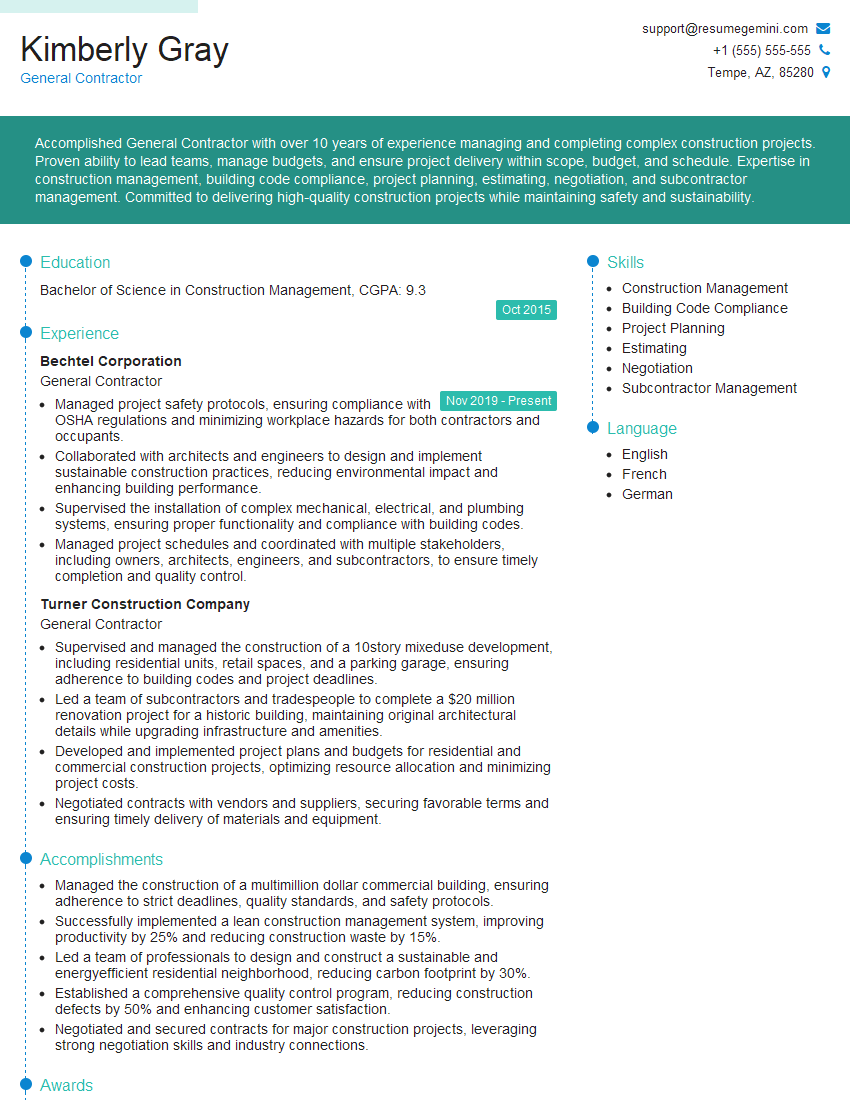
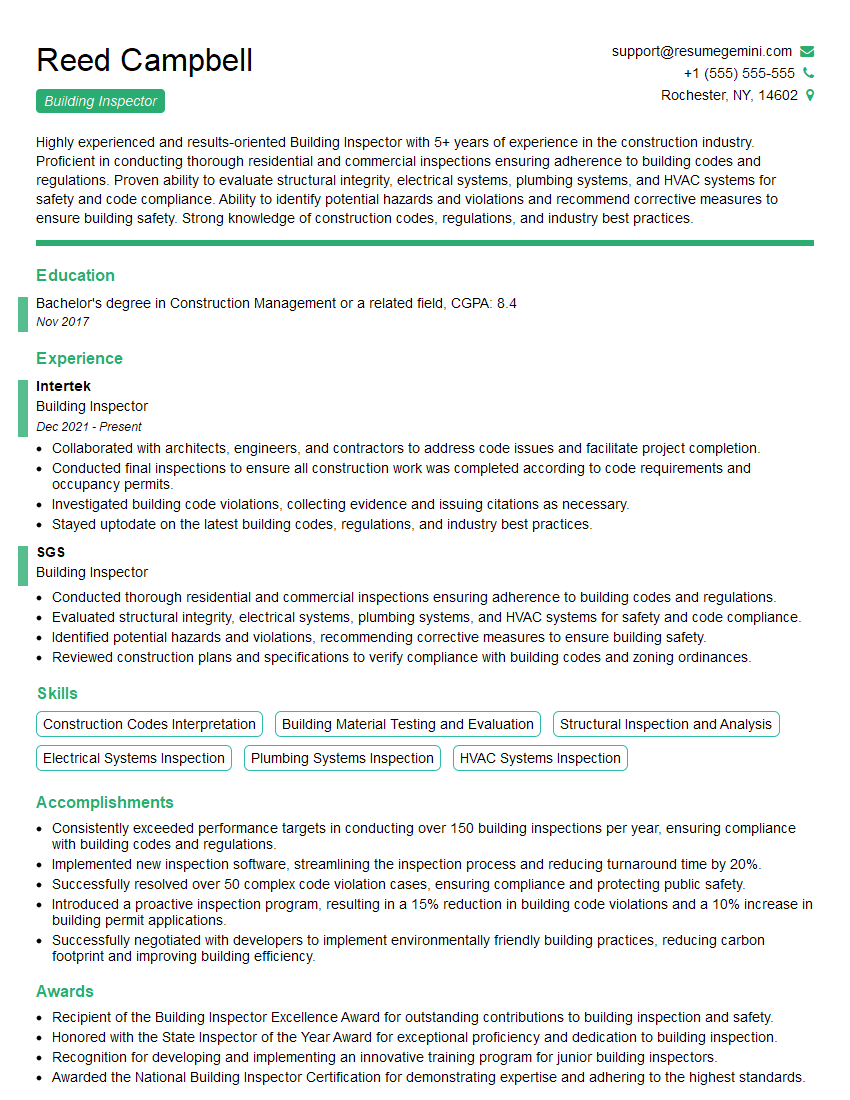
Mastering framed and sheathed structures is crucial for career advancement in structural engineering and construction. A strong understanding of these principles demonstrates a solid foundation and opens doors to more challenging and rewarding projects. To maximize your job prospects, focus on crafting an ATS-friendly resume that highlights your skills and experience effectively. ResumeGemini is a trusted resource that can help you build a professional and impactful resume tailored to the specific requirements of the roles you’re targeting. We provide examples of resumes tailored to framed and sheathed structures to help guide you.

Explore more articles
Users Rating of Our Blogs
Share Your Experience
We value your feedback! Please rate our content and share your thoughts (optional).
What Readers Say About Our Blog
To the interviewgemini.com Webmaster.
Very helpful and content specific questions to help prepare me for my interview!
Thank you
To the interviewgemini.com Webmaster.
This was kind of a unique content I found around the specialized skills. Very helpful questions and good detailed answers.
Very Helpful blog, thank you Interviewgemini team.