Are you ready to stand out in your next interview? Understanding and preparing for Painting and Priming interview questions is a game-changer. In this blog, we’ve compiled key questions and expert advice to help you showcase your skills with confidence and precision. Let’s get started on your journey to acing the interview.
Questions Asked in Painting and Priming Interview
Q 1. What are the different types of primers and their applications?
Primers are crucial for paint adhesion and surface protection. They come in various types, each suited for specific needs.
- Oil-based primers: Excellent for sealing porous surfaces like wood or plaster, providing a durable base for paint. They offer good stain blocking and are ideal for surfaces prone to bleeding through (like tannins in wood). However, they have a strong odor and require longer drying times.
- Water-based primers: Easier to clean up and faster drying than oil-based. They are less odorous and environmentally friendly. Suitable for many surfaces including drywall, wood, and metal. They are generally less effective at stain blocking than oil-based.
- Sheen primers: Offer different levels of sheen (gloss, satin, eggshell, flat) and affect the final painted finish. Gloss primers improve paint adhesion on slick surfaces. Flat primers are best for hiding imperfections.
- Specialty primers: These address specific problems. For example, alkylated primers are designed for use on metal to prevent rust, while stain-blocking primers effectively cover stains and prevent them from bleeding through.
Choosing the right primer depends entirely on the surface you’re painting and the type of paint you’ll use. For instance, if I’m painting a wood surface with a water-based paint, I’d typically use a water-based primer to ensure good adhesion and prevent the wood tannins from bleeding through.
Q 2. Explain the importance of surface preparation before painting.
Proper surface preparation is paramount for a long-lasting and aesthetically pleasing paint job. Think of it like building a house – you wouldn’t skip the foundation! A poorly prepared surface will lead to peeling, chipping, and an uneven finish, ultimately requiring more work in the long run. Surface preparation ensures the paint adheres properly, lasts longer, and provides a uniform, professional look. It involves cleaning, sanding, and filling, all vital steps to create a smooth, primed surface ready for the final coat.
Q 3. Describe the process of preparing a surface for painting, including cleaning, sanding, and filling.
Surface preparation is a multi-step process:
- Cleaning: Remove all loose dirt, dust, grease, and mildew. Use appropriate cleaning agents such as TSP (trisodium phosphate) for heavy grease or mildew. A thorough cleaning is key to ensuring the primer adheres correctly. I’ve seen many jobs fail due to a lack of proper cleaning.
- Sanding: Smooth out any imperfections. Use varying grits of sandpaper, starting with coarser grits to remove any significant imperfections, then gradually moving to finer grits for a smoother finish. Always sand in the direction of the wood grain for wood surfaces. This step improves adhesion and results in a much smoother finish.
- Filling: Repair any holes, cracks, or imperfections using wood filler, spackle, or caulk. Allow the filler to dry completely and sand it smooth before priming. I remember one project where I spent extra time filling and sanding imperfections; the client was thrilled with the final, flawless finish.
- Priming: Apply a coat of primer suitable for the surface and paint type. This creates an even base for the topcoat and ensures better adhesion and coverage.
Q 4. What are the different types of paint and their suitability for various surfaces?
Paints also come in various types, each with specific properties and applications:
- Oil-based paints: Durable, long-lasting, and offer excellent resistance to moisture and scrubbing. Ideal for trim, doors, and areas with high traffic or exposure to moisture. However, they have a strong odor and require solvents for cleanup.
- Water-based (latex) paints: Easier to clean up with water, lower in VOCs (Volatile Organic Compounds), and faster drying times. Suitable for walls, ceilings, and most interior surfaces. They offer good durability but may not be as durable as oil-based paints in high-moisture areas.
- Alkyd paints: A hybrid option, offering some of the durability of oil-based paints with the easier cleanup of water-based paints.
- Specialty paints: Include paints for specific applications such as exterior paints that offer UV protection and mildew resistance, or epoxy paints for floors that require heavy-duty protection.
Choosing the right paint depends on the surface, location, and desired finish. For example, I wouldn’t use a water-based paint in a bathroom due to the moisture, and I’d select a paint with mildew resistance for exterior applications.
Q 5. How do you determine the amount of paint needed for a project?
Calculating paint quantity requires knowing the surface area and the paint’s coverage rate. Most paint cans list the approximate coverage area per gallon or liter.
- Measure the area: Calculate the total area to be painted (length x width for walls, etc.).
- Consider the number of coats: Typically, two coats are recommended for optimal coverage and color consistency. Multiply the area by the number of coats.
- Check the coverage rate: Refer to the paint can for the coverage per gallon or liter (e.g., 350 sq ft/gallon).
- Calculate the required amount: Divide the total area (in square feet) by the coverage rate to determine the number of gallons needed.
- Add extra: Always add 10-20% extra paint to account for waste and ensure you have enough for touch-ups.
For example, if you’re painting a wall with an area of 200 sq ft and need two coats, and your paint covers 350 sq ft/gallon, you’d need (200 sq ft * 2 coats) / 350 sq ft/gallon ≈ 1.14 gallons. Round up to 1.5 gallons to account for waste.
Q 6. Explain the different methods of paint application (brush, roller, spray).
Different paint application methods offer unique advantages:
- Brush: Provides excellent control and precision, ideal for intricate details, trim work, and cutting in (painting edges neatly). Brushes are essential for achieving a high-quality, professional finish.
- Roller: Efficient for large, flat surfaces like walls and ceilings. Rollers offer fast coverage and a smooth finish, but less control compared to brushes. Different nap sizes (thickness of the roller fibers) cater to different surface textures.
- Spray: Offers extremely fast coverage, ideal for large areas and creating a smooth, even finish. Spraying requires specialized equipment and proper ventilation. Overspray can be an issue, requiring careful masking and preparation.
The best method depends on the project’s scale and complexity. For a small project with many trim elements, I would prefer brushes. For large wall areas, I’d likely use a roller and/or a sprayer for efficiency.
Q 7. What safety precautions are necessary when working with paints and primers?
Working with paints and primers requires strict adherence to safety guidelines:
- Ventilation: Always work in a well-ventilated area to avoid inhaling harmful fumes. Use fans or open windows. I’ve witnessed minor health issues from neglecting ventilation.
- Personal Protective Equipment (PPE): Wear safety glasses, gloves, and a respirator mask to protect your eyes, skin, and respiratory system from paint fumes and particles.
- Clothing: Wear old clothes you don’t mind getting paint on. Cover as much exposed skin as possible.
- Fire Safety: Many paints and solvents are flammable. Keep them away from open flames and sparks. Store them in a cool, dry place away from ignition sources.
- Cleanup: Dispose of paint and solvents properly. Don’t pour them down the drain; follow local regulations for responsible disposal.
- First Aid: Know what to do in case of accidental ingestion, skin contact, or eye irritation. Have appropriate first aid materials available.
Safety is paramount! Following these guidelines prevents accidents and protects your health and the environment.
Q 8. How do you handle different paint sheen levels (e.g., matte, satin, gloss)?
Different paint sheen levels—matte, satin, eggshell, semi-gloss, and gloss—affect the final look and durability of a painted surface. Matte has little to no shine, providing excellent hiding power for imperfections but being less washable. Gloss offers maximum shine and washability, ideal for high-traffic areas like kitchens but showing imperfections more readily. Satin and eggshell fall in between, offering a balance of durability and hiding power.
My approach involves carefully selecting the appropriate sheen based on the surface, its location, and the desired aesthetic. For example, I’d choose matte for a bedroom ceiling to minimize imperfections and create a calming effect, while semi-gloss would be perfect for bathroom trim due to its superior washability. I always discuss sheen options with the client to ensure their expectations are met.
- Matte: Ideal for ceilings and walls where hiding imperfections is key.
- Satin/Eggshell: A good balance for walls and trim in moderate traffic areas.
- Semi-Gloss/Gloss: Best suited for trim, doors, and areas requiring easy cleaning.
Q 9. What are the common problems encountered during painting and how do you address them?
Common painting problems include uneven surfaces, lap marks (visible streaks from overlapping paint strokes), roller splatter, brush marks, and poor adhesion. Addressing these requires a methodical approach.
- Uneven Surfaces: Proper preparation is crucial. This involves sanding to smooth rough patches, filling holes and cracks with spackle, and priming to create a uniform base.
- Lap Marks: These occur when the paint dries before overlapping strokes blend. The solution is to work in manageable sections, maintaining a wet edge.
- Roller Splatter: This is usually caused by excessive paint on the roller or too much pressure. The solution is to load the roller appropriately and use smooth, even strokes.
- Brush Marks: Using the right brush for the job and applying thin, even coats minimizes brush strokes.
- Poor Adhesion: This is often due to inadequate surface preparation or using the wrong paint for the surface. Ensuring the surface is clean, dry, and properly primed is key. In some cases, a bonding primer might be necessary.
I always conduct a thorough inspection before beginning any painting project to identify potential issues and plan accordingly. My experience allows me to quickly diagnose and resolve most problems to ensure a flawless finish.
Q 10. Describe your experience with different types of painting equipment.
My experience encompasses a wide range of painting equipment, from basic brushes and rollers to airless sprayers and specialized tools.
- Brushes: I’m proficient with various brush types (natural bristle, synthetic) for different applications. Natural bristle brushes are best for oil-based paints, while synthetic brushes work well with water-based paints.
- Rollers: I select rollers based on the surface texture and paint type. Nap length affects paint application and coverage. For smooth surfaces, a low-nap roller is sufficient, while a high-nap roller is better for textured walls.
- Airless Sprayers: These are efficient for large projects, allowing for a smooth and even finish. They require precise technique and proper safety measures. I’m well-versed in their operation and maintenance.
- Other Tools: I’m also experienced using tools like putty knives, scrapers, sanding blocks, and masking tape to achieve professional results.
Choosing the right equipment is half the battle. I always select the tools that are best suited for the project’s scope and specific requirements. For example, I would not use an airless sprayer for intricate detail work. My experience guides me in maximizing efficiency and minimizing waste.
Q 11. How do you ensure proper ventilation while painting?
Proper ventilation is critical when using paints and primers, as they often release volatile organic compounds (VOCs) that can be harmful if inhaled. My approach involves several strategies:
- Open Windows and Doors: This creates a natural airflow to dissipate VOCs. I make sure to open windows on opposite sides of the room for cross-ventilation.
- Exhaust Fans: Using exhaust fans to draw out air from the work area is particularly helpful in rooms without adequate natural ventilation.
- Ventilation Systems: In some cases, a whole-house ventilation system might be necessary to ensure adequate air exchange.
- Respirators: I always wear a respirator equipped with the appropriate cartridges to filter out VOCs, especially when working with high-VOC paints.
Safety is paramount. I ensure the work area is well-ventilated before, during, and after painting. I also instruct clients on the importance of ventilation and recommend they avoid the area for a specified time after painting to allow the VOCs to dissipate.
Q 12. How do you manage waste materials during and after a painting project?
Managing waste materials responsibly is essential for environmental protection and compliance with regulations. My process involves:
- Careful Planning: Precise measurements and careful planning minimize paint waste. I often pre-mix paint to ensure I have the exact amount needed.
- Proper Disposal: Leftover paint and solvents are disposed of according to local regulations. This often involves using designated hazardous waste disposal facilities.
- Recycling: I recycle empty paint cans whenever possible.
- Drop Cloths and Cleanup: I use reusable drop cloths and clean up spills promptly to minimize waste.
- Sustainable Practices: I often choose low- or zero-VOC paints whenever possible, reducing the environmental impact.
Responsible waste management is not an afterthought; it’s an integral part of my painting process. I believe in minimizing waste and disposing of materials correctly to protect the environment.
Q 13. What is your experience with color matching and mixing?
Color matching and mixing are crucial for achieving the desired aesthetic. My experience includes using both manual and digital methods.
- Manual Color Matching: This involves using color charts and mixing paints according to the manufacturer’s instructions. I’ve developed a keen eye for color and can accurately mix shades to match existing colors or create custom blends.
- Digital Color Matching: I utilize spectrophotometers to accurately measure the color of existing surfaces and create a precise paint match. This ensures consistency across large projects.
- Understanding Color Theory: My understanding of color theory allows me to predict how different colors will interact and create harmonious combinations. I can advise clients on color choices based on their preferences and the room’s purpose.
Accurate color matching is critical for a successful project. My expertise allows me to achieve precise color replication and create custom color schemes that meet client expectations.
Q 14. Explain your process for ensuring a smooth and even finish.
Achieving a smooth and even finish is the culmination of careful preparation and skillful application. My process encompasses several key steps:
- Thorough Surface Preparation: This involves cleaning, sanding, filling, and priming the surface to create a smooth, uniform base. This is crucial for optimal paint adhesion and a flawless finish.
- Proper Paint Application: This means applying thin, even coats using the appropriate tools and techniques. I avoid overloading the brush or roller to prevent drips and runs.
- Wet Edge Technique: I maintain a wet edge to prevent lap marks and ensure seamless blending between paint strokes. This requires a methodical and efficient approach.
- Multiple Thin Coats: Applying multiple thin coats is preferable to one thick coat, as it allows for better drying and reduces the risk of imperfections.
- Sanding Between Coats: In some cases, lightly sanding between coats can create an even smoother surface. This is particularly helpful with high-gloss finishes.
A smooth finish is a testament to careful preparation and execution. My attention to detail ensures the final product is both visually appealing and durable.
Q 15. How do you handle challenging surfaces, such as textured walls or curved surfaces?
Handling textured or curved surfaces requires a different approach than painting flat, smooth walls. The key is to choose the right tools and techniques to ensure even coverage and a professional finish.
- Textured Walls: For heavily textured walls, a high-nap roller (a roller with longer fibers) is essential. This helps the paint reach into the crevices and provide complete coverage. Multiple thin coats are preferable to one thick coat, which can run or sag. I often use a brush to cut in around edges and corners, ensuring a clean line. For very deep textures, a sprayer might be more efficient, allowing for better penetration into the grooves.
- Curved Surfaces: Curved surfaces, like columns or arches, need a flexible tool. Smaller rollers, or even brushes, are excellent for ensuring that the paint flows smoothly over the curves. The technique is to work in small sections, applying light, even strokes to avoid drips or streaks. A high-quality paint with good flow and leveling properties will also assist greatly here.
For example, I once painted a room with very thick stucco walls. I used a 3/8” nap roller and applied three thin coats to achieve a consistent finish. The first coat was mainly to prime the surface, while the next two built up the opacity and provided a beautiful, even color.
Career Expert Tips:
- Ace those interviews! Prepare effectively by reviewing the Top 50 Most Common Interview Questions on ResumeGemini.
- Navigate your job search with confidence! Explore a wide range of Career Tips on ResumeGemini. Learn about common challenges and recommendations to overcome them.
- Craft the perfect resume! Master the Art of Resume Writing with ResumeGemini’s guide. Showcase your unique qualifications and achievements effectively.
- Don’t miss out on holiday savings! Build your dream resume with ResumeGemini’s ATS optimized templates.
Q 16. What are your skills in identifying and repairing damaged surfaces before painting?
Identifying and repairing damaged surfaces is crucial for a long-lasting, professional-looking paint job. This involves a multi-step process.
- Assessment: I begin by carefully examining the surface, noting any cracks, holes, loose paint, or water damage. The severity of the damage dictates the repair method.
- Preparation: Loose or peeling paint must be removed using a scraper, wire brush, or sandpaper. This ensures a clean surface for the repair and prevents future problems. Larger holes require filling with spackle or patching compound, allowing it to dry completely before sanding it smooth.
- Priming: After sanding, the repaired areas need to be primed. Primer seals the repair, creating an even surface for the paint to adhere to. It also helps to prevent bleed-through, where the old paint or stain shows through the new paint.
- Finishing: Finally, I sand the primed areas lightly to remove any imperfections and ensure a flawless finish.
For instance, I recently worked on a project where a wall had significant water damage. I carefully removed the affected plaster, filled the cavity with patching compound, let it dry, sanded it flush, primed the area, and then painted the whole wall to achieve a uniform finish. The end result looked seamless and professional.
Q 17. Describe your experience with different types of paint finishes (e.g., eggshell, semi-gloss).
Different paint finishes offer varying levels of durability, sheen, and washability, making the selection crucial for the project’s needs and location.
- Eggshell: Offers a soft sheen with good scrubbability, making it suitable for walls and trim in areas with moderate traffic, such as bedrooms or living rooms. It hides imperfections better than higher-sheen finishes.
- Semi-gloss: Provides a noticeable shine with excellent durability and washability. It’s ideal for areas that require frequent cleaning, like kitchens, bathrooms, or trim. Semi-gloss is more resistant to moisture and scuffs.
- Satin: A balance between eggshell and semi-gloss; offering decent scrubbability and a subtle sheen that is suitable for high-traffic areas where excessive shine is undesirable.
- Gloss: Provides the highest sheen, is very durable and washable, but shows imperfections easily. Often used for trim or cabinetry.
- Flat/Matte: Offers a very low sheen that is excellent at hiding imperfections but is less washable and durable. Better suited for low-traffic areas such as ceilings.
The choice of finish depends on the location, usage, and desired aesthetic. For example, I used semi-gloss paint in a kitchen because of its durability and washability, and an eggshell for the bedrooms for its softer appearance.
Q 18. How do you ensure the proper drying time for paint and primer?
Ensuring proper drying time is critical for preventing issues such as cracking, peeling, or poor adhesion. This depends on several factors including:
- Type of Paint: Oil-based paints typically take longer to dry than water-based paints.
- Temperature and Humidity: High humidity or low temperatures can significantly increase drying times.
- Ventilation: Good air circulation helps accelerate drying.
- Paint Thickness: Thicker coats take longer to dry than thin coats.
I always refer to the paint manufacturer’s instructions on the can for the recommended drying time between coats and before recoating. I also consider the environmental conditions and ensure adequate ventilation during the drying process. For example, if working in a humid climate, I might add extra time between coats to avoid issues with adhesion. Waiting an extra hour often prevents more significant problems down the line.
Q 19. What are the best practices for cleaning up after a painting project?
Cleaning up after a painting project is essential for both safety and efficiency. It’s a systematic process:
- Immediate Cleanup: Clean brushes, rollers, and other tools immediately after use, following the manufacturer’s instructions for the type of paint used (water-based or oil-based). I use appropriate solvents or water, depending on the type of paint. Leaving paint to dry on brushes renders them unusable.
- Drop Cloth Removal: Carefully remove and dispose of drop cloths. If reusable, clean them thoroughly.
- Surface Cleaning: Wipe down any surfaces affected by paint spills or drips using a damp cloth and appropriate solvent.
- Waste Disposal: Dispose of paint and cleaning supplies according to local regulations. Never pour paint down the drain.
- Tool Storage: Store cleaned tools properly to prevent damage or rust.
For instance, after a large interior painting job, I always dedicate some time to thoroughly clean the site. This includes sweeping up any debris, wiping down the windowsills and doorframes, and ensuring that all the paint cans are properly sealed and stored.
Q 20. Describe your experience working with different types of painting projects (interior, exterior, etc.).
My experience encompasses a wide range of painting projects, both interior and exterior.
- Interior Painting: I’m proficient in all aspects of interior painting, from residential homes to commercial spaces. This includes wall preparation, priming, painting walls, ceilings, trim, and doors. I have experience working with various paint types, finishes, and techniques, ensuring a flawless and consistent finish.
- Exterior Painting: Exterior projects require a different approach, considering weather conditions, surface preparation for siding, wood, and stucco. I’m experienced in using appropriate paints and primers suited to the exterior environment, ensuring longevity and protection against the elements. I know how to properly prepare surfaces for the best results.
One example of my experience includes painting the exterior of a large Victorian house. This involved meticulous preparation of the wood siding, careful attention to detail, and choosing a paint designed for long-term protection against rain and sunlight. The results were fantastic; a beautifully restored home.
Q 21. How do you handle unexpected issues or changes during a project?
Handling unexpected issues is a crucial skill in painting. My approach is proactive and solution-oriented.
- Assessment: I calmly assess the situation, determining the cause of the problem and its potential impact on the project’s timeline and budget.
- Problem Solving: I brainstorm solutions, weighing their feasibility and potential consequences. I may consult with suppliers or other professionals if necessary.
- Communication: I maintain open communication with the client, keeping them informed of the issue and the proposed solutions, ensuring they are comfortable with the proposed course of action.
- Implementation: I implement the chosen solution efficiently and effectively. I document the changes and any adjustments to the project schedule or budget.
For instance, I once discovered unexpected water damage behind a wall during a painting project. I immediately stopped work, informed the client, and coordinated with a specialist to resolve the water damage before proceeding with the painting, preventing future problems and guaranteeing a successful result.
Q 22. What is your experience with working from blueprints or specifications?
Blueprints and specifications are the cornerstone of any successful painting project. My experience encompasses meticulously reviewing architectural drawings to understand the scope of work, including surface areas, material specifications (paint types, sheen levels), and color palettes. I’m adept at identifying potential challenges early on, like complex geometries or difficult-to-reach areas, and factoring them into my planning and resource allocation. For example, on a recent high-rise project, the blueprints clearly indicated intricate molding details that required specialized techniques and masking to ensure a flawless finish. I used these details to procure the correct tools and plan the work schedule accordingly.
Beyond blueprints, I’m equally comfortable working from detailed specifications provided by clients or design professionals. This often involves translating client preferences into technical instructions for my team, making sure everyone understands the desired outcome and how to achieve it within the given constraints. This collaborative aspect ensures that the final result perfectly aligns with the client’s vision.
Q 23. How do you maintain consistent quality across large projects?
Maintaining consistent quality across large projects necessitates a multi-pronged approach. First, meticulous preparation is key. This involves establishing standardized procedures for surface preparation, priming, and painting, ensuring each step is performed uniformly across the entire project. We use detailed checklists to monitor progress and adherence to these standards. Second, I emphasize continuous training for my team, focusing on best practices, color matching techniques, and quality control checks. Regular inspections and quality control meetings are essential for early detection and rectification of any inconsistencies.
Third, the selection and proper management of materials are crucial. We utilize high-quality paints and primers from reputable brands, ensuring consistent color and performance throughout the project. Finally, I maintain open communication lines with the client and project stakeholders, providing regular updates and addressing any concerns promptly. This proactive communication helps to prevent misunderstandings and ensure that everyone is aligned on the quality standards throughout the process.
Q 24. What is your understanding of different paint regulations and safety standards?
Understanding and adhering to paint regulations and safety standards is paramount. My knowledge encompasses VOC (Volatile Organic Compound) regulations, which dictate permissible levels of harmful emissions in paints. I’m familiar with the various safety data sheets (SDS) for different paints and primers, and I ensure my team is properly trained on handling these materials safely. This includes the use of appropriate personal protective equipment (PPE) such as respirators, gloves, and eye protection.
We also adhere to local and national regulations regarding waste disposal, safely containing and disposing of paint cans and related materials according to the specific guidelines in place. For example, in projects involving lead-based paint, we follow strict protocols for abatement and disposal, ensuring the safety of both our workers and the environment. Proper ventilation during and after painting is also critical to avoid exposure to hazardous fumes.
Q 25. Describe your experience with different types of priming techniques (e.g., spray, brush, roller).
My experience with priming techniques is extensive. Spray priming is ideal for large, uniform surfaces, offering efficiency and a smooth finish. However, it requires careful control to avoid overspray and ensure even coverage. Brush priming excels in detailed areas or intricate woodwork where precision is crucial. The manual control allows for careful application to complex geometries. Roller priming provides a balance between speed and control, suitable for walls and larger flat surfaces, requiring less material than spraying but providing more even coverage than brushing.
The choice of technique depends heavily on the project’s scope and the substrate. For instance, on a large commercial building, spray priming would be the most efficient. However, for a delicate antique piece of furniture, brush priming would be necessary to protect the details. I am also well-versed in the different types of primers, including oil-based, water-based, and specialized primers for specific surfaces, such as metal or wood.
Q 26. Explain your experience with various types of painting tools and techniques.
My tool arsenal includes a wide variety of painting equipment. I’m proficient with various brushes – from fine detail brushes for intricate trim work to larger brushes for broader surfaces – each chosen for its specific application. I use different rollers depending on the surface texture and paint type. Spray guns, both airless and HVLP (High Volume Low Pressure), provide efficient coverage for large areas. Additional tools such as scrapers, putties, sanding blocks, and masking tape are also part of my standard kit, necessary for surface preparation and precision painting.
Beyond the tools themselves, I’m adept at various painting techniques, including stippling, sponging, rag rolling, and other decorative finishes. These advanced techniques allow me to create unique textural effects, significantly enhancing the project’s aesthetic appeal. Choosing the appropriate tools and techniques is crucial for achieving the desired finish and ensuring a high-quality result that meets the client’s specifications.
Q 27. How do you manage your time effectively when working on multiple painting projects simultaneously?
Managing multiple painting projects simultaneously requires meticulous organization and planning. I utilize project management software to track deadlines, allocate resources, and monitor progress across all active projects. This allows for a clear overview of each project’s status, enabling me to prioritize tasks effectively. I break down large projects into smaller, manageable tasks, assigning specific deadlines and responsibilities to my team members.
Regular team meetings are crucial for communication and coordination, allowing me to address any challenges or potential roadblocks proactively. I also maintain open communication with clients, keeping them informed of progress and potential delays. Effective delegation and proactive problem-solving are essential for successfully juggling multiple projects without compromising quality or timelines. Prioritizing tasks based on deadlines and potential impact ensures a smooth workflow across all projects. This includes strategically scheduling overlapping tasks where possible and creating buffer time to account for unforeseen delays.
Key Topics to Learn for Painting and Priming Interview
- Surface Preparation: Understanding different surface types (wood, drywall, metal), appropriate cleaning methods, and identifying and addressing imperfections like cracks or holes.
- Primer Selection and Application: Knowing the properties of various primers (oil-based, water-based, shellac), choosing the right primer for different surfaces and paint types, and mastering application techniques for even coverage.
- Paint Selection and Application: Understanding paint types (latex, oil, enamel), sheen levels, and color matching. Mastering different application techniques (brushing, rolling, spraying) and achieving a professional finish.
- Color Theory and Matching: Basic understanding of color mixing, undertones, and achieving desired color effects. Knowledge of color charts and accurate color matching techniques.
- Health and Safety: Proper handling and disposal of paints and solvents, use of personal protective equipment (PPE), and awareness of relevant health and safety regulations.
- Tools and Equipment: Familiarity with common painting and priming tools (brushes, rollers, sprayers, scrapers, etc.), their maintenance, and proper usage.
- Troubleshooting and Problem Solving: Identifying and resolving common painting issues like brush strokes, drips, roller marks, and uneven coverage. Understanding how to address adhesion problems and other surface imperfections.
- Estimating and Project Management: Basic understanding of estimating material quantities, project timelines, and effective project planning.
Next Steps
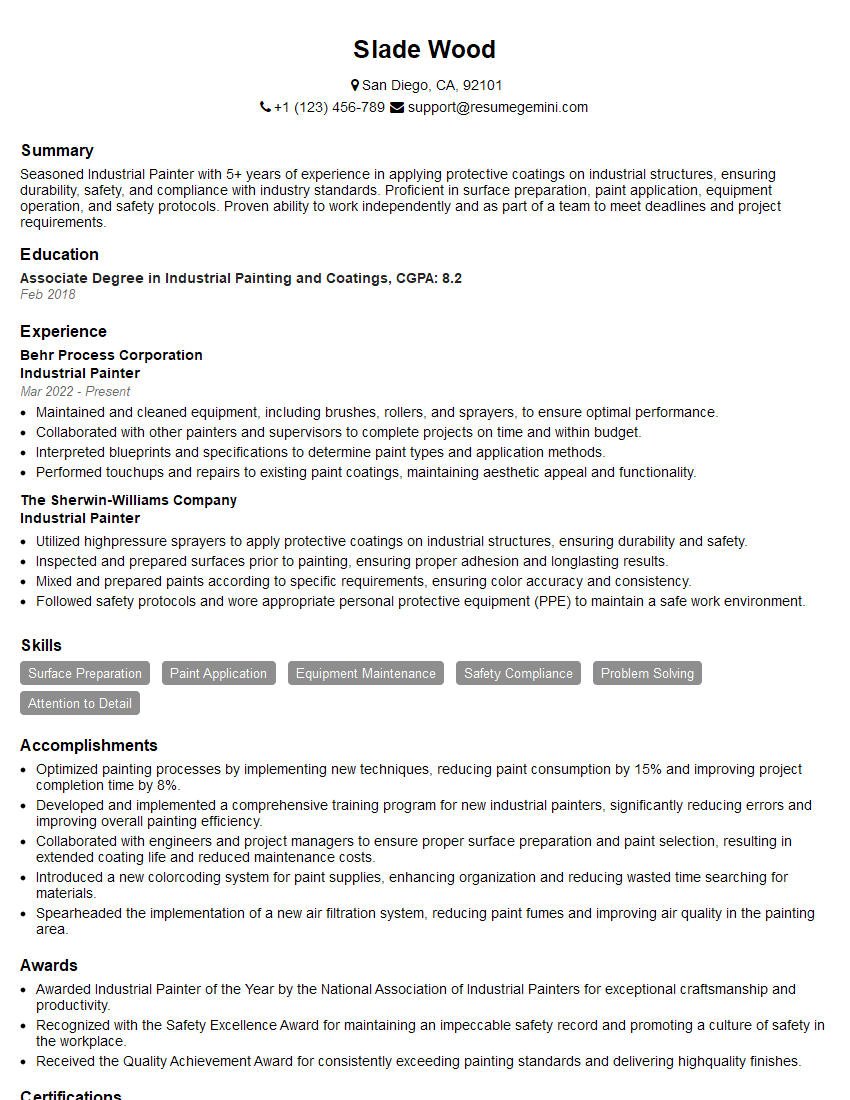
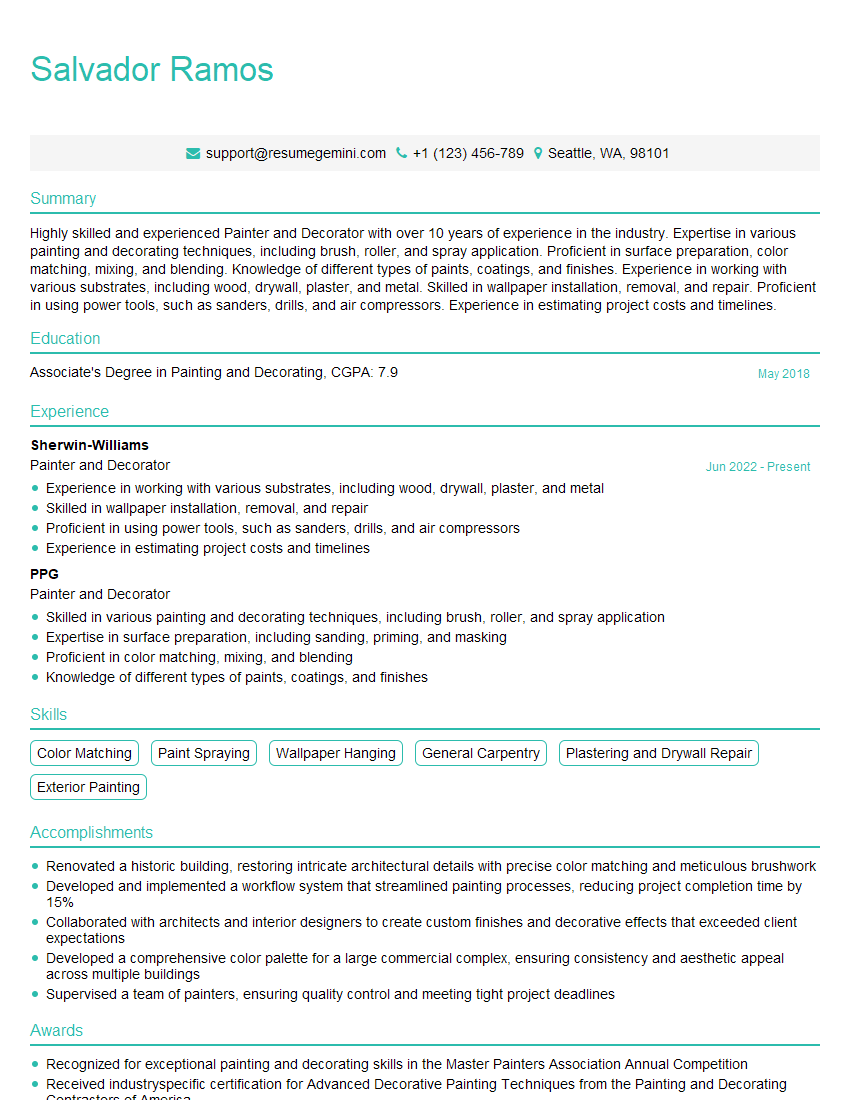
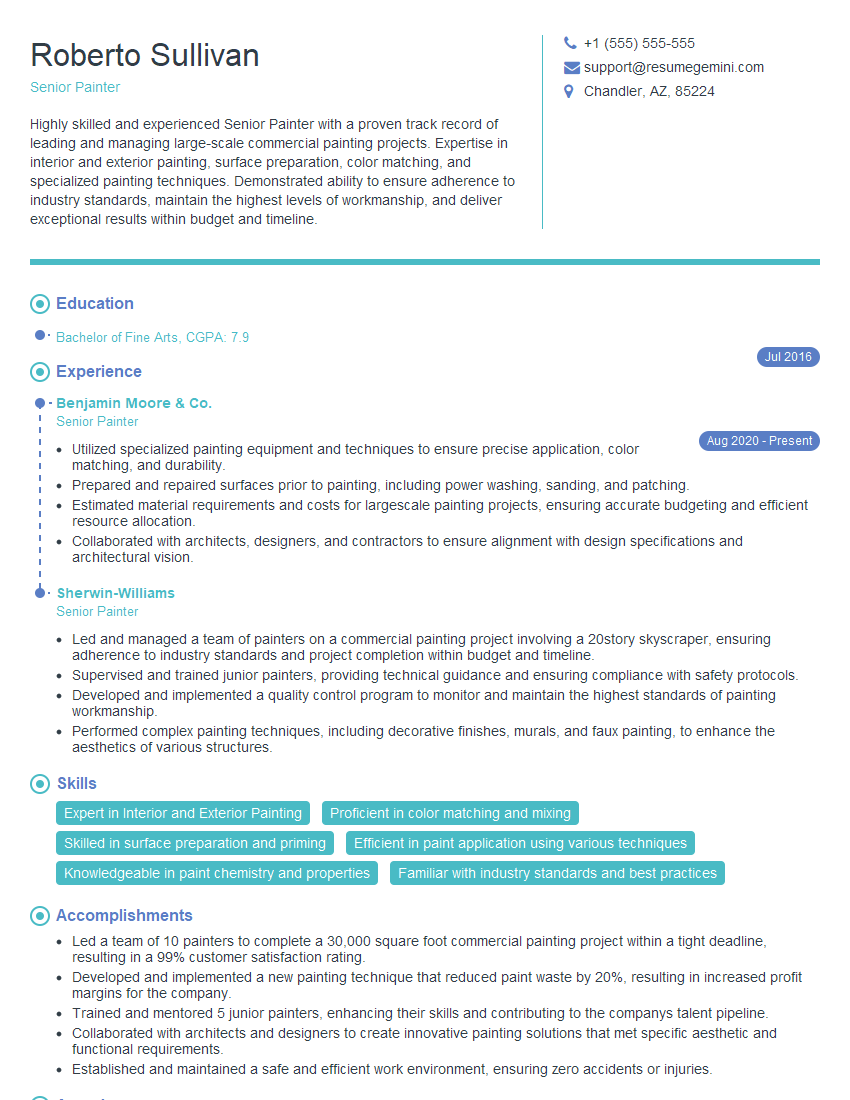
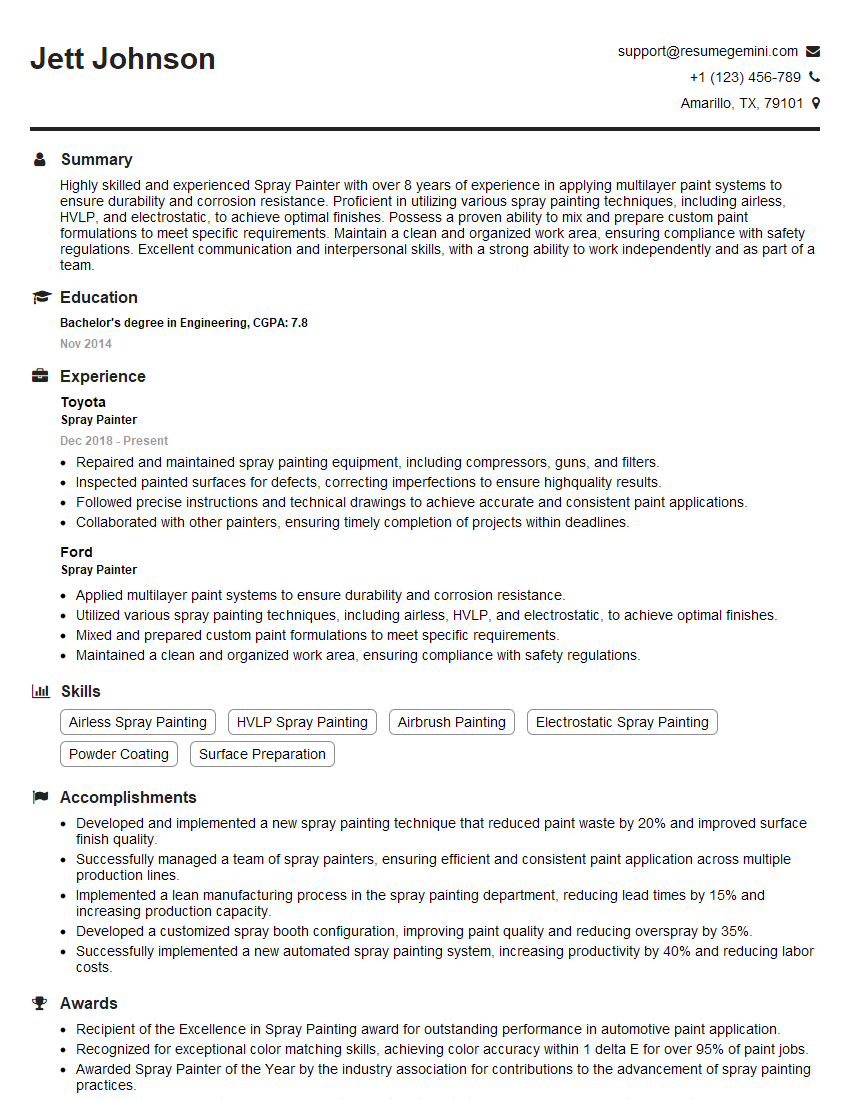
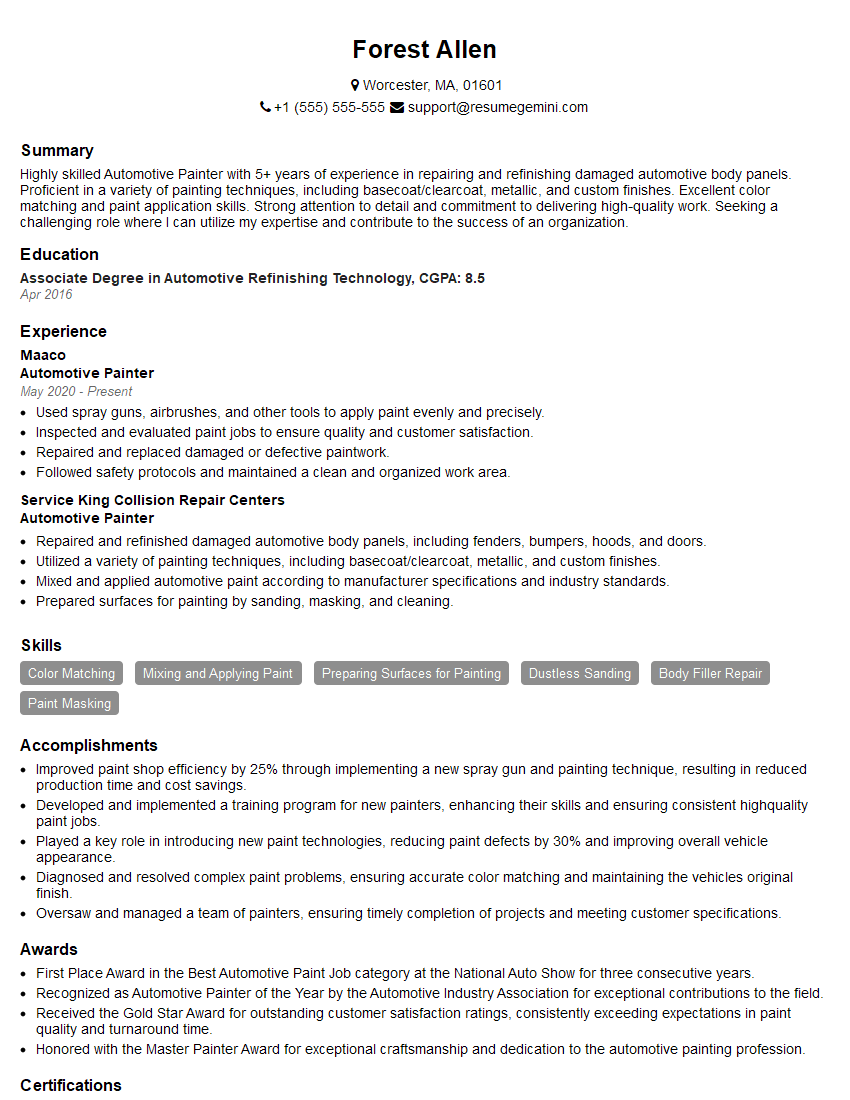
Mastering painting and priming techniques opens doors to diverse and rewarding career opportunities, from residential to commercial projects. A strong foundation in these skills is highly sought after by employers. To maximize your job prospects, crafting a professional and ATS-friendly resume is crucial. ResumeGemini is a trusted resource to help you build a compelling resume that showcases your abilities effectively. Examples of resumes tailored to the Painting and Priming field are available to guide you. Invest time in creating a strong resume—it’s your first impression on potential employers.
Explore more articles
Users Rating of Our Blogs
Share Your Experience
We value your feedback! Please rate our content and share your thoughts (optional).
What Readers Say About Our Blog
To the interviewgemini.com Webmaster.
Very helpful and content specific questions to help prepare me for my interview!
Thank you
To the interviewgemini.com Webmaster.
This was kind of a unique content I found around the specialized skills. Very helpful questions and good detailed answers.
Very Helpful blog, thank you Interviewgemini team.