Cracking a skill-specific interview, like one for Chair Rail and Crown Molding, requires understanding the nuances of the role. In this blog, we present the questions you’re most likely to encounter, along with insights into how to answer them effectively. Let’s ensure you’re ready to make a strong impression.
Questions Asked in Chair Rail and Crown Molding Interview
Q 1. What types of wood are best suited for chair rail and crown molding?
Choosing the right wood for chair rail and crown molding is crucial for both aesthetics and longevity. Hardwoods are generally preferred for their durability, ability to hold detail, and resistance to damage.
- Hard Maple: A classic choice known for its strength, hardness, and ability to take a beautiful finish. It’s relatively expensive but worth it for high-traffic areas.
- Red Oak: A strong and durable option with a beautiful grain pattern. It’s a bit more affordable than maple.
- Cherry: A rich, warm-toned wood that ages gracefully. It’s softer than maple or oak, making it slightly more susceptible to dents, so it might be better suited for less trafficked areas.
- Pine: A softer wood, easier to work with and more affordable, but it’s more prone to dents and scratches. Often used for less formal settings or when budget is a major constraint. Primed and painted pine is an excellent alternative for durability.
Ultimately, the best wood depends on your budget, the style of your home, and the level of wear and tear the molding will experience.
Q 2. Describe the process of measuring and cutting crown molding for a complex corner.
Measuring and cutting crown molding for a complex corner requires precision and a strategic approach. Forget simple miter cuts here! We’re talking compound miters. This involves cutting the molding at two different angles simultaneously. Imagine the molding as a piece of a pie; you’re cutting slices that fit perfectly into the pie’s overall shape (your corner).
Here’s a step-by-step process:
- Measure the angle: Use a digital angle finder or protractor to accurately determine the inside corner angle. This is crucial for achieving a seamless fit.
- Calculate the compound miter angles: The two cuts needed will add up to 180 degrees minus the inside corner angle. Divide the remaining angle by two. For example, if your corner is 90 degrees, each cut should be at a 45-degree angle. If the corner is 110 degrees, each cut will be 35 degrees. This can be calculated with a specialized miter saw or using a speed square and some geometry.
- Cut the molding: Use a miter saw set to the calculated angles to accurately cut the molding pieces. Make test cuts on scrap pieces of wood first to ensure your calculations are correct before cutting your expensive material.
- Test fit: Dry fit the pieces before gluing and nailing to ensure a perfect fit. Adjust your cuts as needed. Sometimes minor adjustments are required for the perfect match.
- Secure the molding: Once the fit is perfect, apply wood glue and secure the pieces with finishing nails. Use a nail set to countersink the nails below the surface.
Remember, practice makes perfect. Work with scrap wood until you’re comfortable with the process before tackling the actual installation.
Q 3. Explain different methods for securing chair rail to a wall.
Several methods exist for securing chair rail to a wall, each with its pros and cons:
- Liquid Nails Construction Adhesive: This provides a strong bond and is particularly useful on solid surfaces like drywall. However, it’s crucial to support the rail until the adhesive cures completely to prevent sagging.
- Finishing Nails and Wood Glue: A classic approach where you pre-drill pilot holes to prevent splitting the wood and then use small finishing nails to secure the rail to wall studs. This offers excellent stability. The glue reinforces the bond and prevents the rail from moving.
- Mounting Blocks: For added security, especially in areas with hollow walls, you can use small mounting blocks attached to the studs and then fasten the chair rail directly to these blocks.
- Chair Rail Brackets: Decorative brackets provide added support and also function as a design element.
The best method depends on the type of wall construction, the weight of the chair rail, and the desired level of security. For instance, in older homes with plaster walls, using construction adhesive along with mounting blocks might be the most reliable approach. In new construction, it’s generally easier to fasten directly to the studs.
Q 4. How do you account for wall imperfections when installing crown molding?
Wall imperfections are a common challenge in crown molding installation. Ignoring them can lead to unsightly gaps and a poorly finished look. There are several strategies to overcome this:
- Use shims: Thin pieces of wood (shims) can be strategically placed between the molding and the wall to fill small gaps and ensure a tight fit against uneven surfaces.
- Caulk: Paintable caulk can effectively hide minor imperfections and gaps. Choose a high-quality caulk that matches the color of your wall and molding.
- Flexible Molding: For severely uneven walls, consider flexible molding designed to conform to irregular surfaces. This type of molding is less common and often more expensive.
- Bed the Molding: A more advanced technique for extreme irregularities. This involves first applying a layer of adhesive and then carefully setting the molding onto the wall, allowing the adhesive to fill in minor gaps.
Remember: it’s better to address wall imperfections before installing the molding. This can be done by using joint compound to smooth out minor bumps and dips before painting the wall. A little preparation goes a long way!
Q 5. What tools are essential for precise chair rail and crown molding installation?
Precision in chair rail and crown molding installation requires the right tools. Here’s a list of essentials:
- Miter Saw: A must-have for accurate angled cuts, especially for crown molding.
- Measuring Tape: Accurate measurements are paramount.
- Level: Ensures the molding is perfectly straight and plumb.
- Nail Gun (optional but highly recommended): Speeds up installation and offers greater precision.
- Finishing Nails: Small nails that are easily hidden.
- Nail Set: Used to countersink nails below the surface of the molding.
- Wood Glue: Reinforces the bond between the molding and the wall.
- Putty Knife: Used for applying caulk and removing excess adhesive.
- Caulk Gun: For applying caulk to fill gaps.
- Safety Glasses and Gloves: Always prioritize safety.
Investing in quality tools will make the installation process smoother and significantly improve the final result.
Q 6. What are common problems encountered during crown molding installation, and how do you address them?
Common problems during crown molding installation include:
- Gaps: Caused by inaccurate measurements or uneven walls. Address with shims, caulk, or by re-cutting and refitting the molding.
- Uneven Alignment: Use a level constantly. Improperly secured molding that sags is addressed by using stronger adhesive or additional support.
- Improper Miter Cuts: Inaccurate cuts lead to gaps and misalignment. Double-check angles and practice your cuts on scrap wood.
- Nail Pops: This occurs when nails work loose and the nail head pops up through the finish. This is addressed by using better-quality nails, using glue, or using a nail gun.
- Splitting of the Molding: Caused by driving nails directly into the molding without pre-drilling pilot holes. Always pre-drill pilot holes, especially when using a nail gun.
Addressing these issues promptly is crucial. Don’t hesitate to take your time. A rushed job will always show.
Q 7. How do you ensure consistent spacing and alignment during molding installation?
Consistent spacing and alignment are crucial for a professional-looking installation. Here’s how to achieve it:
- Use a Snap Line: A snap line creates a perfectly straight reference line on the wall, providing a consistent guide for installing the molding.
- Utilize Spacers: Small spacers, such as shims, can help maintain uniform gaps between the molding and the wall or between individual pieces.
- Check Alignment Regularly: Use a level frequently during the installation process to ensure that the molding remains perfectly aligned and straight.
- Work in Sections: Divide the installation into manageable sections and focus on completing each section perfectly before moving on to the next. It’s easier to maintain consistency when working in smaller, more controlled areas.
- Measure Twice, Cut Once: This adage applies strongly here. Accuracy in measuring and cutting will save you time and frustration in the long run. Check all your measurements before starting any cutting.
By following these strategies, you can ensure a consistently spaced and flawlessly aligned installation that enhances the beauty of your home.
Q 8. Describe your experience with different types of molding profiles.
Molding profiles are essentially the shape and design of the molding. My experience encompasses a wide range, from simple, classic profiles like ogee and cove to more ornate designs incorporating dentils, beads, and fluting. I’ve worked with various materials – wood, polyurethane, and MDF – each offering a different profile and aesthetic. For example, a simple cove molding is perfect for a clean, minimalist look, while a heavily detailed Roman ogee adds a touch of grandeur. I understand how different profiles interact with lighting and overall room design to achieve specific effects. I can assess a client’s needs and suggest profiles that perfectly complement their style and architectural details. I’ve even customized profiles by carefully sculpting details from solid wood pieces for exceptionally unique projects.
- Ogee: A classic S-shaped profile.
- Cove: A concave curve.
- Dentil molding: Features small, evenly spaced tooth-like projections.
- Bead molding: Characterized by a rounded, raised section.
Q 9. What are the safety precautions you take when working with power tools for molding installation?
Safety is paramount. When using power tools for molding installation, I always prioritize safety measures. This includes wearing appropriate personal protective equipment (PPE) such as safety glasses, hearing protection, and a dust mask. I ensure that the power tools are properly maintained and sharp, reducing the risk of kickback. I always use a push stick for any cuts near the blade to keep my hands at a safe distance. Furthermore, I frequently check the work area for any obstacles or hazards, maintaining a clean and organized space prevents accidents. Before starting any project, I confirm the power cord is securely plugged in and I always turn off the machine before making adjustments. For example, if I’m using a miter saw, I never reach over the blade, even when it’s switched off; I always clear the area after each cut.
Q 10. How do you handle miter cuts for both inside and outside corners?
Miter cuts are essential for creating perfect corners. For inside corners, I cut both pieces of molding at a complementary angle, usually 45 degrees. This requires precise measuring and cutting to ensure a seamless fit. For outside corners, I also use a 45-degree miter cut but have to account for the additional material needed because the molding extends beyond the corner. In both cases, I use a high-quality miter saw to ensure accurate and clean cuts. Should there be slight imperfections, I use a block plane or sandpaper to finely adjust the fit. I always test-fit the pieces before applying adhesive to ensure a clean and tight join. I find it helpful to use a small scrap piece of molding for practice before cutting the actual pieces.
Q 11. What is your experience with using a miter saw and coping saw for molding?
I’m proficient in using both miter saws and coping saws for molding. The miter saw is my primary tool for making precise miter cuts. It allows for quick and accurate cuts, especially on larger projects. However, for fine adjustments or intricate details, I frequently use a coping saw. Coping involves cutting a piece of molding to precisely match the profile of an adjacent piece, ensuring a perfect joint, especially in inside corners. This process requires a good understanding of how to work with the saw and a steady hand. I regularly sharpen the coping saw blade to ensure clean, accurate cuts. Combining both tools allows for maximum precision and efficiency in any project.
Q 12. Explain the process of finishing crown molding and chair rail (priming, painting, staining).
Finishing crown molding and chair rail is crucial to achieve a professional look. The process starts with priming. I use a high-quality primer designed for wood or the specific material being used to ensure proper adhesion of the paint or stain. This also helps to block any knots or imperfections in the wood. Once the primer is dry, I apply the chosen finish. For painting, I use multiple thin coats of paint, allowing each coat to dry thoroughly before applying the next. This prevents runs and drips and creates a smooth, even finish. For staining, I follow the manufacturer’s instructions to achieve the desired color and depth. I apply stain evenly using a brush or rag, wiping off any excess to avoid pooling. After the stain dries, I often apply a clear topcoat for protection and added richness. Regardless of the chosen finish, attention to detail is key to a high-quality result.
Q 13. How do you calculate the amount of molding needed for a project?
Calculating the required amount of molding involves careful measurements. First, I measure the perimeter of the area where the molding will be installed. For crown molding, this typically involves the ceiling perimeter of the room. For chair rail, I measure the perimeter of the walls at the desired height. I add extra length to account for cuts and waste. This excess ranges from 10-15%, depending on the complexity of the project and the number of corners. For instance, if a room has multiple corners or angles, I will add a larger percentage to allow for more waste. It’s always better to have a little extra than to run short mid-project.
Q 14. What are the differences between solid wood and composite molding materials?
Solid wood and composite moldings offer distinct advantages and disadvantages. Solid wood moldings, like oak or pine, offer superior durability, a natural aesthetic appeal, and can be stained or painted to complement various decors. However, they are generally more expensive and require more maintenance. Composite moldings, typically made from MDF (Medium-Density Fiberboard) or polyurethane, are more affordable, less prone to warping or cracking, and lighter in weight, making installation easier. However, they may not offer the same level of character or durability as solid wood. The choice depends on the budget, desired aesthetic, and the level of maintenance one is willing to undertake. For projects requiring extreme durability or a premium appearance, solid wood might be preferable. For budget-conscious projects, or those requiring lighter-weight materials, composites often are the better option. Polyurethane moldings are especially beneficial in damp environments, showcasing superior resistance to moisture.
Q 15. What is the best way to clean up after crown molding and chair rail installation?
Cleaning up after crown molding and chair rail installation is crucial for a professional finish. It’s a multi-step process focusing on both immediate cleanup and longer-term maintenance.
Immediate Cleanup: This involves removing excess adhesive immediately using a damp sponge or putty knife. For cured adhesive, a scraper can be used, taking care to avoid damaging the molding itself. Sawdust and debris should be swept or vacuumed thoroughly. A tack cloth is invaluable for removing fine dust particles that cling to the freshly installed molding. Always protect your floors with drop cloths to avoid scratches and adhesive spills.
Final Cleaning: Once the installation is complete, a final wipe down with a damp cloth will remove any lingering dust and adhesive residue. For painted moldings, I generally recommend waiting 24 hours before cleaning to allow for complete paint curing. A soft cloth and a mild cleaner are appropriate. Avoid harsh chemicals that might damage the finish.
Example: On a recent job installing intricate crown molding in a high-end home, I used a combination of a damp sponge for immediate cleanup and a microfiber cloth for the final cleaning. The attention to detail ensured the molding looked pristine against the freshly painted walls.
Career Expert Tips:
- Ace those interviews! Prepare effectively by reviewing the Top 50 Most Common Interview Questions on ResumeGemini.
- Navigate your job search with confidence! Explore a wide range of Career Tips on ResumeGemini. Learn about common challenges and recommendations to overcome them.
- Craft the perfect resume! Master the Art of Resume Writing with ResumeGemini’s guide. Showcase your unique qualifications and achievements effectively.
- Don’t miss out on holiday savings! Build your dream resume with ResumeGemini’s ATS optimized templates.
Q 16. How do you handle installing molding around windows and doors?
Installing molding around windows and doors requires precise cuts and careful measurements. It’s where experience truly shines, as improper cuts can ruin the entire aesthetic.
Accurate Measurement: I always start by taking precise measurements of the window or door casing. Using a measuring tape and square is crucial. It’s better to measure multiple times than to cut once incorrectly.
Compound Miter Cuts: Often, compound miter cuts are necessary, especially for inside corners. A miter saw with a precise blade is essential to achieve perfectly fitting joints. Understanding the angle of the cut relative to both the plane of the molding and the wall is key. A digital angle finder can be helpful here.
Cope Cuts: For outside corners, cope cuts are often preferred for a seamless, invisible joint. This technique involves shaping one piece of molding to perfectly fit against the other, making it much harder to notice the joint.
Test Fitting: Before applying adhesive, I always do a test fitting to ensure that all cuts are perfect. This prevents having to redo work and minimizes waste. Adjustments to cuts are more easily made before the adhesive is applied.
Q 17. What are some common mistakes to avoid when installing chair rail and crown molding?
Avoiding common mistakes during installation is crucial for a professional look. Here are a few crucial things to watch out for:
Inaccurate Measurements: This is the most common mistake. Always double-check your measurements before cutting any molding. A fraction of an inch off can significantly impact the final look.
Improper Miter Cuts: Incorrectly angled miter cuts will result in gaps and poorly fitting joints. Make sure your saw is properly calibrated and you are using the correct angles.
Using the Wrong Adhesive: Choosing the right adhesive is crucial for proper adhesion. Using the wrong type or insufficient quantity can lead to the molding falling off.
Poor Surface Preparation: Not adequately preparing the wall surface (e.g., filling nail holes, ensuring a clean, smooth surface) compromises adhesion.
Ignoring Expansion Gaps: Failing to leave small expansion gaps can lead to cracking or warping of the molding, especially with wood molding in changing climates. This is vital.
Uneven Application of Adhesive: Uneven adhesive application will result in uneven seating of the molding and potential gaps.
Q 18. Describe your experience with different adhesive types used for molding installation.
My experience encompasses various adhesives, each with strengths and weaknesses. The choice depends largely on the type of molding, the substrate (wall material), and environmental conditions.
Construction Adhesive: This is a versatile option, suitable for most applications. It provides strong adhesion and can be used for both wood and composite moldings. I prefer a paintable, latex-based construction adhesive for ease of cleanup.
Liquid Nails: Another popular choice, known for its strong bonding capabilities, especially for heavier moldings. However, it can be more challenging to clean up if there’s excess.
Specialty Molding Adhesives: These are formulated specifically for molding installation and often offer improved adhesion and faster drying times. Some are specifically designed for certain types of molding or wall surfaces.
I carefully select the adhesive based on the specific project requirements, always consulting the manufacturer’s instructions for optimal performance.
Q 19. How do you prepare a wall surface for proper molding adhesion?
Proper wall surface preparation is paramount for successful molding installation. It’s like laying a strong foundation for a house – skip it, and you’ll regret it.
Cleaning: The wall surface must be clean and free of dust, grease, and loose paint. I often use a damp cloth and a mild detergent, followed by thorough rinsing and drying.
Repairing Imperfections: Any holes or cracks in the wall should be filled and sanded smooth using spackle or drywall compound. This ensures a seamless surface for the molding to adhere to.
Priming (When Necessary): In certain cases, particularly with drywall or bare wood, applying a primer can improve adhesion and provide a uniform surface for better paint adherence.
Example: On a recent project with textured walls, I carefully sanded the areas where the molding would be installed to ensure a smooth, even surface for proper bonding. This yielded perfect adhesion and a beautiful, clean finish.
Q 20. Explain your experience working with different types of fasteners for molding.
The choice of fasteners depends on several factors, including the type of molding, wall material, and the desired level of support. I choose based on project specifics.
Finishing Nails: These are commonly used for wood moldings, especially when a nail-free look is desired. They’re hammered in carefully, and the holes are filled and sanded before painting.
Brad Nails: Similar to finishing nails, but smaller, these are suitable for lighter moldings and provide excellent hold.
Construction Adhesive Only: For lighter moldings and when the wall surface is appropriate, construction adhesive can often suffice without additional fasteners. This is particularly the case with smooth, stable surfaces like plaster or primed drywall.
Screws: Screws are sometimes necessary for heavier moldings or when additional support is needed, such as in areas with movement or less-than-ideal wall surfaces. Pilot holes should always be drilled beforehand to avoid splitting the molding.
I use the method best suited to the specific project and always pre-drill holes where necessary to avoid damaging the wood. Over-reliance on just one fastening method is a common error.
Q 21. How do you manage and address client concerns about molding installation?
Addressing client concerns is a critical part of providing excellent service. Open communication and a proactive approach are key.
Active Listening: I begin by carefully listening to the client’s concerns, ensuring I fully understand their perspective.
Transparent Communication: I explain the process clearly, detailing each step and the reasons behind my choices. This helps build trust and manage expectations.
Problem-Solving: If a problem arises, I work collaboratively with the client to find a mutually acceptable solution. This may involve adjustments to the design or installation process.
Professionalism: I maintain a professional and respectful demeanor throughout, even if faced with difficult situations. The goal is to leave the client feeling satisfied and confident in my work.
Example: One client was initially concerned about the time it would take to install the crown molding. By explaining the meticulous nature of the process and providing a realistic timeline, I managed their expectations and ended up delivering a beautifully installed molding ahead of schedule.
Q 22. Describe your process for quality control during molding installation.
Quality control during molding installation is paramount to achieving a flawless finish. My process begins even before the installation starts. I meticulously inspect each piece of molding for any defects like cracks, chips, or inconsistencies in the profile. This initial check prevents issues from arising later. During installation, I use a level and measuring tape constantly to ensure the molding is perfectly aligned and plumb. I pay close attention to consistent spacing between pieces, miter cuts for seamless joints, and the proper application of adhesive. After each section is installed, I step back to visually inspect the work from various angles, checking for gaps, inconsistencies in height, or any other imperfections. Finally, a thorough final inspection once all the molding is in place ensures that everything is perfect before moving on to finishing.
Think of it like building with LEGOs – each piece needs to fit perfectly to create a stable and visually appealing structure. The same precision applies to chair rail and crown molding installation. Any slight misalignment can be amplified once painted, so constant checking is key.
Q 23. How would you handle a situation where molding is damaged during installation?
If molding is damaged during installation, my first response is to assess the extent of the damage. Minor chips or scratches can often be repaired using wood filler and careful sanding. For more significant damage, such as a major crack or a broken piece, replacing the damaged section is necessary. I always carry extra molding on site to handle such situations. Replacing a section requires precise cuts to ensure a seamless blend with the existing molding. The key is to match the grain and profile perfectly, applying wood glue and clamping until it dries. The repaired section is then sanded smooth, ready for priming and painting. The process of replacement is similar to making a repair, but on a larger scale. It’s akin to replacing a damaged brick in a wall – you need to ensure the replacement is indistinguishable from the original.
Q 24. What is your experience with repairing damaged molding?
I have extensive experience in repairing damaged molding. My approach depends on the type and severity of damage. For minor nicks and scratches, a quality wood filler is usually sufficient. I use a putty knife to apply the filler, ensuring it’s completely level with the surrounding surface. After drying, the area is carefully sanded smooth, often using progressively finer grits of sandpaper. For more serious damage, like cracks or splits, I may need to use wood glue to stabilize the crack before applying filler and sanding. I’ve even successfully repaired broken pieces using wood glue and clamping techniques. I strive to make the repair virtually invisible, often employing techniques such as grain matching to replicate the wood’s natural pattern. Once the repair is complete, the area is primed and painted to match the surrounding molding, ensuring a seamless and professional finish. I’ve handled everything from small chips to more extensive repairs involving complex miter joints, demonstrating a versatile approach to tackling these challenges.
Q 25. What are the benefits and drawbacks of pre-primed vs. unprimed molding?
The choice between pre-primed and unprimed molding involves a trade-off between convenience and cost. Pre-primed molding is more expensive upfront but saves significant time and effort. It eliminates the need for priming, allowing you to directly apply paint. This simplifies the process and reduces the overall project timeline. However, the pre-primed layer may not always provide the ideal surface for painting, sometimes requiring extra sanding or additional coats of paint to achieve the desired finish. Unprimed molding is more affordable initially, but requires more work upfront. You’ll need to prime it thoroughly before painting, ensuring even coverage and preventing the wood from absorbing too much paint, which could lead to uneven coloring. Choosing the best option depends on the budget and the level of DIY skills available. For a large project or someone less experienced with painting, pre-primed molding might be worth the extra cost. For smaller projects or someone comfortable with priming, unprimed can provide significant savings.
Q 26. How do you ensure proper ventilation during the finishing process?
Proper ventilation during the finishing process is crucial for several reasons. First, it ensures that the fumes from paints, primers, and sealants are properly exhausted. Exposure to these fumes can lead to health issues. Second, adequate ventilation aids in the drying process, preventing uneven drying and reducing the likelihood of issues like bubbling or cracking. I always work in well-ventilated areas, ideally with open windows and doors. If natural ventilation isn’t enough, I use fans to circulate air and remove fumes efficiently. I also wear a respirator to further protect myself from harmful vapors. When working indoors, especially with oil-based paints, ensuring good ventilation is non-negotiable; it’s about prioritizing both the quality of the finish and the health of the workers. I always prioritize safety when undertaking these projects.
Q 27. How do you handle the disposal of waste materials after installation?
Responsible waste disposal is a key part of my work. I separate waste materials into different categories for proper recycling or disposal. Wood scraps are often reusable for smaller projects, or I might donate them to local schools or arts programs. Paint cans are handled according to local regulations, often being taken to designated hazardous waste disposal centers. Packaging materials, like cardboard and plastic wrap, are recycled whenever possible. I always aim to minimize waste by careful planning and efficient cutting techniques. This ensures an environmentally conscious approach to the installation process. My goal is to leave the job site clean and organized, minimizing any environmental impact.
Key Topics to Learn for Chair Rail and Crown Molding Interview
- Understanding Different Molding Profiles: Learn to identify and differentiate various chair rail and crown molding profiles, including their historical context and architectural styles. This includes understanding the vocabulary used to describe them (e.g., ogee, cove, bead).
- Material Selection and Properties: Become familiar with common materials used (wood, MDF, polyurethane) and their respective advantages and disadvantages regarding cost, durability, and installation. Understand the impact of material choice on the final aesthetic.
- Installation Techniques and Best Practices: Master the practical aspects of installation, including accurate measurement, cutting techniques (mitering, coping), and proper fastening methods. Understand how to work with different wall types and pre-existing finishes.
- Troubleshooting Common Installation Issues: Prepare to discuss common problems encountered during installation, such as uneven walls, challenging angles, and material imperfections. Know how to address these issues effectively and efficiently.
- Finishing and Refinishing Techniques: Learn about appropriate primers, paints, and stains for different molding materials. Understand the importance of surface preparation and techniques for achieving a professional, high-quality finish. This includes knowledge of repairing minor damage.
- Estimating and Budgeting: Practice calculating material quantities, labor costs, and overall project budgets. Understand how to present a clear and concise estimate to clients.
- Safety Procedures and Regulations: Demonstrate knowledge of relevant safety regulations and best practices for working with power tools and handling materials safely.
Next Steps
Mastering chair rail and crown molding installation is crucial for career advancement in the woodworking and home improvement industries. It showcases your skills in precision, craftsmanship, and attention to detail – highly valued qualities in the field. To enhance your job prospects, create a resume that highlights these skills effectively and is easily parsed by Applicant Tracking Systems (ATS). ResumeGemini is a trusted resource to help you build a professional and ATS-friendly resume that showcases your expertise. Examples of resumes tailored to the Chair Rail and Crown Molding field are available to help you get started.
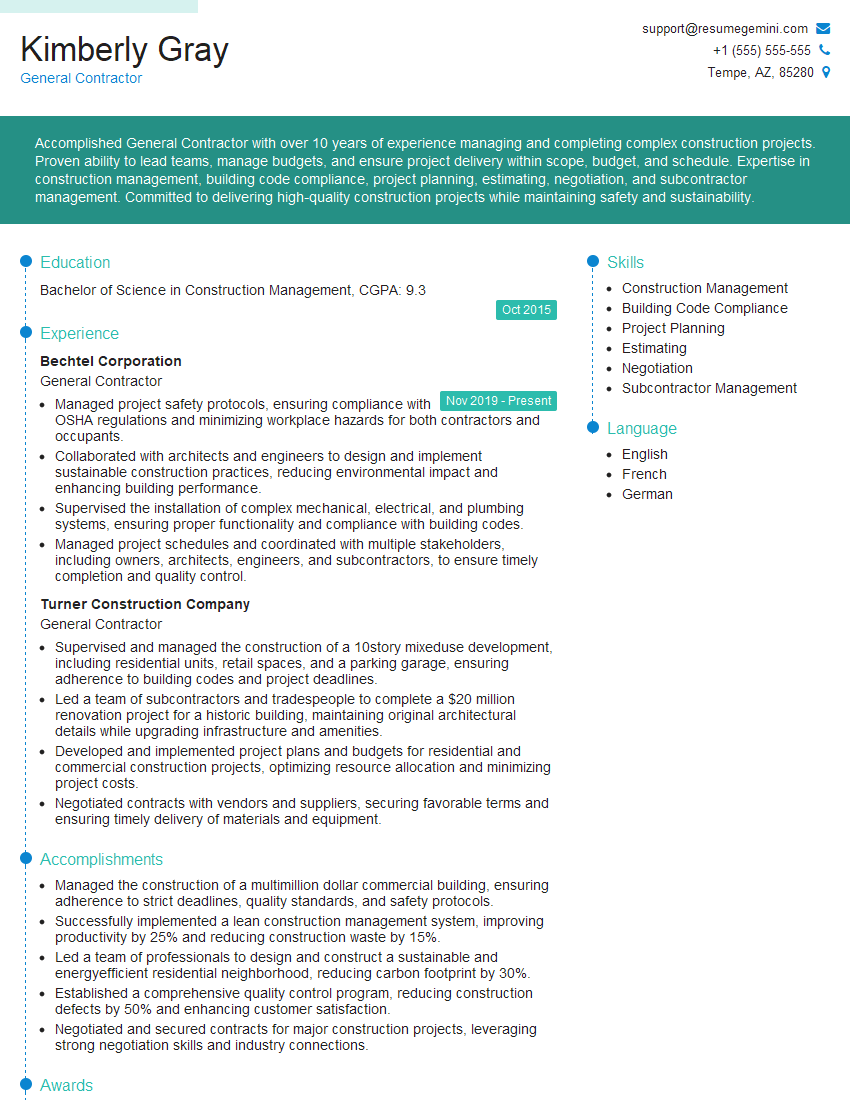
General Contractor Resume Sample
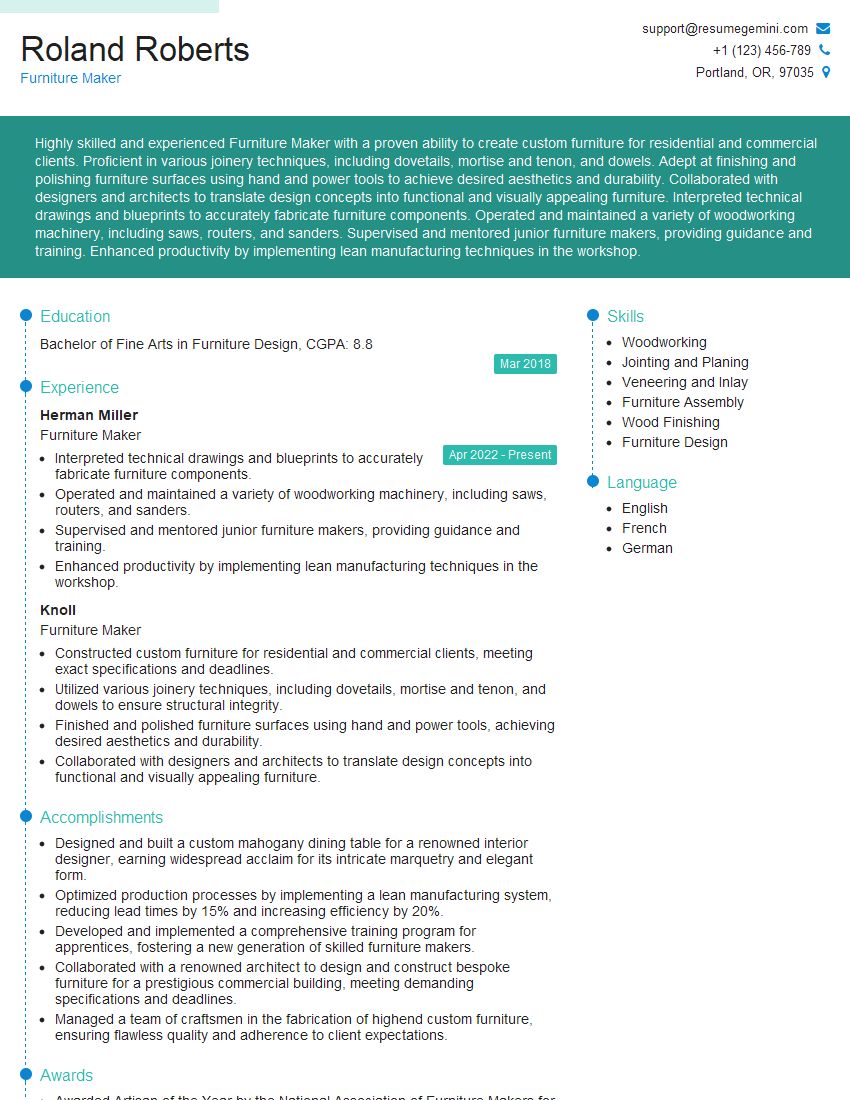
Furniture Maker Resume Sample
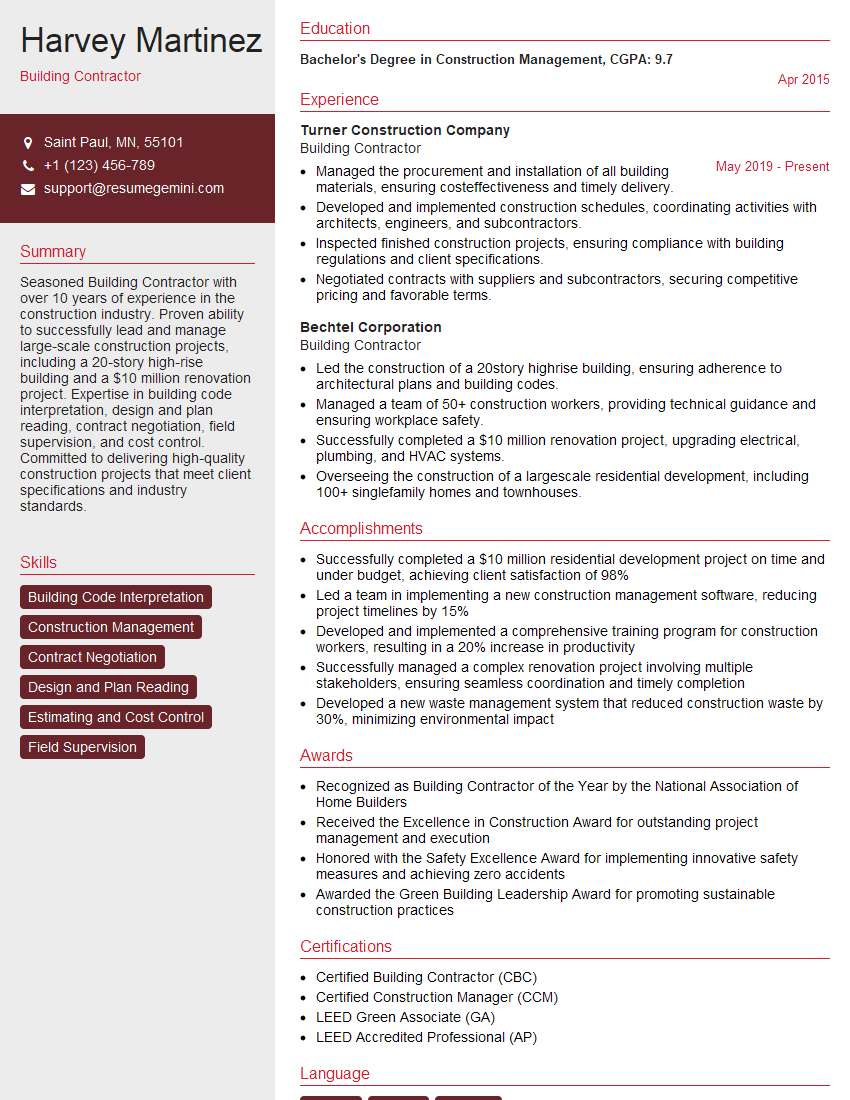
Building Contractor Resume Sample
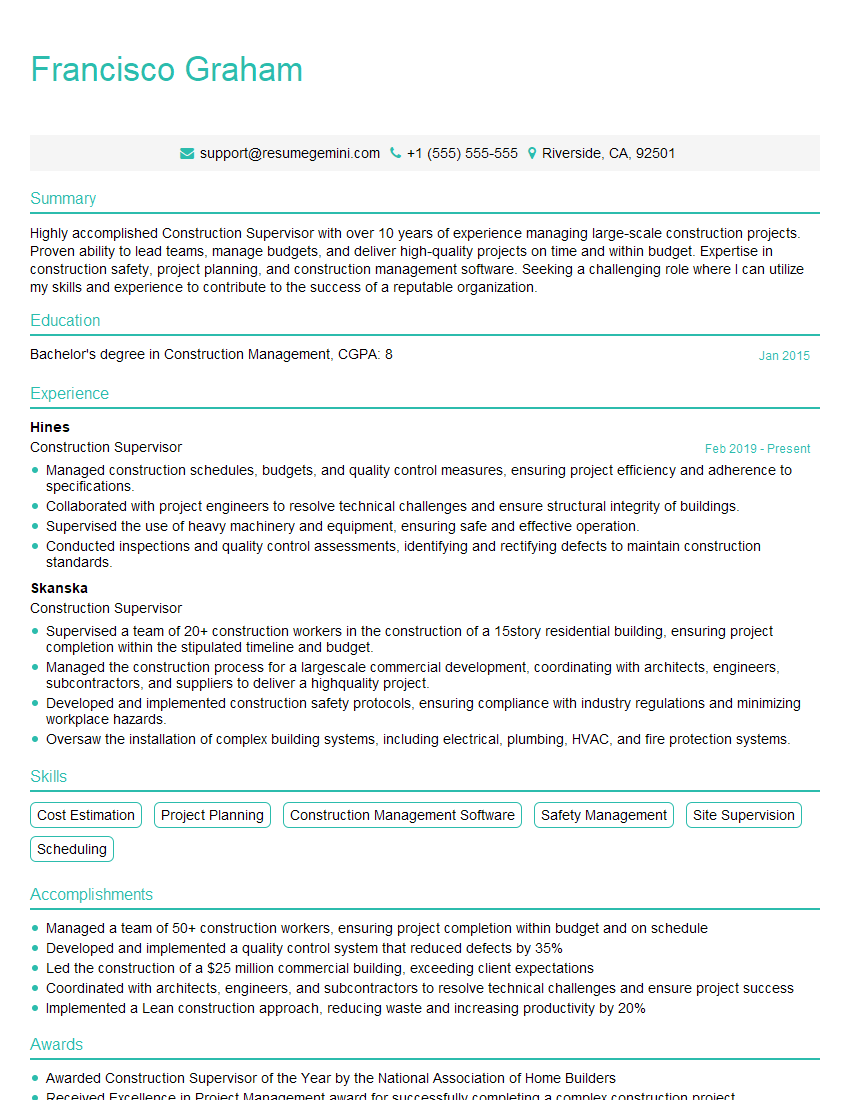
Construction Supervisor Resume Sample
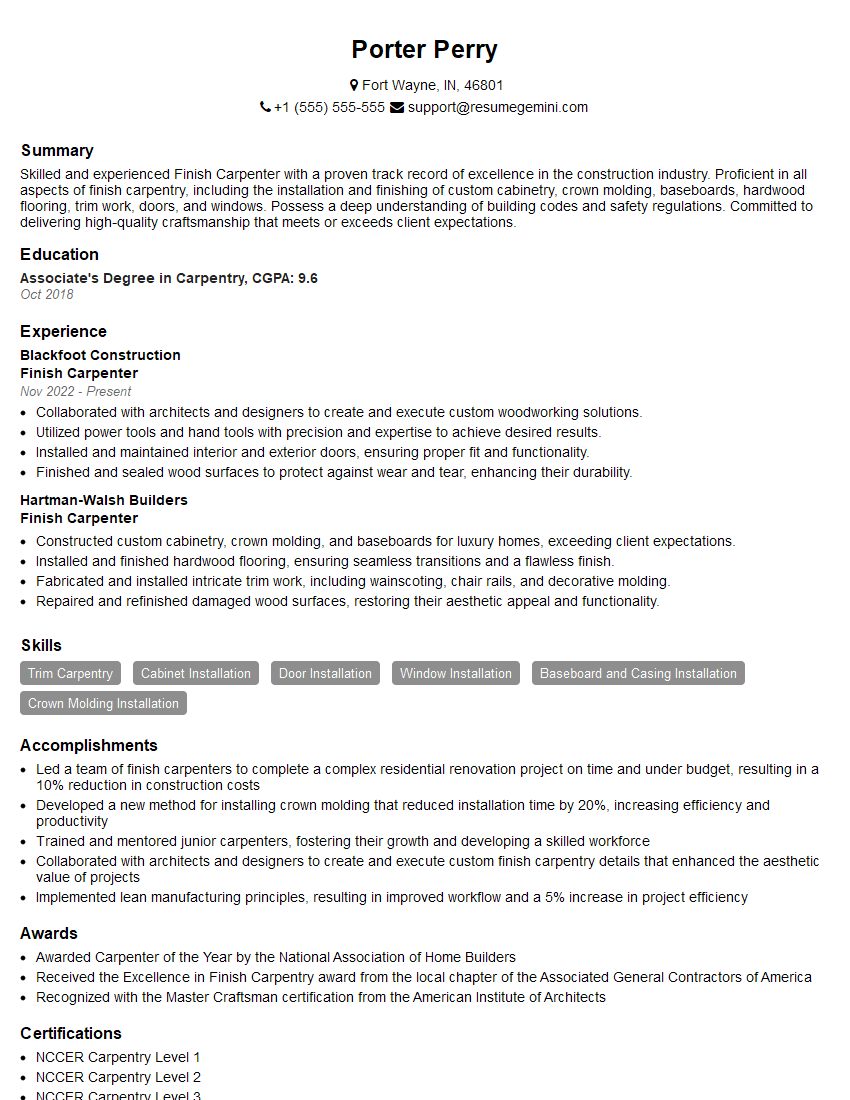
Finish Carpenter Resume Sample
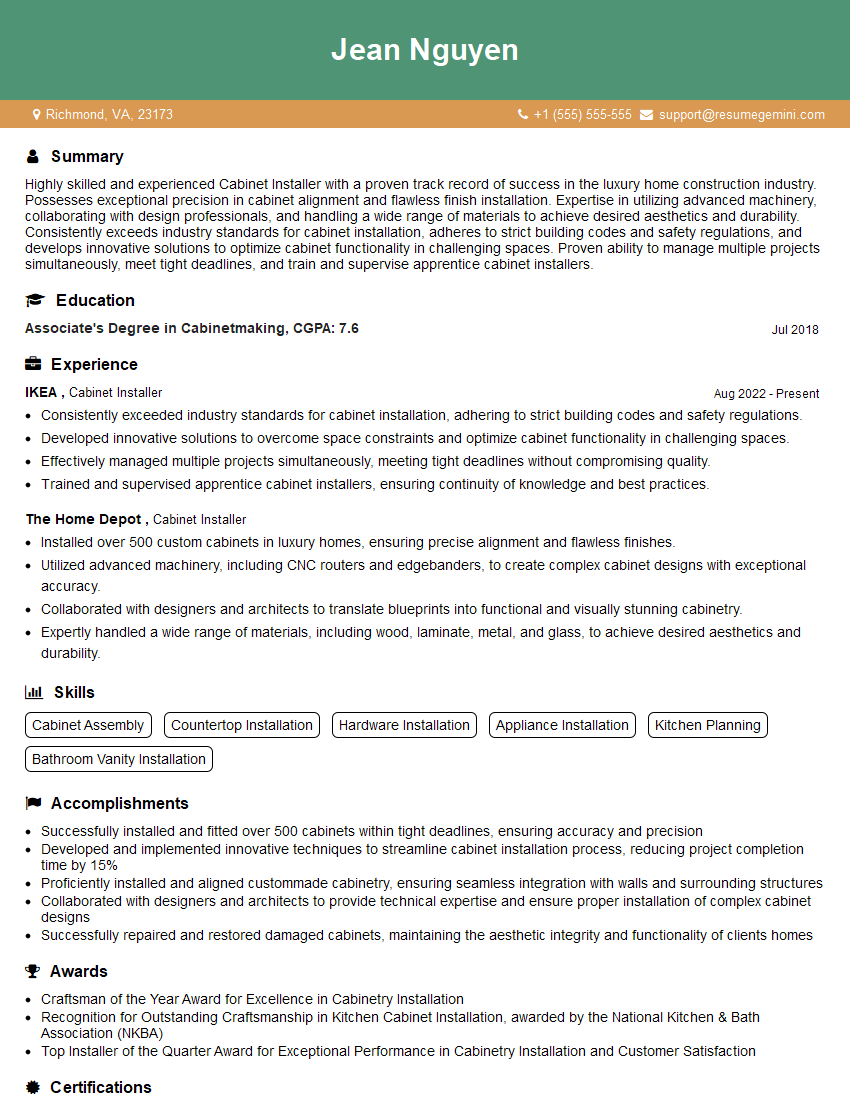
Cabinet Installer Resume Sample
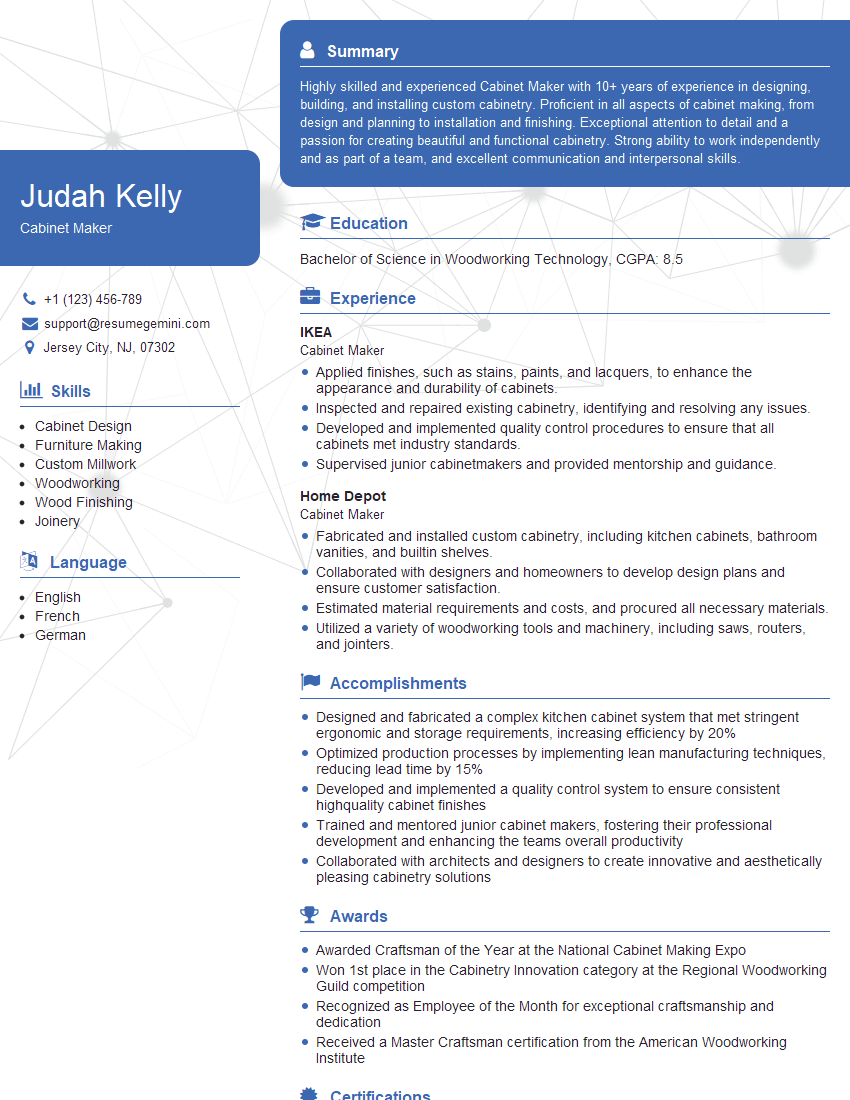
Cabinet Maker Resume Sample
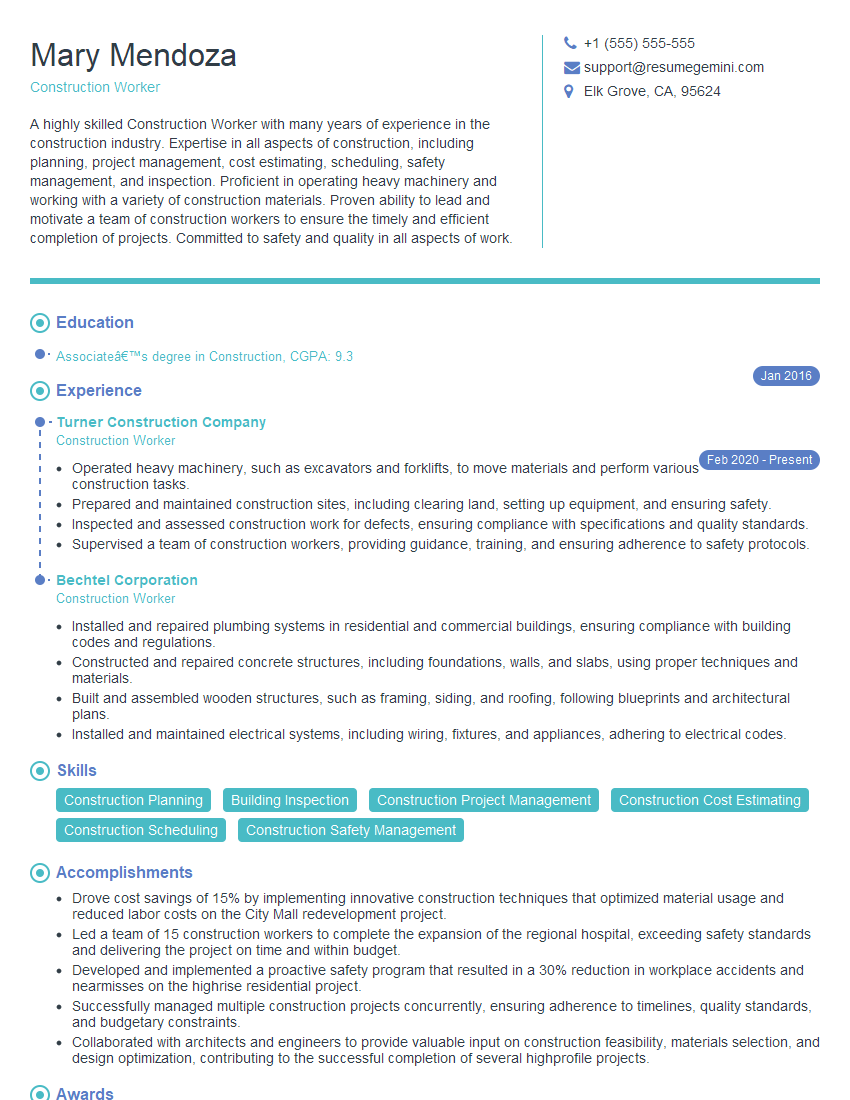
Construction Worker Resume Sample
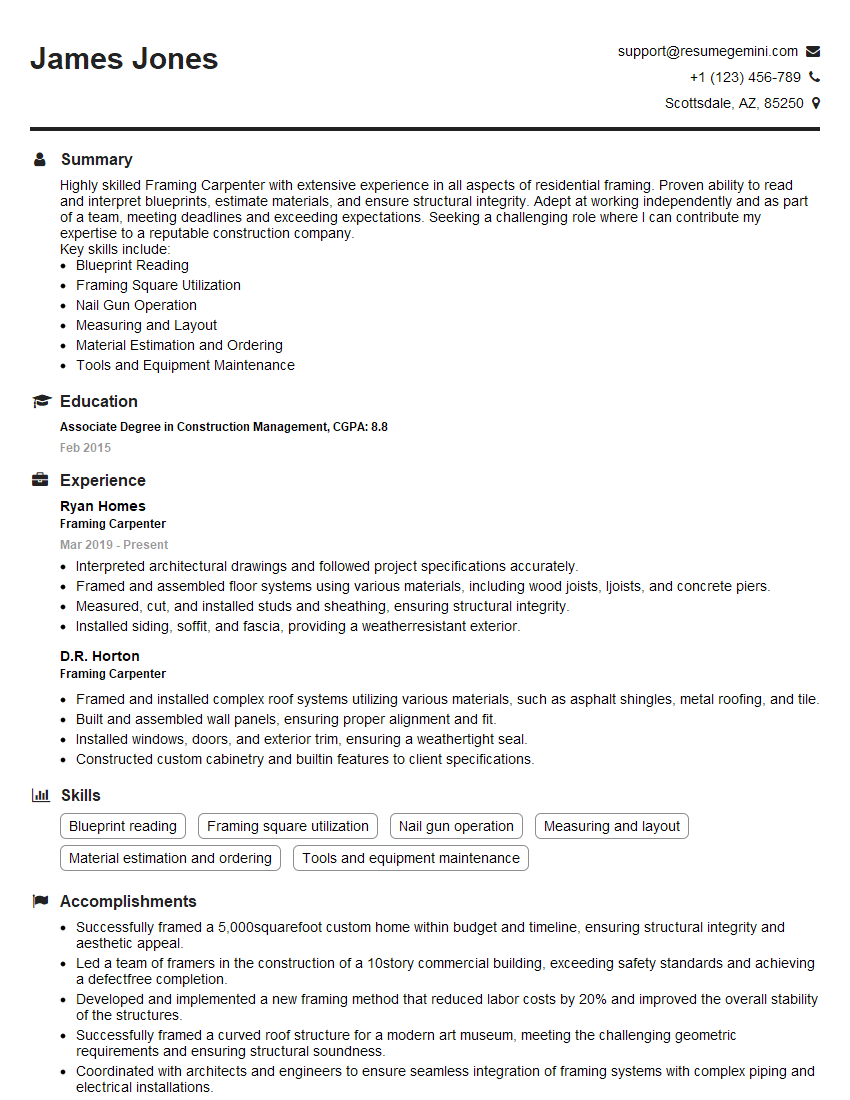
Framing Carpenter Resume Sample
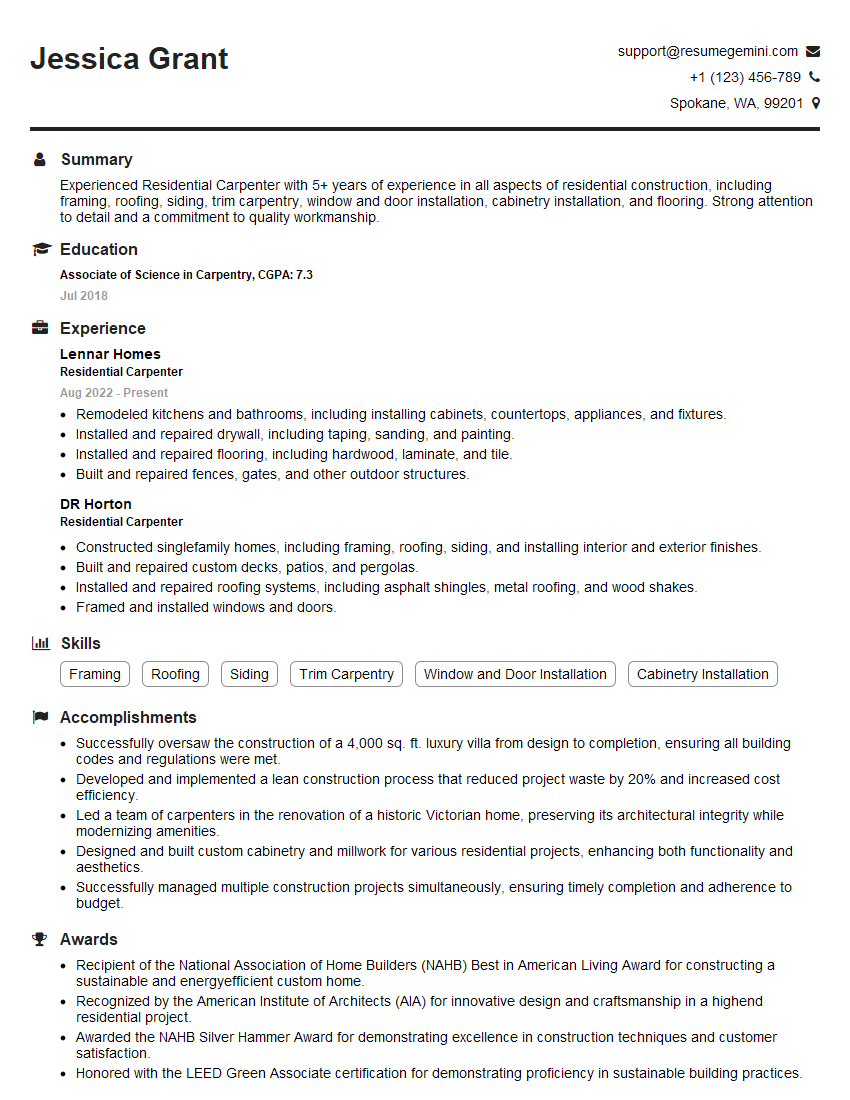
Residential Carpenter Resume Sample
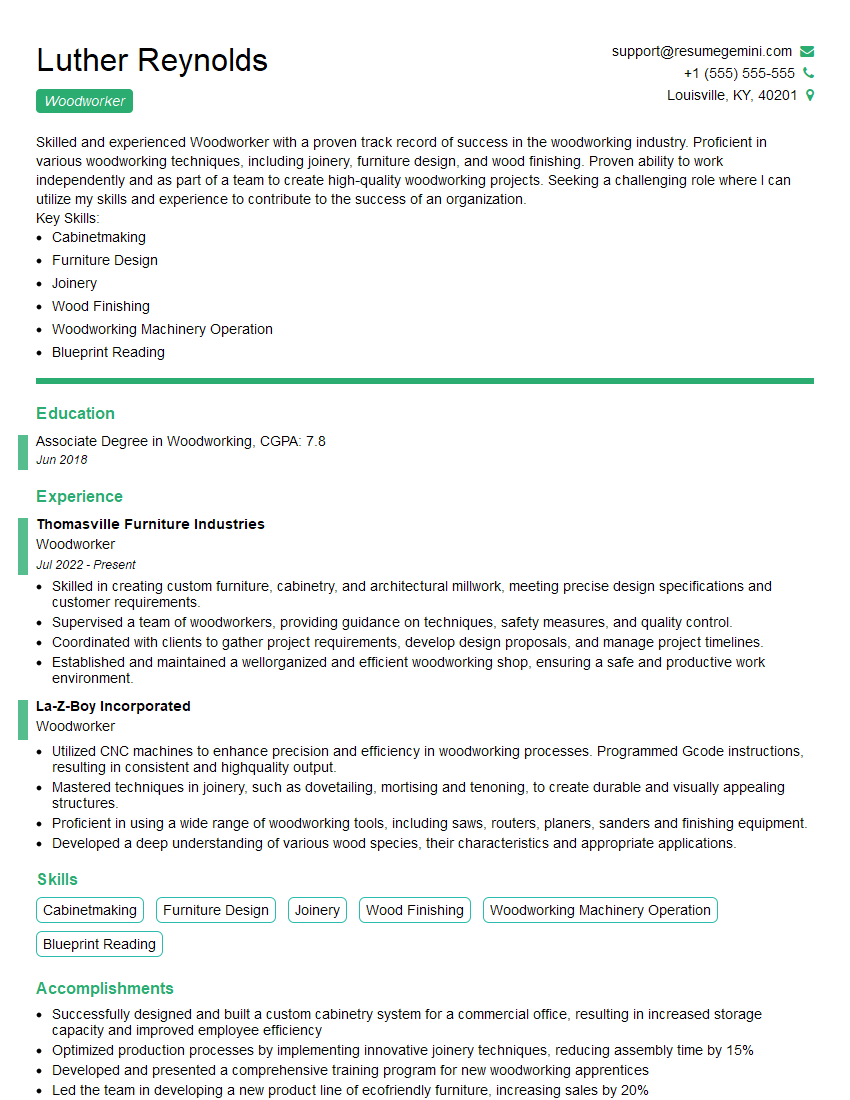
Woodworker Resume Sample
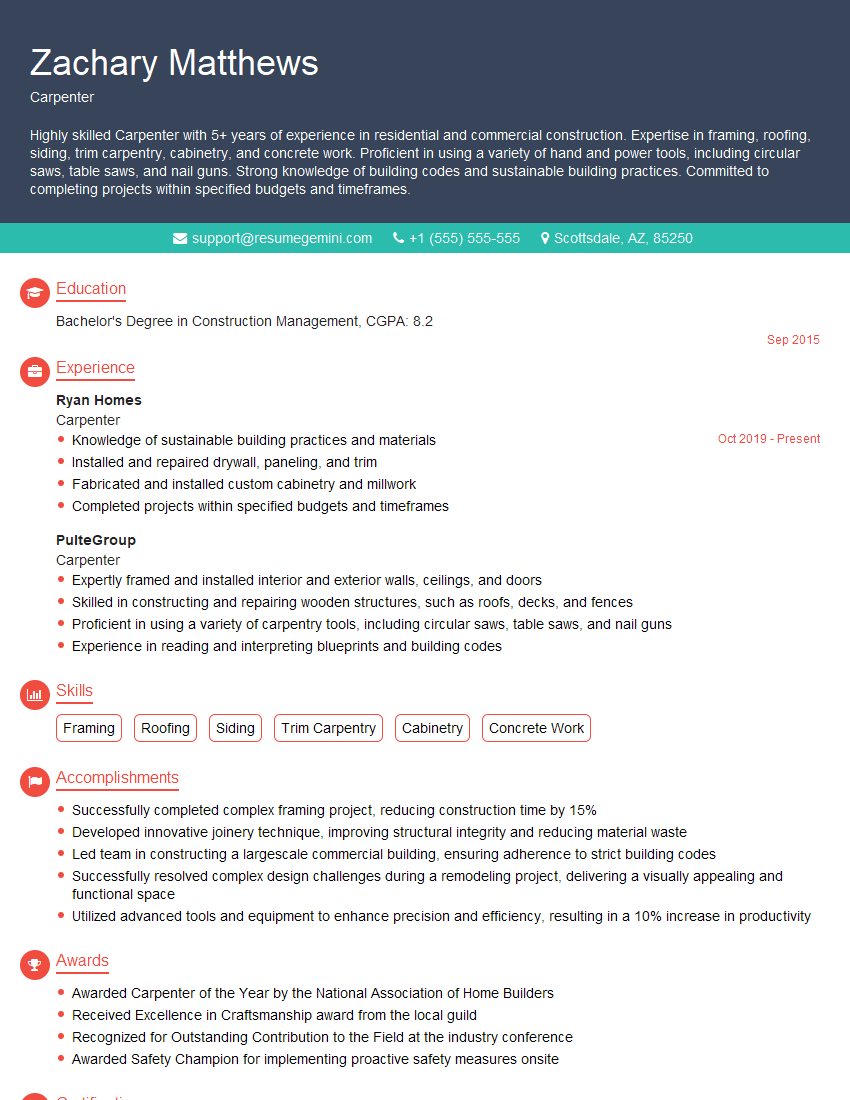
Carpenter Resume Sample
Explore more articles
Users Rating of Our Blogs
Share Your Experience
We value your feedback! Please rate our content and share your thoughts (optional).
What Readers Say About Our Blog
To the interviewgemini.com Webmaster.
Very helpful and content specific questions to help prepare me for my interview!
Thank you
To the interviewgemini.com Webmaster.
This was kind of a unique content I found around the specialized skills. Very helpful questions and good detailed answers.
Very Helpful blog, thank you Interviewgemini team.