Unlock your full potential by mastering the most common Paintable Plastering interview questions. This blog offers a deep dive into the critical topics, ensuring you’re not only prepared to answer but to excel. With these insights, you’ll approach your interview with clarity and confidence.
Questions Asked in Paintable Plastering Interview
Q 1. What types of plaster are suitable for a paintable finish?
Several plaster types excel for paintable finishes, prioritizing smoothness and a receptive surface for paint. The best choices usually depend on the substrate (the surface you’re applying the plaster to), the desired finish (e.g., smooth, textured), and budget considerations. Popular options include:
- Multi-finish plaster: This versatile plaster offers a smooth, fine finish ideal for painting. It’s readily available and relatively easy to work with, making it a popular choice for DIYers and professionals alike.
- Gypsum plaster: Known for its smooth, even surface and excellent adhesion, gypsum plaster provides an exceptional base for painting. It dries quickly and is relatively easy to sand to achieve a perfect finish.
- Venetian plaster: While more expensive and demanding technically, Venetian plaster creates a luxurious, highly paintable surface with a unique depth and sheen. It requires a skilled hand to apply properly but produces stunning results.
- Lime plaster: This traditional plaster is breathable and durable, suitable for both interior and exterior applications. It typically requires more preparation and skill for a perfectly smooth paintable surface but offers excellent longevity.
For example, in a high-end residential project, Venetian plaster might be chosen for its elegance, while a multi-finish plaster would be perfectly suitable for a cost-effective renovation. The key is choosing a plaster that aligns with the project’s aesthetic and budget.
Q 2. Explain the process of preparing a surface for paintable plastering.
Surface preparation is critical for successful paintable plastering; it ensures proper adhesion and a flawless final result. Think of it like preparing a canvas for a painting – a smooth, clean surface leads to a better outcome. The process typically involves these steps:
- Cleaning: Remove all loose debris, dust, dirt, grease, and old paint using appropriate tools like brushes, scrapers, and vacuum cleaners. Thoroughly cleaning the surface prevents contamination and ensures proper adhesion.
- Repairing: Address any cracks, holes, or imperfections in the substrate using fillers or patching compounds. Allow ample drying time before proceeding.
- Priming: Applying a suitable primer helps to seal porous surfaces and improves adhesion of the plaster. It creates a uniform base for the plaster and prevents moisture absorption, ensuring even drying.
- Sealing (optional): In some cases, particularly with highly porous substrates like concrete block, a sealant may be applied before the primer to further enhance adhesion and prevent moisture issues.
For instance, if you’re plastering over an old, damaged wall, neglecting these preparatory steps could lead to the plaster peeling or cracking in the future. A thorough preparation ensures a long-lasting, beautiful finish.
Q 3. Describe different plastering techniques used for achieving a smooth, paintable surface.
Different plastering techniques cater to different desired finishes. For a smooth, paintable surface, these techniques are commonly used:
- Two-coat plastering: This method involves applying a base coat followed by a finishing coat. The base coat provides a solid foundation, while the finishing coat is carefully troweled to achieve a smooth, even surface.
- Three-coat plastering: This involves a scratch coat, a brown coat, and a finishing coat. The scratch coat provides a key for the brown coat to adhere to, and the brown coat provides a more even surface for the finish coat. It is typically used on very uneven surfaces.
- Machine plastering: Using specialized machines, this method provides an exceptionally smooth, even surface, particularly for large-scale projects. This allows for high-speed application and reduces labor costs.
The choice of technique often depends on the surface’s condition and the desired level of smoothness. For example, a two-coat system might suffice for minor imperfections, while a three-coat system is better suited for significant surface irregularities. Achieving a truly smooth finish often requires careful troweling and potentially sanding of the finishing coat.
Q 4. How do you ensure proper adhesion of plaster to different substrates?
Ensuring proper plaster adhesion depends heavily on the substrate’s characteristics and the proper preparation techniques. Different substrates require different approaches:
- Brick/Block: These porous surfaces require thorough cleaning and potentially a bonding agent to enhance adhesion. A primer is essential.
- Plasterboard/Drywall: Relatively smooth and easily prepared, these substrates usually only need cleaning and priming.
- Concrete: A concrete surface requires cleaning, and often a specialized bonding primer to enhance adhesion, as concrete is very dense and non-porous.
- Metal: Metal substrates may require a specialized rust inhibitor and a primer formulated for metal-to-plaster adhesion.
Regardless of the substrate, always follow the manufacturer’s instructions for primer and plaster application, and ensure the surface is clean, dry, and free from any contaminants before applying the plaster. Failure to do so can result in poor adhesion and peeling or cracking of the plaster.
Q 5. What are the common issues encountered during paintable plastering and how do you address them?
Several issues can crop up during paintable plastering. Knowing how to address them is crucial:
- Cracking: This often stems from inadequate surface preparation, poor plaster mix, or movement within the substrate. Addressing this involves identifying the cause and potentially applying crack repair fillers.
- Poor adhesion: Usually caused by a dirty or damp substrate, or using an unsuitable primer. Rectifying this requires removing the poorly adhered plaster, cleaning the substrate thoroughly, and applying a suitable bonding agent before re-plastering.
- Uneven surface: This can result from improper application techniques or insufficient troweling. Sanding can resolve minor unevenness, while more significant issues may require additional plaster coats.
- Pinholing: Tiny holes can occur due to rapid drying or air bubbles in the mix. Addressing this requires applying a skim coat of plaster after the initial coat has fully dried.
For example, I once encountered extensive cracking on a newly plastered wall due to insufficient substrate preparation. After removing the damaged sections, applying a crack-resistant mesh, and ensuring proper surface treatment, the subsequent plastering job held up perfectly.
Q 6. What tools and equipment are essential for paintable plastering?
Essential tools and equipment for paintable plastering include:
- Mixing buckets and paddles: For efficiently mixing the plaster.
- Trowels: Different sizes and types are needed for applying and smoothing the plaster, including hawk, finishing, and margin trowels.
- Floats: For achieving a smooth finish, especially with the final coat.
- Sanding tools: Sandpaper, sanding blocks, or power sanders for smoothing the surface after drying.
- Measuring tools: Measuring cups, tapes, and plumb bobs for accurate plaster application.
- Safety gear: Dust masks, safety glasses, and gloves are essential for protecting yourself from dust and plaster.
- Spraying equipment (Optional): For large scale projects, spraying equipment can be more efficient than manual application.
Investing in high-quality tools not only improves the efficiency of the work but also contributes significantly to the quality of the final finish.
Q 7. How do you mix plaster to achieve the desired consistency?
Mixing plaster correctly is vital for achieving the right consistency and preventing issues like cracking or poor adhesion. Always follow the manufacturer’s instructions, which will vary depending on the type of plaster used. Generally:
- Measure the water: Use a clean bucket and accurately measure the required amount of clean, fresh water.
- Add the plaster: Gradually add the plaster powder to the water, slowly stirring with a mixing paddle to avoid lumps. Don’t add all the powder at once.
- Mix thoroughly: Continue mixing until you achieve a smooth, lump-free consistency, as indicated in the manufacturer’s instructions. The mix should be workable but not too runny.
- Resting time (optional): Some plasters benefit from a short resting period (a few minutes) to allow the mix to fully hydrate.
- Check the consistency: Test the consistency by applying a small amount to a surface; it should adhere well and not be too thick or thin.
The ideal consistency is crucial. Too thick, and it will be difficult to apply and smooth; too thin, and it won’t adhere properly or create a strong enough finish. Practice makes perfect in getting the consistency right.
Q 8. Explain the importance of using appropriate primer before painting.
Priming is crucial before painting paintable plaster because it ensures proper adhesion and a flawless finish. Think of it like preparing a canvas before painting a masterpiece – you wouldn’t start without prepping the surface! A primer acts as a bonding agent, filling in minor imperfections and creating a uniform surface for the paint to adhere to. Without a primer, the paint might absorb unevenly, leading to patchy coverage, discoloration, and a less professional look. Different primers cater to different plaster types; for instance, an alkali-resistant primer is essential for new plaster, which has a high pH level that can react with the paint and cause it to fail. A good quality primer also improves the paint’s durability and longevity, preventing premature peeling or flaking.
For example, on a highly porous plaster, a primer will seal the pores, preventing the paint from being sucked into the plaster and leaving a dull finish. Conversely, on a very smooth plaster, a primer can provide a slight ‘tooth’ for better paint adhesion.
Q 9. How do you achieve a seamless finish between different plaster sections?
Achieving a seamless finish between different plaster sections requires meticulous preparation and technique. The key is to ensure a smooth, even transition between the sections. Before painting, any visible joints or edges should be carefully feathered or blended using a suitable filling compound. This means gently blending the edges of the plaster sections together to create a smooth, continuous surface. The filling compound should be carefully applied and smoothed to match the surrounding texture. Once the filler is completely dry, it’s crucial to lightly sand the area, ensuring the surface is completely smooth and free from lumps or bumps. This process creates a flawless transition, making the joint virtually invisible after painting. Failure to feather the edges can result in noticeable ridges or uneven paint application.
For instance, if you’re working with different batches of plaster, slight variations in color or texture may occur. Careful feathering and filling minimize these discrepancies, ensuring a unified look. After the filling and sanding, apply a primer to the entire area to ensure consistent paint absorption and prevent the filled areas from appearing differently after painting.
Q 10. What are the different types of textures achievable with paintable plaster?
Paintable plaster offers a wide variety of textures, adding depth and character to any interior. The texture is often determined by the application method and the type of plaster used. Some common textures include:
- Smooth: A classic, polished finish offering a clean, modern look.
- Roughcast: A textured finish with a pebble-like appearance, adding rustic charm.
- Scumble: A technique where the plaster is applied unevenly, creating a mottled effect, often used for creating aged or distressed looks.
- Stippled: Achieved by dabbing the plaster with a sponge or a textured roller, creating a slightly bumpy effect.
- Spattered: A speckled texture created by splashing plaster onto the wall.
- Venetian plaster: A highly polished, luxurious finish that mimics the look of marble.
The possibilities are practically limitless, often depending on the tools and techniques employed by the plasterer. The choice of texture should complement the overall design style of the space.
Q 11. How do you repair cracks and imperfections in a plastered surface?
Repairing cracks and imperfections in a plastered surface is essential for maintaining the aesthetic appeal and structural integrity of the wall. The repair process depends on the size and type of damage. Small cracks can be filled using a suitable filler, such as ready-mixed plaster or joint compound. The filler should be applied neatly, slightly overfilling the crack to allow for shrinkage as it dries. Once dry, the area is lightly sanded smooth. For larger cracks or holes, more extensive repairs might be needed. This could involve removing the damaged plaster, applying a bonding agent, and then filling the area with fresh plaster. In severe cases, a section of plaster might need to be completely replaced. In all cases, after the repair, the affected area must be primed before painting to ensure a seamless finish.
For example, a hairline crack can be easily repaired with a high-quality filler. However, a large crack caused by structural movement might require a more significant intervention, possibly involving a structural assessment before any repair work begins.
Q 12. What safety precautions are essential during plastering work?
Safety is paramount in plastering work. Several precautions must be taken to prevent accidents and injuries:
- Respiratory protection: Plaster dust can be harmful if inhaled; therefore, wearing a respirator is crucial.
- Eye protection: Safety glasses or goggles should always be worn to protect the eyes from flying debris.
- Hand protection: Gloves prevent skin irritation and protect hands from sharp objects.
- Footwear: Appropriate footwear protects feet from falling objects and provides stability on ladders or scaffolding.
- Working at height safety: If working at heights, always use proper scaffolding or ladders and ensure they are stable and secure.
- Dust control: Dampening the plaster or using dust extraction equipment minimizes dust.
Regular safety checks of equipment and the work area are essential. It’s important to follow all relevant safety regulations and guidelines.
Q 13. How do you determine the quantity of plaster required for a given project?
Determining the quantity of plaster needed for a project involves careful calculation and consideration of several factors. First, accurately measure the area to be plastered. This usually involves calculating the wall’s height and length. Then, account for any openings, such as windows and doors, by subtracting their area from the total wall area. Consider the thickness of the plaster coat; a thicker coat requires more plaster. The type of plaster used will also influence the quantity needed as different types have varying densities. It’s always wise to add a small percentage (around 10%) to your calculations to account for wastage and unexpected issues. The manufacturer’s information on the plaster bags will specify the coverage per bag based on coat thickness.
For example, if you need to plaster a wall 3 meters high and 5 meters wide with a single coat, you’d first calculate the area (15 square meters). Then, consider the plaster coverage per bag and adjust accordingly for wastage. It’s always better to slightly overestimate rather than run out of plaster mid-project.
Q 14. What are the common causes of plaster cracking and how can they be prevented?
Plaster cracking can be unsightly and compromise the wall’s integrity. Several factors can contribute to this problem:
- Drying too quickly: Rapid drying can cause shrinkage and cracking. Ensure adequate ventilation but avoid direct heat sources that can accelerate drying.
- Insufficient support: Weak or inadequate underlying structure can lead to cracking as the plaster settles.
- Movement in the building: Structural movement, such as settling or expansion and contraction, can exert pressure on the plaster, causing cracks.
- Improper plaster mix: Using the wrong mix ratio or incorrect materials can result in weak plaster prone to cracking.
- Poor application technique: Uneven application, inadequate compaction, or insufficient keying into the underlying surface can cause cracking.
Prevention involves ensuring proper substrate preparation, using the right plaster mix and applying it correctly, providing adequate support, and controlling the drying rate. Addressing any structural movement issues is also critical.
Q 15. Describe your experience with different types of plaster mixes (e.g., gypsum, lime, cement).
My experience spans a wide range of plaster mixes, each with its own unique properties and applications. Gypsum plaster, known for its fast setting time and smooth finish, is ideal for interior walls where a rapid turnaround is needed. I often use it for projects requiring a high-quality, paintable surface. Lime plaster, on the other hand, is a breathable material that’s excellent for historic buildings or where moisture regulation is crucial. It offers a unique aesthetic and contributes to a healthy indoor environment. Finally, cement-based plasters are incredibly durable and often used in exterior applications or areas subject to high impact. I’ve utilized this type extensively in damp environments or where exceptional strength is required. The choice of plaster mix depends heavily on the project’s specific needs, considering factors like the substrate, environmental conditions, and desired aesthetic finish.
For instance, on a recent renovation of a Victorian home, I opted for lime plaster in the bedrooms to maintain the historical integrity and allow for breathability, preventing mold and mildew. In contrast, a modern commercial building project demanded the strength and water resistance of a cement-based plaster for the exterior walls.
Career Expert Tips:
- Ace those interviews! Prepare effectively by reviewing the Top 50 Most Common Interview Questions on ResumeGemini.
- Navigate your job search with confidence! Explore a wide range of Career Tips on ResumeGemini. Learn about common challenges and recommendations to overcome them.
- Craft the perfect resume! Master the Art of Resume Writing with ResumeGemini’s guide. Showcase your unique qualifications and achievements effectively.
- Don’t miss out on holiday savings! Build your dream resume with ResumeGemini’s ATS optimized templates.
Q 16. How do you manage different levels of humidity during plastering?
Managing humidity is paramount in plastering; it directly impacts the drying process and the final finish. High humidity can lead to cracking and slow drying, while low humidity can cause the plaster to dry too quickly, resulting in shrinkage and cracking. I use a combination of techniques to address this. Firstly, I carefully monitor the ambient temperature and humidity levels using a hygrometer throughout the project. Secondly, I adjust my plaster mix according to the conditions. In high humidity, I might adjust the water content slightly to slow down the setting process. In low humidity, I may add a retarder to the mix to prevent premature drying. Thirdly, I control the ventilation in the work area, strategically opening or closing windows and doors to maintain optimal humidity levels. Lastly, in extremely dry conditions, I might lightly mist the plaster surface to slow down the drying rate and prevent excessive cracking. Think of it like baking a cake; you need the right balance of heat and moisture for the best results. Likewise, plaster requires careful humidity management for a flawless finish.
Q 17. What is the optimal drying time for paintable plaster?
The optimal drying time for paintable plaster varies depending on several factors: the type of plaster used, the thickness of the applied coat, the ambient temperature, and the humidity levels. Generally, a minimum of 7-10 days is needed for a complete dry, allowing the plaster to cure fully. However, I always perform a moisture test before painting. I use a moisture meter to ensure the substrate is sufficiently dry. Painting before the plaster is fully dry can lead to paint adhesion issues, mildew growth, and even cracking. In warmer, drier conditions, drying can occur more quickly. In cooler, more humid environments, it may take longer. Patience is key! Rushing the process will almost certainly compromise the longevity and aesthetics of the finished product.
Q 18. Explain your experience with using different finishing tools (e.g., trowels, floats).
My expertise extends to a variety of finishing tools, each playing a vital role in achieving different textures and finishes. Trowels, in their many shapes and sizes, are essential for applying and smoothing the plaster. I use a hawk to hold the plaster while working to maintain an even application. Floats, on the other hand, are crucial for creating smooth and polished surfaces. Different floats, such as the wood float and the plastic float, give slightly different textures, depending on the desired aesthetic. I also use specialized tools for creating specific textures. For instance, a sponge float can create a unique, slightly textured effect. The mastery lies in understanding the properties of each tool and how to use them to achieve the desired finish. This requires practice and an eye for detail. Much like an artist with their brushes, a plasterer’s skill is reflected in their tool selection and technique.
Q 19. How do you handle challenging surface areas (e.g., corners, curves)?
Challenging areas like corners and curves require precision and specialized techniques. For inside corners, I use corner tools to ensure a crisp, even finish. For outside corners, I work carefully, using a combination of trowels to create a smooth, consistent radius. When dealing with curves, I often employ a flexible trowel, adapting my approach to the specific curvature of the surface. I may apply the plaster in multiple thin coats, allowing each to dry slightly before applying the next. This helps to prevent cracking and maintain the integrity of the curve. It’s like sculpting with plaster – patience and attention to detail are paramount to achieve a seamless, aesthetically pleasing finish. Every curve presents a unique challenge, demanding creativity and skillful execution. The result, however, is always worth the extra effort.
Q 20. Describe your experience with working with different substrates (e.g., drywall, brick, concrete).
My experience encompasses working with various substrates, each requiring a different approach. Drywall, a common substrate, requires a well-primed surface to ensure proper adhesion. Brick substrates, on the other hand, often require more preparation, including cleaning and potentially patching any loose mortar. Concrete surfaces often benefit from a bonding agent to improve the plaster’s adhesion. The choice of plaster and the preparation techniques are carefully tailored to each substrate to guarantee a lasting and aesthetically pleasing result. I always assess the substrate thoroughly before starting any work to identify and address potential issues that could affect the adhesion and longevity of the plaster.
Q 21. What are the environmental considerations during and after plastering?
Environmental considerations are crucial throughout the entire plastering process. During the work, proper ventilation is vital to prevent the build-up of dust and harmful fumes, especially when using cement-based plasters. Protective gear, including dust masks and eye protection, is essential for both myself and my team. After plastering, it’s important to dispose of waste responsibly, separating materials like plastic and plasterboard for recycling. The choice of plaster mix itself also plays a significant role; for example, lime-based plasters are more environmentally friendly than cement-based options due to their lower carbon footprint. Sustainability is becoming increasingly important in our industry, and I strive to incorporate environmentally conscious practices into all my projects, from material selection to waste disposal.
Q 22. How do you clean and maintain your tools after plastering?
Cleaning and maintaining your tools is crucial for longevity and the quality of your next plastering job. Think of it like caring for a finely tuned instrument; proper care ensures it performs at its best. Immediately after plastering, before the material sets, I thoroughly clean my tools. This usually involves rinsing them under running water, scrubbing off any hardened plaster with a stiff brush, and then soaking them in water to loosen any remaining residue. For trowels, I use a putty knife to remove any stubborn plaster clinging to the edges.
Specific tools have their own cleaning requirements. For example, hawk boards need to be thoroughly scraped and wiped clean to prevent plaster build-up that could impact the evenness of your next project. Spraying the tools with a silicone-based lubricant after cleaning helps prevent rust and corrosion and aids in smoother plaster application next time.
Finally, tools are stored properly, away from dampness and preferably in a dedicated tool cabinet to extend their life and ensure they’re ready for the next job.
Q 23. What are the different levels of smoothness achievable with paintable plastering?
The smoothness achievable in paintable plastering varies depending on the desired finish and application technique. We typically categorize smoothness into three levels:
- Level 1: Smooth: This level provides a relatively smooth surface, suitable for painting, but might still show some minor texture variations. Think of it as a slightly textured canvas ready for a painting.
- Level 2: Very Smooth: This level requires more careful application and attention to detail. The surface is significantly smoother with minimal texture, providing an excellent base for paints and wallpapers. This is like preparing a primed canvas for a delicate artwork.
- Level 3: Ultra Smooth: This is the highest level of smoothness, requiring meticulous technique and multiple coats. The resulting surface is almost perfectly flat, ideal for very high-gloss paints where any imperfection would be noticeable. This is analogous to preparing a mirror-smooth surface for a gallery-quality piece.
Achieving higher smoothness levels requires more time, effort, and usually more coats of plaster, resulting in a higher cost.
Q 24. Explain your understanding of the building codes related to plastering.
Building codes concerning plastering are vital for structural integrity and safety. They vary by location, but generally cover aspects like:
- Fire Resistance: Codes often specify minimum fire-resistance ratings for plaster, especially in load-bearing walls. This ensures the plaster contributes to the building’s overall fire safety.
- Moisture Control: Codes address moisture penetration to prevent mold and structural damage. This might involve specific requirements for the type of plaster used or the installation of vapor barriers. I’ve personally encountered projects where the use of specific breathable plasters was mandated to avoid moisture trapping.
- Thickness and Application: Minimum plaster thickness is often specified to ensure adequate strength and durability. Methods of application and the type of lath or backing material are also typically regulated. This protects the integrity of the final product.
- Accessibility: Codes might also relate to accessibility requirements, especially for ramps and other features requiring smooth surfaces.
Staying up-to-date on local building codes is crucial. I regularly check for updates and make sure my work complies with all relevant regulations to prevent any compliance issues and ensure the safety of the building occupants.
Q 25. How do you ensure the quality and durability of your work?
Ensuring quality and durability in my plastering involves a multi-faceted approach:
- Substrate Preparation: A strong and sound base is fundamental. I always carefully inspect and prepare the wall surface, ensuring it’s clean, free of loose materials, and properly primed. This is like laying a strong foundation for a house. Neglecting this step can lead to problems down the line.
- Material Selection: I use high-quality, reputable plaster mixes appropriate for the project’s requirements, paying close attention to the type of plaster for specific conditions (e.g., moisture-resistant plaster in bathrooms). Selecting the right plaster is like choosing the right paint for a canvas.
- Application Technique: Proper application is paramount. I carefully follow the manufacturer’s instructions for mixing and applying the plaster, ensuring even coats and eliminating air pockets. Smooth and precise application is essential for a long-lasting, beautiful finish.
- Quality Control: Throughout the process, I regularly inspect my work to identify and correct any imperfections before they become major issues. This includes checking for consistency, smoothness, and overall adherence to the project specifications. I’m constantly looking for things like unevenness or air bubbles, treating them immediately to prevent later problems.
- Proper Curing: Allowing the plaster to cure properly is crucial. This allows the material to reach its full strength and durability. It’s like allowing cement to set before walking on it.
Q 26. Describe your experience working with different types of paints on plastered surfaces.
My experience with various paints on plastered surfaces is extensive. The choice of paint significantly impacts the final look and durability. I’ve worked with:
- Water-based paints (emulsion): These are versatile and easy to apply, offering a wide range of colors and finishes (matte, satin, eggshell, etc.). They are suitable for most interior plastering jobs. I’ve found that they work particularly well on smoothly plastered surfaces and provide a great even finish.
- Oil-based paints: While less common now due to environmental concerns, these provide a more durable, washable finish and are often preferred for high-traffic areas or exterior applications on certain plasters. Their strong odor also needs to be considered.
- Specialty paints: I’ve used moisture-resistant paints in bathrooms and kitchens, and paints with mildew inhibitors in damp areas. Choosing the right specialty paint is crucial for protecting the plaster and preventing damage in challenging environments.
The key is understanding the properties of each paint type and selecting the best option based on the plaster type, environment, and desired finish. I always discuss options with my clients to ensure they’re happy with both the aesthetic and practical aspects of the final product.
Q 27. How do you estimate the time required for a plastering project?
Estimating time for a plastering project depends on various factors:
- Surface Area: The larger the area, the longer it will take. This is a straightforward calculation: I estimate the square footage to be plastered.
- Surface Condition: Repairing damaged areas adds significant time. A heavily damaged surface might require extensive preparation before plastering can begin.
- Plaster Type and Finish: Different plaster types require different application methods and drying times. High-smoothness finishes demand more layers and greater attention to detail, impacting the overall time considerably.
- Access and Location: Difficult-to-reach areas, such as high ceilings or narrow spaces, slow down the process. Jobsite location can also factor in, particularly when there are accessibility challenges.
- Weather Conditions (for exterior work): Inclement weather can significantly delay exterior plastering projects.
I use a combination of experience-based estimations and detailed measurements to create accurate time projections for clients. I always add a buffer for unexpected issues, ensuring realistic and achievable timelines.
Q 28. What are some cost-saving strategies in paintable plastering without compromising quality?
Cost savings in paintable plastering without compromising quality can be achieved by:
- Efficient Material Usage: Precise measurements and careful planning minimize waste. This includes planning the plastering process meticulously to reduce the potential for mistakes and needing to re-do areas.
- Optimizing Labor: Streamlined workflows and efficient tools help complete the project faster, reducing labor costs. This is where using the appropriate tools and having a well-planned approach really pays off.
- Strategic Material Selection: Choosing cost-effective but high-quality materials can save money without sacrificing durability or finish. This involves careful research and consideration of the plaster’s properties in relation to the project requirements.
- Proper Preparation: Thorough surface preparation prevents future problems, reducing the need for extensive repairs or re-plastering. Preventing problems is much cheaper than fixing them.
- Negotiate with Suppliers: Building strong relationships with suppliers can lead to discounts on materials.
Remember, cutting corners on essential aspects like material quality or surface preparation will always negatively impact the longevity and quality of the final product in the long run. The key is strategic savings, focusing on efficiency and optimized processes without compromising the vital elements that ensure durability and a beautiful, long-lasting finish.
Key Topics to Learn for Paintable Plastering Interview
- Surface Preparation: Understanding different wall types, necessary repairs (e.g., cracks, holes), and appropriate priming techniques for optimal paint adhesion.
- Plastering Techniques: Mastering various plastering methods (e.g., hand-floating, machine-applying), achieving smooth, even surfaces, and understanding the importance of proper drying time.
- Material Knowledge: Familiarity with different types of plaster (e.g., gypsum, lime), their properties, and application methods. Understanding the impact of material selection on the final finish.
- Tools and Equipment: Proficiency in using a variety of plastering tools (e.g., trowels, hawk, floats) and understanding their maintenance. Knowledge of different mixing and application equipment.
- Health and Safety: Adherence to safety regulations, proper use of personal protective equipment (PPE), and awareness of potential hazards associated with plastering and paint application.
- Quality Control and Troubleshooting: Identifying and rectifying common plastering defects (e.g., cracks, uneven surfaces, pinholes). Understanding quality assurance procedures to ensure a flawless finish.
- Project Management (Basic): Understanding scheduling, material estimation, and working within a team environment on larger projects. Demonstrating an understanding of efficient workflow and time management.
Next Steps
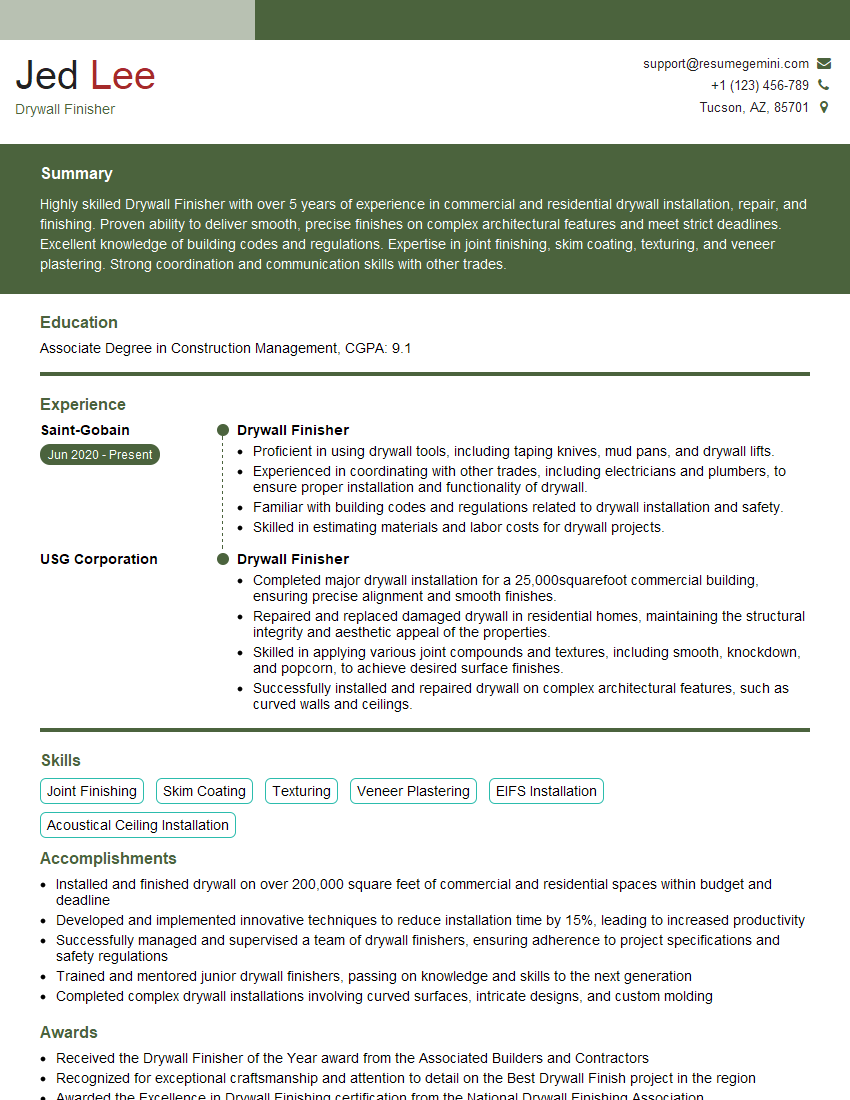
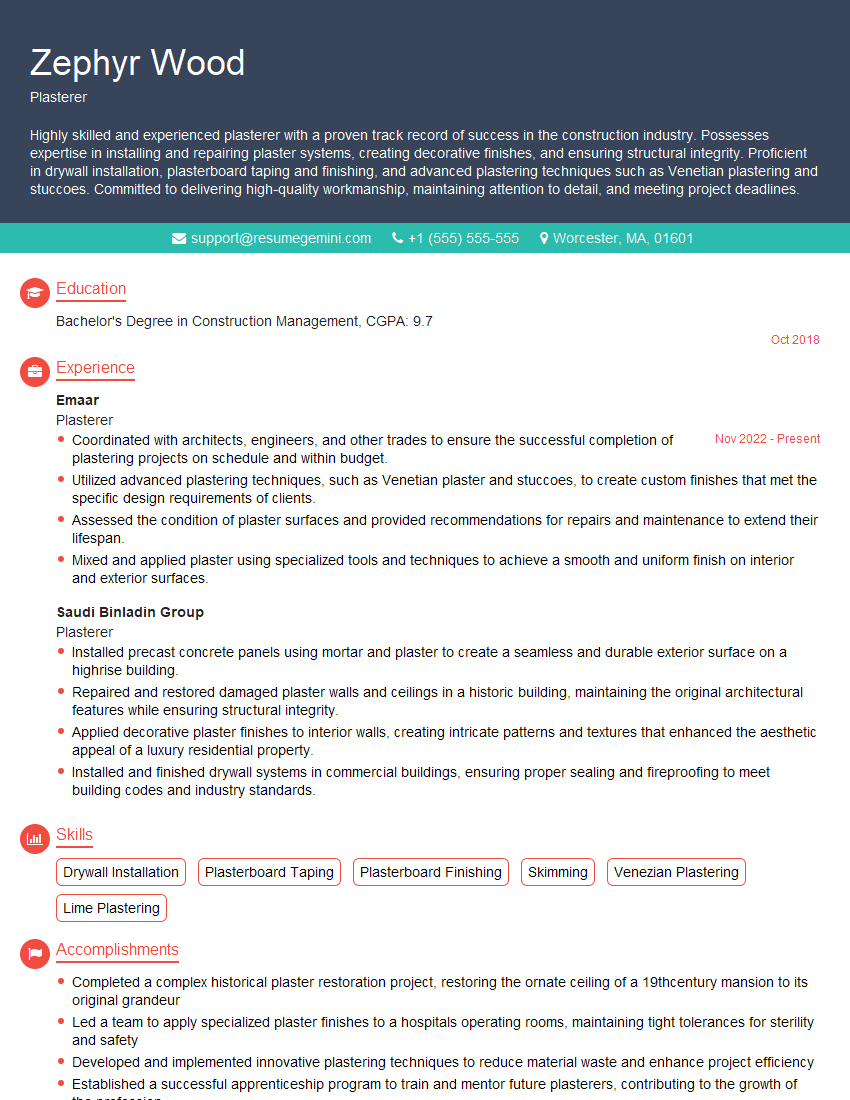
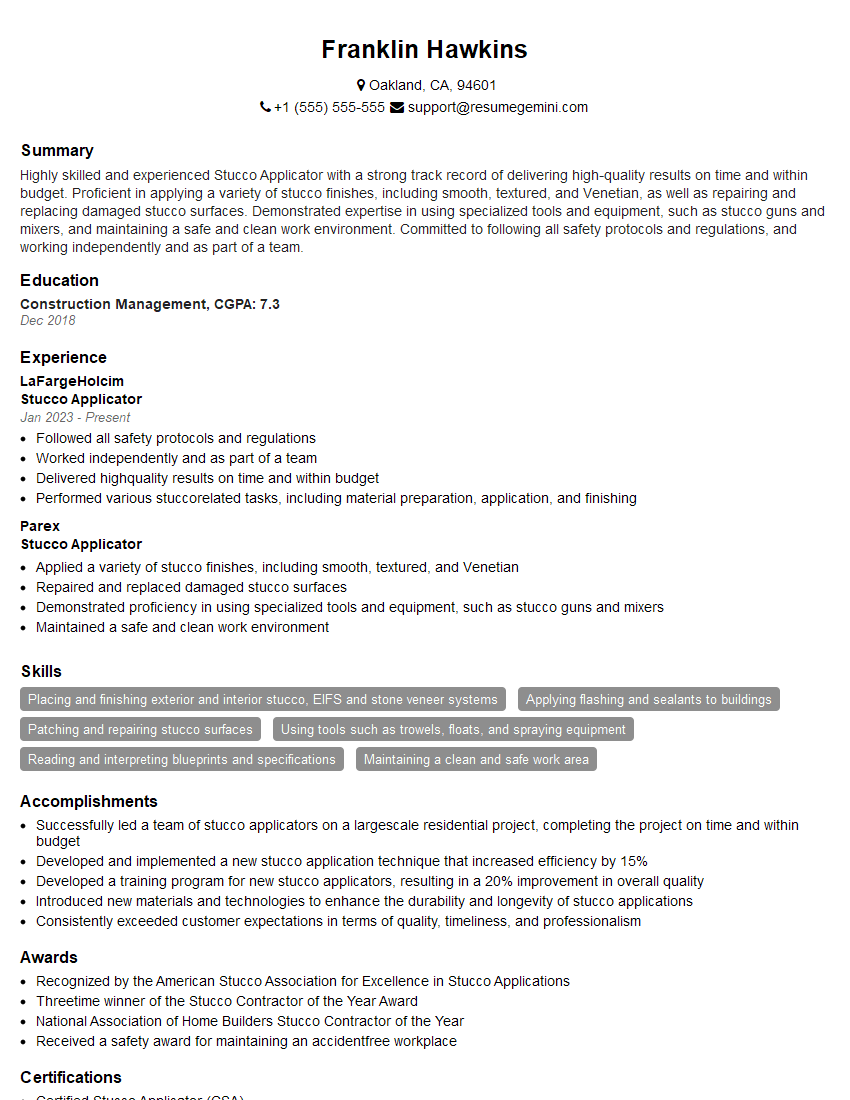
Mastering paintable plastering opens doors to rewarding careers in construction and interior finishing, offering opportunities for specialization and career advancement. A strong resume is crucial for showcasing your skills and experience to potential employers. To maximize your job prospects, focus on building an ATS-friendly resume that highlights your key competencies. ResumeGemini is a trusted resource that can help you create a professional and impactful resume. Examples of resumes tailored specifically to paintable plastering are available to guide you.
Explore more articles
Users Rating of Our Blogs
Share Your Experience
We value your feedback! Please rate our content and share your thoughts (optional).
What Readers Say About Our Blog
To the interviewgemini.com Webmaster.
Very helpful and content specific questions to help prepare me for my interview!
Thank you
To the interviewgemini.com Webmaster.
This was kind of a unique content I found around the specialized skills. Very helpful questions and good detailed answers.
Very Helpful blog, thank you Interviewgemini team.