Preparation is the key to success in any interview. In this post, we’ll explore crucial Physical Examination and Evaluation interview questions and equip you with strategies to craft impactful answers. Whether you’re a beginner or a pro, these tips will elevate your preparation.
Questions Asked in Physical Examination and Evaluation Interview
Q 1. Describe the proper technique for assessing heart sounds.
Assessing heart sounds, or auscultation, requires a systematic approach to ensure accurate identification of normal and abnormal findings. It’s like listening to a complex symphony – you need to be attentive to the timing, intensity, and quality of each ‘instrument’ (heart sound).
- Position the patient: Begin with the patient supine, but also listen in left lateral decubitus (lying on their left side) to better hear low-pitched sounds like S3 and S4.
- Use the diaphragm and bell of the stethoscope: The diaphragm is best for high-pitched sounds (S1, S2, most murmurs), while the bell is better for low-pitched sounds (S3, S4, some murmurs). Apply light pressure for the diaphragm and very light pressure for the bell to avoid muffling sounds.
- Identify anatomical landmarks: Start at the aortic area (2nd right intercostal space), then move to the pulmonic area (2nd left intercostal space), the tricuspid area (4th left intercostal space, near the sternum), and finally the mitral area (5th intercostal space, mid-clavicular line). Listen carefully at each location, comparing sounds.
- Listen for S1 and S2: S1 (lub) is the closure of the mitral and tricuspid valves and coincides with the carotid pulse. S2 (dub) is the closure of the aortic and pulmonic valves. Assess their intensity and timing – a split S2 is often normal during inspiration.
- Listen for extra heart sounds: S3 and S4 are extra heart sounds heard early and late in diastole, respectively. These can indicate underlying pathology such as heart failure or hypertension.
- Listen for murmurs: Murmurs are abnormal heart sounds caused by turbulent blood flow. Note their timing (systolic or diastolic), location, radiation, grade (intensity), and quality (e.g., harsh, blowing, rumbling).
For instance, a harsh, systolic murmur at the right upper sternal border might suggest aortic stenosis, while a diastolic murmur at the apex might point to mitral regurgitation. Remember, correlation with the patient’s history and other clinical findings is crucial for accurate interpretation.
Q 2. Explain the process of performing a neurological exam.
A neurological exam systematically assesses the function of the nervous system, much like testing individual components of a complex machine. It’s divided into several sections:
- Mental Status: Assess level of consciousness, orientation (person, place, time), attention, memory, and cognitive function (e.g., calculation, judgment).
- Cranial Nerves (CN): Test each of the 12 cranial nerves individually. For example, CN II (optic nerve) is tested with visual acuity and visual fields; CN VII (facial nerve) is tested by asking the patient to smile, frown, and raise their eyebrows.
- Motor System: Evaluate muscle bulk, tone, strength (using a grading scale, such as 0-5), and coordination (e.g., finger-to-nose test, heel-to-shin test).
- Sensory System: Assess light touch, pain, temperature, vibration, and proprioception (awareness of body position) in all four extremities. This often involves comparing responses on both sides of the body.
- Reflexes: Test deep tendon reflexes (biceps, triceps, brachioradialis, patellar, Achilles) using a reflex hammer and grading the responses (e.g., 0-4+). Also test superficial reflexes, such as the plantar reflex (Babinski sign).
- Cerebellar Function: Assess balance (Romberg test), gait, and coordination (as mentioned above).
For example, a patient presenting with weakness on one side of the body and difficulty with speech might suggest a stroke. A detailed neurological exam is crucial in pinpointing the location and nature of the neurological problem.
Q 3. How would you assess for respiratory distress in a patient?
Assessing respiratory distress is about identifying the signs that indicate a patient is struggling to breathe. It’s similar to recognizing when a machine is malfunctioning – you look for signs of strain and distress.
- Respiratory Rate and Rhythm: Observe the rate (breaths per minute) and rhythm (regular or irregular) of breathing. Tachypnea (rapid breathing) and dyspnea (shortness of breath) are key indicators.
- Use of Accessory Muscles: Observe for use of accessory muscles (sternocleidomastoids, intercostals, abdominal muscles) to aid breathing. This signifies increased work of breathing.
- Breath Sounds: Auscultate the lungs for wheezes (narrowed airways), crackles (fluid in lungs), or diminished breath sounds (airway obstruction or lung collapse).
- SpO2 (Oxygen Saturation): Measure oxygen saturation using pulse oximetry. A low SpO2 indicates hypoxemia (low blood oxygen levels).
- Mental Status Changes: Assess for changes in mental status, such as restlessness, confusion, or lethargy, which can be due to hypoxia.
- Cyanosis: Look for cyanosis (bluish discoloration of the skin and mucous membranes), a sign of severe hypoxemia.
- Tracheal Deviation: Observe for tracheal deviation, which suggests a tension pneumothorax (collapsed lung).
For example, a patient with rapid breathing, wheezing, and low oxygen saturation might be experiencing an asthma exacerbation. The combination of findings helps determine the severity and cause of the respiratory distress.
Q 4. What are the key components of a musculoskeletal exam?
A musculoskeletal exam focuses on evaluating the bones, joints, muscles, and ligaments of the body. It is a bit like a mechanic’s inspection of a car – checking for alignment, range of motion, and strength.
- Inspection: Visually assess the posture, alignment, and presence of any deformities, swelling, or discoloration.
- Palpation: Feel for tenderness, warmth, swelling, or crepitus (grating sound) over the bones, joints, and muscles.
- Range of Motion (ROM): Assess the active and passive ROM of each joint. Compare ROM bilaterally. Note any limitations in movement or pain.
- Muscle Strength: Test the strength of each major muscle group using a grading scale (e.g., 0-5). Compare strength bilaterally.
- Special Tests: Perform specific tests based on the patient’s complaints and findings. For example, the Lachman test for anterior cruciate ligament injury or the McMurray test for meniscus injury in the knee.
For instance, if a patient complains of knee pain after a fall, you would visually inspect the knee for swelling or deformity, palpate for tenderness, assess ROM, test muscle strength, and perform appropriate special tests like the Lachman test to determine the extent of the injury.
Q 5. Explain your approach to documenting findings from a physical examination.
Documenting physical examination findings is crucial for clear communication and continuity of care. Think of it as creating a precise map of the patient’s condition.
My approach emphasizes clarity, completeness, and conciseness. I use a structured format that includes:
- Patient Demographics: Age, sex, medical record number.
- Chief Complaint: The patient’s main reason for seeking medical attention.
- Vital Signs: Heart rate, blood pressure, respiratory rate, temperature, oxygen saturation.
- General Appearance: Overall appearance (e.g., alert, anxious, distressed), level of distress.
- Systemic Examination: Detailed findings from each body system (e.g., cardiovascular, respiratory, neurological, musculoskeletal). Findings are described using precise terminology and quantifiable measurements whenever possible.
- Assessment: Interpretation of the findings and potential diagnoses.
- Plan: Outline of the treatment plan, including medications, investigations, and follow-up appointments.
For example, instead of writing “heart sounds abnormal,” I would write “regular rate and rhythm; grade 2/6 systolic ejection murmur heard best at the right upper sternal border, radiating to the carotids.” This provides far more detail and helps ensure that other healthcare professionals can understand the findings accurately.
Q 6. How do you differentiate between different types of murmurs?
Differentiating between murmurs requires careful attention to several characteristics. It’s like comparing different musical instruments – each has its own unique sound.
- Timing: Is the murmur systolic (heard during ventricular contraction) or diastolic (heard during ventricular relaxation)? Systolic murmurs are usually due to problems with the valves opening, while diastolic murmurs are usually due to problems with the valves closing.
- Location: Where is the murmur best heard? This helps determine which valve is likely affected.
- Radiation: Does the murmur radiate (spread) to other areas? This can provide additional clues.
- Grade: How loud is the murmur (graded from 1-6)? Louder murmurs generally indicate more severe valvular disease.
- Quality: What is the quality of the murmur (e.g., harsh, blowing, rumbling)? Different murmurs have different qualities.
- Effect of Position or Maneuvers: Does the murmur change with the patient’s position (e.g., standing versus lying down) or after performing specific maneuvers (e.g., Valsalva maneuver)?
For example, a harsh, loud, systolic murmur at the right upper sternal border radiating to the neck strongly suggests aortic stenosis, whereas a soft, blowing diastolic murmur at the apex might suggest mitral regurgitation. Correlation with other clinical findings, such as echocardiography, is essential for accurate diagnosis.
Q 7. Describe the techniques for assessing peripheral pulses.
Assessing peripheral pulses involves feeling for the rhythmic beating of arteries in the extremities. It’s like checking the pulse of a river – feeling the flow and strength of the current.
- Location: Common sites include the carotid (neck), brachial (arm), radial (wrist), femoral (groin), popliteal (behind the knee), posterior tibial (ankle), and dorsalis pedis (foot).
- Technique: Use the pads of your index and middle fingers to palpate the artery. Avoid using your thumb, as it has its own pulse that can be confused with the patient’s pulse.
- Assessment: Assess the rate, rhythm, and amplitude (strength) of the pulse. A weak or absent pulse might indicate decreased blood flow to the extremity.
- Comparison: Compare the pulses bilaterally (on both sides of the body). A difference in amplitude or strength between the two sides can be a significant finding.
For example, a weak or absent femoral pulse compared to the radial pulse could indicate peripheral artery disease (PAD). Accurate assessment of peripheral pulses is important for identifying vascular problems such as arterial occlusion or circulatory compromise.
Q 8. What are the signs and symptoms of appendicitis?
Appendicitis, or inflammation of the appendix, presents with a classic triad of symptoms, though not all patients exhibit all three. The hallmark symptom is pain, typically starting as vague periumbilical pain (around the belly button) that migrates to the right lower quadrant (RLQ) of the abdomen. This pain is often described as sharp, cramping, and worsening over time.
Secondly, nausea and vomiting are common, usually accompanying or following the onset of abdominal pain. Lastly, low-grade fever (though not always present) and anorexia (loss of appetite) are frequently observed. Other potential findings include guarding (abdominal muscles tensing to protect the inflamed appendix), rebound tenderness (pain upon releasing pressure from the abdomen), and positive psoas sign (pain with hip flexion) or obturator sign (pain with internal hip rotation), indicating peritoneal irritation.
Important Note: The absence of classic symptoms doesn’t rule out appendicitis. Atypical presentations, especially in children and the elderly, are common. Careful clinical evaluation and diagnostic imaging (like ultrasound or CT scan) are crucial for accurate diagnosis.
Q 9. How would you assess for abdominal tenderness?
Assessing for abdominal tenderness involves a systematic approach, starting with gentle palpation. I begin by observing the patient’s overall demeanor, noting any guarding or wincing. Then, I palpate all four quadrants of the abdomen using a systematic approach, starting in the least painful area and progressing towards the area of suspected tenderness.
For deep palpation, I press firmly and slowly into the abdomen, releasing the pressure suddenly to check for rebound tenderness – pain experienced upon releasing the pressure, a sign of peritoneal irritation. I would also assess for specific signs such as McBurney’s point tenderness (tenderness located midway between the umbilicus and the anterior superior iliac spine in the RLQ, suggestive of appendicitis), Rovsing’s sign (palpation of the left lower quadrant causing pain in the right lower quadrant), and psoas and obturator signs as mentioned earlier. Throughout the assessment, I maintain open communication with the patient, asking them to describe the character and location of their pain. It is crucial to remember that patient comfort and minimizing discomfort are paramount.
Q 10. Explain the steps involved in performing a breast exam.
A breast exam involves both visual inspection and palpation. Inspection is done with the patient sitting upright, arms relaxed at her sides, and then with her arms raised overhead. I look for any skin changes like dimpling, redness, or ulceration, any asymmetry in breast size or shape, and nipple changes such as inversion, discharge, or crusting.
Palpation is performed with the patient lying supine, arm raised above the head. I use the pads of my fingers, systematically palpating the entire breast in a circular or vertical pattern, covering the entire breast tissue and extending into the axillary area. I vary the pressure during palpation to assess for lumps, masses, or areas of thickening. I encourage patients to perform monthly self-exams and seek professional advice for any concerning findings. This should be part of regular preventative healthcare for all women.
Q 11. Describe your approach to assessing skin lesions.
Assessing skin lesions follows the ABCDEs of melanoma: Asymmetry, Border irregularity, Color variation, Diameter greater than 6mm, and Evolving or changing size, shape, or color. I use a systematic approach, beginning with visual inspection, noting the lesion’s location, size, shape, color, and any associated inflammation or bleeding.
Palpation follows, assessing the lesion’s texture, consistency (firm, soft, etc.), and mobility. I consider the patient’s history, including any changes in the lesion’s appearance or any personal or family history of skin cancer. Documentation is critical, including a detailed description, photographic documentation, and a differential diagnosis. Suspect lesions are referred for further evaluation, potentially including biopsy, to confirm diagnosis and initiate appropriate treatment. Prevention is key, emphasizing sun protection measures.
Q 12. How would you assess for neurological deficits in a stroke patient?
Neurological assessment in a stroke patient is time-sensitive, as early intervention can significantly impact outcome. It focuses on identifying deficits in cranial nerves, motor function, sensory function, coordination, and higher cognitive functions. I would use the NIH Stroke Scale (NIHSS) or a similar standardized tool to guide my assessment.
Assessment includes evaluating facial droop (cranial nerve VII), arm drift (motor function), leg weakness (motor function), sensory loss (by assessing light touch and pinprick in different extremities), and speech (aphasia). I’d also look for visual field deficits (cranial nerve II), gaze palsy (cranial nerve III, IV, VI), and dysarthria (difficulty articulating speech). Assessment of cognitive function involves evaluating level of consciousness, orientation, attention, and memory. The quicker the deficits are identified, the faster treatment can begin.
Q 13. What are the common causes of syncope and how would you investigate?
Syncope, or fainting, has numerous potential causes. Common ones include vasovagal syncope (a reflex response causing a sudden drop in heart rate and blood pressure), orthostatic hypotension (a drop in blood pressure upon standing), cardiac arrhythmias (irregular heartbeats), and structural heart disease (e.g., valve problems). Less common causes include neurological conditions, dehydration, and medication side effects.
Investigation involves a thorough history focusing on the circumstances of the event, including preceding symptoms (nausea, dizziness, palpitations), and any associated triggers (stress, pain, dehydration). Physical examination includes checking vital signs, listening to the heart and lungs, and palpating the abdomen. Investigations may include an electrocardiogram (ECG) to assess heart rhythm, echocardiogram to evaluate heart structure and function, tilt-table test to assess for vasovagal syncope, and blood tests to rule out underlying medical conditions.
Q 14. Explain your understanding of the Glasgow Coma Scale (GCS).
The Glasgow Coma Scale (GCS) is a neurological scale that assesses the level of consciousness using three components: eye opening, verbal response, and motor response. Each component is scored numerically, and the scores are added together to give a total GCS score ranging from 3 (deep coma) to 15 (fully alert).
Eye opening is scored from 1 (none) to 4 (spontaneous). Verbal response is scored from 1 (none) to 5 (oriented). Motor response is scored from 1 (none) to 6 (obeys commands). The GCS provides a quick and standardized method of assessing the severity of brain injury and is essential for monitoring patients with altered mental status. Changes in GCS score over time can indicate improvement or deterioration in the patient’s condition.
Q 15. Describe the technique for performing a rectal exam.
A rectal exam is a crucial part of a comprehensive physical examination, particularly for assessing the gastrointestinal and genitourinary systems. It involves a systematic inspection and palpation of the rectum and surrounding structures.
- Preparation: Ensure patient privacy and comfort. Explain the procedure clearly. Ask the patient to assume the left lateral decubitus position (lying on their left side with knees drawn up) or the lithotomy position (lying on their back with hips and knees flexed). Gloves and lubricant are essential.
- Inspection: Observe the perianal area for any skin lesions, hemorrhoids, fissures, or other abnormalities. Note any unusual discharge or fecal matter.
- Palpation: Gently insert a lubricated gloved finger into the rectum. Systematically palpate the rectal wall for masses, tenderness, and irregularities. Assess the tone of the anal sphincter. Feel for any abnormalities in the prostate (in men) or the cervix (in women).
- Testing for occult blood: If indicated, a sample of stool can be obtained for a fecal occult blood test to detect hidden blood, potentially indicating conditions like colorectal cancer or polyps.
- Documentation: Thoroughly document your findings, including any abnormalities detected, their location, and size.
Example: During a rectal exam, I might detect a firm, nodular mass in the prostate, prompting further investigation such as a biopsy. Alternatively, I might find evidence of hemorrhoids or anal fissures, guiding treatment options.
Career Expert Tips:
- Ace those interviews! Prepare effectively by reviewing the Top 50 Most Common Interview Questions on ResumeGemini.
- Navigate your job search with confidence! Explore a wide range of Career Tips on ResumeGemini. Learn about common challenges and recommendations to overcome them.
- Craft the perfect resume! Master the Art of Resume Writing with ResumeGemini’s guide. Showcase your unique qualifications and achievements effectively.
- Don’t miss out on holiday savings! Build your dream resume with ResumeGemini’s ATS optimized templates.
Q 16. How would you assess for dehydration in a patient?
Assessing for dehydration involves evaluating multiple parameters. It’s not just about thirst; it’s a multifaceted assessment.
- Skin turgor: Gently pinch the skin on the forearm or abdomen. Slow return to its normal position indicates dehydration. This is less reliable in older adults.
- Mucous membranes: Assess the moisture of the mouth and lips. Dry, sticky mucous membranes suggest dehydration.
- Orthostatic hypotension: Measure blood pressure lying down and then standing up. A significant drop in systolic blood pressure (more than 20 mmHg) or diastolic blood pressure (more than 10 mmHg) with a concurrent increase in heart rate suggests dehydration and reduced blood volume.
- Urine output: Decreased urine output is a key indicator. Dark-colored, concentrated urine is another.
- Mental status: Severe dehydration can lead to altered mental status, such as confusion or lethargy.
- Sunken eyes: Though not a universally reliable sign, sunken eyes can be an indicator.
Example: A patient presents with dizziness upon standing, dry mouth, and decreased urine output. These, combined with poor skin turgor, suggest dehydration warranting fluid replacement.
Q 17. What are the signs and symptoms of pneumonia?
Pneumonia is an infection of the lungs. Signs and symptoms can vary depending on the severity and type of infection, but common indicators include:
- Cough: Often productive (bringing up mucus), which may be purulent (pus-like) or blood-tinged.
- Fever and chills: Due to the body’s inflammatory response to infection.
- Shortness of breath (dyspnea): Difficulty breathing, often worsening with exertion.
- Chest pain: Sharp, stabbing pain that worsens with deep breaths or coughs.
- Fatigue and weakness: General feeling of tiredness and lack of energy.
- Confusion or altered mental status (in older adults): This can be a subtle but important sign.
- Tachypnea (rapid breathing): The body attempts to compensate for reduced oxygen levels.
- Pleuritic chest pain: Pain that is worsened by breathing in.
Physical exam findings may include: decreased breath sounds in the affected area, crackles or rales (abnormal sounds) on auscultation, and increased tactile fremitus (vibration felt on the chest wall).
Example: A patient presents with a productive cough, fever, and shortness of breath. Auscultation reveals crackles in the right lower lobe. These findings are highly suggestive of pneumonia.
Q 18. How would you assess for jaundice?
Jaundice, a yellowish discoloration of the skin and whites of the eyes (sclera), is caused by a buildup of bilirubin in the blood. Assessment involves careful observation of:
- Skin color: Look for a yellow tint, especially in areas with thinner skin like the sclera, palms, and soles. Note the intensity of the yellow discoloration.
- Scleral icterus: Examine the whites of the eyes. Yellowing of the sclera is a particularly sensitive indicator of jaundice.
- Mucous membranes: Check the inside of the mouth and lips for yellowish discoloration.
Important Note: Lighting is critical for accurate assessment. Examine the patient in good light, ideally daylight or strong artificial light to avoid misinterpreting subtle coloration changes.
Example: A patient with a history of liver disease presents with yellowish discoloration of the sclera and skin. This finding strongly suggests jaundice requiring investigation for underlying liver issues.
Q 19. Explain the different types of breath sounds and their significance.
Auscultation of the lungs reveals various breath sounds, each with clinical significance. These sounds are assessed using a stethoscope.
- Vesicular breath sounds: Soft, low-pitched sounds heard over most of the lung fields during inspiration, fading out during expiration. They are considered normal.
- Bronchial breath sounds: Louder, higher-pitched sounds heard over the trachea and major bronchi. They are normally heard in these locations only.
- Bronchovesicular breath sounds: Intermediate sounds heard between the scapulae and around the upper sternum. They are usually considered normal but may indicate pathology if present elsewhere.
- Adventitious sounds (Abnormal): These sounds are added to the normal breath sounds and include:
- Crackles (rales): Discontinuous, popping sounds indicating fluid in the airways (e.g., pneumonia, pulmonary edema).
- Wheezes: Continuous, whistling sounds indicating narrowed airways (e.g., asthma, bronchitis).
- Rhonchi: Coarse, low-pitched sounds suggesting secretions in the larger airways (e.g., bronchitis).
- Pleural friction rub: A grating or creaking sound indicating inflammation of the pleura (lining of the lungs).
Example: Hearing wheezes throughout the lung fields suggests bronchospasm, a common finding in asthma. Crackles could indicate fluid build-up, seen in conditions such as congestive heart failure or pneumonia.
Q 20. Describe your approach to assessing a patient with chest pain.
Assessing a patient with chest pain is a critical and potentially life-threatening situation. A systematic approach is crucial:
- Immediate assessment of ABCs (Airway, Breathing, Circulation): Is the patient conscious? Are they breathing adequately? Do they have a palpable pulse? Address any immediate life threats.
- History taking: Obtain a detailed history of the chest pain, including: location, quality (sharp, dull, crushing), onset, duration, severity (scale of 1-10), associated symptoms (shortness of breath, nausea, sweating, radiation to other areas), and any precipitating factors. Explore cardiovascular risk factors (smoking, hypertension, hyperlipidemia, family history).
- Physical examination: Assess vital signs (heart rate, blood pressure, respiratory rate, oxygen saturation). Auscultate the heart and lungs, palpating for tenderness. Examine for signs of shock (pallor, diaphoresis, hypotension).
- ECG: An electrocardiogram (ECG) is crucial to detect potential arrhythmias or myocardial ischemia (reduced blood flow to the heart).
- Cardiac biomarkers: Blood tests for cardiac enzymes (troponin) help to detect myocardial damage.
- Further investigations: Depending on the clinical scenario, further investigations like chest X-ray, echocardiogram, or cardiac catheterization may be necessary.
Example: A patient presents with crushing chest pain radiating to the left arm, accompanied by shortness of breath and diaphoresis. This strongly suggests a potential myocardial infarction requiring immediate attention and intervention.
Q 21. How would you assess for joint effusion?
Joint effusion is the accumulation of excess fluid within a joint. Assessment involves several techniques:
- Inspection: Observe the joint for swelling, erythema (redness), warmth, or deformity.
- Palpation: Gently palpate the joint for warmth, tenderness, and fluctuation (a palpable wave of fluid within the joint).
- Ballotting: Use your fingers to push the patella (kneecap) against the femur. If fluid is present, the patella will float and then tap against the femur when pressure is released. This is most readily performed on the knee.
- Bulge sign (Knee): Milk the medial aspect of the knee, pushing fluids laterally. Look for a bulge of fluid on the lateral side.
- Fluid aspiration (Arthrocentesis): If joint effusion is confirmed, a needle can be used to aspirate fluid for analysis to help determine the cause.
Example: A patient with knee pain and swelling presents with a positive ballottement test and a palpable fluid wave. These findings suggest significant knee joint effusion requiring further assessment to determine the cause, such as inflammation (arthritis) or injury.
Q 22. What are the key components of a mental status exam?
A mental status exam (MSE) is a structured assessment of a patient’s cognitive, emotional, and behavioral functioning. It’s crucial for diagnosing mental health conditions and monitoring treatment progress. Key components typically include:
- Level of Consciousness (LOC): Assessing alertness and responsiveness, ranging from alert to comatose.
- Orientation: Determining the patient’s awareness of person, place, and time.
- Attention and Concentration: Evaluating the ability to focus and maintain attention, often using digit span or serial 7s subtraction.
- Memory: Assessing both short-term (immediate recall) and long-term memory (past events).
- Language: Evaluating fluency, comprehension, and repetition.
- Higher Cognitive Functions: Testing abstract thinking, judgment, and insight through tasks like interpreting proverbs or planning scenarios.
- Thought Process and Content: Observing the flow and organization of thoughts, as well as identifying any delusions or hallucinations.
- Mood and Affect: Determining the patient’s prevailing emotional state and its outward expression.
- Behavior and Appearance: Observing the patient’s overall appearance, behavior, and any unusual movements.
For example, a patient might be alert and oriented but demonstrate difficulty with serial 7s, suggesting a possible cognitive impairment. The MSE provides a snapshot of the patient’s mental state at a specific time.
Q 23. Explain your approach to assessing a patient with altered mental status.
Assessing a patient with altered mental status (AMS) requires a systematic approach focusing on identifying the underlying cause. My approach involves:
- ABCs: Ensuring the patient’s airway, breathing, and circulation are stable. This is paramount before any further assessment.
- Initial Assessment: Quickly determine the LOC using the Glasgow Coma Scale (GCS), noting responsiveness to verbal and painful stimuli.
- Vital Signs: Measuring blood pressure, heart rate, respiratory rate, temperature, and oxygen saturation to identify any physiological abnormalities.
- History Taking (if possible): Gathering information from family or witnesses about the onset, duration, and any preceding events.
- Physical Examination: A thorough head-to-toe examination to identify any focal neurological deficits, trauma, or other medical issues that could be contributing to the AMS.
- Neurological Examination: Detailed assessment of cranial nerves, motor strength, reflexes, and sensory function.
- Laboratory Tests: Ordering blood tests (including glucose, electrolytes, and toxicology), as well as imaging studies (CT scan or MRI) to identify underlying causes like infection, metabolic derangements, or intracranial pathology.
For example, a patient presenting with AMS and hypoglycemia will require immediate glucose administration, while a patient with a head injury may need neurosurgical intervention. A systematic approach ensures prompt recognition and management of life-threatening conditions.
Q 24. How would you assess for peripheral edema?
Peripheral edema is swelling caused by fluid buildup in the tissues. Assessment involves visually inspecting and palpating the affected areas. I typically assess for pitting edema by applying firm pressure with my thumb for several seconds over bony prominences like the ankles, shins, and feet.
- Visual Inspection: Look for swelling, asymmetry, and skin changes (shiny, taut skin).
- Palpation: Assess for pitting edema by pressing firmly with your thumb for at least 5 seconds. The depth and duration of the indentation indicate the severity of edema. +1 represents a slight indentation, +2 a deeper indentation, and so on.
- Measurement: Circumferential measurements can be taken to quantify the degree of edema over time, particularly helpful for monitoring treatment response.
For instance, a patient with heart failure might present with bilateral pitting edema in their lower extremities. The degree of pitting provides valuable information about the severity of fluid overload.
Q 25. Describe the technique for assessing lymph nodes.
Lymph node assessment involves palpating for enlargement, tenderness, and consistency. It’s crucial to use a systematic approach, examining each lymph node group in a consistent manner.
- Inspection: Observe the overlying skin for erythema, warmth, or discoloration.
- Palpation: Using the pads of your fingers, gently palpate each lymph node group systematically. This includes the preauricular, posterior auricular, occipital, submental, submandibular, cervical (anterior and posterior), supraclavicular, axillary, and inguinal nodes.
- Note characteristics: Document the size, shape, consistency (e.g., rubbery, hard, firm), mobility, and tenderness of any palpable lymph nodes. Enlarged, tender, or fixed nodes warrant further investigation.
For example, finding a large, hard, fixed supraclavicular node might suggest metastatic cancer. Careful lymph node palpation is a vital part of the physical examination for detecting various medical conditions.
Q 26. Explain the differences between different types of reflexes.
Reflexes are involuntary muscle contractions in response to stimuli. Different types of reflexes involve various neural pathways and are classified based on several factors:
- Deep Tendon Reflexes (DTRs): These are elicited by tapping a tendon with a reflex hammer, causing muscle contraction. Examples include the patellar (knee-jerk) and biceps reflexes. They are graded on a scale (0-4+) to assess the strength of the response. This helps evaluate the integrity of the reflex arc.
- Superficial Reflexes: These are triggered by stimulation of the skin or mucous membranes. The abdominal reflex is a common example, involving contraction of abdominal muscles in response to stroking the abdomen. These reflexes assess the integrity of spinal segments.
- Pathological Reflexes: These reflexes are usually absent in healthy individuals but may appear in neurological diseases. The Babinski reflex is a key example; dorsiflexion of the great toe with fanning of other toes in response to stroking the sole of the foot is abnormal in adults (indicating upper motor neuron lesion).
Understanding the differences between these reflex types helps pinpoint the location and nature of neurological dysfunction. For example, diminished DTRs could suggest peripheral neuropathy, while exaggerated reflexes might indicate an upper motor neuron lesion.
Q 27. How would you assess for visual acuity?
Visual acuity is the sharpness of vision. Assessment typically involves using a Snellen chart, although other methods are available for patients who cannot read.
- Snellen Chart: The patient stands 20 feet from the chart and covers one eye while reading the smallest line of letters they can see clearly. The result is expressed as a fraction (e.g., 20/20, meaning the patient can see at 20 feet what a person with normal vision can see at 20 feet). 20/40 vision means the patient needs to be at 20 feet to see what a person with normal vision can see at 40 feet.
- Near Vision: A near vision chart or card is used to assess near vision, often in older adults.
- Alternative Methods: For patients unable to read, alternative methods like counting fingers or hand movements might be used.
Visual acuity testing is essential for diagnosing refractive errors and other vision impairments. For instance, a patient with 20/200 vision might need corrective lenses or other interventions.
Q 28. What are the common causes of dizziness and vertigo, and how would you approach their assessment?
Dizziness and vertigo are common symptoms with diverse underlying causes. Dizziness is a general feeling of unsteadiness, while vertigo is the specific sensation of spinning or whirling.
- Common Causes: These include benign paroxysmal positional vertigo (BPPV), vestibular neuritis, Meniere’s disease, inner ear infections, cardiovascular issues (e.g., orthostatic hypotension), neurological problems (e.g., stroke, multiple sclerosis), and certain medications.
- Assessment Approach: My approach starts with a thorough history, including the character of the dizziness (duration, triggers, associated symptoms), and a detailed neurological examination focusing on cranial nerves (particularly VIII – vestibulocochlear) and cerebellar function (balance, coordination). I might perform specific tests like the Dix-Hallpike maneuver for BPPV, and consider further investigations like audiometry, electronystagmography (ENG), or MRI depending on the clinical suspicion.
Differentiating between central (brain) and peripheral (inner ear) causes is crucial. For example, sudden onset vertigo with hearing loss suggests vestibular neuritis, whereas gradual onset dizziness with positional changes could indicate BPPV. A comprehensive assessment is vital to accurately diagnose the underlying cause and guide appropriate management.
Key Topics to Learn for Physical Examination and Evaluation Interview
- Musculoskeletal System Examination: Understand techniques for assessing joint range of motion, muscle strength, and identifying abnormalities like swelling or deformity. Consider practical applications in diagnosing conditions like osteoarthritis or rotator cuff injuries.
- Neurological Examination: Master the assessment of cranial nerves, reflexes, motor function, and sensory perception. Practice applying this knowledge to differentiate between various neurological conditions.
- Cardiovascular System Examination: Learn to accurately assess heart sounds, rhythms, and peripheral pulses. Focus on practical applications in identifying murmurs, arrhythmias, and signs of heart failure.
- Respiratory System Examination: Develop proficiency in auscultation of lung sounds, palpation of the chest wall, and assessment of respiratory effort. Practice identifying abnormalities like wheezes, crackles, and pleural rubs.
- Abdominal Examination: Understand techniques for inspecting, auscultating, percussing, and palpating the abdomen. Consider practical applications in diagnosing abdominal pain, identifying organomegaly, and detecting masses.
- Documentation and Reporting: Master clear and concise documentation of findings, ensuring accuracy and completeness. Practice structuring reports for different audiences and settings.
- Ethical Considerations and Patient Communication: Understand the importance of professionalism, patient privacy, and informed consent. Practice building rapport with patients and explaining findings in a clear and understandable manner.
- Interpreting Findings and Differential Diagnosis: Practice integrating findings from different systems to form a comprehensive picture of the patient’s condition and develop differential diagnoses. Focus on using a systematic approach to problem-solving.
Next Steps
Mastering Physical Examination and Evaluation is crucial for career advancement in healthcare. A strong foundation in these skills opens doors to diverse and rewarding opportunities. To maximize your job prospects, creating an ATS-friendly resume is essential. ResumeGemini is a trusted resource to help you build a professional and effective resume that highlights your skills and experience. ResumeGemini provides examples of resumes tailored to Physical Examination and Evaluation, helping you present your qualifications in the best possible light. Invest time in crafting a compelling resume; it’s your first impression on potential employers.
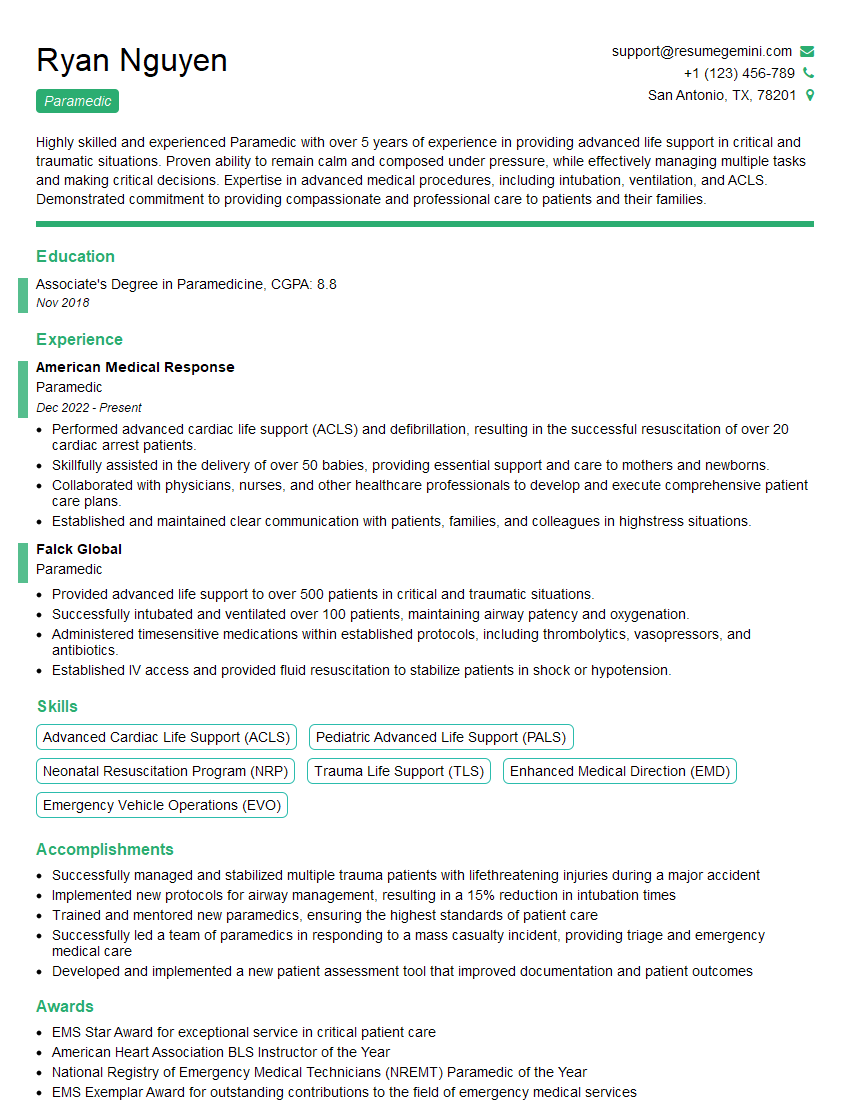
Paramedic Resume Sample

Medical Examiner Resume Sample
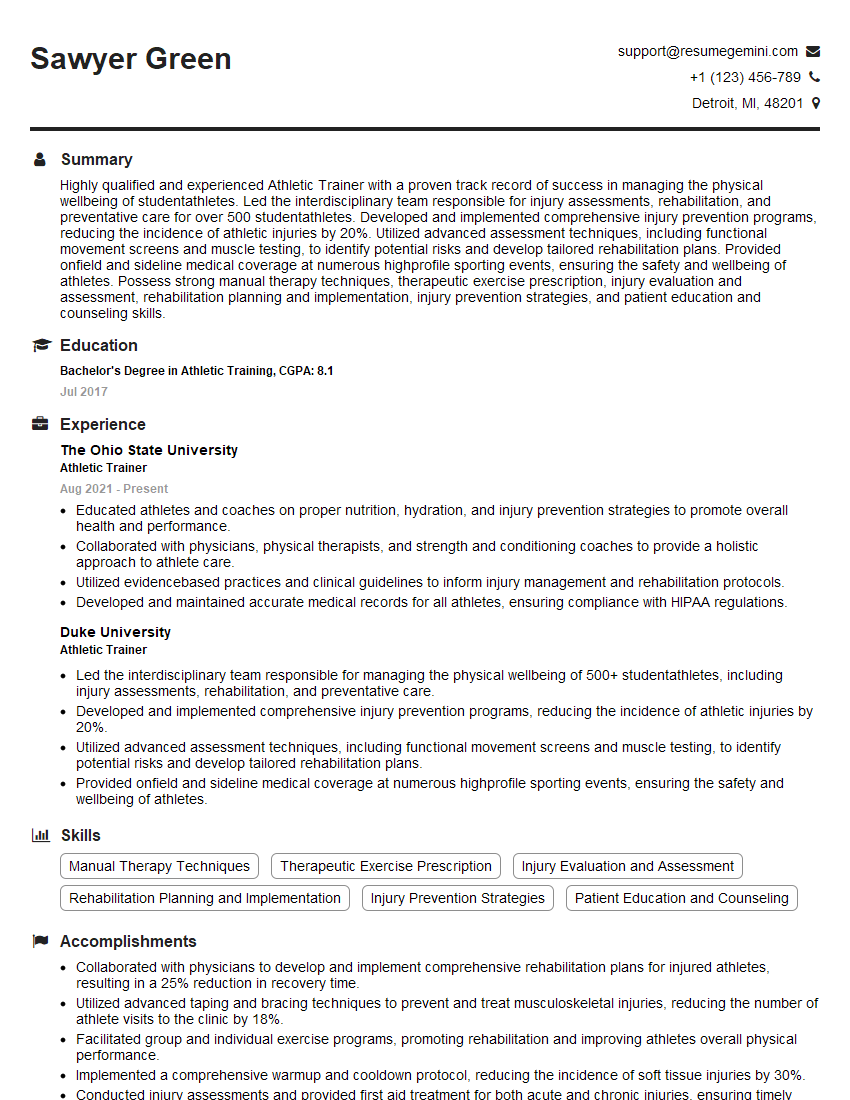
Athletic Trainer Resume Sample
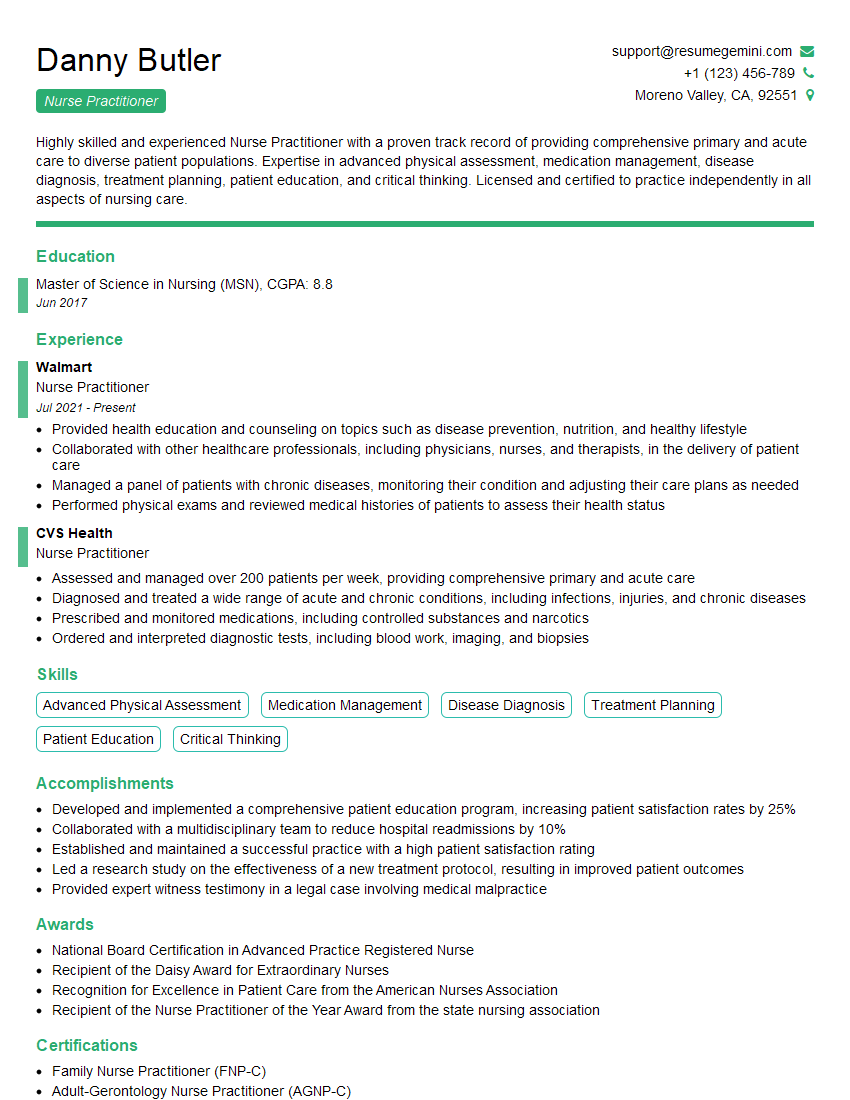
Nurse Practitioner Resume Sample
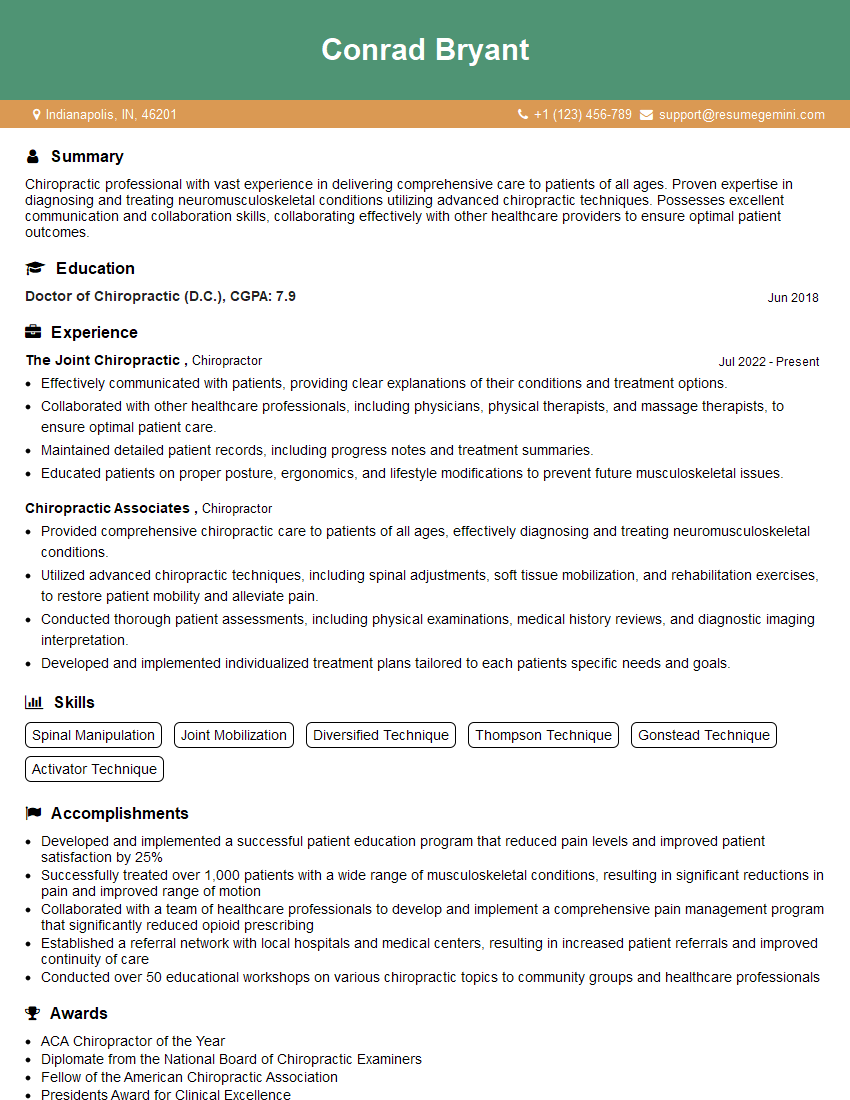
Chiropractor Resume Sample
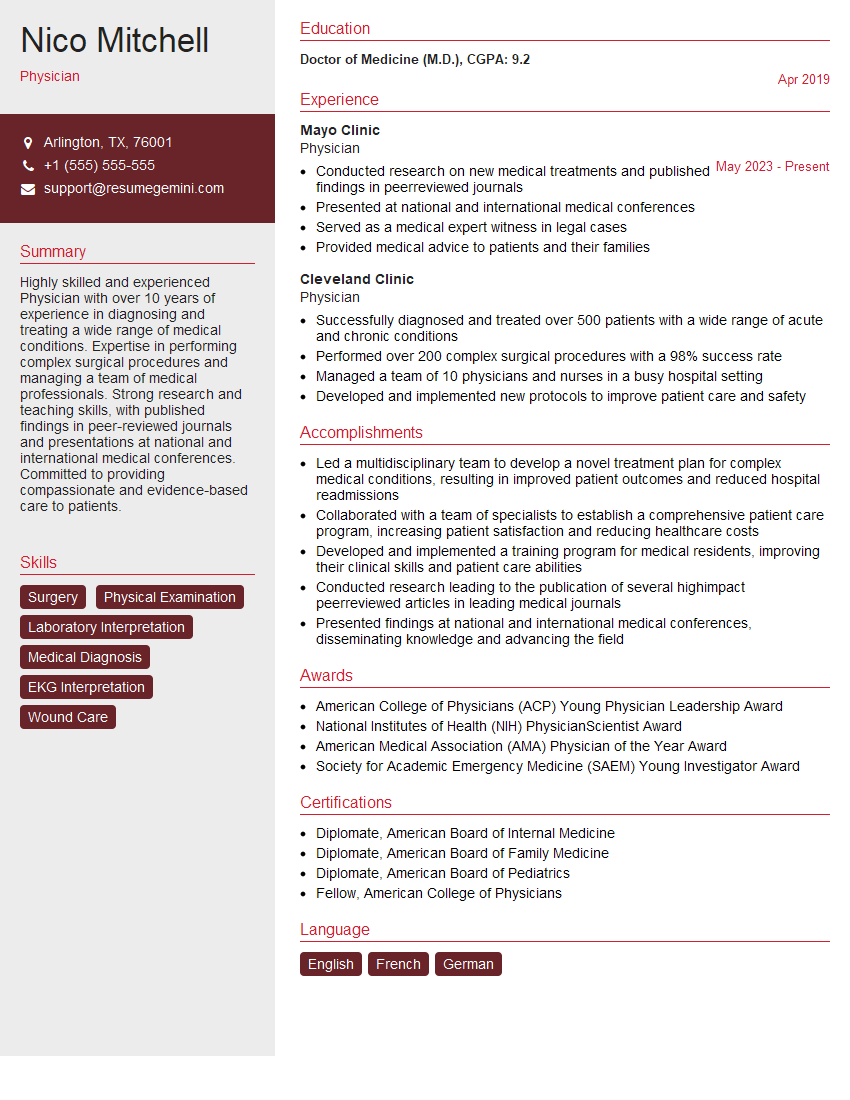
Physician Resume Sample
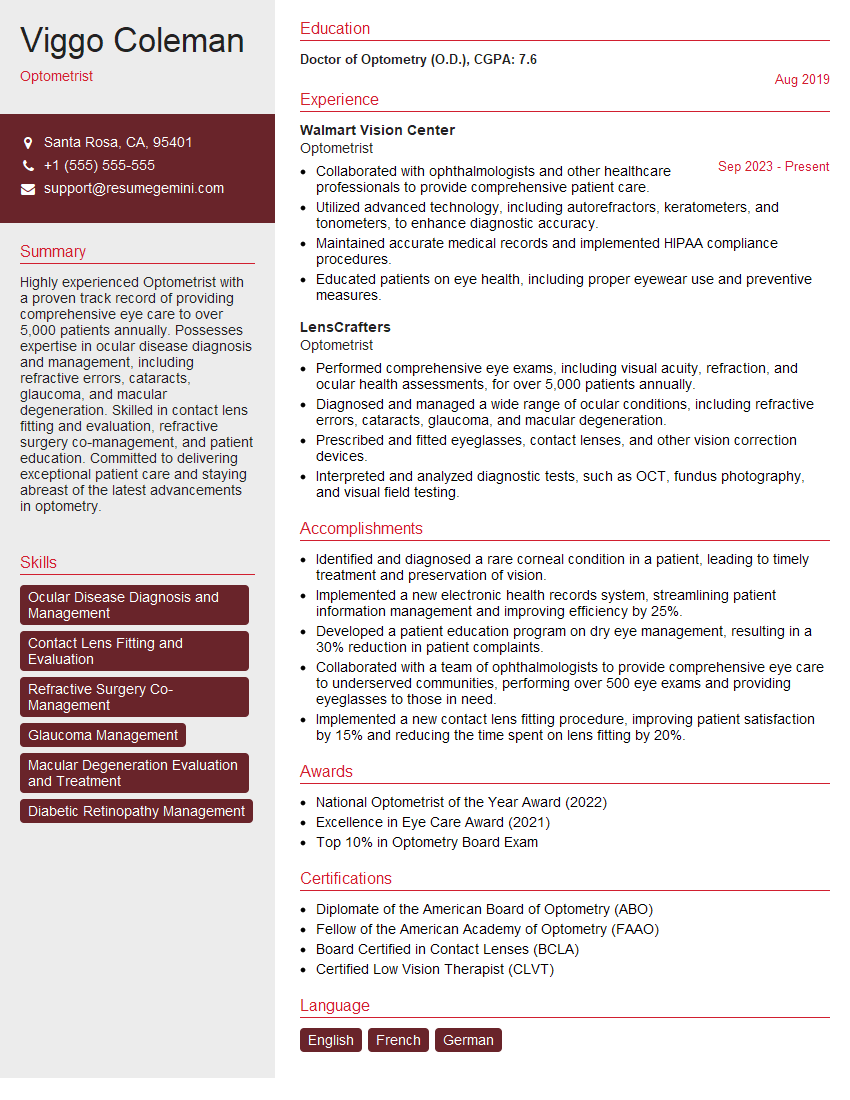
Optometrist Resume Sample
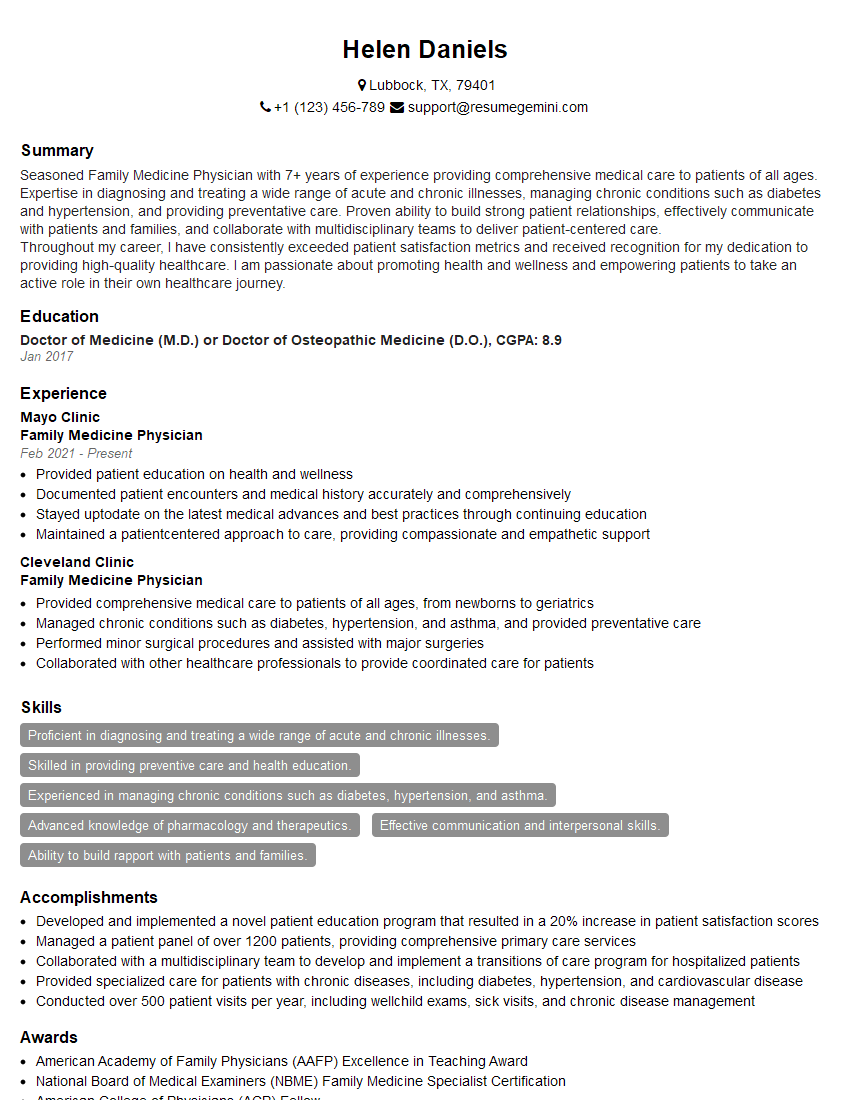
Family Medicine Physician Resume Sample
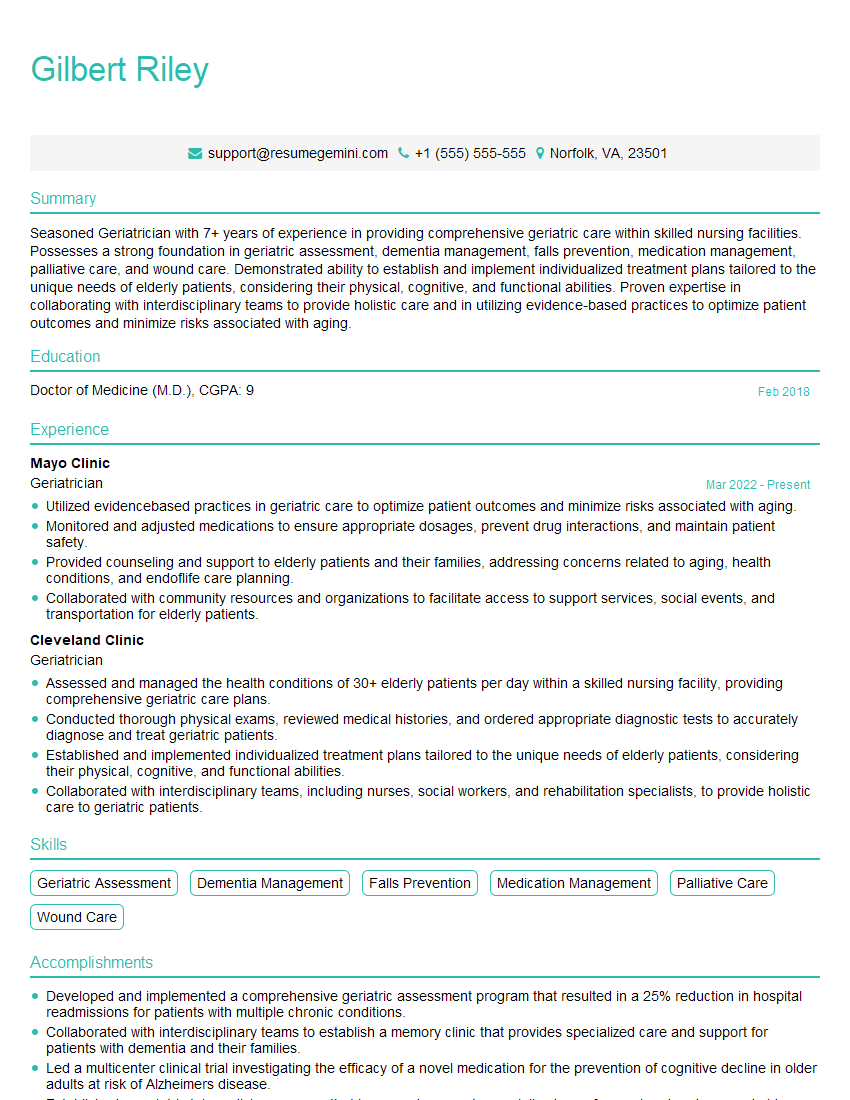
Geriatrician Resume Sample
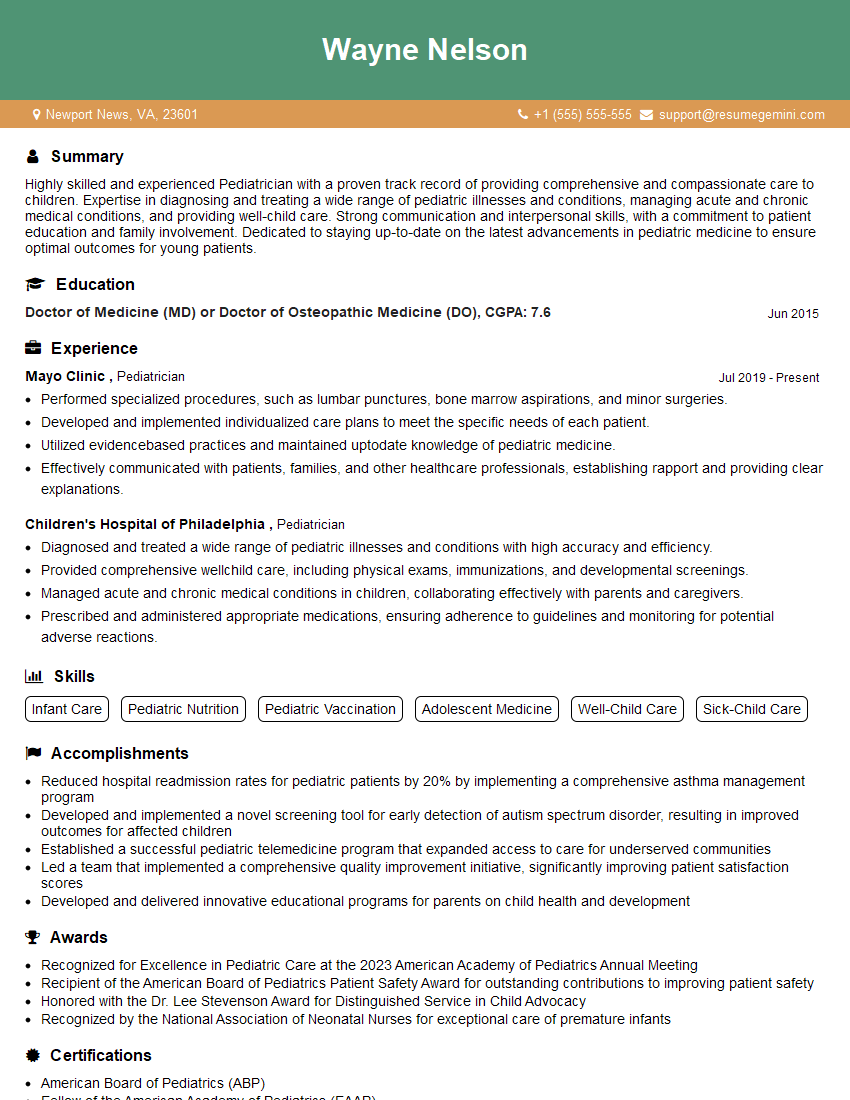
Pediatrician Resume Sample

Physician Assistant Resume Sample
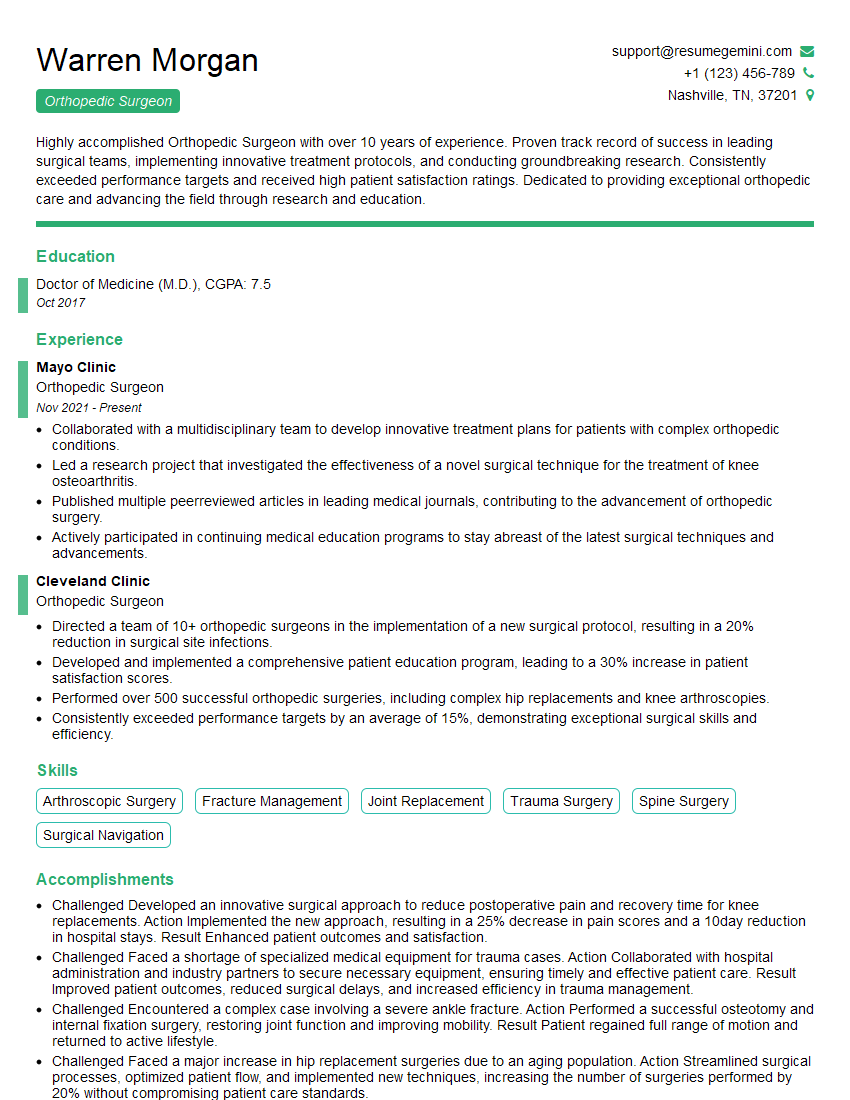
Orthopedic Surgeon Resume Sample
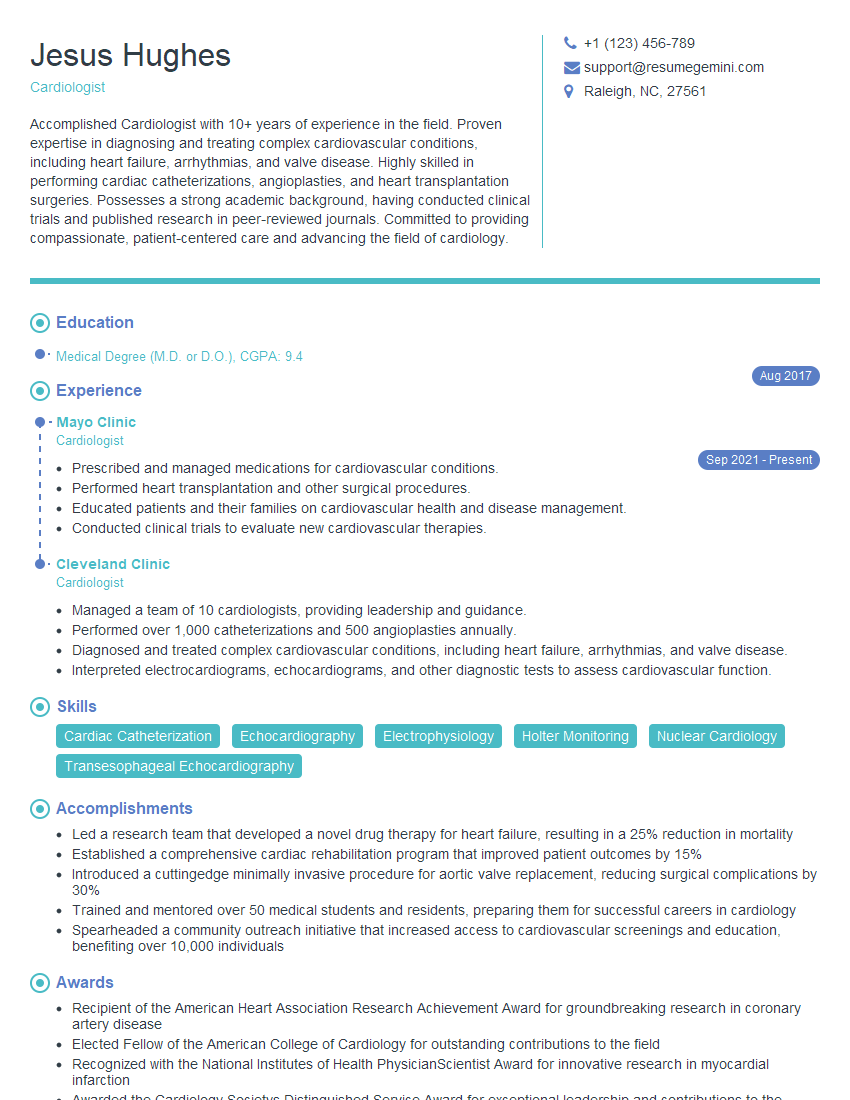
Cardiologist Resume Sample
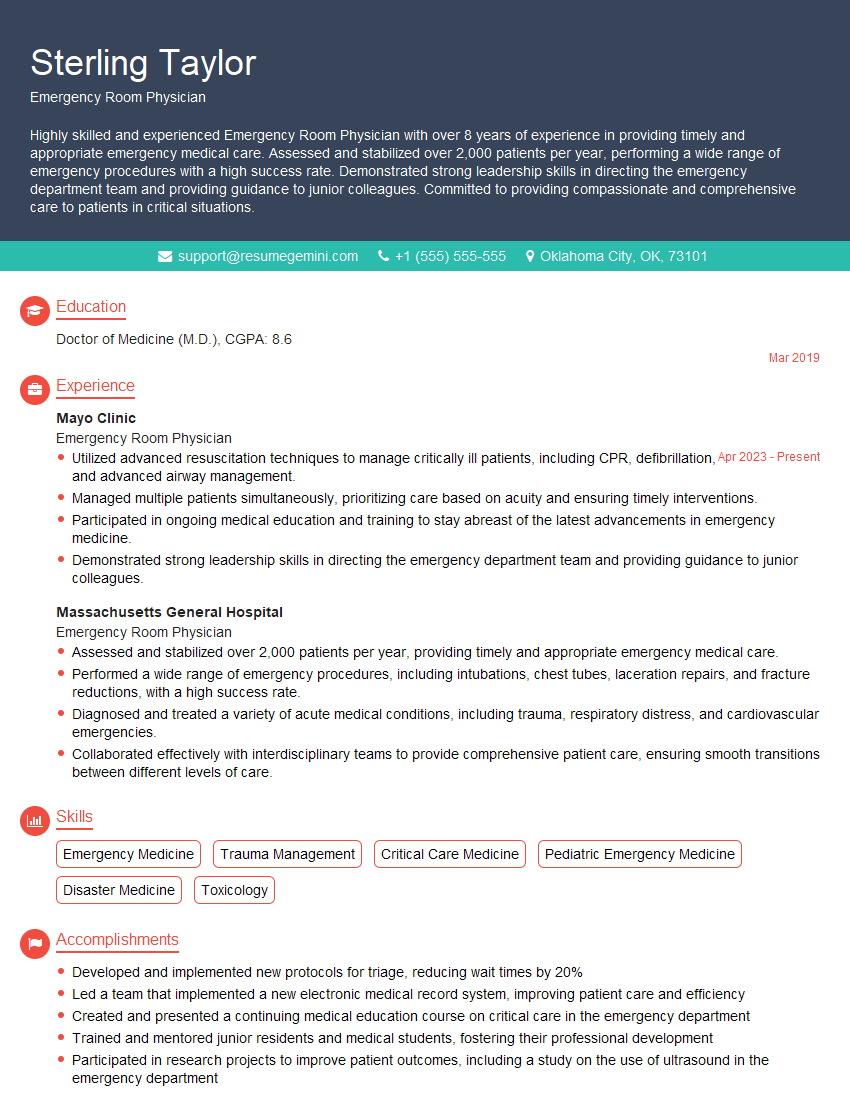
Emergency Room Physician Resume Sample
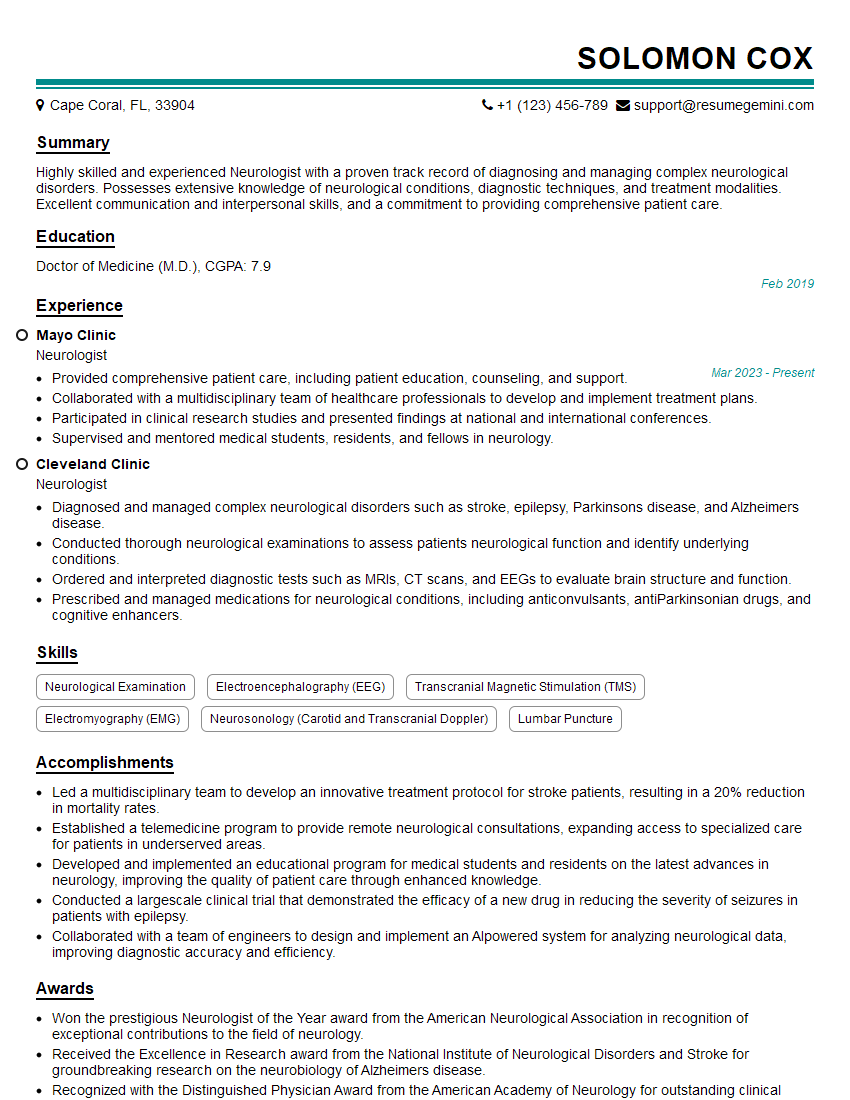
Neurologist Resume Sample
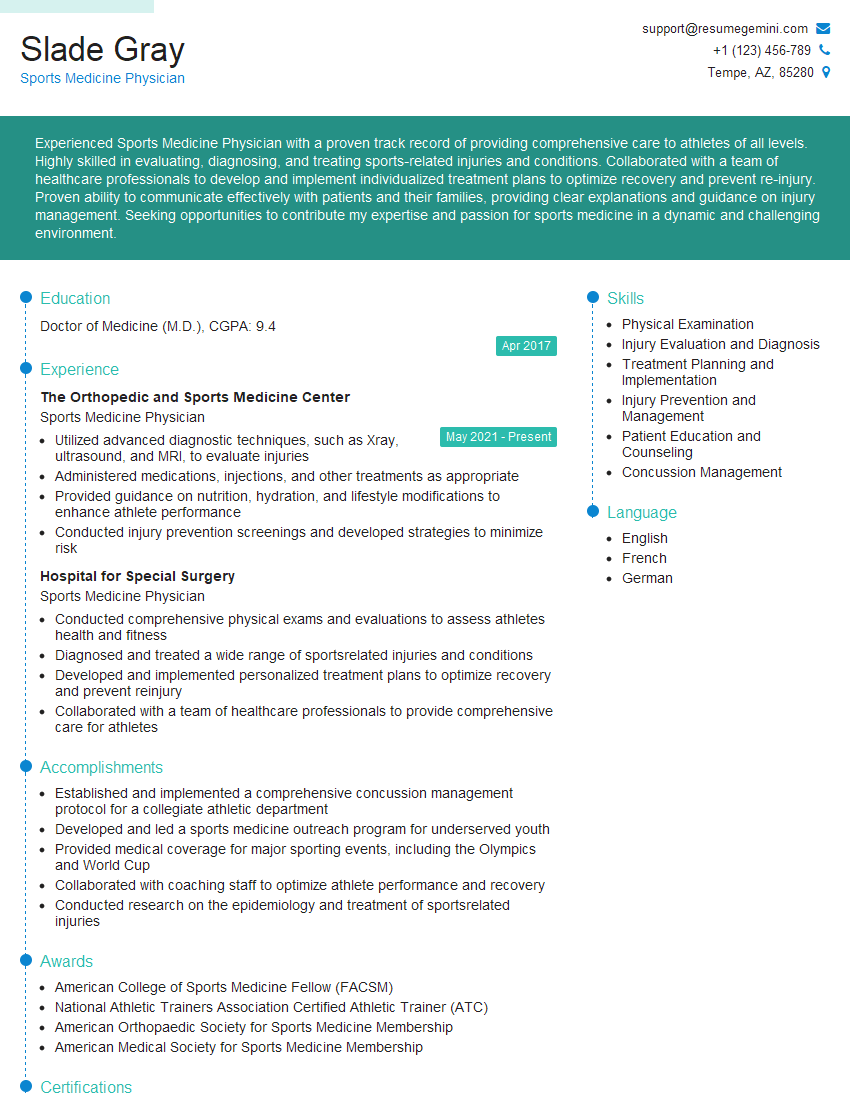
Sports Medicine Physician Resume Sample
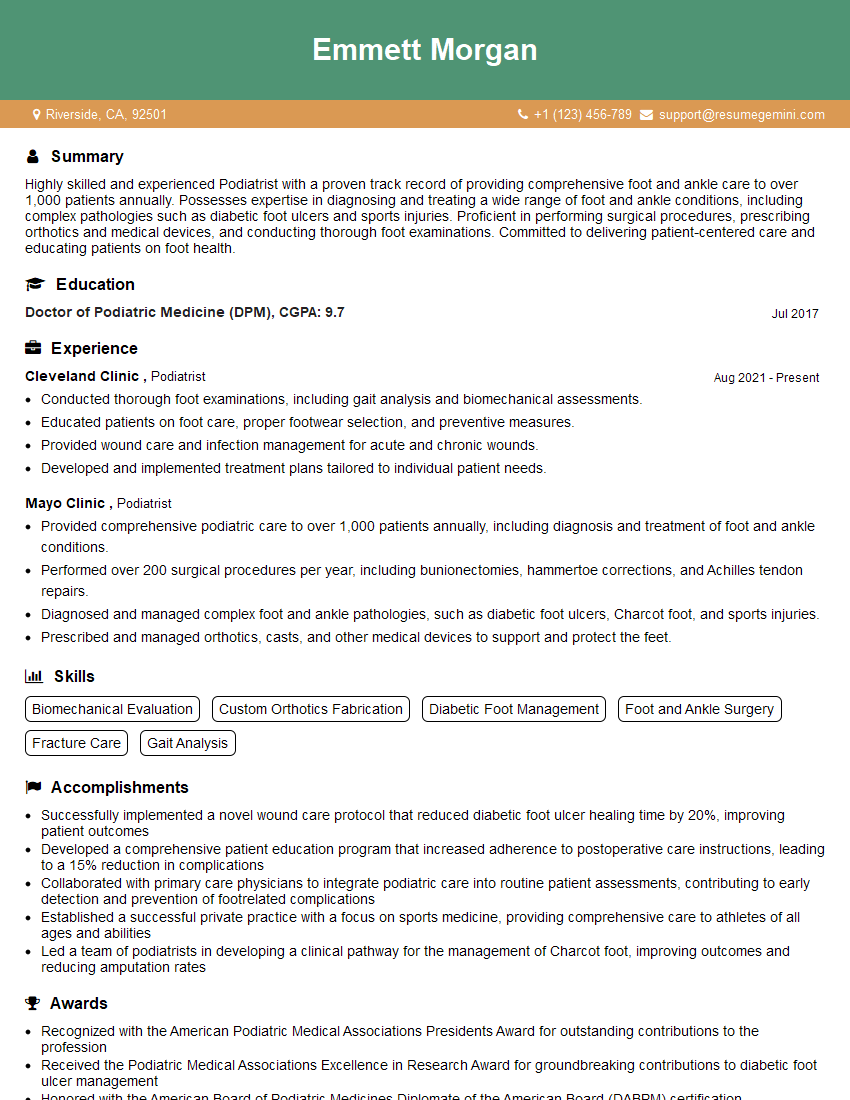
Podiatrist Resume Sample
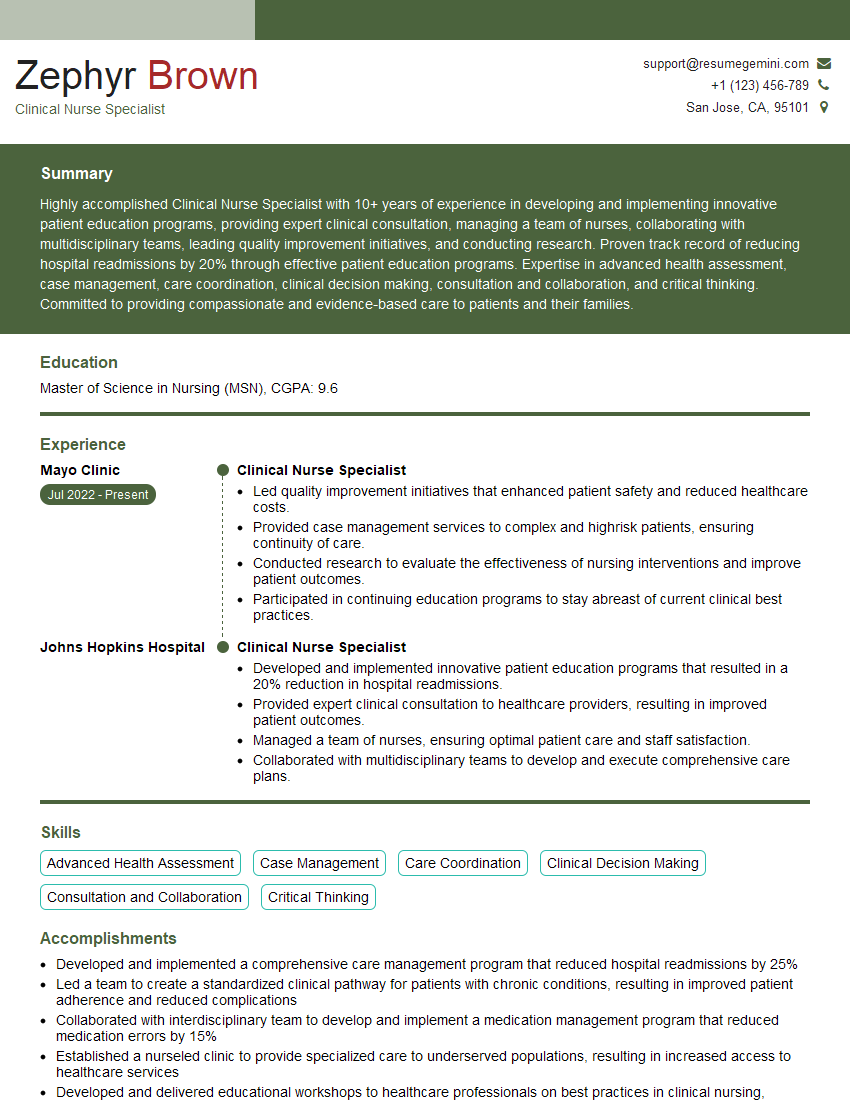
Clinical Nurse Specialist Resume Sample

Audiologist Resume Sample
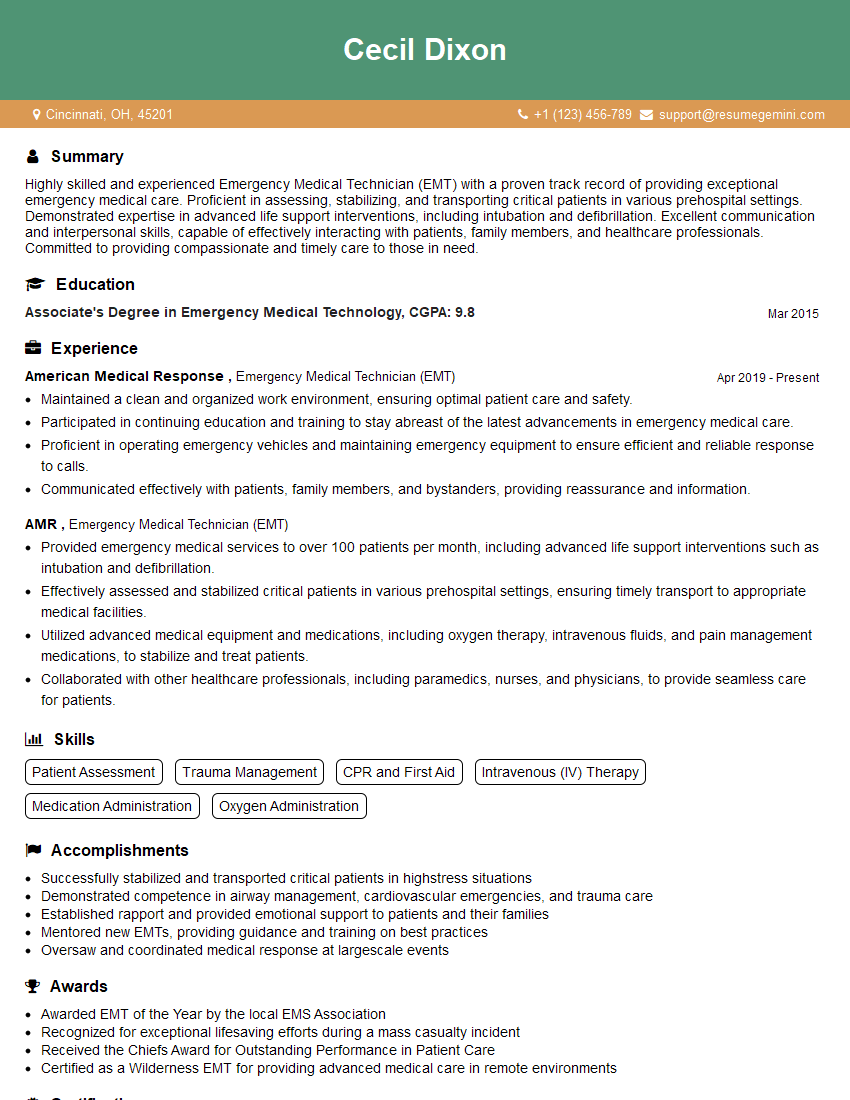
Emergency Medical Technician (EMT) Resume Sample
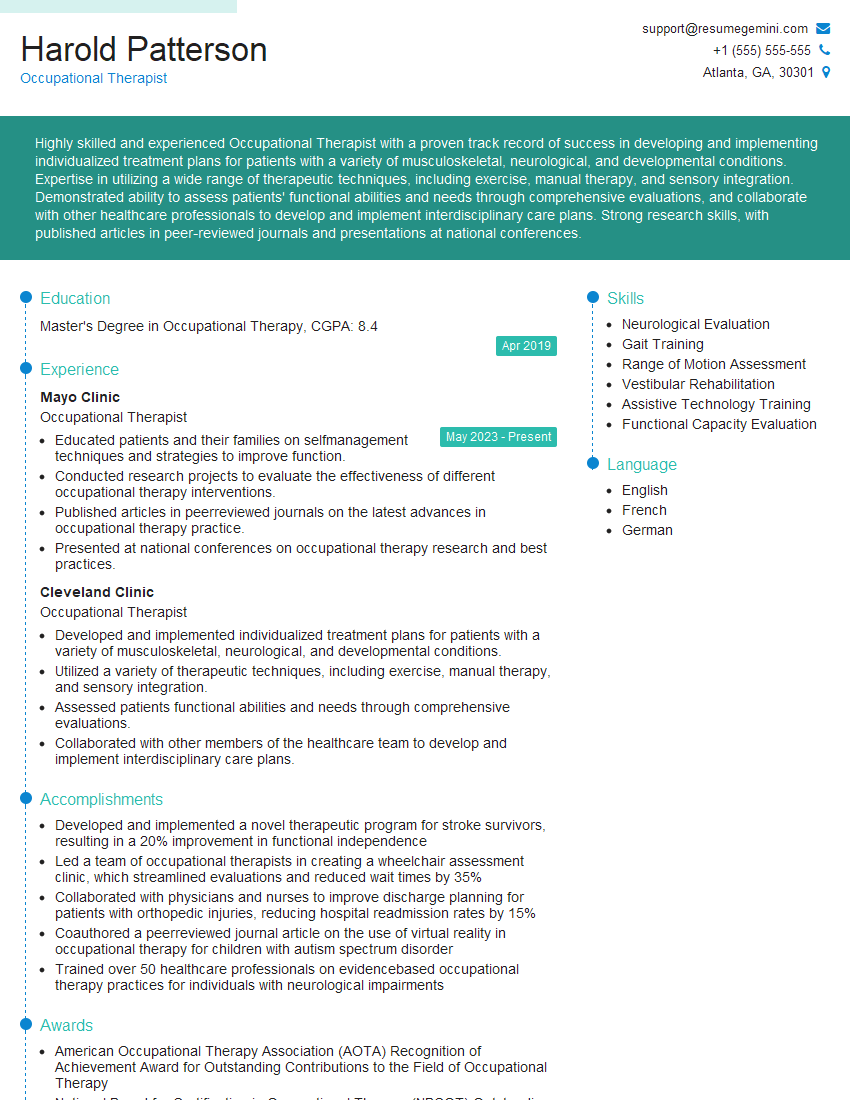
Occupational Therapist Resume Sample
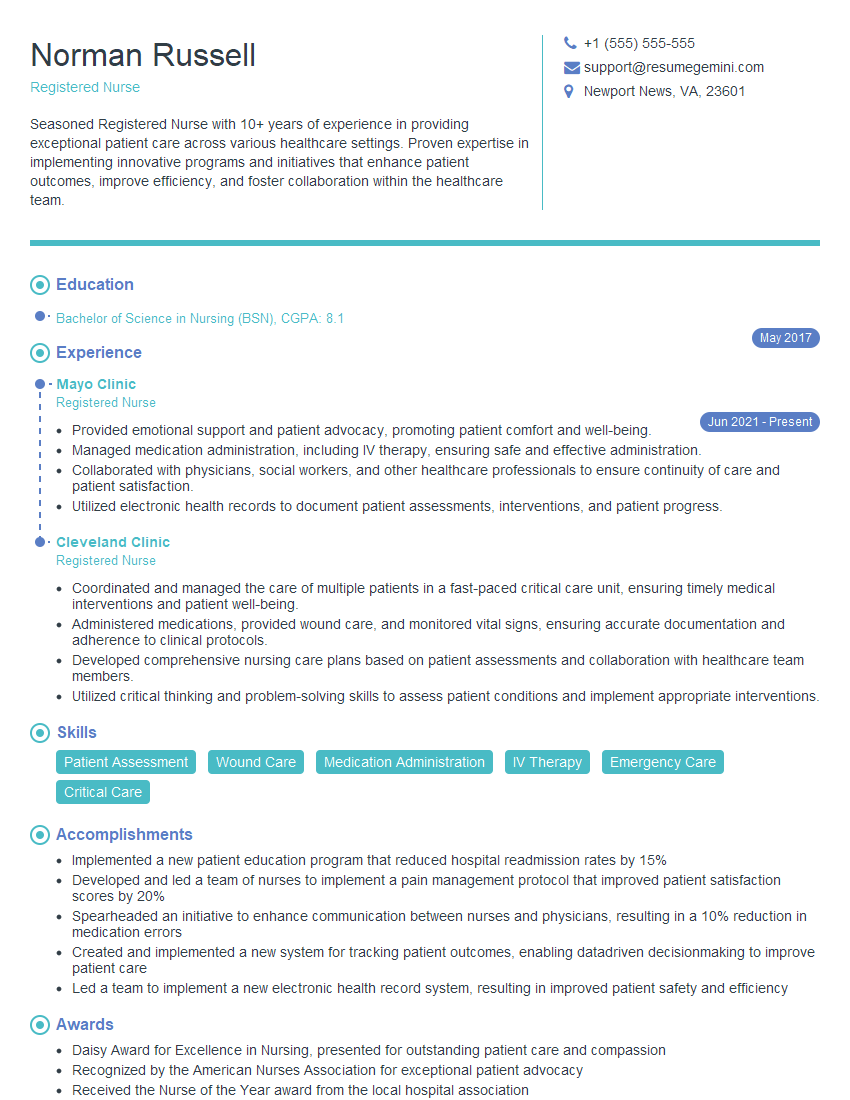
Registered Nurse Resume Sample
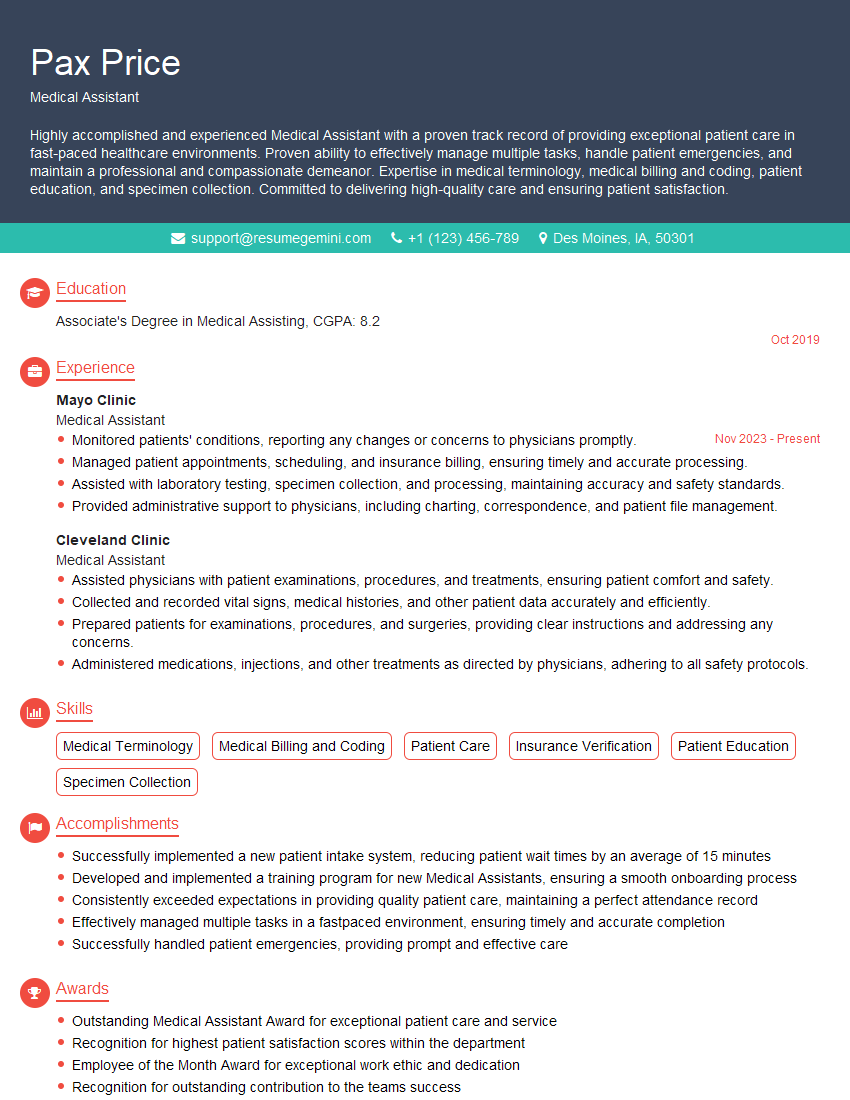
Medical Assistant Resume Sample
- Paramedic
- Medical Examiner
- Athletic Trainer
- Nurse Practitioner
- Chiropractor
- Physician
- Optometrist
- Family Medicine Physician
- Geriatrician
- Pediatrician
- Physician Assistant
- Orthopedic Surgeon
- Cardiologist
- Emergency Room Physician
- Neurologist
- Sports Medicine Physician
- Podiatrist
- Clinical Nurse Specialist
- Audiologist
- Emergency Medical Technician (EMT)
- Occupational Therapist
- Registered Nurse
- Medical Assistant
Explore more articles
Users Rating of Our Blogs
Share Your Experience
We value your feedback! Please rate our content and share your thoughts (optional).
What Readers Say About Our Blog
To the interviewgemini.com Webmaster.
Very helpful and content specific questions to help prepare me for my interview!
Thank you
To the interviewgemini.com Webmaster.
This was kind of a unique content I found around the specialized skills. Very helpful questions and good detailed answers.
Very Helpful blog, thank you Interviewgemini team.