Every successful interview starts with knowing what to expect. In this blog, we’ll take you through the top Wall Surface Preparation interview questions, breaking them down with expert tips to help you deliver impactful answers. Step into your next interview fully prepared and ready to succeed.
Questions Asked in Wall Surface Preparation Interview
Q 1. What are the different types of wall surfaces you have experience preparing?
My experience encompasses a wide range of wall surfaces, including drywall (both standard and specialized types like moisture-resistant), plaster, concrete block, brick, and even some paneling. Each material presents unique challenges and requires tailored preparation techniques. For instance, drywall is relatively smooth and easy to repair, while plaster can be more delicate and prone to cracking. Brick requires a different approach entirely, often focusing on cleaning and sealing rather than extensive repairs.
- Drywall: The most common surface, requiring patching, sanding, and priming.
- Plaster: Older homes often feature plaster walls, needing careful repair of cracks and loose sections.
- Concrete Block: Requires filling of voids and smoothing for a suitable paint surface.
- Brick: Primarily focuses on cleaning and potentially sealing to prevent moisture damage.
Q 2. Describe your experience with drywall repair and finishing.
Drywall repair and finishing is a cornerstone of my skillset. I’m proficient in patching holes of various sizes, from small nail holes to large sections requiring replacement. My process begins with careful assessment of the damage, selecting the appropriate patching compound (e.g., joint compound or drywall mud), applying it smoothly, and then meticulously sanding to achieve a seamless finish. I understand the importance of feathering the edges of patches to minimize visibility. After sanding, I prime the repaired areas to ensure proper paint adhesion. For example, I recently repaired a large hole in a client’s living room wall caused by a misplaced kick. The repair was invisible after painting.
Finishing involves applying multiple coats of joint compound, each coat requiring careful sanding to achieve a smooth, even surface ready for paint. I also have experience with taping and mudding joints between drywall sheets, ensuring a clean, professional look.
Q 3. How do you identify and address common surface imperfections like cracks, holes, and unevenness?
Identifying and addressing surface imperfections is crucial for a quality finish. I use a variety of techniques depending on the severity of the imperfection:
- Cracks: Small cracks are typically filled with caulk or patching compound, while larger cracks may require more extensive repair, potentially involving reinforcing mesh.
- Holes: Small holes are patched directly, while larger holes may require cutting out the damaged section and installing a new piece of drywall.
- Unevenness: Uneven surfaces are addressed with skim coating (applying a thin layer of joint compound) and sanding until a smooth surface is achieved. I use a variety of tools, from putty knives to sanding blocks and even specialized sanding sponges, for detailed work.
Think of it like sculpting – you’re shaping the wall to a perfect plane. I’ve worked on walls with significant damage from water leaks, requiring intricate repairs and careful attention to detail to ensure a flawless outcome. The key is patience and attention to detail.
Q 4. Explain your process for preparing a wall for painting, including priming and sealing.
Preparing a wall for painting is a multi-step process that ensures the paint adheres properly and provides a long-lasting, attractive finish. My process typically includes:
- Surface Preparation: This involves cleaning the wall to remove dirt, dust, cobwebs, and loose materials. I use a vacuum and a damp cloth, and carefully address any imperfections as described above.
- Repairing Imperfections: As outlined previously, I fill cracks, holes, and address unevenness.
- Priming: A crucial step to ensure proper paint adhesion and to create a uniform surface. I select the appropriate primer based on the wall’s material and condition (more details below).
- Sealing (if necessary): Porous surfaces like plaster may require a sealer to prevent the paint from soaking in and creating an uneven look. I might use a sealant or a primer with sealant properties.
- Final Sanding: A light sanding after priming and sealing ensures an ultra-smooth surface for painting.
This systematic approach ensures that the paint job is high-quality and lasts for years. It’s not just about the final look; it’s about building a solid foundation for the paint.
Q 5. What are the different types of primers and their applications?
Different primers serve different purposes:
- Oil-based primers: Offer excellent adhesion to a variety of surfaces, including glossy surfaces and problem areas. They also effectively seal stains and prevent bleed-through. However, they have strong fumes and require special cleanup.
- Water-based primers: Easier to clean up and have low VOCs (volatile organic compounds), making them a more environmentally friendly option. They offer good adhesion but might not be as effective at sealing stains.
- Sheen primers: Provide a smooth surface and enhance the appearance of the finish coat. A semi-gloss primer can be useful for high-traffic areas.
- Stain-blocking primers: Designed specifically to prevent stains from bleeding through the paint. Essential when dealing with water stains, smoke damage, or other stubborn blemishes.
- Specialty primers: Include primers for use on metal, wood, and other specific materials.
Selecting the right primer is crucial for a successful paint job. The wrong primer can lead to uneven color, peeling paint, or the reappearance of stains.
Q 6. What safety precautions do you take when preparing wall surfaces?
Safety is paramount in wall surface preparation. My precautions include:
- Respiratory protection: I always wear a respirator when working with dust-generating materials like drywall compound or when using primers and paints with strong fumes.
- Eye protection: Safety glasses or goggles protect my eyes from dust, debris, and chemical splashes.
- Hand protection: I wear gloves to protect my hands from irritants and chemicals.
- Proper ventilation: I work in well-ventilated areas whenever possible, or use fans to circulate air and remove dust and fumes.
- Proper disposal: I dispose of all waste materials, including paint cans and sanding dust, according to local regulations.
- Fall protection: If working at heights, I always use proper safety equipment like harnesses and scaffolding.
These precautions ensure my safety and the safety of those around me.
Q 7. How do you handle lead paint or other hazardous materials during surface preparation?
Handling lead paint or other hazardous materials requires specialized training and strict adherence to safety protocols. I am certified in lead-safe work practices and follow these guidelines:
- Testing: Before beginning any work, I test for the presence of lead paint using a lead testing kit.
- Containment: If lead paint is present, I contain the work area using plastic sheeting to prevent the spread of dust and debris.
- Personal protective equipment (PPE): I wear a respirator specifically designed for lead dust, and use appropriate protective clothing, gloves, and eye protection.
- Wet sanding: I use wet sanding techniques to minimize dust generation.
- Proper cleanup: I thoroughly clean the work area using HEPA-filtered vacuum cleaners and wet-cleaning methods.
- Waste disposal: I dispose of all contaminated materials according to regulations.
Working with hazardous materials demands the utmost caution and expertise. My priority is always to protect myself and the environment from potential harm. Improper handling can have severe health consequences.
Q 8. What tools and equipment are essential for efficient wall surface preparation?
Efficient wall surface preparation relies on a well-equipped toolbox. The essentials vary based on the project’s complexity, but generally include:
- Scrapers: Putty knives (various sizes), a flooring scraper for stubborn paint, and a wire brush for removing loose materials.
- Sanding tools: Hand sanding blocks with various grits (e.g., 80, 120, 220), a random orbital sander for larger areas (for smoother finishes), and sanding sponges for detailed work.
- Filling tools: Putty knives for applying patching compounds, a flexible filling knife for larger areas, and a caulking gun for sealing gaps.
- Cleaning tools: Dustpans and brushes, a shop vacuum for dust removal, tack cloths for final cleaning, and possibly a pressure washer for exterior cleaning.
- Measuring and marking tools: Measuring tape, pencil, and chalk line for accurate measurements and markings.
- Safety equipment: Safety glasses, dust mask (especially crucial when sanding), gloves, and possibly ear protection when using power tools.
For example, when preparing a wall with significant cracking, I’d start with a flooring scraper to remove loose paint, then use a putty knife to apply patching compound, followed by sanding for a smooth finish.
Q 9. Describe your experience with various surface textures and how you prepare them for painting.
Surface texture dramatically impacts preparation. I’ve worked with various textures, each requiring a unique approach:
- Smooth surfaces: These often require minimal preparation, focusing on cleaning and light sanding to remove minor imperfections.
- Textured surfaces (e.g., stucco, popcorn ceilings): These demand more thorough cleaning to remove loose material. Sanding might be limited to smoothing out particularly rough areas, keeping the texture intact unless a completely smooth finish is desired.
- Walls with existing wallpaper: Wallpaper removal is crucial. Depending on the wallpaper type, this might involve scoring, steaming, or using a chemical remover. Thorough cleaning follows to remove any adhesive residue.
- Rough surfaces (e.g., concrete): These often require more aggressive cleaning, potential use of a wire brush or power tools to remove flaking materials, and potentially the application of a primer to enhance adhesion.
For instance, preparing a wall with textured plaster involves careful cleaning to remove dust and loose particles before patching any holes or cracks, ensuring the texture is not compromised excessively during the process.
Q 10. How do you ensure a smooth and even surface before applying paint or other coatings?
Achieving a smooth and even surface is paramount. My strategy involves several steps:
- Thorough cleaning: Remove all loose paint, dirt, grease, and other contaminants.
- Patching: Repair all holes and cracks using appropriate patching compounds. Allow sufficient drying time before sanding.
- Sanding: Carefully sand the patched areas and the entire surface to achieve a uniform smoothness. Start with coarser grits and progressively move to finer grits.
- Priming (often necessary): Applying a primer seals the surface, improves paint adhesion, and promotes a more even finish, especially on porous surfaces or those with significant imperfections.
- Final cleaning: Remove all dust and debris using a tack cloth before applying the topcoat.
Think of it like baking a cake: You wouldn’t start frosting a cake with lumps and imperfections – the same principle applies to wall painting. A smooth, even base guarantees a professional and long-lasting finish.
Q 11. What is your experience with different types of patching compounds?
My experience encompasses various patching compounds, each suited for different needs:
- Lightweight spackling paste: Ideal for minor imperfections and small holes.
- All-purpose patching compound: Suitable for a wider range of repairs, including larger holes and cracks.
- Lightweight joint compound (mud): Frequently used for drywall repairs, providing a smooth, seamless finish after sanding.
- Epoxy-based fillers: Excellent for filling larger holes, cracks in concrete, or areas requiring extra strength and durability.
Choosing the right compound depends on the size and type of damage, the substrate material, and the desired final finish. For example, I wouldn’t use lightweight spackling paste to repair a large crack in drywall; a stronger compound is necessary for a durable repair.
Q 12. How do you determine the appropriate level of surface preparation for a given project?
Determining the appropriate level of surface preparation is crucial and depends on several factors:
- The existing condition of the wall: The more damage present (cracks, holes, loose paint), the more extensive the preparation required.
- The type of paint or coating to be applied: Some coatings have higher adhesion requirements, necessitating more thorough preparation.
- The desired final finish: A high-end finish will demand more meticulous preparation than a less demanding project.
- The budget and timeline: Balancing the cost and time constraints with the desired level of quality is crucial.
A simple repainting job might require minimal sanding and cleaning, while a complete wall renovation necessitates significant surface preparation, potentially including wallpaper removal, extensive patching, and priming.
Q 13. Describe your experience with power tools used in surface preparation.
I’m proficient in using various power tools for efficient surface preparation:
- Random orbital sander: For faster and more even sanding, especially on larger surfaces. It minimizes swirl marks compared to hand sanding.
- Angle grinder with various attachments: Useful for removing old paint, rust, or other stubborn materials. Appropriate safety measures are critical when using this tool.
- Heat gun: To soften and remove stubborn paint or wallpaper.
- Drywall sander with a vacuum attachment: Helpful for efficient dust collection while sanding drywall.
For example, I’d use a random orbital sander to smooth out a large area after applying patching compound, but switch to a hand sanding block for detailed work around edges and corners to avoid damage.
Q 14. How do you manage time and resources effectively during wall surface preparation?
Effective time and resource management is key. My approach includes:
- Detailed planning: Assessing the project scope and creating a realistic timeline helps avoid delays.
- Efficient material selection: Choosing appropriate tools and materials based on the project’s needs prevents unnecessary expenses and wasted time.
- Proper organization: Keeping tools and materials organized ensures efficient workflow and avoids searching for items.
- Prioritization: Tackling the most time-consuming tasks first can optimize overall efficiency.
- Regular cleanup: Maintaining a clean workspace improves efficiency and prevents accidents.
I always start by assessing the worst areas, prioritizing repairs and then moving on to cleaning and final prep. This staged approach maximizes efficiency and minimizes wasted effort.
Q 15. What is your experience with different types of sanding techniques?
Sanding is crucial for achieving a smooth, even surface before painting or applying other finishes. My experience encompasses various techniques, each suited to different situations and materials.
Hand sanding: This offers precise control, ideal for intricate details or smaller areas. I use various grits of sandpaper, starting coarser to remove imperfections and gradually refining with finer grits for a smooth finish. Think of it like sculpting – you start with rough shaping and then refine the details.
Power sanding (orbital sanders, belt sanders): These are much faster for large, flat surfaces. Orbital sanders are great for preventing swirl marks, while belt sanders are more aggressive for removing heavy coatings. Selecting the right grit and speed is key to avoid damaging the substrate.
Specialized sanding: For specific materials like plaster or metal, I utilize specialized techniques and tools. For example, I might use a drywall sander with a vacuum attachment for dustless sanding of drywall.
Proper sanding technique involves consistent pressure, overlapping strokes, and frequent sandpaper changes to maintain sharpness. Ignoring these can lead to uneven surfaces or damage to the substrate.
Career Expert Tips:
- Ace those interviews! Prepare effectively by reviewing the Top 50 Most Common Interview Questions on ResumeGemini.
- Navigate your job search with confidence! Explore a wide range of Career Tips on ResumeGemini. Learn about common challenges and recommendations to overcome them.
- Craft the perfect resume! Master the Art of Resume Writing with ResumeGemini’s guide. Showcase your unique qualifications and achievements effectively.
- Don’t miss out on holiday savings! Build your dream resume with ResumeGemini’s ATS optimized templates.
Q 16. How do you handle unexpected issues or challenges during a surface preparation project?
Unexpected issues are part of the job. My approach centers on problem identification, assessment, and a tailored solution. For example, if I discover excessive moisture behind a wall during preparation, I wouldn’t just proceed. I’d first assess the source of the moisture (leaky pipes, inadequate ventilation) and work with other specialists like plumbers or HVAC technicians to address the root cause before continuing any surface work. This prevents costly rework later.
Another example: If I encounter unexpected damage (like old lead paint), I follow strict safety protocols, employ appropriate PPE, and notify the client immediately. I then modify the project plan, sometimes engaging specialists in lead abatement.
Essentially, my response involves open communication, careful assessment, and a willingness to adapt the plan to maintain project quality and safety.
Q 17. How do you clean and maintain your tools and equipment?
Maintaining clean tools ensures optimal performance and prolongs their lifespan. After each use, I meticulously clean all equipment. This involves removing all debris, dust, and paint using appropriate solvents and brushes.
Sandpapers: Discarded after use.
Power tools: I thoroughly clean them, lubricate moving parts as needed, and store them in a dry, protected place. This prevents rust and corrosion.
Hand tools: Cleaned, sharpened if necessary, and stored to prevent damage.
Regular maintenance ensures my tools are always ready for the next job, maximizing efficiency and minimizing downtime. A well-maintained tool is a safe tool.
Q 18. What is your experience with moisture mitigation in wall preparation?
Moisture is a significant enemy in wall preparation. It can lead to mold growth, paint peeling, and structural damage. My approach to moisture mitigation is multi-faceted.
Identify the source: This often involves inspecting for leaks, cracks, or poor ventilation. Sometimes, it requires using moisture meters to assess the extent of moisture penetration.
Address the source: This might involve repairing leaks, improving ventilation, or using dehumidifiers to lower the moisture level. I always collaborate with other trades (plumbers, HVAC technicians) when necessary.
Use appropriate materials: Once moisture is addressed, I use primers and paints formulated to handle moisture-prone areas to prevent future problems. This includes using mold-resistant primers and paints where appropriate.
Ensure proper drying: After any moisture remediation, I ensure the wall is completely dry before proceeding with surface preparation. This often involves using fans or dehumidifiers.
Failing to address moisture can lead to serious and expensive problems down the line, so thoroughness is crucial.
Q 19. What are some common mistakes to avoid during wall surface preparation?
Several common mistakes can undermine the quality of wall surface preparation. Here are some key ones to avoid:
Skipping proper cleaning: Failing to thoroughly clean the surface before sanding or priming will trap dirt and debris, impacting adhesion and the final finish.
Improper sanding: Using the wrong grit, applying too much pressure, or not changing sandpaper frequently results in an uneven surface or damage to the substrate.
Insufficient priming: Priming is essential for adhesion. Skipping it or applying it inadequately will result in poor paint adherence and peeling.
Ignoring moisture issues: Painting over damp walls is a recipe for disaster. Always address moisture problems before proceeding.
Rushing the process: Proper surface preparation requires time and attention to detail. Cutting corners leads to inferior results.
Avoid these mistakes by following best practices, using the right tools, and taking your time.
Q 20. How do you ensure the quality of your work meets industry standards?
Quality assurance is paramount. I ensure my work adheres to industry standards and client specifications through several key steps:
Careful planning and preparation: A well-defined plan ensures all necessary steps are addressed.
Adherence to specifications: I always follow the project specifications meticulously, paying close attention to detail.
Regular quality checks: Throughout the process, I perform regular inspections to identify and address potential issues promptly.
Use of high-quality materials: I employ only top-tier materials to guarantee durability and long-lasting results.
Thorough cleaning and finishing: A pristine finish reflects professionalism and commitment to quality.
By following these steps and staying up-to-date on industry best practices, I ensure that the final product exceeds expectations.
Q 21. Explain your understanding of surface adhesion and its importance in wall preparation.
Surface adhesion refers to the ability of a coating (paint, wallpaper, etc.) to bond properly to the substrate (wall). It’s absolutely critical in wall preparation because poor adhesion leads to peeling, cracking, and premature failure of the finish.
Factors affecting adhesion include:
Surface cleanliness: A clean, dust-free surface ensures proper contact between the coating and the substrate.
Surface profile: A slightly rough surface offers better mechanical bonding than a perfectly smooth one.
Substrate condition: Moisture, cracks, or loose material will impair adhesion.
Primer selection: The right primer creates a compatible surface for the topcoat and enhances adhesion.
Temperature and humidity: Extreme temperatures or high humidity can negatively affect adhesion.
By addressing these factors through proper cleaning, sanding, priming, and careful consideration of environmental conditions, I ensure strong adhesion and a lasting, high-quality finish. Think of it like using glue – you need a clean, dry surface for the glue to adhere properly.
Q 22. What is your experience with different types of wall coverings (wallpaper, etc.) and their preparation requirements?
My experience with various wall coverings is extensive, encompassing everything from traditional wallpapers to modern textured materials and even specialized surfaces like fabric wall coverings. Preparation heavily depends on the chosen material and the existing wall condition. For instance, wallpaper requires a smooth, clean, and primed surface. Any imperfections, like cracks or unevenness, will show through the paper. I meticulously inspect the wall, repairing cracks with appropriate fillers and sanding smooth before applying a sizing primer to ensure the adhesive bonds properly and the wallpaper hangs evenly.
With heavier fabrics or textured wall coverings, I might need to add extra layers of primer to build a robust surface and ensure the weight of the material doesn’t cause damage. Removing old wallpaper is another critical aspect; I employ various techniques like steaming or scoring depending on the type of adhesive and the wallpaper’s construction. Before applying new coverings, I always thoroughly clean the wall to eliminate any dust, grease, or remnants of old coatings, ensuring a clean foundation for the new material.
Q 23. How do you communicate effectively with clients and other tradespeople during a project?
Effective communication is paramount in my work. With clients, I prioritize clear and concise explanations of the process, addressing their concerns and expectations upfront. I use visual aids like photos and samples to showcase options and potential outcomes. Regular updates, both verbal and written (often via email or text messages with progress photos), keep everyone informed. With other tradespeople, collaboration is key. I maintain open lines of communication, ensuring schedules are coordinated to avoid conflicts. For example, I might coordinate with painters to schedule our work strategically, ensuring the wall preparation is completed before painting commences to maximize efficiency.
Q 24. Describe a time you had to troubleshoot a problem during wall surface preparation.
During a recent project, we encountered significant water damage behind a section of drywall. The initial plan was simply to prepare the surface for painting, but upon closer inspection, I discovered bubbling paint and a damp patch. This could have led to mold growth and further damage if ignored. Instead of proceeding with the surface preparation, I immediately informed the client and project manager, recommending a thorough inspection by a specialist to assess the extent of the water damage. This resulted in uncovering a leaky pipe which was subsequently repaired before any further work was carried out, preventing potential costly future problems.
Q 25. How do you stay updated on the latest techniques and technologies in wall surface preparation?
Staying updated in this field is crucial. I regularly attend industry workshops and conferences, participating in professional development courses. I subscribe to relevant trade publications and online forums, and I actively seek out training opportunities provided by manufacturers of surface preparation materials and tools. This keeps me informed about advancements in materials, techniques, and health and safety regulations. Moreover, I actively network with other professionals within the field, learning from their experiences and best practices.
Q 26. What are your salary expectations for this position?
My salary expectations are commensurate with my experience and skill set in this specialized area of construction. I am confident that my contributions will provide significant value to your company, and I am open to discussing a competitive compensation package that reflects this.
Q 27. What are your strengths and weaknesses related to wall surface preparation?
One of my greatest strengths is my meticulous attention to detail. Thorough preparation is crucial for a successful outcome; I never cut corners. I also possess strong problem-solving skills, as demonstrated in my previous example. A potential area for development is delegating tasks more effectively. While I enjoy hands-on work, I understand that prioritizing and assigning responsibilities appropriately improves team efficiency. I am actively working on improving this aspect of my work by taking on leadership roles in smaller projects.
Q 28. Why are you interested in this specific wall surface preparation position?
I’m highly interested in this position due to your company’s reputation for high-quality workmanship and commitment to client satisfaction. The opportunity to contribute my expertise to a team that shares my values is very appealing. Furthermore, I am excited by the potential to work on challenging and varied projects, continuing my professional development within a supportive and growth-oriented environment.
Key Topics to Learn for Wall Surface Preparation Interview
- Surface Evaluation and Assessment: Understanding different wall types (plaster, drywall, concrete, etc.), identifying surface imperfections (cracks, holes, stains), and determining the appropriate preparation methods based on the substrate and desired finish.
- Surface Cleaning and Repair: Mastering techniques for cleaning surfaces (dust, debris, mildew removal), repairing cracks and holes using appropriate patching compounds, and ensuring a smooth, even surface for optimal paint adhesion.
- Priming Techniques: Knowing the purpose of primers (sealing, adhesion, stain blocking), selecting the right primer type for various substrates and conditions (alkaline, porous, stained surfaces), and applying primers correctly to achieve optimal results.
- Moisture Management: Understanding the impact of moisture on wall surfaces, identifying signs of moisture damage (blisters, peeling paint), and employing appropriate techniques to address moisture problems before surface preparation begins. This includes knowledge of vapor barriers and proper ventilation.
- Safety Procedures and Regulations: Familiarity with relevant safety protocols (PPE, handling hazardous materials), complying with industry standards and regulations, and maintaining a safe work environment.
- Practical Application: Demonstrating hands-on experience with various tools and techniques, including scraping, sanding, filling, and priming. Be prepared to discuss your problem-solving abilities in dealing with challenging surface conditions.
- Material Selection: Understanding the properties of different patching compounds, primers, and sealants, and knowing how to choose the appropriate materials for specific projects.
- Troubleshooting: Be prepared to discuss common issues encountered during wall surface preparation and your approaches to resolving them (e.g., dealing with stubborn stains, repairing significant damage).
Next Steps
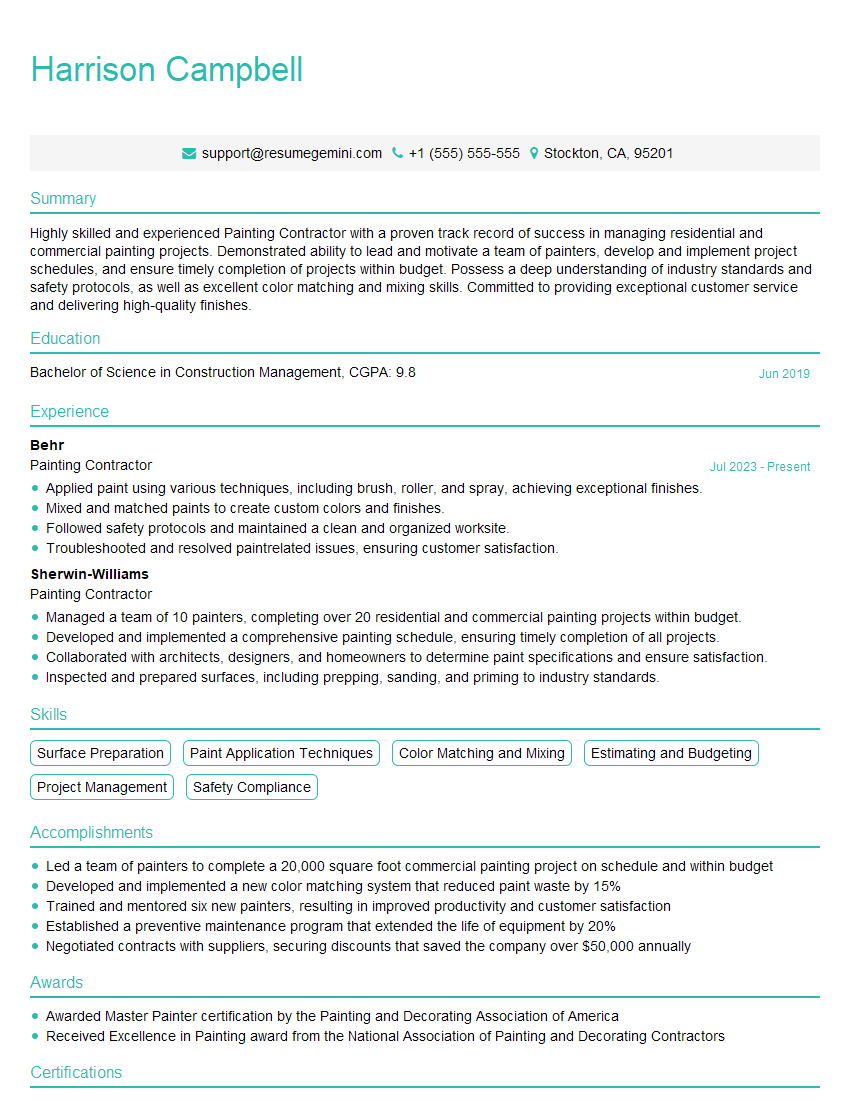
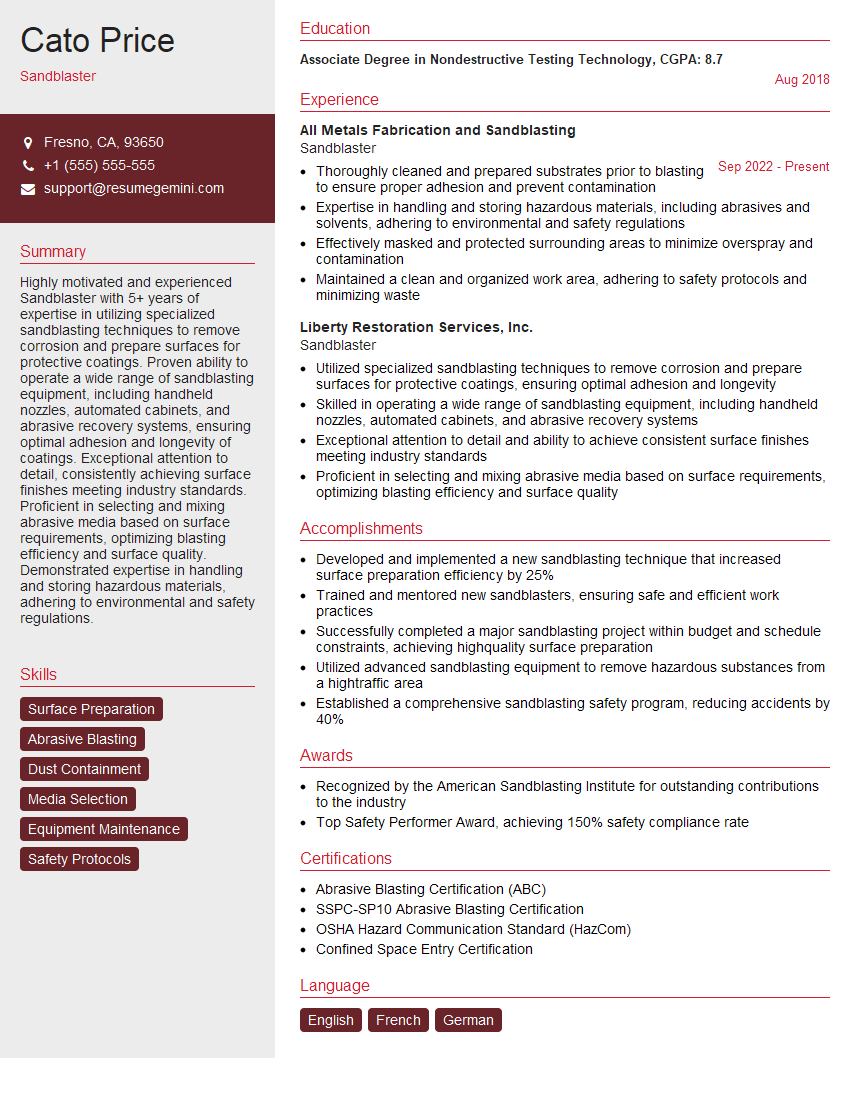
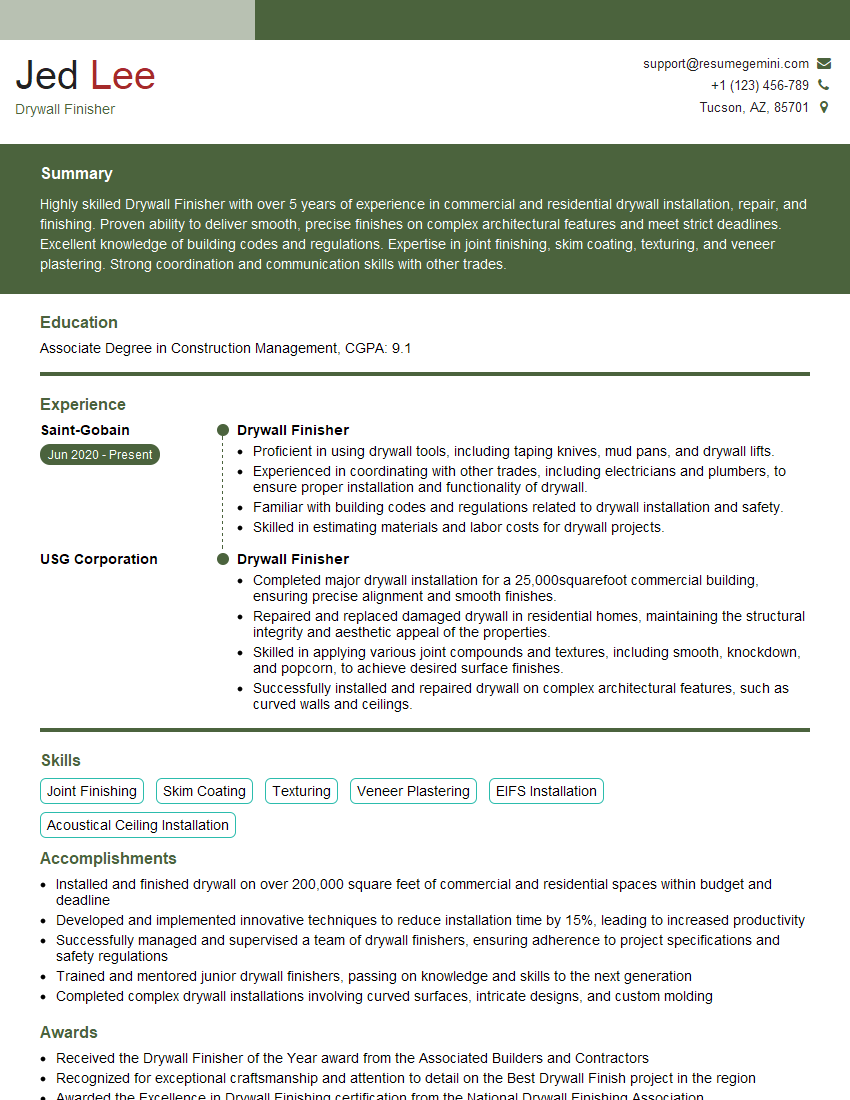
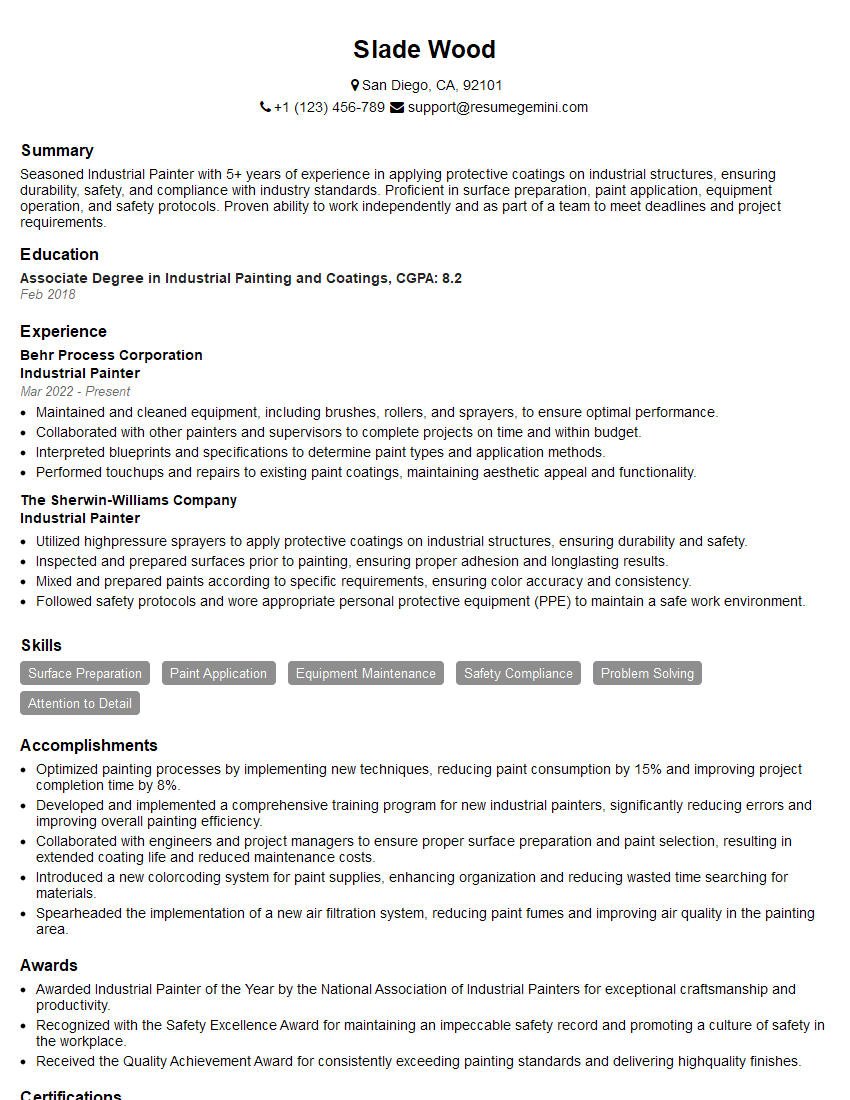
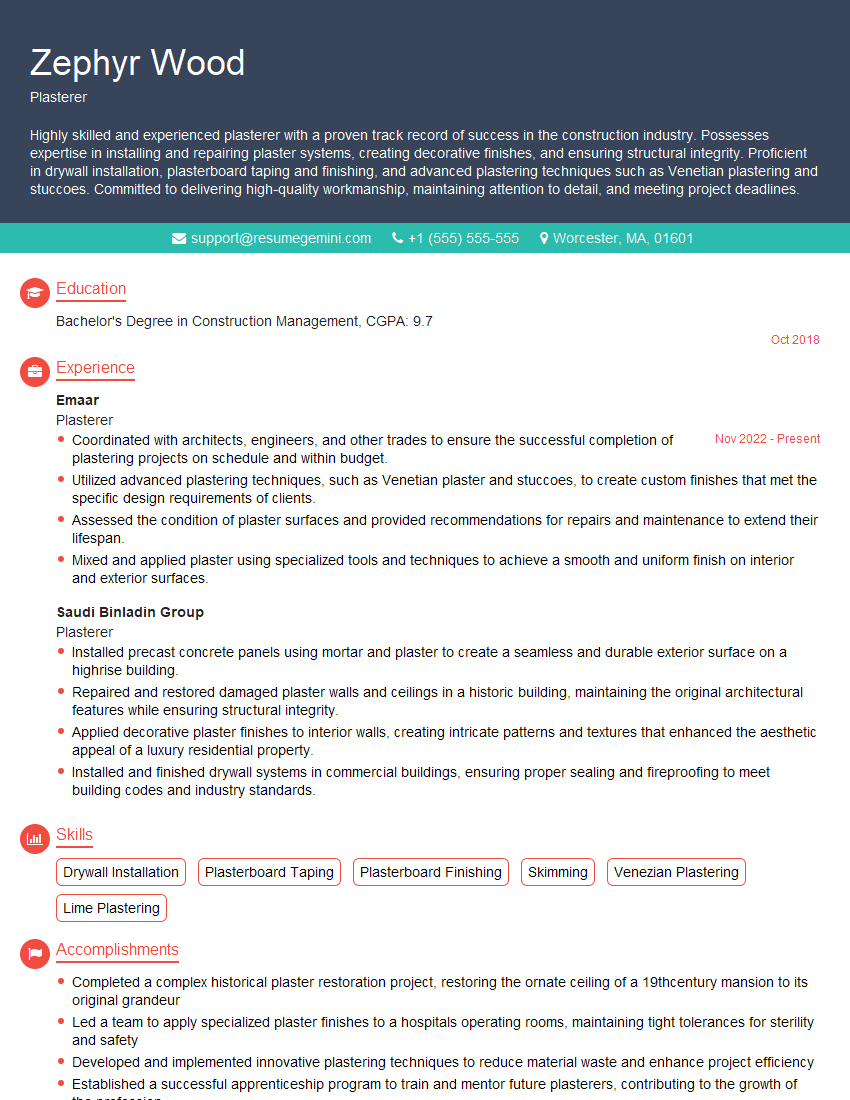
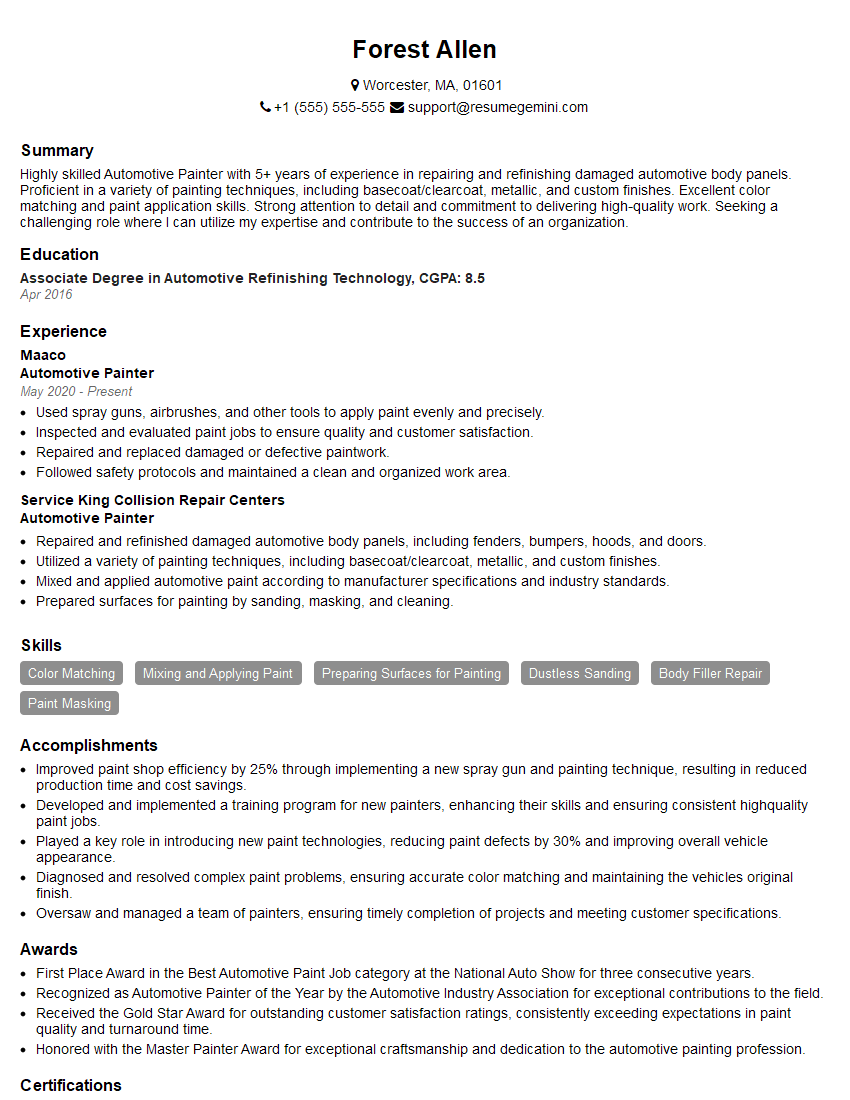
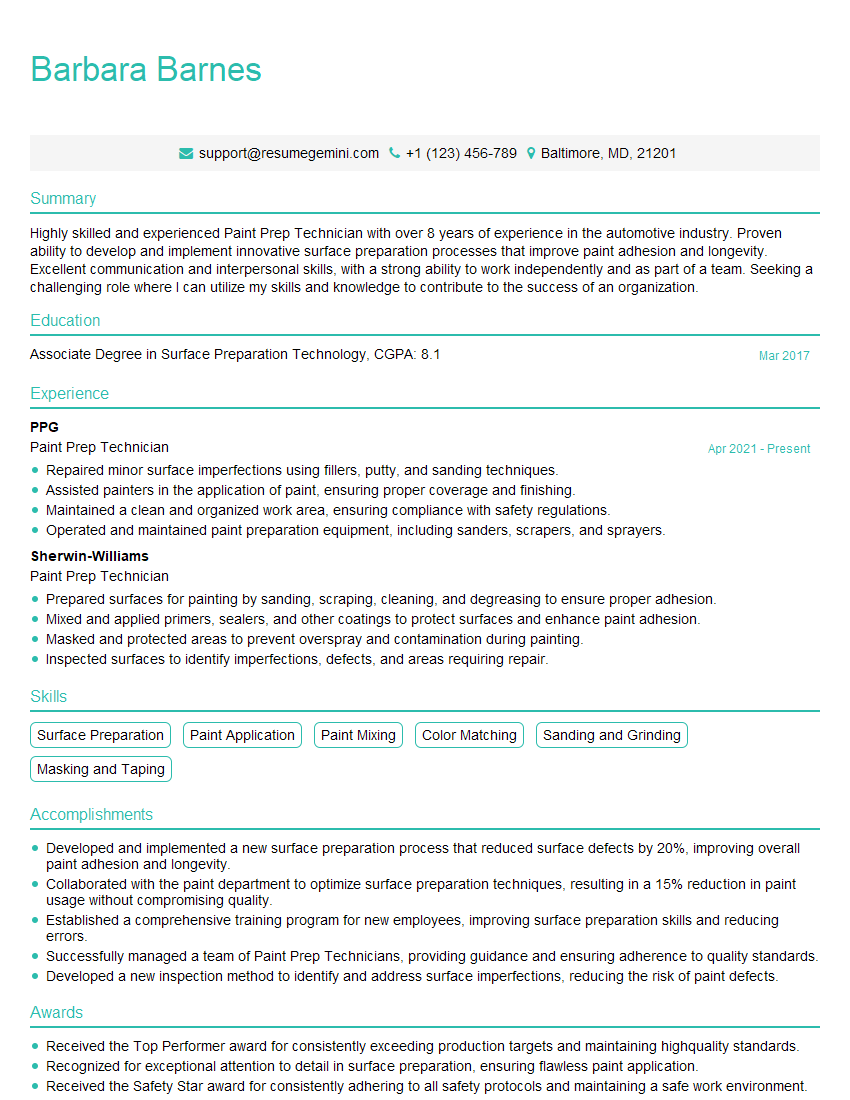
Mastering wall surface preparation is crucial for career advancement in the construction and finishing industries. A strong understanding of these techniques demonstrates your technical skills and commitment to quality workmanship, leading to greater job opportunities and higher earning potential. To maximize your chances of landing your dream role, create an ATS-friendly resume that highlights your expertise. ResumeGemini is a trusted resource to help you build a professional and impactful resume. We offer examples of resumes tailored specifically to Wall Surface Preparation to help you get started.
Explore more articles
Users Rating of Our Blogs
Share Your Experience
We value your feedback! Please rate our content and share your thoughts (optional).
What Readers Say About Our Blog
To the interviewgemini.com Webmaster.
Very helpful and content specific questions to help prepare me for my interview!
Thank you
To the interviewgemini.com Webmaster.
This was kind of a unique content I found around the specialized skills. Very helpful questions and good detailed answers.
Very Helpful blog, thank you Interviewgemini team.