Feeling uncertain about what to expect in your upcoming interview? We’ve got you covered! This blog highlights the most important Texturing and Painting interview questions and provides actionable advice to help you stand out as the ideal candidate. Let’s pave the way for your success.
Questions Asked in Texturing and Painting Interview
Q 1. Explain your experience with different texturing workflows.
My texturing workflow adapts to the project’s needs, but generally follows a layered approach. I start with a base color map, often painted in Photoshop or Substance Painter, establishing the overall hue and saturation. This is then augmented with other maps to add detail and realism. For example, I might add a normal map for surface detail (bumps and grooves), a roughness map to control reflectivity, a metallic map to indicate metallicity, and an ambient occlusion map to enhance shadows in crevices. For stylized textures, I might prioritize simplicity, focusing on a few key maps with strong contrast. In photorealistic projects, however, I’ll leverage techniques like displacement mapping for finer geometric detail. For complex projects, I utilize Substance Designer for procedural generation, allowing for greater control and efficient iteration on complex patterns and materials.
For instance, on a recent project involving a weathered stone wall, I started with a hand-painted base color in Photoshop, then used Substance Designer to procedurally generate the crack patterns and variations in the stone texture. This was augmented with a normal map and a roughness map to accurately simulate the physical properties of the stone.
Q 2. Describe your process for creating realistic skin textures.
Creating realistic skin textures is a complex process requiring attention to detail. I typically begin with high-resolution photographs of skin as reference material, focusing on the subtle variations in color, texture, and subsurface scattering. My process involves several steps:
- Base Color: I create a base color map with accurate skin tone variations, incorporating subsurface scattering effects to simulate the translucency of skin.
- Normal Map: A high-resolution normal map captures the fine details of pores, wrinkles, and other surface irregularities. I often use specialized software like ZBrush to sculpt these details and then bake them into a normal map.
- Roughness Map: This map controls how rough or smooth the skin appears, affecting reflectivity. Areas like the nose and forehead are usually rougher than others.
- Specular Map: This controls the highlights on the skin, reflecting the light source. It’s crucial for capturing realistic shine and wetness.
- Subsurface Scattering: I utilize subsurface scattering techniques to simulate the way light penetrates the skin and scatters beneath the surface, creating a more realistic and less ‘plastic’ look. This often involves dedicated shaders in the game engine or rendering software.
Blending these maps carefully is crucial. I often use layer masks and adjustment layers in Photoshop for fine control during compositing. The final result should appear natural and avoid any artificial or overly smooth look.
Q 3. How do you optimize textures for real-time rendering?
Optimizing textures for real-time rendering demands careful consideration of texture size, format, and compression. The goal is to maintain visual fidelity while minimizing the memory footprint and draw calls. Key strategies include:
- Reduce Texture Resolution: Use the lowest resolution that still provides acceptable visual quality. Often, a power of two (e.g., 256×256, 512×512, 1024×1024) is preferable.
- Efficient Texture Formats: Use compressed formats like DXT, BCn, or ASTC, which significantly reduce file size without considerable loss of quality. The specific format depends on the target platform and hardware capabilities.
- Mipmapping: Always use mipmaps to provide different resolutions of the same texture, improving performance when rendering at varying distances.
- Texture Atlasing: Combine multiple smaller textures into a single, larger texture to minimize draw calls. This reduces the overhead associated with switching between different textures.
- Normal Map Compression: Use specialized compression techniques designed for normal maps to avoid artifacts and preserve detail.
I regularly use tools like Texture Packer to create atlases and analyze texture memory usage. Profiling the application is essential to identify bottlenecks and optimize accordingly. For example, reducing the resolution of a detailed normal map by just 25% can significantly improve performance without a major visual difference.
Q 4. What are your preferred texturing software packages and why?
My preferred software packages are Substance Painter, Substance Designer, and Photoshop. Substance Painter excels in painting textures onto 3D models, providing a powerful and intuitive workflow for creating detailed and realistic surface textures. Substance Designer is invaluable for procedural texture generation, allowing the creation of complex and reusable material templates. Photoshop remains a cornerstone for image manipulation, color correction, and advanced compositing techniques. I frequently switch between these packages, leveraging the strengths of each for a complete and efficient texturing pipeline.
For example, I might use Substance Designer to create a base procedural wood texture, then refine and detail it in Substance Painter before final adjustments in Photoshop for color grading and subtle details. This integrated workflow allows for maximum flexibility and creative control.
Q 5. Explain your understanding of UV unwrapping and its importance.
UV unwrapping is the process of projecting a 3D model’s surface onto a 2D plane, creating a flattened representation of the model’s geometry. This allows us to paint and apply textures to the model seamlessly. The importance of UV unwrapping lies in its ability to maintain texture proportions and avoid distortions. Poor UV unwrapping can result in stretched, squashed, or distorted textures, compromising the visual quality of the final result.
Imagine trying to wrap a piece of paper around a sphere – you’ll inevitably get creases and distortions. UV unwrapping aims to minimize these distortions. I use various techniques depending on the model’s complexity, striving for even texture distribution and minimal distortion. Tools like UVLayout or Blender’s UV editor are essential for creating efficient and well-organized UV maps.
Q 6. How do you handle normal maps, specular maps, and other texture types?
Normal maps, specular maps, and other texture types work together to create a realistic representation of a surface. Normal maps provide surface detail without increasing polygon count, simulating bumps and grooves. Specular maps control the reflective properties of a surface, influencing the highlights. Other common texture types include:
- Roughness Map: Controls the surface roughness, impacting the way light scatters.
- Ambient Occlusion Map: Simulates shadows in crevices and folds.
- Metallic Map: Defines areas that exhibit metallic properties.
- Displacement Map: Similar to normal maps, but actually displaces geometry, offering higher fidelity but higher performance cost.
I handle these maps by layering them in my chosen software, paying careful attention to their interaction. For instance, the specular map’s influence is often modified by the roughness map – rougher surfaces have less defined specular highlights. Careful blending and adjustments are necessary to achieve a cohesive and visually convincing result.
Q 7. Describe your experience with procedural texturing.
Procedural texturing involves creating textures using algorithms and mathematical functions rather than hand-painting. This allows for the generation of highly complex and detailed textures with a high degree of control and reusability. Substance Designer is a prime example of software that facilitates procedural texturing. This is particularly useful for creating repetitive patterns (like brick or wood), seamlessly tiling textures, and generating variations on a base texture.
I often use procedural techniques to create base textures which are then refined with hand-painted details in Substance Painter or Photoshop. This hybrid approach combines the efficiency and control of procedural generation with the artistic flexibility of manual painting. For example, I might procedurally generate a marble texture in Substance Designer, then hand-paint veins and variations to add realism and uniqueness.
Q 8. How do you create seamless textures?
Creating seamless textures is crucial for avoiding visible repetition when applied to 3D models. Think of it like wallpaper – you wouldn’t want obvious seams showing where the patterns meet! The key is to ensure the edges of your texture image perfectly match, creating a continuous loop. This is achieved primarily through two methods:
Procedural Generation: This involves using algorithms and mathematical functions to create textures. These algorithms inherently generate seamless patterns because they’re based on mathematical formulas that repeat predictably and smoothly. Think of noise functions like Perlin noise or Simplex noise, often used to create natural-looking textures like wood or marble. These methods are highly versatile and offer great control over the final result.
Manual Stitching/Tileable Textures: This is a more hands-on approach, requiring careful planning and execution. When creating your source image, you need to ensure the edges align perfectly. For instance, if you’re painting a brick wall, you’d paint the right edge to match the left, and the top to match the bottom. Software like Photoshop offers tools like the ‘Offset’ filter to help check and correct edge alignment. You’ll often need to carefully paint or blend the edges to ensure a seamless transition.
The choice between procedural and manual methods depends largely on the complexity of the texture and the desired level of control. For intricate details, manual stitching might be required, while for quick iteration and natural-looking textures, procedural generation often shines.
Q 9. Explain your understanding of different texture compression techniques.
Texture compression techniques are vital for optimizing game performance and reducing file sizes. Different methods offer various trade-offs between quality and compression ratio. Here are some common ones:
DXT (DirectX Texture Compression): A widely used lossy compression method, offering a good balance between compression and visual quality. It’s particularly efficient for color textures. Various formats exist within the DXT family, offering different levels of quality and compression.
BC (Block Compression): A similar lossy compression technique, often used as an alternative to DXT, offering comparable performance.
ETC (Ericsson Texture Compression): Another lossy compression format commonly used on mobile platforms, known for its balance between compression and quality. It’s often preferred for its performance on lower-end devices.
ASTC (Adaptive Scalable Texture Compression): A relatively newer and more sophisticated lossy compression format, offering higher quality at higher compression ratios compared to older formats. It’s highly adaptable and provides greater control over the level of compression.
Lossless Compression (e.g., PNG): These methods preserve all the texture data, but they result in much larger file sizes. They’re typically reserved for textures that require the utmost fidelity, such as those used in high-fidelity rendering or print media.
The choice of compression technique depends on the target platform, performance requirements, and the acceptable level of quality loss. For example, a mobile game might prioritize ETC compression for performance, while a high-fidelity PC game might favor ASTC for better visual quality.
Q 10. Describe your approach to creating believable material properties.
Creating believable material properties requires a deep understanding of physics and how light interacts with different surfaces. It’s not just about applying a color; it’s about simulating the way a material reflects, refracts, and scatters light. I approach this by considering several key properties:
Albedo: This represents the base color of the material, independent of lighting. It’s the color the material would appear under uniform illumination.
Roughness/Smoothness: This determines how diffuse or specular the reflection is. A rough surface will have a more diffuse reflection, while a smooth surface will have a sharper, more mirror-like specular highlight.
Metallic: This indicates the metallic content of the material. Metallic surfaces have a distinct specular reflection that’s influenced by the Fresnel effect (the change in reflectivity based on the viewing angle).
Normal Map: This texture adds surface details without increasing polygon count, simulating bumps and indentations. It affects how light interacts with the surface, making it appear more realistic.
Ambient Occlusion (AO): This simulates the darkening effect in crevices and shadowed areas due to the lack of indirect light, adding subtle realism to the overall model.
For example, when creating a rusted metal texture, I would use a dark, reddish-brown albedo, a high metallic value, a relatively high roughness value (to simulate the uneven surface of rust), and a normal map to add the fine details of rust and pitting. This combination of properties would result in a believable and visually convincing representation of rusted metal.
Q 11. How do you address issues like tiling artifacts in textures?
Tiling artifacts, those noticeable repetitions or seams in textures, are a common problem. Several strategies can mitigate or eliminate them:
Blending Modes: Using overlay or soft light blending modes can help soften the transitions between tiles, making the seams less visible. This works particularly well for subtle textures.
Noise: Adding subtle noise to the texture can help mask the repetitive patterns, making the overall texture appear more organic and less uniform.
Offsetting Tiles: Slightly offsetting adjacent tiles can help break up the repetitive pattern and reduce the visibility of seams. This technique is often used in conjunction with other methods for greater effectiveness.
Using Seamless Textures: As previously mentioned, carefully creating or generating seamless textures is the most effective way to prevent tiling artifacts altogether.
Larger Texture Size: Increasing the size of your texture reduces the visibility of repeating patterns, but it also increases file sizes.
Procedural Generation: Procedural techniques inherently avoid tiling artifacts due to their mathematical basis. This offers the most reliable solution.
A combination of these techniques is often necessary for optimal results. The most effective approach depends on the specific texture and its application.
Q 12. How do you work collaboratively with modelers and other artists?
Collaboration is key in game development and 3D modeling. My approach involves constant communication and a shared understanding of the project’s goals. With modelers, I ensure I have access to the UV maps early in the process to plan my textures accordingly. I provide feedback on the model’s topology (how the geometry is structured) to ensure it’s suitable for texturing. I might suggest adjusting the UV layout if it hinders creating seamless textures or efficient texture use. For example, I’d work closely with the modeler to ensure clean UV seams for a building exterior, allowing for seamless tiling of the brick texture. With other artists, I participate in regular reviews to ensure visual cohesion across all assets, adjusting textures as needed to maintain consistency in style and lighting.
Using version control systems like Perforce or Git is crucial to manage texture iterations and collaboration effectively. Clearly defined naming conventions for textures are essential, and regular communication through project management tools, like Jira or Asana, keeps everyone informed of progress and any potential issues. Regular feedback loops and collaborative problem-solving are essential for a smoothly functioning team.
Q 13. Describe your experience with creating physically-based rendering (PBR) textures.
Physically-Based Rendering (PBR) textures represent a significant advancement in realism, aiming to simulate how light interacts with surfaces according to real-world physics. My experience involves creating textures using the PBR workflow, focusing on the following:
Albedo/Base Color: This reflects the inherent color of the material, unaffected by lighting. This is crucial for accurate lighting calculations.
Metallic Map: This indicates how much of the surface is metallic. Metallic surfaces reflect light differently from non-metallic surfaces.
Roughness Map: This shows the surface roughness, impacting how light is scattered. A smoother surface will have sharper specular highlights.
Normal Map: This map adds surface detail, affecting the way light interacts with micro-geometry.
Ambient Occlusion Map: This simulates shading in crevices and recessed areas, adding subtle realism.
I’m proficient in creating and utilizing these maps within various game engines and rendering pipelines. Understanding the interplay between these maps is crucial for achieving realistic results. For example, when creating a wooden crate, the roughness map would show variation across the wood grain, while the metallic map would be predominantly zero, indicating a non-metallic material. The albedo would be a realistic wood tone.
Q 14. Explain your familiarity with different paint software applications.
My experience encompasses several leading paint software applications. I’m highly proficient in Adobe Photoshop, which I use extensively for creating and editing textures, manipulating images, and performing various retouching and painting tasks. Its powerful layer system, extensive filter options, and brush customization make it a versatile tool. I also have experience using Substance Painter, which is specifically tailored for PBR texturing. Its node-based system and material creation tools streamline the creation of realistic material properties. Finally, I’m familiar with other software such as GIMP (a free and open-source alternative to Photoshop), offering a good level of functionality for various texturing needs. My choice of software depends on the project’s specific requirements and my personal preference for particular tasks.
Q 15. How do you create variations and randomness in your textures?
Creating variations and randomness in textures is crucial for realism and visual appeal. It prevents textures from looking repetitive and artificial. I achieve this using a combination of techniques, both procedural and manual.
Procedural Noise: Software like Substance Designer or Blender allows the generation of various noise types (Perlin, Simplex, Voronoi) which can be used as a base for texture variation. For example, I might use Perlin noise to create subtle variations in color or bump mapping on a stone texture, making each stone unique.
Filters and Transformations: Applying filters like blurring, sharpening, or displacement maps to existing textures can introduce subtle randomness. Transformations like scaling and rotating parts of the texture also add variation. Imagine applying a radial blur to a wood grain texture to create a more weathered, worn effect.
Manual Painting and Adjustment: Even with procedural methods, I often manually paint in details and imperfections to further enhance the randomness. This is particularly effective for creating highly detailed textures where procedural methods might fall short.
Layer Blending Modes: Using different blending modes (Overlay, Multiply, Screen, etc.) when combining textures layers creates unexpected and interesting results, adding complexity and randomness.
Think of it like baking a cake. You have a basic recipe (procedural noise), but adding unique spices (manual painting) and experimenting with different baking techniques (filters and transformations) makes each cake unique, even though they are fundamentally the same recipe.
Career Expert Tips:
- Ace those interviews! Prepare effectively by reviewing the Top 50 Most Common Interview Questions on ResumeGemini.
- Navigate your job search with confidence! Explore a wide range of Career Tips on ResumeGemini. Learn about common challenges and recommendations to overcome them.
- Craft the perfect resume! Master the Art of Resume Writing with ResumeGemini’s guide. Showcase your unique qualifications and achievements effectively.
- Don’t miss out on holiday savings! Build your dream resume with ResumeGemini’s ATS optimized templates.
Q 16. Describe your experience with creating stylized textures.
My experience with stylized textures is extensive, ranging from cartoonish to painterly styles. I’ve worked on projects requiring vastly different aesthetic approaches. For example, one project demanded a highly realistic medieval castle texture, while another needed a vibrant, cel-shaded look for a fantasy game.
Cartoon/Cel-Shading: Achieving this style often involves hard edges, flat shading, and bold colors. I utilize strong contrast and limit the number of color gradients, leveraging techniques like posterization.
Painterly Styles: For painterly textures, I use software to mimic brush strokes, impasto effects (thick layers of paint), and other artistic techniques. This often involves experimenting with custom brushes and understanding how paint behaves to replicate different mediums like oils or watercolors.
Low-Poly Styles: In projects using low-poly models, I often create textures with fewer details and larger areas of consistent color. This helps maintain the overall aesthetic of the game and avoid visual clutter.
The key is understanding the target style’s visual language and adapting my technique accordingly. It’s all about finding the balance between realism and the artistic vision.
Q 17. How do you manage your texture library and organization?
Managing a texture library efficiently is critical for productivity. I use a combination of folder organization and metadata tagging to ensure easy retrieval.
Folder Structure: My textures are organized into folders based on category (e.g., ‘Wood’, ‘Stone’, ‘Metal’), material properties (e.g., ‘Rough’, ‘Smooth’, ‘Shiny’), and style (e.g., ‘Realistic’, ‘Stylized’). Subfolders are used for variations within each category.
Metadata Tagging: Each texture file includes keywords and tags describing its properties, style, and use case. This allows for efficient searching and filtering within my file manager or using dedicated asset management tools.
Database/Asset Management Software: I’ve used tools like Substance Source and other dedicated asset management software to further enhance organization and enable sophisticated search and filtering of my textures.
Imagine a well-stocked library – each book is carefully categorized and tagged, allowing quick access to the precise title you need. This approach saves significant time during the production process.
Q 18. Explain your understanding of color theory and its application to texturing.
Color theory is fundamental to texturing. A strong understanding allows me to create visually appealing and believable textures. This includes knowledge of:
Color Harmonies: Understanding color relationships (complementary, analogous, triadic) helps to create cohesive and aesthetically pleasing textures. For example, using complementary colors can create vibrant contrast, while analogous colors offer a more harmonious and subtle look.
Hue, Saturation, and Value (HSV): Manipulating these aspects individually allows for precise control over color. Adjusting the value can create a sense of depth and shadow, while saturation influences the vibrancy of the colors.
Temperature: Warm and cool colors can be used to create depth and mood within a texture. For instance, using warmer colors for illuminated areas and cooler colors for shadows adds realism.
Color Psychology: Certain colors evoke specific emotions or associations; understanding this allows me to use color strategically to convey the desired mood and feel.
Think of it like painting a landscape. You wouldn’t randomly throw colors onto the canvas; you’d use color to create depth, atmosphere, and to guide the viewer’s eye.
Q 19. How do you approach creating textures for different game platforms or rendering engines?
Creating textures for different platforms or engines requires careful consideration of their technical limitations.
Resolution: Mobile platforms have lower resolution constraints than PC or consoles. Textures need to be optimized to avoid performance issues.
Texture Formats: Different engines support different texture formats (e.g., DXT, BC7, ASTC). Choosing the correct format ensures optimal compression and performance.
Texture Size and Memory: Managing texture size and memory usage is crucial, especially for mobile devices. Techniques like texture atlasing (combining multiple textures into one) and mip-mapping (creating multiple lower-resolution versions of the texture) help improve performance.
Shader Compatibility: Different engines and platforms utilize different shaders. This necessitates creating textures that are compatible with the target engine’s capabilities.
It’s like tailoring a suit – you wouldn’t use the same fabric and design for a formal event as you would for a casual outing. You need to adapt the texture to the specific requirements of the platform.
Q 20. Describe your experience with creating hand-painted textures.
I have significant experience creating hand-painted textures, which adds a unique and personal touch, often resulting in textures with a higher level of artistic expression and detail.
Software and Tools: I utilize digital painting software such as Photoshop or Painter to create hand-painted textures. The software allows for flexibility in brush control, layer management, and color mixing.
Brush Techniques: Developing a strong understanding of brushstrokes, blending techniques, and color application is crucial. This allows for creating visually compelling and realistic results.
Reference Images: While creating hand-painted textures, I often rely on reference images to ensure accuracy and realism.
Experimentation: Experimenting with different techniques and approaches is crucial to find unique styles and approaches.
Think of it as traditional painting, but using digital tools. The control and freedom are vast, allowing for the creation of truly unique and expressive textures.
Q 21. How do you balance artistic vision with technical constraints in texturing?
Balancing artistic vision with technical constraints is a constant challenge in texturing. It’s a delicate dance between creative expression and technical feasibility.
Prioritization: I prioritize the most important artistic elements, focusing on what contributes most to the overall visual impact. This helps to make informed decisions about which details to sacrifice for performance.
Iteration and Refinement: The process often involves iterations, adjusting the textures to meet technical requirements while preserving artistic intent. This may involve reducing polygon count, simplifying details, or optimizing color palettes.
Communication: Open communication with the technical team is crucial. Understanding the engine’s limitations and discussing possible compromises early on prevents major setbacks later.
Technical Skill Enhancement: Continuously expanding technical skills in areas like texture optimization and compression allows for pushing creative boundaries without compromising performance.
It’s like sculpting a statue – you have a clear vision, but you must work with the material’s limitations. The final piece is a blend of your artistic intent and the material’s properties.
Q 22. Explain your experience with baking textures from high-poly models.
Baking textures from high-poly models is a crucial step in optimizing game assets or complex 3D models for real-time rendering. It involves transferring the detailed surface information from a high-polygon model (which is too detailed for real-time use) to a low-polygon model. This is done by rendering the high-poly model from various viewpoints onto a low-poly model’s UV map, creating various texture maps like normal maps, ambient occlusion maps, and curvature maps.
My experience involves using software like Marmoset Toolbag, Substance 3D Painter, and xNormal. I typically begin by meticulously unwrapping the UVs of my low-poly model to ensure efficient texture space utilization. Then, I set up my baking process, carefully selecting appropriate bake settings to avoid artifacts like stretching or bleeding. I experiment with different cavity, ambient occlusion, and curvature settings to achieve the desired level of detail. For instance, when baking normal maps for a character’s face, I’ll pay close attention to the settings to accurately capture fine wrinkles and pores without introducing noise. Finally, I carefully review the baked textures and manually touch them up in a 2D painting program to fix any imperfections. I often find that a combination of automated baking and manual refinement results in the best quality textures.
Q 23. How do you troubleshoot issues related to texture memory usage?
Troubleshooting texture memory issues requires a multi-pronged approach. The core problem usually boils down to exceeding the available GPU memory. My first step is to profile the application to pinpoint the textures consuming the most memory. Then I look for areas for optimization.
- Reduce Texture Resolution: Lowering the resolution of textures is the most straightforward solution. Instead of a 4096×4096 texture, I might try 2048×2048 or even 1024×1024, checking if the visual difference is acceptable. I always start with the least important textures first.
- Use Texture Compression: Employing compression techniques like DXT (BCn) or ASTC significantly reduces the VRAM footprint with minimal visual impact. The choice of format depends on the target platform and its support.
- Mipmapping: Ensure proper mipmap generation for smooth transitions between different detail levels. This is fundamental for efficient memory management and minimizing texture aliasing.
- Texture Atlasing: Combining smaller textures into a single, larger texture atlas decreases draw calls and improves rendering performance. This requires careful planning of UV space and consideration of texture usage.
- Level of Detail (LOD): Implement LODs to dynamically switch between textures of varying resolutions based on the distance from the camera. Far away objects will use lower-resolution textures, freeing up memory.
Often, a combination of these techniques is necessary to achieve optimal performance. For instance, I might reduce resolution, use compression, and implement LODs to manage a large number of textures used in a game environment.
Q 24. Describe your approach to creating textures that work well with different lighting conditions.
Creating textures that adapt well to diverse lighting scenarios necessitates an understanding of how light interacts with surfaces. This involves more than just painting colors; it’s about defining surface properties.
- Diffuse Map: This map determines the base color of the surface. I focus on creating a base color that accounts for shadows and highlights, and ensures enough variation to appear convincing under different lighting conditions.
- Specular Map: This map dictates the reflectivity of the surface. I use this to control the intensity and size of highlights. A dull material would have a low specular value, while a highly reflective material would have a high one. This is crucial for realism.
- Normal Map: This map defines surface details without requiring additional geometry. It’s incredibly important for how light appears to interact with the object’s surface, even under low-light conditions. A well-made normal map gives an object more depth and visual complexity. This ensures the object appears detailed without using high-poly models.
- Ambient Occlusion Map: This map simulates the darkening of areas where surfaces meet. It provides depth and realism, and greatly enhances the object’s appearance even without significant changes in lighting.
By carefully crafting these maps and considering how they interact with different lighting, the resulting texture will look convincingly realistic under various lighting situations. For instance, when texturing a stone wall, a subtle ambient occlusion map helps to represent the crevices and deepens the sense of depth, leading to improved realism.
Q 25. What are some common challenges you face when creating textures, and how do you overcome them?
Creating textures presents many challenges. One common problem is achieving consistent tiling, especially for seamless textures used in repeated patterns. If not done carefully, tiling artifacts such as visible seams can be quite noticeable. I use techniques like careful UV unwrapping and blending textures at the seams to mitigate this. I might also use procedural textures to generate more seamless patterns that completely avoid tiling issues.
Another common challenge is maintaining visual fidelity while optimizing for performance. Striking a balance between detail and file size requires careful consideration of resolution and compression. For this, I often employ iterative processes of testing and adjusting texture parameters while monitoring performance metrics.
Finally, matching the style and overall look of the project is important. Creating textures that fit seamlessly into a larger artistic context requires a strong grasp of the project’s artistic direction. Working closely with other artists is crucial in ensuring a unified and aesthetically pleasing result.
Q 26. Describe your experience with version control systems for texture assets.
Version control is paramount for managing texture assets, particularly in collaborative projects. I have extensive experience using Git, and I find it invaluable for tracking changes, managing different versions of textures, and facilitating collaboration among team members. It allows us to easily revert to previous versions if necessary and prevents accidental overwriting of important assets. I structure my texture repository with clear naming conventions and a well-defined folder structure to ensure efficient organization and management of files. This allows easy tracking and makes it simpler to understand which textures are used in different parts of the project.
Q 27. How do you stay up-to-date with the latest trends and technologies in texturing and painting?
Staying current in the fast-paced world of texturing and painting requires a proactive approach. I actively follow industry blogs, participate in online communities such as forums and Discord servers, and attend industry events and conferences when possible. This provides exposure to new techniques, software, and trends in the field. I also regularly explore tutorials and learning resources found on platforms like YouTube and ArtStation to improve my skills. Further, I frequently experiment with new tools and workflows to broaden my knowledge and enhance my skillset. Staying actively involved in these areas allows me to adapt to technological advancements and incorporate best practices into my workflow.
Q 28. Explain your understanding of the differences between diffuse, specular, and normal maps.
Diffuse, specular, and normal maps are all crucial components in defining the visual appearance of a 3D surface. They work together to create a realistic representation of how light interacts with the object.
- Diffuse Map (Albedo): This map defines the base color of the surface, independent of lighting. Think of it as the inherent color of the object. A red apple would have a diffuse map predominantly red.
- Specular Map: This map determines how light reflects off the surface. It dictates the brightness and size of highlights. A shiny surface, like polished metal, has a strong specular reflection, while a matte surface has a weak one. The specular map represents shininess, glossiness, or the amount of mirror-like reflection.
- Normal Map: This map does not represent color; instead, it defines surface details such as bumps, grooves, and ridges. It does this by encoding the surface normal vectors, creating an illusion of depth and detail without actually adding geometry to the model. This technique allows artists to add fine details to a low-poly model.
These maps are often used together. The diffuse map provides the base color, the specular map adds highlights, and the normal map adds surface detail and impacts how both the diffuse and specular maps look by altering the direction of light that hits the pixels.
Key Topics to Learn for Texturing and Painting Interview
- Understanding Different Texture Types: Explore various texture types (e.g., procedural, tileable, hand-painted), their properties, and optimal use cases in different game engines or rendering pipelines.
- Material Creation and Workflow: Discuss your experience with creating realistic and stylized materials, including the process from concept to implementation within software like Substance Painter or Mari. Showcase understanding of PBR (Physically Based Rendering) principles.
- UV Unwrapping Techniques: Demonstrate knowledge of different UV unwrapping methods (e.g., planar, cylindrical, box projection) and their impact on texture efficiency and quality. Be prepared to discuss optimizing UV layouts for minimal seams and stretching.
- Texture Baking and Optimization: Explain your understanding of baking processes (e.g., ambient occlusion, normal maps, curvature maps) and techniques to optimize texture resolution and file size for performance.
- Painting Techniques and Styles: Discuss different painting styles (e.g., realistic, stylized, painterly) and the techniques you employ to achieve specific visual effects. Highlight your proficiency in digital painting software and brushes.
- Working with Normal Maps, Specular Maps, and other Texture Maps: Demonstrate a deep understanding of how different texture maps contribute to the final visual appearance of a 3D model and how they interact.
- Problem-solving in Texturing and Painting: Prepare examples of overcoming challenges in texture creation, such as fixing UV issues, resolving tiling artifacts, or achieving specific material properties.
- Version Control and Collaboration: Discuss your experience with using version control systems (e.g., Perforce, Git) for managing texture assets and collaborating with other artists.
Next Steps
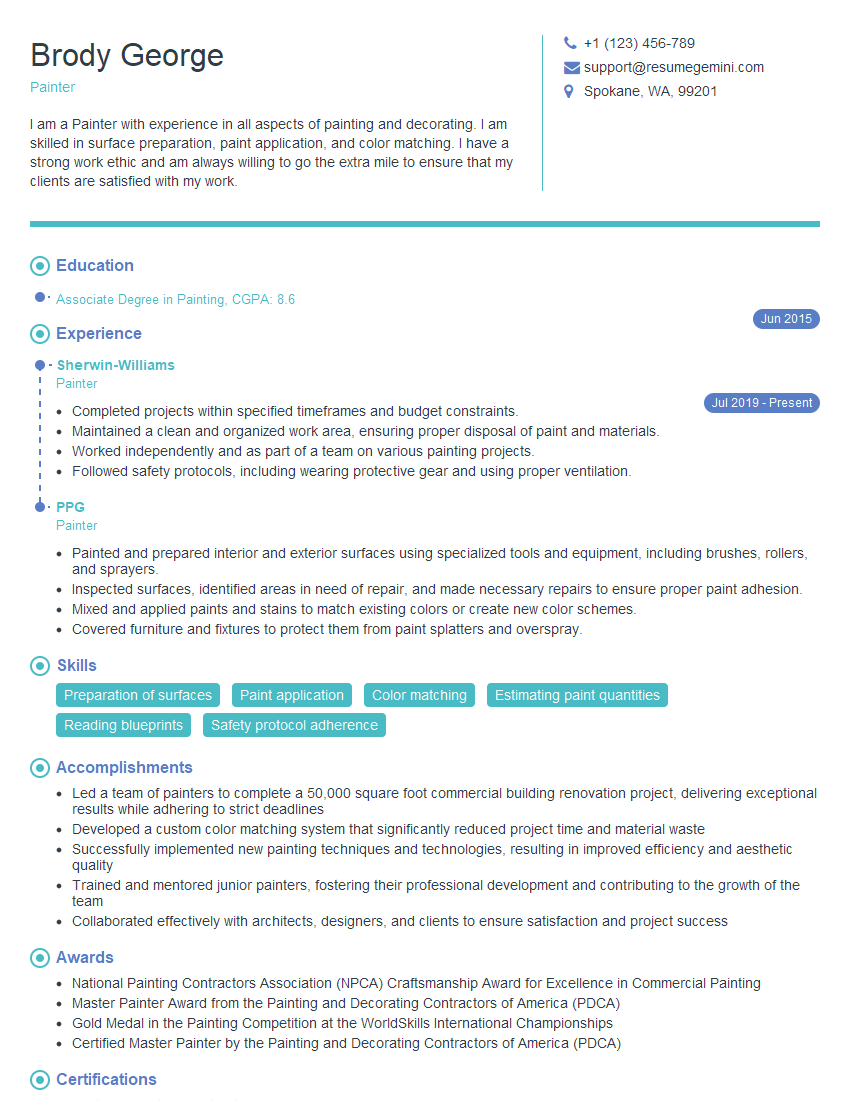
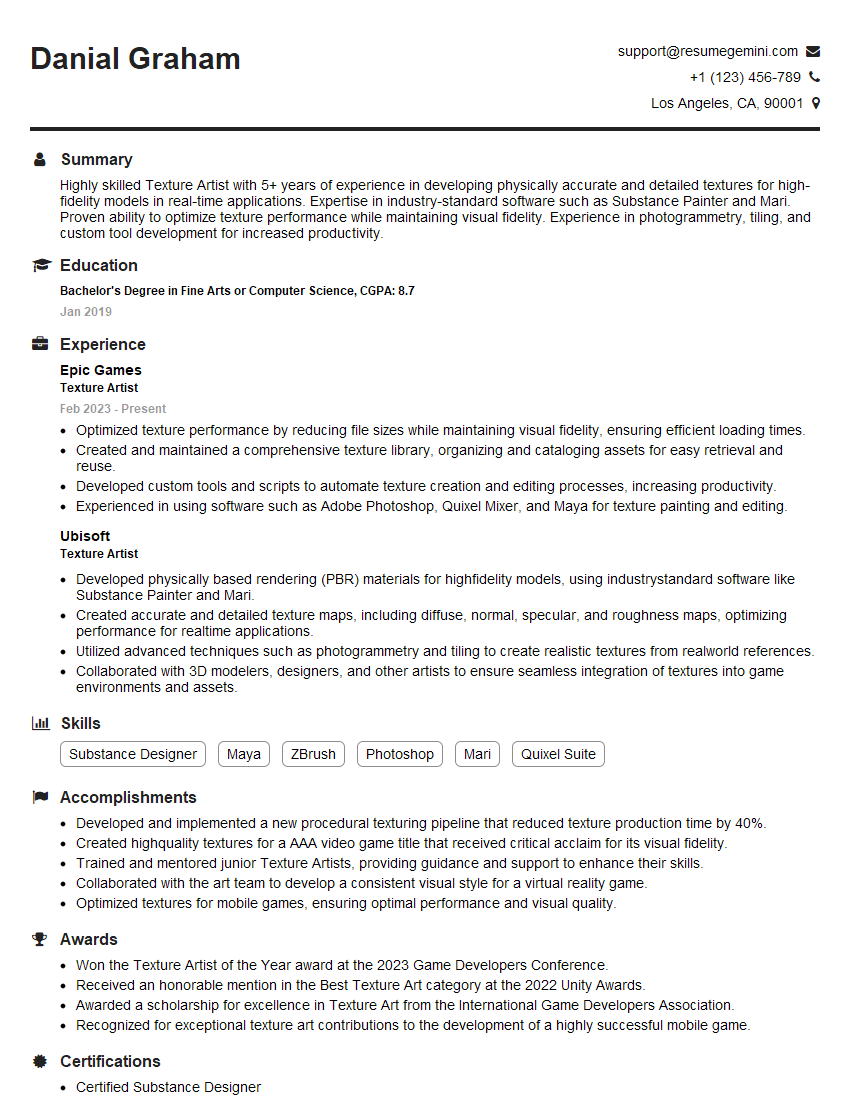
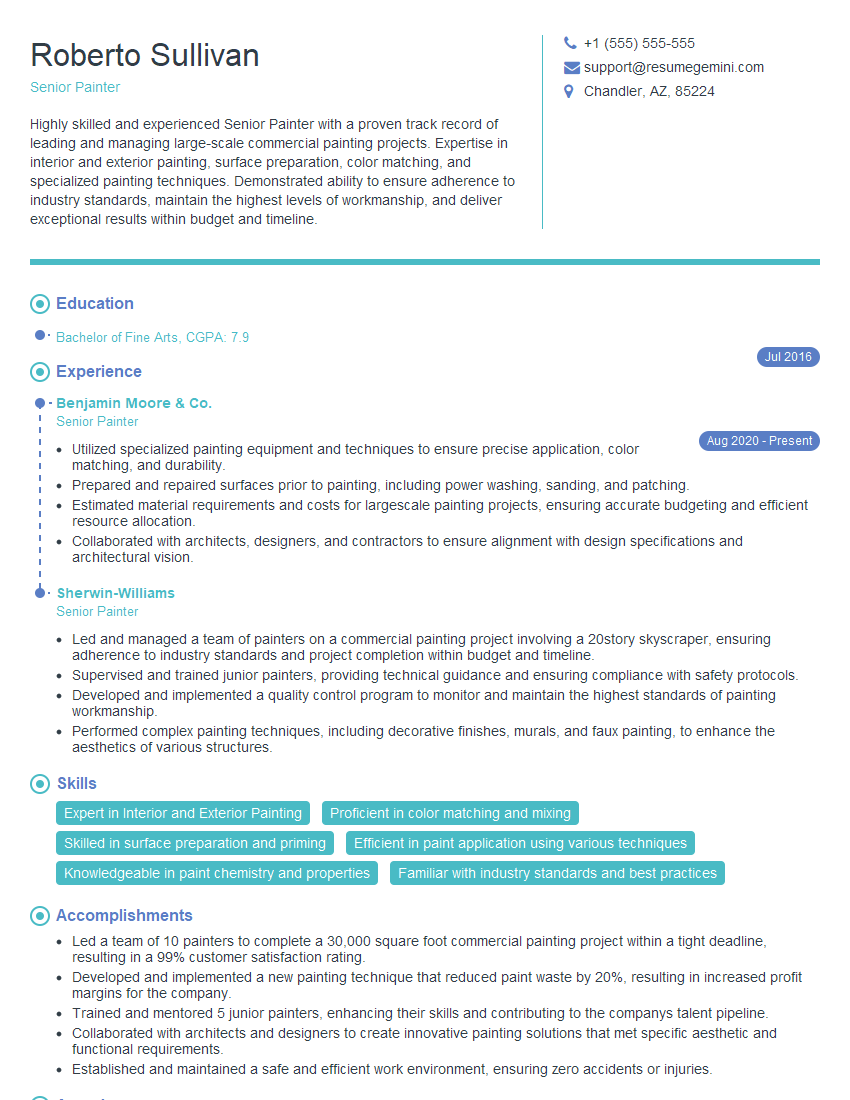
Mastering texturing and painting is crucial for a successful and rewarding career in game development, visual effects, or other related fields. Strong texturing and painting skills are highly sought after, significantly increasing your job prospects. To maximize your chances, creating an ATS-friendly resume is essential. ResumeGemini is a trusted resource to help you build a professional and effective resume that highlights your skills and experience. ResumeGemini provides examples of resumes tailored to Texturing and Painting roles, making the process easier and more efficient.
Explore more articles
Users Rating of Our Blogs
Share Your Experience
We value your feedback! Please rate our content and share your thoughts (optional).
What Readers Say About Our Blog
To the interviewgemini.com Webmaster.
Very helpful and content specific questions to help prepare me for my interview!
Thank you
To the interviewgemini.com Webmaster.
This was kind of a unique content I found around the specialized skills. Very helpful questions and good detailed answers.
Very Helpful blog, thank you Interviewgemini team.