Are you ready to stand out in your next interview? Understanding and preparing for Tile Installation Patterns interview questions is a game-changer. In this blog, we’ve compiled key questions and expert advice to help you showcase your skills with confidence and precision. Let’s get started on your journey to acing the interview.
Questions Asked in Tile Installation Patterns Interview
Q 1. Describe the difference between running bond and herringbone tile patterns.
Running bond and herringbone are two fundamental tile layout patterns, each offering a distinct visual effect. Running bond, the simplest, arranges tiles in a staggered, brick-like pattern where each row’s tiles offset the ones above and below. Think of a traditional brick wall – that’s running bond. It’s easy to install and creates a clean, classic look. Herringbone, on the other hand, is far more intricate. Tiles are arranged in a V-shape, resembling the bones of a herring fish. This pattern creates a strong diagonal line and adds visual interest. It involves more complex cutting and requires more precision during installation.
Imagine you’re tiling a bathroom floor: Running bond provides a straightforward, efficient solution, perfect if you prioritize speed and simplicity. Herringbone, while visually striking, demands more expertise and planning to ensure the pattern remains consistent and aligned throughout the space. The choice depends entirely on the desired aesthetic and the installer’s skill level.
Q 2. Explain the process of calculating the number of tiles needed for a given area, considering waste.
Calculating tile needs accurately is crucial to avoid costly material shortages or excessive waste. First, measure the area to be tiled precisely. Let’s say it’s a rectangular room: multiply length by width to get the square footage (or square meters). Next, consider the size of your tiles. Convert the tile dimensions to square footage (e.g., a 12″x12″ tile is 1 square foot). Divide the total area by the area of a single tile. This gives you the theoretical number of tiles needed. However, this doesn’t account for cuts, breakage, and imperfections.
A common rule of thumb is to add 10-15% to account for waste. This percentage can vary depending on factors such as the complexity of the layout (herringbone requires more cuts, increasing waste), the tile shape (larger tiles reduce waste), and the installer’s skill. For example, if your calculation shows you need 100 tiles, adding 10% waste means you should purchase 110 tiles. Always round up to the nearest whole tile, as you can’t buy fractions of a tile.
Example: Room area = 100 sq ft, Tile size = 1 sq ft, Waste = 10%Theoretical tiles: 100 sq ft / 1 sq ft/tile = 100 tilesTiles to purchase: 100 tiles * 1.10 = 110 tiles
Q 3. What are the challenges of installing tiles on uneven surfaces?
Uneven surfaces present significant challenges in tile installation. The primary issue is that an uneven substrate prevents proper adhesive bonding, leading to potential cracking, lifting, or even complete tile failure. The tiles won’t lay flat, creating an uneven and unprofessional finish. Before tiling, the surface must be meticulously prepared and leveled. This might involve patching holes, smoothing bumps, and applying self-leveling compounds to achieve a perfectly flat surface.
Think of it like building a house – you can’t build a straight wall on an uneven foundation. Similarly, attempting to install tiles on an uneven surface will result in a poorly constructed finish. Ignoring this crucial step compromises the longevity and aesthetic appeal of the tiled surface. The process of leveling can be time-consuming, and using the wrong materials can lead to further problems, emphasizing the importance of careful preparation.
Q 4. How do you ensure proper grout spacing and alignment during tile installation?
Maintaining consistent grout spacing and alignment is paramount for a professional-looking finish. Spacers are essential tools used to create uniform gaps between tiles. These are small plastic or metal pieces inserted between tiles during installation. They ensure even grout lines, preventing unevenness and improving the overall aesthetic. For alignment, a level and straight edge are used to ensure tiles remain perfectly aligned in both horizontal and vertical planes.
Imagine trying to build a brick wall without using spacers – the result would be chaotic and unstable. Similarly, in tile installation, using spacers and a level ensures stability and uniformity. Regularly checking alignment throughout the installation process is key to preventing errors that are difficult to correct later.
Q 5. What types of cutting tools are used for different tile materials?
Different tile materials require specialized cutting tools to avoid chipping or cracking. For ceramic and porcelain tiles, a wet saw is ideal. The water helps to cool the blade, preventing overheating and damage. For glass tiles, a specialized glass-cutting tool or a score-and-snap method is often employed to minimize breakage. Natural stone tiles, such as marble or granite, often require a diamond blade wet saw, as these materials are harder and more prone to chipping.
Choosing the right tool is essential to avoid damaging the tiles, especially expensive natural stone. Using an inappropriate tool can lead to significant waste and increase the overall cost of the project. Always test your chosen tool on a scrap tile before working on the main installation to ensure you understand how it interacts with the specific tile material.
Q 6. Explain the importance of using proper adhesives and grouts for specific tile types.
Using the correct adhesives and grouts is fundamental for tile longevity and performance. Different tiles have unique properties, requiring specific adhesives designed for optimal bonding. For example, a modified thin-set mortar is often used for ceramic and porcelain tiles, while a more heavy-duty adhesive might be necessary for large-format tiles or those being installed in high-moisture areas. Similarly, grouts need to be compatible with the tile material and the intended application (interior vs. exterior, high-moisture areas). Using the incorrect materials can result in adhesion failures, grout cracking, mold growth, and ultimately, tile damage.
Imagine trying to glue wood with super glue – the bond wouldn’t last. Similarly, using the wrong adhesive for your tiles will lead to failure. Reading and carefully following the manufacturer’s instructions for both the adhesive and grout is crucial to guarantee a successful installation.
Q 7. How do you handle cutting tiles around corners, pipes, and other obstacles?
Cutting tiles around corners, pipes, and obstacles requires precision and careful planning. Accurate measurements are essential. A combination of tools is typically used, including a wet saw for straight cuts and a tile nipper or angle grinder with a diamond blade for intricate cuts. A template might be created to aid in precise cutting, especially for complex shapes. It’s crucial to make test cuts on scrap tiles to refine your technique and ensure the fit before working on the final tiles.
Working around obstacles requires a strategic approach, often involving multiple small cuts rather than one large cut. Patience and meticulous attention to detail are crucial to ensure a seamless finish. Remember to always prioritize safety when using power tools, wearing appropriate protective gear.
Q 8. Describe your experience with different tile installation methods (e.g., thin-set, large format tile installation).
My experience encompasses a wide range of tile installation methods, starting with the traditional thin-set method and extending to the more specialized techniques required for large-format tiles. Thin-set mortar, a cement-based adhesive, is the foundation of most tile installations. Its application requires a keen eye for consistency to ensure proper adhesion. For smaller tiles, this is relatively straightforward. However, with larger format tiles (typically 12×24 inches and larger), the process becomes significantly more demanding due to the increased weight and potential for lippage (uneven tile height). This is where my expertise in large format tile installation comes into play.
Large format tiles demand meticulous attention to detail. We start by ensuring a perfectly level substrate; any inconsistencies will be magnified. Modified thin-set mortars, designed for large tiles, are crucial. Moreover, techniques like back-buttering (applying mortar to the back of the tile) and the use of tile leveling systems (discussed later) are essential to prevent lippage and ensure a flat, even surface.
I’ve worked on projects using various thin-set types – including those designed for specific tile types like natural stone or glass – and have a strong understanding of their individual properties and applications.
Q 9. What are the best practices for ensuring a waterproof tile installation in a shower?
Creating a waterproof shower tile installation involves a multi-layered approach, and missing a single step can compromise the entire system. It starts with a waterproof membrane, typically a rubberized sheet membrane or a liquid waterproofing product. This membrane acts as the primary defense against water penetration. It’s crucial to apply it meticulously, ensuring complete coverage and proper overlap at seams, following manufacturer instructions precisely.
Next, the backer board (typically cement board) is installed over the membrane. The backer board provides a solid, stable surface for the tiles and should be installed with water-resistant thin-set mortar. The tile installation itself uses a modified thin-set mortar, specifically formulated for wet areas. Finally, the grout must be a water-resistant, epoxy-based grout. I always recommend testing the finished shower with a thorough water test to confirm that the waterproofing has been effectively implemented.
A common mistake is skimping on the membrane or failing to properly seal the seams. This leads to leaks and potential mold or mildew issues down the line. I always prioritize meticulous membrane installation as the cornerstone of a successful waterproof shower.
Q 10. How do you handle expansion joints in tile installations?
Expansion joints are critical in any tile installation to accommodate the natural expansion and contraction of the tile and substrate due to temperature fluctuations and moisture changes. These joints prevent cracking and stress fractures within the tile installation.
The proper placement and execution of expansion joints depend on the size of the area being tiled. They should be incorporated at all corners, around doorways, around plumbing fixtures, and every 10-15 feet in large areas. I usually use a flexible sealant, such as silicone caulk, to fill the expansion joints. This sealant allows for movement while maintaining a watertight seal (especially crucial in wet areas like showers).
Ignoring expansion joints is a common cause of tile cracking. It’s a small detail, but a crucial one to prevent costly repairs down the road. I always visually plan joint placement before starting the installation to ensure I have all the materials on hand to create clean, even expansion joints.
Q 11. What are the common causes of tile cracking or grout failure?
Tile cracking and grout failure often stem from a combination of factors, rather than a single cause. Poor substrate preparation is a major culprit. If the underlying surface isn’t level, strong, and properly prepared, stress is transferred to the tiles, causing cracking. Using the wrong type of thin-set mortar for the tile or substrate can also lead to poor adhesion and cracking.
Improper installation techniques, such as inadequate spacing between tiles or neglecting expansion joints, contribute significantly to cracking. In terms of grout failure, using the wrong type of grout or failing to properly clean the grout lines during installation is a frequent cause. This can lead to a weak, brittle, and easily discolored grout.
Finally, environmental factors like excessive moisture or extreme temperature changes can also exacerbate these problems. I always address these potential issues proactively, starting with thorough substrate preparation and selecting appropriate materials for the job.
Q 12. How do you troubleshoot common issues during tile installation?
Troubleshooting during tile installation often involves careful observation and systematic investigation. For instance, if tiles are cracking, I’d first examine the substrate for unevenness or weaknesses. If the substrate is the problem, I’d address that before continuing the installation. If lippage (uneven tile height) is an issue, using a tile leveling system might help.
If grout is cracking or failing, I’d examine the type of grout used and ensure it was properly cured and sealed. If tiles are loose, poor adhesion of the thin-set could be the cause; this might require carefully removing and reinstalling the affected tiles with fresh mortar. Sometimes, the solution might be as simple as adjusting the spacing between tiles.
The key is to methodically investigate the problem, eliminate potential causes one by one, and apply the appropriate solution. Experience helps with quick diagnosis and provides a range of solutions to choose from.
Q 13. Describe your experience with different types of tile (e.g., ceramic, porcelain, natural stone).
My experience with different tile types is extensive. Ceramic tile is a common and versatile choice, offering a wide range of colors and styles at various price points. However, its durability and water resistance can vary greatly depending on the type of ceramic. Porcelain tile, on the other hand, is generally denser, more durable, and more water-resistant than ceramic tile, making it ideal for high-traffic areas and wet environments.
Natural stone tiles, such as marble, granite, and travertine, add a luxurious touch. However, they require special handling and more specialized thin-set mortars. Each natural stone has unique properties and requires specific sealing and cleaning procedures. Understanding these nuances is crucial to avoid problems and ensure the long-term beauty of the installation.
In all cases, understanding the specific properties of each tile type – its water absorption rate, hardness, and required installation techniques – is key to a successful project.
Q 14. Explain your understanding of tile leveling systems.
Tile leveling systems are invaluable tools, particularly when installing large format tiles. These systems consist of small clips and wedges that are placed between tiles during installation, ensuring consistent height and minimizing lippage. They help create a perfectly flat and even surface, eliminating the need for excessive grinding or adjustments later.
Different systems exist, but they generally work on the same principle: the clips hold the tiles at the same height, and the wedges are used to fine-tune the level. Once the thin-set has cured, the clips are removed, leaving a seamless surface. Using a leveling system dramatically speeds up the installation process, reduces labor costs, and ensures a professional finish. I consider it an essential tool for large format tile work and even for ensuring consistency with smaller tiles, especially on larger areas.
Q 15. What safety precautions do you take when installing tiles?
Safety is paramount in tile installation. My process begins with a thorough site assessment, identifying potential hazards like uneven surfaces or exposed wires. I always wear appropriate personal protective equipment (PPE), including safety glasses, dust masks (especially when working with cement-based products), work gloves, and sturdy, closed-toe shoes. I ensure the work area is well-lit and free from obstructions. When working at heights, I use proper scaffolding and fall protection. Power tools require careful handling and regular maintenance to prevent kickbacks or malfunctions. Finally, I always follow the manufacturer’s safety guidelines for any materials or tools used, and I’m mindful of proper ventilation to minimize exposure to dust and fumes.
For example, on a recent bathroom remodel, I discovered some loose wiring behind the existing wall. I immediately stopped work, contacted an electrician, and ensured the area was made safe before continuing.
Career Expert Tips:
- Ace those interviews! Prepare effectively by reviewing the Top 50 Most Common Interview Questions on ResumeGemini.
- Navigate your job search with confidence! Explore a wide range of Career Tips on ResumeGemini. Learn about common challenges and recommendations to overcome them.
- Craft the perfect resume! Master the Art of Resume Writing with ResumeGemini’s guide. Showcase your unique qualifications and achievements effectively.
- Don’t miss out on holiday savings! Build your dream resume with ResumeGemini’s ATS optimized templates.
Q 16. How do you ensure the correct slope for a shower floor?
Achieving the correct slope on a shower floor is crucial to prevent water pooling and ensure proper drainage. The standard slope is typically 1/4 inch per foot, ensuring water flows towards the drain. I achieve this using a pre-sloped shower pan or by carefully creating the slope myself with a mortar bed. For a mortar bed, I use a pre-sloped template or a leveling system to precisely guide the mortar application. I frequently check the slope using a level throughout the process, making adjustments as needed to maintain consistency. This attention to detail prevents costly and frustrating future problems.
For instance, I recently used a pre-sloped shower pan for a client’s small shower. For larger showers, however, I prefer using a mortar bed and a pre-sloped template to ensure accurate and consistent drainage across the entire surface.
Q 17. What is your experience with different grout types and colors?
My experience encompasses a wide range of grout types and colors. I’m proficient with cement-based grouts, epoxy grouts, and sanded/unsanded grouts. Cement grouts are cost-effective and widely available, suitable for most tile installations. Epoxy grouts offer superior stain resistance and durability but are more expensive and require specialized cleaning techniques. Sanded grout is typically used with larger tile gaps, while unsanded grout is suitable for smaller gaps. Color selection is crucial to complement the tile choice and overall design aesthetic. I work closely with clients to choose colors that enhance the final look, considering factors such as lighting, existing fixtures, and personal preferences. I’ve worked with everything from classic white to bold, contrasting shades, and I can advise clients on color trends and appropriate choices based on their project.
For example, I recently used a light grey epoxy grout with large format porcelain tiles in a modern bathroom. The epoxy’s stain resistance is ideal for high-moisture environments. In another project, I used a deep brown sanded grout with rustic terracotta tiles to create a more traditional, earthy feel.
Q 18. How do you clean and seal tiles after installation?
Cleaning and sealing tiles after installation is vital for long-term protection and maintenance. Once the grout has cured (according to the manufacturer’s instructions), I thoroughly clean the tiles using a grout sponge and clean water, removing excess grout haze and residue. For stubborn stains, I may use a specialized grout cleaner. After the tiles are completely dry, I apply a high-quality sealer designed for the specific type of tile. Sealers protect against moisture penetration, staining, and damage, extending the tiles’ lifespan significantly. The number of coats depends on the sealer and tile type. I usually explain the importance of regular sealing to clients (annually or bi-annually depending on the space).
For instance, in a kitchen backsplash installation, I used a penetrating sealer on the ceramic tiles to protect against grease and spills. For a bathroom shower, a high-quality epoxy grout might reduce the need for sealing in the first few years.
Q 19. Describe your experience with installing large format tiles.
Installing large-format tiles requires precision and attention to detail. These tiles are heavier and more prone to cracking if not handled and installed correctly. I use specialized tools and techniques, including larger notched trowels for proper mortar application and leveling systems to ensure a flat, even surface. Precise cutting is crucial, often requiring a wet saw for clean cuts. Proper planning and accurate measurements are essential to minimize waste. I always work with a partner when handling large format tiles to ensure safety.
For example, I recently completed a project using 24×48 inch porcelain tiles. We used suction cups to handle the tiles and a high-quality wet saw to make precise cuts. The meticulous planning and precise installation resulted in a stunning and flawless finish.
Q 20. Explain your process for planning a tile installation project.
My planning process begins with a thorough consultation with the client, understanding their vision, budget, and timeline. Then, I conduct a detailed site survey, measuring the area accurately and noting any existing conditions. Next, I choose the appropriate tiles and materials, considering factors like durability, aesthetics, and budget. A detailed estimate is prepared which includes material costs, labor costs, and any potential unforeseen issues. I create a detailed layout plan (as described in the next question), ensuring efficient tile usage and minimal waste. Finally, I communicate a clear timeline to the client, setting realistic expectations.
For instance, in a recent kitchen renovation, I discovered uneven walls that were factored into the cost estimate and project timeline, so the client could anticipate potential delays. Transparent communication saved time and prevented future misunderstandings.
Q 21. How do you create a detailed tile layout plan?
Creating a detailed tile layout plan is a crucial step to ensure a visually appealing and efficient installation. I start by taking precise measurements of the area, considering door and window locations, any existing fixtures, and the tile size. Then, I create a scaled drawing, using software like AutoCAD or even sketching on graph paper. I carefully arrange the tiles to minimize cuts and waste, taking into account the pattern and desired layout (running bond, herringbone, diagonal, etc.). I note the location of full tiles and cut tiles, indicating the type and size of any necessary cuts. This plan acts as a blueprint for the installation process, ensuring a consistent and visually appealing final product.
For a large living room floor, for instance, I use the software to arrange tiles, ensuring any necessary cuts are minimized and strategically placed, avoiding visual disruption. The process also helps visualize the overall visual outcome before installation.
Q 22. How do you communicate effectively with clients and other tradespeople?
Effective communication is the cornerstone of any successful tile installation project. With clients, I prioritize clear, concise explanations of the process, materials, and timeline. I use visual aids like samples and sketches to illustrate design options and manage expectations. I also encourage open dialogue, answering questions patiently and addressing concerns proactively. With other tradespeople, like plumbers or electricians, clear communication about scheduling, access to work areas, and potential conflicts is vital. I always confirm details in writing via email or text, ensuring everyone is on the same page and misunderstandings are minimized. For instance, before starting a bathroom renovation, I’ll schedule a pre-work meeting with the client and other trades involved to discuss the sequencing of tasks and avoid delays.
Q 23. What is your experience with different types of underlayment?
My experience encompasses a wide range of underlayments, each with its specific properties and applications. For instance, I’ve worked extensively with cement backer board, a robust and reliable option for most tile installations, especially in wet areas. I also have experience with Ditra (a waterproofing membrane), which provides excellent crack isolation and moisture protection, ideal for situations with potential substrate movement. Another common type is self-leveling compound, crucial for achieving a perfectly flat surface before tile installation, especially on uneven floors. The choice of underlayment depends on factors such as the type of tile, the substrate condition, and the overall project requirements. For example, in a high-traffic commercial kitchen, I’d prioritize a durable underlayment like cement backer board, while in a bathroom, Ditra would offer superior waterproofing and crack protection.
Q 24. Explain the importance of substrate preparation before tile installation.
Substrate preparation is paramount for a successful and long-lasting tile installation. A poorly prepared substrate can lead to tile cracking, grout failure, and even complete installation failure. The process typically involves cleaning the surface to remove debris, dust, and any loose materials. Then, the surface needs to be leveled to ensure a stable base for the tiles. This might involve using a self-leveling compound to fill in gaps and imperfections. Finally, any cracks or damage in the substrate must be repaired before the underlayment is installed. Imagine trying to build a house on an unstable foundation – the results would be disastrous. Similarly, if the substrate is not properly prepared, the tile installation is likely to suffer. Proper preparation involves checking for moisture content and ensuring the substrate is structurally sound. This preparation is crucial to preventing issues down the line.
Q 25. What tools and equipment are essential for successful tile installation?
A successful tile installation requires a variety of specialized tools and equipment. Essential tools include a wet saw for precise tile cutting, a notched trowel for applying thin-set mortar (the adhesive for tiles), various levels (for checking flatness), measuring tapes, and tile spacers for consistent grout lines. Other crucial items are a rubber mallet for gently tapping tiles into place, grout floats for applying grout, and sponges for cleaning excess grout. Depending on the project complexity, I might also use power tools like a grinder for edge preparation and a diamond blade for cutting intricate shapes. Safety equipment, like safety glasses and dust masks, is crucial for protecting myself from the hazards associated with tile installation.
Q 26. How do you manage your time and resources effectively on a tile installation project?
Effective time and resource management is critical for staying on schedule and within budget. Before starting any project, I create a detailed schedule that outlines each task, including material procurement, substrate preparation, tile installation, and grouting. I meticulously calculate the quantities of materials needed, factoring in waste and potential errors. This minimizes material costs and prevents delays. I carefully organize my tools and materials to ensure efficient workflow. I also factor in unforeseen delays and contingencies in the schedule. For example, on a large project, I might break down the work into smaller, manageable phases to track progress effectively. Regularly reviewing the schedule and making necessary adjustments is crucial to avoid falling behind.
Q 27. Describe a challenging tile installation project you’ve completed and how you overcame the challenges.
One particularly challenging project involved installing large-format porcelain tiles on a curved wall in a luxury bathroom. The curvature made it extremely difficult to ensure consistent grout lines and prevent chipping. To overcome this, I first created a detailed template using plywood to accurately transfer the curved surface to the tiles. Then, I used a wet saw with a specialized diamond blade for precise cutting, ensuring that each tile fit perfectly. I also employed a flexible thin-set mortar to accommodate the curve. The extra time and precision required for this project were significant, but the final result, a stunning and seamless curved wall, was well worth the effort. This experience emphasized the importance of careful planning and problem-solving skills in complex tile installations.
Key Topics to Learn for Tile Installation Patterns Interview
- Basic Patterns: Understanding common patterns like running bond, stacked bond, herringbone, and diagonal. This includes knowing their visual impact and material requirements.
- Advanced Patterns: Exploring more complex patterns such as basketweave, chevron, and Versailles. Focus on the increased precision and planning needed for these installations.
- Material Selection: Knowing how different tile shapes, sizes, and materials (ceramic, porcelain, natural stone) influence pattern choices and installation techniques. Consider the impact of grout lines.
- Layout Planning & Measurement: Mastering accurate calculations for cutting tiles, accounting for waste, and ensuring consistent pattern repetition across large areas. Practice sketching layouts.
- Substrates and Preparation: Understanding the importance of proper substrate preparation (e.g., concrete, backer board) for successful tile installation and pattern integrity. Discuss common issues and solutions.
- Grouting and Finishing: Knowing the techniques for applying grout consistently and cleaning excess material to maintain the integrity of the chosen pattern. Understand the importance of proper curing.
- Troubleshooting & Problem Solving: Developing skills to identify and rectify common issues during installation, such as uneven surfaces, cracked tiles, and pattern misalignments. Think critically about solutions.
- Tools and Equipment: Familiarity with the necessary tools and equipment for various tile installation patterns, and understanding their proper use for optimal results.
- Safety Procedures: Highlighting safety protocols for handling tools and materials, working at heights, and ensuring a safe work environment.
Next Steps
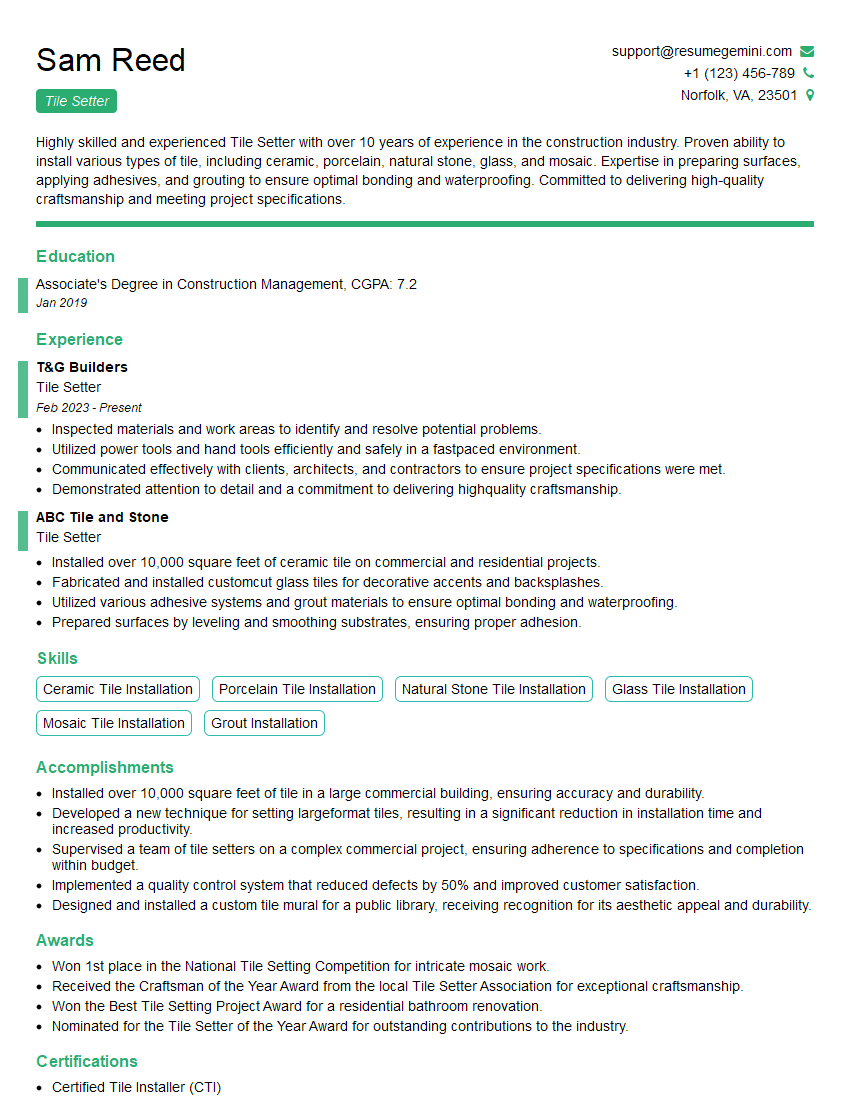
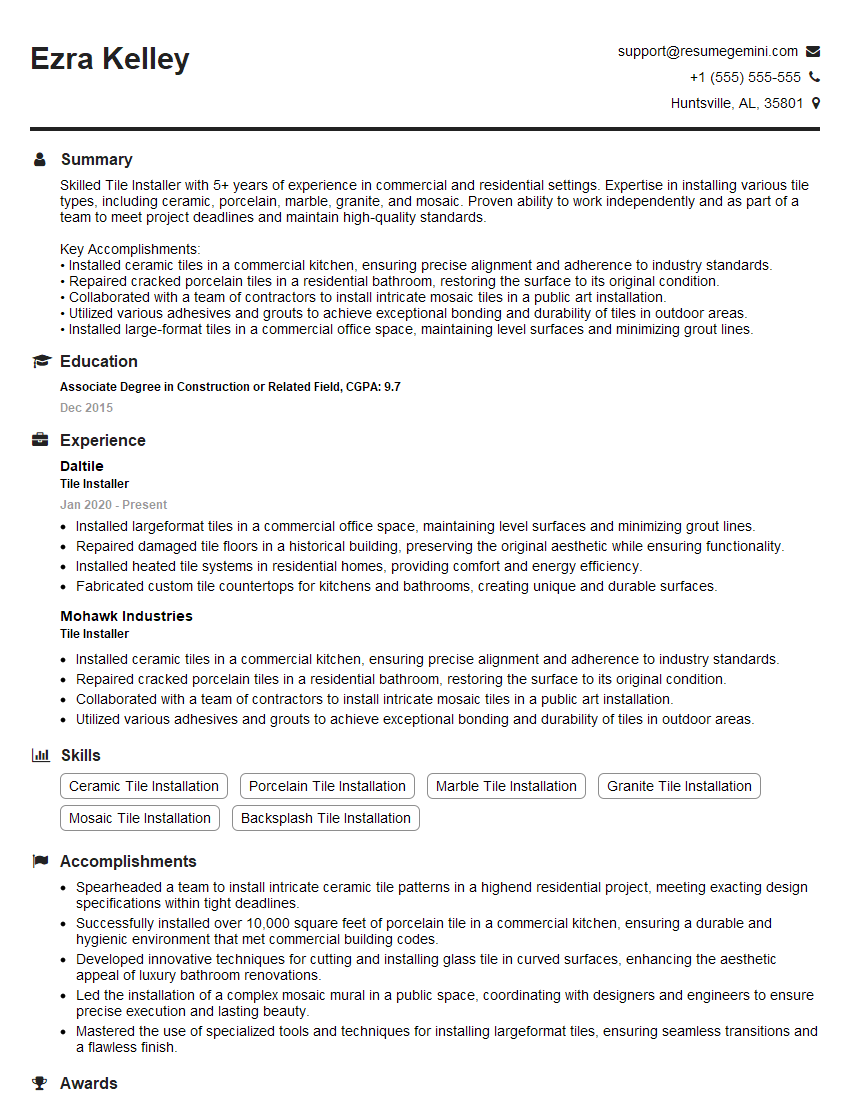
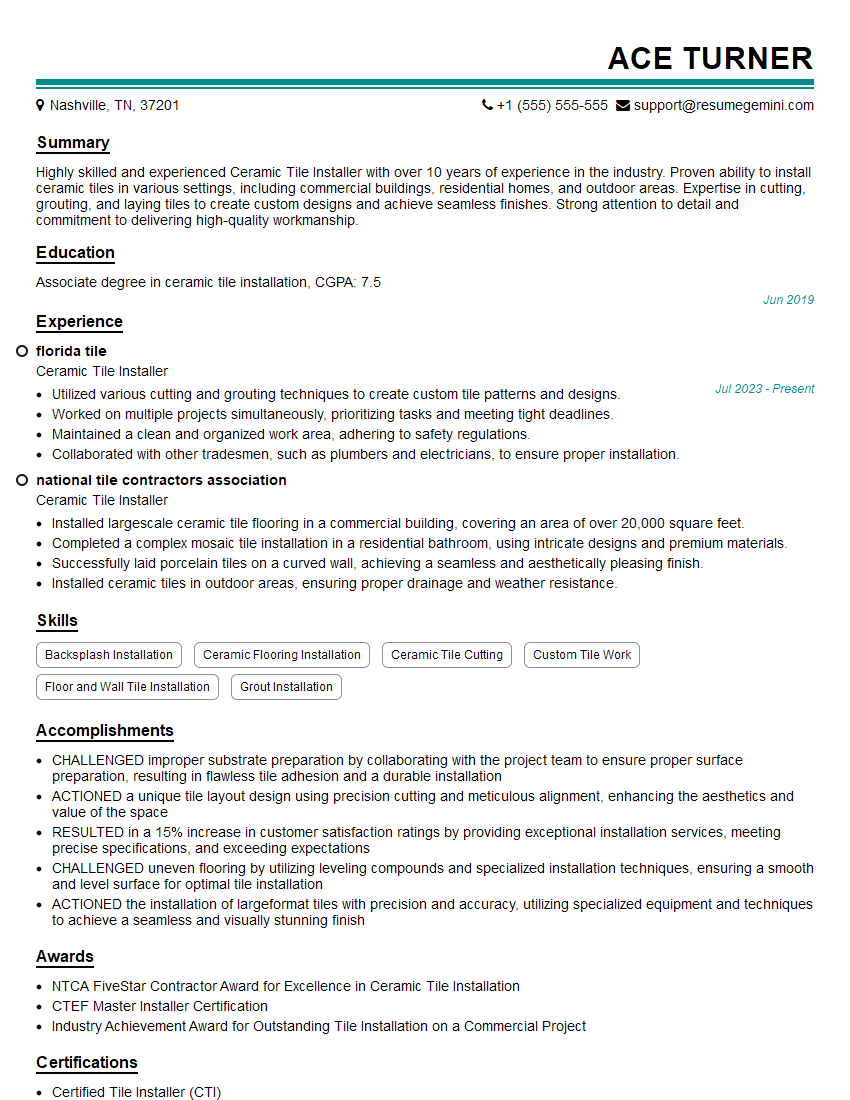
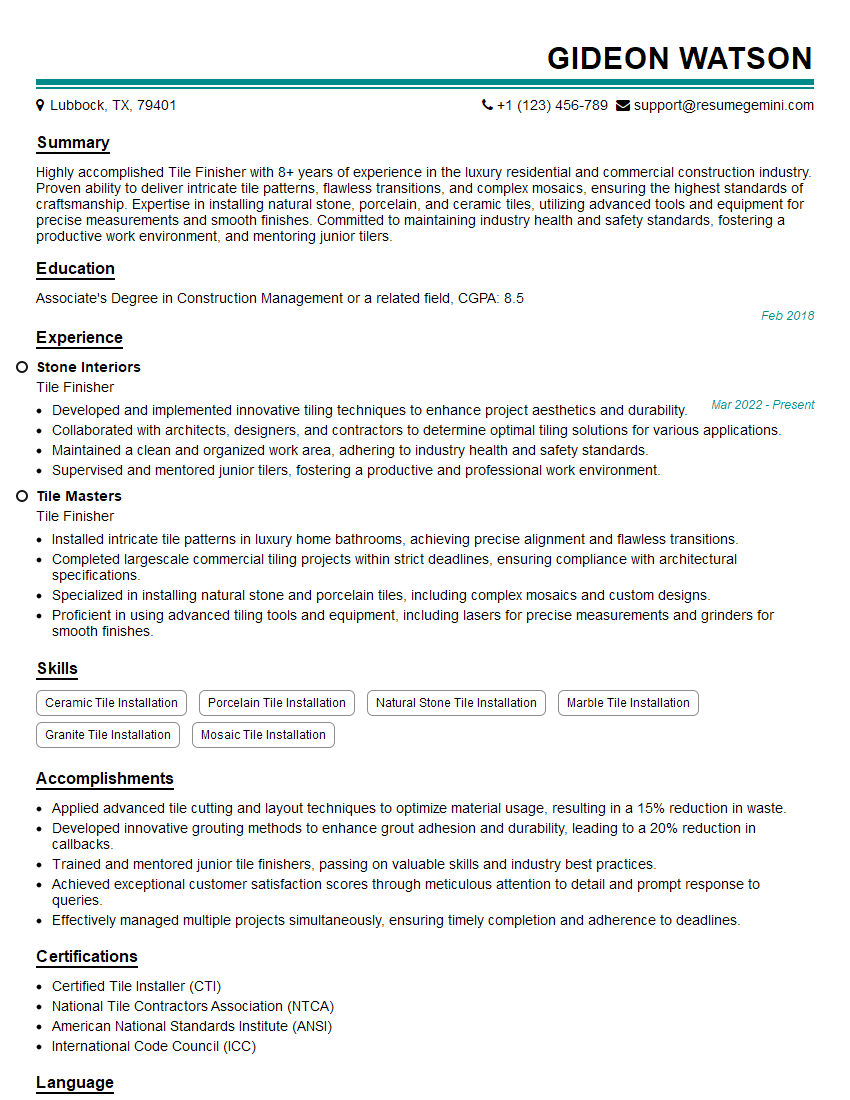
Mastering tile installation patterns is crucial for career advancement in the flooring industry, opening doors to specialized roles and higher earning potential. An ATS-friendly resume is key to showcasing your skills effectively and increasing your chances of landing your dream job. ResumeGemini is a valuable resource to help you craft a professional and impactful resume that highlights your expertise in tile installation patterns. Examples of resumes tailored to this specialization are available to help guide you.
Explore more articles
Users Rating of Our Blogs
Share Your Experience
We value your feedback! Please rate our content and share your thoughts (optional).
What Readers Say About Our Blog
To the interviewgemini.com Webmaster.
Very helpful and content specific questions to help prepare me for my interview!
Thank you
To the interviewgemini.com Webmaster.
This was kind of a unique content I found around the specialized skills. Very helpful questions and good detailed answers.
Very Helpful blog, thank you Interviewgemini team.